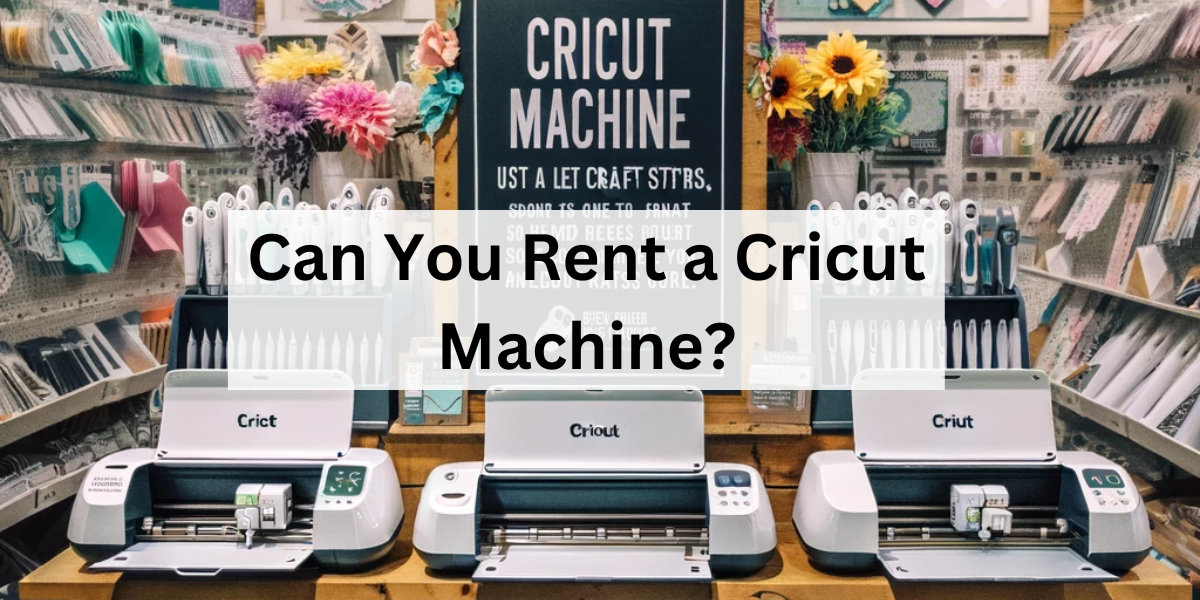
Yes, you can rent a Cricut machine, and I’ll show you the steps, so stay tuned.
Have you ever heard of a Cricut machine? It’s this super cool tool for anyone who loves crafting.
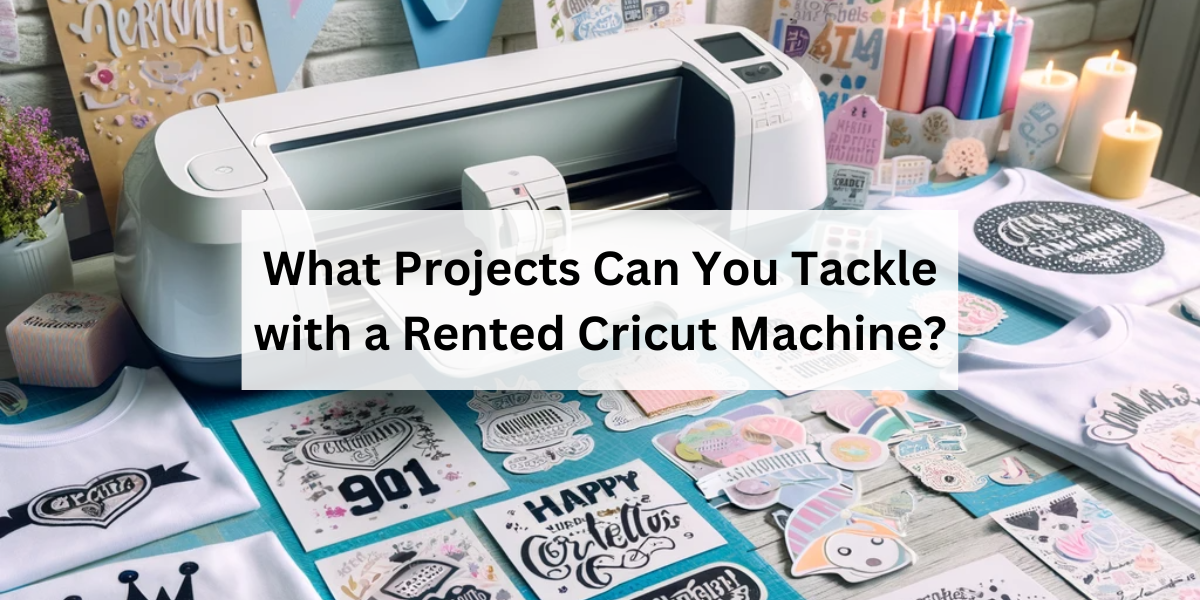
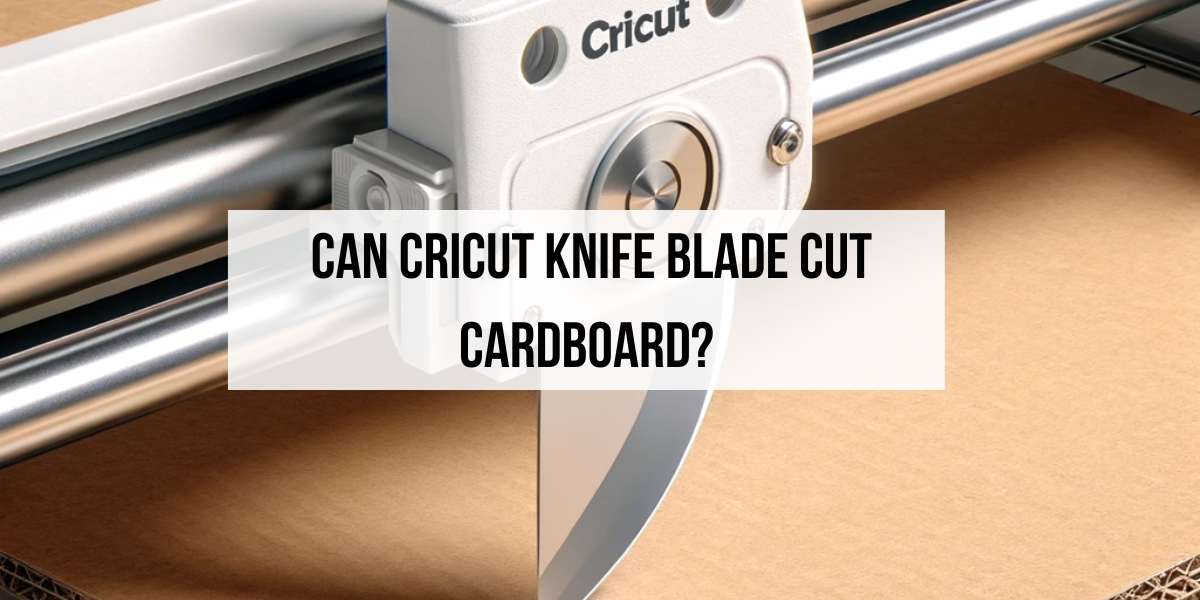
It can cut, draw, and score stuff like paper, vinyl, and even thin wood. People use it to make all sorts of neat things, like greeting cards and vinyl stickers.
Renting a Cricut machine is a smart move if they’re too pricey for you or if you just need it for a one-time project. It’s a way to try it out before you decide to buy one.
I’ll also answer some common questions about renting Cricut machines.
But hey, if you already have a Cricut and are thinking about selling it, check out this helpful guide at Whipperberry’s guide to selling your Cricut machine. Now, let’s dive into those questions!
Where Can You Find Cricut Machines for Rent?
You can rent Cricut machines in different options like online rental platforms, Facebook groups, and local craft stores.
Many of these stores understand that not everyone is ready to purchase their Cricut machine and offer rental services.
This is a great option because you get the chance to speak with store experts who can provide insights and tips on using the machine. Plus, you can physically check the machine’s condition before renting it.
Another great resource is online rental platforms. Websites dedicated to craft equipment rentals or broader rental services often list Cricut machines.
These platforms typically offer a range of models and rental terms, giving you flexibility to choose what best fits your project needs.
Some even offer delivery and pick-up services, adding convenience to your rental experience.
Compare prices from different sources to ensure you’re getting a good deal. Check the condition of the machine – a well-maintained machine is less likely to cause problems during your project.
Also, inquire about the support available if you face any issues while using the machine.
How Much Does it Cost To Rent a Cricut Machine?
The cost to rent a Cricut machine can vary depending on where you rent it from and for how long.
Typically, you might find rentals on a daily or weekly basis.
The prices can range from $20 to $50 per day, or more for a week.
It’s a good idea to check with local craft stores, maker spaces, or online rental services for specific pricing and rental terms in your area.
Renting can be a cost-effective option, especially for short-term projects or to try out a Cricut machine before purchasing one.
What Projects Can You Tackle with a Rented Cricut Machine?