Amy from The Idea Room, Mique from 30 Handmade Days, Heather from Whipperberry and Desiree from The 36th Avenue want to thank you for partying with us… You guys are the best!
Here are some of our favorite projects from this week!


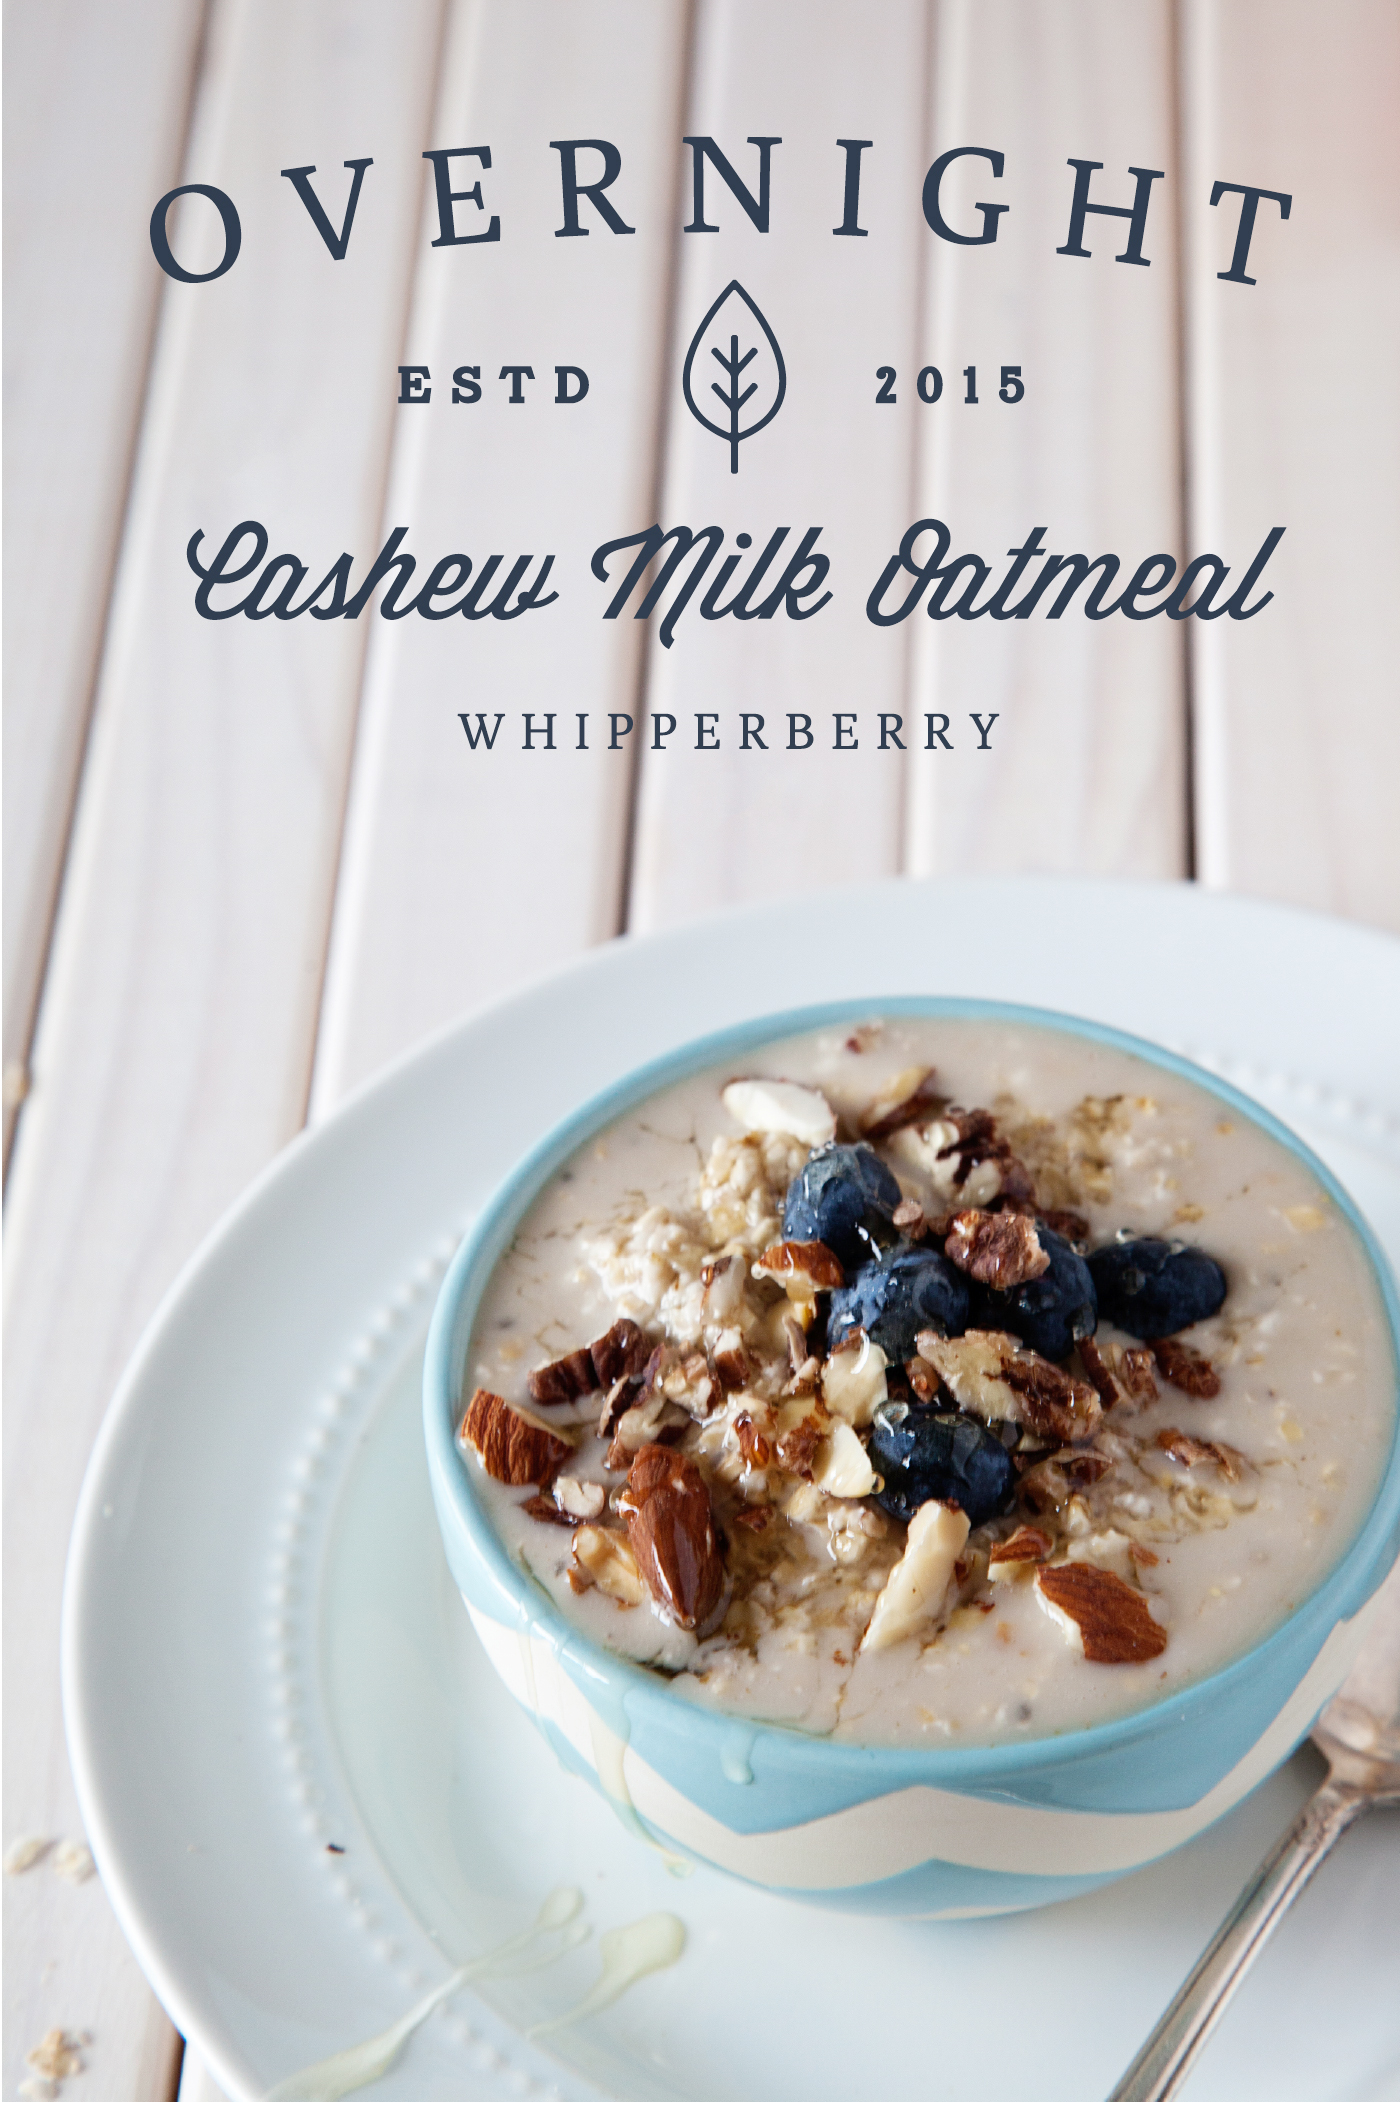
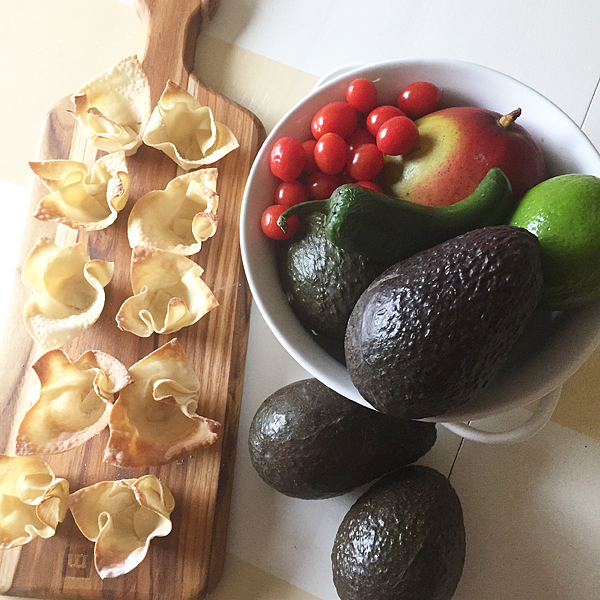
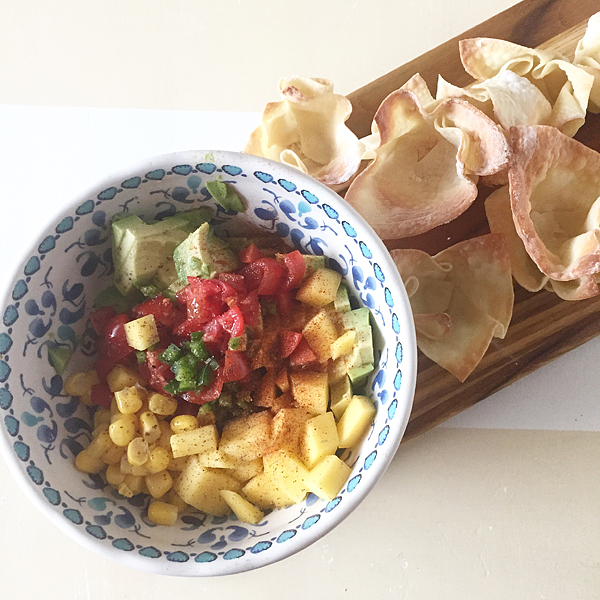
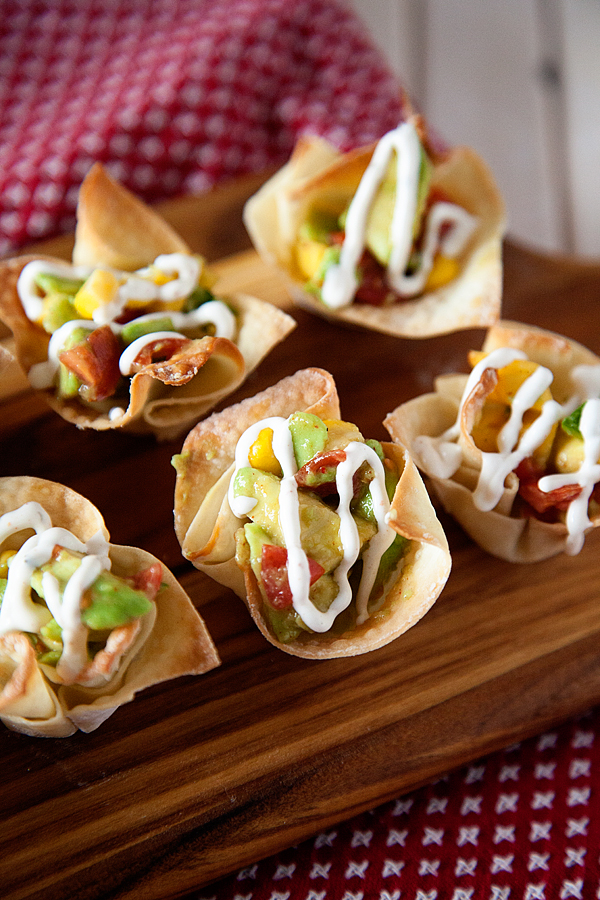
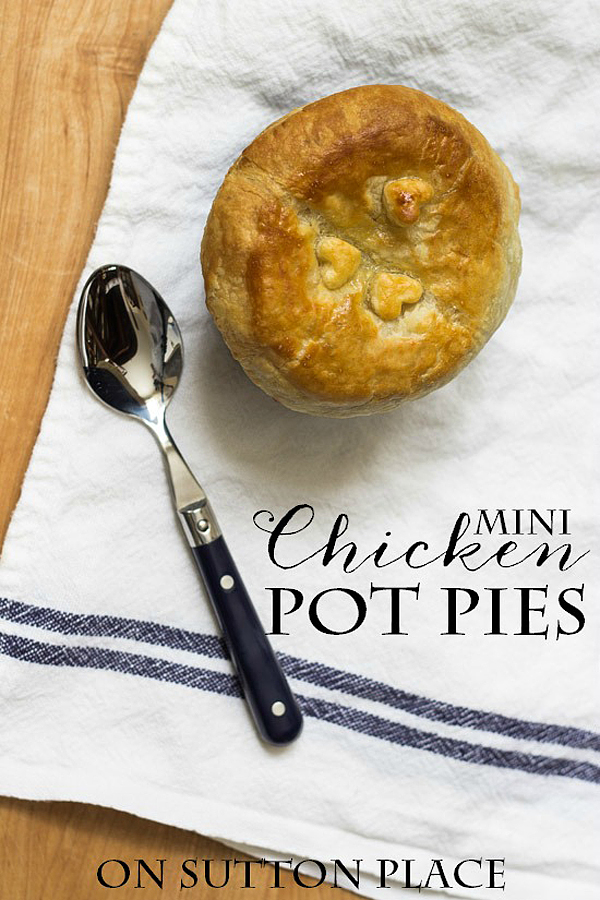
Mini Chicken Pot Pies from On Sutton Place
This is pure comfort food goodness!
We hope you take a minute and button up HERE!

Also we want to invite you to click here and follow
The Party Bunch Favorites on Pinterest.
We are featuring more of our favorite projects and recipes from the link party on this board!
Now it is time to party!

Here are a few things to remember before you link up!
Please make sure to share the love and grab a button here to let your readers know that you linked up with us! By linking up with The Party Bunch, you are giving permission to any of us to feature your projects and recipes on our social media with a link back to you. Thanks!