+ 8 Free 4th of July Printables +
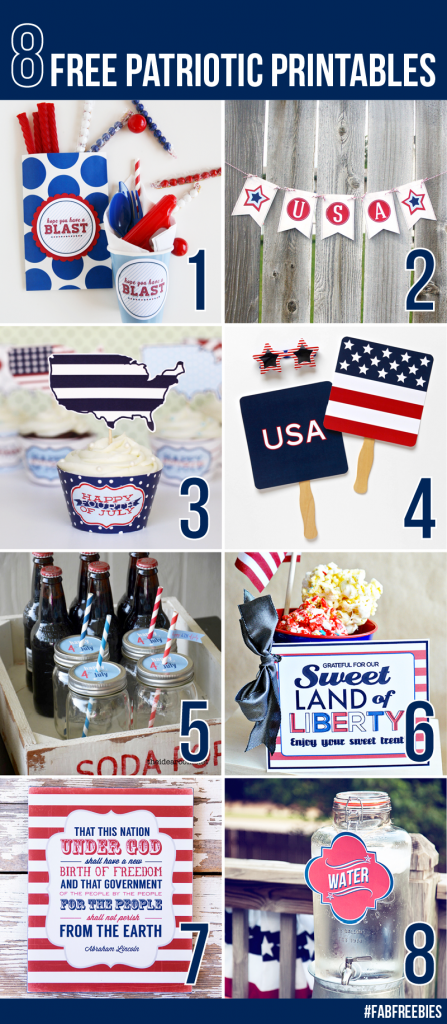
4th of July is almost here… this is one of my all-time favorite holidays!! I’ve teamed up with 7 of my favorite creative friends to create 8 free 4th of July printables for you to use for your celebration this year.
I’ve created some beverage station signs…
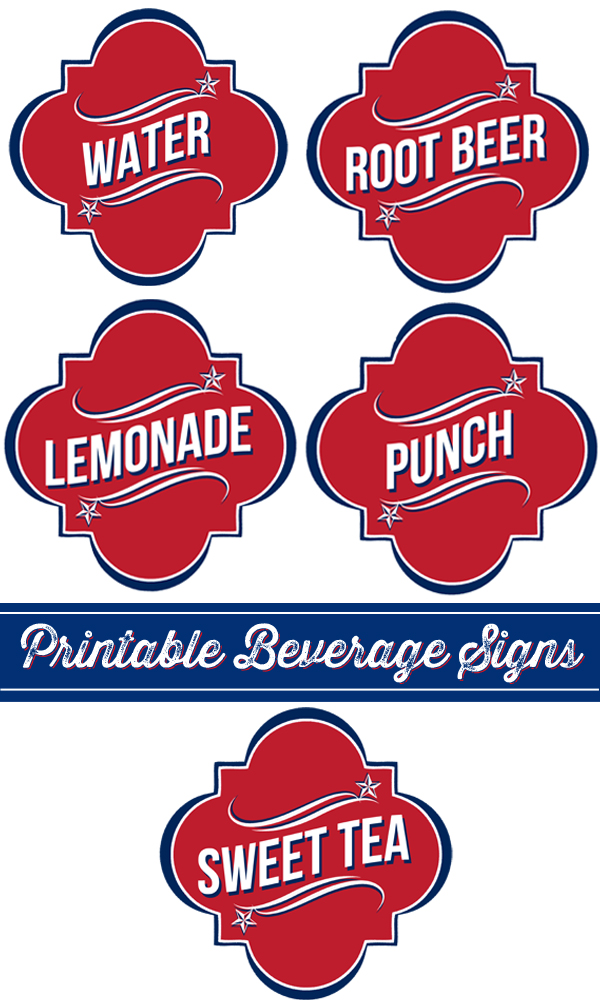
All you have to do is download the signs that you would like to use. I’ve created two sized for each drink, large for your larger drink dispensers or smaller signs for your smaller pitchers. All you need to do is print out the sign, and using scissors to cut out the signs.
Click HERE to download your printable beverage signs
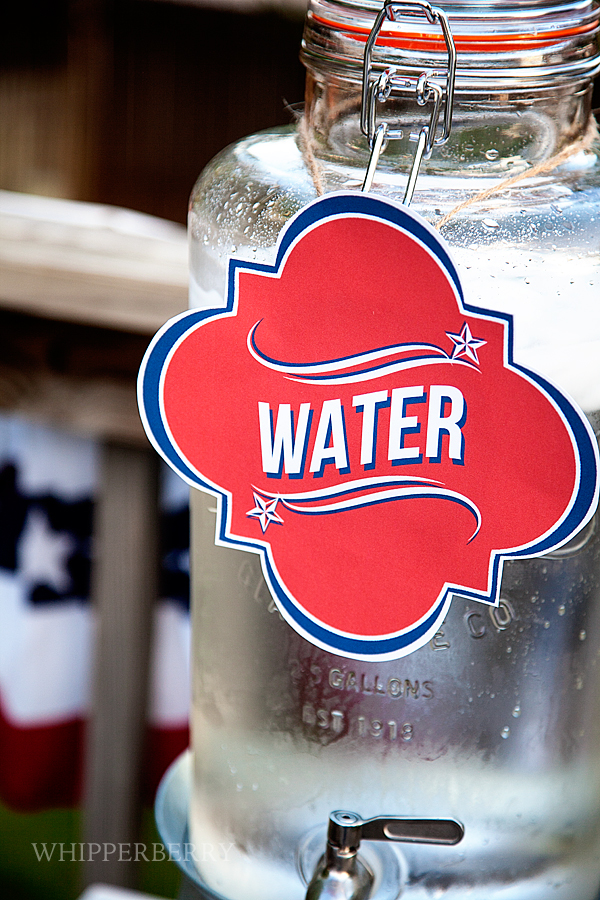
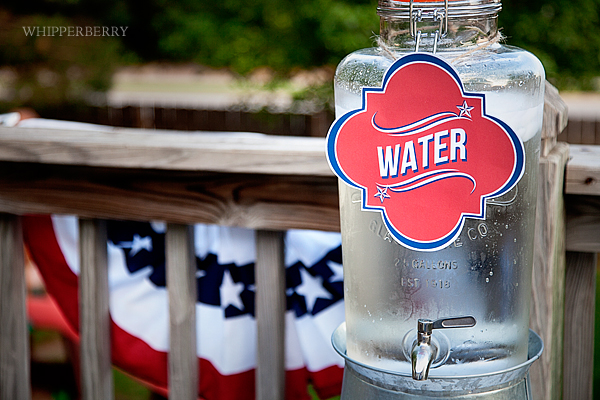
QUICK TIP // Paper and condensation don’t typically mix. Rather than attaching the sign direction to the beverage dispenser, I used glue dots to affix the sign onto a slate tag that you can find at your local craft store…

Then all you have to do is hand it right on your dispenser…
Looking for some more printable fun? Here are 7 more great 4th of July printables…
1. Eighteen25: Have a blast this 4th of July with these fun tags that make great party favors!
2. The Crafting Chicks: Print, cut and hang this festive USA Banner.
3. Kiki & Company: Eight printable cupcake wraps that make any dessert patriotic!
4. Paging Supermom: Patriotic Parade Fan to create your own cooling summer breezes.
5. The Idea Room: Patriotic mason jar drink labels.
6. Thirty Handmade Days: Fun “Sweet Land of Liberty” tag featuring Patriotic Popcorn Balls.
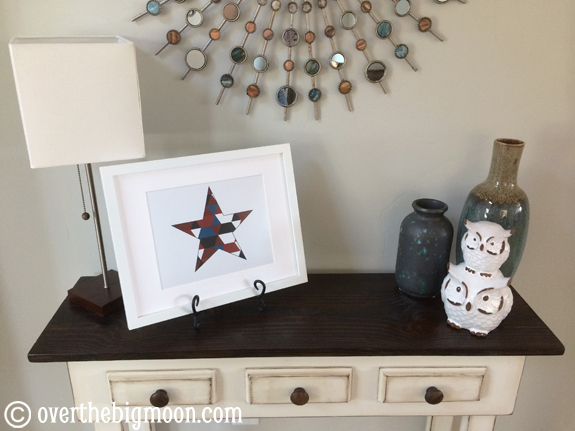
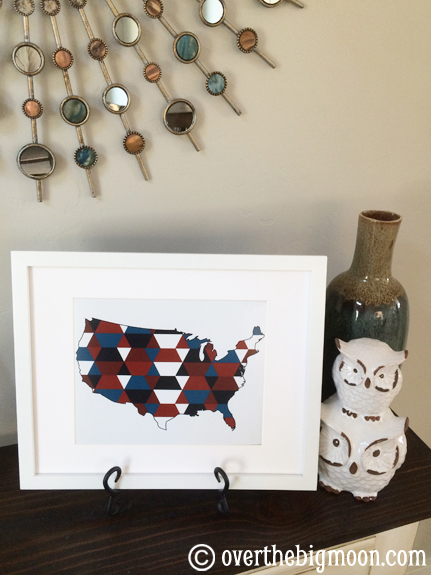
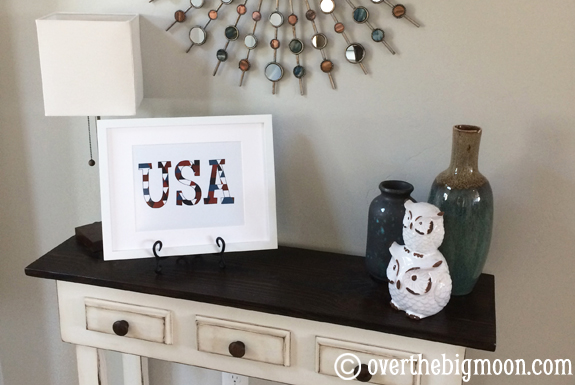
7. Simple As That: Free printable Red, White and Blue Wall Art.
8. Whipperberry: Can’t have a summer party without water, and here’s a free printable tag.


