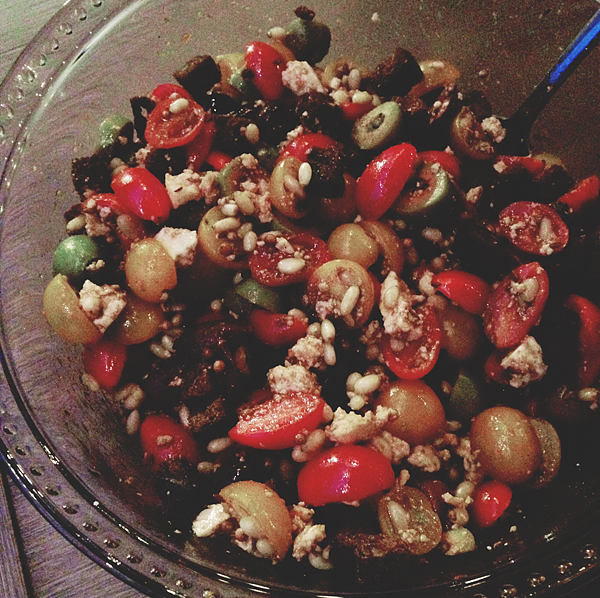
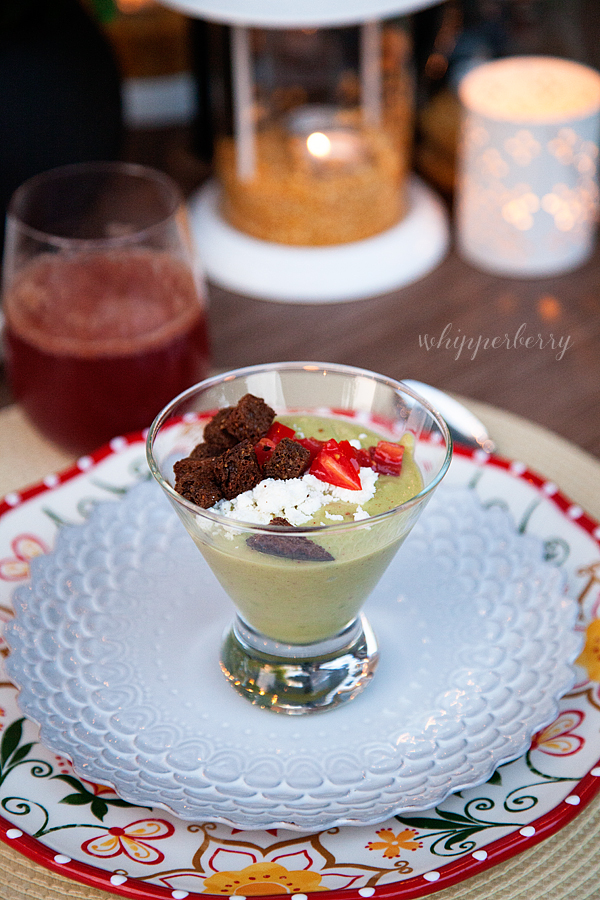
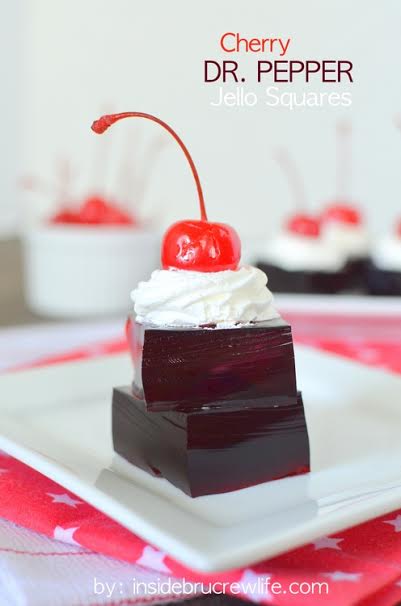
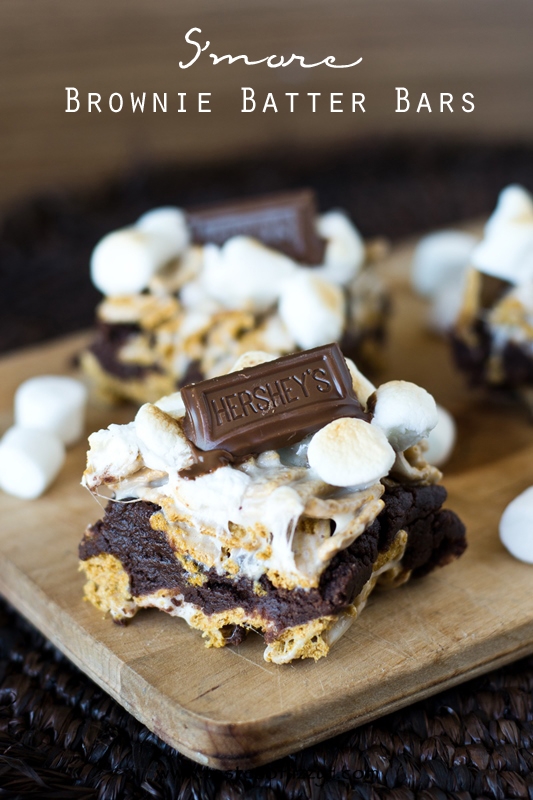
+ Fiesta Frozen Shirley Temple +
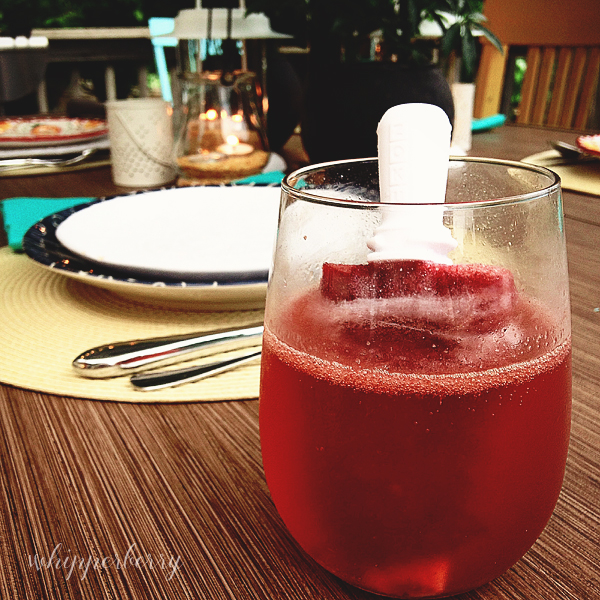
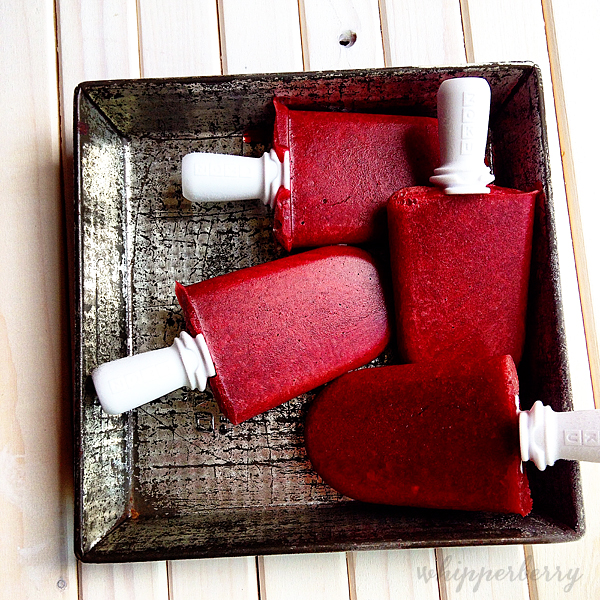
There is a fun new food trend these days that I just love. Creating a drink using a popsicle as one of the elements of the drink, so whimsical and fun! I decided for the fiesta I was to make my version of a Shirley Temple using this fun food trend idea. Since cherries are in season now, I thought it would be perfect. I made a simple syrup and blending that with a bunch of pitted cherries, added a little almond extract and then froze it in my Zoku. You can use a traditional popsicle mold if you don’t have a Zoku. I think it’s actually pretty fun to have your guests make their own popsicles and then add them to their drinks in just 7 minutes. It’s kind of a fun way to start off your party!
Then all you do is add your cherry popsicle to a cup of either seltzer water, I used Coconut La Croix water, or you could use ginger ale or your favorite lemon-lime soda. Either way this is a super tasty treat to start off any party!
- 1 cup water
- 1 cup sugar
- 2 cups pitted cherries - fresh or frozen
- 1 tsp almond extract
- Add water and sugar to a small sauce pan and over medium high heat dissolve the sugar to make a simple syrup.
- Once the sugar has dissolved into the water remove from heat and cool.
- Clean and pit your cherries and add to a blender jar.
- Pour in cooled simple syrup and blend until you have a nice puree.
- Pour into popsicle molds and freeze for at least 4 hours or 7 minutes if you have a Zoku.
- Enjoy the popsicle as is or create a frozen Shirley Temple by placing your popsicle into a cup with seltzer water, ginger ale or lemon-lime soda. Enjoy!