Chicken Salad Recipe // It has long been said that the kitchen is the heart of the home and I whole heartedly subscribe to that idea. When it comes to house hunting, the very first thing I look at is the kitchen. If it’s not up to muster, I won’t even bother with the rest of the house. It’s truly that important to me. It needs to be spacious, light and very functional. It needs to have a welcoming feeling where friends and family feel natural and at home. I spend 90% of my day in the kitchen, no joke, and through that room I connect with those that I love.
Growing up some of my favorite memories are from the kitchen’s of my Mom and my Grandfather. I have amazing memories of fabulous feasts along with simple memories of sitting with my Grandfather in the morning while he ate his breakfast. He always had olives, cheese and toast for breakfast. The good olives and cheese that were like a foreign language to me. He would always give me a taste and my face would go squiggie with the new sour flavors that my young palette had yet to grow accustomed to.
I have memories of my Mom making some fabulous holiday dinners in tiny kitchens that boggle my mind when I think about it today. How on earth she managed to cook those masterpieces with a tiny oven and hardly any work space just blows me away. I learned so much from her and my Grandfather when it comes to home cooking. They taught be to be fearless!
Together my Mom and Grandfather along with hundreds, if not thousands of hours watching the food network… I feel like I’ve earned a pretty good home cook degree. One of my favorite shows right now is The Kitchen on the Food Network. I TiVo it every week! One of it’s co-hosts is Katie Lee one of my favorite home cooks. Katie has published a couple of cookbooks focused on The Comfort Table. She also has fabulous tips and tricks on how to make comfort food a little easier on the waistline! On top of that she also stars in the LG videos showcasing their products. She is a master of seasonal ingredients and I love learning from her when I watch each episode of The Kitchen.
Now speaking of The Kitchen… Have you seen the kitchen set that Katie gets to work with? Wow, if I could work in a kitchen like that someday, I would be in Heaven! If you haven’t seen it yet… You need to watch an episode and look at this kitchen marvel. First off, the color of the open cabinets is divine, the subway tile, the decorative chalkboards. As far as style is concerned, they nailed it! But did they nail function? Of course! Their kitchen is packed full of aaaamazing LG appliances. Like have you seen the LG Door-in-Door™ Refrigerator?
Brilliant!! It’s like they get me! My kiddos are constantly asking for snacks this summer and rummaging around the fridge. This Door-in-Door™ feature allows you to place approved snacks in the first door and they don’t even have to get their grubby hands inside the main refrigerator. Again, brilliant!
Want a chance to win one of these babies? Visit the LG Door-in-Door™ Facebook page for the Life is Good in the Kitchen, “Caption This” contest for a chance to win a LG Door-in-Door™ Refrigerator of your very own!
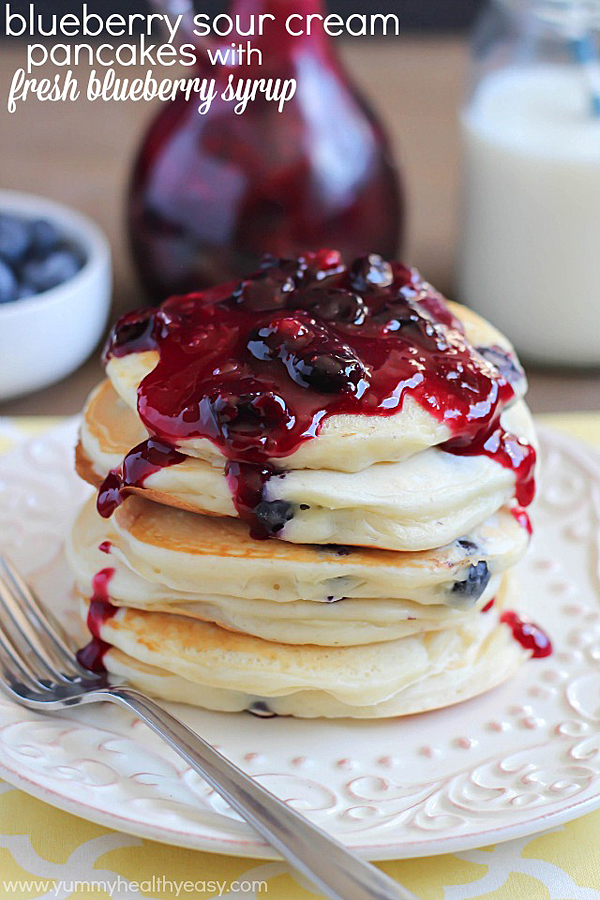
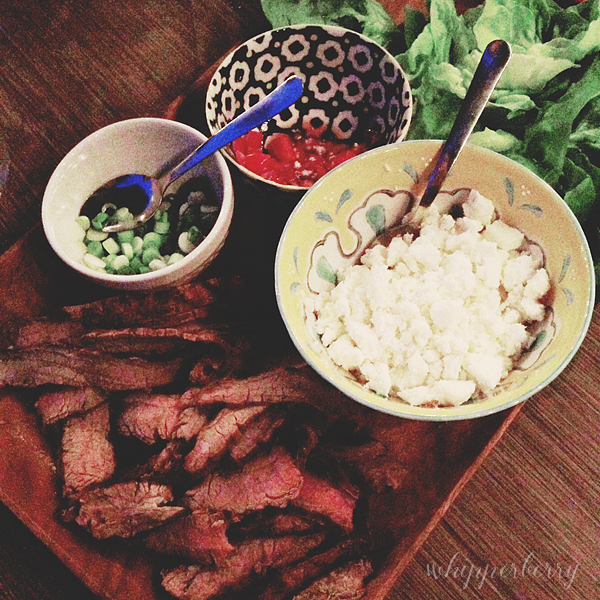
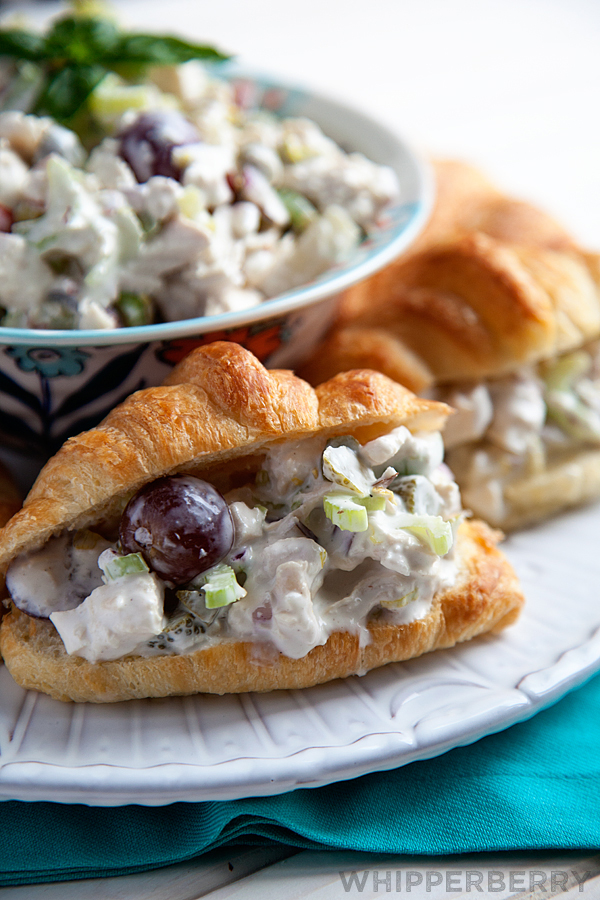
One of my favorite recipes that I would love to keep in the LG Door-in-Door™ Refrigerator is my recipe for The BEST chicken salad EVER!!

Seriously beyond good! This is recipe is what makes life good in MY kitchen. It’s one of those summer comfort salads that you can keep stocked in the fridge all summer and your family will LOVE you!
Classic Chicken Salad Recipe
3 large chicken breasts
1 tablespoons dried onion
1 teaspoon salt
2 bay leaves
6 whole all-spice berries
1/2 teaspoon whole cumin
1 1/2 cups of diced celery including the leaves
1 1/2 red grapes – halved
1 large apple – diced
1/2 of a small red onion – diced
1/2 cup cornichion pickles – diced (small dill pickles if you can’t find the cornichion)
2 tablespoons pickle juice
1 1/2 cups mayonnaise
salt & pepper
Place chicken, dried onion, salt, bay leaves, all-spice and cumin in a medium sauce pan and cover with water. Place over high heat until it comes to a boil, then reduce the heat to medium high and simmer for 20-25 minutes or until the chicken is completely cooked through. Remove the chicken from the water and place in a Ziploc bag and refrigerate until the chicken has been thoroughly chilled.
In a large bowl add your diced celery, onion, apple, grapes and pickles. Cut your chicken into small bite-sized pieces and add to the bowl. Add the mayonnaise and pickle juice and combine the mixture thoroughly. Add salt & pepper to taste.
Serve with crackers or make into chicken salad sandwiches with your favorite bread or croissants.
So… what makes life good in your kitchen? Do you have some fun kitchen memories? Or, a favorite recipe? Make sure you head over to the LG Facebook page to enter to win the new LG Door-in-Door™ Refrigerator!
LG Home Appliances are your partner in creating memorable cooking experiences and “Life’s Good” moments in the kitchen.
This is a sponsored conversation written by me on behalf of LG. The opinions and text are all mine.