• Skip to primary navigation
  • Skip to main content
  • Skip to primary sidebar
  • Skip to footer

Whipperberry

WhipperBerry • Your Home For Creative Inspiration

  • Home
  • Recipes
    • Starters
    • Easy Weeknight Dinners
    • Main Dish
    • Salads
    • Side Dish
    • Soups & Stews
    • Desserts
    • Breakfast
    • Miscellaneous
  • Tutorials
    • Creative Crafts
    • DIY Decor
    • Fabric Crafts
    • Food How-To
    • Jewlery
    • Paint Projects
    • Paper Art
    • Party Styling
    • Photography and Graphic Design
    • Silhouette
  • Holidays
    • Easter
    • Mother’s Day
    • Father’s Day
    • 4th of July
    • Halloween
    • Thanksgiving
    • Christmas
    • Valentine’s Day
  • Gift Ideas
    • Gifts For Everyone
    • Gifts for Dad
    • Mother’s day
    • For The Girls
    • For The Kids
    • Teacher Gift Ideas
    • Christmas
  • Printables
    • Holiday
    • Gift Idea
    • LDS Primary
  • Travel
  • About
    • Terms
  • Contact
  • Nav Social Menu

    • Facebook
    • Instagram
    • Pinterest
    • RSS
    • Twitter

Christmas

Snowball Bath Bomb Printable Gift Tag

45 · Nov 10, 2017 · 1 Comment

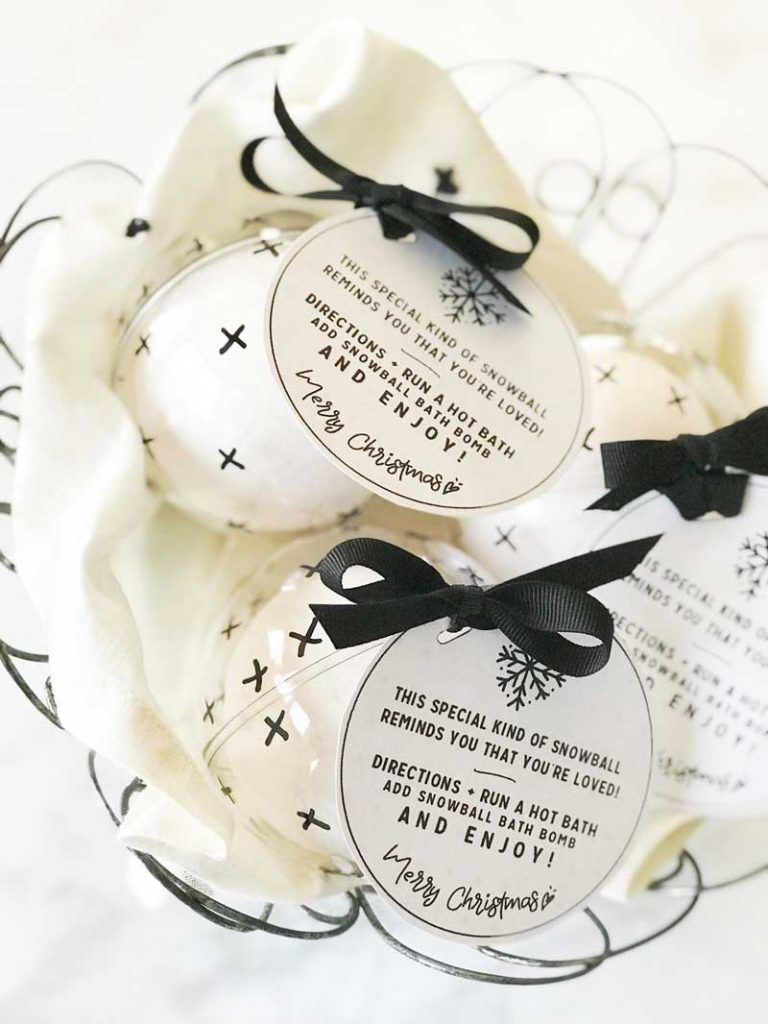
Hey guys! The Holidays are right around the corner and now’s the time to start preparing. I had a friend tell me today, “the Christmas season starts the minute Halloween is over and Thanksgiving is half-time.” I’m not one to run right past Thanksgiving but, I kind of get where he’s coming from. As busy as things get, it’s a great idea to start workin on those fun neighbor, office, teacher and friend gifts. Now, if you’re planning on baking, you’ll have to wait until the last minute to make your treats. With these Snowball Bath Bombs, you can still pull out the mixer and not have to scramble at the last minute to put your sweet treats together. These could be wrapped up in July if you’re really that prepared!

SNOWBALL BATH BOMBS Looking for a simple Christmas gift for friends and neighbors? This simple to make snowball bath bomb will quickly become your favorite gift to give this holiday season!

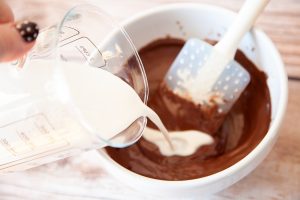
Check out this video to see how easy they are to make…

Snowball Bath Bombs via WhipperBerry from Heather Thoming on Vimeo.

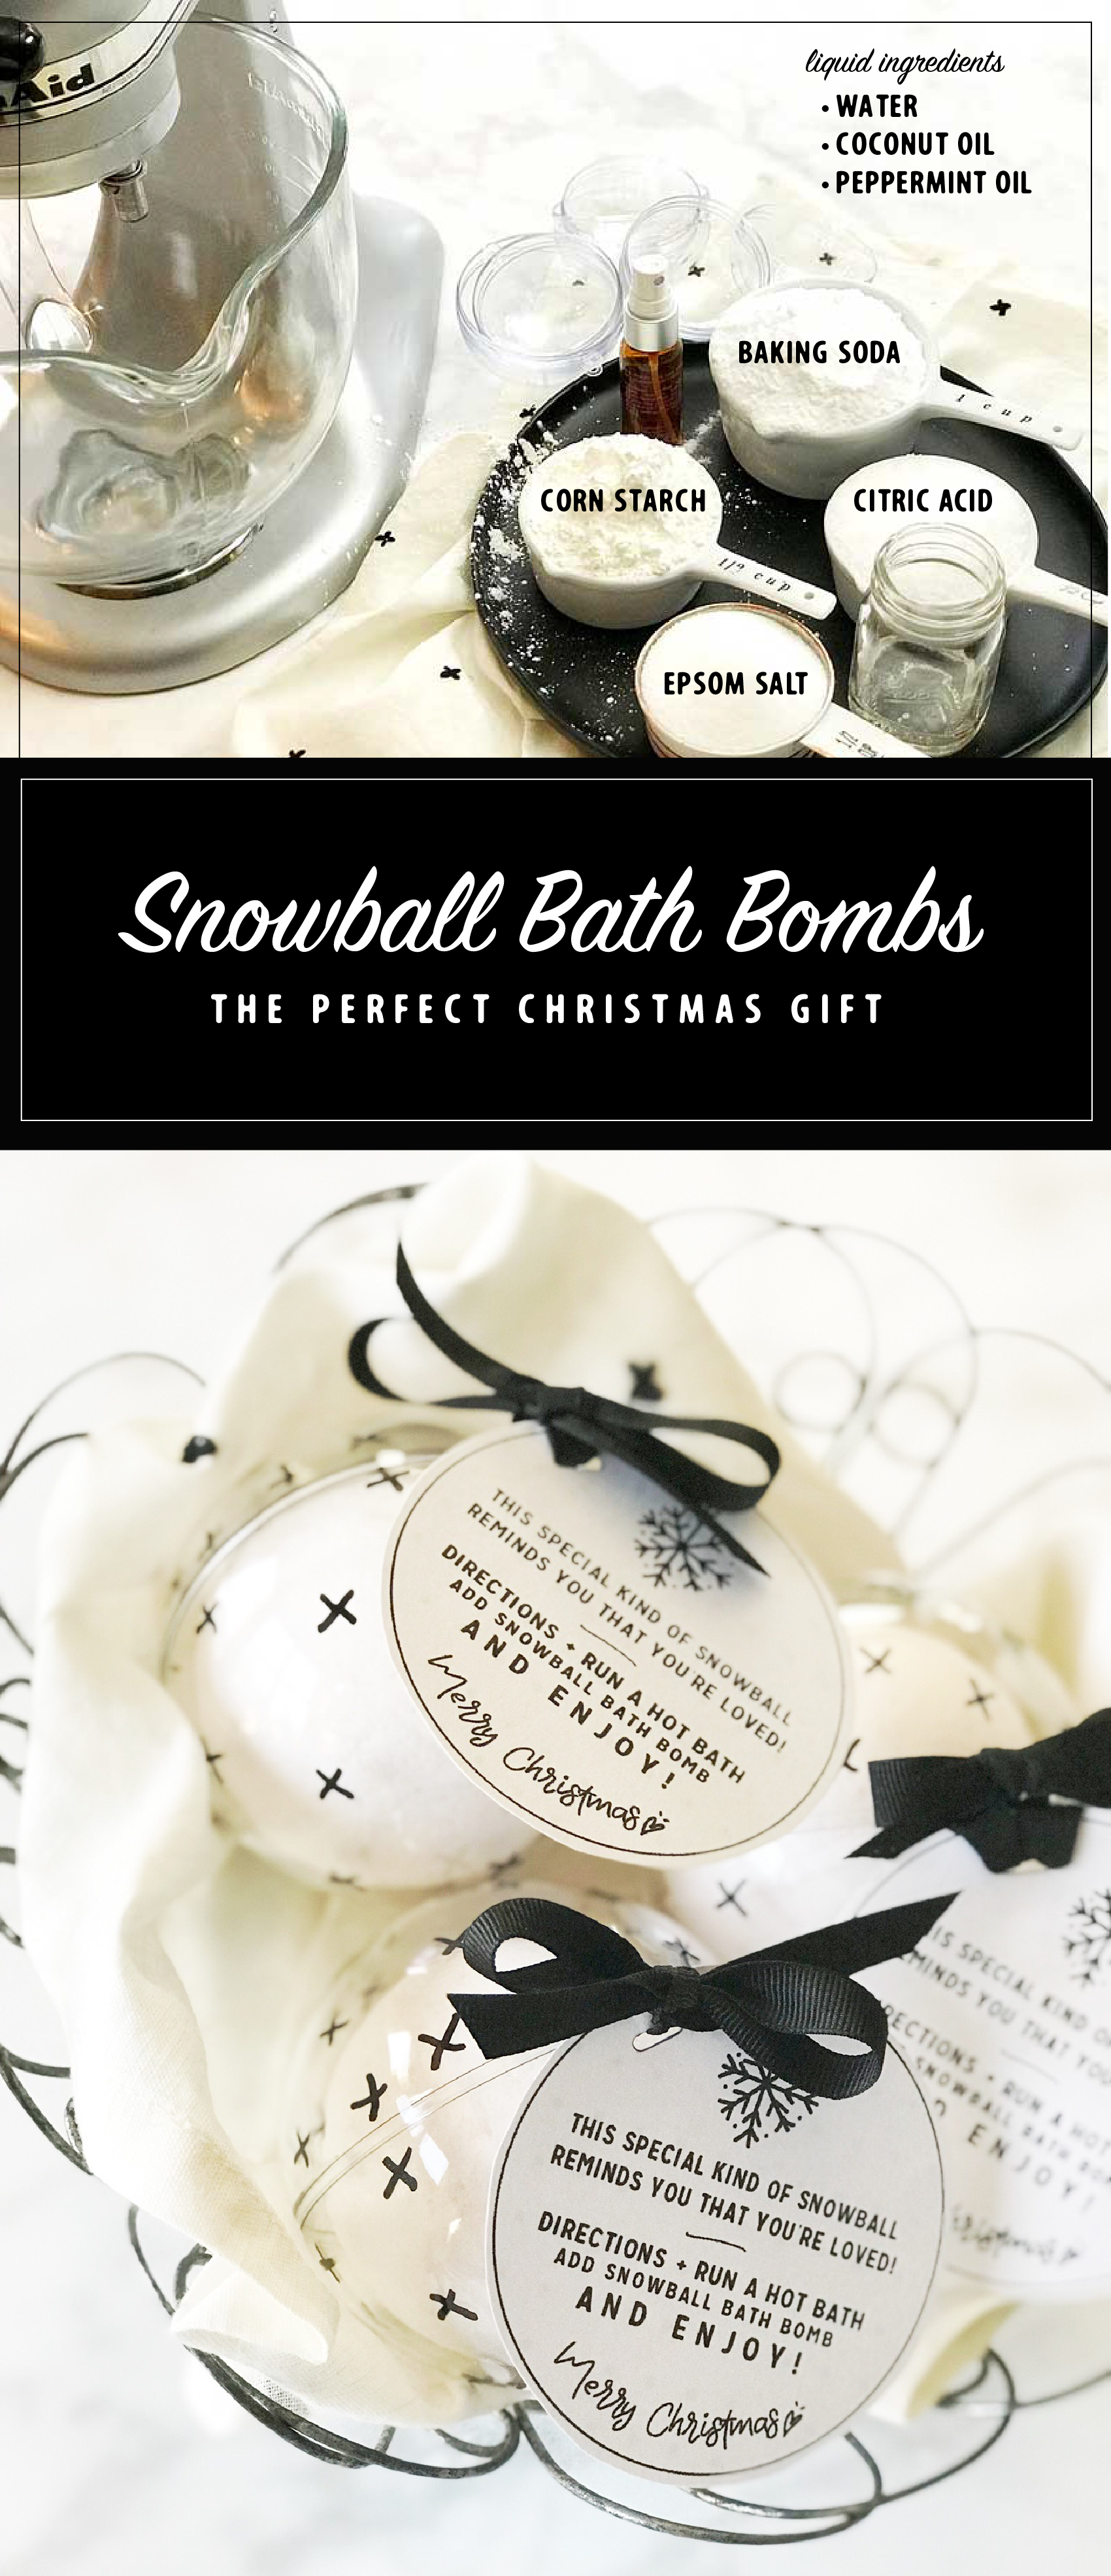
For the full recipe you’ll need to visit I Heart Nap Time to get all of the details on how to make the snowball bath bombs BUT… You can download the free printable HERE.

snowball bath bomb whipperberry free printable gift tag-100

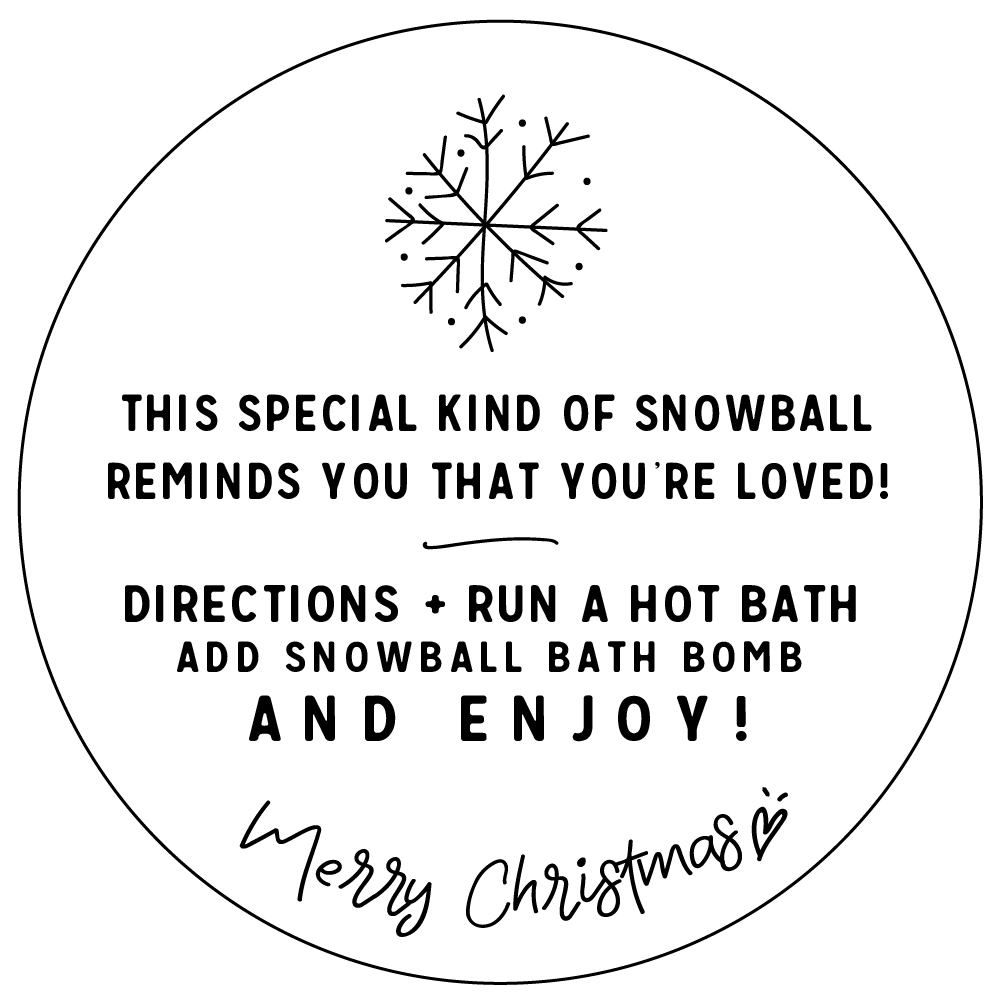
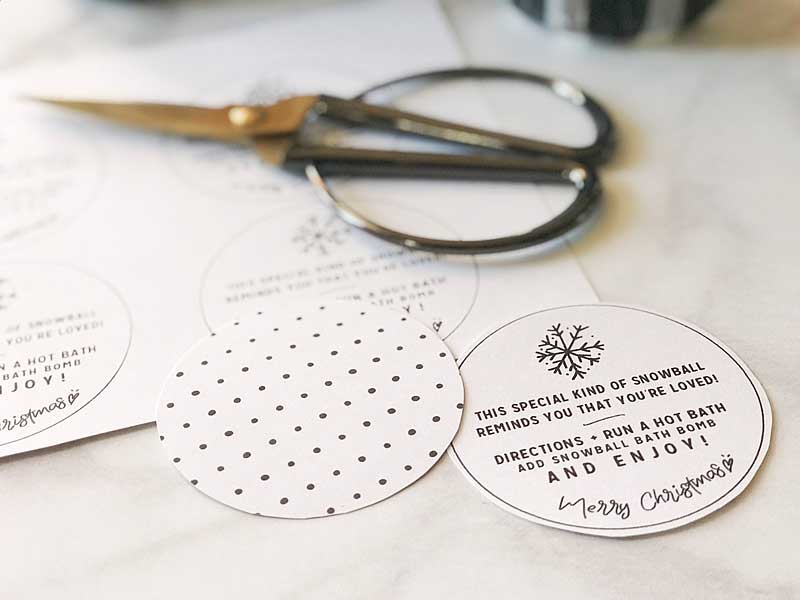
This tag is double sided. All you need to do is print the front then flip your paper over and print the polka dots on the back side.

SNOWBALL BATH BOMBS Looking for a simple Christmas gift for friends and neighbors? This simple to make snowball bath bomb will quickly become your favorite gift to give this holiday season!

Make sure to run over to I Heart Naptime to get all of the instructions on how to make this gem of a little gift.  You can also pin the image below to help you remember what you’re going to make for your friends and neighbors this year. Happy gifting!

SNOWBALL BATH BOMBS Looking for a simple Christmas gift for friends and neighbors? This simple to make snowball bath bomb will quickly become your favorite gift to give this holiday season!

Farmhouse Inspired Christmas Tree – Dream Tree Challenge

75 · Nov 1, 2017 · 1 Comment

It’s getting close to my favorite time of year… Christmas!! Every year it’s so fun to participate in the Michaels Dream Tree Challenge and this year has been EXTRA FUN!  We gathered together as a family and crafted our Christmas tree together and it was so fun. From trees to ornaments and holiday décor, Michaels has everything you need to MAKE this holiday your own! You can even shop over 100 Christmas Trees at Michaels.com. Crafting your tree together is a  great way to bring the family together at the beginning of the Holiday season. Here is what we created to make our 2017 tree magical for our home and family.

Farmhouse Inspired Christmas Tree -WhipperBerry-100

The Christmas Tree

This year, I picked the 7.5 Ft. Pre-Lit Jasper Cashmere Artificial Christmas Tree, Clear Lights by Ashland™.  At first it was a little wide for our space. BUT… We placed it on top of an old bucket I had and then bent the lower branches down to give it a slimmer figure. I wish ‘slimming-down’ was that easy for all of us! 😉 That also raised the tree up a bit, which makes it look better in a room with vaulted ceilings.

Regardless of what this photo looks like below (someone was being a bit dramatic…) The Jasper tree is super easy to set-up. It’s literally plug and play. The electricity runs through the poll of the tree so you don’t have to go hunting around for all of the connections. Then all you have to do is fluff the branches.

setting-up-the-tree

Farmhouse Inspired Christmas Ornaments

Part of the fun when decorating for the Holidays is actually making some of your own decor. This year I was inspired by some ornaments that Joanna Gains has created for another store. I LOVE them and thought we could make some of our own with supplies from Michaels.

I grabbed some of the shatter proof ornaments at Michaels along with some of the Americana Chalkboard Paint from DecoArt…

Shatter proof ornaments from @Michaels

  • Plastic Onion Ornaments By Artminds™

  • Clear Plastic Ornaments By Artminds™

  • Americana Chalkboard Paint

Americana Chalkboard Paint for Christmas Ornaments

paining ornaments-100

My daughter Haley is home from college with her boyfriend Kyle and we decided to have a paint party. We covered the table with plastic wrap and went to town with the clear ornaments from Michaels.  We painted them all over with the chalkboard paint. Now, the only reason I use chalkboard paint is because I like the matte look. Then we used a white paint marker from Sharpie and created all of the little swiss crosses on the ornaments.

Create DIY Hearth and Home Black Swiss Cross Christmas Ornaments via WhipperBerry

They turned out super cute and we had so much fun making them together!

Create DIY Hearth and Home Black Swiss Cross Christmas Ornaments via WhipperBerry

Create DIY Hearth and Home Black Swiss Cross Christmas Ornaments via WhipperBerry

I think they may be my new favorite Christmas ornaments for our tree.

Next, we painted some large wood stars from Michaels with Americana Decor Chalky Finish paint from DecoArt.  Then we used my Cricut Maker to add titles of Christmas Carols onto the stars. You can learn how to make those HERE. You can even download the graphics that I designed for the stars!

DIY Christmas Star from WhipperBerry

Farmhouse Christmas Carol Ornaments from WhipperBerry

The next element for my tree is a few types of picks that I found in the Christmas pick section of Michaels.

Love FARMHOUSE decor? Then you are going to LOVE this Farmhouse inspired Christmas Carol Star ornament that you can create for your home.

Quite honestly, picks are some of my favorite ways to add personality to my Christmas trees. They really add to the tree and they aren’t very pricey. I LOVE the fuzzy little stars, the gold antlers, and the cotton stems. They look fabulous on the tree!

Love FARMHOUSE decor? Then you are going to LOVE this Farmhouse inspired Christmas Carol Star ornament that you can create for your home.

Love FARMHOUSE decor? Then you are going to LOVE this Farmhouse inspired Christmas Carol Star ornament that you can create for your home.

The last element is the ribbon picks.  They couldn’t be easier to make. I found some perfect ribbon at Michaels and cut it into 6 inch sections…

Love FARMHOUSE decor? Then you are going to LOVE this Farmhouse inspired Christmas Carol Star ornament that you can create for your home.

Then I folded it in half and wrapped some floral wire around the bottom leaving a 4-5 inch tail to secure it to the tree. Super simple and the bottom doesn’t need to be pretty.

Love FARMHOUSE decor? Then you are going to LOVE this Farmhouse inspired Christmas Carol Star ornament that you can create for your home.

Love FARMHOUSE decor? Then you are going to LOVE this Farmhouse inspired Christmas Carol Star ornament that you can create for your home.

Then you use the wire tail to attach them to the tree. An easy, easy way to fill in those bald spots on the tree or add a pop of color. Again, it’s a very cost friendly way to add color to your tree.

Love FARMHOUSE decor? Then you are going to LOVE this Farmhouse inspired Christmas Carol Star ornament that you can create for your home.

One last thing… I almost forgot! We decided to HANG our star from the ceiling for this tree. I bought a large wood star at Michaels and wrapped it with some wire lights and then hung it from the ceiling. We made sure to place our hook in a stud so that we didn’t have issues with the weight of the star. It’s so simple and tops it with that rustic farmhouse look.

Wow, it’s amazing how some simple elements can come together to create a really stunning tree. All of my kiddos have said this tree is the best we’ve ever had. Make sure to download the Michaels App on your smartphone so you don’t miss any of their amazing holiday deals this season. It really is a great app to have. No more saving receipts! That’s worth it right there.

Don’t forget to tag me in your tree photos… I love to see what you guys are creating!

For more inspiration, visit the Michaels blog and their Pinterest, Facebook and Instagram accounts.

DIY Farmhouse Christmas Carol Star Tree Ornaments

111 · Nov 1, 2017 · 6 Comments


It’s officially Holiday Season! One thing that I LOVE about the Holidays is creating my own custom decor for our home. Love FARMHOUSE decor?

Then you are going to LOVE this Farmhouse-inspired Christmas Carol Star ornament that you can create for your home. This week I’ve teamed-up with DecoArt and Cricut to create some new ornaments for my Christmas tree this year.

We decided to go with the star of Christmas theme, so… I thought it would be fun to chalk paint some large wood stars and then put titles of Christmas Carols on them. They turned out so cute… Come learn how to make them for yourself.Create your own farmhouse Christmas decorations with a little help from WhipperBerry - Christmas Carol Stars

A few years ago, one of my good friends had the most beautiful Christmas trees. She had large stars all over the tree and I just adored it.

I asked her where the stars were from and I was devastated to learn that they were given to her from a friend who found them discarded from a department store after the holidays. DANG! There was no way of finding a set of my own.

This year, I decided it was time to make some large stars of my own. The timing couldn’t be more perfect! DecoArt and Cricut have teamed up this year to create all kinds of fabulous fun this Holiday season…

22520087_10212667444788382_464973044413398504_o

I love it when to amazing companies come together to inspire all of us to bring a little bit of our personalities into our home. These two are perfect for that. I’m sure that this will tickle your fancy… You’ll want to visit the DecoArt Blog to check out the GIVEAWAYS DecoArt & Cricut have up their sleeves this year!

Christmas Carol Stars Supply List

  • raw wood stars from Amazon
  • Americana Decor Curb Appeal – Black
  • Americana Decor Chalky Finish – Everlasting
  • paint brush
  • 250 grit sandpaper
  • Cricut vinyl – midnight
  • Cricut transfer tape
  • Cricut cutting machine like the  Cricut Maker

Instructions for Christmas Carol Stars

raw-star

First, grab your raw wood stars and wipe them down with a damp cloth to make sure they are dust and dirt free. Then paint your base coat with the Americana Decor Curb Appeal paint.

painting-the-star-black-first

The reason why I used the Curb Appeal paint is… One, it’s a durable paint and will stand up to the distressing of the chalk paint. Two, I just happened to have some left over after I painted my front door. I wanted to have a black base because I wanted it to show through when I distressed the white (Everlast) paint.

PRO TIP +  When using chalk paint, you will typically distress your paint to create the look that is typical with chalk paint. You’ll need to keep in mind what color you want to show through once distressed. You’ll need to use that color as your base color then paint your finishing color on top. Then make sure when you are distressing your piece, you don’t use too much pressure. You don’t want to accidentally distress down through your base coat.

Once your base coat is dry, paint your top coat with the Americana Decor Chalky Finish paint in Everlasting.

painting-farmhouse-wood-star

Pro Tip + Don’t worry about making your top coat look PERFECT with multiple layers of paint. You will be distressing them, no need for perfection. The heavier your layer of paint, the harder your piece will be to distress. No need to make extra work for yourself.

To distress, use a 250 grit sandpaper and lightly sand the raised edges of the stars.

how-to-distress-wooden-star-4

Christmas Carol Graphics

Now, it’s time to break out your Cricut machine. I’ve used the Cricut Explore machines and the Cricut Maker and I LOVE them both. For this project, I used my Cricut Maker but, either one is fine.

Athena_shop_hero_no-copy-copy2

Learning how to cut iron on vinyl with the Cricut Maker via WhipperBerry

To begin, I created these designs to put on the chalk painted stars…Farmhouse Christmas Carol Ornaments from WhipperBerry

I love how they help to usher in the spirit of the season. They remind us of seasons past and they also help to remember the true meaning of the season… The birth of our Savior Jesus Christ.

You can download these Christmas Carol designs HERE

Then all you need to do is to upload the SVG files to the Cricut Design Space. You can check out this post on how to upload a design in the Cricut Design Space to learn how to do that.

Then you’ll cut your designs on your Cricut machine and then apply the vinyl to your stars. To learn how to apply vinyl, visit this post… How to Apply Vinyl Tutorial that I created.

It’s really not hard if you follow a few simple steps. It truly is one of my favorite ways to create for my home.

Pro Tip + Make sure you wipe down your stars with a damp cloth to remove any remaining paint dust. It will make applying the vinyl much easier.

Now your stars are ready to add to your tree!

Farmhouse-Star-Christmas-Tree-via-WhipperBerry-3

Farmhouse-Star-Christmas-Tree-via-WhipperBerry-9

I can’t wait to see what you guys create this Holiday Season! Make sure to tag me on your social media posts. You can follow me on Facebook, Instagram & Pinterest.

Peppermint Chocolate Ganache Dip Recipe

13 · Dec 16, 2016 · Leave a Comment

Ahhhh, Peppermint season… We LOVE it here at our house! What goes best with Peppermint? Chocolate of course! Here’s a fun new recipe for Peppermint Chocolate Ganache Dip perfect for Holiday parties.

Sinfully delightful Peppermint Chocolate Ganache Dip for your Holiday parties from WhipperBerry!

The minute the candy canes roll out, we’re hooked on all things peppermint. Peppermint hot chocolate, peppermint shakes, peppermint sugar cookies, peppermint ice cream… If it can handle peppermint, we’ll add it!

With it being the Holiday gathering season, I thought it would be fun to create a Peppermint Chocolate Ganache Dip perfect for all of those Holiday parties we’re truckin’ off to. If you’re like me at all you’re on the hunt to find the perfect goodie to bring to all of those Holiday parties every year. This one is sinfully delicious and will make all of those Peppermint lovers squeal with delight. Yep, I promise!

Think dipping your favorite cookie, pastry or even potato chip into a warm minty fudge delight. It’s a winner in my book!

It’s super easy to make thanks to our friends at International Delight!

Sinfully delightful Peppermint Chocolate Ganache Dip for your Holiday parties from WhipperBerry!

It’s similar to making fudge, but you serve it warm and as a dip rather than letting it set-up into fudge.

AND… it’s scrumptious! Here’s how you make it…

Peppermint Chocolate Ganache Dip Recipe

Sinfully delightful Peppermint Chocolate Ganache Dip for your Holiday parties from WhipperBerry!

 • The full printable recipe is below •

Sinfully delightful Peppermint Chocolate Ganache Dip for your Holiday parties from WhipperBerry!

You’ll start with melting your chocolate chips. Using a microwave save bowl, add 2 1/2 cups of good quality chocolate chips. For this recipe I use semi-sweet, but you can use your favorite type of chocolate. Place them in the microwave for 30 seconds and then remove and stir.

Sinfully delightful Peppermint Chocolate Ganache Dip for your Holiday parties from WhipperBerry!

They will just start to melt, stir them around and place back in the microwave.

With chocolate you want to be careful, you never want to cook it for more than 30 seconds at a time. Chocolate can burn or scorch quickly, so you want to make sure to cook it slowly. You can always do this over a double boiler as well.

Place back into the microwave for another 30 seconds.

Sinfully delightful Peppermint Chocolate Ganache Dip for your Holiday parties from WhipperBerry!

It’s starting to melt and become nice and smooth. If needed add it to the microwave for an additional 30 seconds. Remove and stir until nice and smooth.

Sinfully delightful Peppermint Chocolate Ganache Dip for your Holiday parties from WhipperBerry!

Here is where the fun begins. I want this peppermint chocolate dip to have a nice strong minty flavor so I add a 1/4 teaspoon of peppermint extract first.

Sinfully delightful Peppermint Chocolate Ganache Dip for your Holiday parties from WhipperBerry!

Then I add the International Delight Peppermint Mocha Creamer and sweetened condensed milk.

Sinfully delightful Peppermint Chocolate Ganache Dip for your Holiday parties from WhipperBerry!

whisk that really well and then added a nice pinch of salt. Salt always makes even sweet things taste so much better. It helps to balance the sweet and make it delicious!

Sinfully delightful Peppermint Chocolate Ganache Dip for your Holiday parties from WhipperBerry!

Whisk the salt in and you’re ready to go.  Add your dip to a nice serving dish and serve with your favorite treats.

Sinfully delightful Peppermint Chocolate Ganache Dip for your Holiday parties from WhipperBerry!

Sinfully delightful Peppermint Chocolate Ganache Dip for your Holiday parties from WhipperBerry!

Sinfully delightful Peppermint Chocolate Ganache Dip for your Holiday parties from WhipperBerry!

Ummm, Yum!!

Try dipping potato chips in the Peppermint Chocolate Ganache Dip… it’s crazy awesome with the salty & sweet element!

For more great recipe ideas follow International Delight on Facebook, Instagram, Twitter & Pinterest.

Print

Peppermint Chocolate Dip

Prep 3 mins

Cook 5 mins

Total 8 mins

Yield 20 people

With just a couple of ingredients turn your Holiday party table into the hit of the season!

Ingredients

  • 3 cups semi-sweet chocolate chips
  • 1/4 teaspoon peppermint extract
  • 1/2 cup International Delight Peppermint Mocha Creamer
  • 1/4 cup sweetened condensed milk
  • 1/8 teaspoon salt (roughly a large pinch)

Garnish with crushed peppermint and serve with simple cookies, rice crispy treats or potato chips.

Instructions

peppermint-chocolate-ganache-dip-from-whipperberry-2

You'll start with melting your chocolate chips. Using a microwave save bowl add 2 1/2 cups of good quality chocolate chips. For this recipe I use semi-sweet, but you can use your favorite type of chocolate. Place them in the microwave for 30 seconds and then remove and stir.

peppermint-chocolate-ganache-dip-from-whipperberry-3

They will just start to melt, stir them around and place back in the microwave.

With chocolate you want to be careful, you never want to cook it for more than 30 seconds at a time. Chocolate can burn or scorch quickly, so you want to make sure to cook it slowly. You can always do this over a double boiler as well.

Place back into the microwave for another 30 seconds.

peppermint-chocolate-ganache-dip-from-whipperberry-4

It's starting to melt and become nice and smooth. If needed add it to the microwave for an additional 30 seconds. Remove and stir until nice and smooth.

peppermint-chocolate-ganache-dip-from-whipperberry-5

Here is where the fun begins. I want this peppermint chocolate dip to have a nice strong minty flavor so I add a 1/4 teaspoon of peppermint extract first.

peppermint-chocolate-ganache-dip-from-whipperberry-6

Then I add the International Delight Peppermint Mocha Creamer and sweetened condensed milk.

peppermint-chocolate-ganache-dip-from-whipperberry-7

I whisked that really well and then added a nice pinch of salt. Salt always makes even sweet things taste so much better. It helps to balance the sweet and make it so much better!

peppermint-chocolate-ganache-dip-from-whipperberry-10

Whisk the salt in and you're ready to go.  Add your dip to a nice serving dish and serve with your favorite treats.

peppermint-chocolate-ganache-dip-from-whipperberry-13

Notes

If your dip is too thick, add a little more of the creamer a little bit at a time until you get your desired consistency. If it's too thin add a few more chocolate chips.

Courses Dessert, Appetizer

This is a sponsored conversation written by me on behalf of International Delight. The opinions and text are all mine.

  • « Go to Previous Page
  • Page 1
  • Interim pages omitted …
  • Page 3
  • Page 4
  • Page 5
  • Page 6
  • Page 7
  • Interim pages omitted …
  • Page 14
  • Go to Next Page »

Primary Sidebar

Heather from Whipperberry
Hello... my name is Heather and I'm the creator of WhipperBerry a creative lifestyle blog packed full of great recipes and creative ideas for your home and family. I find I am happiest when I'm living a creative life and I love to share what I've been up to along the way... Come explore, my hope is that you'll leave inspired!

Footer

  • Privacy Policy
  • Crafts
  • Food
  • Gifts
  • Holidays
  • Home
  • Mom Life
  • Recipes
  • Travel

Copyright © 2026 · Seasoned Pro