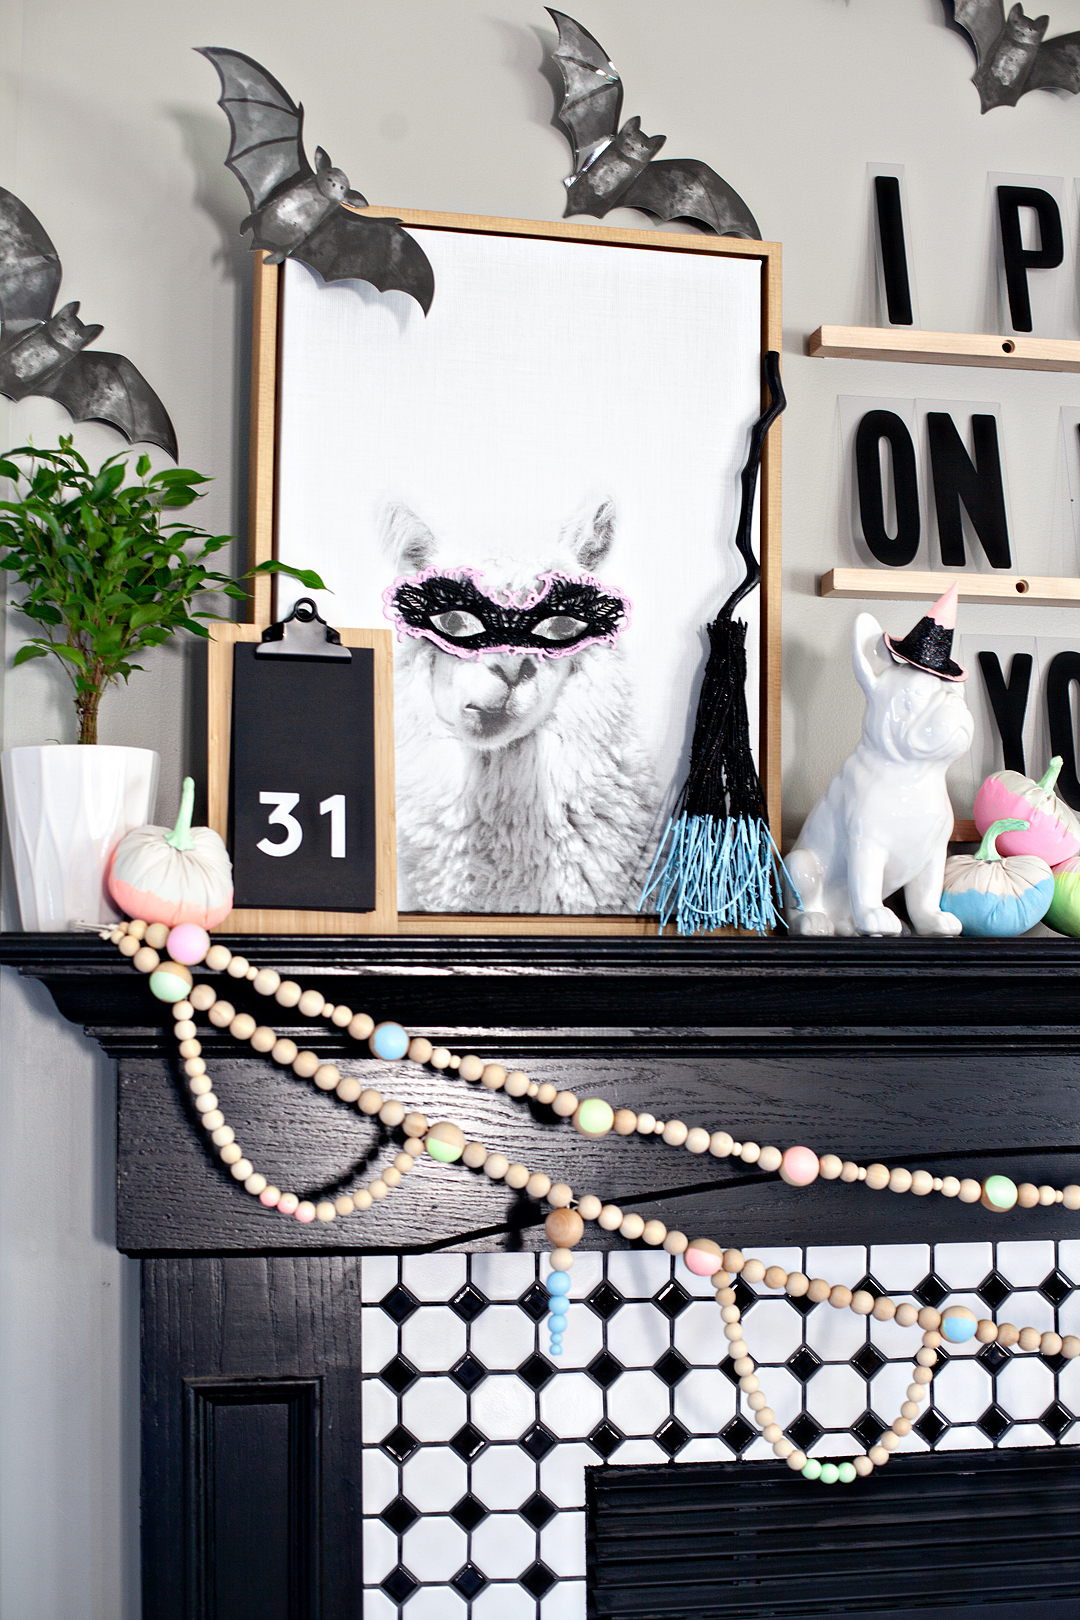
When it comes to my typical style choices I typically stick with classic and timeless. However, I also have a real love of fun and whimsey that sneaks out every once in a while. This year I’ve created a whimsical mantel using all kinds of fun finds from DecoArt, Target & Refined Design for my whimsical NEON Halloween mantel!
• This post brought to you by DecoArt •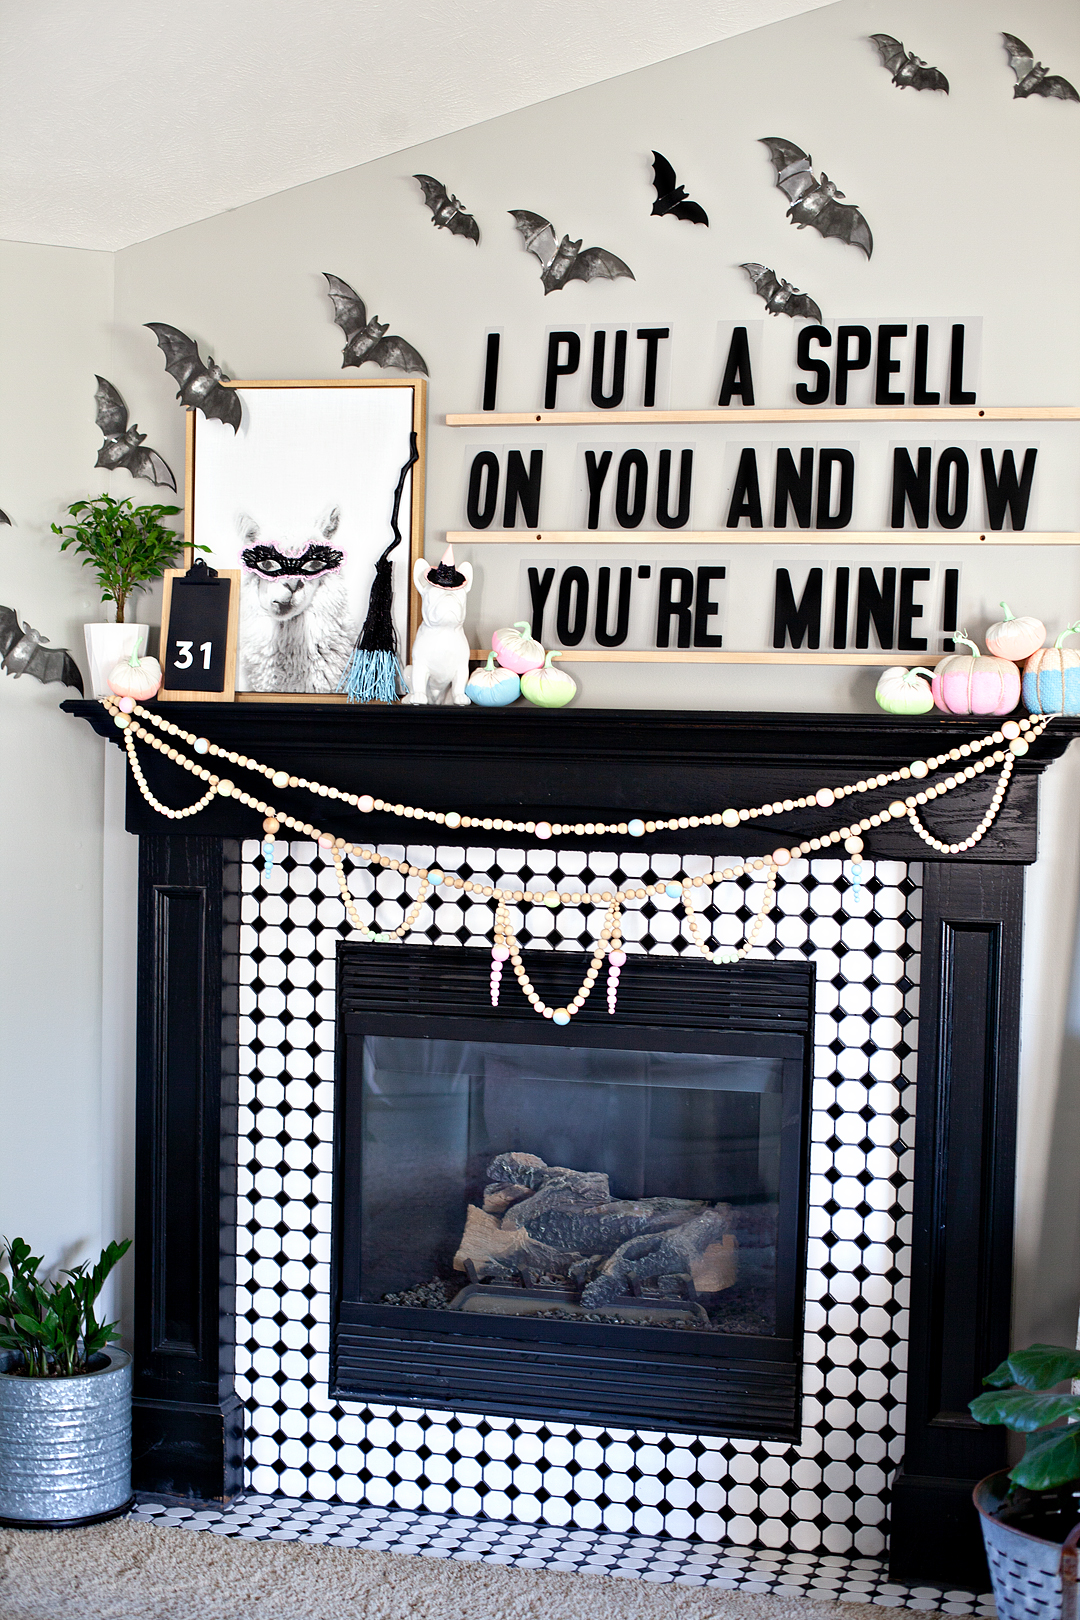
You may not be able to tell by looking at me but, I tend like walking the line sometimes when it comes to following the rules. Nothing that would involve a felony conviction or anything, more like… When my daughter was born, I felt like she looked better in blue. She had beautiful blueberry eyes and I loved highlighting that. To this day she still is weirded out by the fact that I dressed her in blue instead of pink.
The same holds true when I decorate for holidays, sometimes I don’t really want to stick with the normally prescribed color palette. For example, we don’t really have to decorate with black and orange for Halloween, we can decorate in NEON and create a really fun, whimsical Halloween display.
Neon Halloween Mantel Supplies
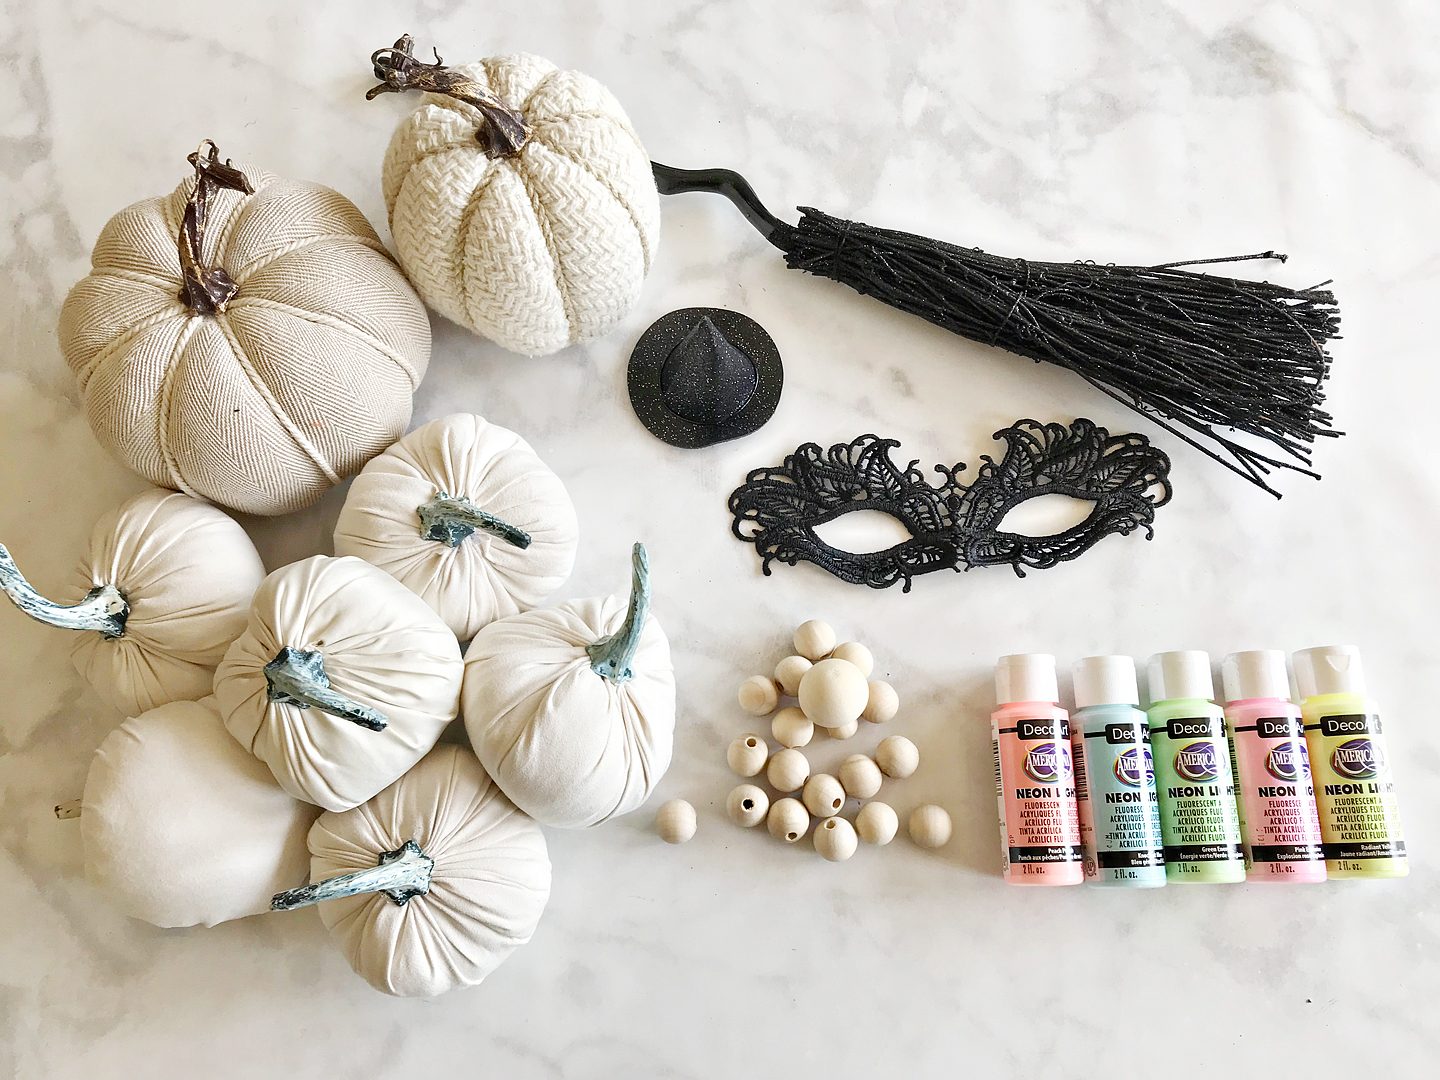
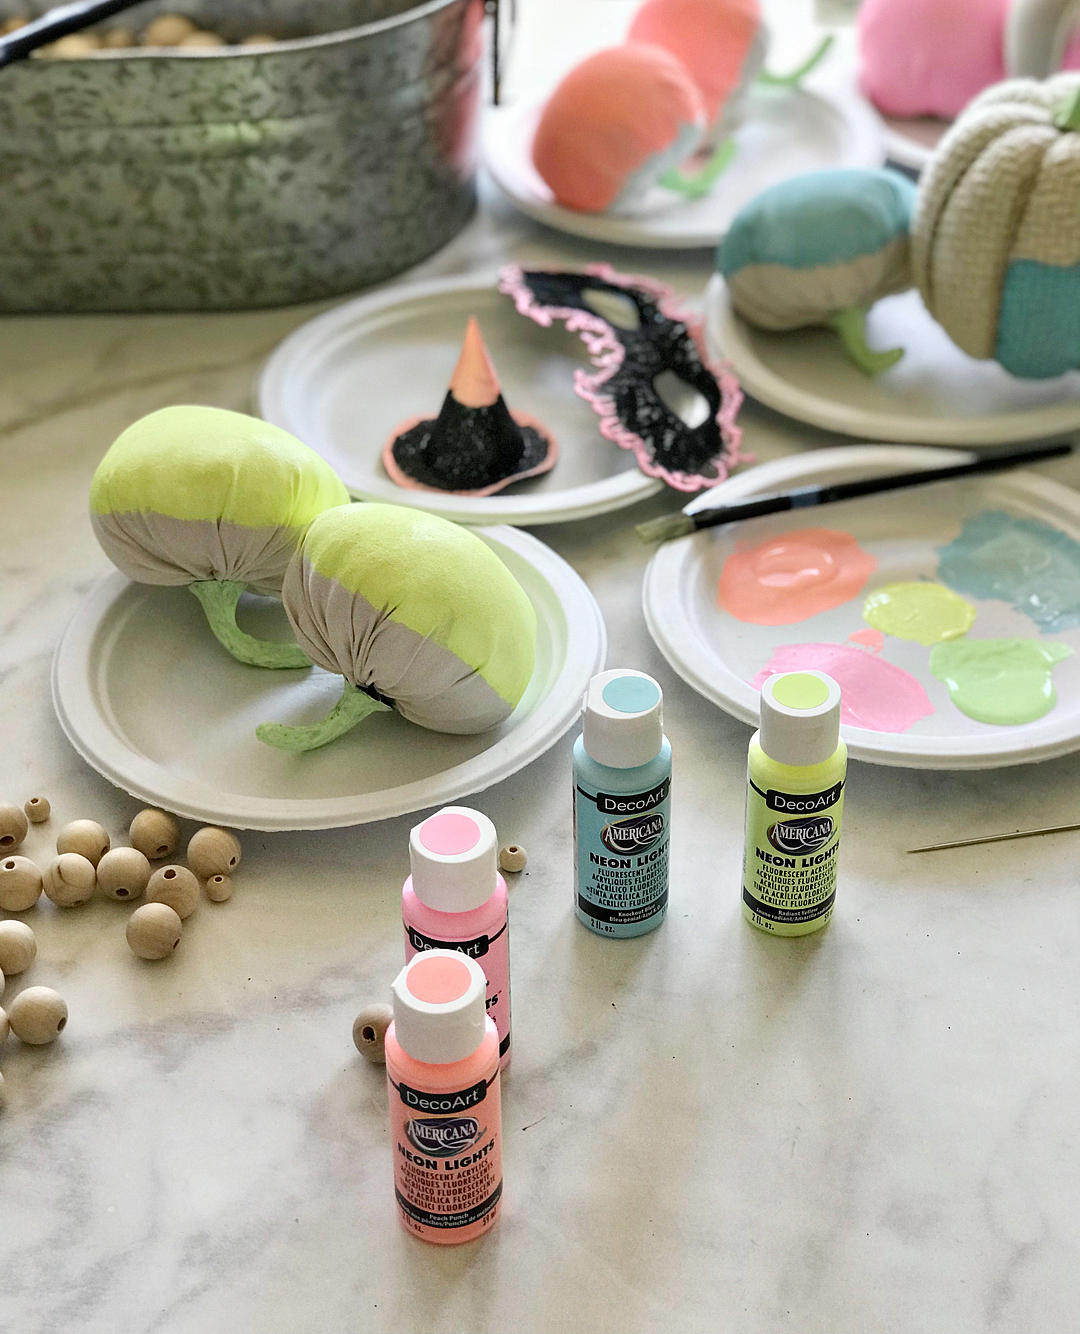
With a mission in mind, I grabbed my DecoArt Americana Neon Light paints and headed to the Target Bullseye’s Playground (the former dollar spot) and grabbed some inexpensive Halloween trinkets to add to my mantel and got to work. Here’s my supply list…
-
- Americana Neon Lights 2oz – Pink Explosion
- Americana Neon Lights 2oz – Peach Punch
- Americana Neon Lights 2oz – Green Energy
- Americana Neon Lights 2oz – Knockout Blue
- Americana Neon Lights 2oz – Radiant Yellow
- foam paint brushes
- small witches broom
- various fabric pumpkins
- tiny witches hat (it was a headband originally)
- mascarade mask
- wood beads in various sizes
- cotton bakers twine
- an upholstery needle
- a set of Letters and Ledges
- scissors
- command stips
Instructions
With this project, I wanted to add touches of color to typical Halloween objects. Kind of like color blocking in some cases without the hard lines. I wanted it to have a free spirit air about the mantle. Remember, we are going for whimsical.
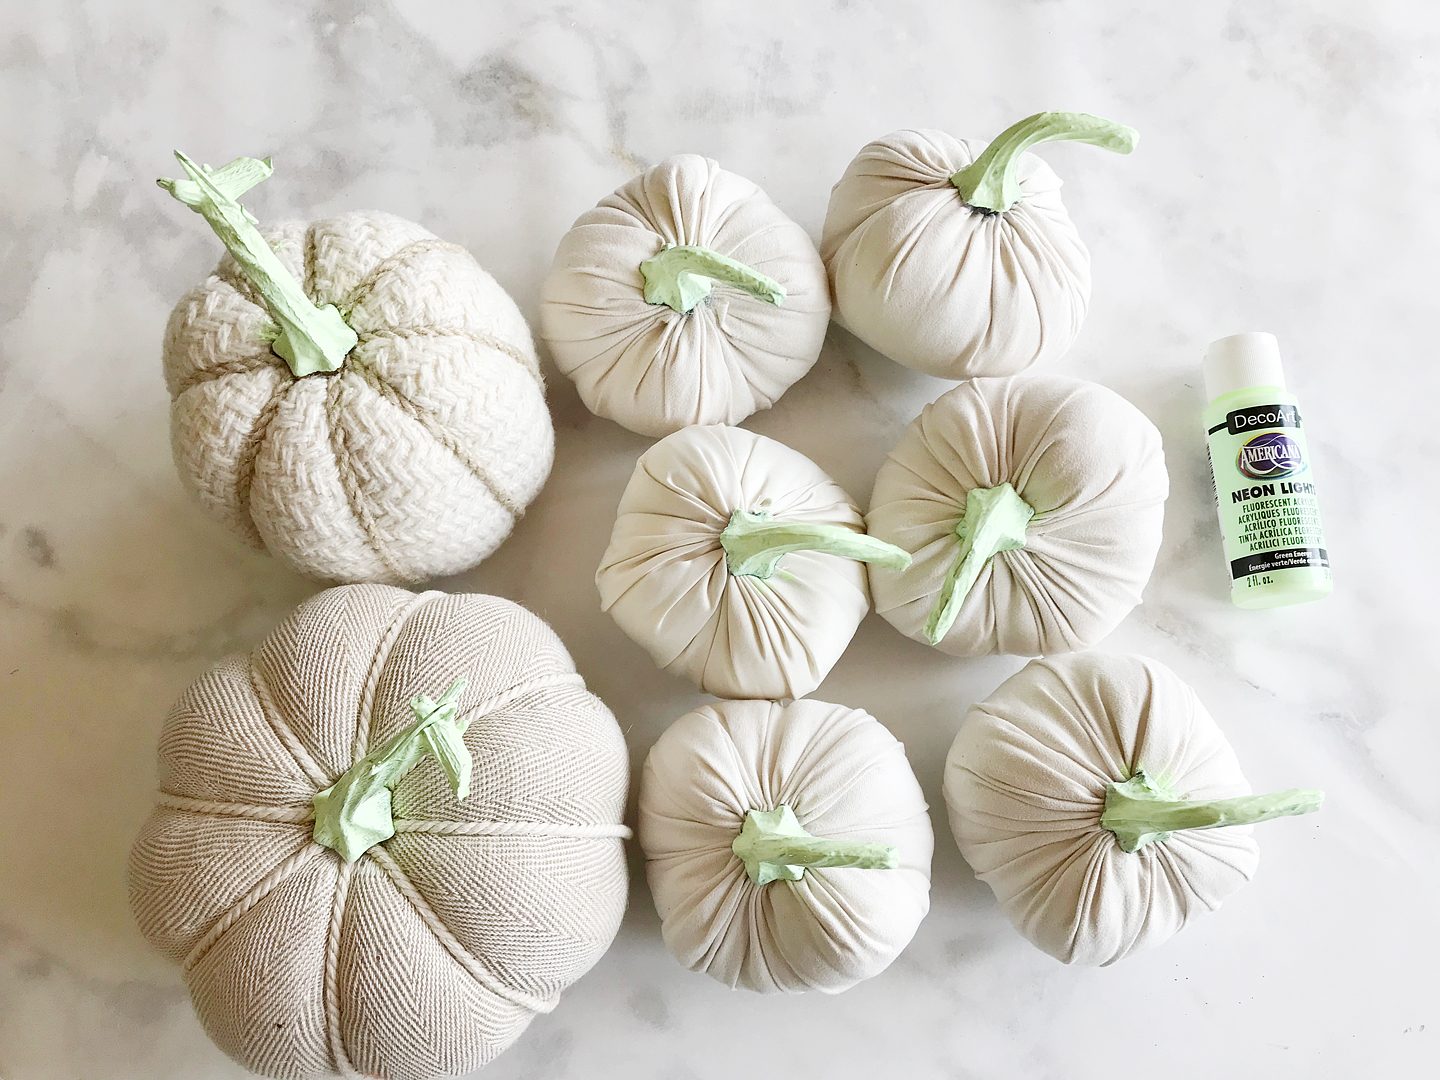
I started by painting the stems of the pumpkins green.
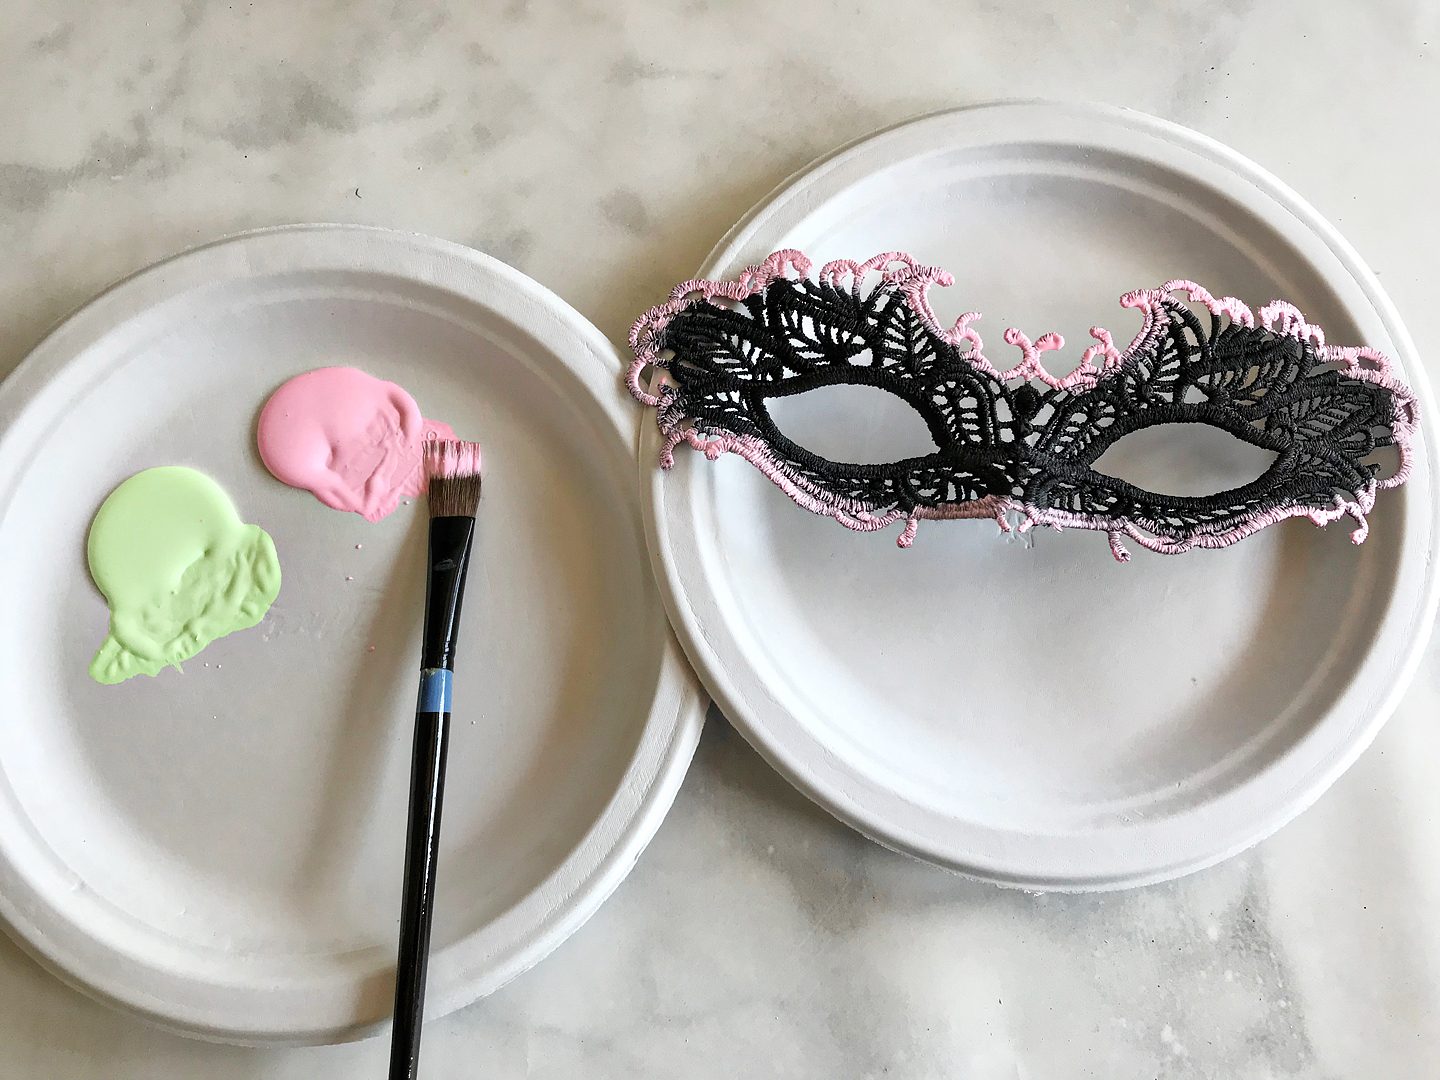
While those were drying, I painted the edge of the masquerade mask with the neon pink.
I have a quirky llama picture that I found at Target that sits on my mantle. Her name is Poppy and I adore her!
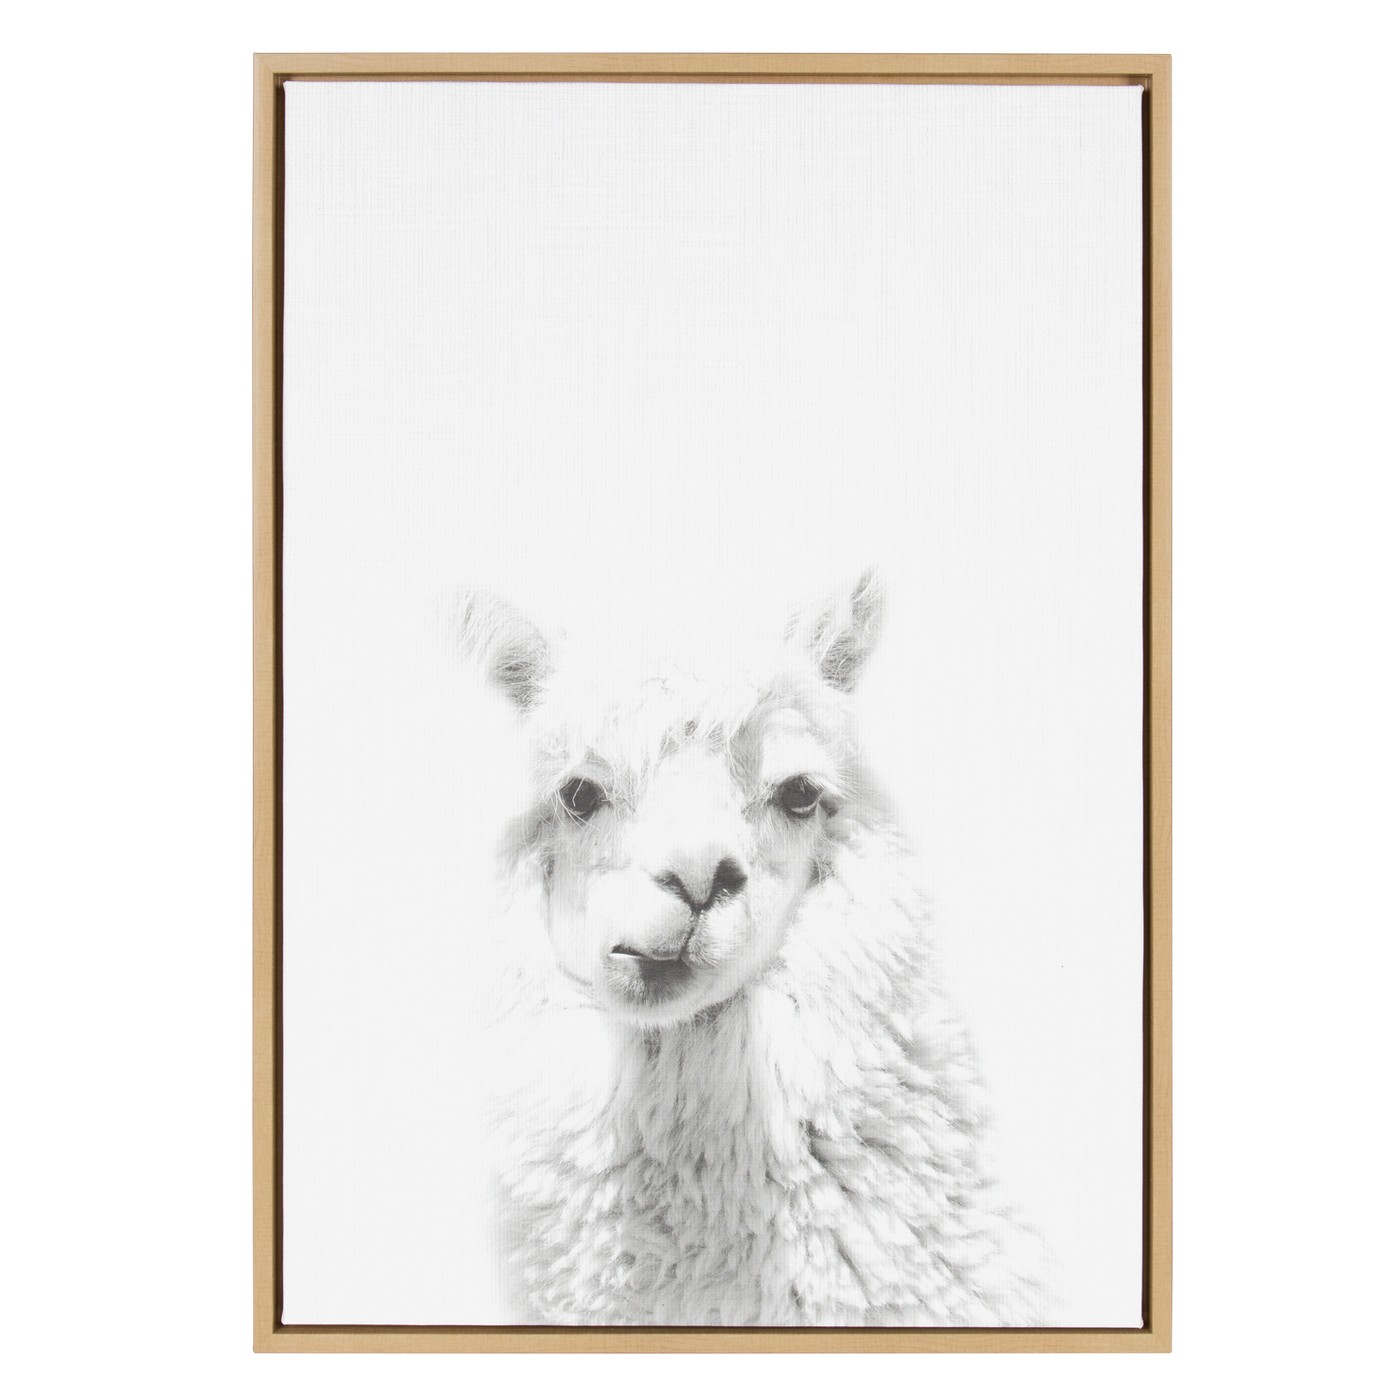
I thought it would be fun to get her in on the action, so Poppy will be wearing the mask for Halloween.
Then I added the color block on the bottom of the pumpkins, the broom & the little witches hat.
While I was waiting for them to dry, I starting to string my wood beads to create a garland. I was inspired by this tutorial from Design Love Fest…
You have to vist Design Love Fest to learn how to make fun bead garlands like this. Click on the link above.
I decided that since I didn’t want to paint the entire bead, it would be easier to string the garlands, hang them on the fireplace and then paint them.
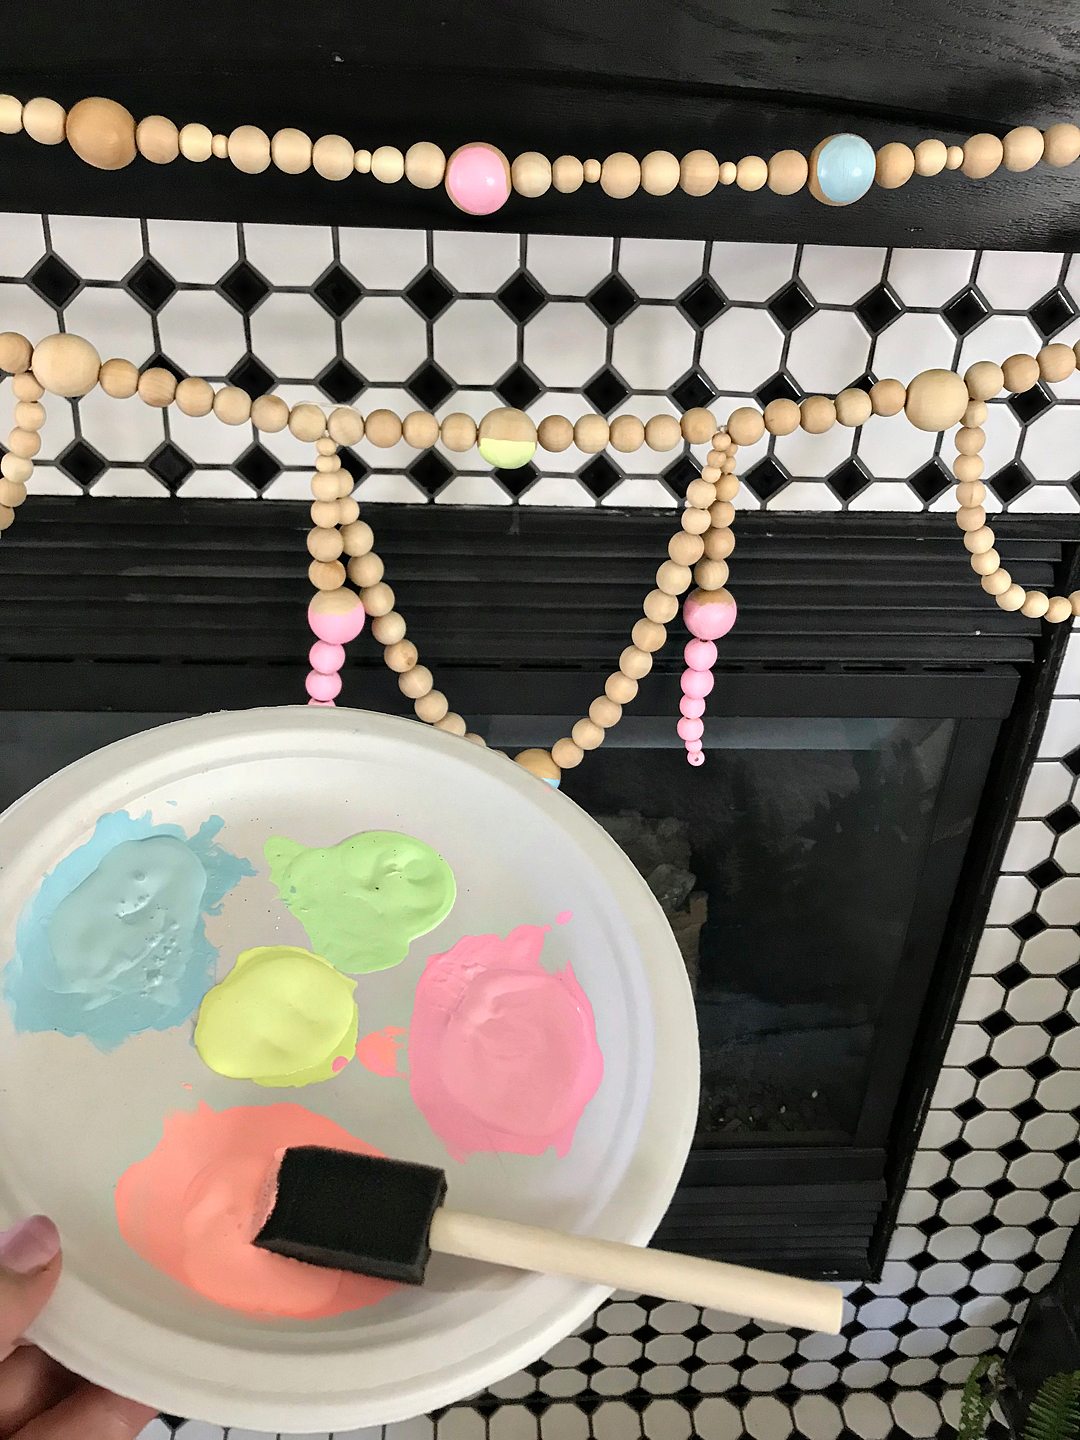
Worked like a charm and saved a ton of time!
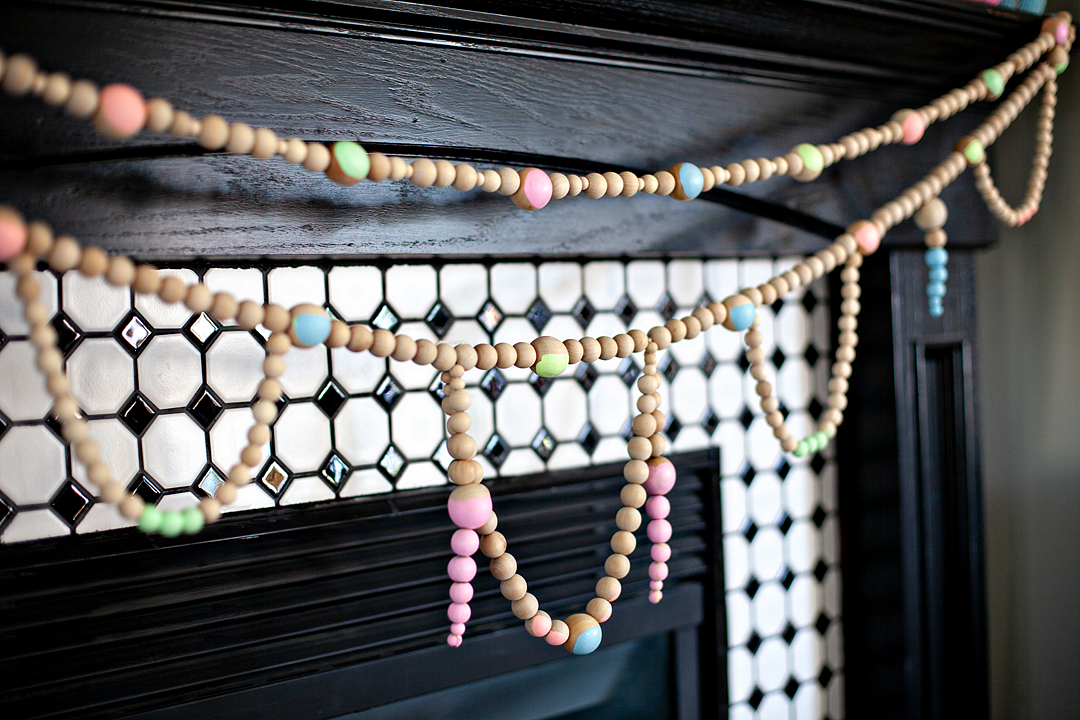
Once all of the paint was dry, it was time to dress the mantel.
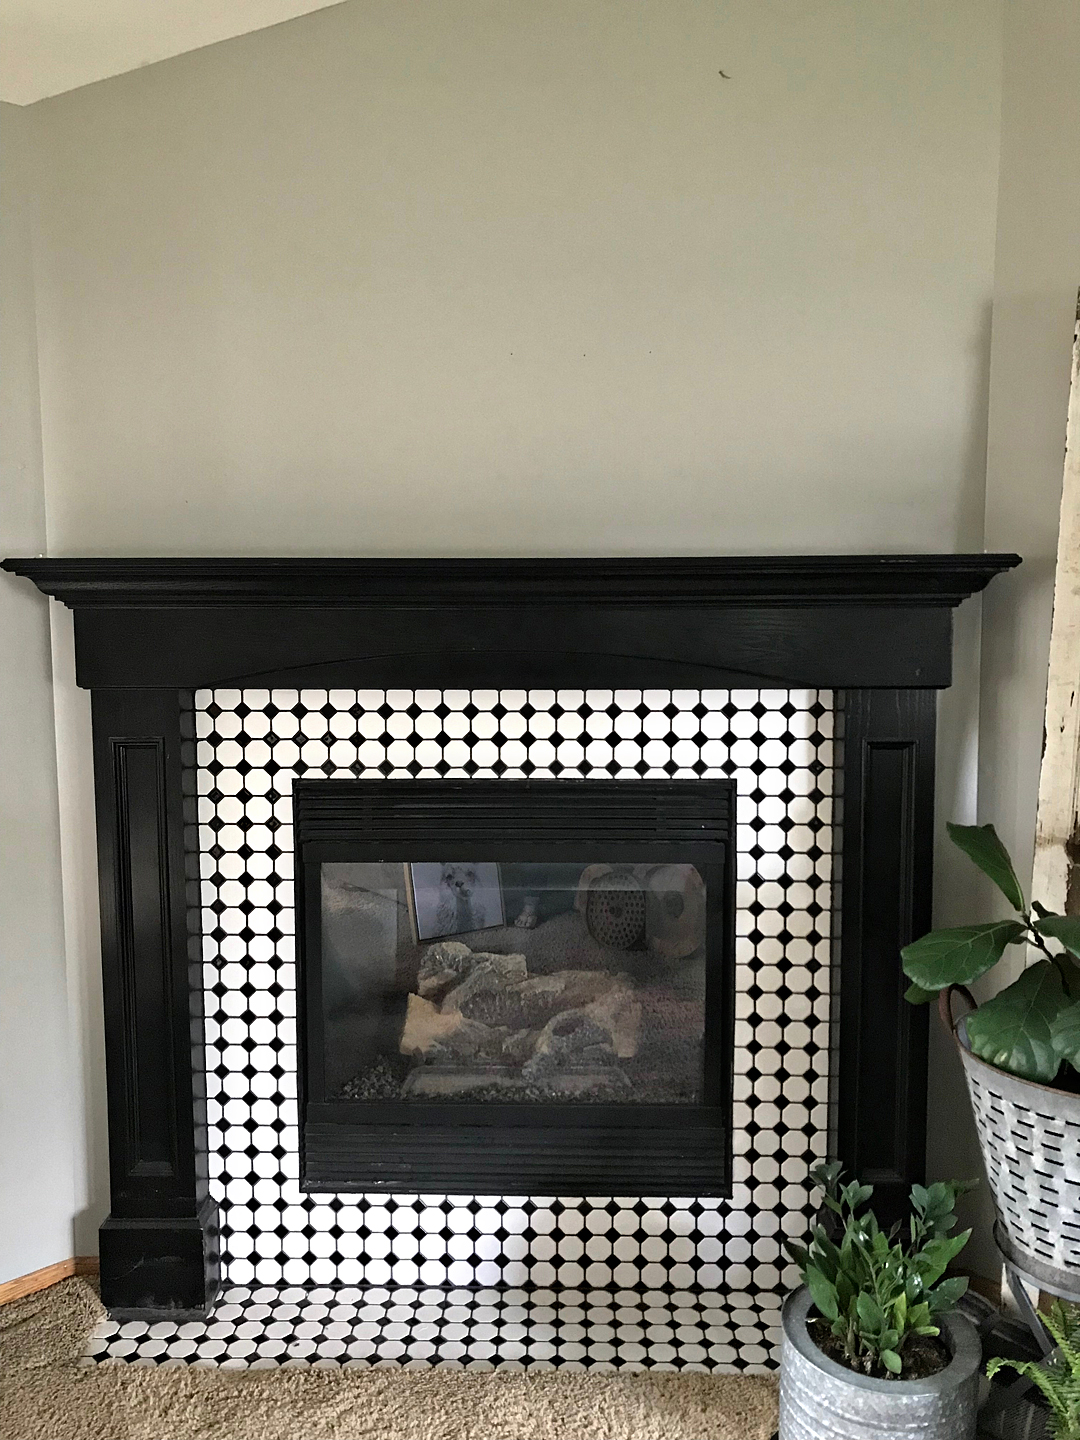
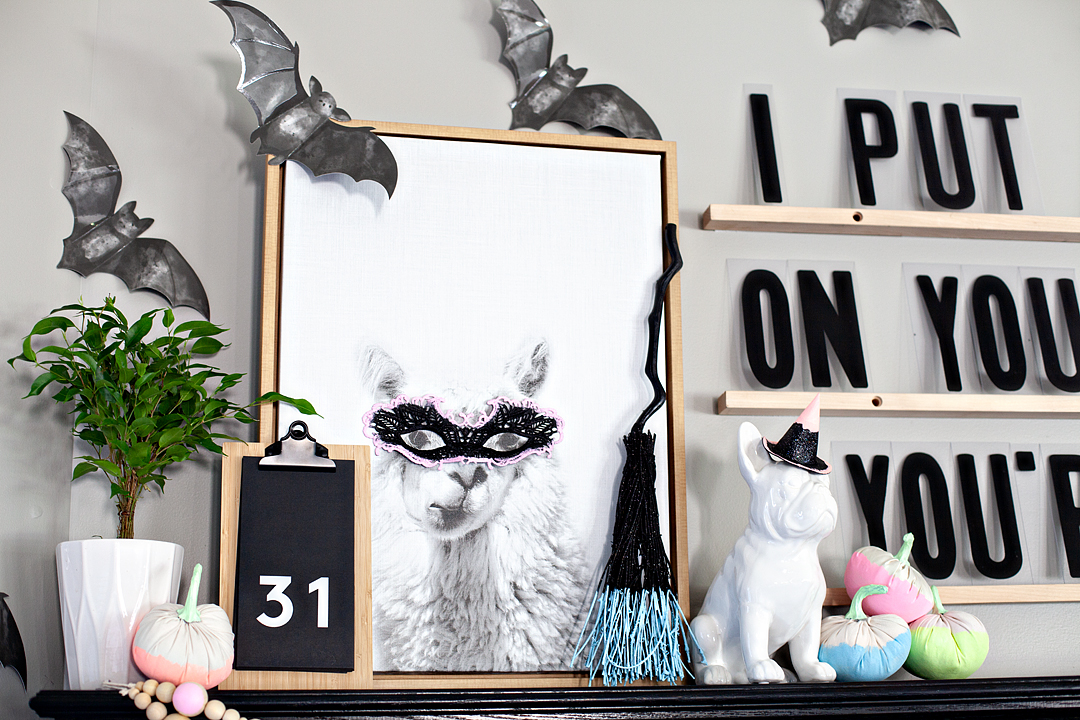
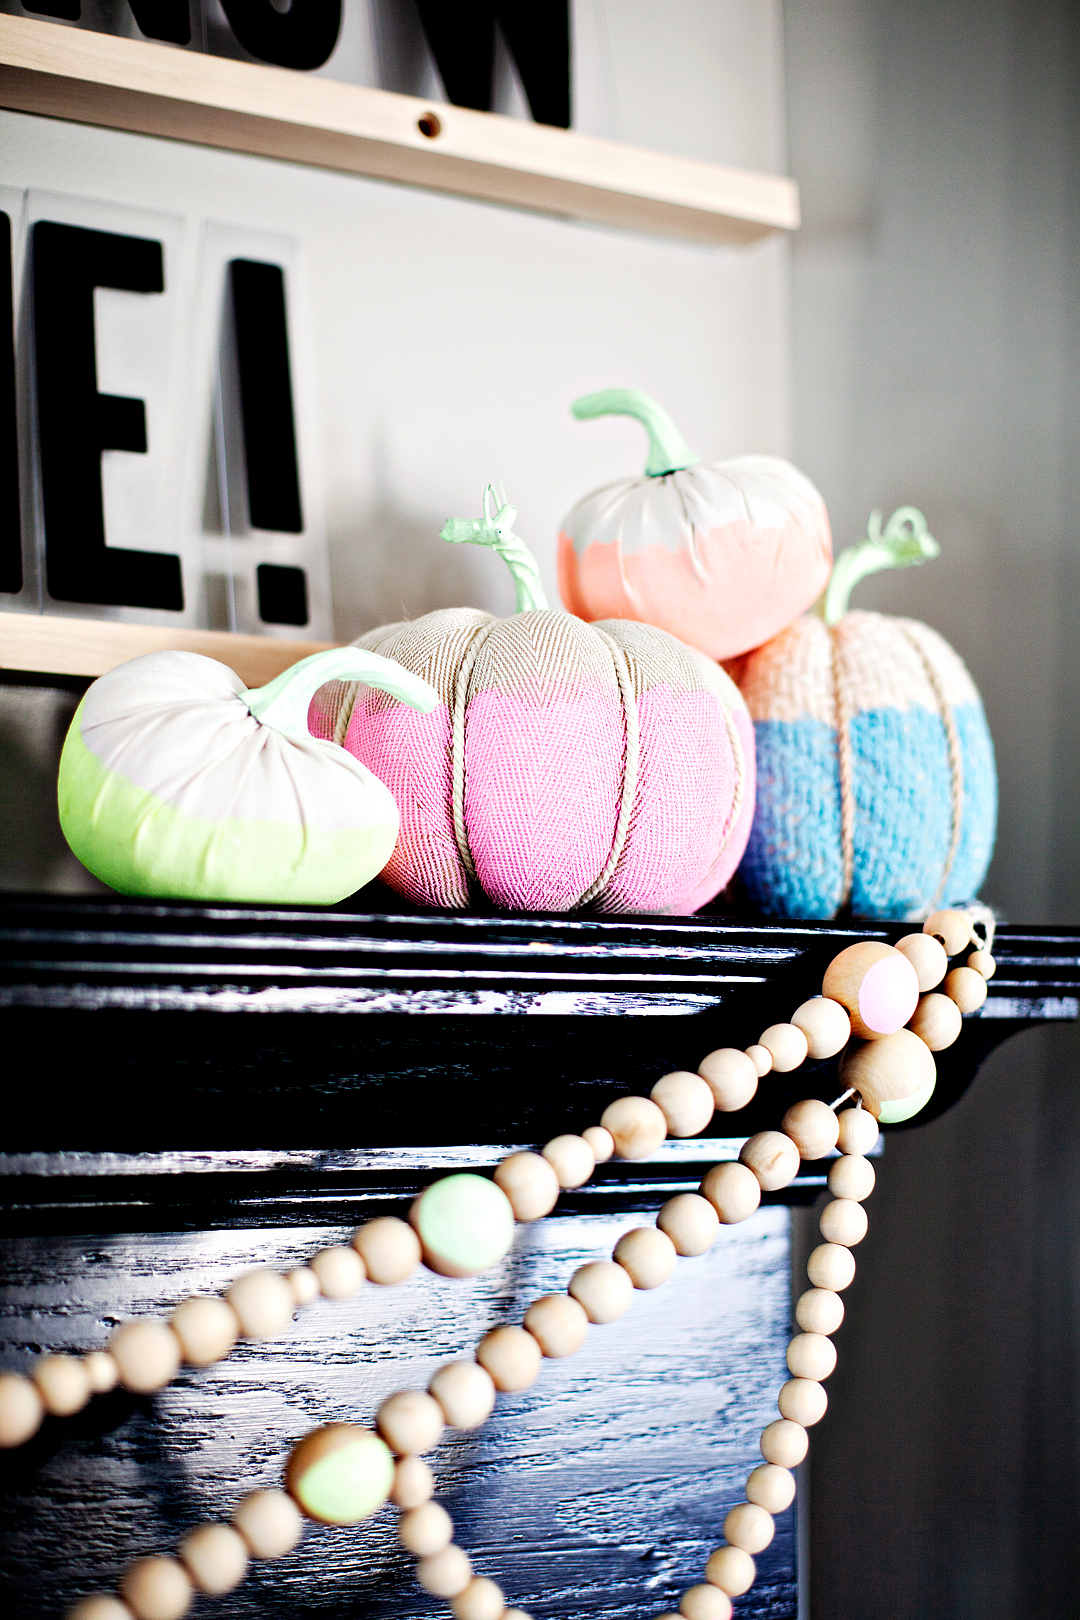
With the addition of the Ledges & Letters and the bats the mantel was complete!

Now, every few days we can change-up the Halloween quote and tickle our funny bone all over again!
Disclaimer • This is a paid post with my friends at DecoArt. I am a member of the DecoArt Core Creator program and do receive payment and product to help facilitate these creative posts. However, keep in mind… I will NEVER share something I don’t truly love and use in my everyday life.
5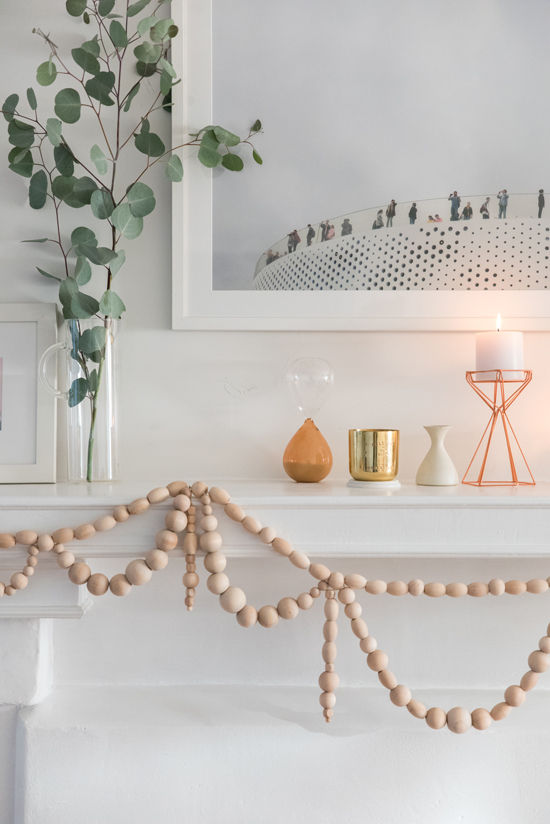
Love it. You are amazing!!