Soooo when I was at Haven I met the sweetest lady that I just fell in love with and her name is Kari and she has the most beautiful blog called Thistlewood Farm. She is one of those sweet southern belle ladies with a personality the size of Georgia and I ADORE her!! When I had a chance to check out her amazing blog after we met I was blown away with her work and HAD to share her talents with you today as she teaches us how to make sail cloth shower curtains. So, take it away Kari…
Hello Whipperberry readers. I'm Kari from Thistlewood Farm and I am so excited to be here with you today, sharing my numbered sailcloth shower curtain project.
Sailcloth Shower Curtain Tutorial
Supplies:
Red Cotton fabric from Wal-mart (the thicker the better)
Scissors
White Shower Curtain
Sharpie
Pins
Step 1:
Print out extremely large numbers on your computer in Ariel Bold.
These were printed at 700 x.
Cut out numbers and photograph them on grapevine.
Because printed numbers photographed on the table just aren't the same.
And because you have been pinning photo props on pinterest in your quest to be a highly sought after grapevine numbers photographer.
Step 2:
Take your 700x Bold Ariel Font numbers and trace them with a sharpie.
Backwards.
Because when you traced them frontwards….the sharpie showed.
And even though you tried to fray the sharpie off the edges.
You still knew it was there.
And the little bits of sharpie that still showed even after you tried to fray the edges took on the proportions of the Empire State Building lit up red white and blue for the fourth of July.
Trust me.
Backwards is so much more sharpieless.
Step 3:
Cut out the numbers.
And then pin them onto the white shower curtain.
I pinned them diagonally.
To create the impression that I had just ripped the sail off a sailboat.
And hung it up as a shower curtain in the bathroom.
And so it would look like this without spending the $100.
Step 4:
Pin the numbers onto the shower curtain.
Stitch a one-inch border in contrasting thread.
Fray the edges.
And hang shower curtain and liner on nickel-plated hooks.
Total cost if you would have bought it online: $100.00.
Total cost for project: $16.93.
Simple.
Easy.
For less than the cost of a movie, popcorn and a box of junior mints.
PS For more project inspiration or just a glass of sweet tea….stop by for a visit at Thistlewood Farm!
PPS Thank you so much for having me over today, Heather. You are such a rock star and so full of creativity and inspiration!
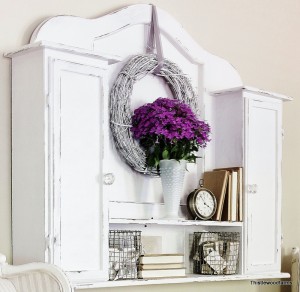
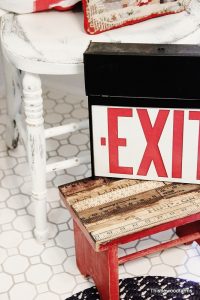
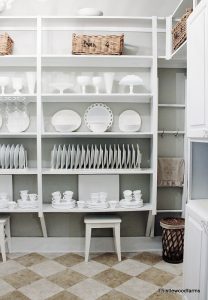
Here is some more of Kari's work from Thistlewood Farm…
I want to move into her house now!!! Thank Kari for sharing your amazing talent's with us today.
2



I ADORE Karianne! Every.Single.Thing.She.Makes is BEAUTIFUL! You picked the right gal for a feature!!
xo Becca
KariAnne is the best….she is talented, creative, and waaay too funny…she cracks me up every time I read her posts (that explains my wrinkles!)….I adore her projects…I do not know how she does it all…KariAnne is a beautiful person inside and out…can you tell I am a fan??….Great post..!!..
What a great idea and on the cheap just my style. Thanks for bring her over and thanks Kari for sharing your gifty self with us. God bless you and yours.