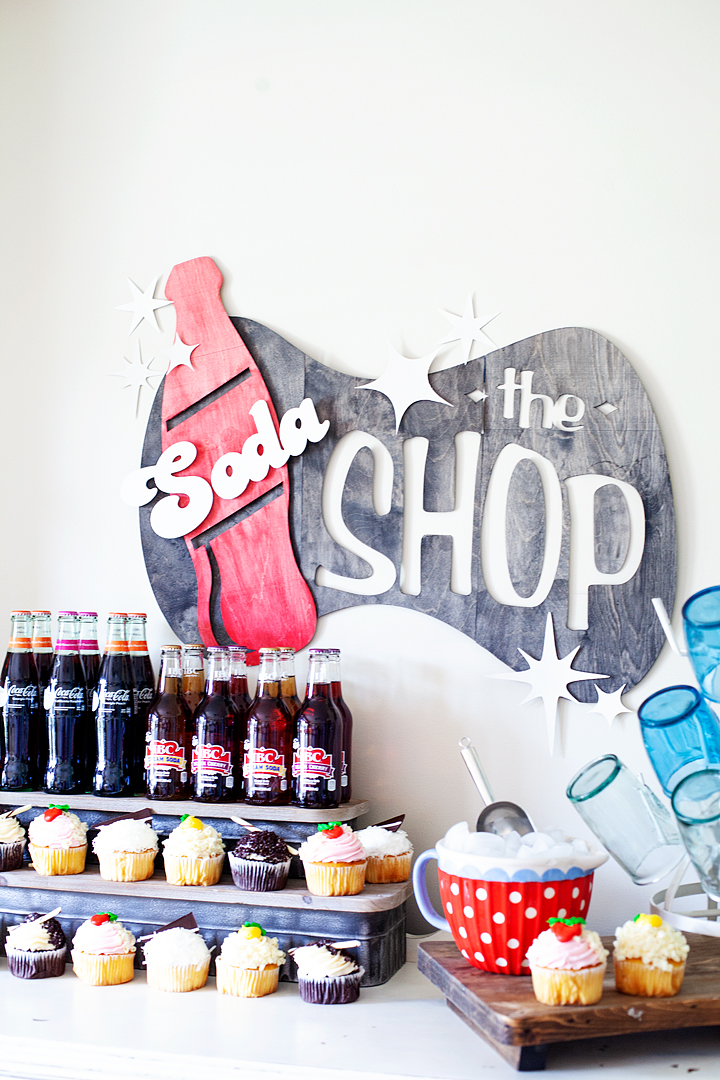
This my friends is one of the most exciting days of my crafting life! I have cut WOOD with my Cricut Maker using their new Cricut Knife Blade. All be it, thin wood but, it’s wood! My daughter Hannah graduated from High School and we made a simple soda bar for one of the elements of her Grad Party. Of course, our soda bar needed a soda shop sign and I thought it would be fun to create a retro style sign out of wood. Here’s how it turned out PLUS, the best 10 tips for working with the Cricut Knife Blade.
+ This post brought to you by the folks at Cricut +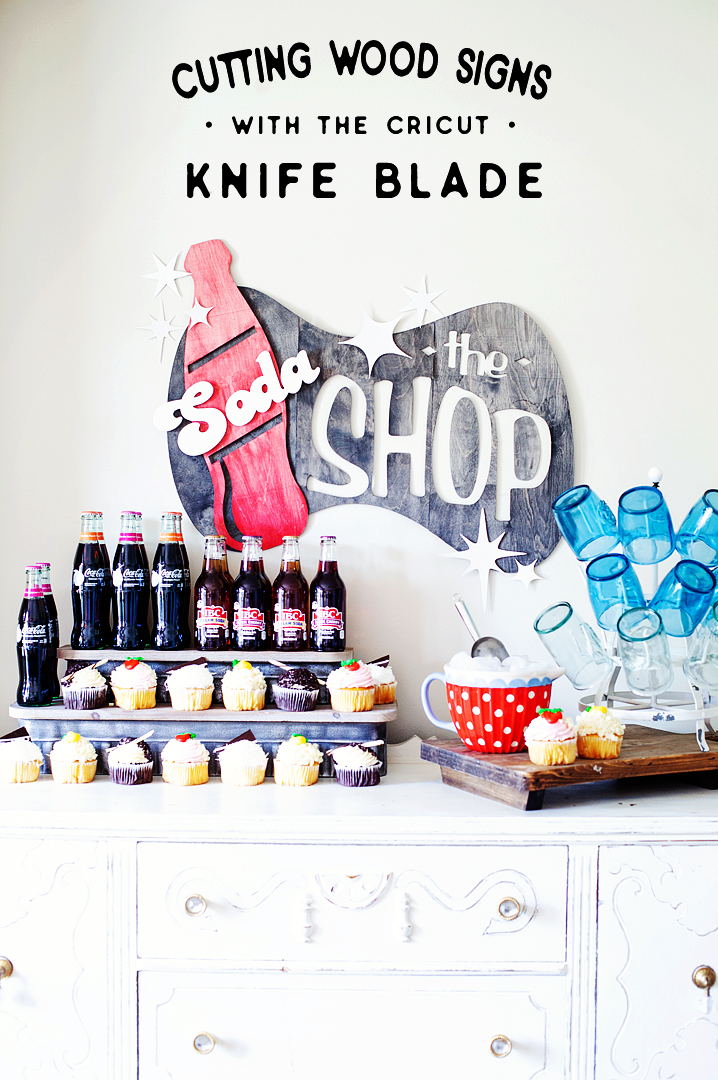
When Hannah and I started working on her grad party one of the things she really wanted to have was a mini “soda shop.

Nothing too crazy or too expensive but, cute. I thought it would be fun to test out the Cricut Knife Blade and make a large scale sign out of Birchwood. Now Birch isn’t one of the officially approved woods that can be used with the Cricut Maker. However, I thought I would give it a go and see how it turned out. It turned out beautiful! It took a little time so, I wouldn’t take on a project of this nature if you were in a hurry. Here is a quick little video along with my best 10 tips for working with the Cricut Knife Blade…
The Soda Shop Sign Design
The inspiration for the design was classic retro style soda shop signs. Hannah is a bit of a retro type girl herself so I thought this was fitting. I found a retro looking soda bottle design in Cricut Design Space and thought it would be perfect to use as the base for my project.
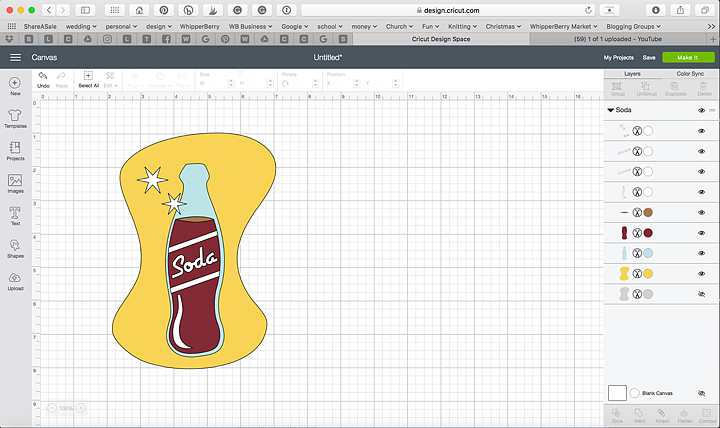
I used some of the elements of this design and then made a few tweaks here and there and this is what I eventually came up with…
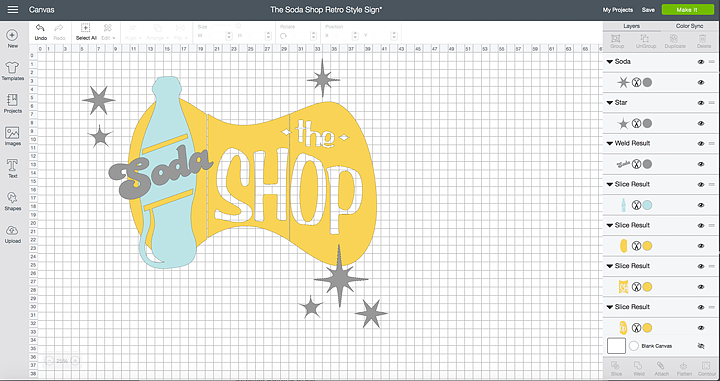
That’s what’s so cool about Cricut Design Space, you can play around with almost anything and make it your own. Do feel like you are stuck with whatever they have. Be creative and learn how to use the tools that Cricut provides for you to make your own style.
For this sign, I wanted it to be a rather large scale and knowing that with my Cricut Maker, I’m limited to 12 x24 inches I did a little creative troubleshooting. I used the slice tool to slice up my sign so that I could make it as big as I wanted it to be.
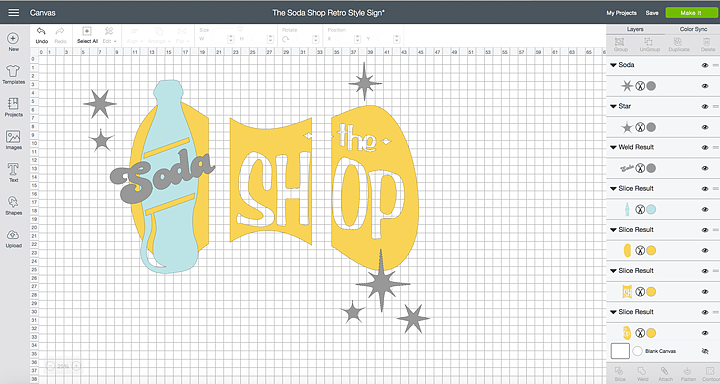
I sized the sign to the desired size and then broke it down into thirds by creatively using the square tool along with the Slice Tool. With that, each section of the yellow part of the sign would fit on a 12 x 24 cutting mat and would allow for a much larger sign. Here is how I did that.
How to Create Sections Using the Slice Tool in Cricut Design Space
Cutting the Wood Sign on the Cricut Maker
Like I alluded to in the tips video, working with the knife blade takes more time and patience. However, it is soooo fun to work with (if you know how to use it right) so, don’t let that discourage you from using it. It is WELL WORTH IT!
I did have some frustration when making my sign at times because it wasn’t cutting through my wood at the beginning. After a little grumbling, I figured out that you really do need to calibrate your machine EACH TIME you start a cut with the knife blade. I cut the first section with the basic settings for Basswood and then had to hit the continue cut several more times to get it fully through the Birchwood. You just check each time the Maker finishes a pass (DO NOT REMOVE THE MAT FROM THE MAKER), lift up on the wood to see if it has completely cut through the wood. If it hasn’t, press the cut button and it will take another pass at the design, each time adding more pressure to go deeper through your material. Therefore, you need to keep an eye on things so that you don’t accidentally cut through your mat.
Make sure you watch my 10 tips video above for the rest of my tips for working with the knife blade. They’re pretty handy! You may also want to visit the Cricut blog to learn even more great tips for working with the new Cricut Knife Blade.
Painting and Hanging The Soda Shop Sign
Once the sign was cut, it was time to paint it and get it all dolled up for the party. I wanted to make sure that the wood grain could still be seen through the paint so, I created a wash with some DecoArt Americana Acrylics. All you have to do is add a little water to the paint to create a color wash. You may want to have a rag on hand to wipe off the color wash, almost like you are staining the wood instead of painting it. With this technique, the sign will dry pretty fast and be ready to hang soon after painting.
Hanging the Sign
I wanted the sign to have a bit of a 3D effect and not lay flat on the wall. Typically I use Command Strips but they get pretty pricey so, I opted for some removable mounting putty from 3M to mount the sign on the wall. I could use the putty to create the 3D effects by using more putty to build up the layers. It worked like a charm!
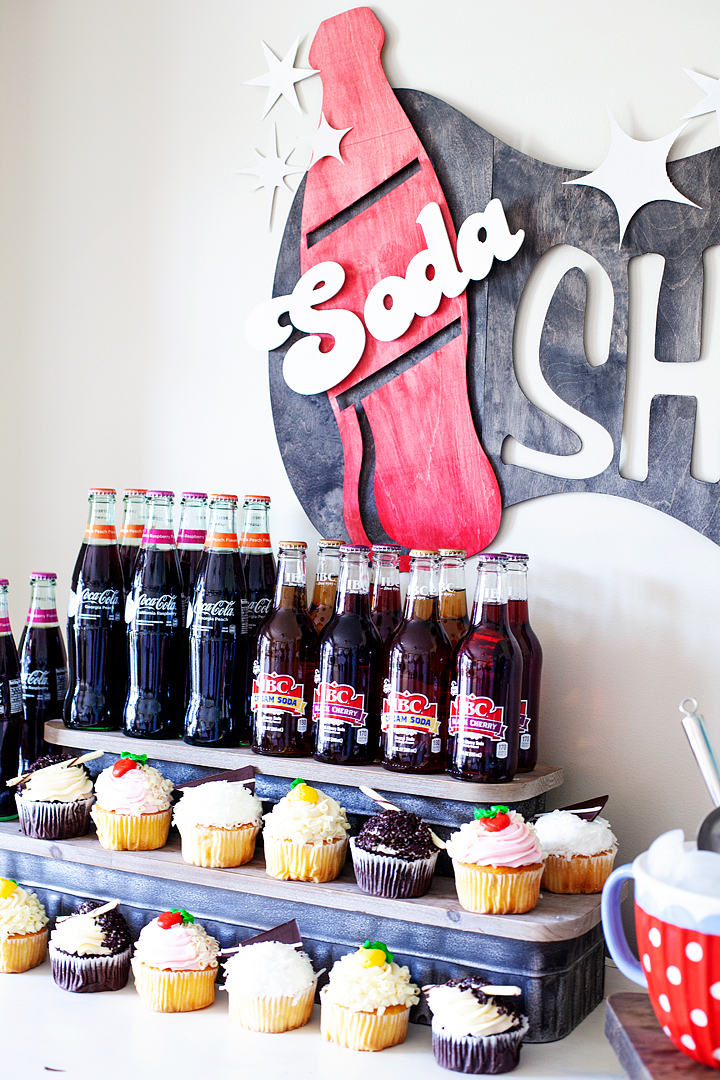
One word of advice… If you have small little pieces of a wood sign, like the center of an “O” for example. Use some painters tape to tape them to the back of the sign so that you don’t lose them in transit. Becuase, that would be a crying shame!
The party turned out great. We had a ball celebrating Hannah and all of her accomplishments. Mom brag time, she graduated a year early! Yea, high school in 3 years! Nice job Hannah.
I’m holding onto the sign to use for her sister Haley’s wedding coming up in September. It just so happens that she is going to have a soda bar as well! Stay tuned… I’m going to have all kinds of Cricut projects coming up this summer for the wedding. You won’t want to miss out!
What do you want to make with a Cricut Maker and the new Cricut knife blade?
SaveSave
This is a sponsored conversation written by me on behalf of Cricut. The opinions and text are all mine.
39
Fantastic tutorial and super fun sign.
Omg that is so bitchen!!! My daughters 6th bday this weekend, i gotta get to work on a sign lol. Thank you for the inspiration
Wow! Great work! I’ve been searching for Cricut Makers who actually puts the knife blade to use. I don’t own a Cricut but I am interested in the Maker b/c of the knife blade. I’m curious about 3D wood work 🙂 I would love to see you do more large scale wood work! Outstanding work.