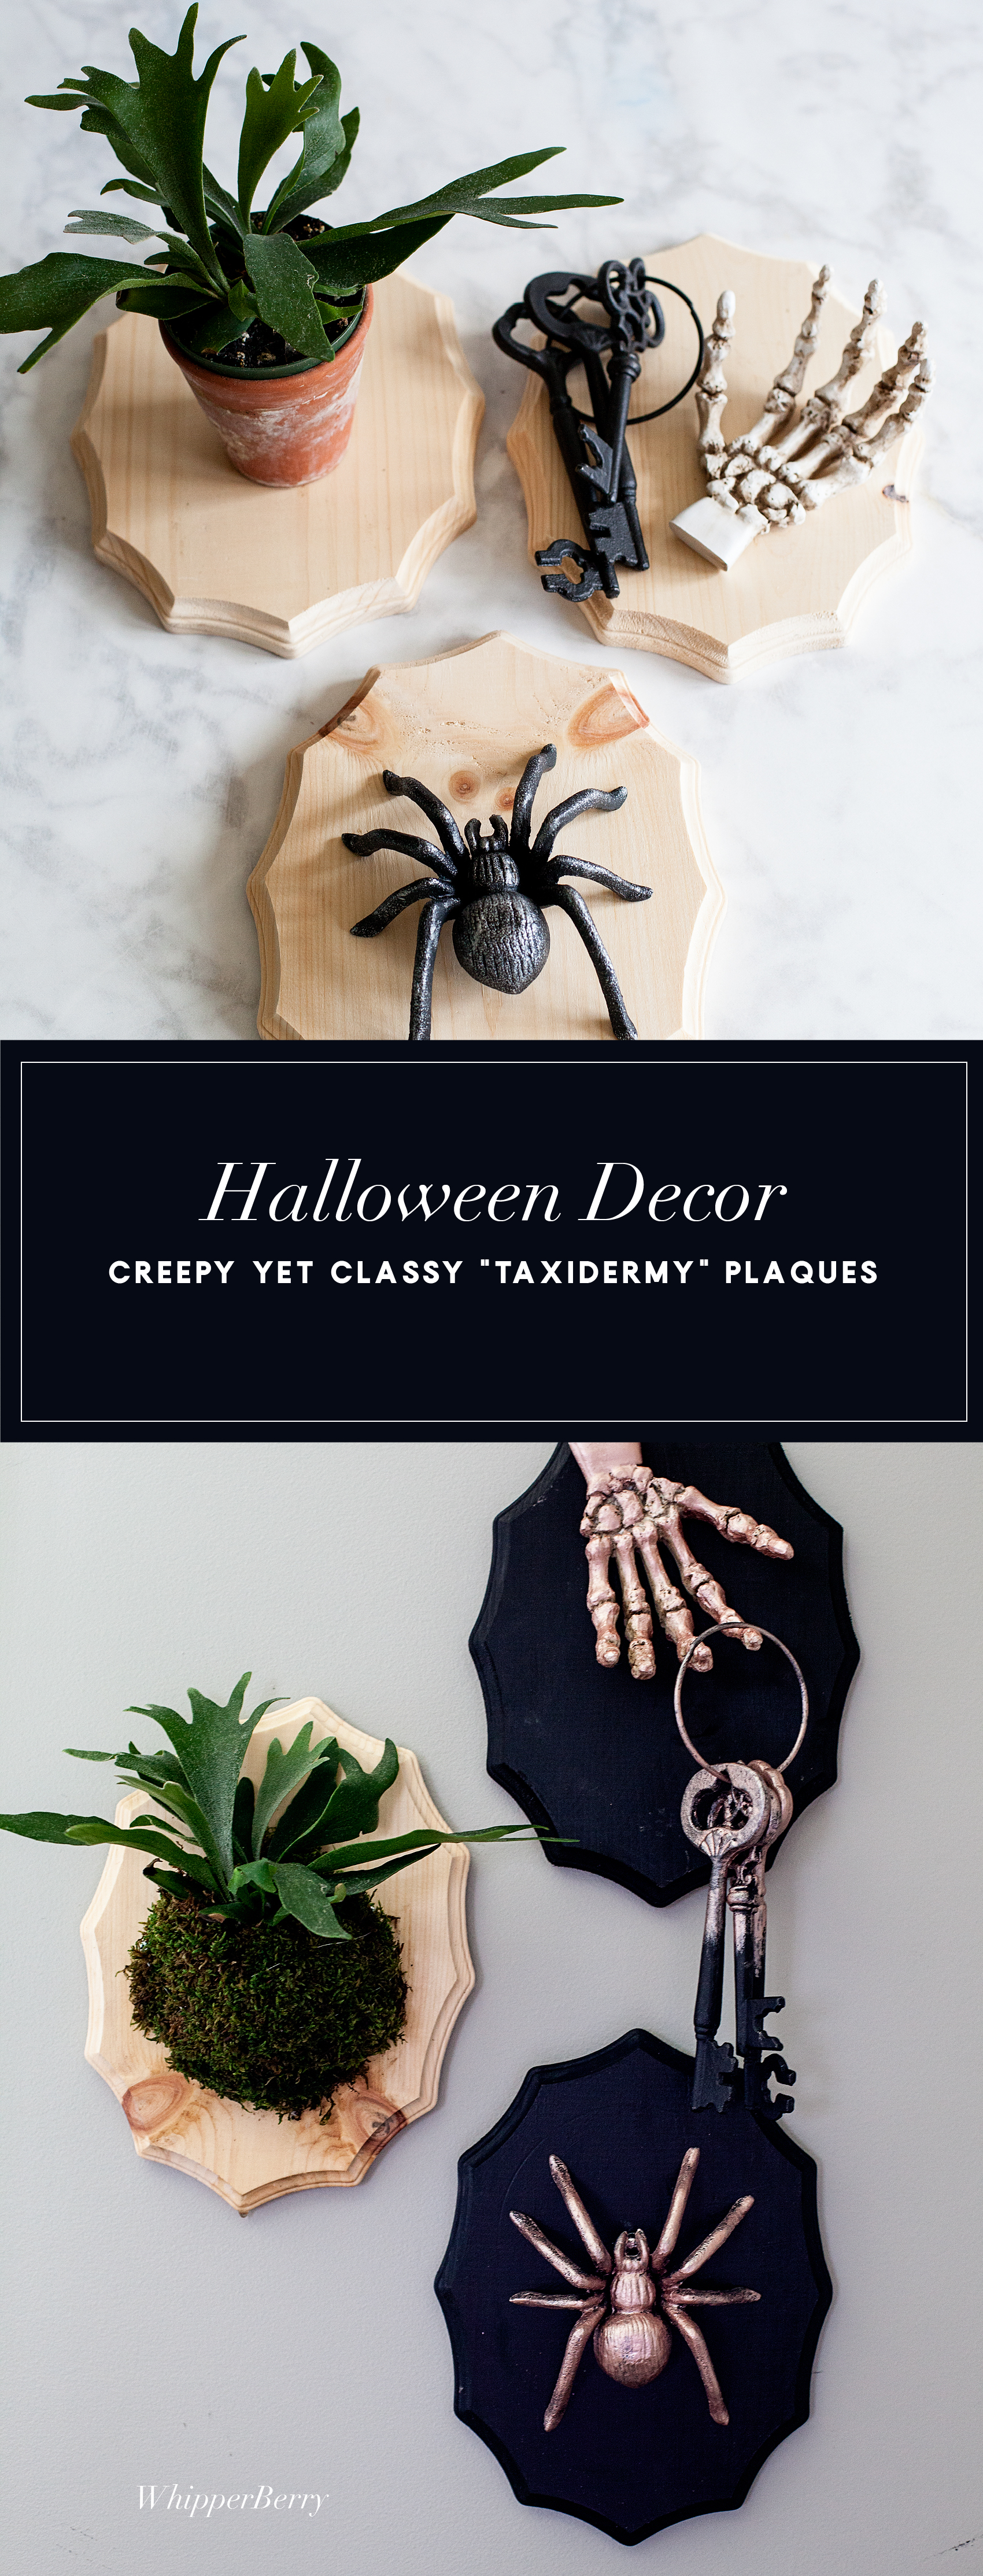
Add a little flair to your spooky Halloween decorations with taxidermy plaques! I used the DecoArt Metallic Lustre to turn simple spooky objects into creepy yet classy home decor. Come check it out… If you dare!
{ disclaimer • I am a DecoArt Ambassador and they have sponsored this post. However, all thoughts, ideas and opinions are my very own.}
O.K. guys… It’s never too early to start thinking about your Halloween decorations! Over the years I’ve become quite the fan of decorating for this creepy holiday. I used to hate it, but I’ve kind of fallen in love with what you can create for this spooky night. I wanted to create some new pieces to add to my collection for the new home and found myself wandering the isles at Michaels wondering what to make. Then it hit me… I wanted to make some “taxidermy” plaques to add some cringe worthy art to my front entry way. I wanted to keep it simple and still classy so I thought a little Rose Gold Metallic Lustre from DecoArt would do the trick! Here’s how you can make them.
Taxidermy Plaques Supply List
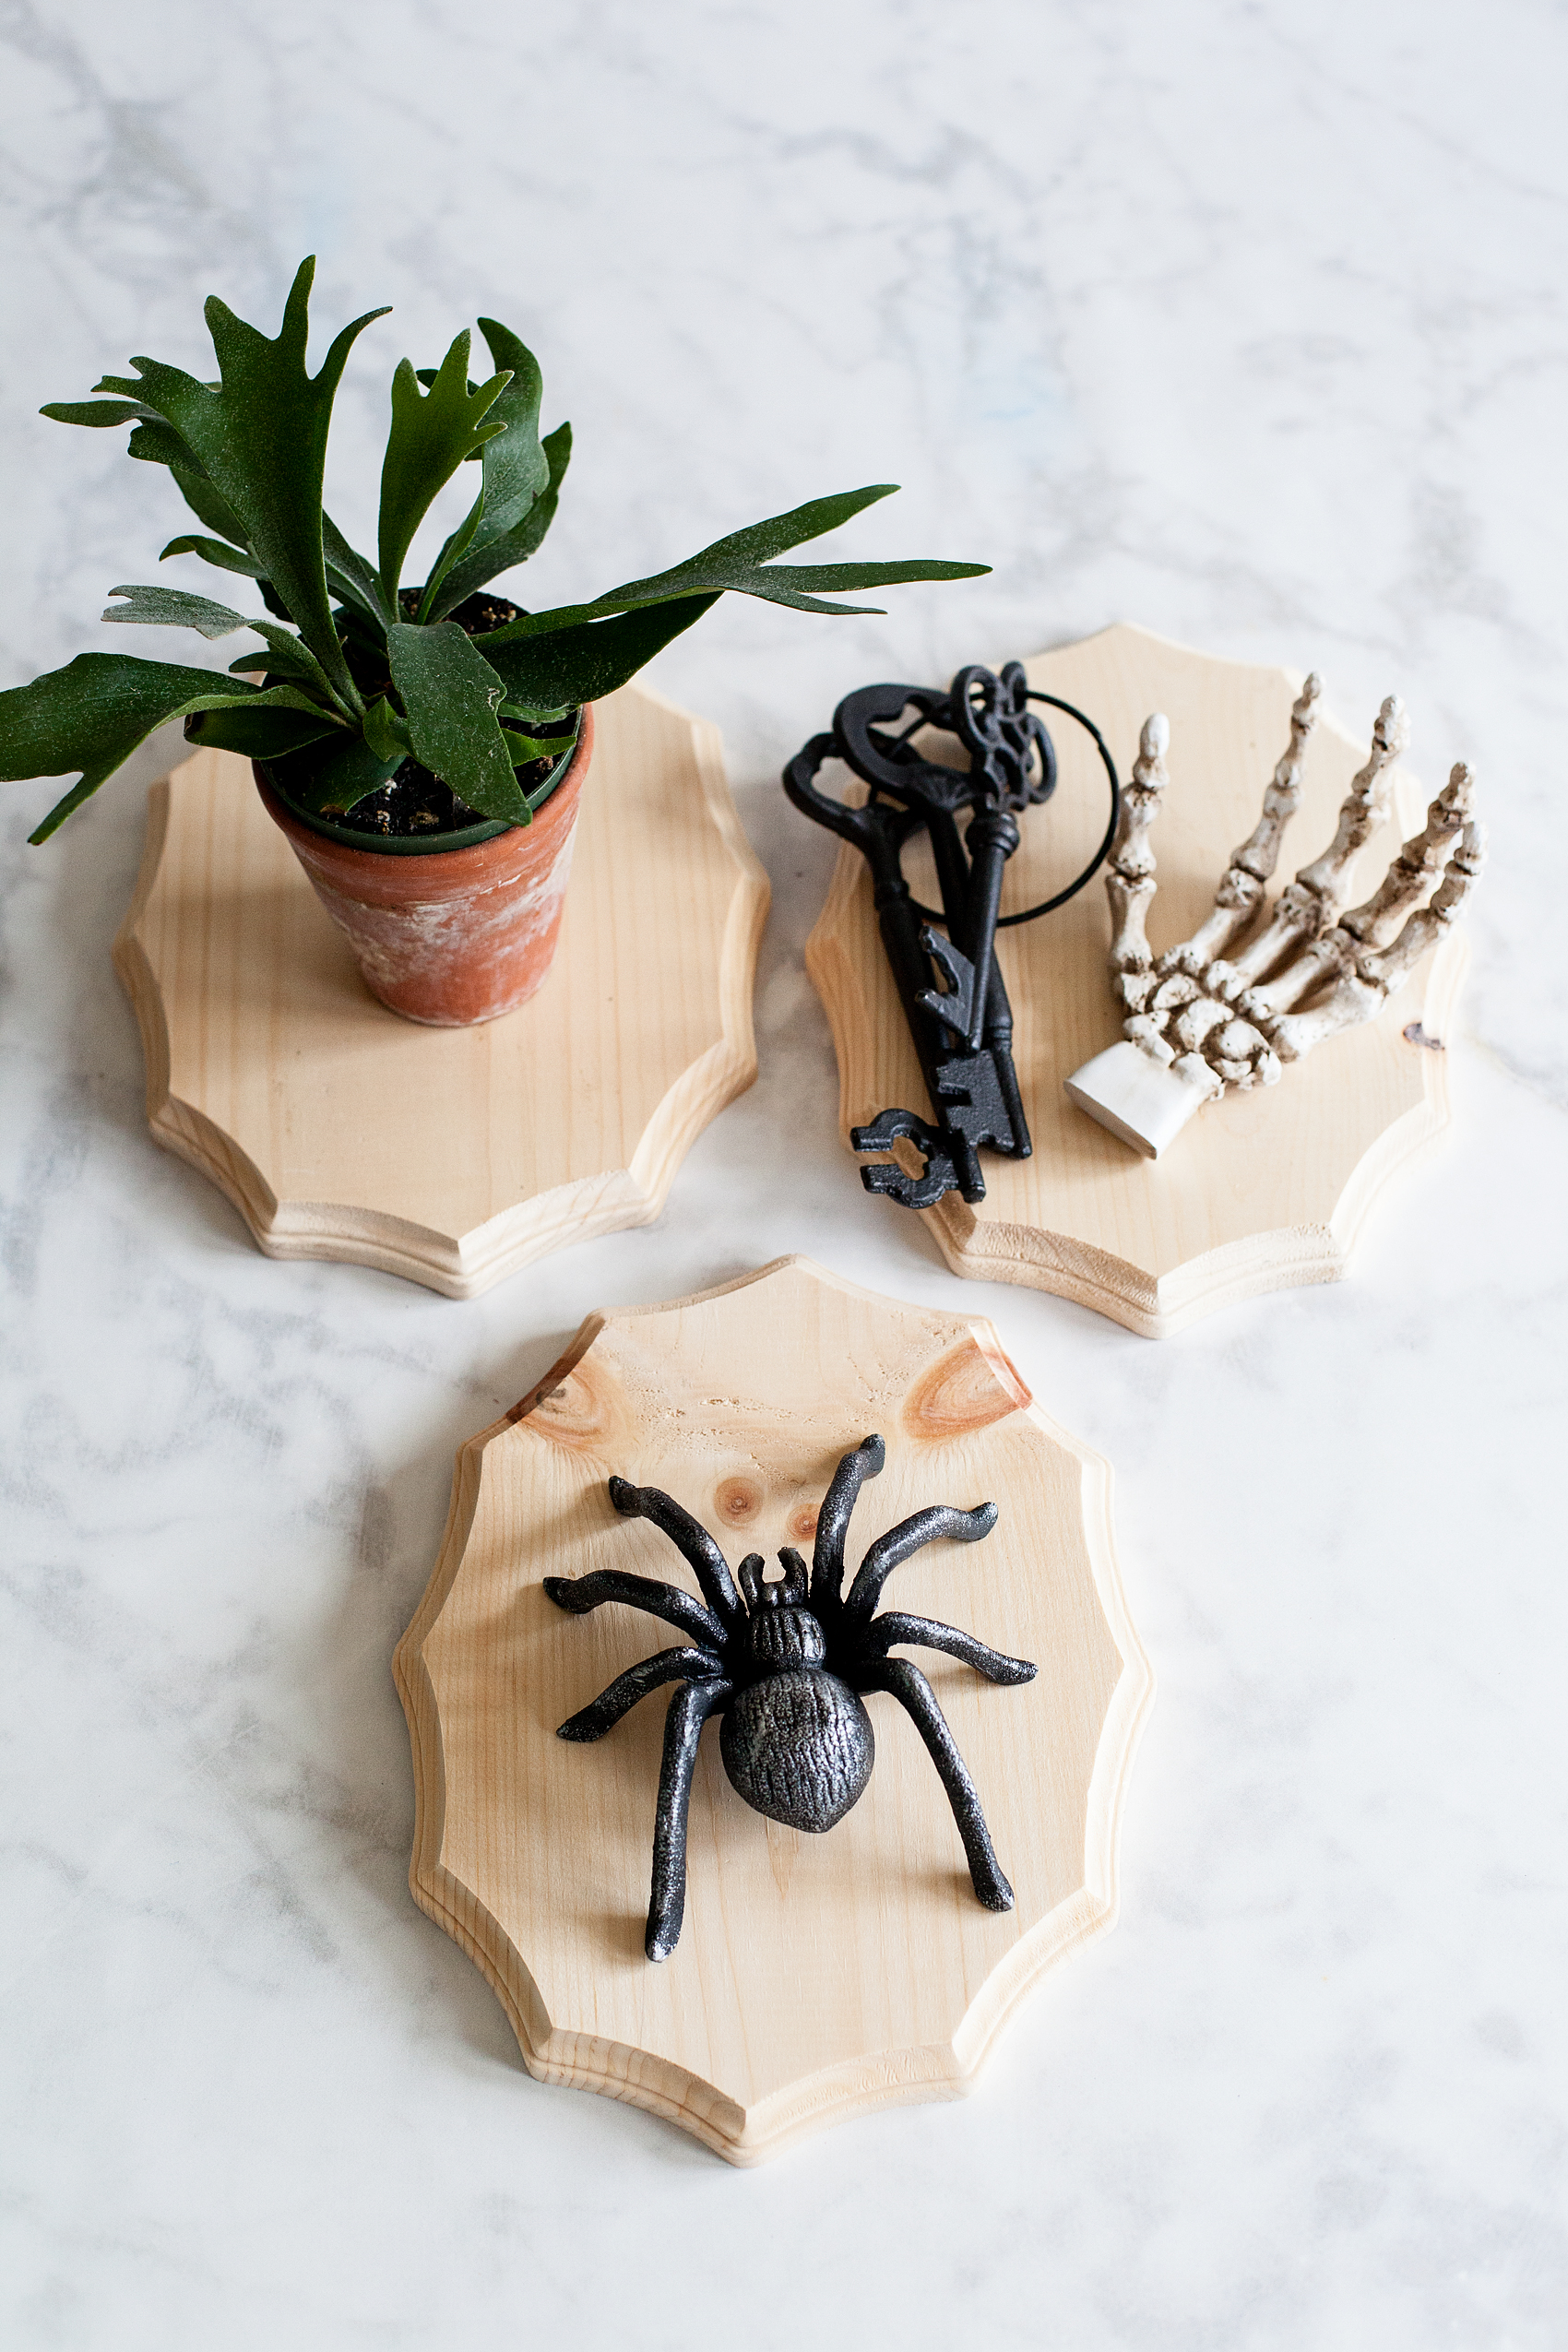
- wood plaques
- DecoArt Metallic Lustre – Rose Gold
- Americana Curb Appeal – Black
- iron spider
- iron keys
- skeleton hand
- small Staghorn Fern
- paint brush
- lint free cloth
- drill
- 8 screws
- floral wire
- moss
- large bowl of water
- baking sheet
- drop cloth or something to protect your work surface
Instructions for Taxidermy Plaques
To begin, you will need to prep your work surface and cover it with a drop cloth or some type over covering to protect it.
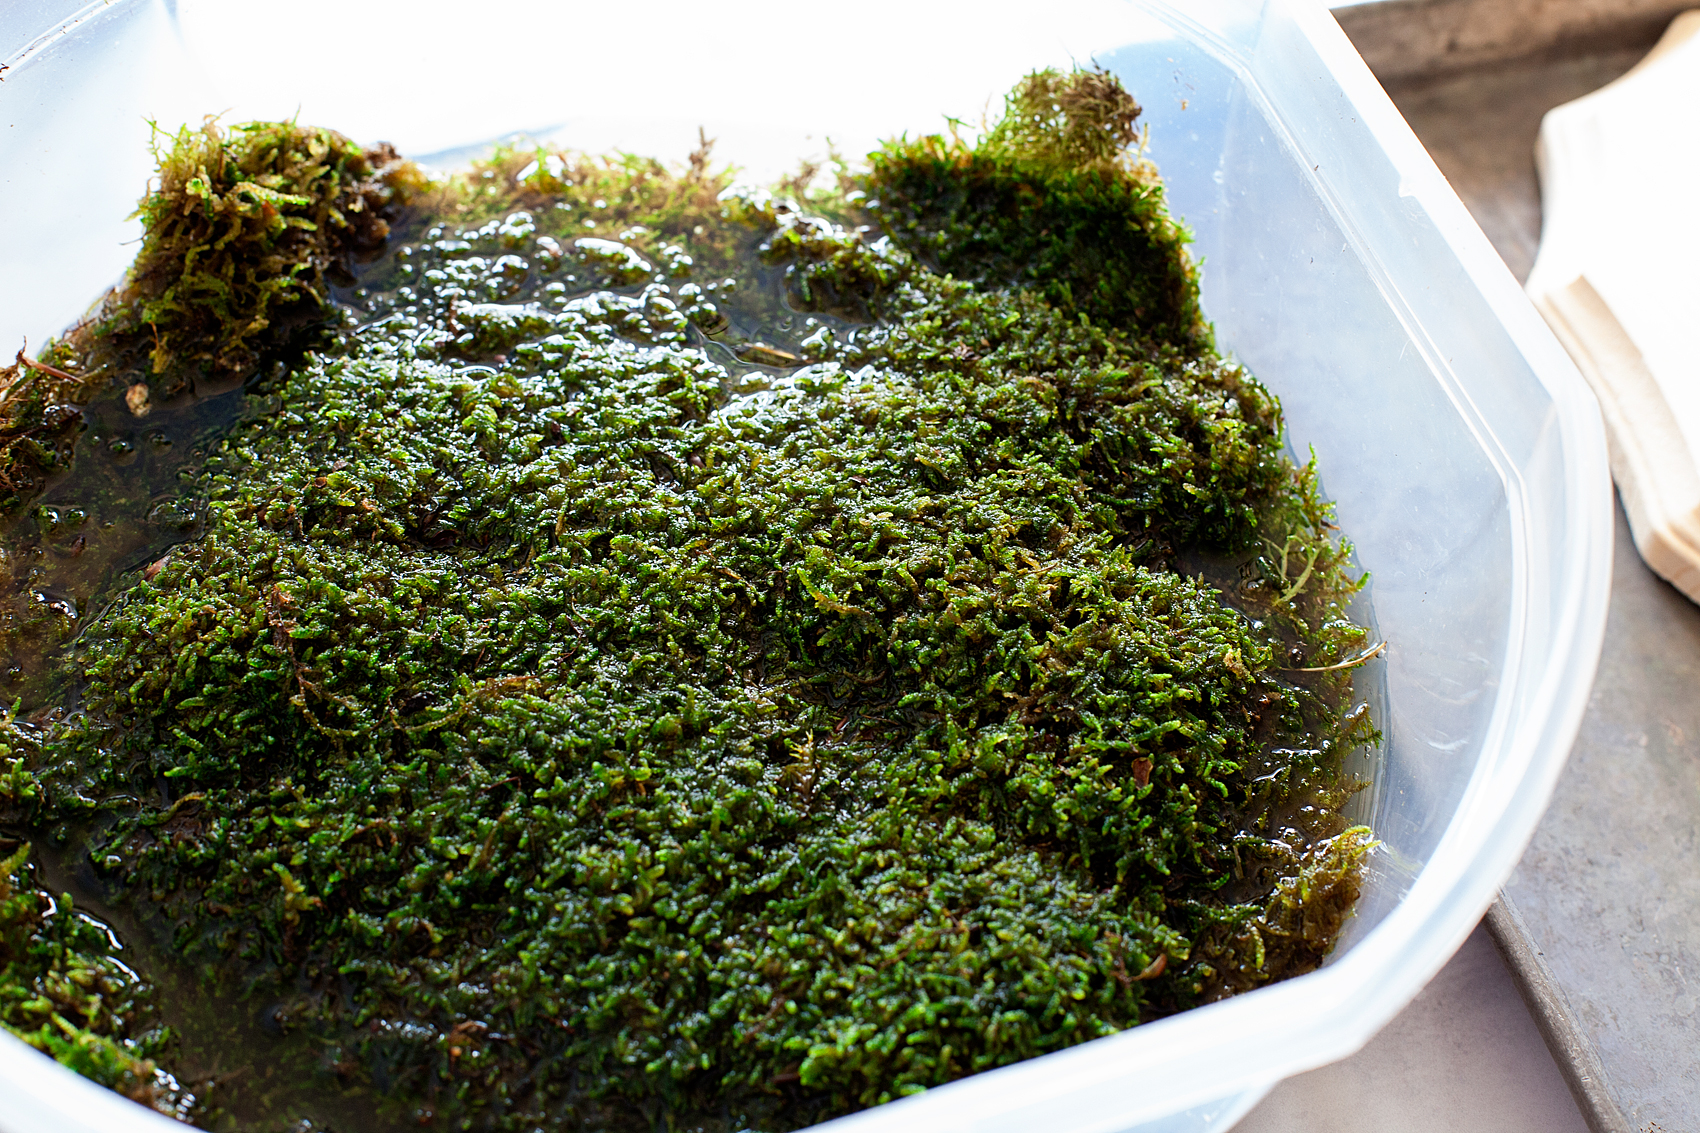
Next, place your moss into a large bowl of water so that it can soak while you are working with the other pieces. Set it aside.
Then, grab your Americana Curb Appeal paint and paint 2 of your wood plaques. Keep one natural for your Staghorn Fern.
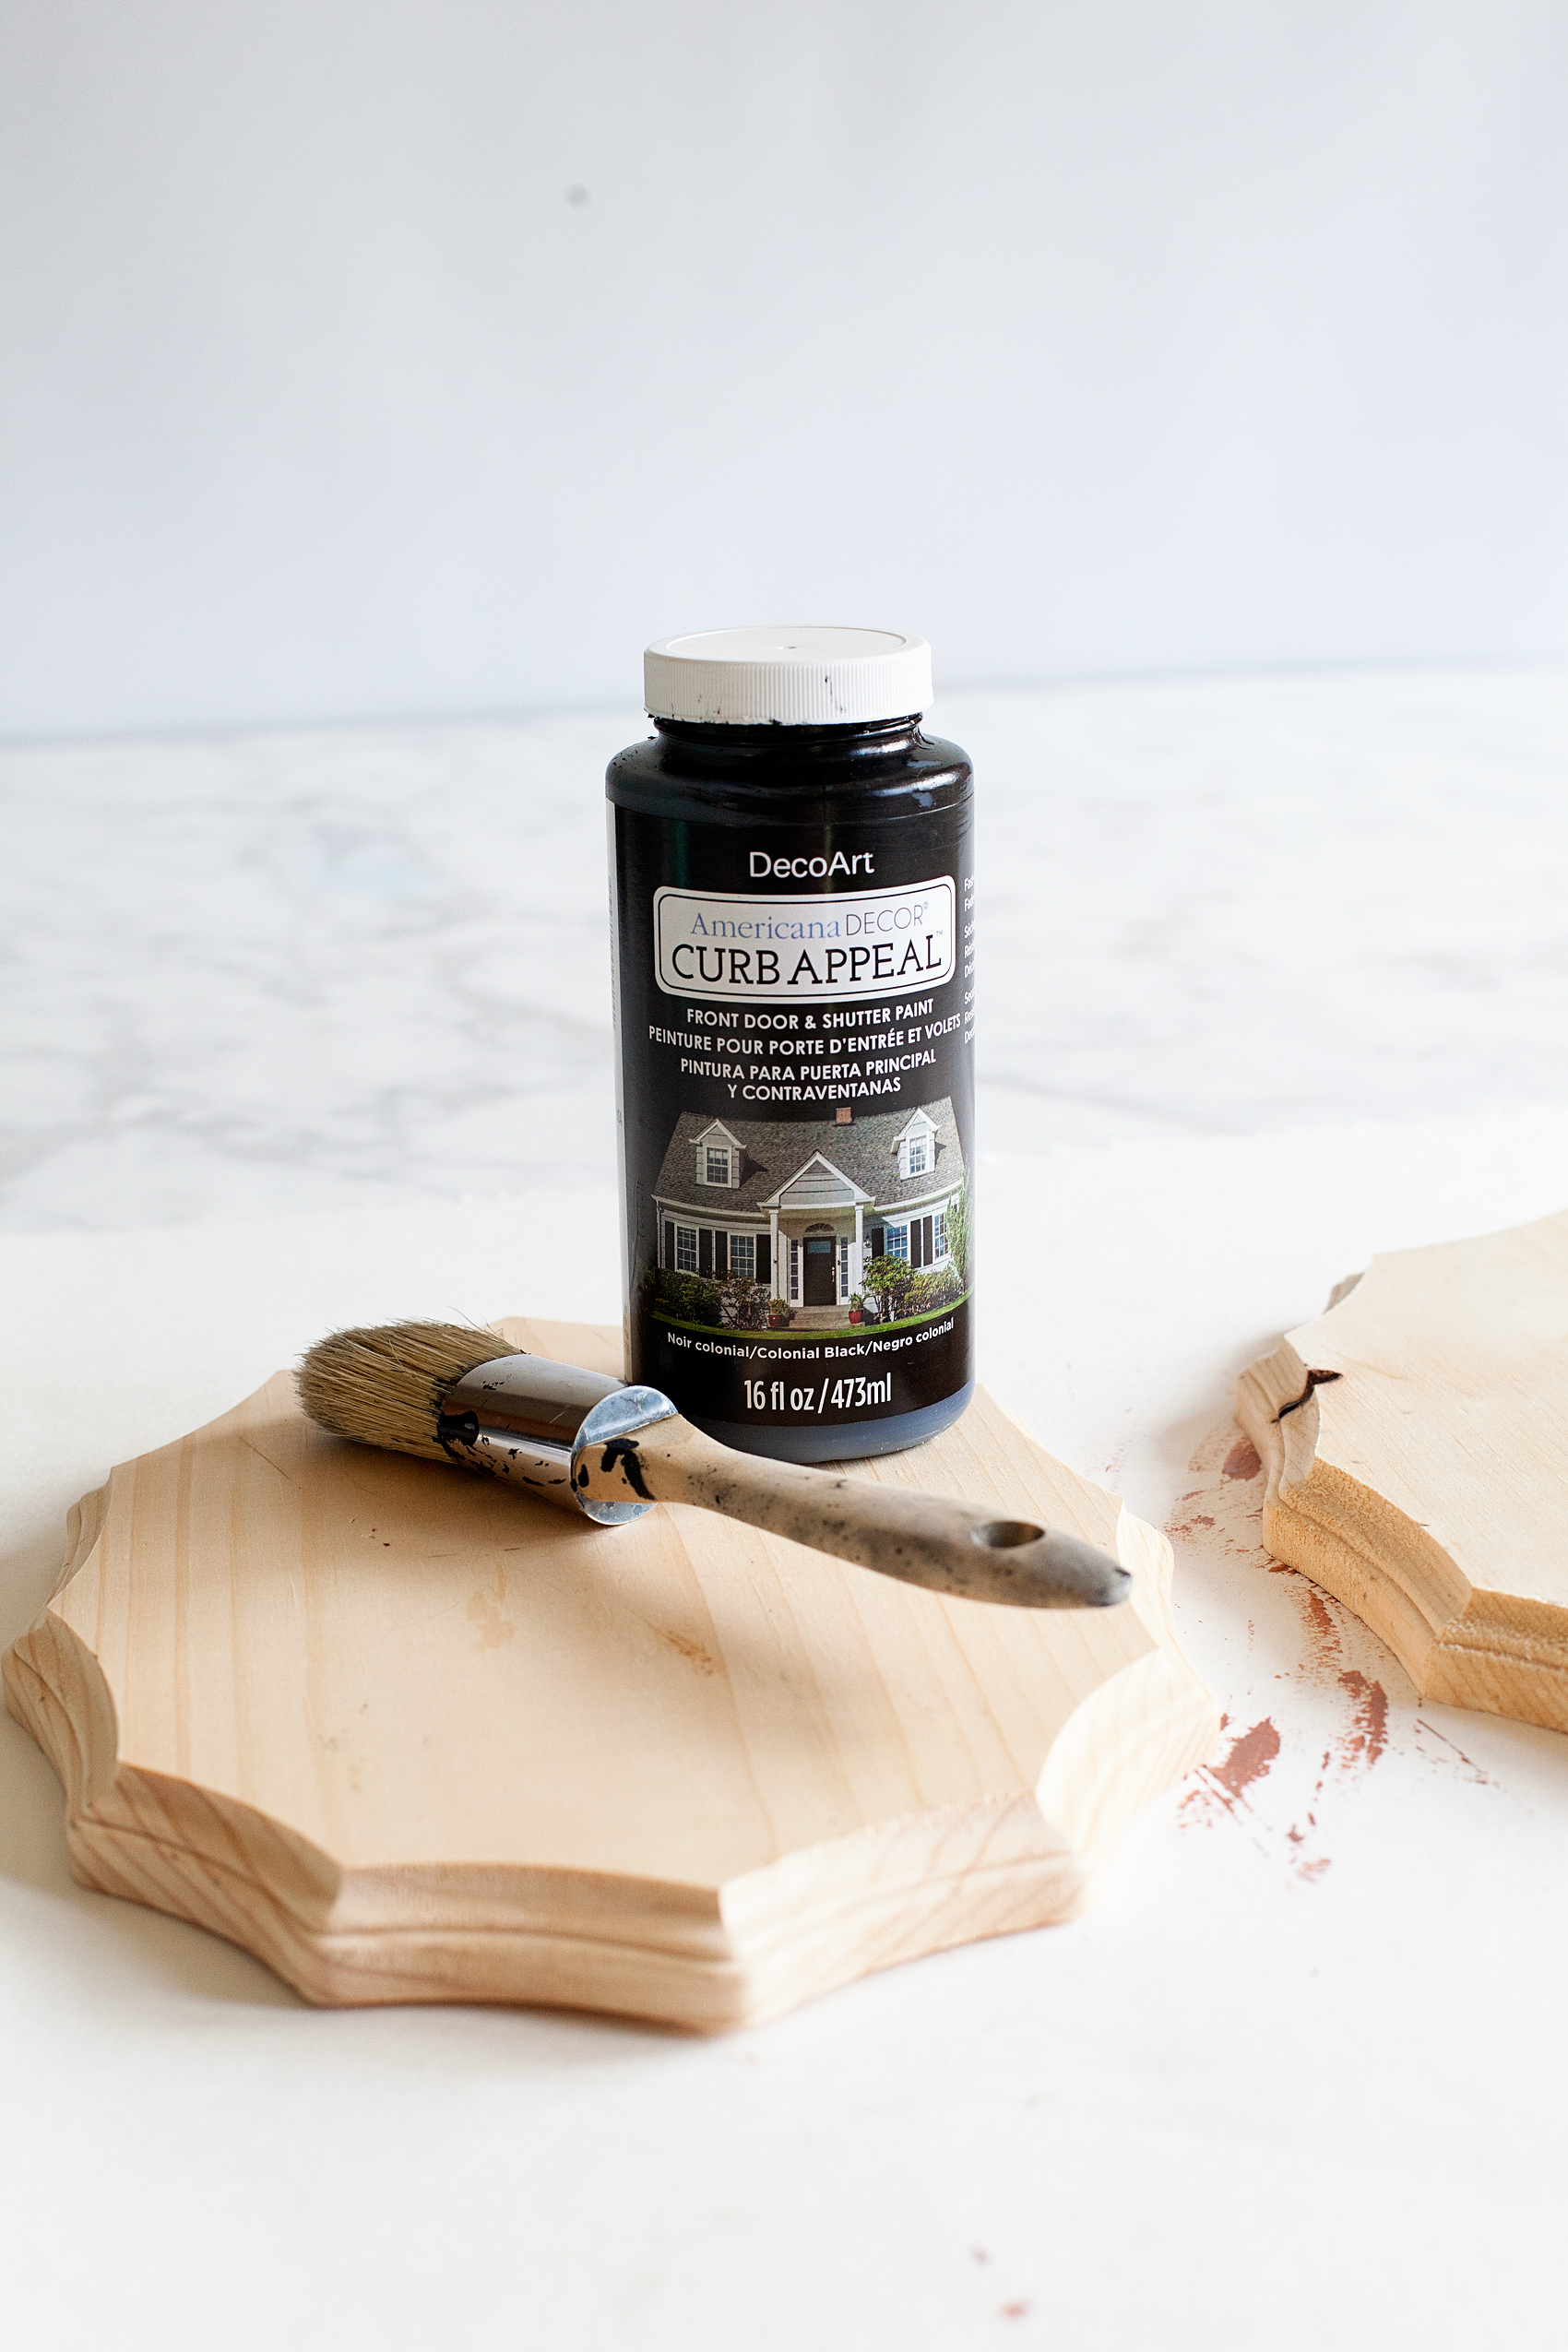
I really like the Americana Curb Appeal paint and traditionally it’s not really used for crafting, it’s used to paint door and shutters typically. I had some on hand and thought it would work just fine for the wood plaques for this project. PLUS… I have used that same paint for my doors, fireplace & banister therefore, my plaques would match the rest of my space. Not only that but, I really like the finish that it create on the wood. You won’t see brush strokes, the coverage is phenomenal and you’ll still see the wood grain through the paint. I really like that! I like to paint wood but, I don’t want it to look plastic… you know?
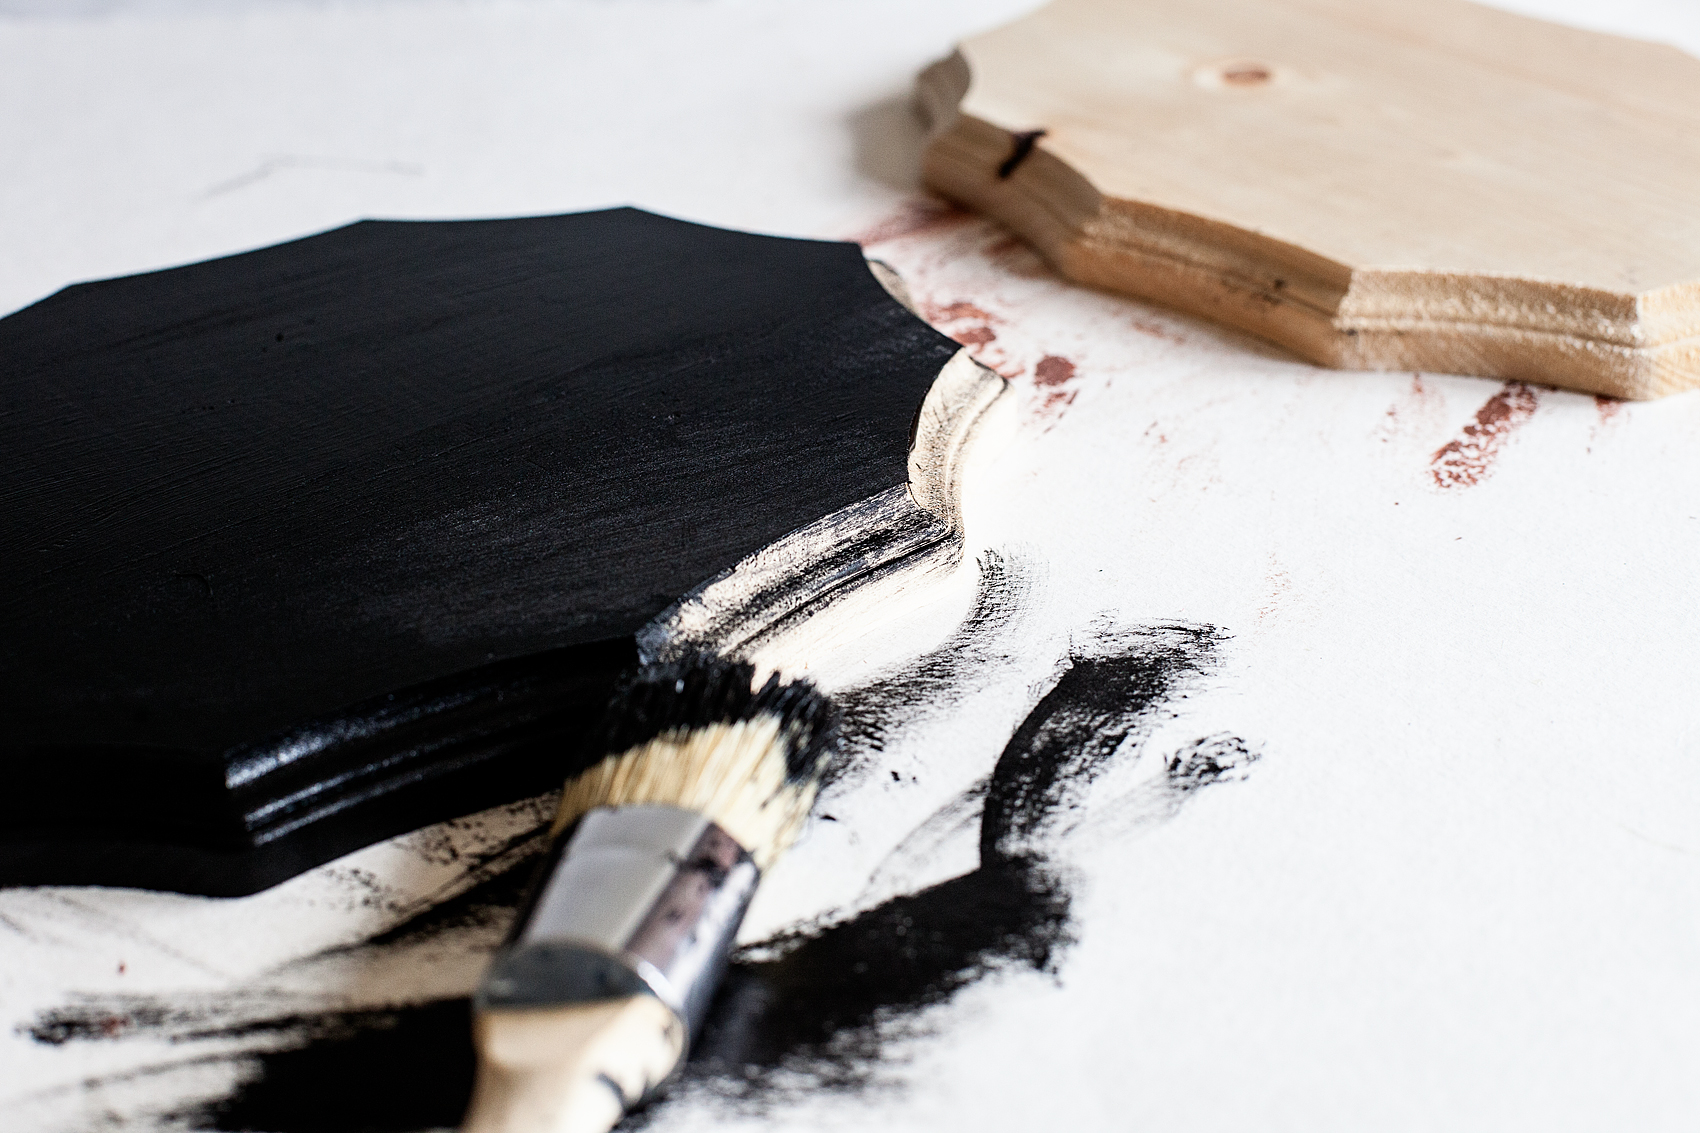
Once those are both painted, set them aside to dry. Don’t worry, they dry pretty quick.
Next, let’s drill a hole into the skeleton hand before we add the DecoArt Metallic Lustre.
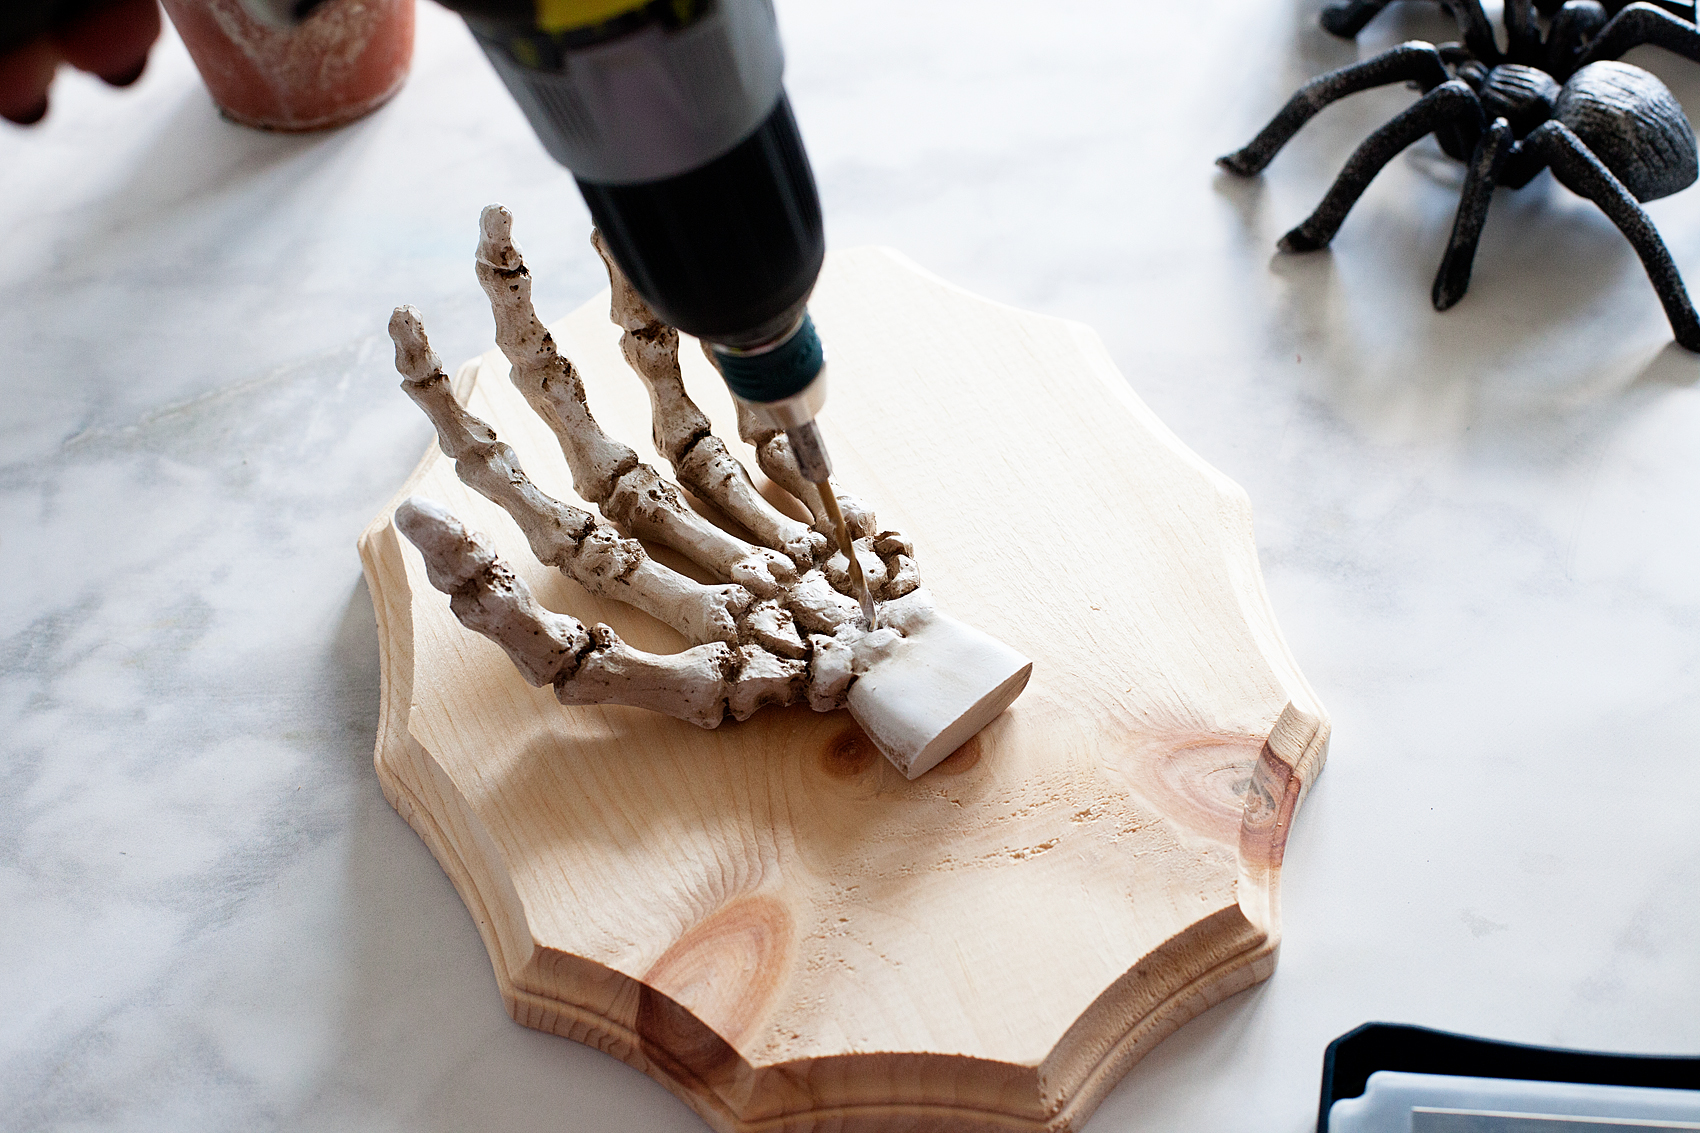
The hand is made out of a resin so it isn’t a problem to drill a hole into it. It might be a little hard to start, but once you get the hole stared, it’s not a big deal.
Next, grab the skeleton hand, keys, spider, the rose gold Metallic Lustre and your lint free cloth (or paper towel if you are in a pinch. Just don’t rub too hard.)
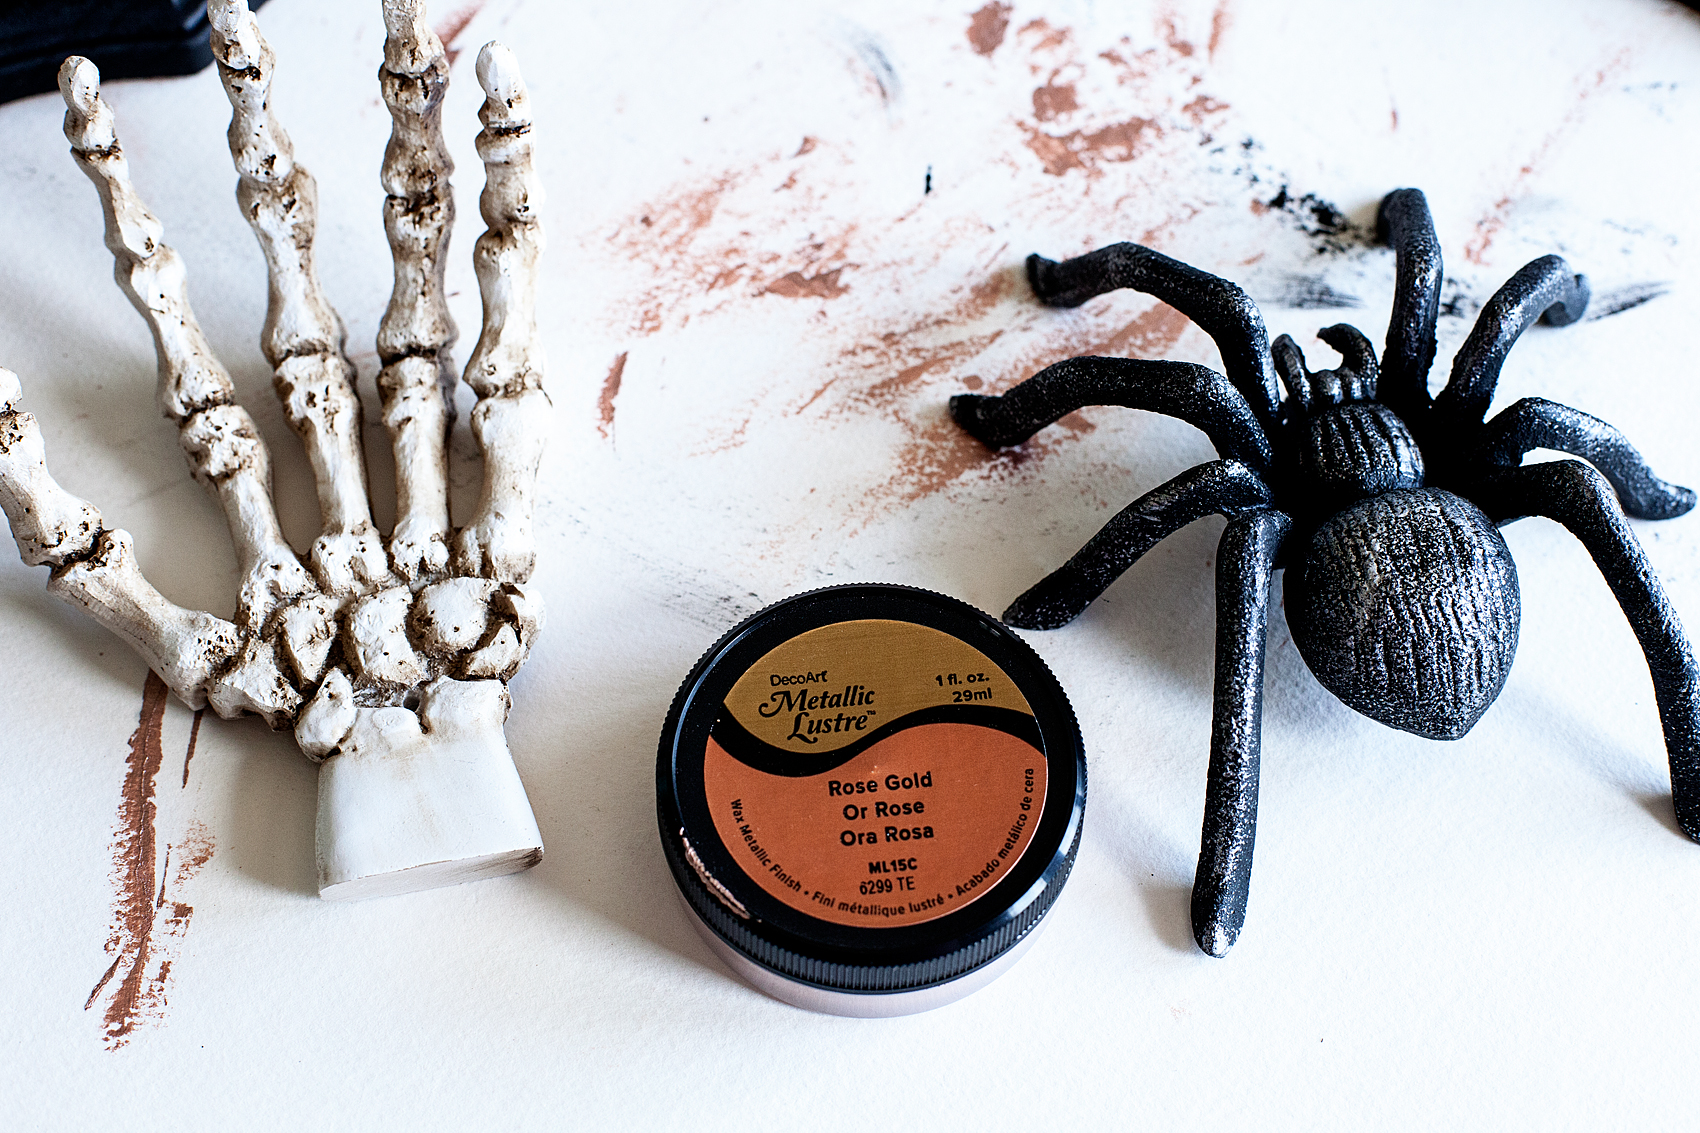
Now, the DecoArt Metallic Lustre is a wax finish, not paint. IT AWESOME!! I love this stuff! I put a little onto my cloth like so…
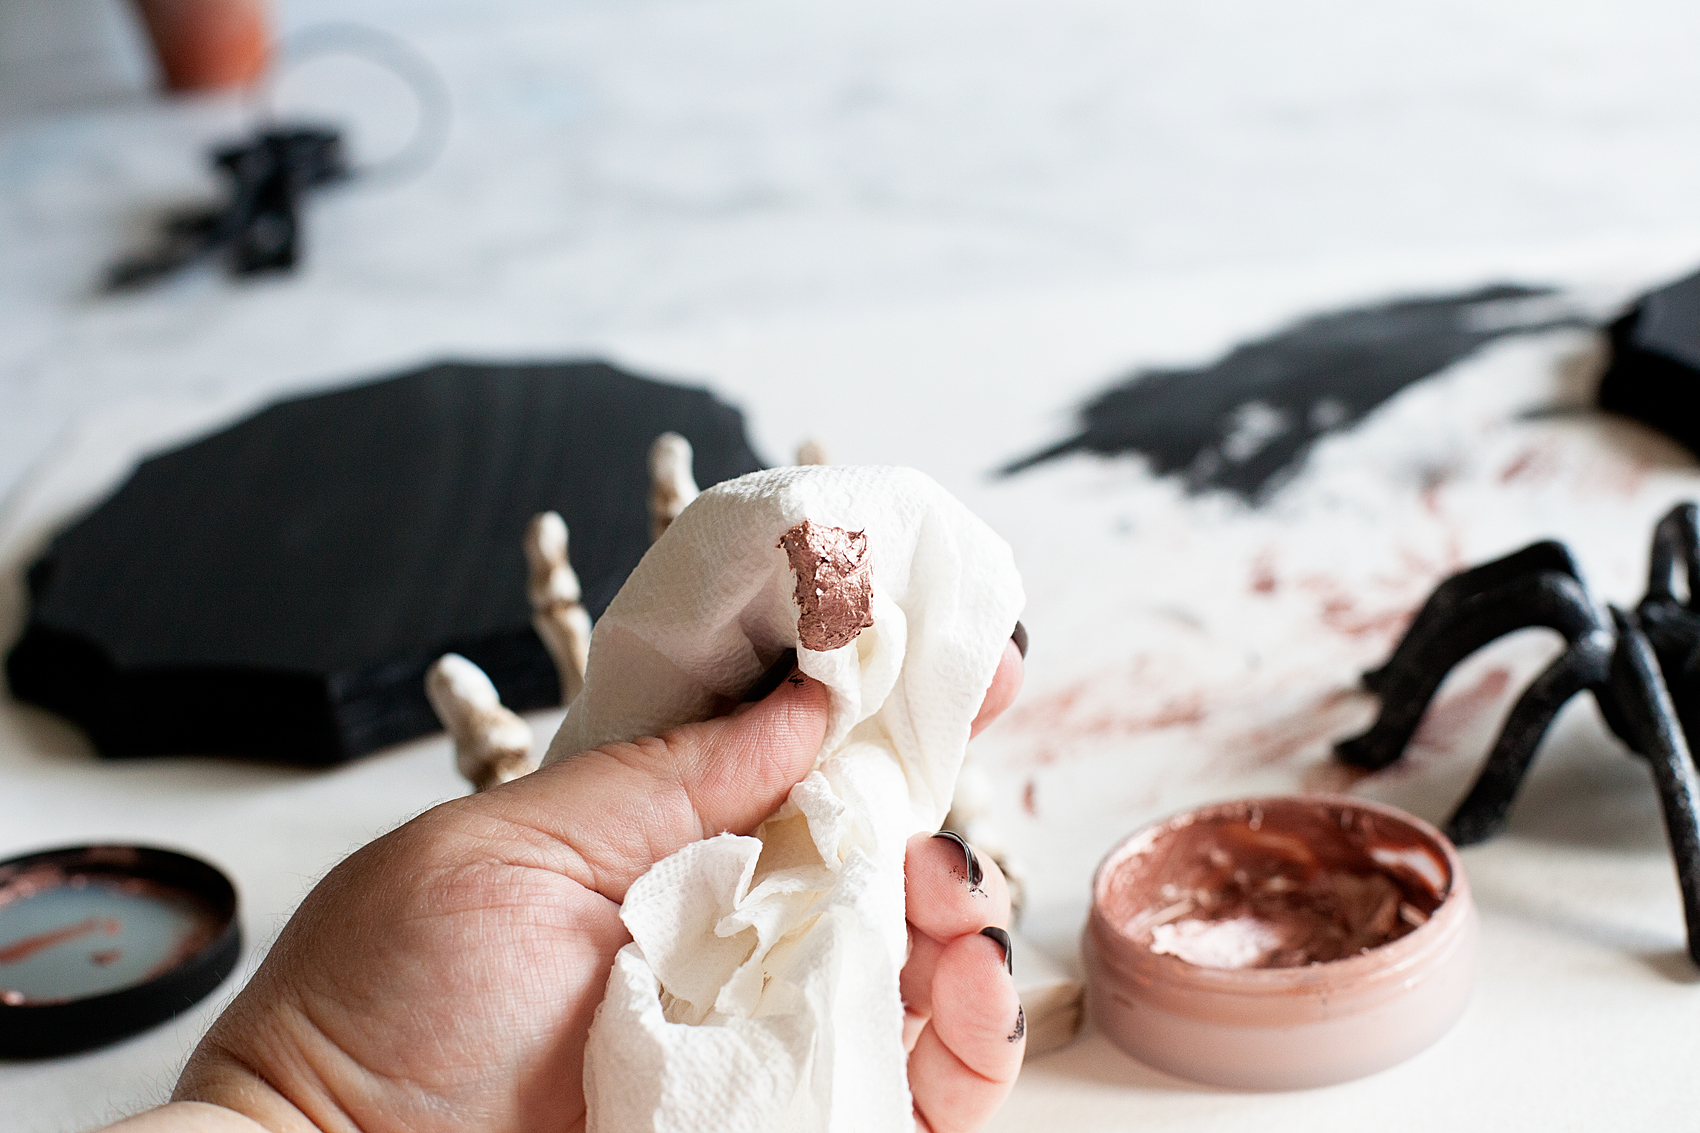
… And then, rub it all over your object that you are wanting to add a little flair to.
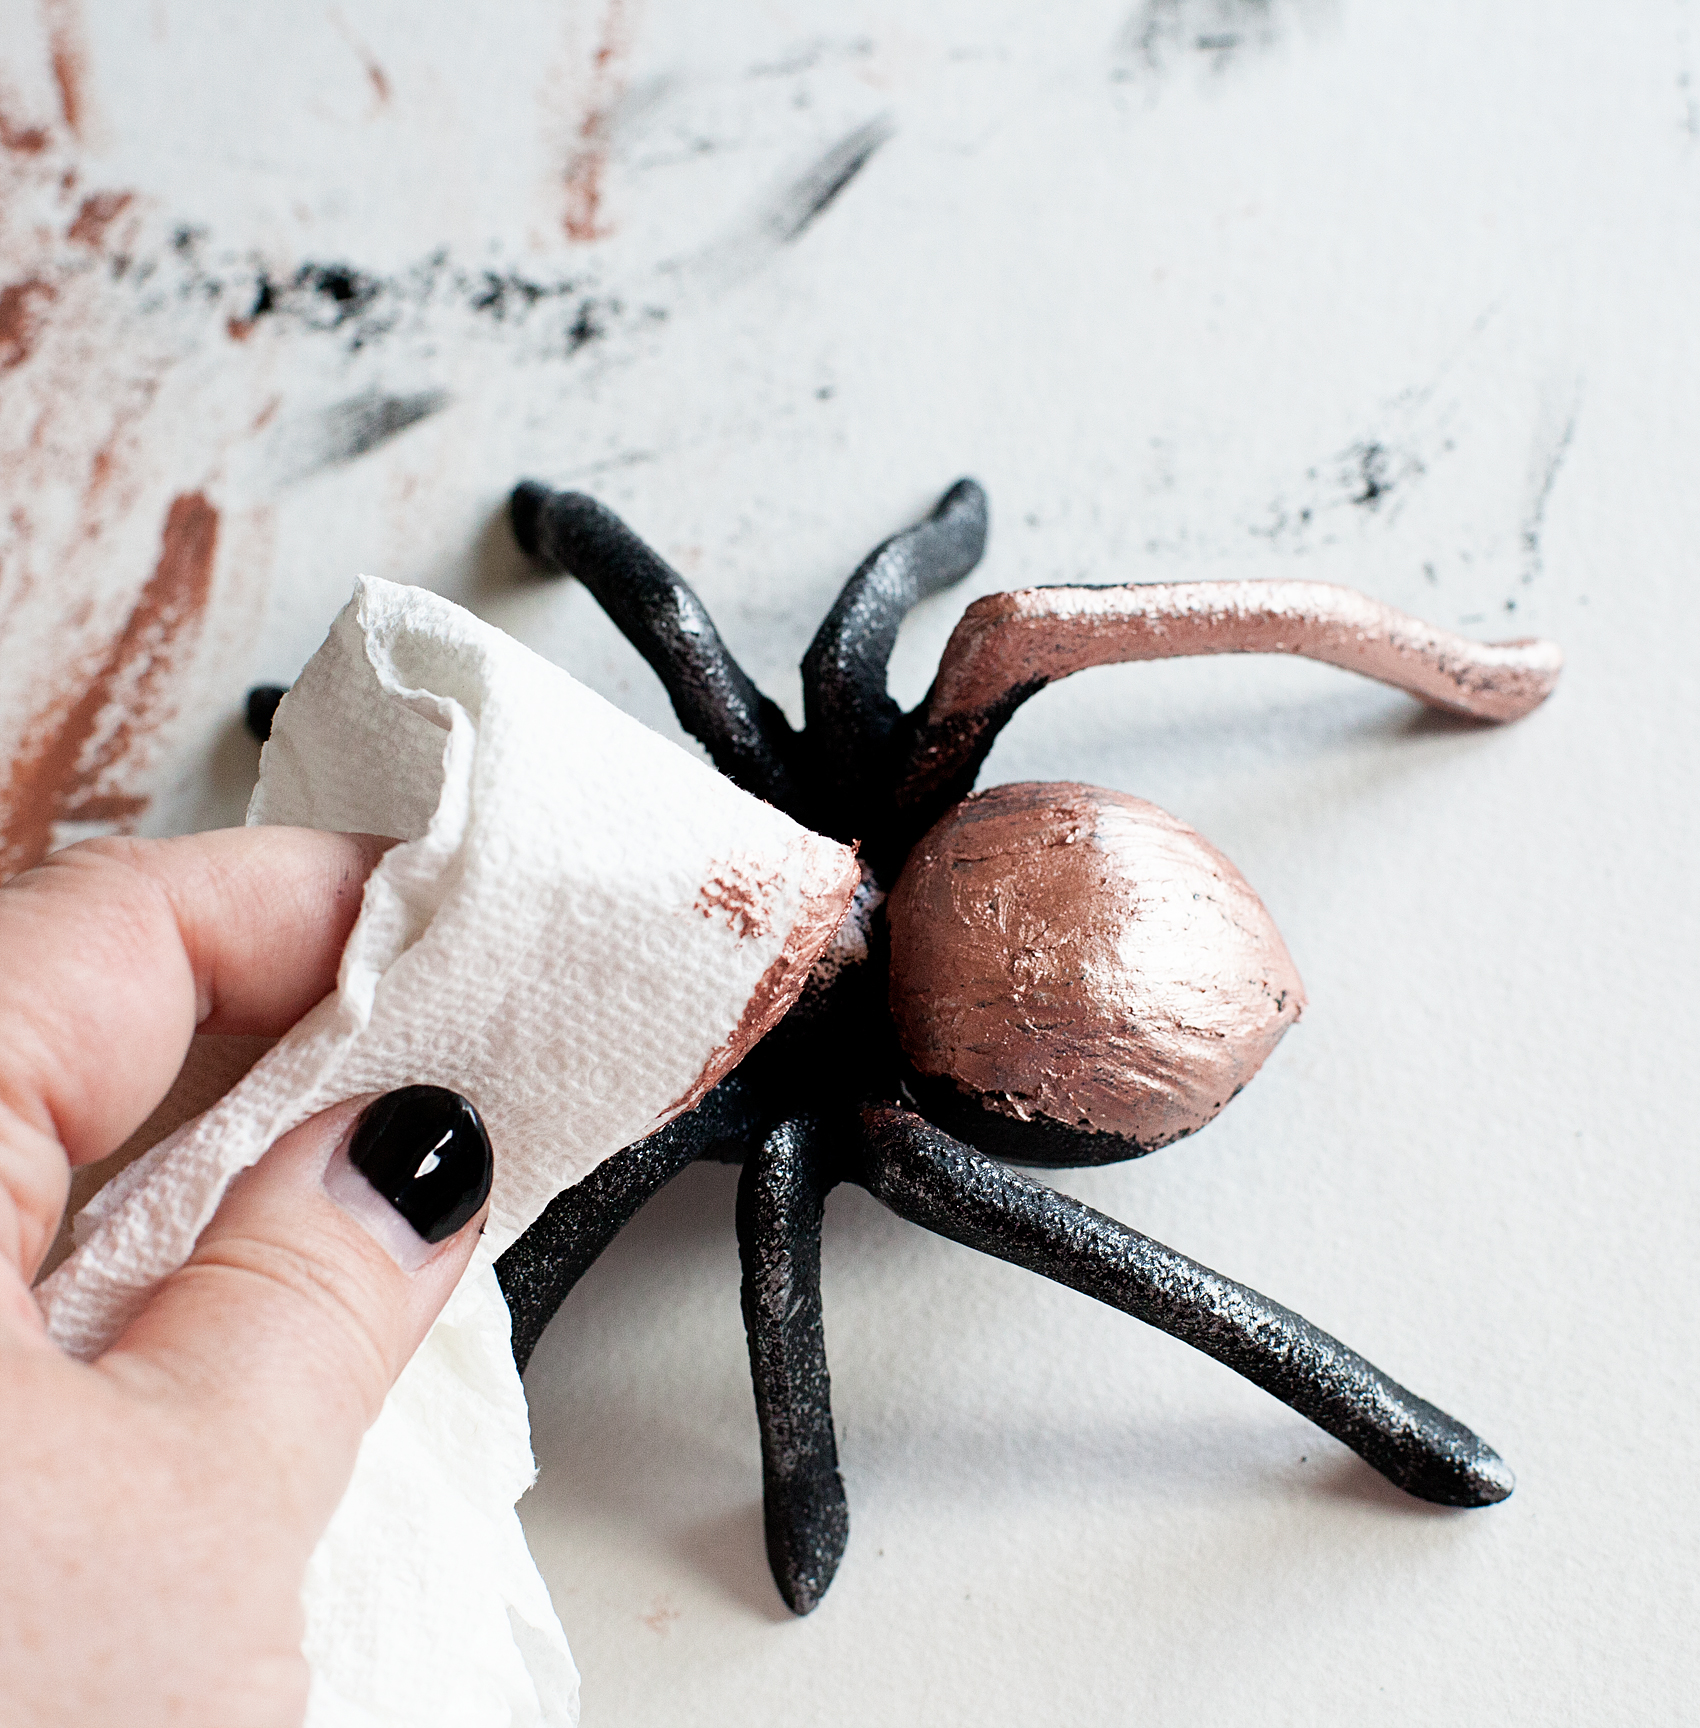
It cures really quick so, if you don’t want to have full coverage, make sure you work in small sections and work quick. With these pieces, I didn’t want full coverage, I still wanted them to look a little rough. As for the keys, I only wanted the rose gold at the top of the keys and then left the bottom black.
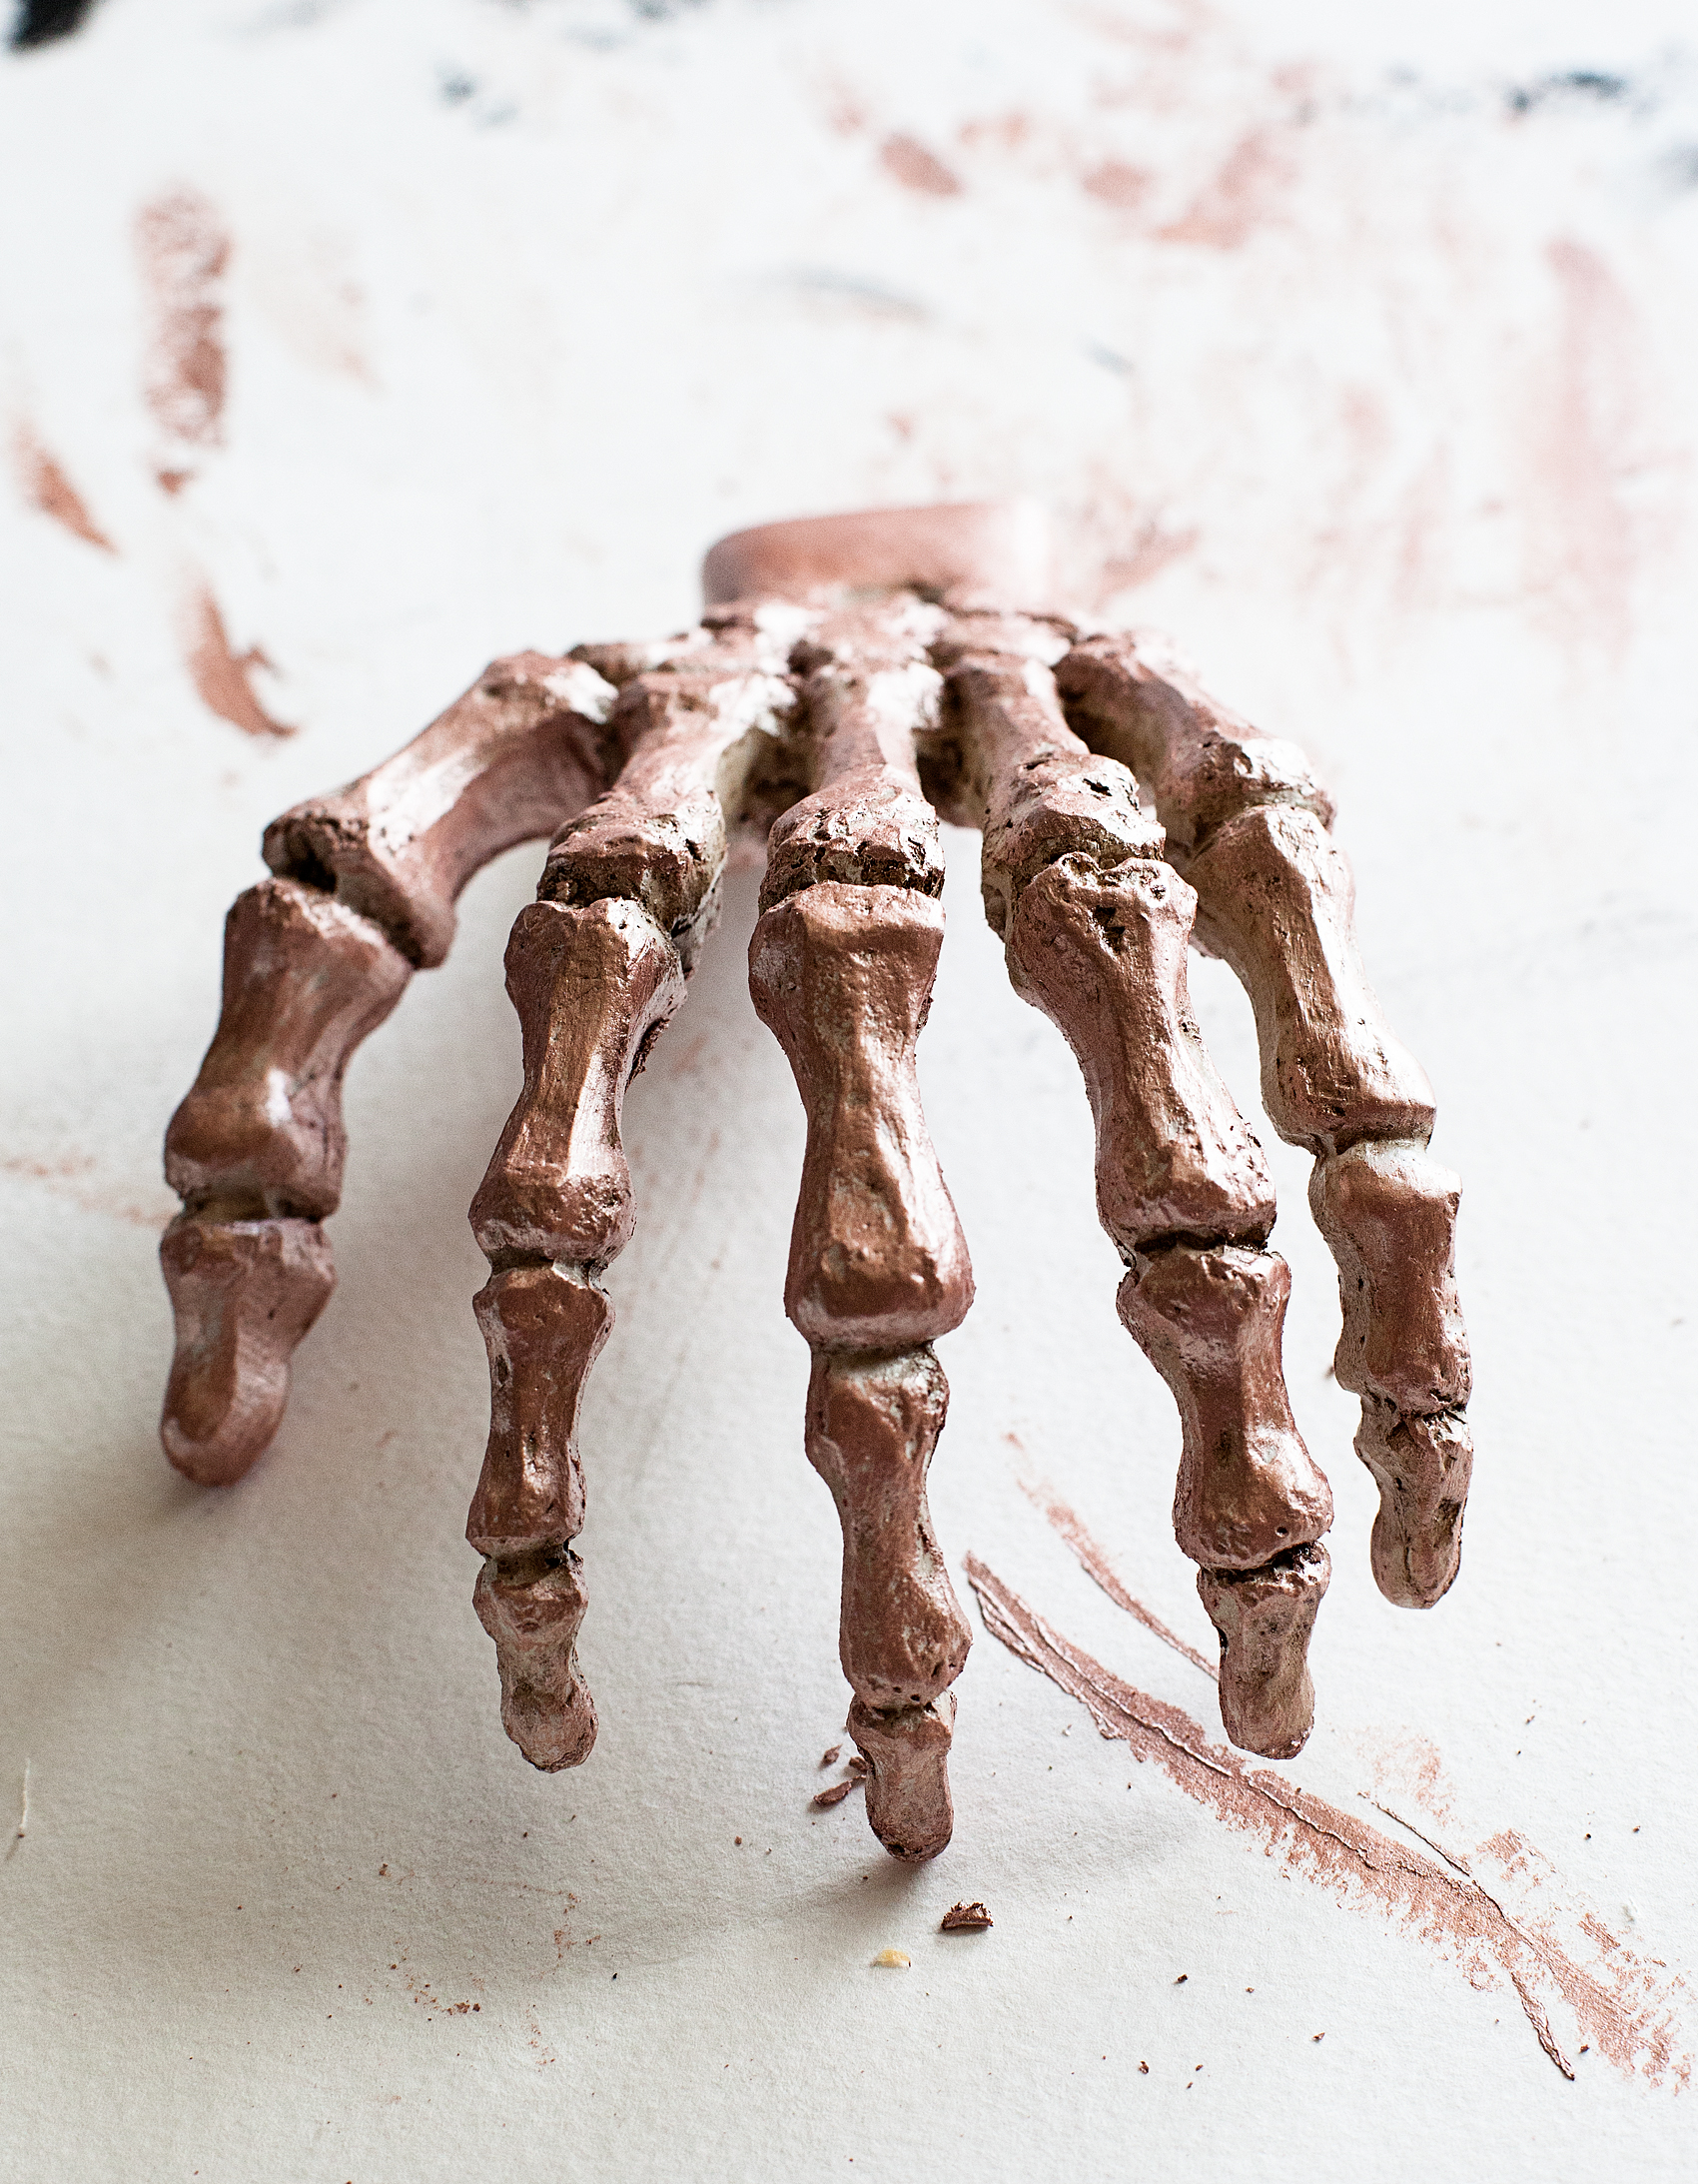
Once the paint on the plaques is dry and the Metallic Lustre has cured (it only takes a few minutes) you are ready to mount them on their plaques.
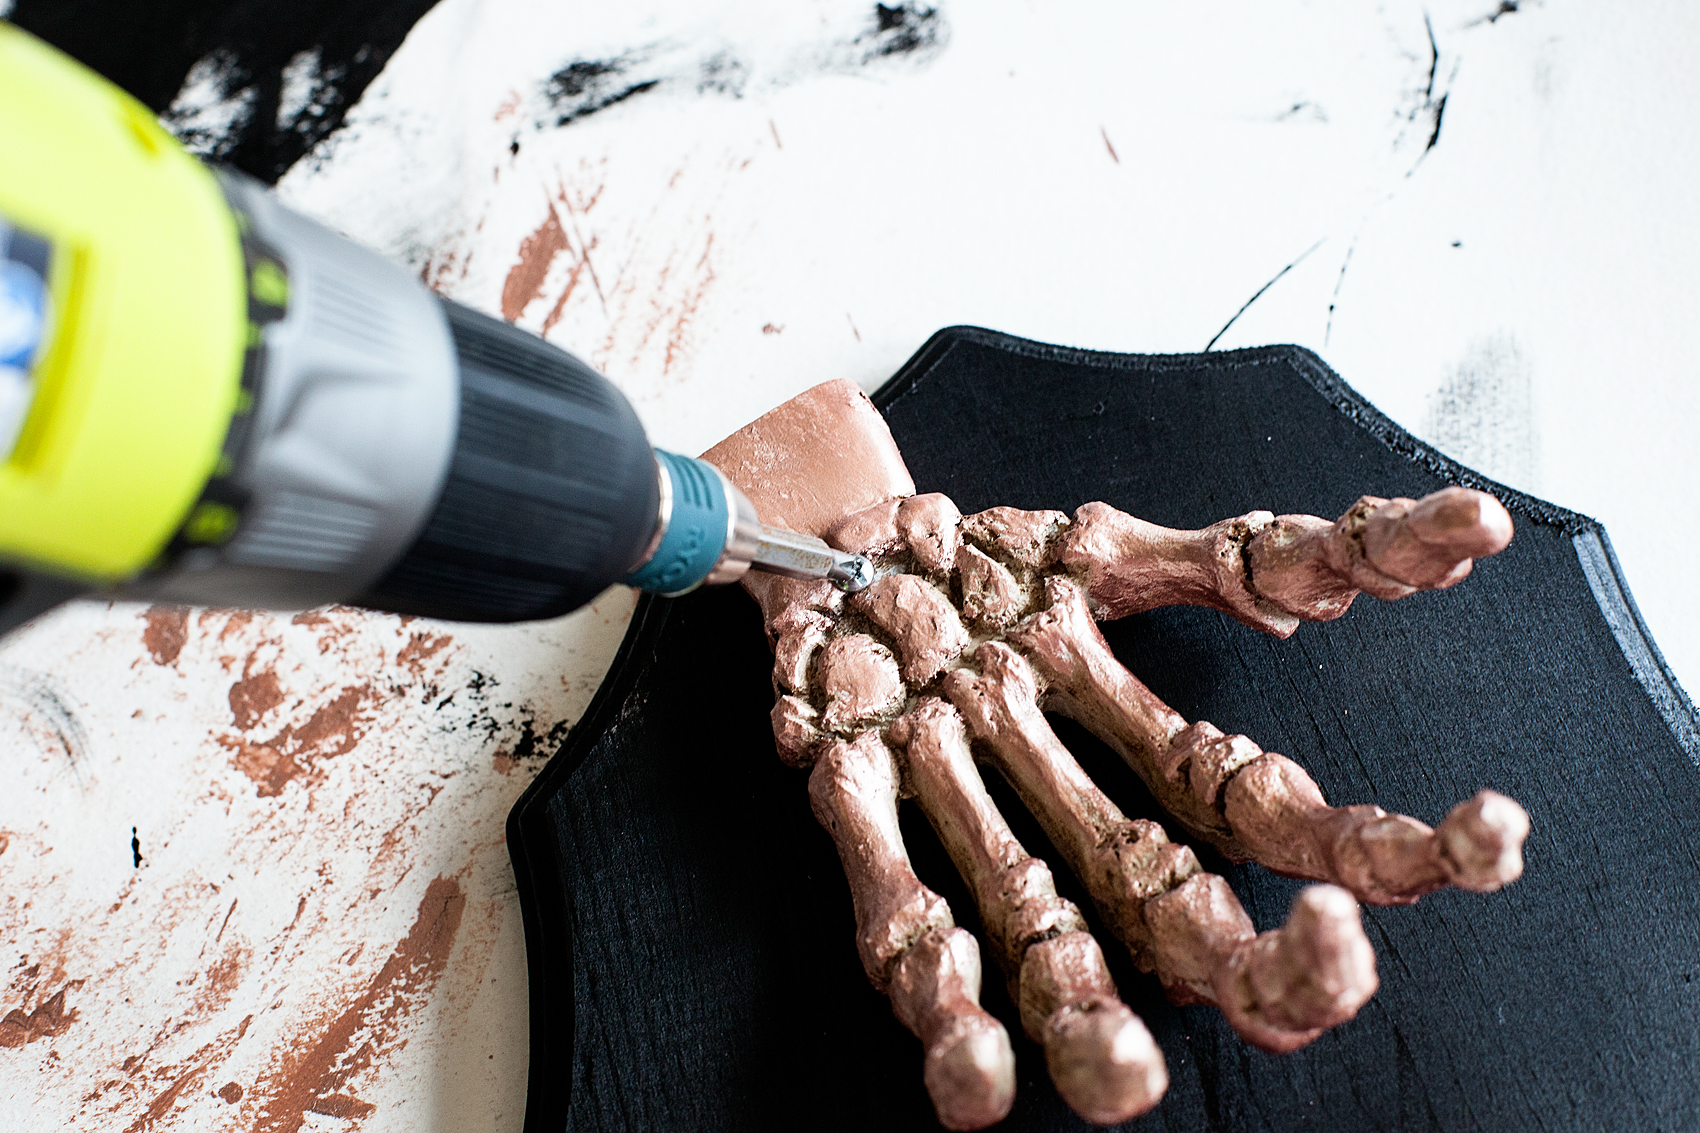
I just used a 1 1/2 inch screw to adhere the skeleton hand to the plaque. However, I did drill pilot holes into the hand and the plaque before to ensure a proper fit.
Now… I’m sure you’ve noticed that there is now a unsightly screw in the hand.
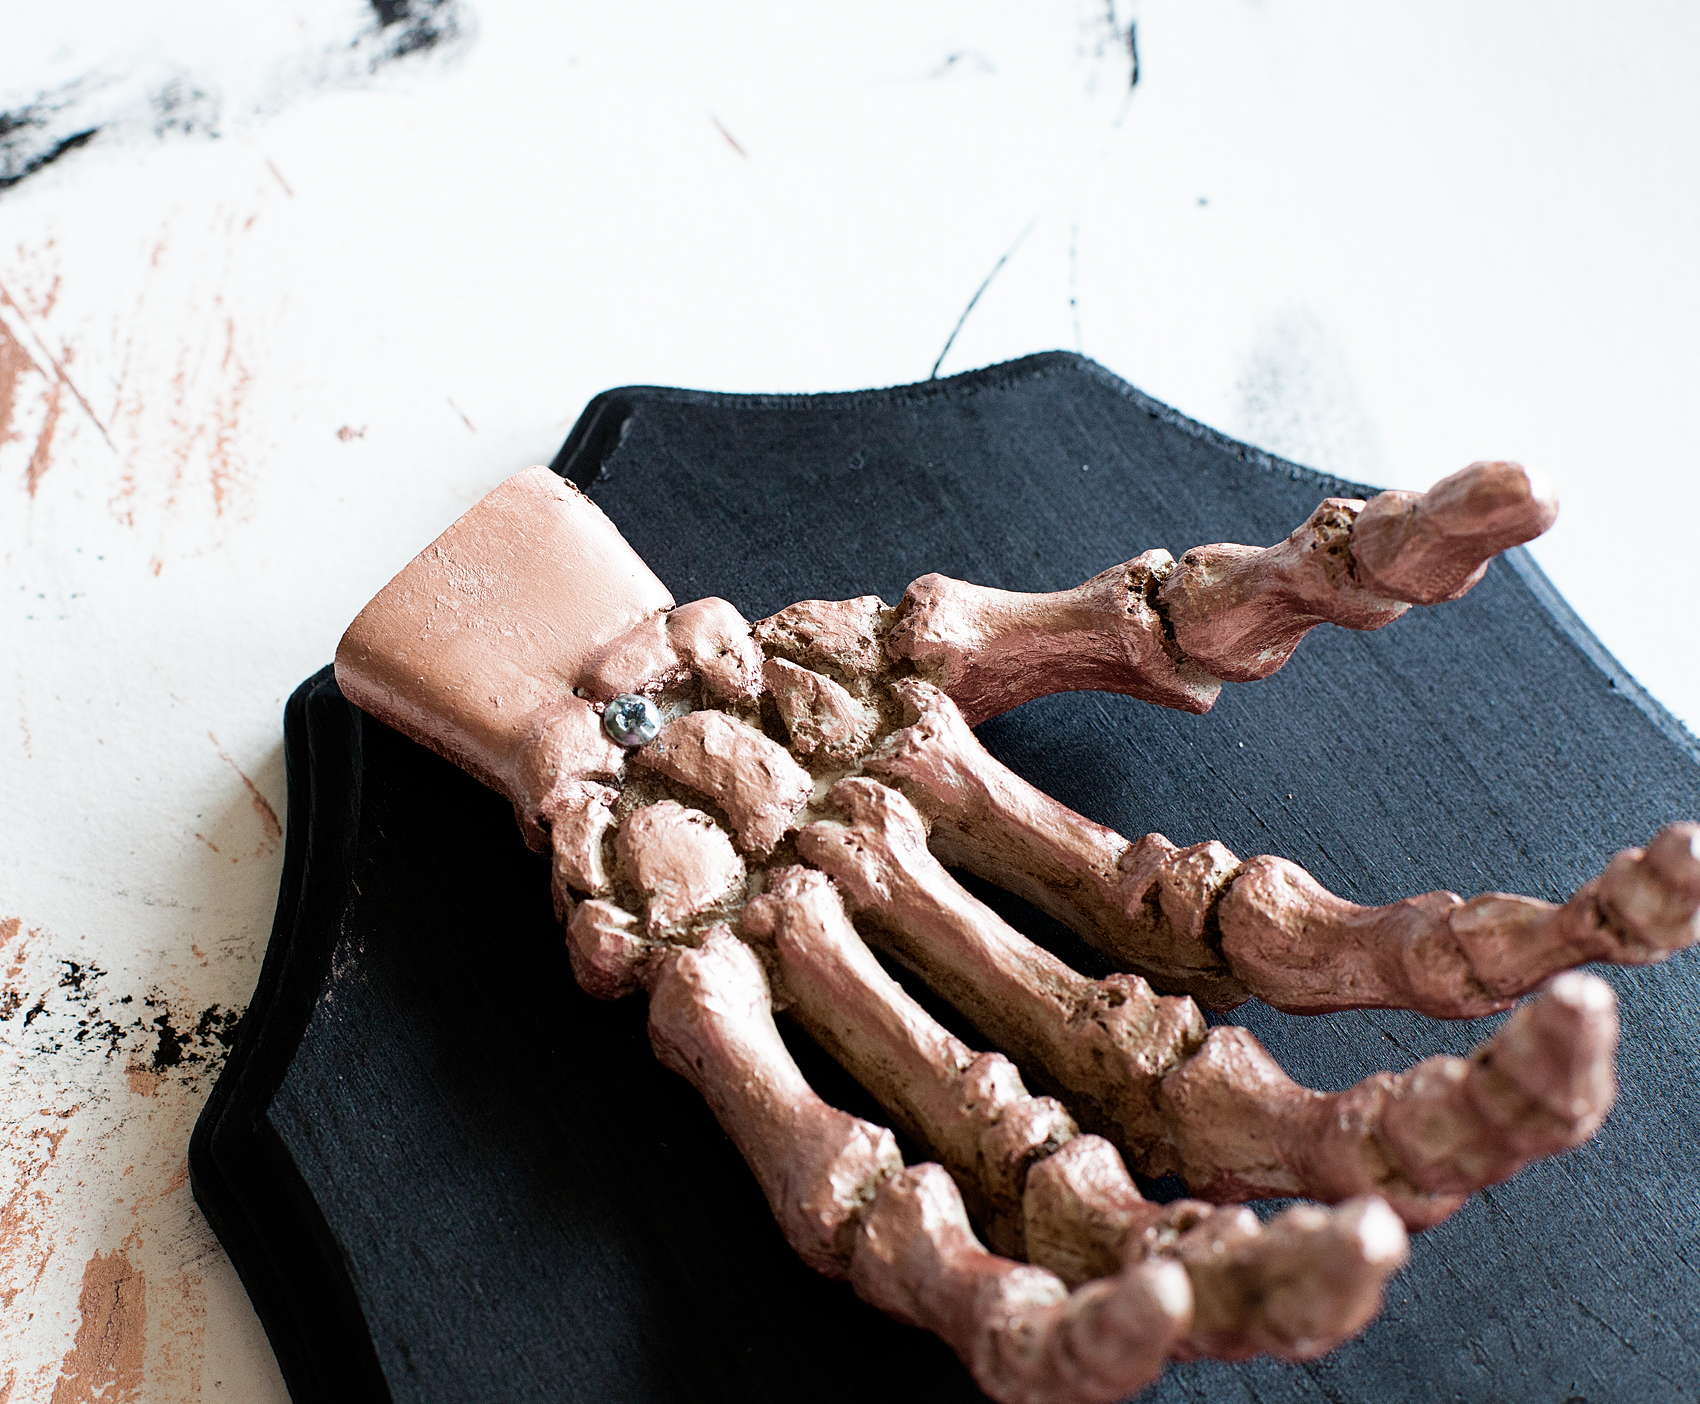
No worries!! I took a stick and roughly added more of the Metallic Lustre to cover the screw head.
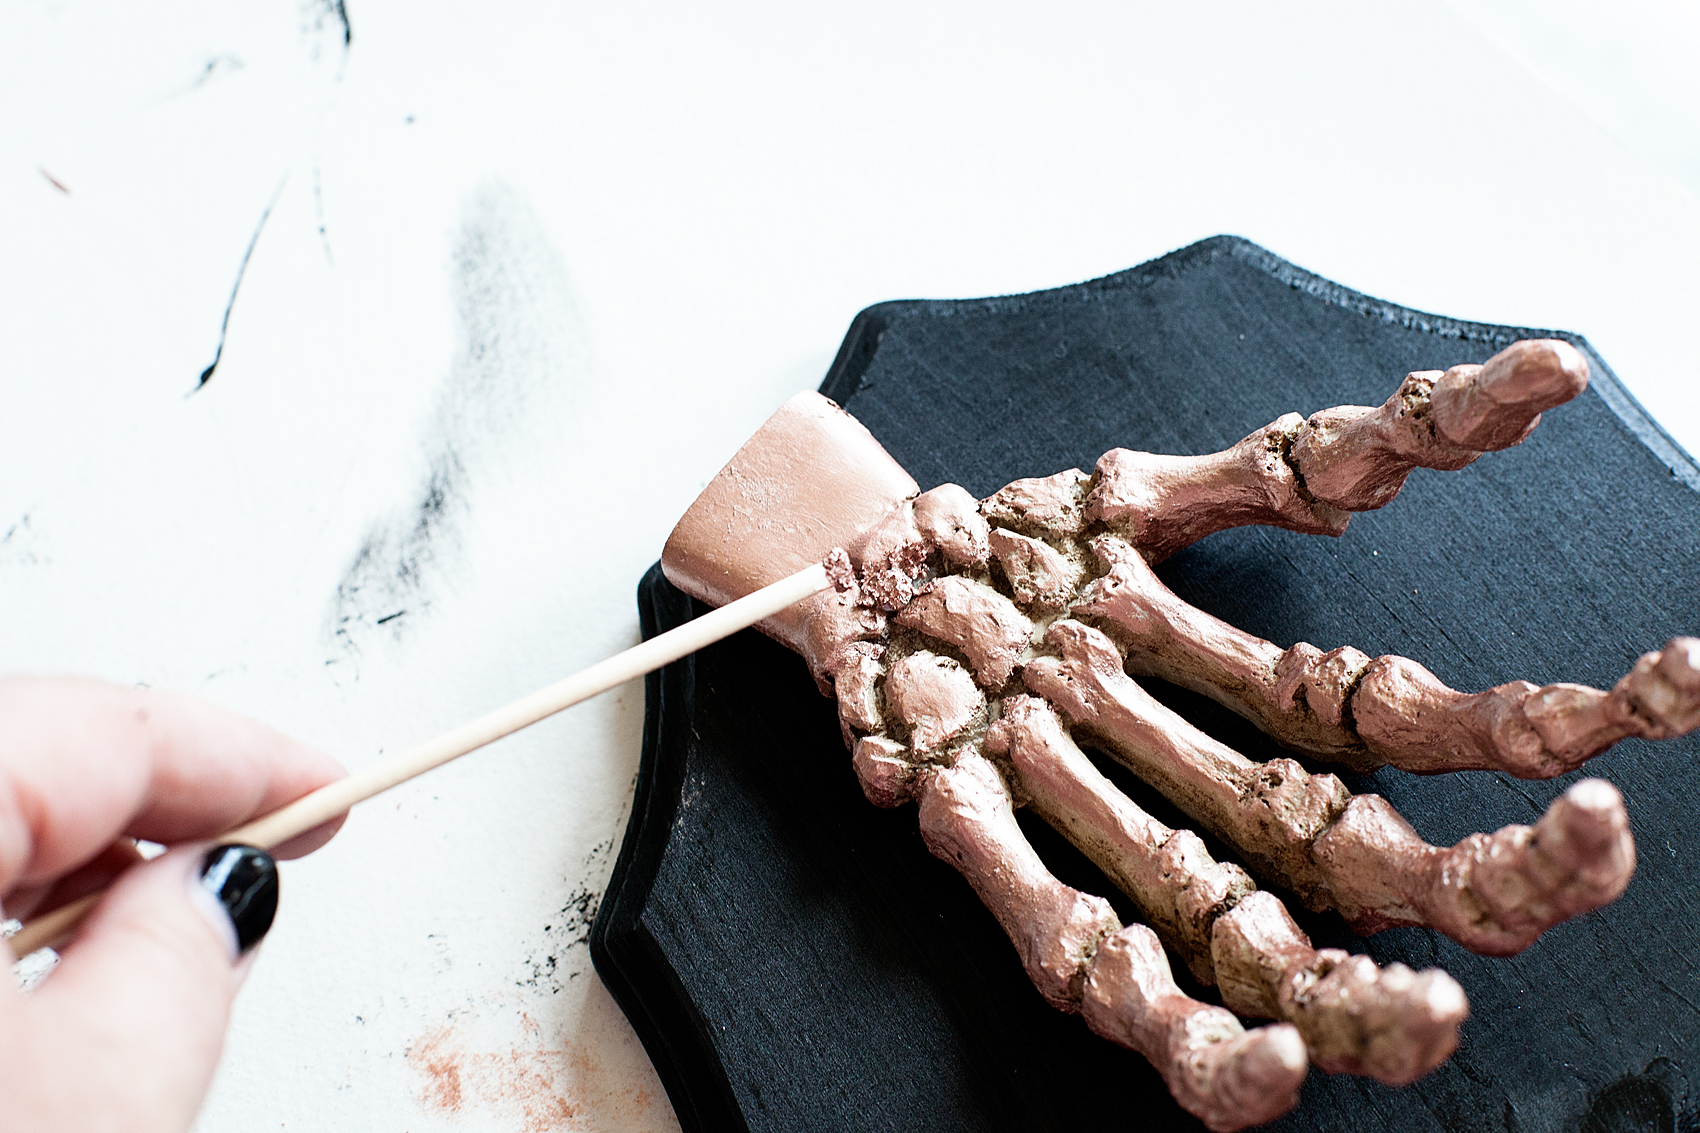
Once it cures, it’s hard and voilá… You can’t see the screw! Nice, huh?
For the spider, I placed a screw on the plaque and hung the spider on it. If you use the same spider that I used, it has a screw hanger on the back so it works perfect. I did add some of the Metallic Lustre to the screw to help it blend in.
Now it’s time to mount your Staghorn Fern. Grab the plaque that you didn’t paint along with your drill and 6 1 1/2 inch screws and some floral wire.
First, I drill pilot holes into the plaque.
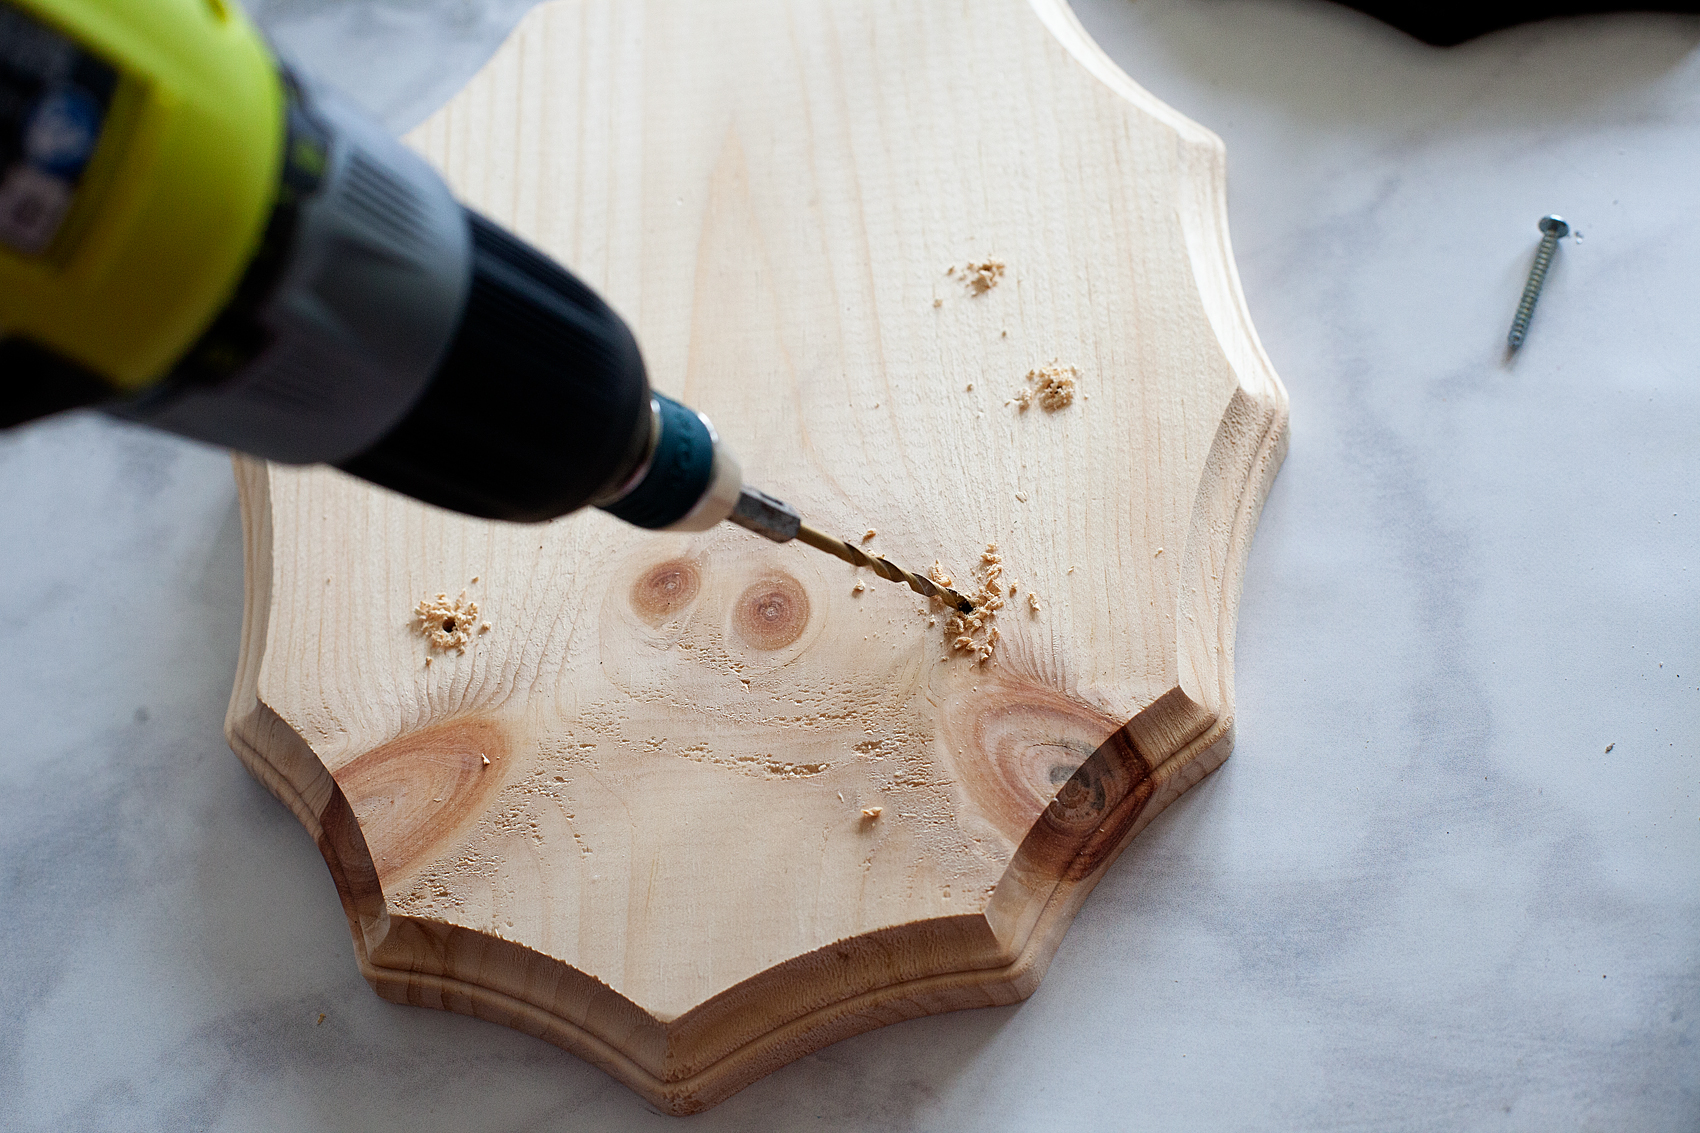
Three on each side about an inch away from the edge of the board. Then I add my screws but keep about an inch sticking up from the board.
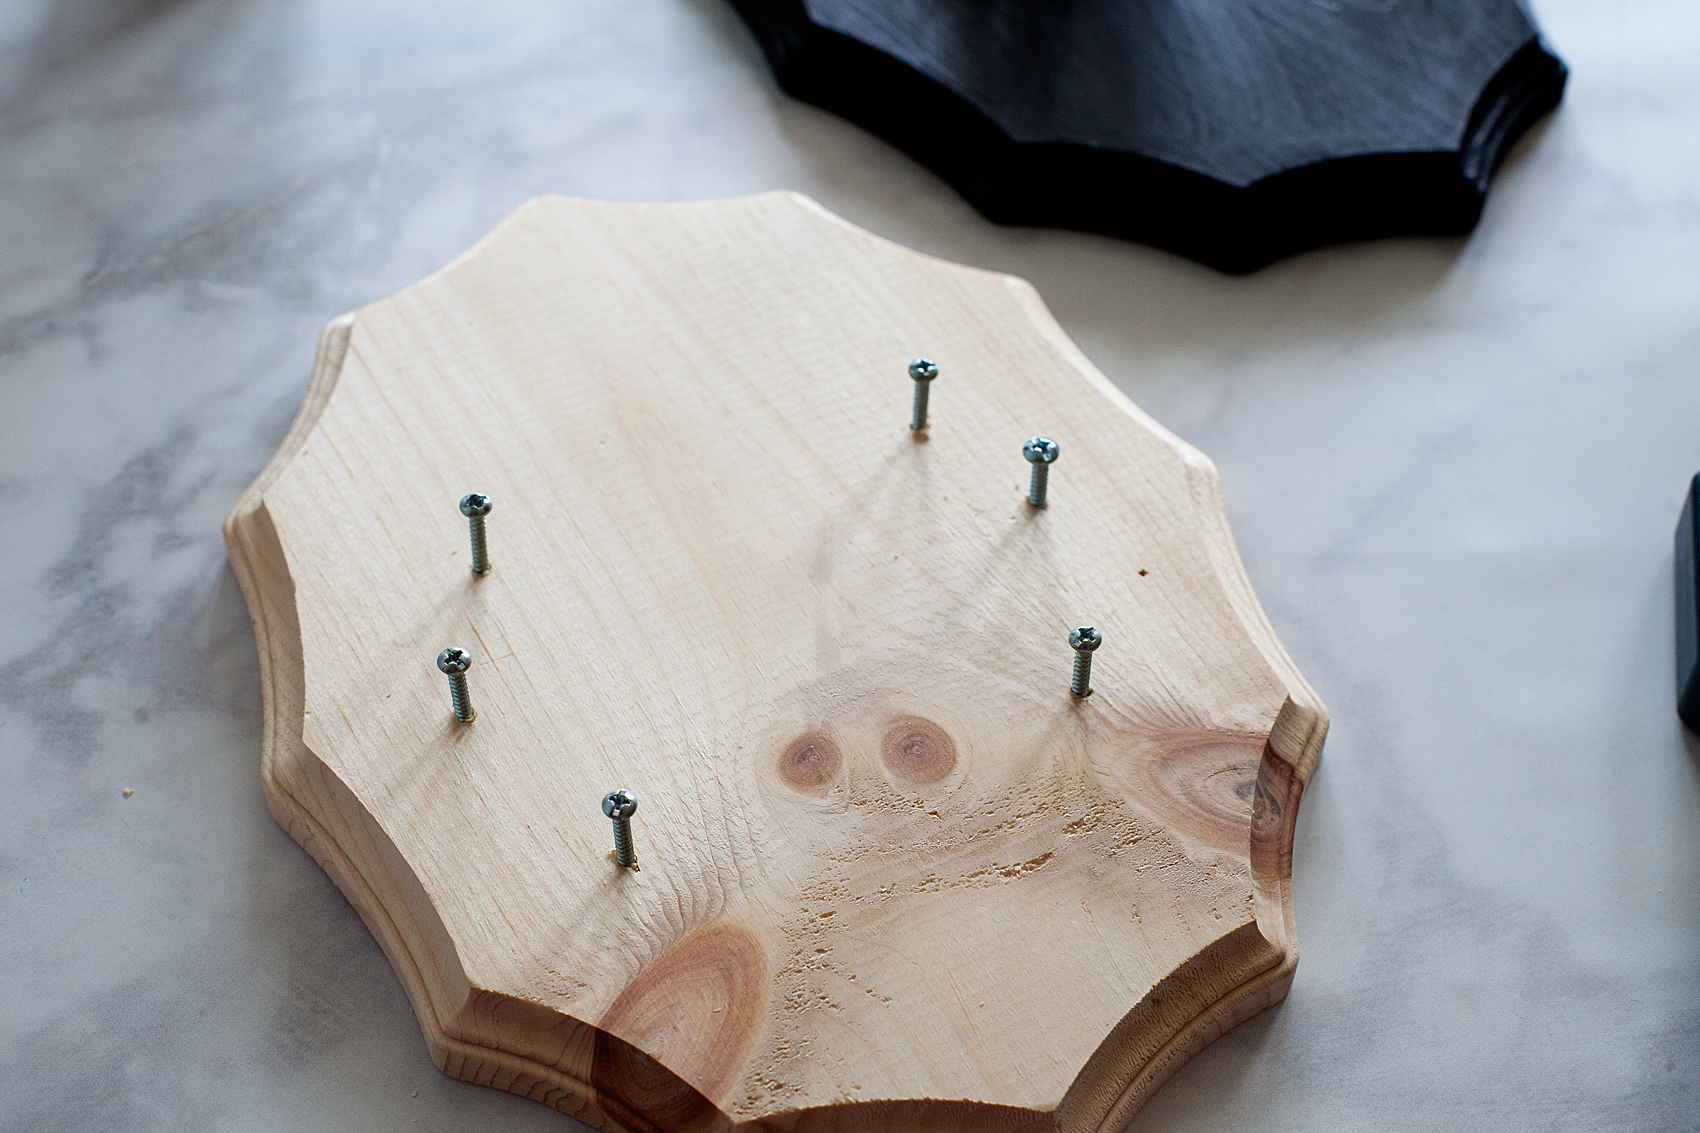
At this point, I lay my plaque in a baking sheet. This part can get a little messy and the baking sheet will help contain the mess. Then I take the floral wire and make a little loop to help start the process and attach it to the top screw.
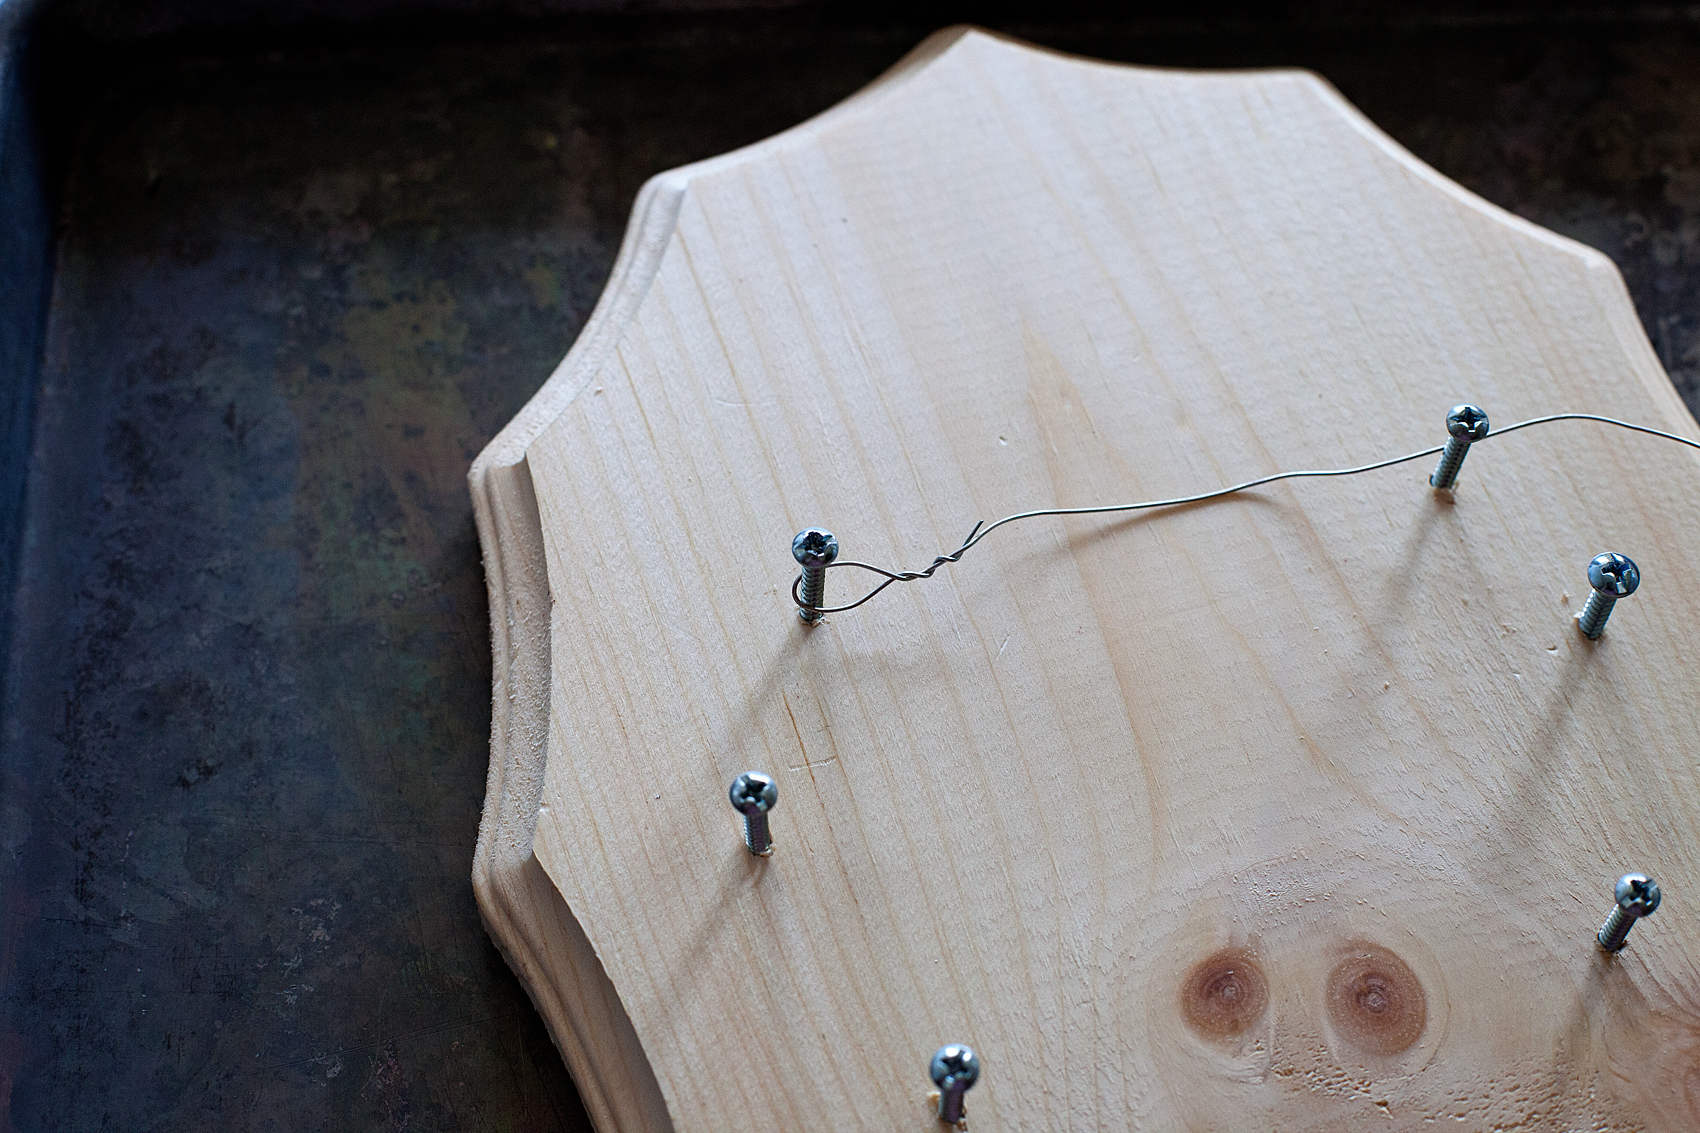
Then I wind it around the rest of the screws making sure to keep the wire close to the base of the screw close to the wood.
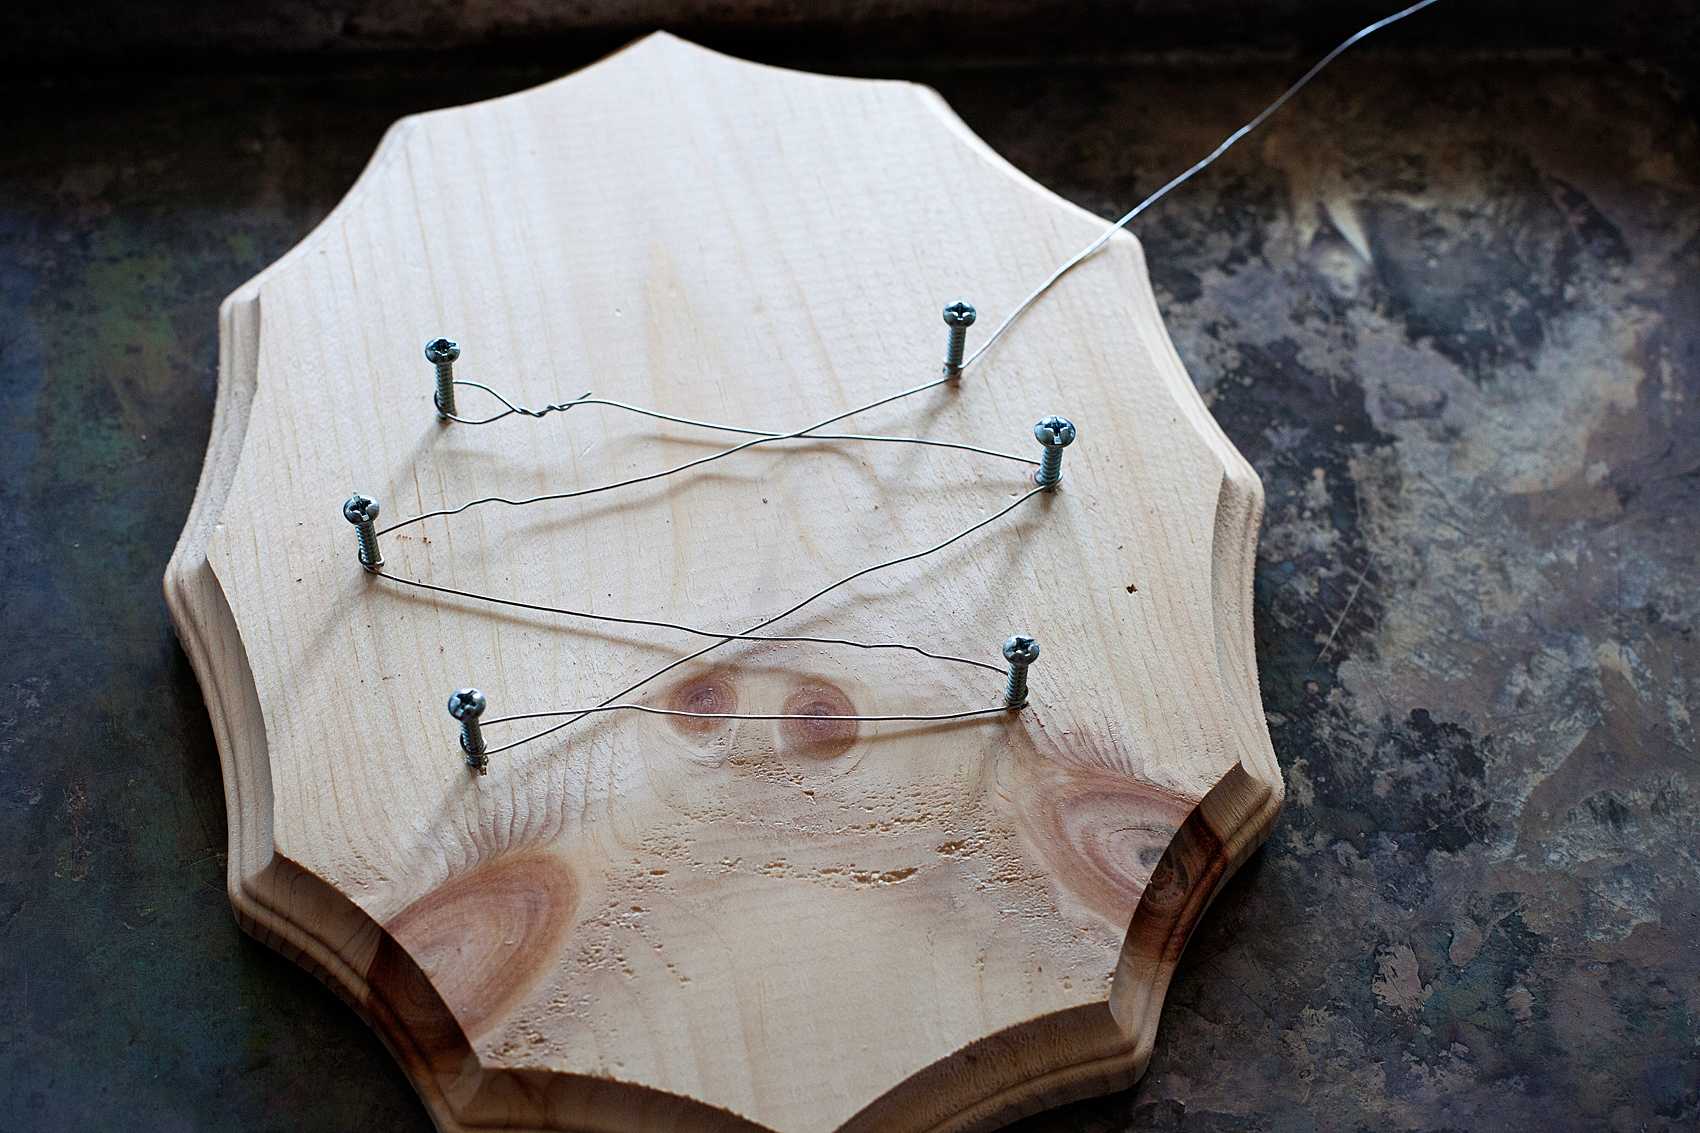
Do not cut the floral wire yet. Take some of your moss, gently wring it out a bit and lay it on top of the wire.
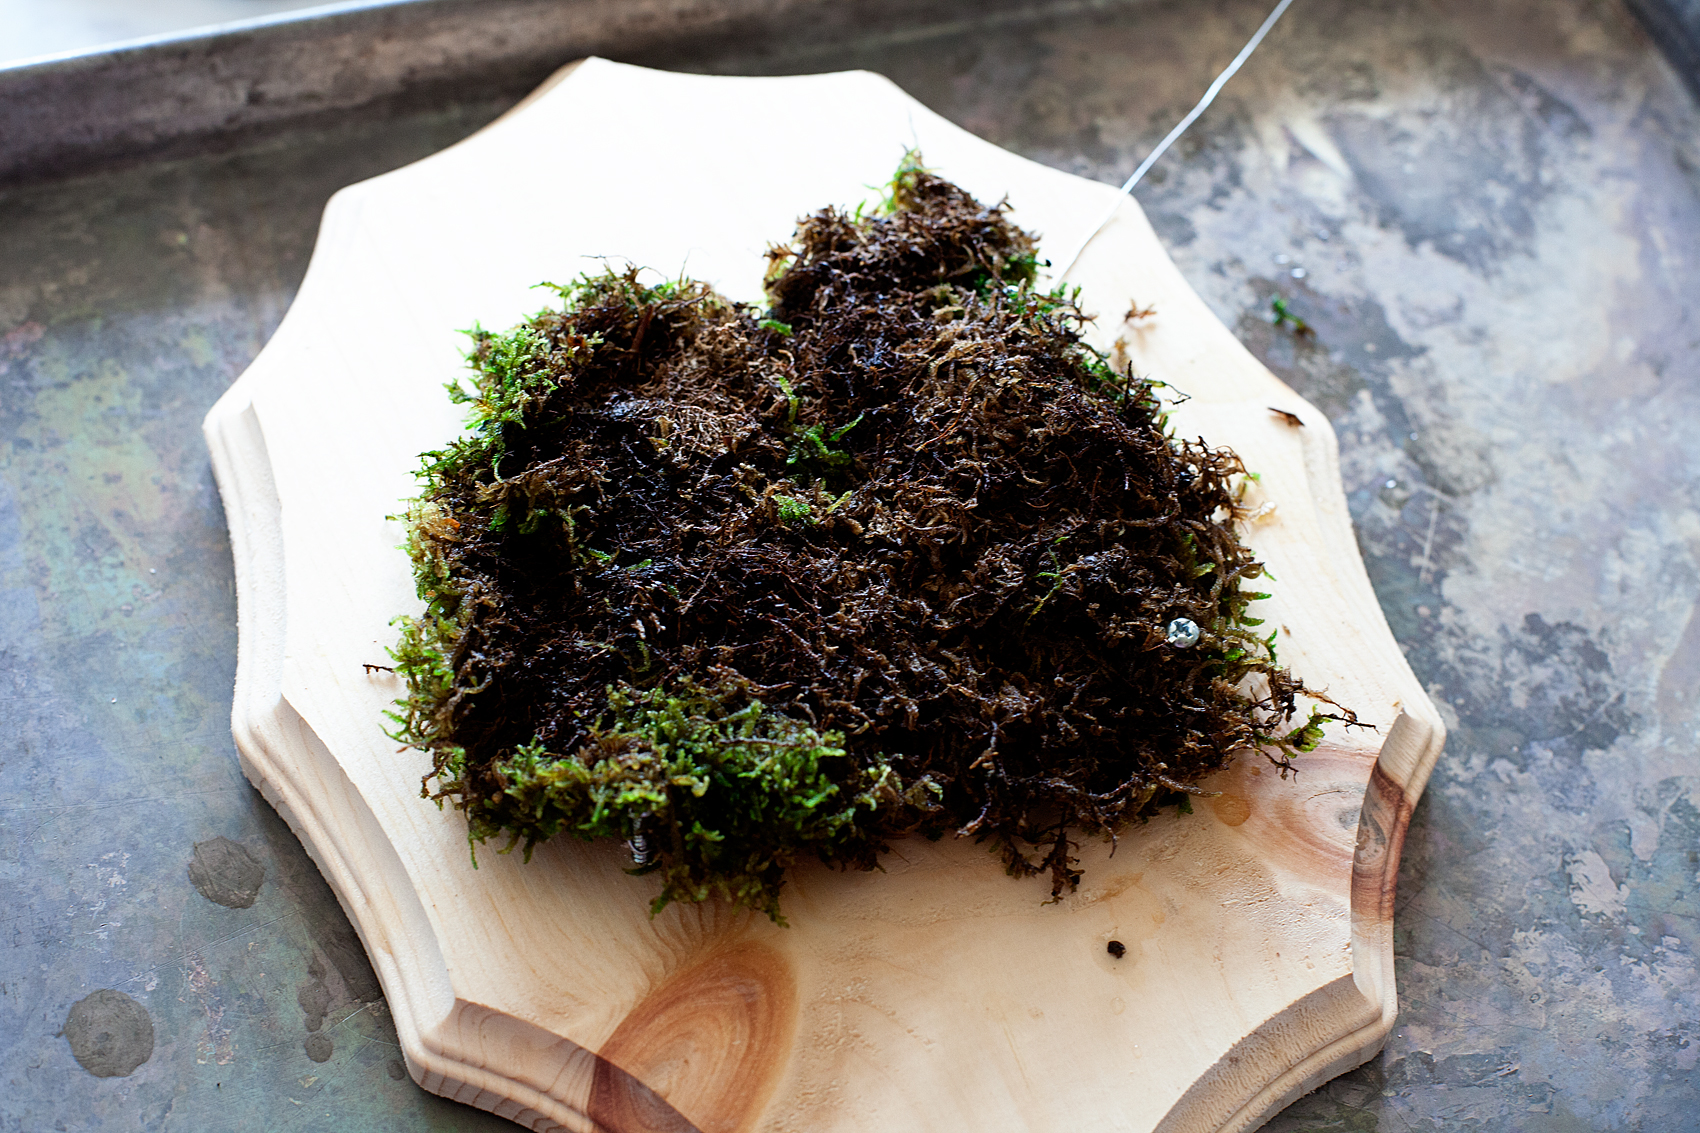
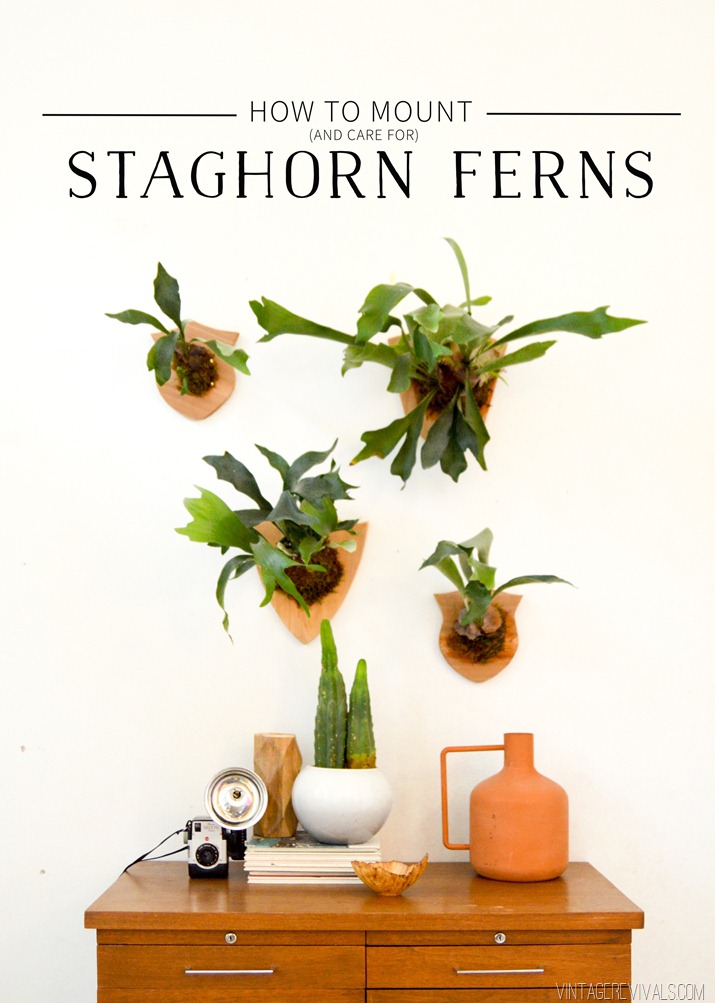
Then take your Staghorn Fern and gently take it out of the pot and remove as much dirt as possible. Staghorn Ferns are air plant so they really don’t need to live in soil. They get their nutrients from the air and the moisture on their frawns. For a really great post on Staghorn Ferns and how to mount and care for them, check out Vintage Revivals. Mandi has a real love for these plants.
Once I’ve removed as much of the dirt as I am comfortable with, I lay it down on top of the moss.
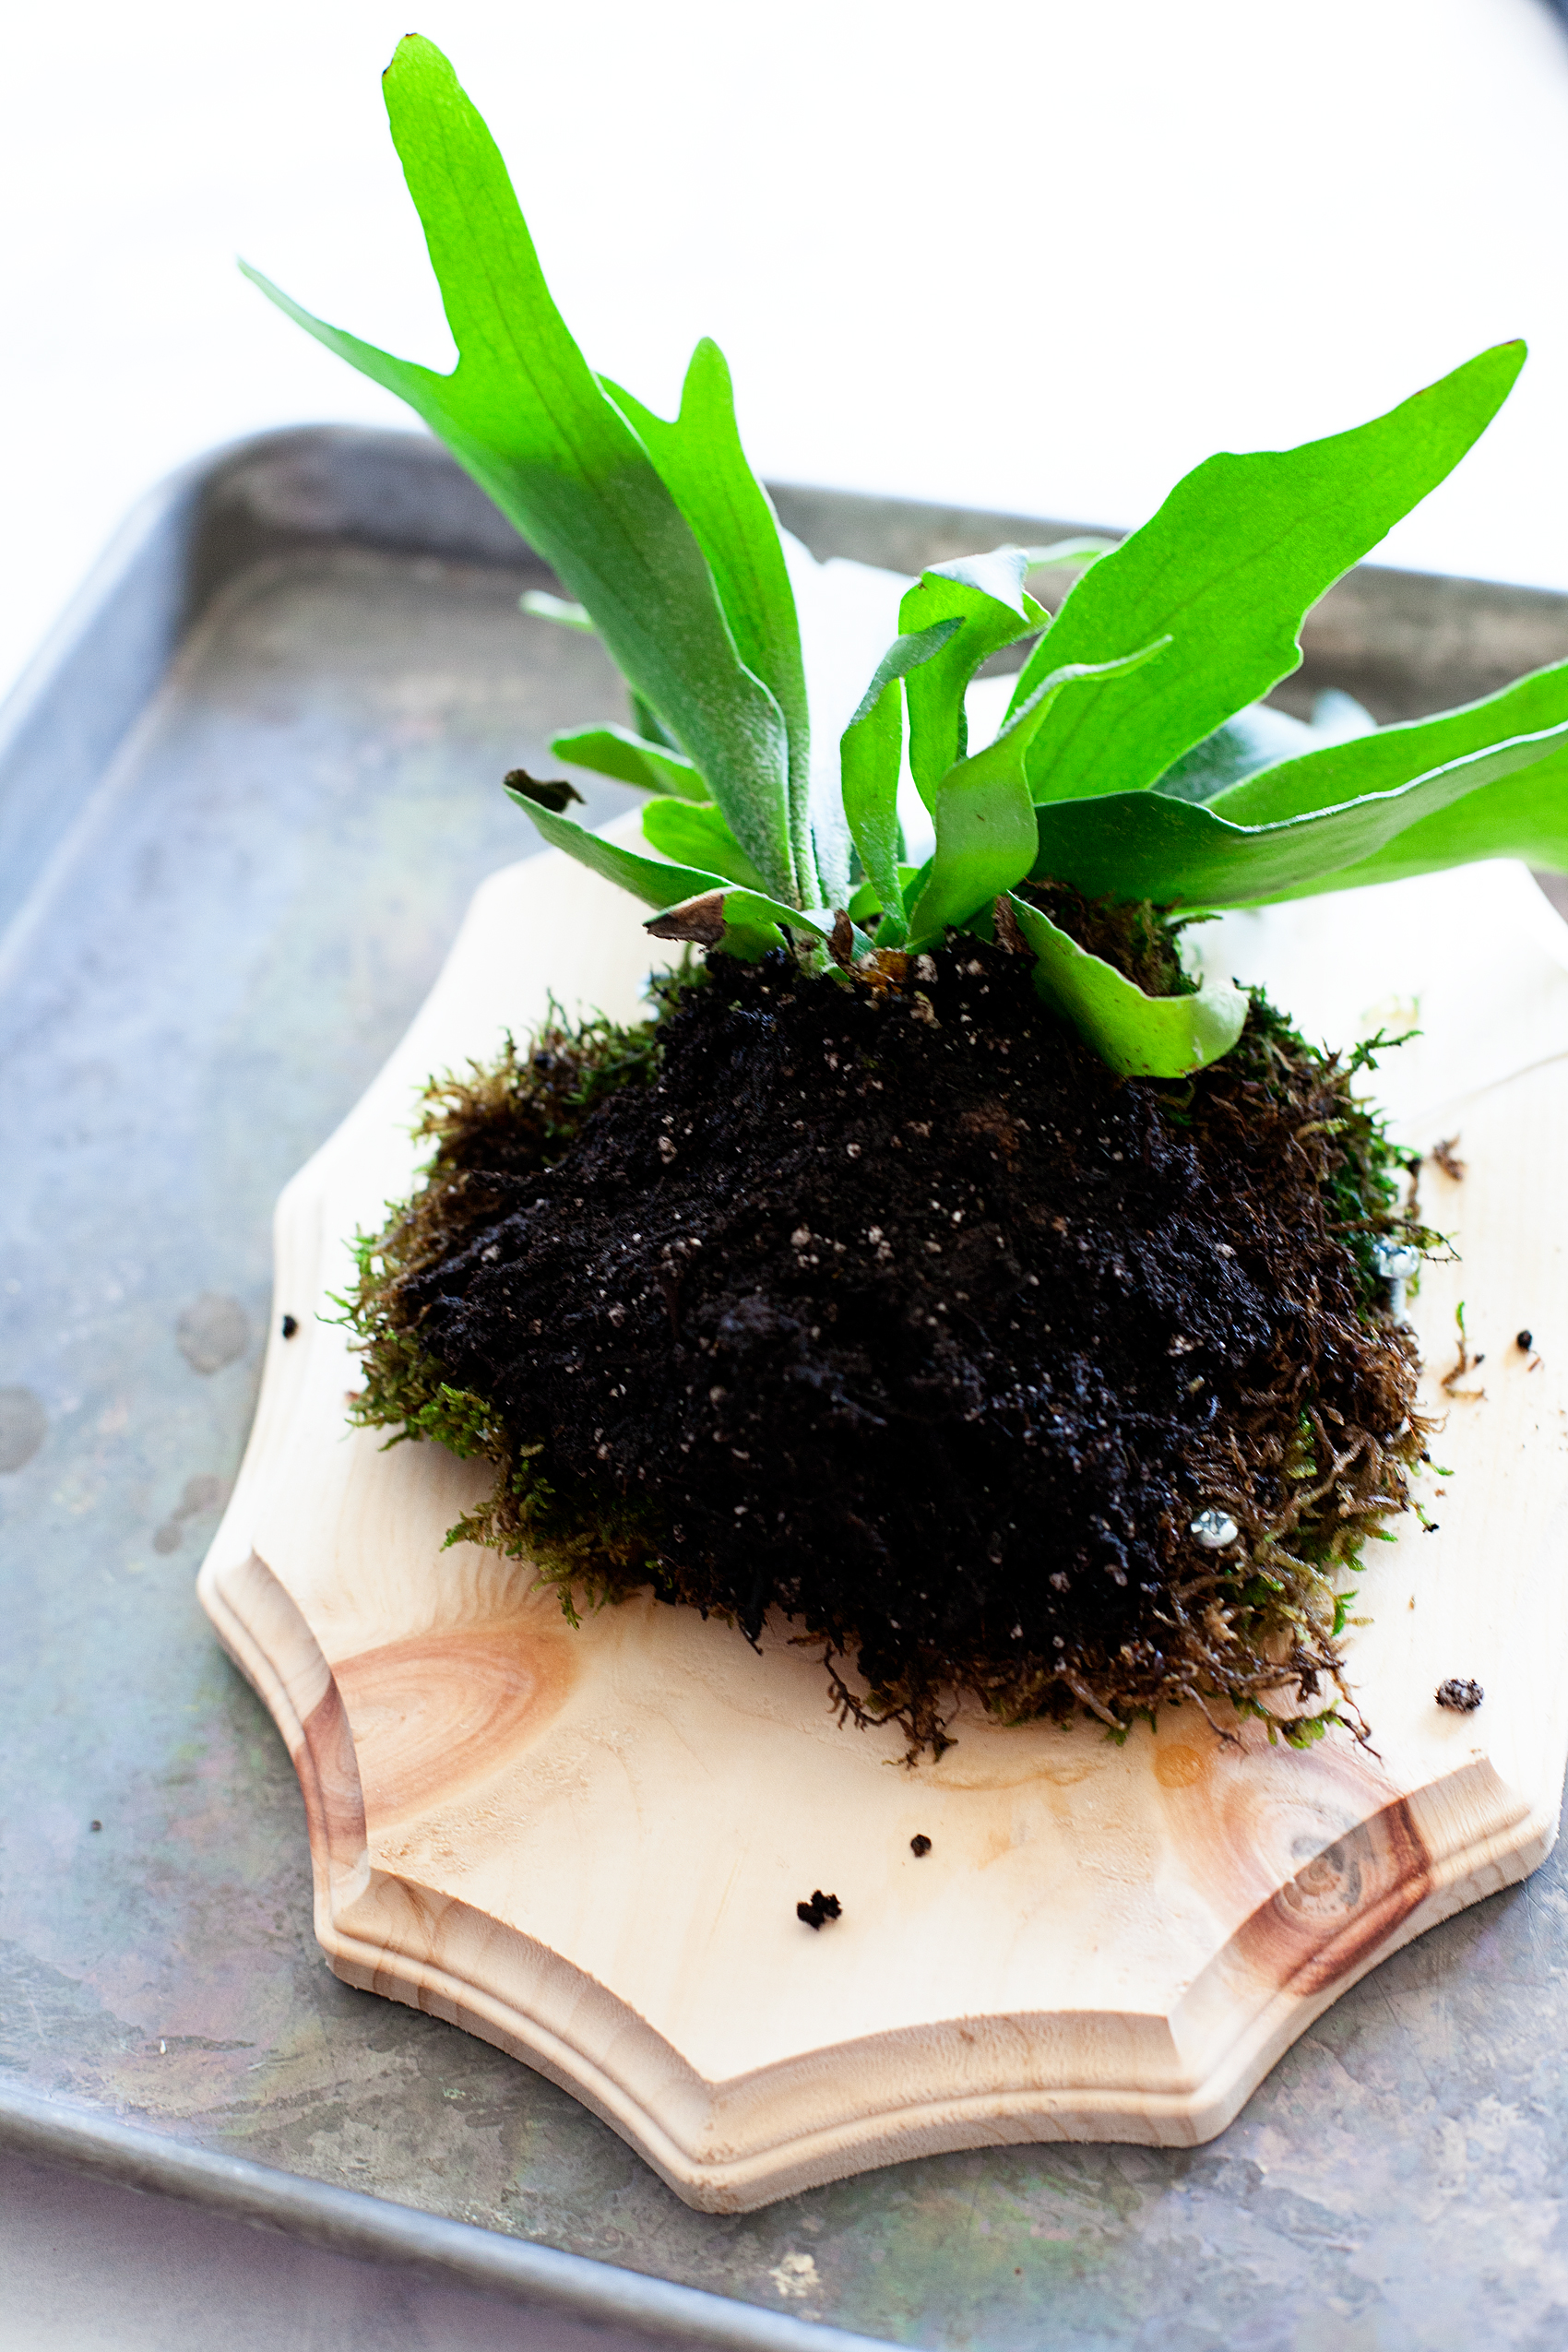
Here’s a funny tip…
Staghorn Ferns love banana peels. Apparently, they provide the kind of nutrition that the plants really like. Before I cover the plant with moss, I add a little bit of banana peel.
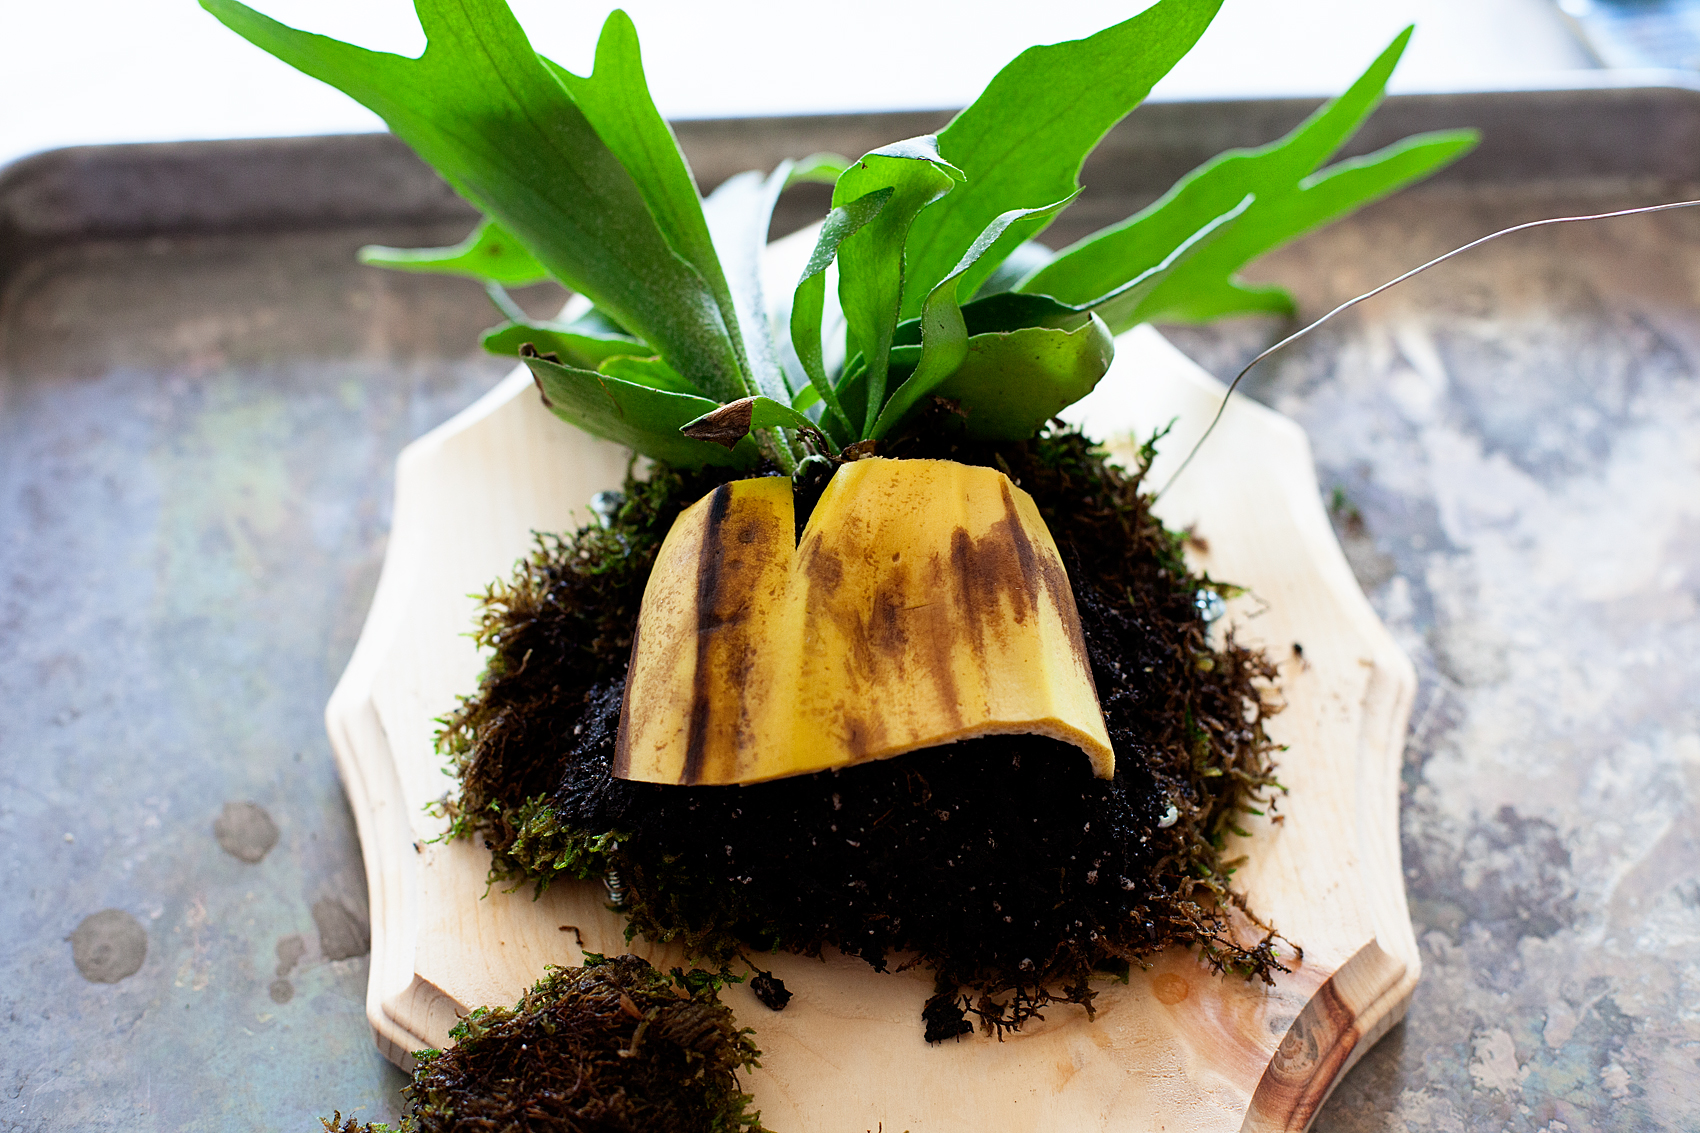
Next, cover it with more moss and then criss cross the wire over the whole mound like before, until it is secure. The wire actually melts right into the moss and you don’t see it at all.
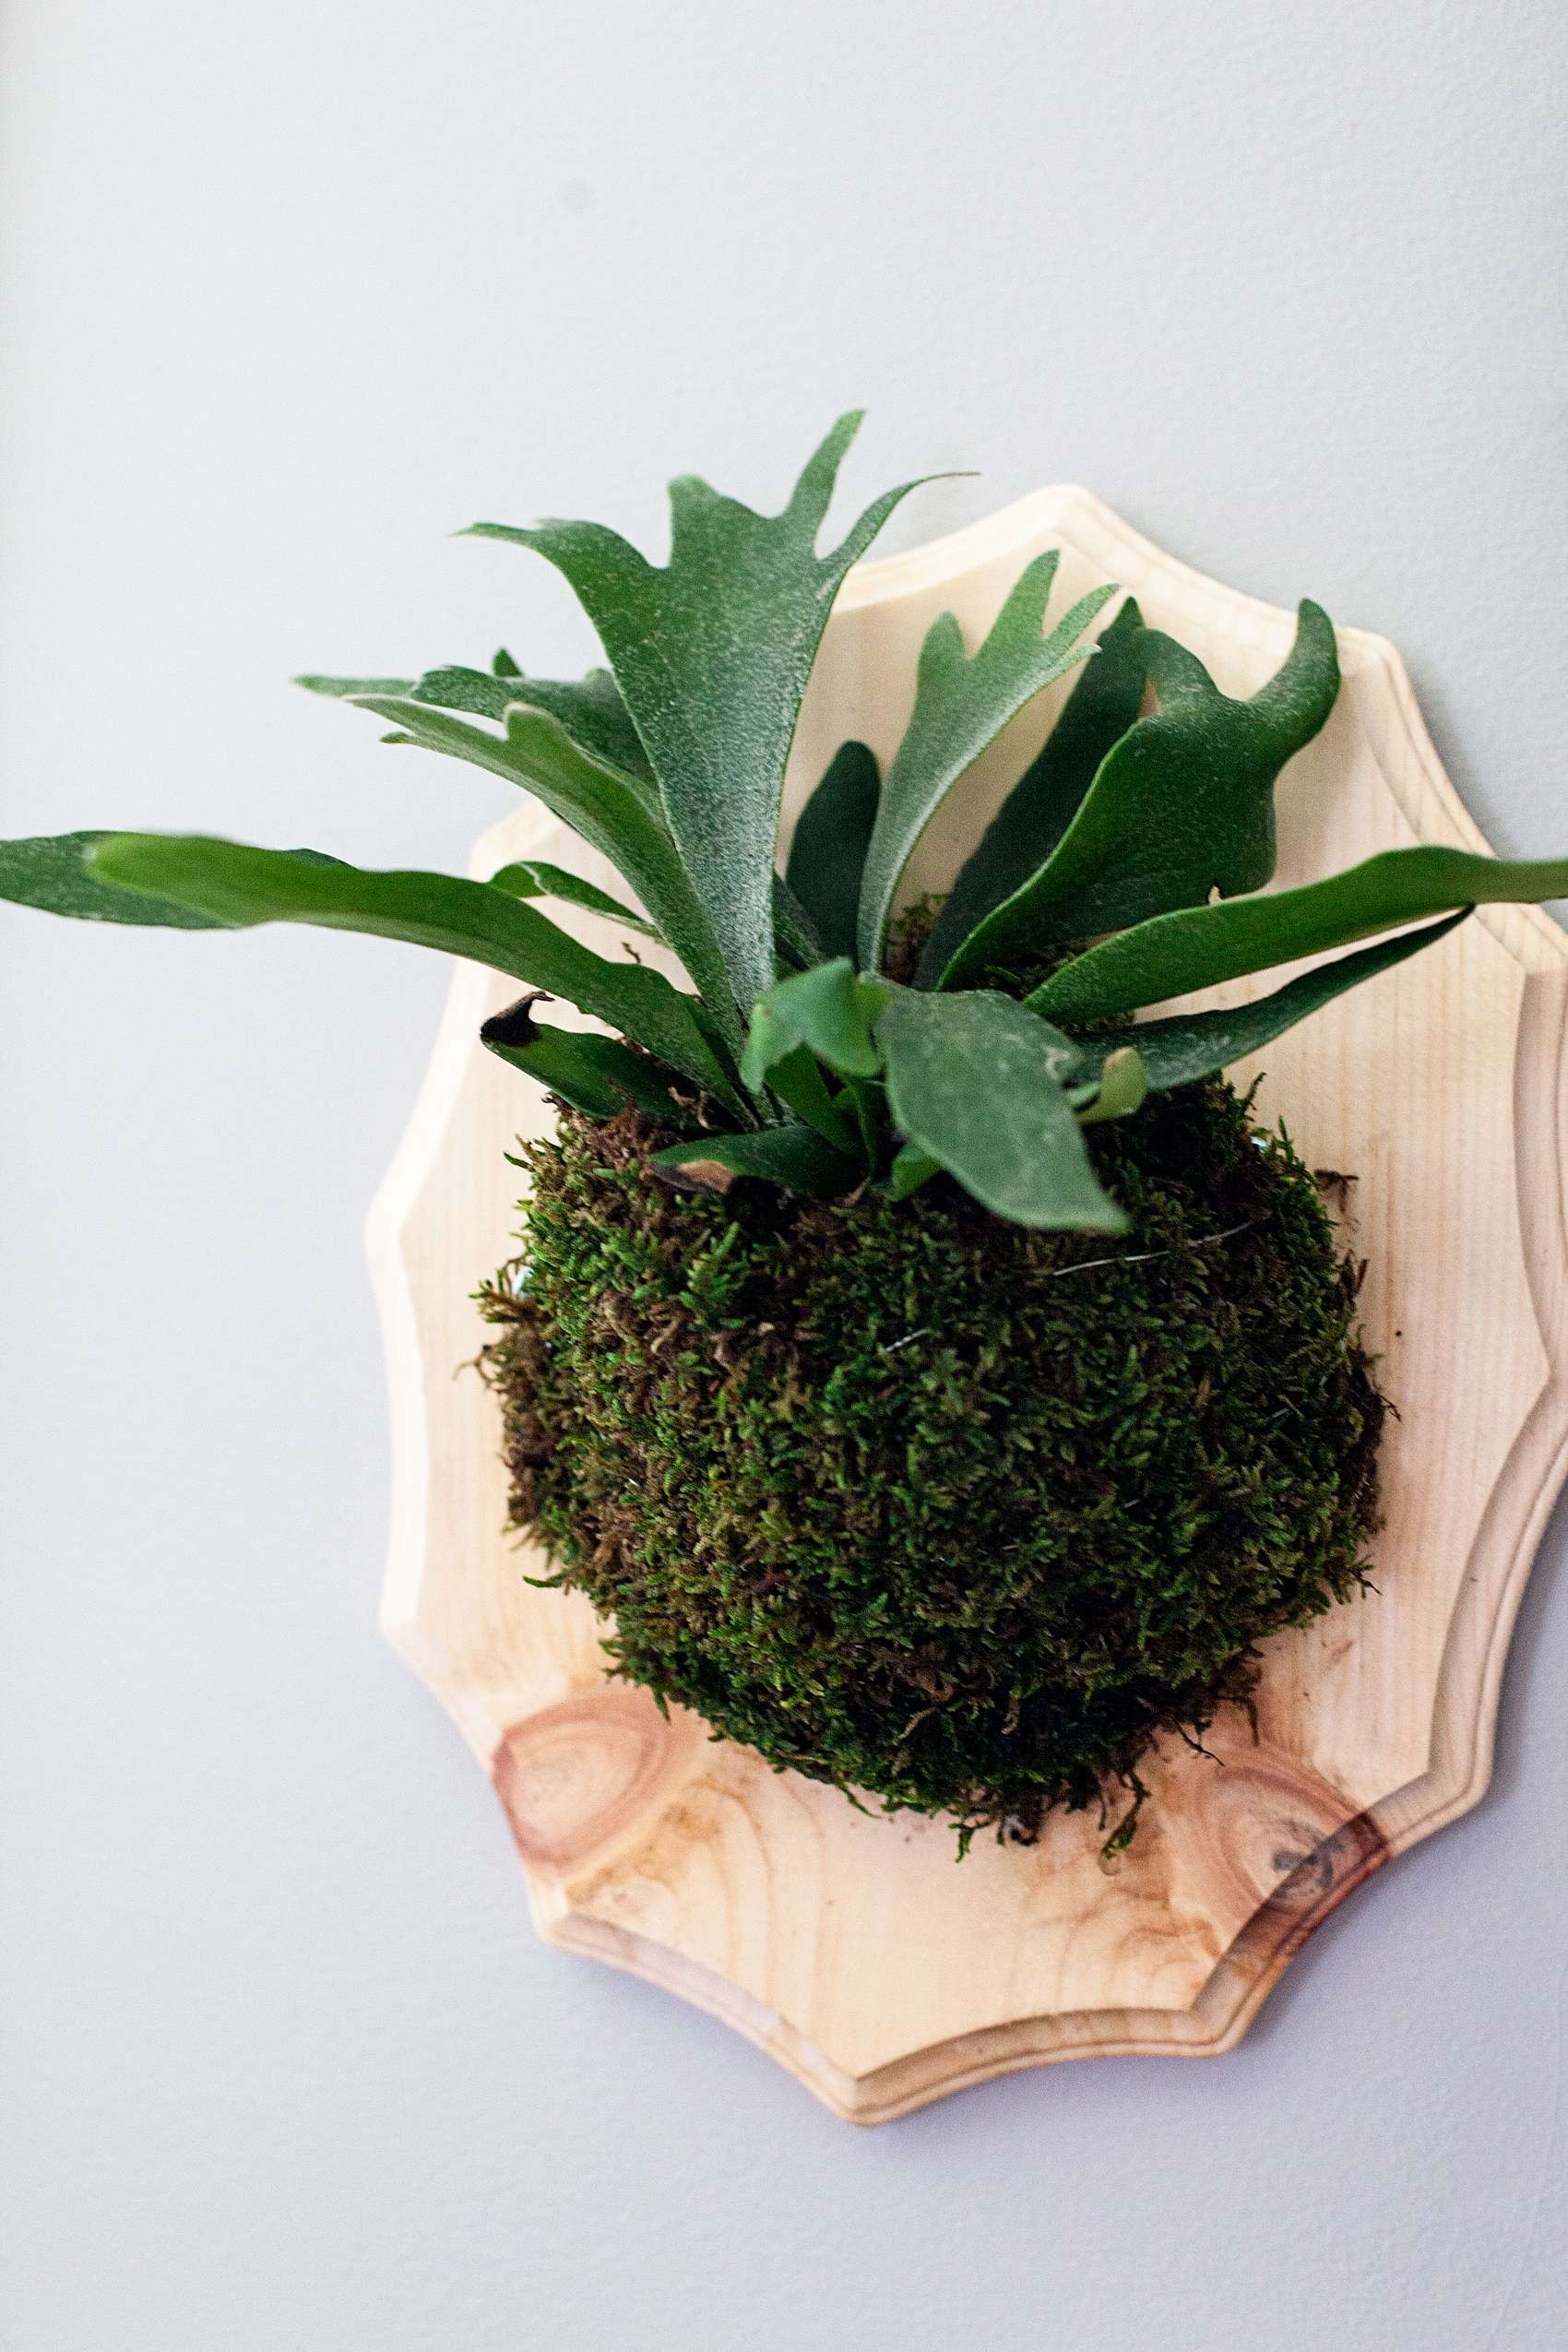
Check out Mandi’s post for tips on how to care for your new mounted Staghorn Fern. Now you’re all set to hang your macabre little scene on your walls.
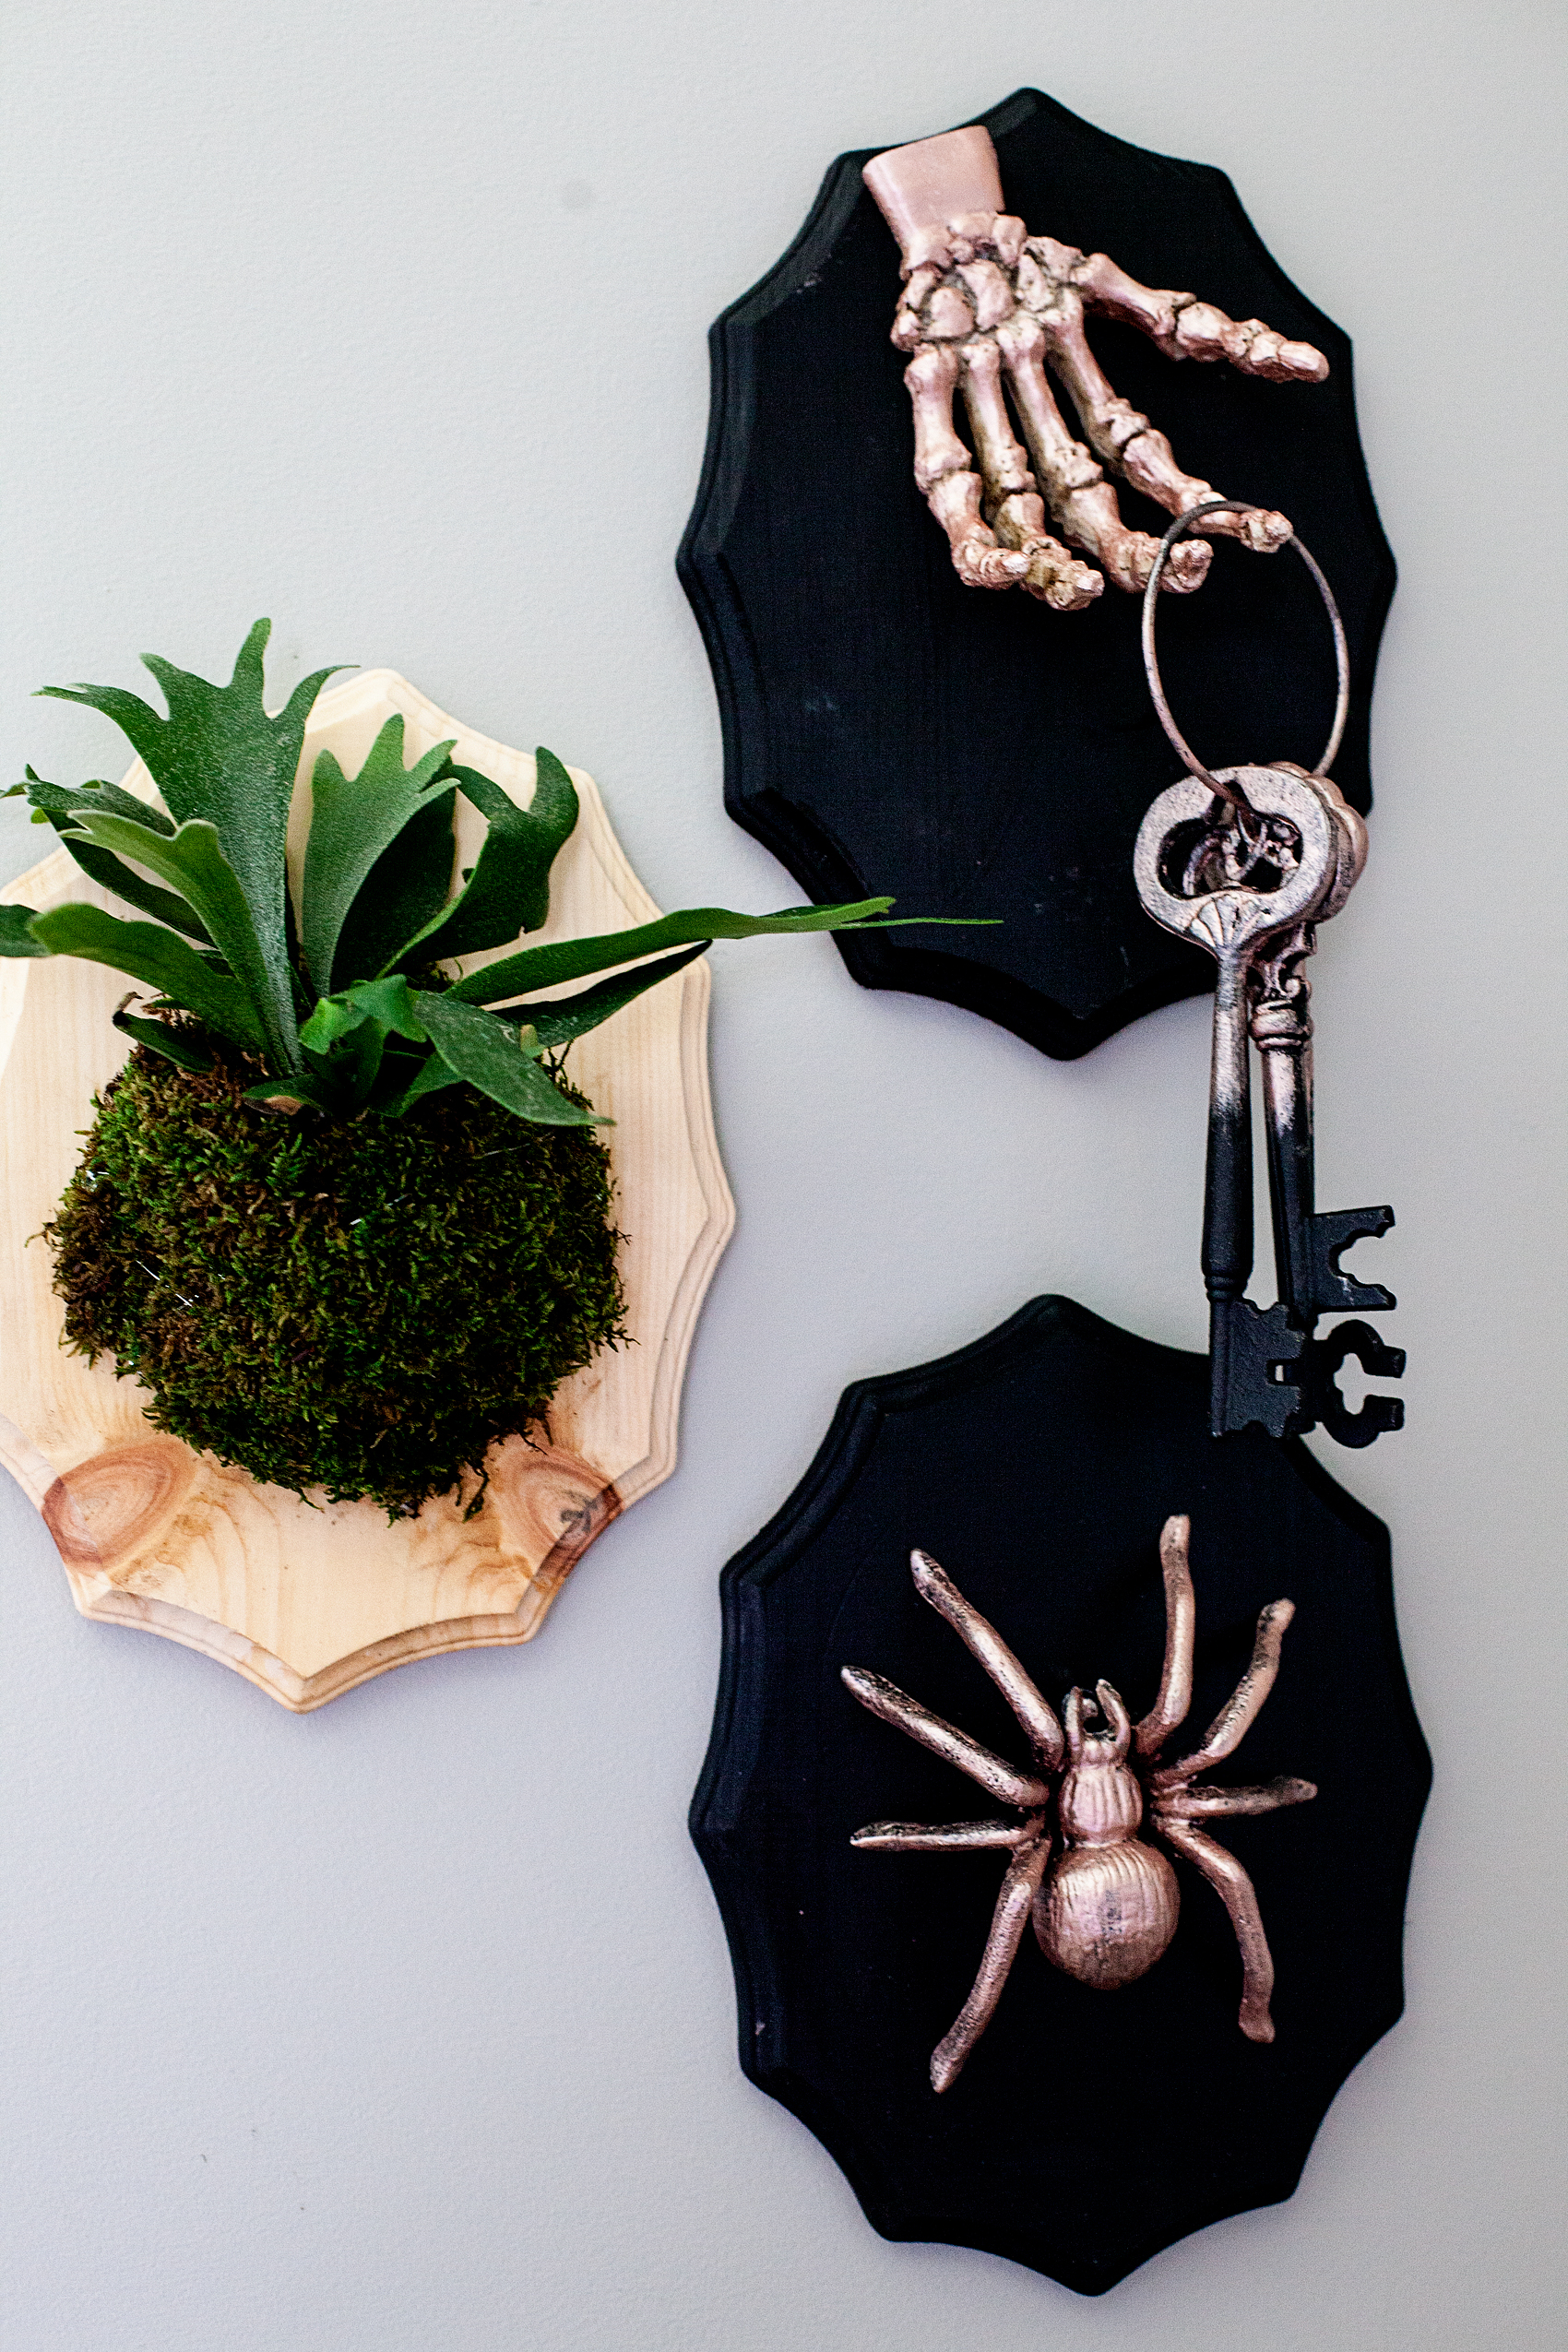
Another little trick… I hung mine with those Command Strip Picture Hanging Strips. LOVE those babies!

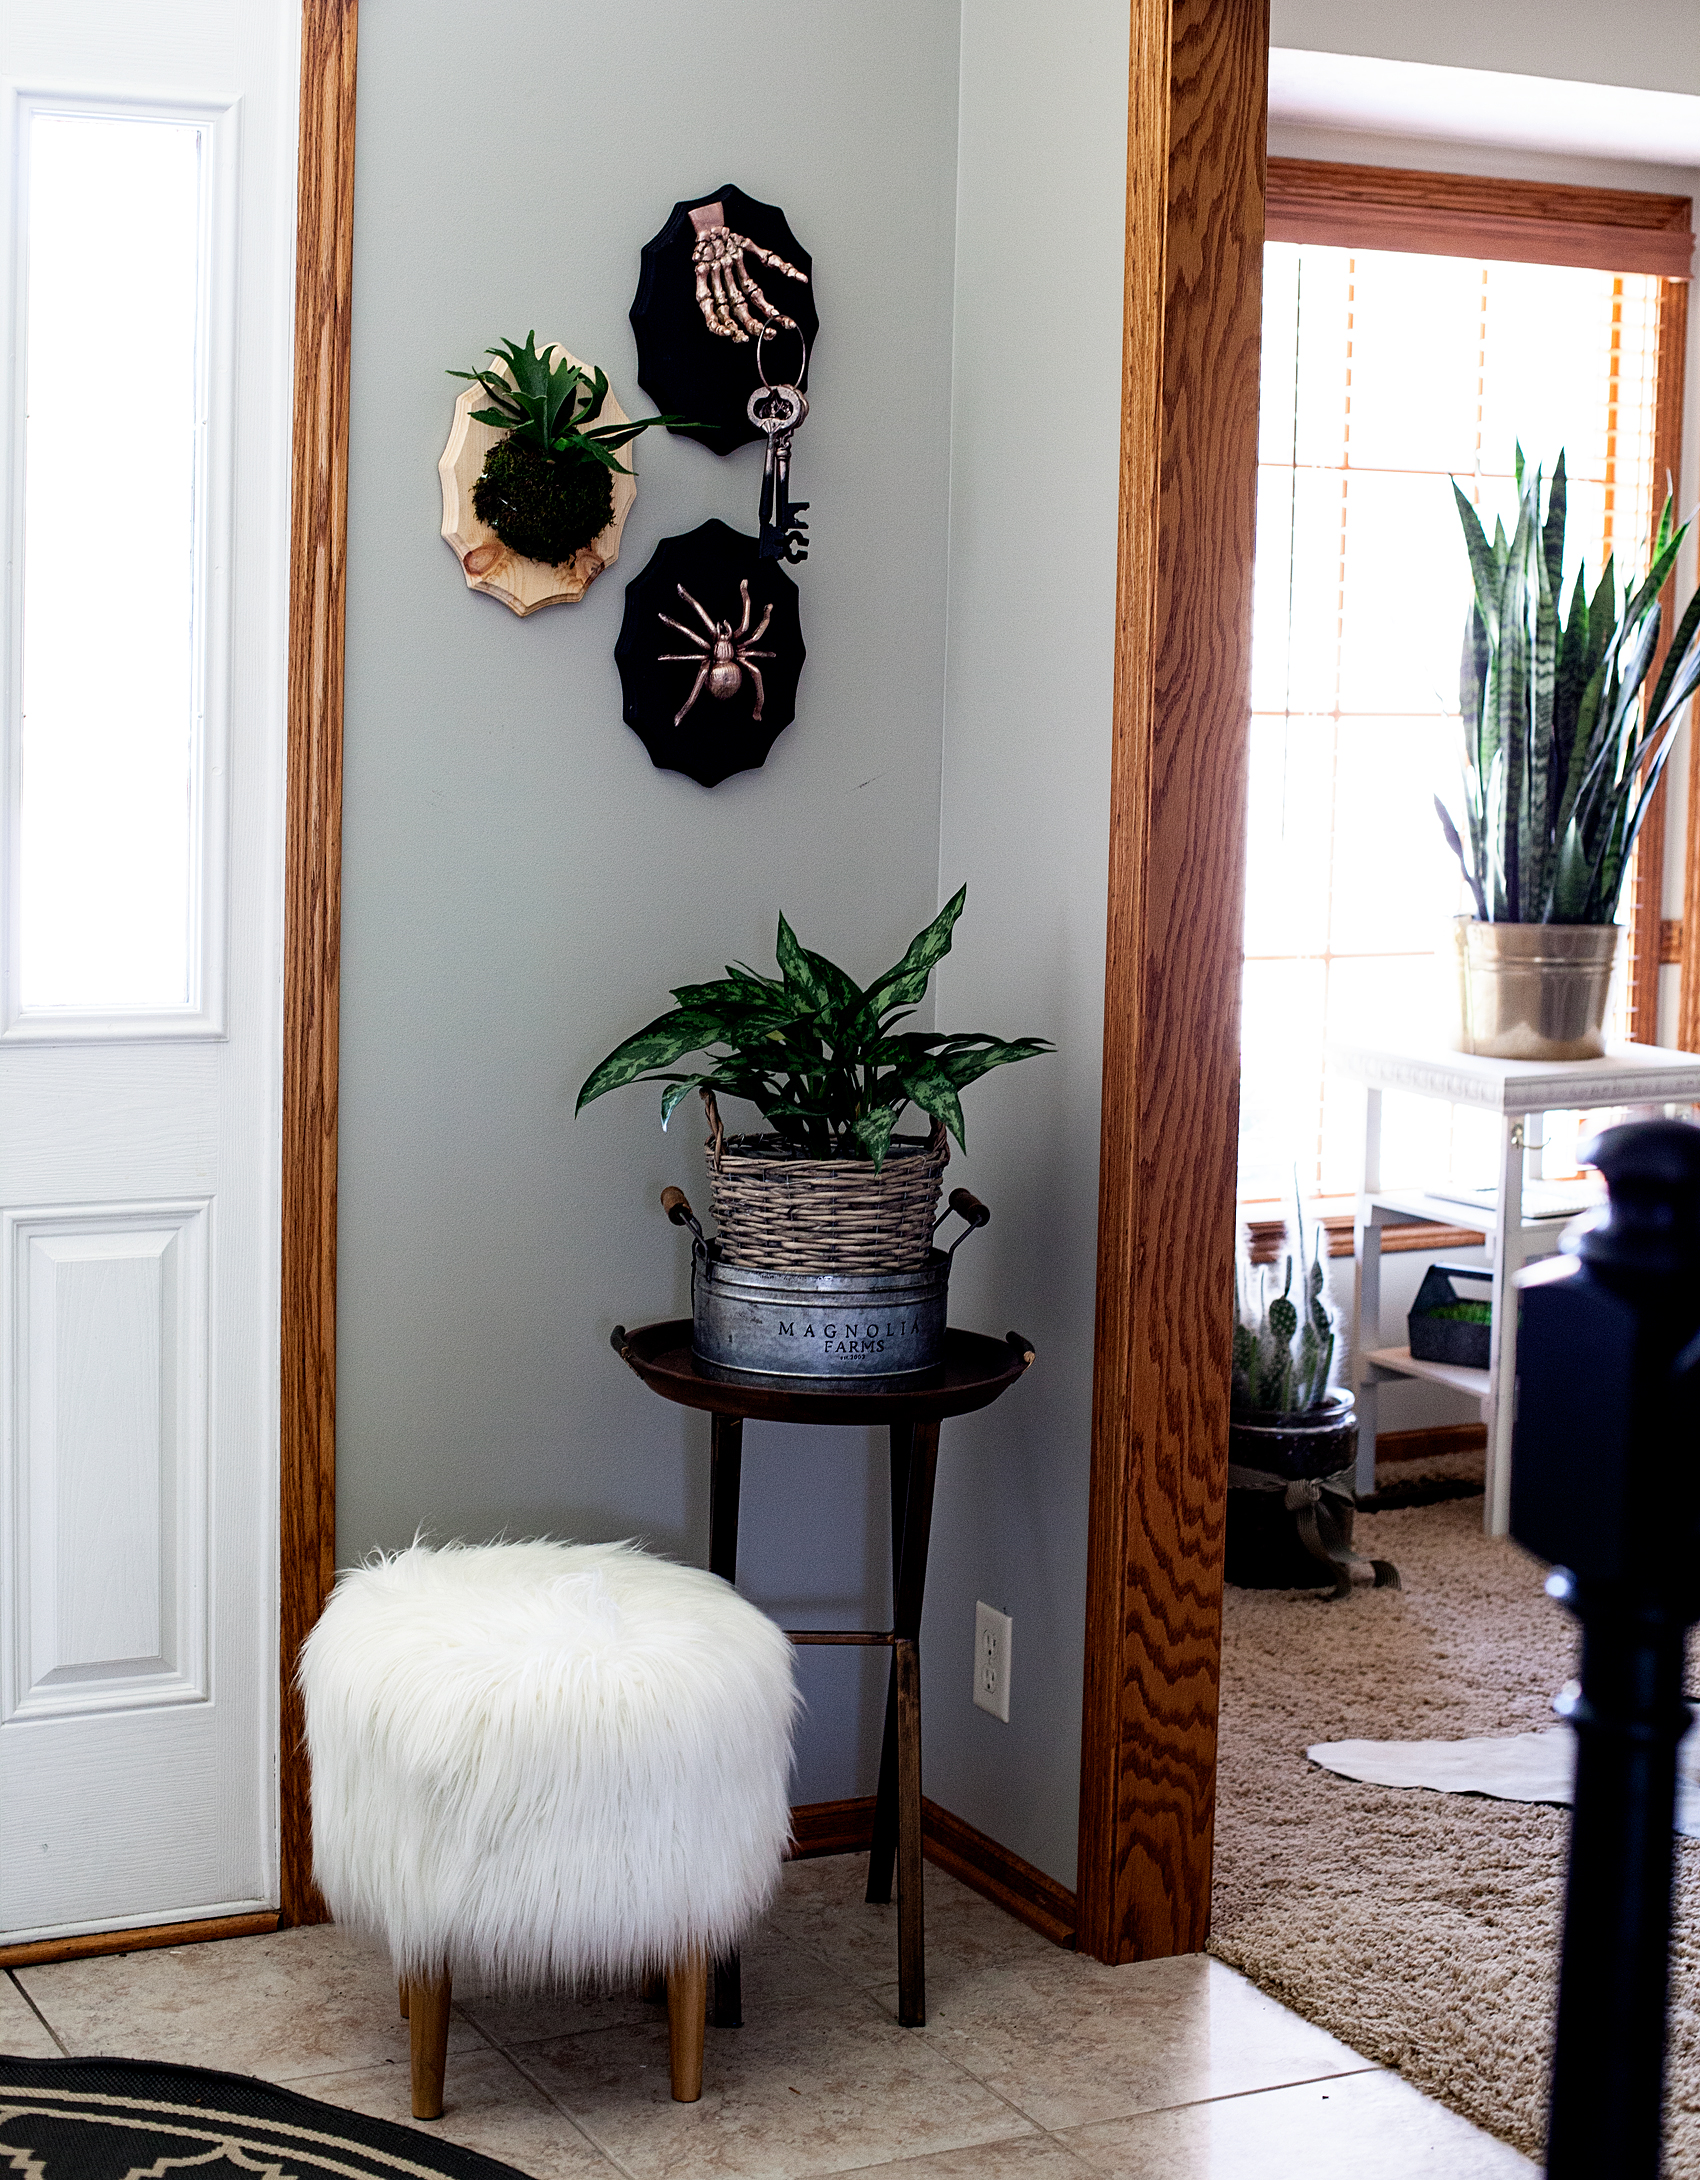
I love how these add a little creepy and yet class to my entryway if that’s even possible!
9
Leave a Reply