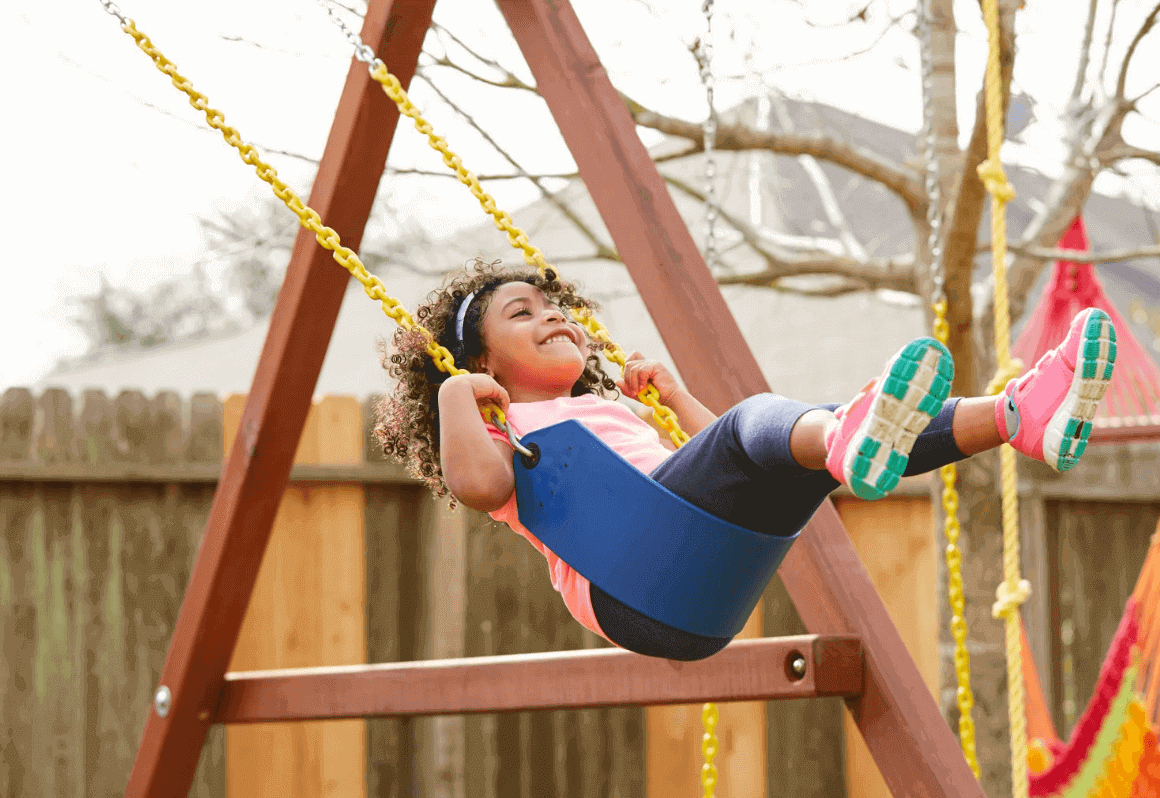
Are you struggling to find new ways to make your swingset fun? Or are you looking to add a swingset to your garden and want some games that you can play with your children? You have come to the right place! I know how challenging it can be to keep your children entertained, which is why I’m sharing our favourite swingset games that can be tailored for any age or ability to provide hours of outdoor fun. These could become your new favourite games, too!
Swingset Race
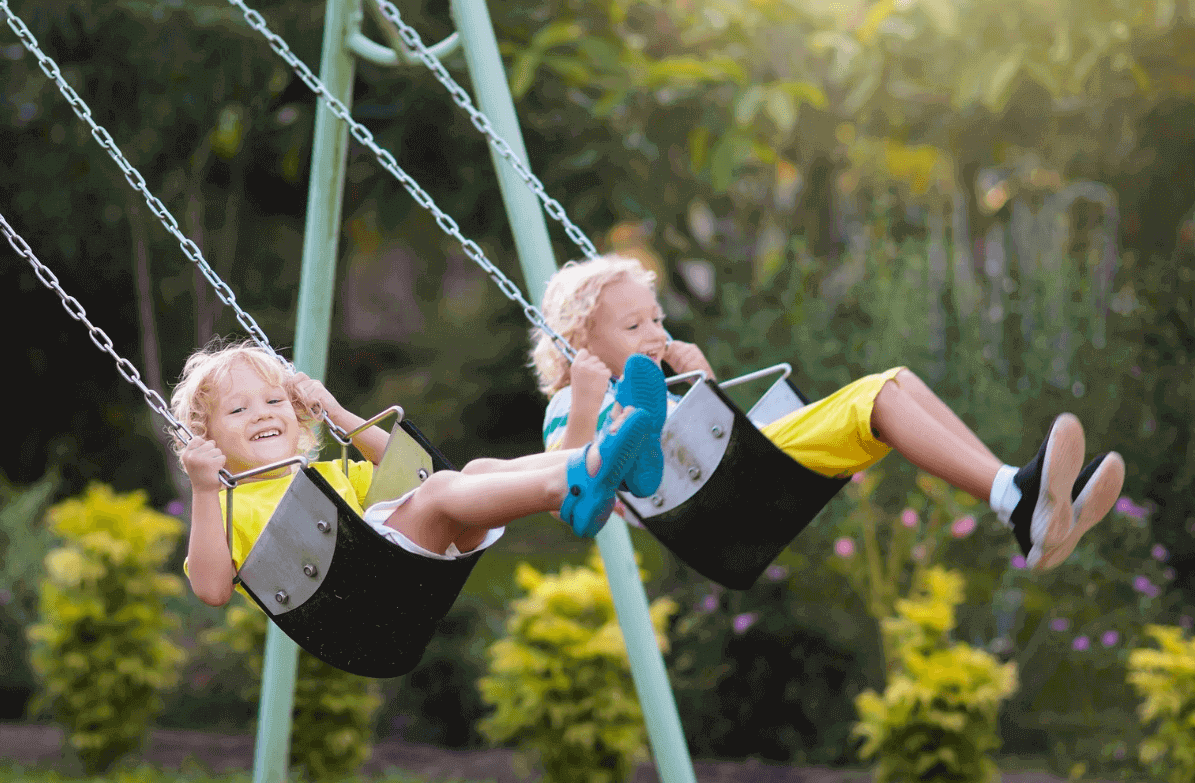
Swingset race is the perfect game if you have multiple children, or your child has friends or cousins over. You can have two or more children swinging at the same time. The goal is to see who can swing the highest, adding a competitive edge and providing plenty of fun. You can also switch this to see how it can swing for the longest time, too, taking turns against one another. If you have more children than swings, you can consider rounds until there is one winner.
You can rope in other family members as judges, too, making it the perfect garden party activity!
Swing Volleyball
Swing volleyball uses a soft beach ball and can be played as a doubles or singles game. One person plays on a swing, while the other is on foot, a safe distance from the child on the swing. If you have a net to hand, you could even add this to give it a true volleyball feel. The child on foot can use their arms and hands to hit the ball, while the child on the swing can only use their legs, adding a twist to the game.
You can keep score and have the children play in teams if you have two swings, with the first to 5 or 10 winning. Again, you can ask relatives to step in as judges or referees where needed.
Swing Basketball
Some swingsets come with a basketball hoop, or if you have one to hand, you can set it up in front of the swingset to create a swing basketball. If you don’t have a hoop, you can still play, using a bucket and placing it a few feet in front of the swingset. Players will swing, taking shots at the baskets as they swing. This is a fun way to get them to practice shooting baskets if they are basketball fans, or to provide them with a new game to try.
You can make the game more challenging, too, by moving the bucket or basketball hoop further away each time, or by adding a time limit to dunk a basket.
Swingset Obstacle Course
If you have a swingset, an excellent game is to create an obstacle course around it, using whatever you have to hand. Popular choices include jump ropes, cones, and hula hoops. You can incorporate activities on your swings, like chain ladders, poles, and rock-climbing walls, to create a fun obstacle course for your children to complete.
Swingset Tag
The tag can be elevated when you play it on your swingset! You can tailor the rules, but we recommend playing usually and setting part of the swingset as ‘home’, where if you have your feet off the ground for 5 seconds, you cannot be tagged. You can increase the home time to suit your children’s needs and set up spaces, like swings, slides, and other features, where they can pause without getting tagged.
Swing Balance Challenge
Finally, you can create a swing balance challenge, which can be fun for children and adults. This one tests their balance, where your child will sit on the swings without swinging or moving. With their arms outstretched, they can hold a soft toy or a water balloon in each hand, seeing how long they can keep their balance. You can add items as a challenge, or lightly swing the swing, but make sure you follow safety precautions to prevent your child from falling and injuring themselves.
Enjoy Swingset Games With An Outdoor Swing Today
Any of these games is sure to provide hours of fun and entertainment for your children and any adults who want to join in! For most of them, a swingset will add to the entertainment, but it isn’t essential. You can upgrade your existing swings to a swingset at Vuly, which offers a vast range to ensure hours of fun outdoors. Check out their outdoor swings and swing sets today.