If you have been following me on Instagram for the last little bit, you’ve seen some of the fun furniture projects that I’ve been working on using BB Frösch Chalk Paint Powder.
What is BB Frösch Chalk Paint Powder? It is the most amazing paint product that I have found… EVER!! This is seriously a game changer in the paint world.
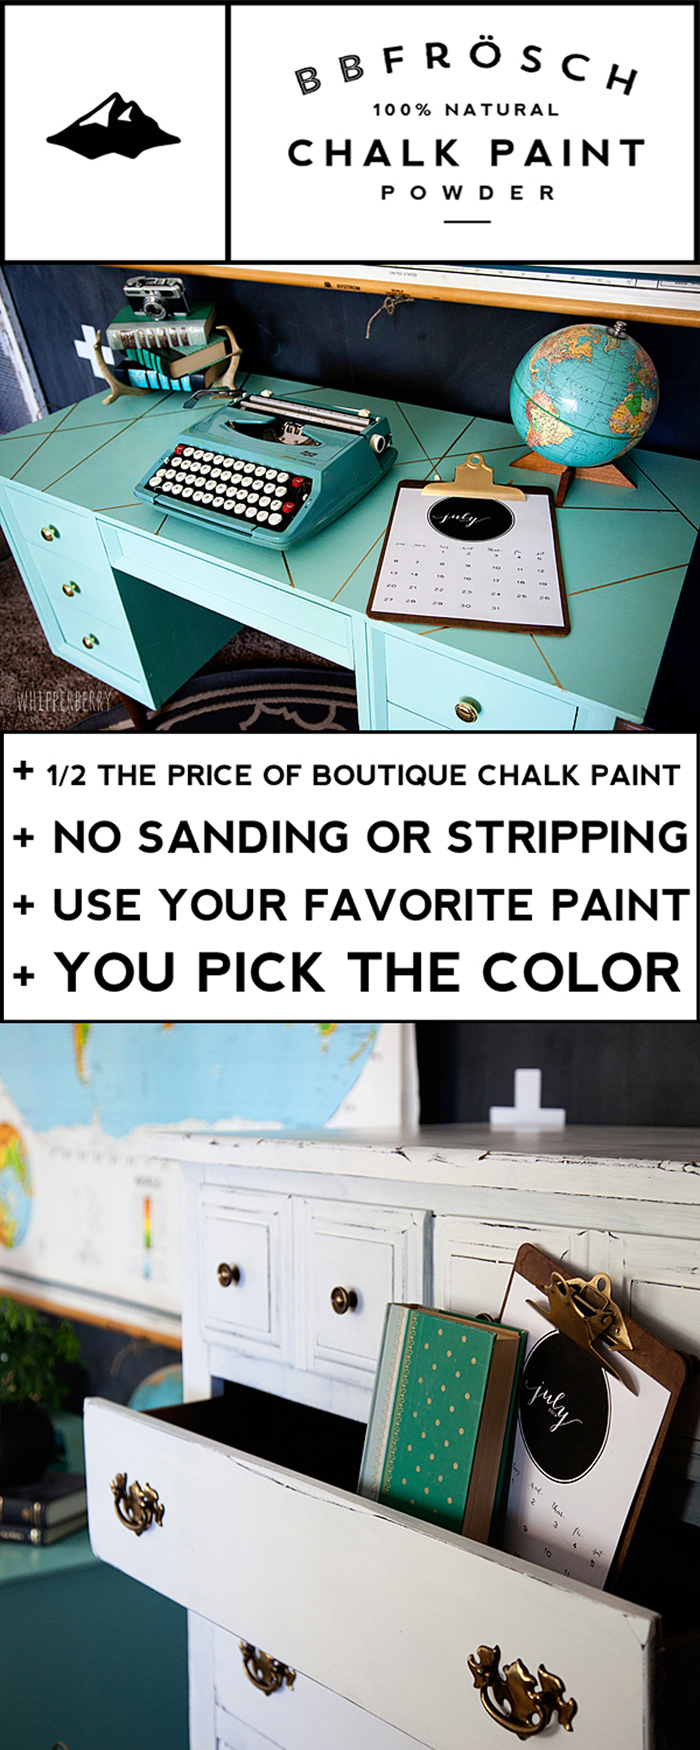
We know we all love to use Chalk Paint for all kinds of projects, whether they are furniture projects for the house or simple craft projects. The issue is that boutique chalk paints have a PREMIUM price tag which is typically too expensive for most consumers. Another issue… You have a limited selection of colors. You only have at most, 35 colors to choose from. What if you want the chalk paint look but they don’t have the color that you would like… You are out of luck.
You can try to create your own chalk paint with common items like Plaster of Paris, but you have several issues there as well. First off… Plaster of Paris is meant to harden. So… whatever paint you mix, within a few hours turns to rock. Second, did you know that some components in Plaster of Paris are on the list of the hazardous chemicals? You can actually burn yourself using the stuff!!
I’ve teamed up with a good friend of mine who has developed the perfect product… Chalk Paint Powder.
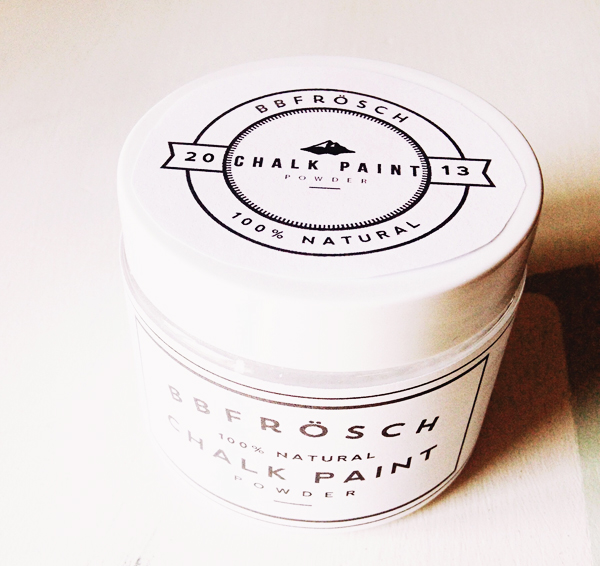
You add this powder to any flat latex paint and turn it into chalk paint for a fraction of the cost. Plus you can mix up smaller batches if you want, cutting your cost even further. For example…
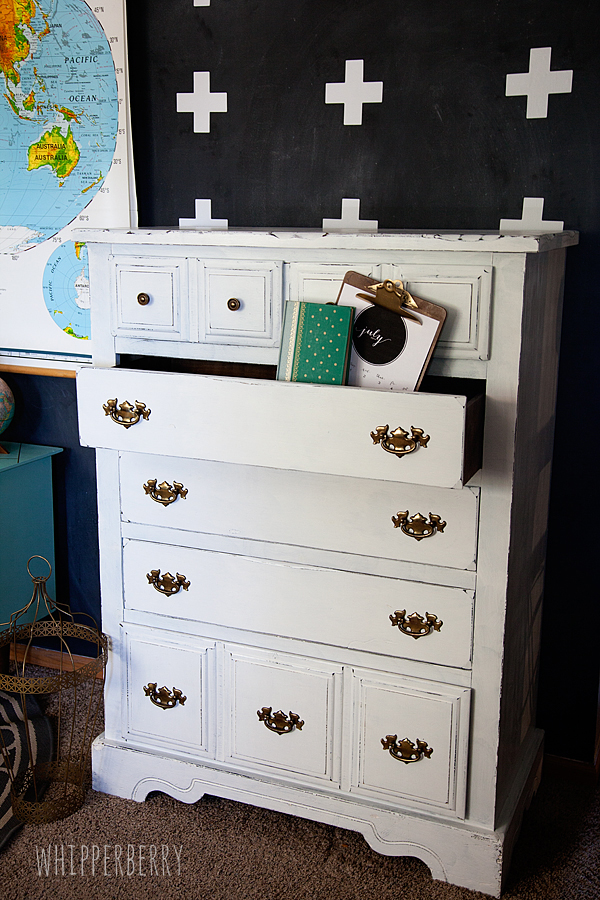
I painted this dresser in three hours, start to finish, with an 8 oz. sample pot of paint from Home Depot. The dresser was purchased on Craig’s list for $16, the sample pot was $2.95 at Home Depot, the BB Frösch Chalk Paint Powder cost $2.50 and the soft wax used to finish the project was less than $1.00. Total… I was able to refinish this dresser for $6.45!!
Total cost for the dresser… $22.45!!
That’s INCREDIBLE!!!
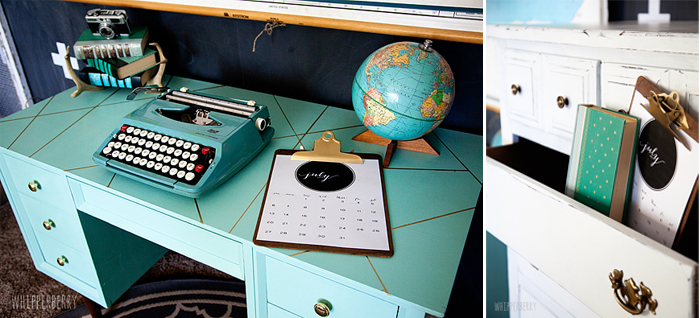
This desk…
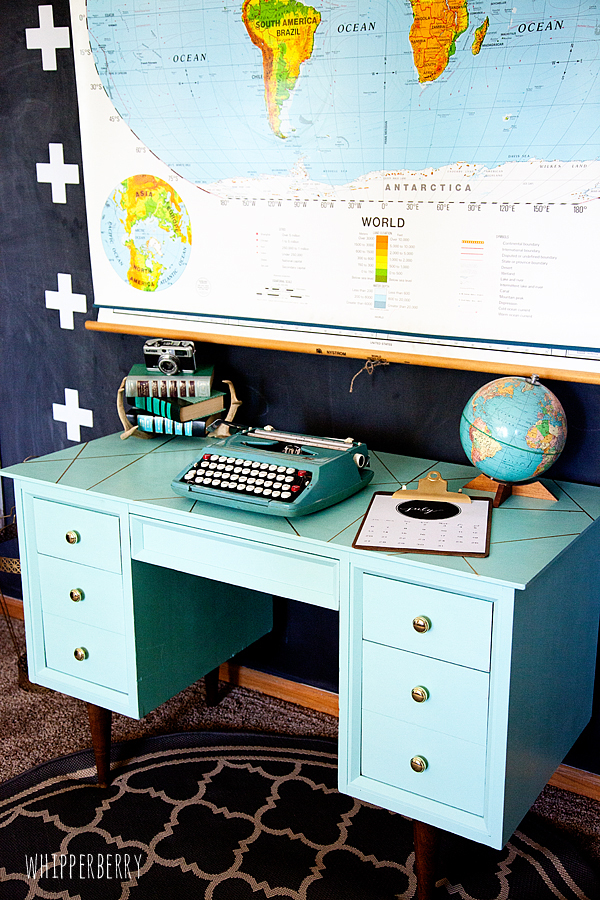
Again, it took a sample pot of Behr flat paint $2.95 at Home Depot, $2.50 for BB Frösch Chalk Paint Powder less than $1.00 for wax and gold spray paint. New hardware was $12.00 and the cost of the desk from a garage sale… $10.00.
Total for the entire piece (including the desk)… $28.45!!
Like I said before… GAME CHANGER!!
How fun is this!?!?
Krisitin and I will be traveling the country teaching workshops on how to use this aaaaamazing new product! Our first stop… DENVER!
We will have regular workshops in the Las Vegas, Nevada & Lincoln, Nebraska areas so visit the BB Frösch site for all of that information.
If you just want to get busy and start painting… Visit the BB Frösch shop to get your Chalk Paint Powder TODAY!!
We carry a full line of Chalk Paint Powder supplies, the powder, brushes & wax. Everything you need to get started.