Hello Whipperberry friends! I’m thrilled to be back here to share another post with you! Since Easter is just a few weeks away, I thought I’d share a festive recipe. Tis’ the season!
I don’t know about you, but we love hot cross buns. They’re really the best aren’t they? I love them so much I was trying to think of other ways to enjoy the flavour. Then I thought, what about scones? So I did some digging and found a recipe for inspiration and came up with this delicious twist.
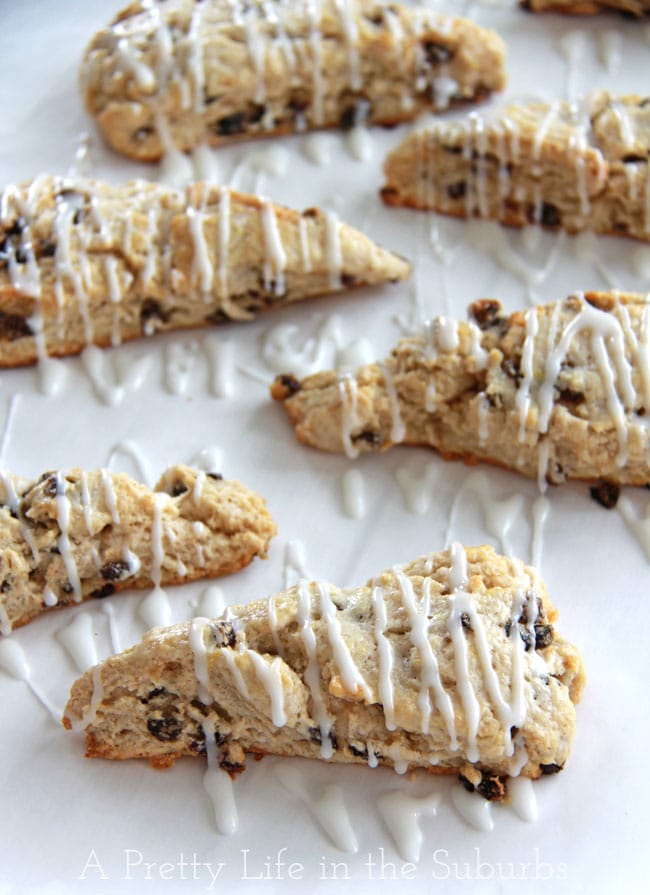
Hot Cross Scones with a Buttermilk Sugar Glaze.
Yum.

Now I realize technically these should have the icing added in a cross shape to more resemble a hot cross bun, but I just could not resist getting all drizzly. I just drizzled like it was going out of style! Looks yummy, no?
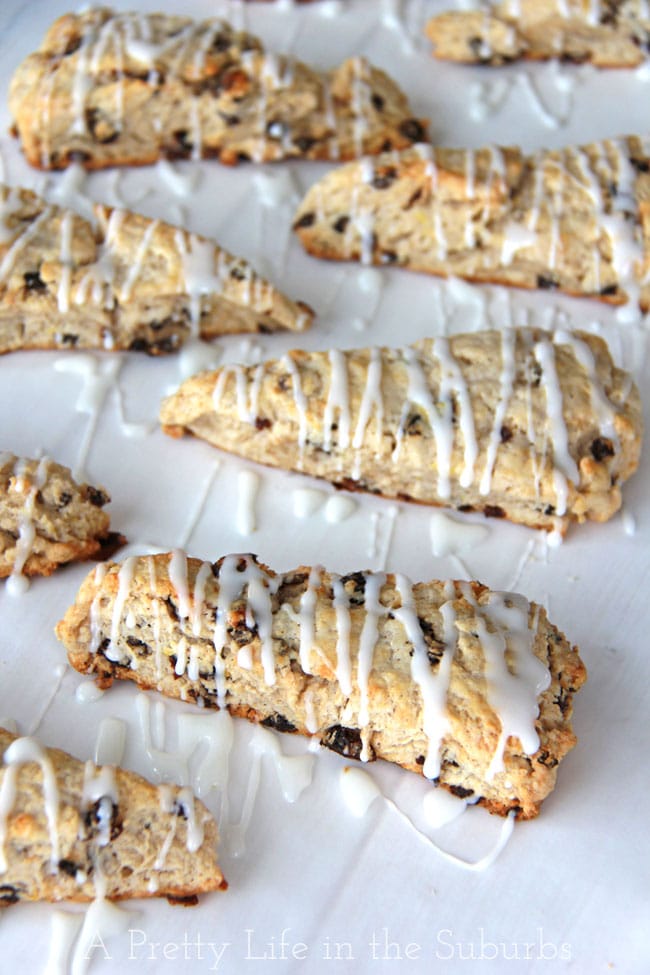
Serve them up with a big glass of milk and you have the perfect snack!
![]()
- 3 cups flour
- 2 tbsp granulated sugar
- 1 tsp cinnamon
- ¼ tsp nutmeg
- ¼ tsp cloves
- 4½ tsp baking powder
- ½ tsp salt
- zest from 1 lemon
- ½ cup currants
- ¾ cup butter, cold and cut into small cubes
- 1 egg
- ¾ cup buttermilk
- 1 cup icing sugar (confectioners sugar)
- 1 - 2 tbsp buttermilk
- Preheat your oven to 400 degrees.
- Line a baking sheet with parchment paper. Set aside.
- In a large bowl, sift together the flour, sugar, cinnamon, nutmeg cloves, baking powder and salt.
- Stir in the lemon zest.
- Using a pastry cutter, cut the butter into the dry ingredients until the mixture resembles coarse sand with a few pea-sized pieces.
- Whisk in the currants.
- In a separate bowl, whisk together the buttermilk and egg.
- Add the buttermilk/egg mixture to the flour mixture and stir until just combined.
- Turn the dough onto a lightly floured surface and knead until a loosely formed ball of dough is formed. Then gently work the dough into a 1 inch thick disk.
- You can use a 3 inch biscuit cutter to cut out the scones, or I like to use a pizza cutter and cut the disk into 12 equal sized pieces.
- Transfer the scones to your parchment paper lined baking sheet, and brush with a little buttermilk.
- Bake for 12 - 15 minutes or until the edges are golden brown.
- Transfer the scones to a rack to cool completely before applying the glaze.
- To make the glaze, stir together the buttermilk and icing sugar until the desired consistency.
- Transfer the glaze into a ziplock bag, cut a corner of the bag off, and pipe the icing onto the cooled scones.
- Enjoy!
– – – – – – – – – – – – – –
These Hot Cross Scones would make a perfect addition to your Easter Brunch!
I hope you enjoy this recipe!
Have a delicious day!