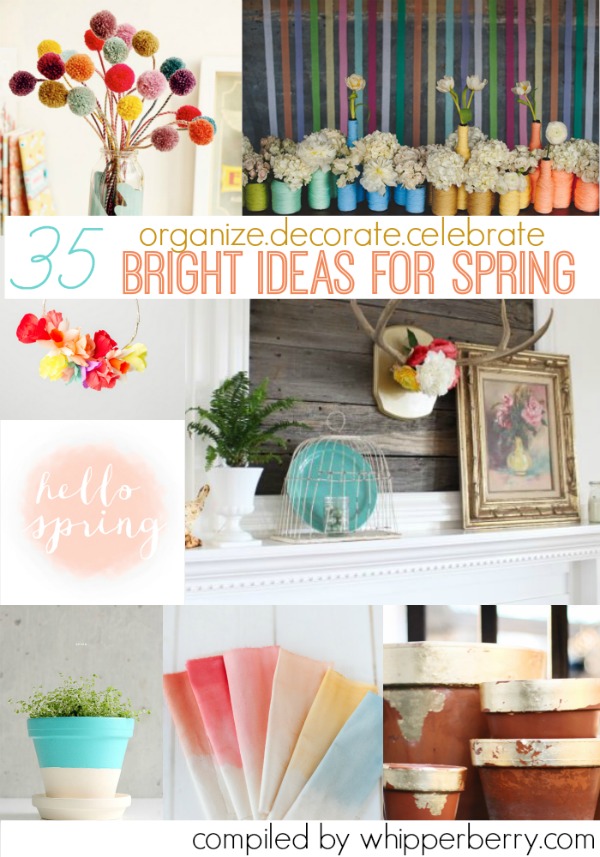
35 Ideas for Spring // Can you believe that Spring is actually almost here. I don’t know about where you live, but Winter has felt sort of endless in my neck of the woods. I’m ready to get outside, celebrate the warm weather, get all the junk cleaned out an organized, and most of all, I’m ready for bright colors to invade my house and blow out the winter blues! Today we’ve rounded up 35 amazing ideas to get your hoome into the full swing of Spring!
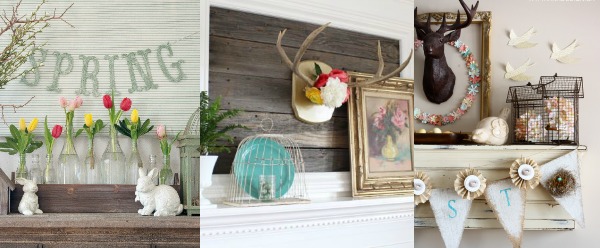
Spring Mantel / Antlers & Blooms Spring Mantel / Light & Bright Spring Mantel
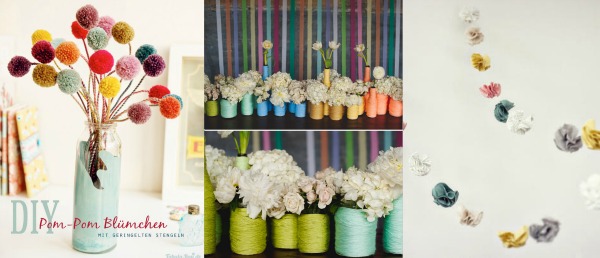
DIY Pom Pom Flowers / Rainbow Wrapped Jars & Bottles /DIY Fabric Flower Garland

DIY Dip Dye Napkins /DIY Bird Mobile / DIY Stenciled Tea Towels /
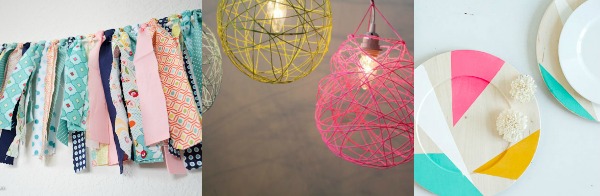
Fabric Garland / DIY Yarn Lanterns / DIY Color Blocked Chargers

Air Dry Clay Jewelry Bowls / Colorful Closet & Jewelry Organization / Driftwood Necklace Organizer
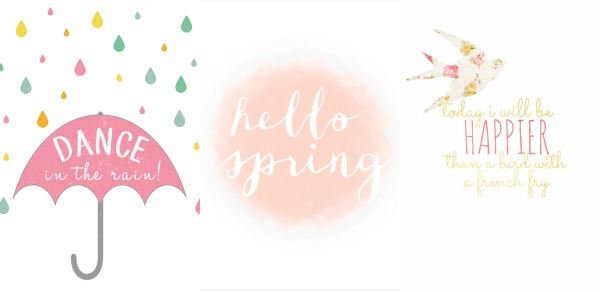
Dance In The Rain Printable / Hello Spring Printable (3 colors) / Happier Than a Bird…Printable
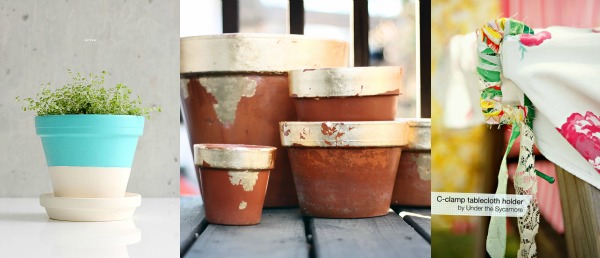
Color Blocked Terracotta Pots / Gold Leaf Terracotta Pots / Fabric Wrapped C Clamp Tablecloth Clamps
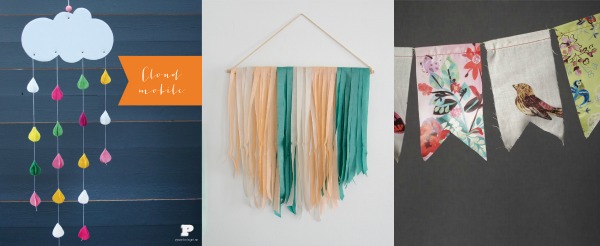
DIY Cloud Mobile / DIY Tissue Paper Banner /Fabric Scrap Banner
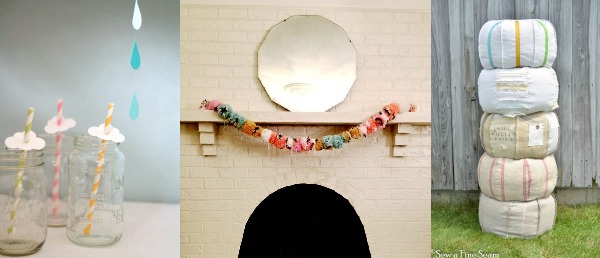
Rain Cloud Party Decorations / Multi-Color Pom Pom Garland / DIY Pouffes

Brighten up Your Room for Less / DIY Patio Makeover / Bright, Small Patio (source unknown)
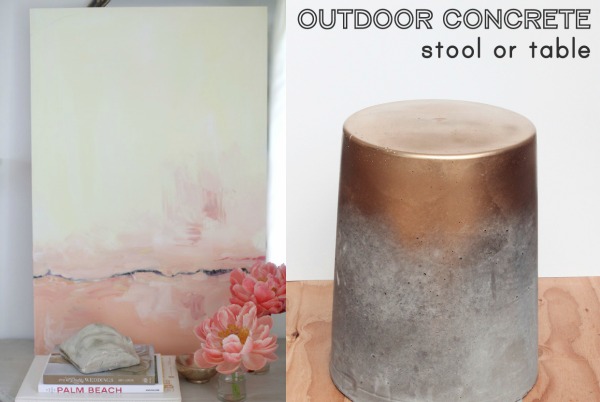
DIY Abstract Art / DIY Concrete Table

DIY Moss Monogram Door Hanging / Yarn Wrapped Wreath / Rainbow Flower Wreath
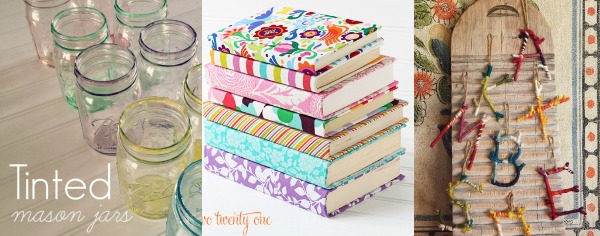
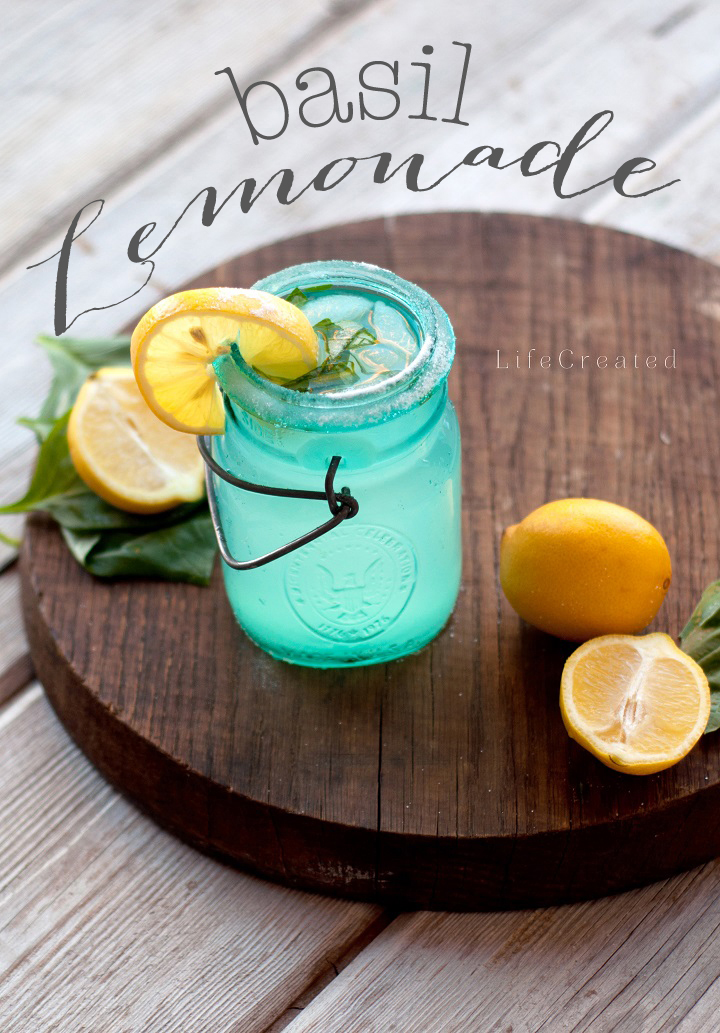
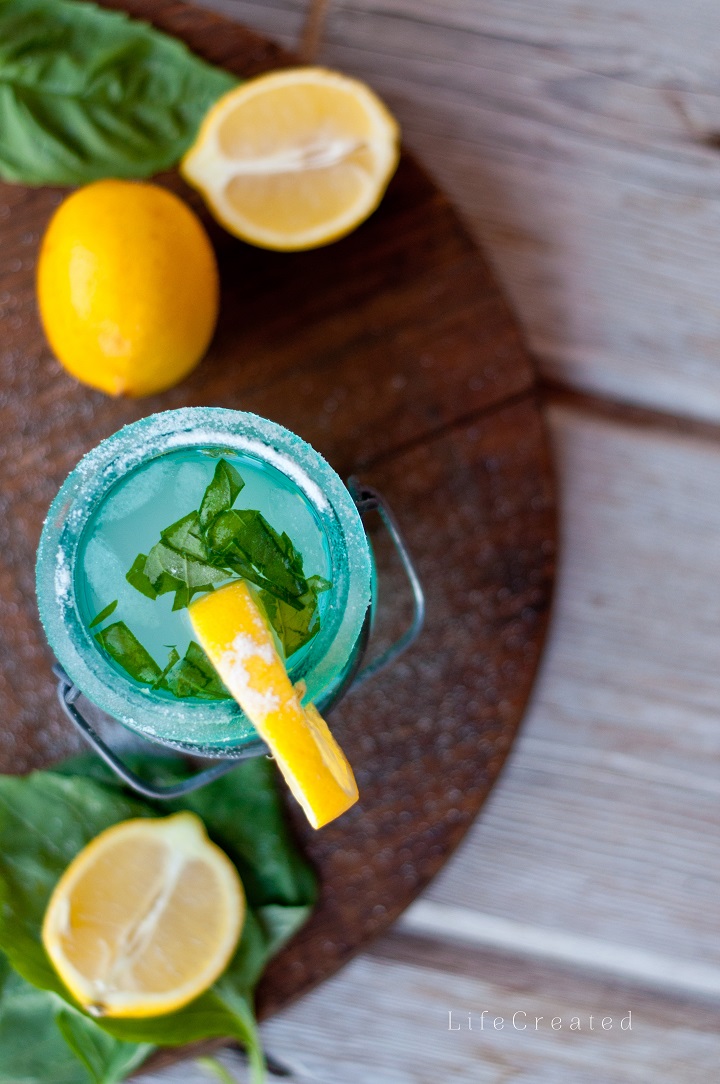
DIY Tinted Mason Jars / Fabric Covered Books / Wrapped Branch Letters