This post brought to you by Eagle Brand // As a kid, one of the things I looked forward to every holiday season, was when my Dad would share some of his FAVORITE chocolate covered cherries with me. I would have to say the apple didn't fall to far from the tree when it comes to this favorite confection. I adore cherries and to add chocolate to the mix made them absolutely PERFECT!
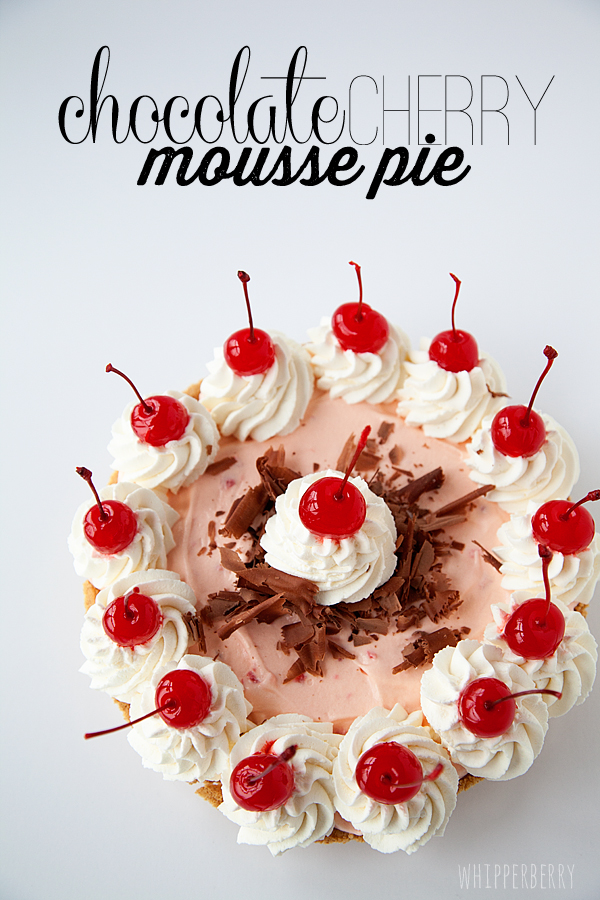
Not too long ago, my Mom introduced me to a recipe that I have since fallen in love with. I modified it a bit and came up with this scrumptious Chocolate Covered Cherry Mousse Pie…
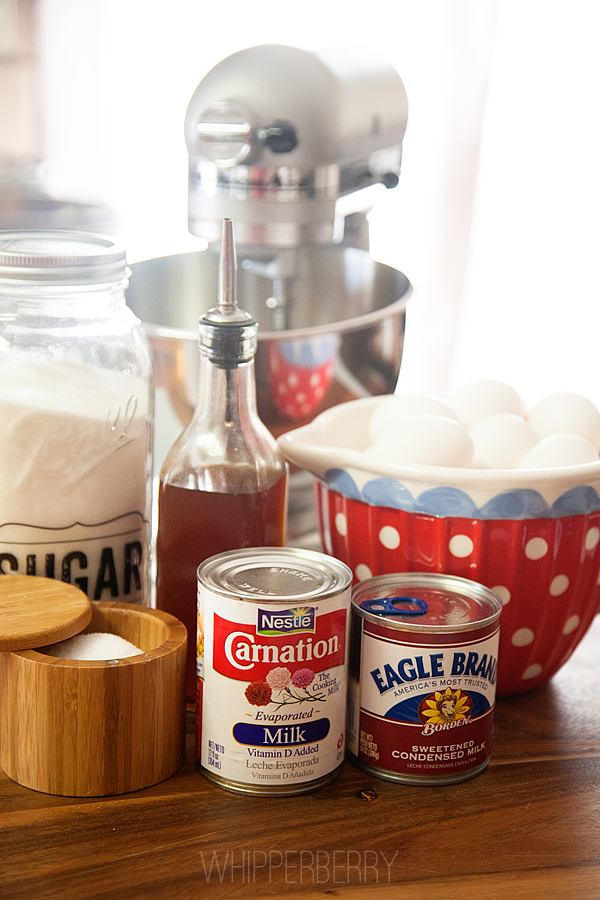
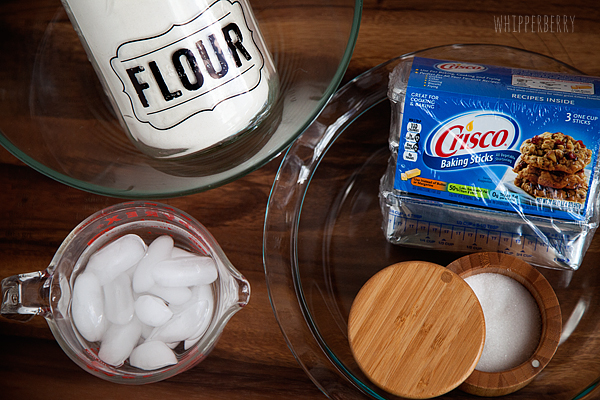
Ingredients for Chocolate Cherry Mousse Pie
1 14 oz. can of Eagle Brand™ Sweetened Condensed Milk
2 oz. of a unsweetened Hershey chocolate bar
1/2 teaspoon almond extract
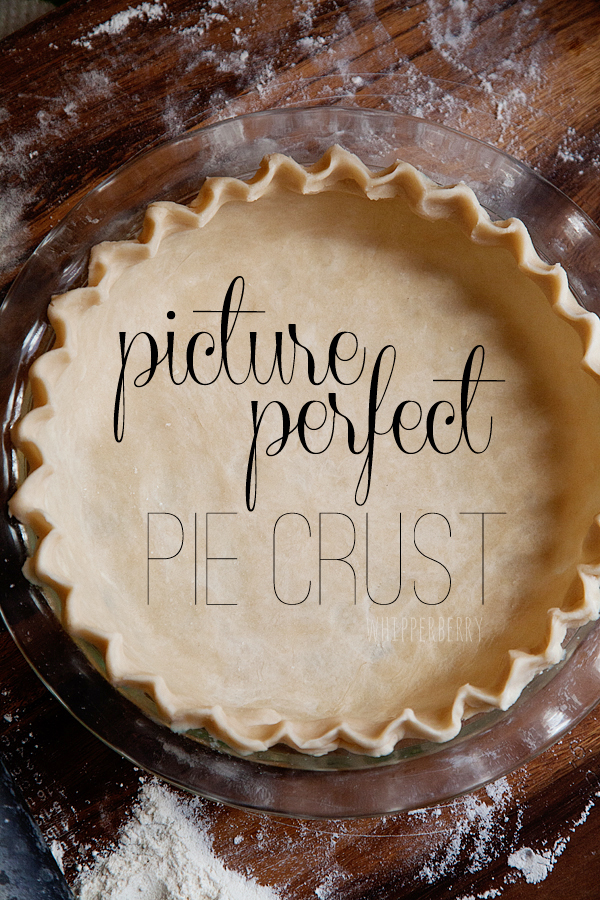
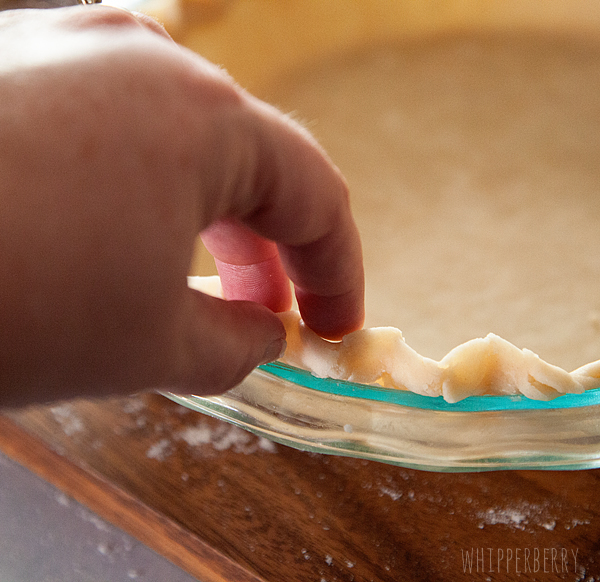
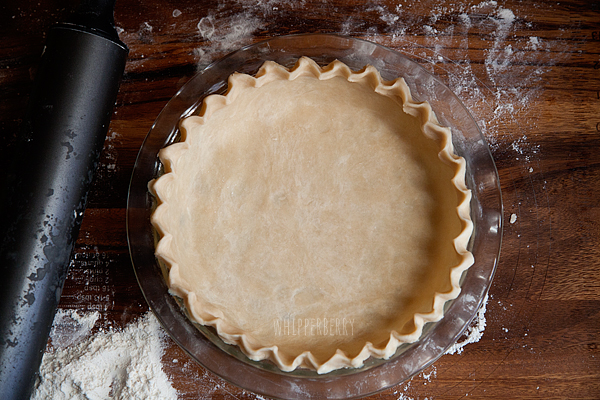
1 prepared graham cracker crust
20 oz. maraschino cherries, drained (2 jars)
8 oz. cream cheese, softened
1 cup cold water
3.9 oz. box of vanilla instant pudding
1 cup of whipping cream, whipped OR 3 cups of Cool Whip
Chocolate swirls optional
Directions for Chocolate Cherry Mousse Pie
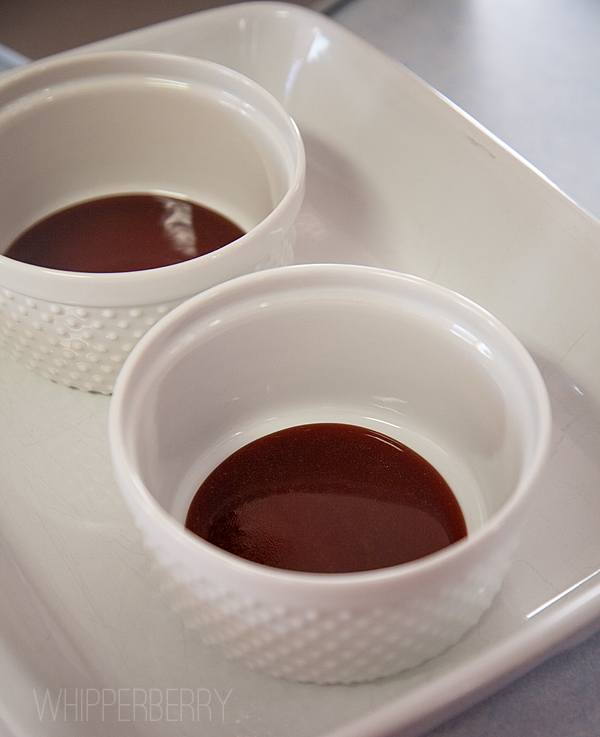
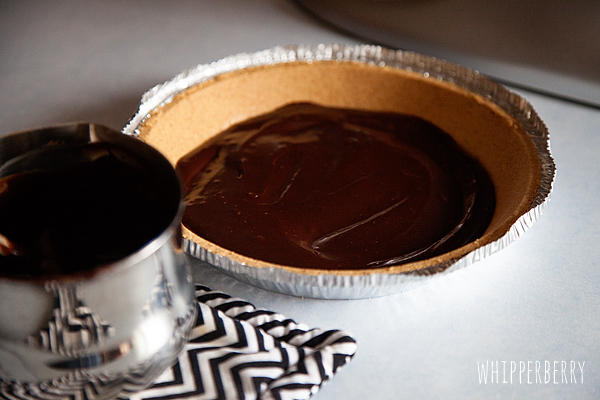
In a small double boiler over low heat and occasionally stirring, melt the unsweetened chocolate and 1/2 of the Eagle Brand Sweetened Condensed Milk. Once the chocolate mixture has melted add a 1/4 teaspoon of almond extract. Pour the chocolate mixture into the bottom of the prepared graham cracker crust.
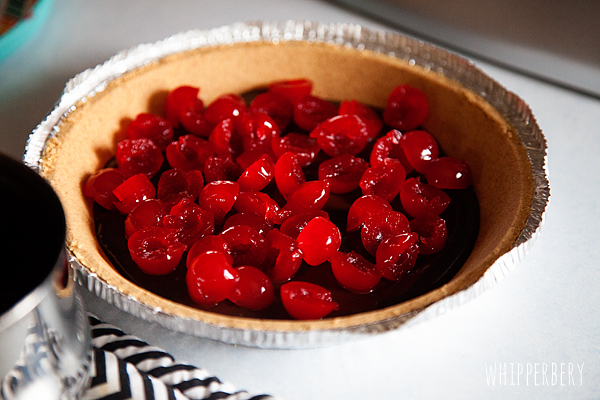
Next, take one of the 10 oz. bottles of cherries and cut them in all in half and place on top of the chocolate mixture in the crust.
Set the pie aside at this point and start on the mousse.
Reserve a few cherries to garnish the pie and then chop the remaining cherries and set aside.
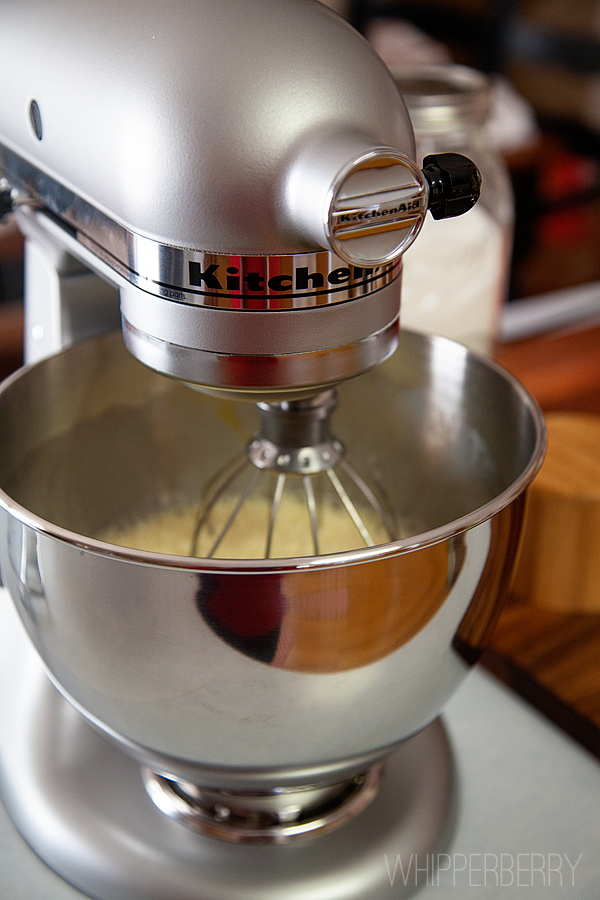
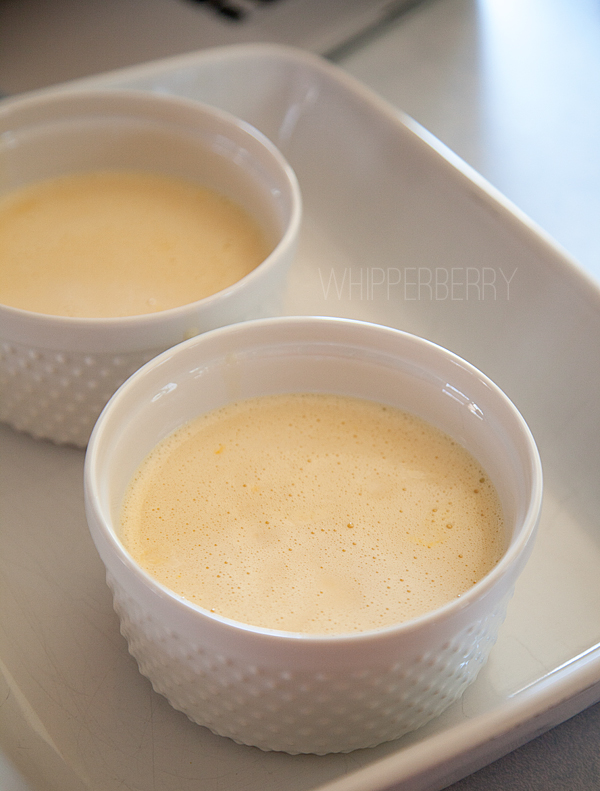
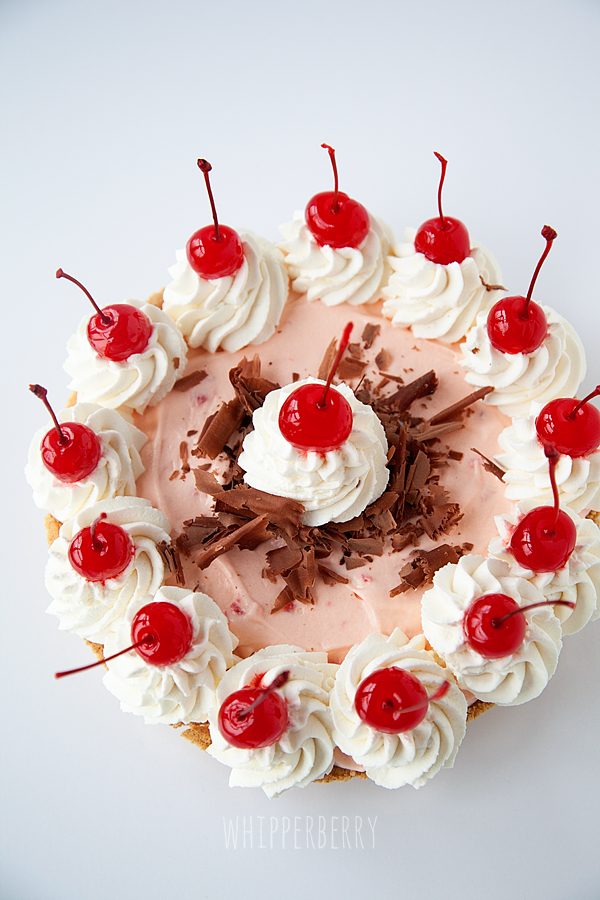
In the mixing bowl of your mixer, whip the cream cheese until light. Gradually whip the water into the cream cheese and remaining Eagle Brand Milk. Add pudding mix, the remaining extract and chopped cherries. Mix well. Gently fold in the whipped cream or Cool Whip. Pour into pie crust and chill for 4 hours or until set. Garnish with whole cherries and chocolate swirls if desired.
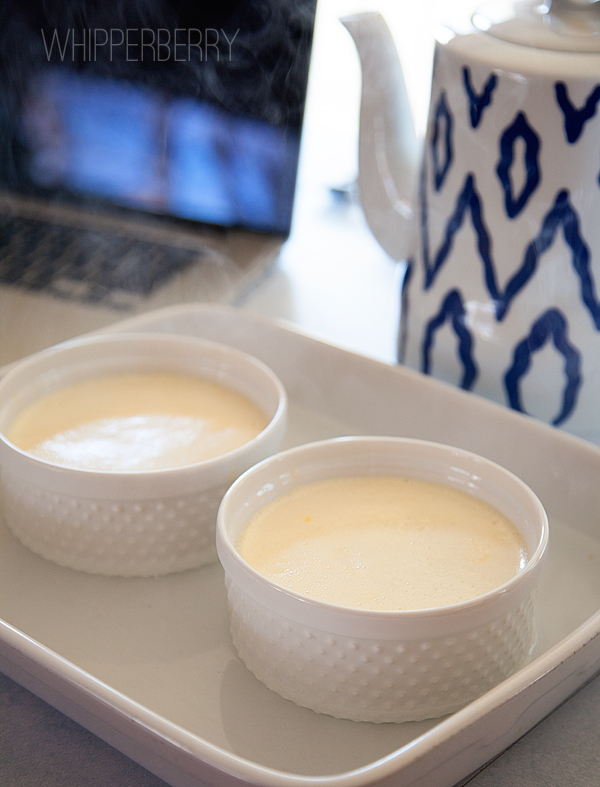
You can even make this recipe as mini pies… Perfect to serve at your holiday gatherings.

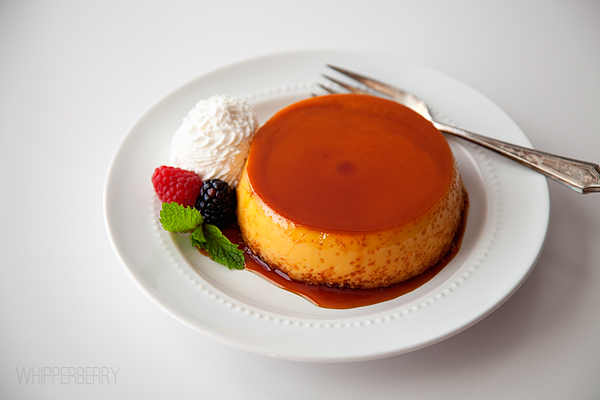
They are so yummy and when your guest take their first bite, they get the yummy chocolate surprise at the bottom…
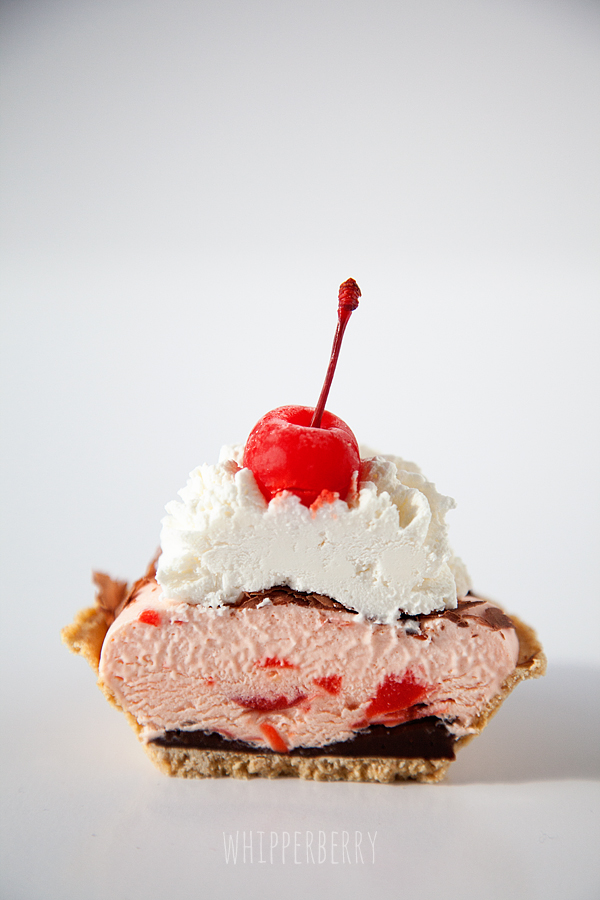
Chocolate covered cherry heaven!!
The folks at Eagle Brand would love to help YOU sweeten your holidays with a fun GIVEAWAY!! They are giving away a KitchenAid Mixer along with an Eagle Brand™ gift pack to one lucky WhipperBerry friend…

Click HERE to visit the GIVEAWAY
Disclaimer // This post is sponsored by Eagle Brand™ Sweetened Condensed Milk. I received product and a KitchenAid Mixer to help create this post series.