I will have to admit, I’m a baby when it comes to heat. I LOVE summer but I hate to be hot. It’s partly because I have a condition (among others) called Hyperhidrosis that causes excesses sweating. Some people have excessive sweating under their arms or on their hands and feet. They literally have to change clothes several times a day like “Southern Charm” star Cameran Eubanks. My dermatologist says that she has met people who’s hands literally drip sweat. I can’t even imagine… Oh, wait, I can! I came across something recently that gave me a new angle on what others go through — you can check this out if you want a deeper look. That’s why coming up with ways to beat the heat has always been really important to me.
+ this post is brought to you by the kind folks at Honeywell +

My Sweaty Story
My particular condition is on my FACE! It could be forty below and if I’m nervous or moving, my face will be dripping sweat. Yea, it’s AWESOME! I’ve tried botox and medication to help but, so far nothing has worked. My Mom says that even as a newborn, I would have little beads of sweat on my nose when I was upset. I don’t know if you know this but, newborns don’t sweat on their nose. So, this issue has been a long and somewhat embarrassing one. Not to mention the fact that being embarrassed makes it even worse. Ugh!
Summer is even worse. When others are merely “glowing” (as my mother would say) I’m dripping buckets. With a history like that, I’ve become quite adept at making sure I stay as cool as possible so that I too, can enjoy the Summer.
How to Beat the Heat at Home
Throughout the course of my life, I’ve lived in homes with and without air conditioning so, I understand the issues on both sides of the fence. I’ve also lived in high heat index areas like Las Vegas and lower heat index areas like Denver. Again, I’ve experienced heat on both sides of the spectrum. Here are a few tips and tricks that I’ve worked out to help beat the heat at home during the hotter months, apart from making sure Istay hydrated all day.
- Make sure, if you have air conditioning, that you have it serviced once a year by a trained professional. This has saved us a countless number of times especially when we were living in Las Vegas. It’s more than just spraying off the dirt and grime that has accumulated over the winter months. Find someone who knows their stuff, one who can detect even the tiniest of issues so that you can tackle them before they become huge issues. When we lived in Vegas, we had a fan blade in one of our units that was a little off kilter and basically chewed through some very important cables causing us to have to totally replace our unit at a rather large expense. Not only did we have to pay to replace a rather new unit, we were in the depths of Summer and had to fork over for a hotel room for a couple of days. With small children, there was no way we could stay in our house when it was over 110˚ each day. That was an expensive lesson learned.
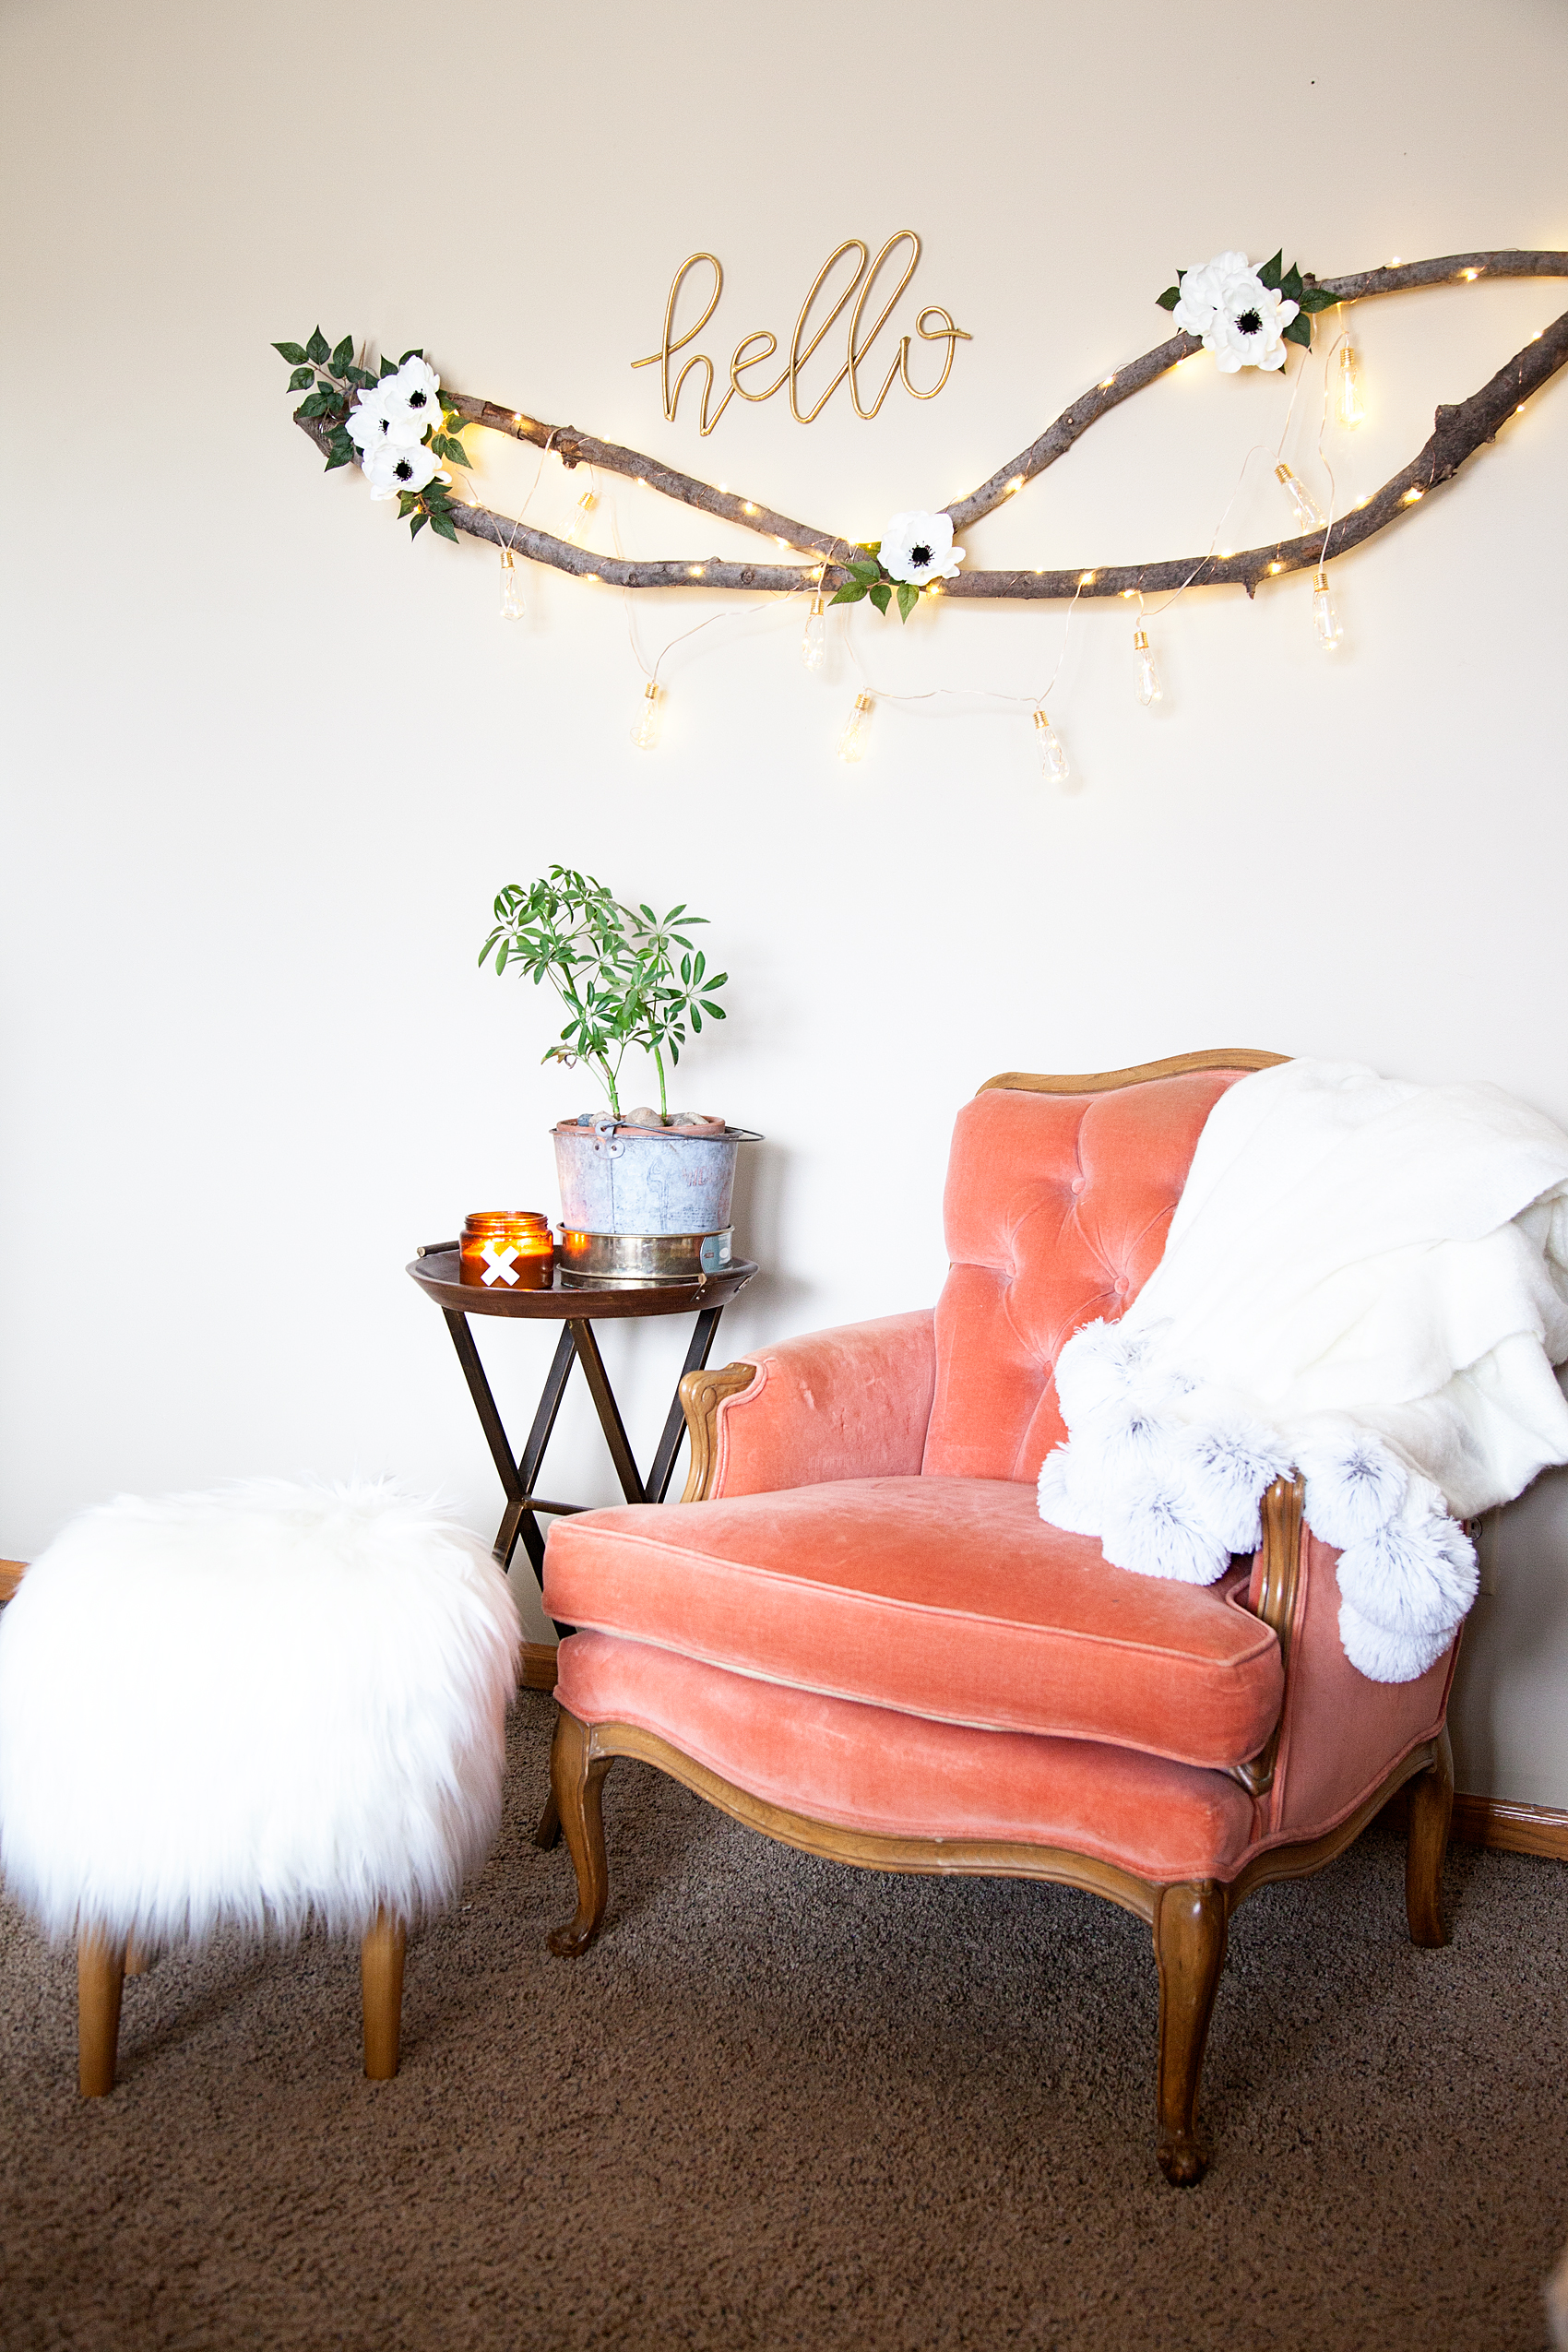
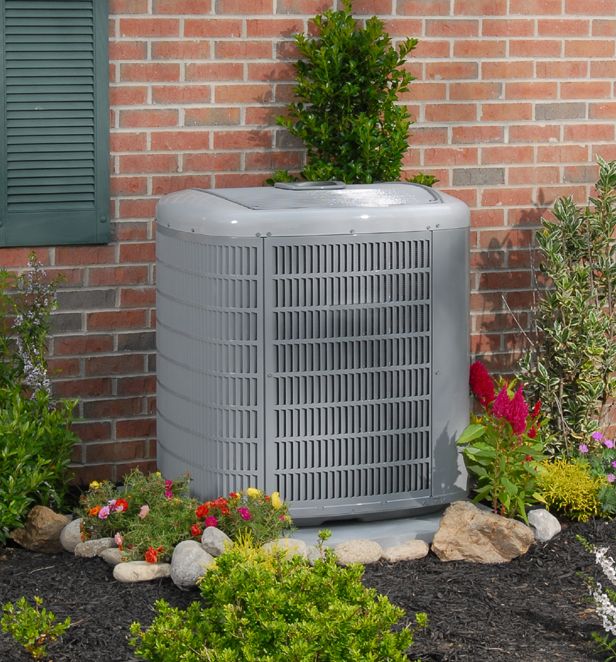 photo credit • unknown
 - Find all of those hidden heat vents into your home. For example, many people work to Winterize their homes, why not “Summerize” your home?
- Check all of your windows and doors to see if you have sneaky little heat vents coming into your home that you weren’t even aware of.
- If you have a gas fireplace, turn of your pilot light for the summer. You would be surprised at how much heat even that little pilot light will give off. They are easy to relight when the weather turns colder.
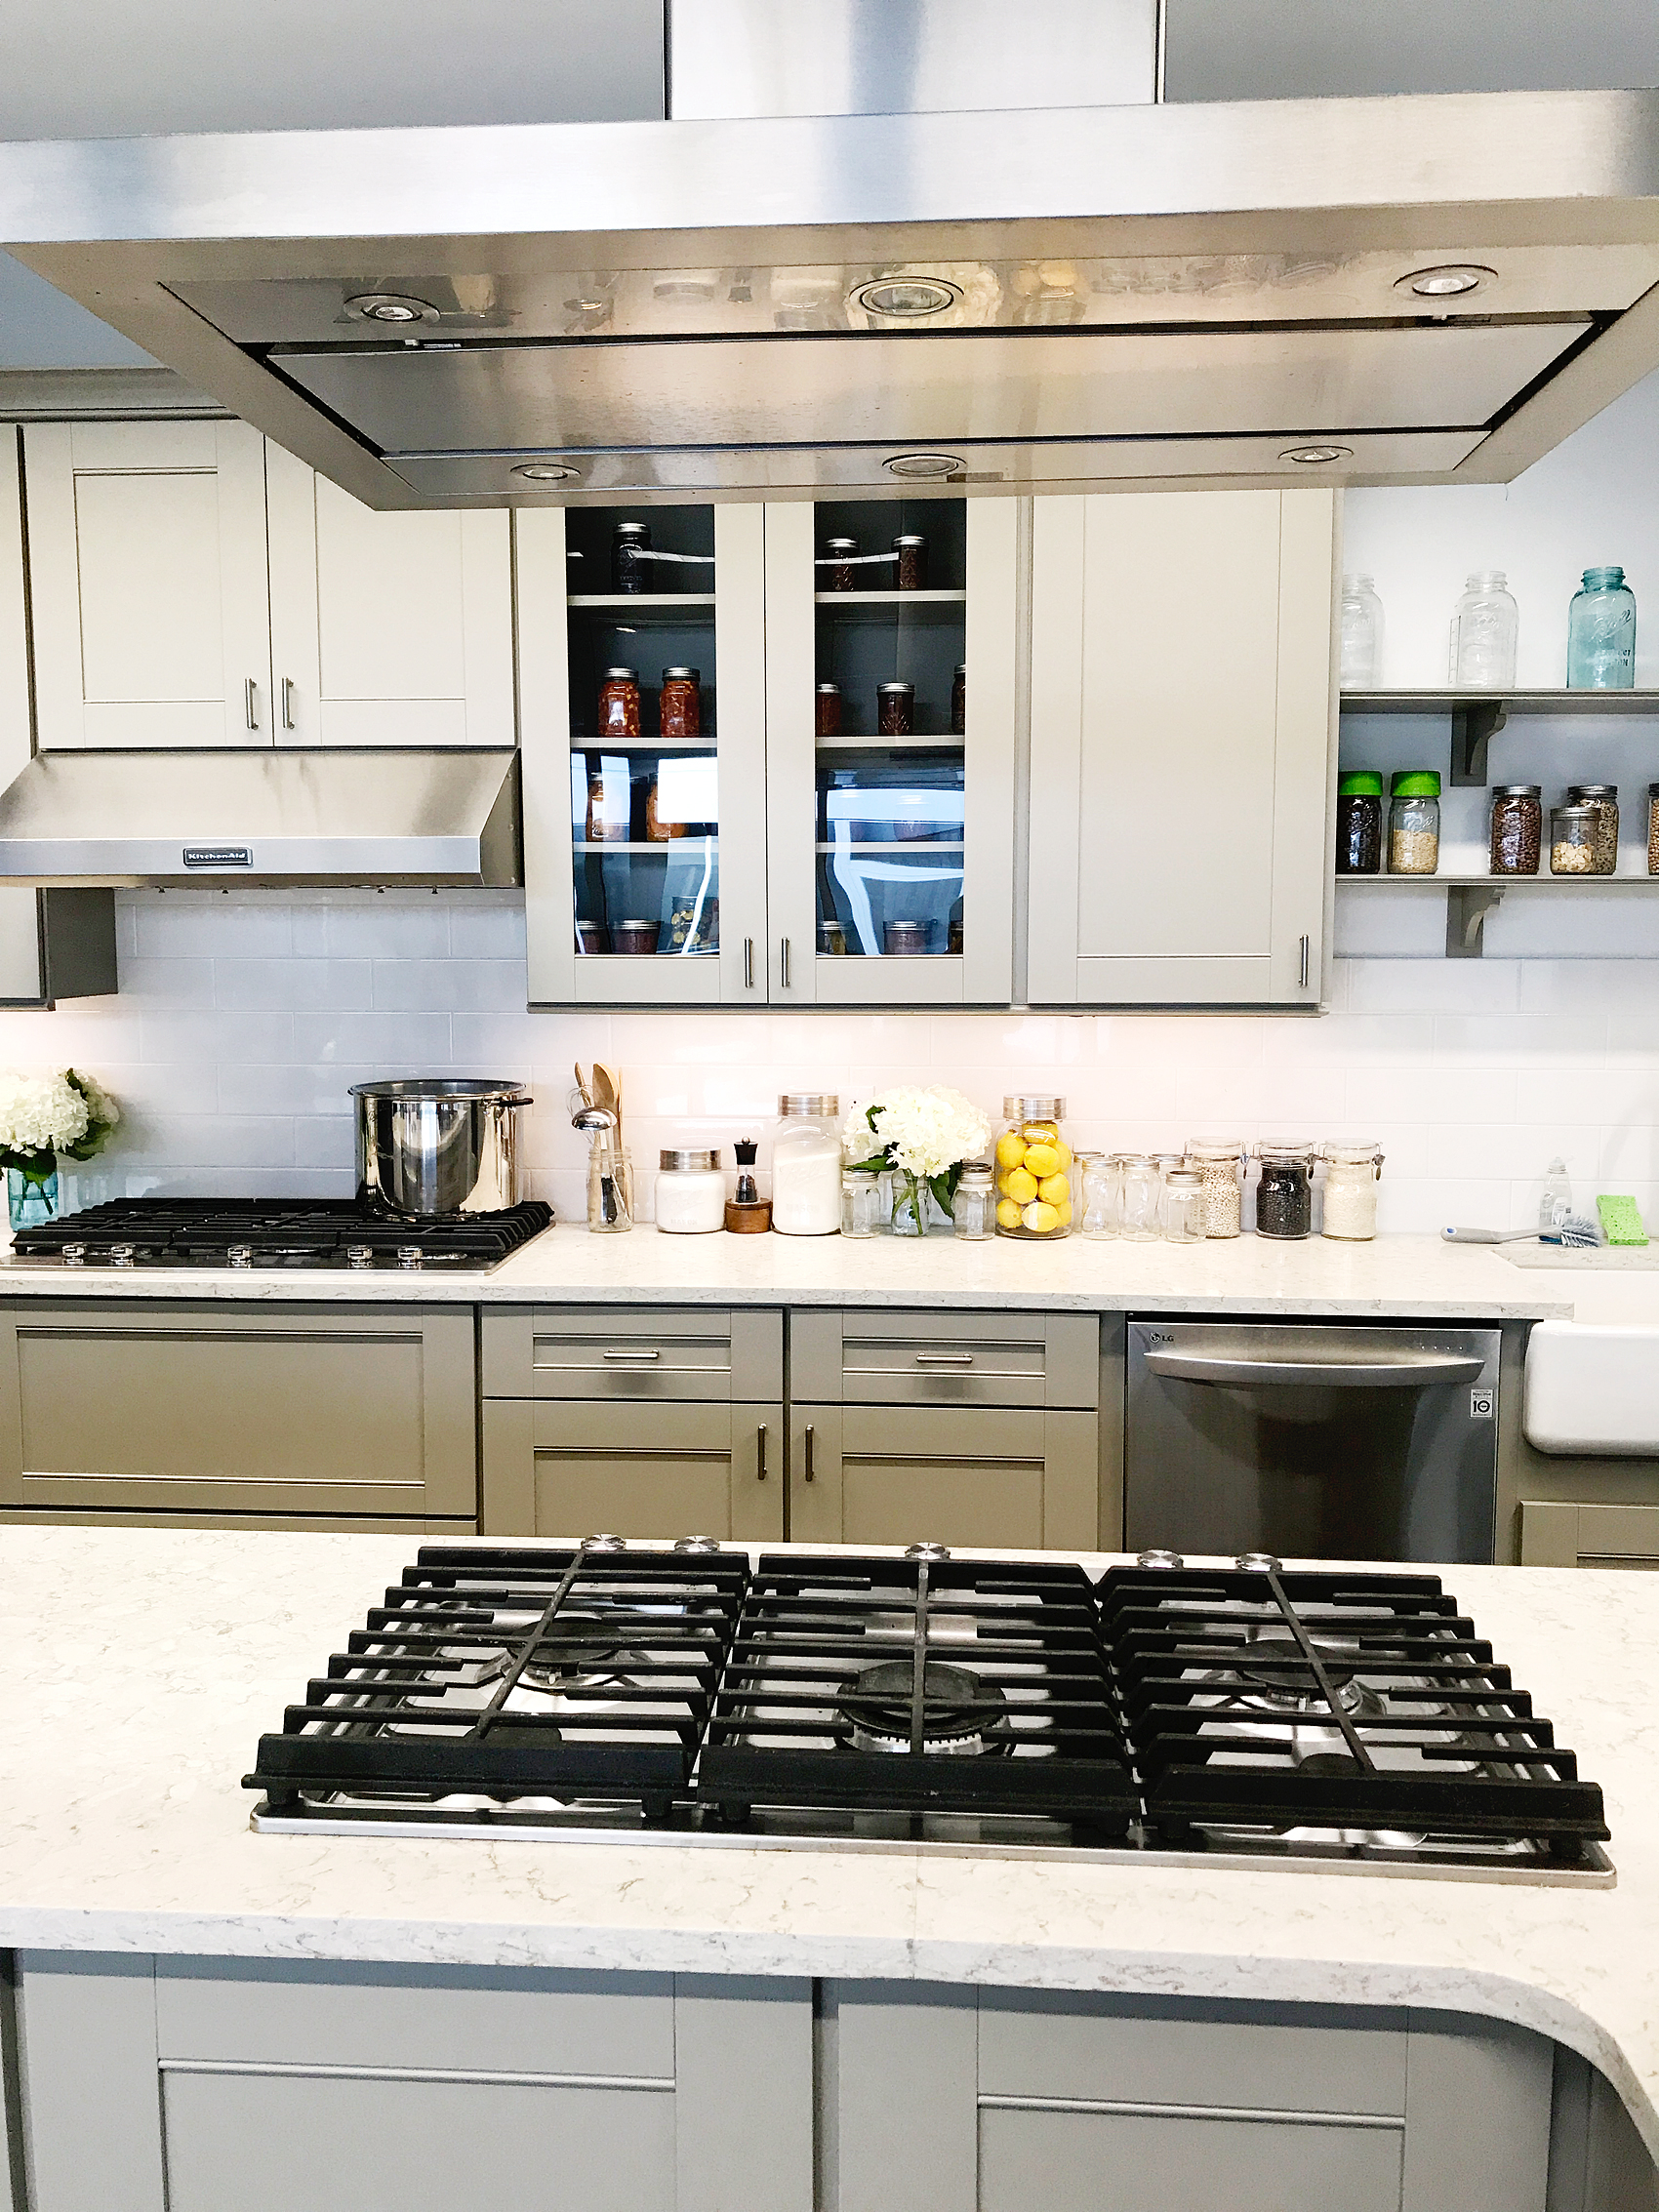
- Limit the amount of time when cooking indoors. Summer is the perfect time to work on your outdoor cooking skills. Think outside of the box… My Mom would fry chicken at least once a summer when I was growing up. We lived in an unairconditioned house and she would take her electric skillet out on the back porch and fry our chicken out there so as to not heat up the house. With all of our fabulous electric gadgets these days, air fryers, Instant Pots, Instant Pot Sous Vide, electric skillets and so much more. Take those electric appliances outdoors, in a safe spot, and work your Summer cooking magic without heating up the house.
- Take advantage of those cooler mornings and evenings. If you live in a climate that has those glorious cooler mornings and evenings like in Colorado, take advantage of those times of the day. Open your windows in the morning and cool down the house. Make sure to close them before the day starts to heat-up.
 photo credit • unknown
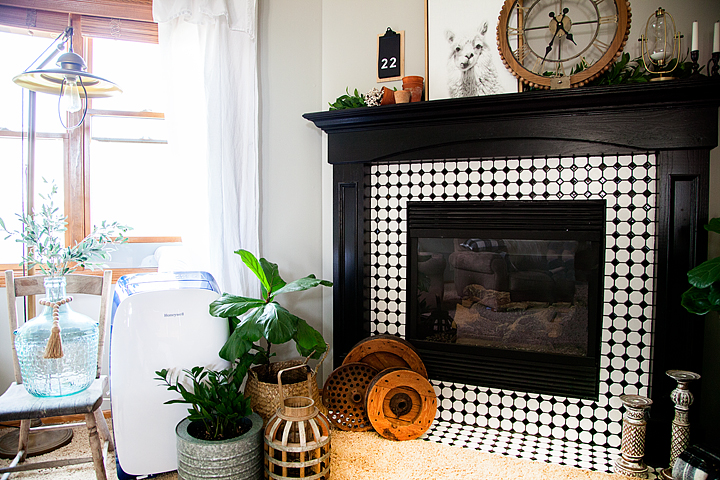
 - Balance out your home with a portable air conditioner. Every house we’ve ever owned, our bedroom has been the hottest room in the house. If we would turn up our air so that our bedroom felt comfortable, the rest of the house was like a meat locker. If we kept the house at a normal temperature our room would be nice and toasty every night. No Bueno in my world, I can’t sleep if I am hot. We had looked at adding an additional air conditioning unit to our current house, one for upstairs and one for down and that is SUPER expensive. That involves relocated ductwork and all kinds of invasive modifications to the home. That’s not really in the cards right now so, my husband suggested we get one of those window units for our bedroom. That quite honestly made my design and style loving heart cry a little. Those window units look like a parasite living on the side of your house. They work great, these just look terrible. Then we were introduced to a portable air conditioner that we really come to love from Honeywell.
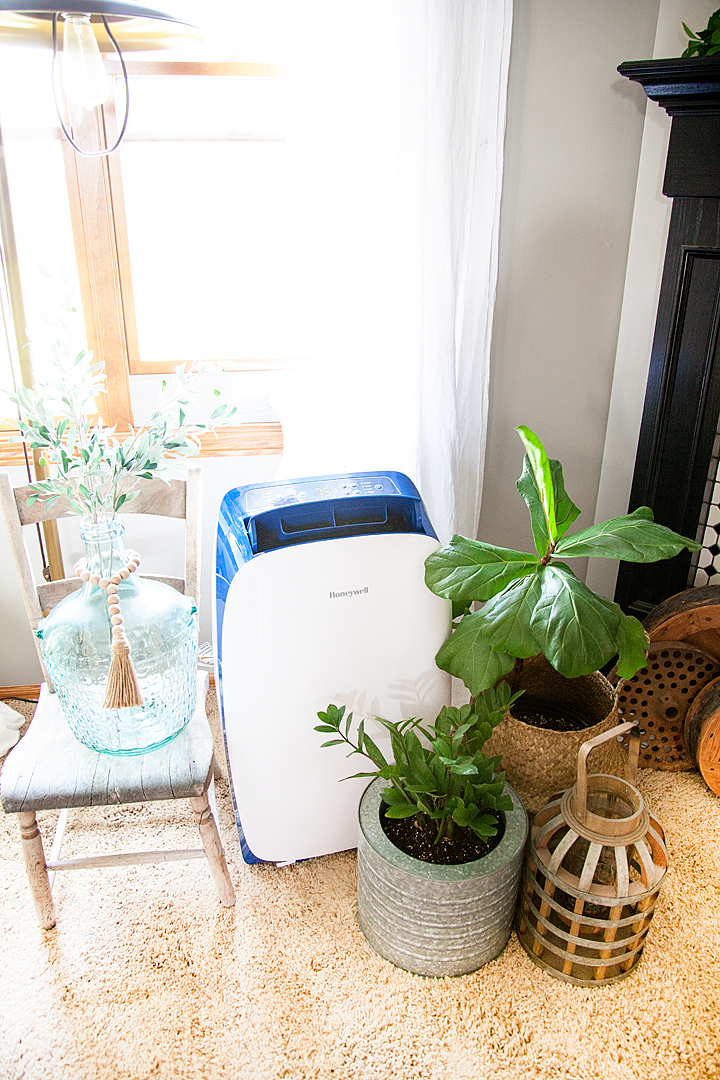 This portable air conditioner is fabulous! We are able to keep our house at a manageable temperature and then we can cool our room separately at night when we need it the most. It’s fantastic and it is saving us on the cost of cooling our home. It’s far more aesthetically pleasing inside and outside the home. It does have a vent that vents outside but it’s easy to conceal when in use.
  The vent is more noticeable inside than it is outside. I love that my home still has the nice character without being marred by a window air conditioning unit. This particular unit comes with a remote, the fan has three settings (low, medium & high), it has a timer, it’s on casters so it easy to move and store and it has a dehumidifier. We are really happy with it! You can find it at:
- If you’re in a dry climate (which we are not) you can use an air cooler which is awesome!! These little portable gems can be taken outside to cool your outdoor Summer gatherings. Wouldn’t be heaven, outside in the summer enjoying the sun and yet, still cool. This great machine uses a combination of water and air movement to keep your area cool. Whether inside or outside, this is another great way to keep your home cool in the warmer months.
How do you beat the heat in your home during the summer? I’m always looking for more suggestions! Leave a comment to help a sweaty girl out!
+ Disclaimer – This post has been sponsored by Honeywell. I did NOT receive payment for this post. However, I did recive product for review. I will only share products that I truly love and use in my everyday life.