aStarting a business from the very beginning can be both exciting and intimidating, especially when performing various duties. But what if passion turned into a thriving enterprise? That’s how many people have turned their hobbies into successful businesses. For those who love baking, here are some tips to help them make the leap from hobby to cake business.
Start with Passion and Purpose
Hobbies often start as a way to relax or socialize with others. For many people, experimenting with recipes, making crafts, or creating unique objects starts as a personal activity, but turns into something more. If you have a hobby that brings joy, think about how to share this joy with others. Real enthusiasm is what sets a business apart and supports strong motivation.

Check the Waters
Before starting work as a whole, it is recommended to test the market by accepting small orders or offering services to friends and family. Word of mouth can spread quickly, and opportunities for wholesale orders or projects may soon appear. This stage is important for skills, pricing, and time management.
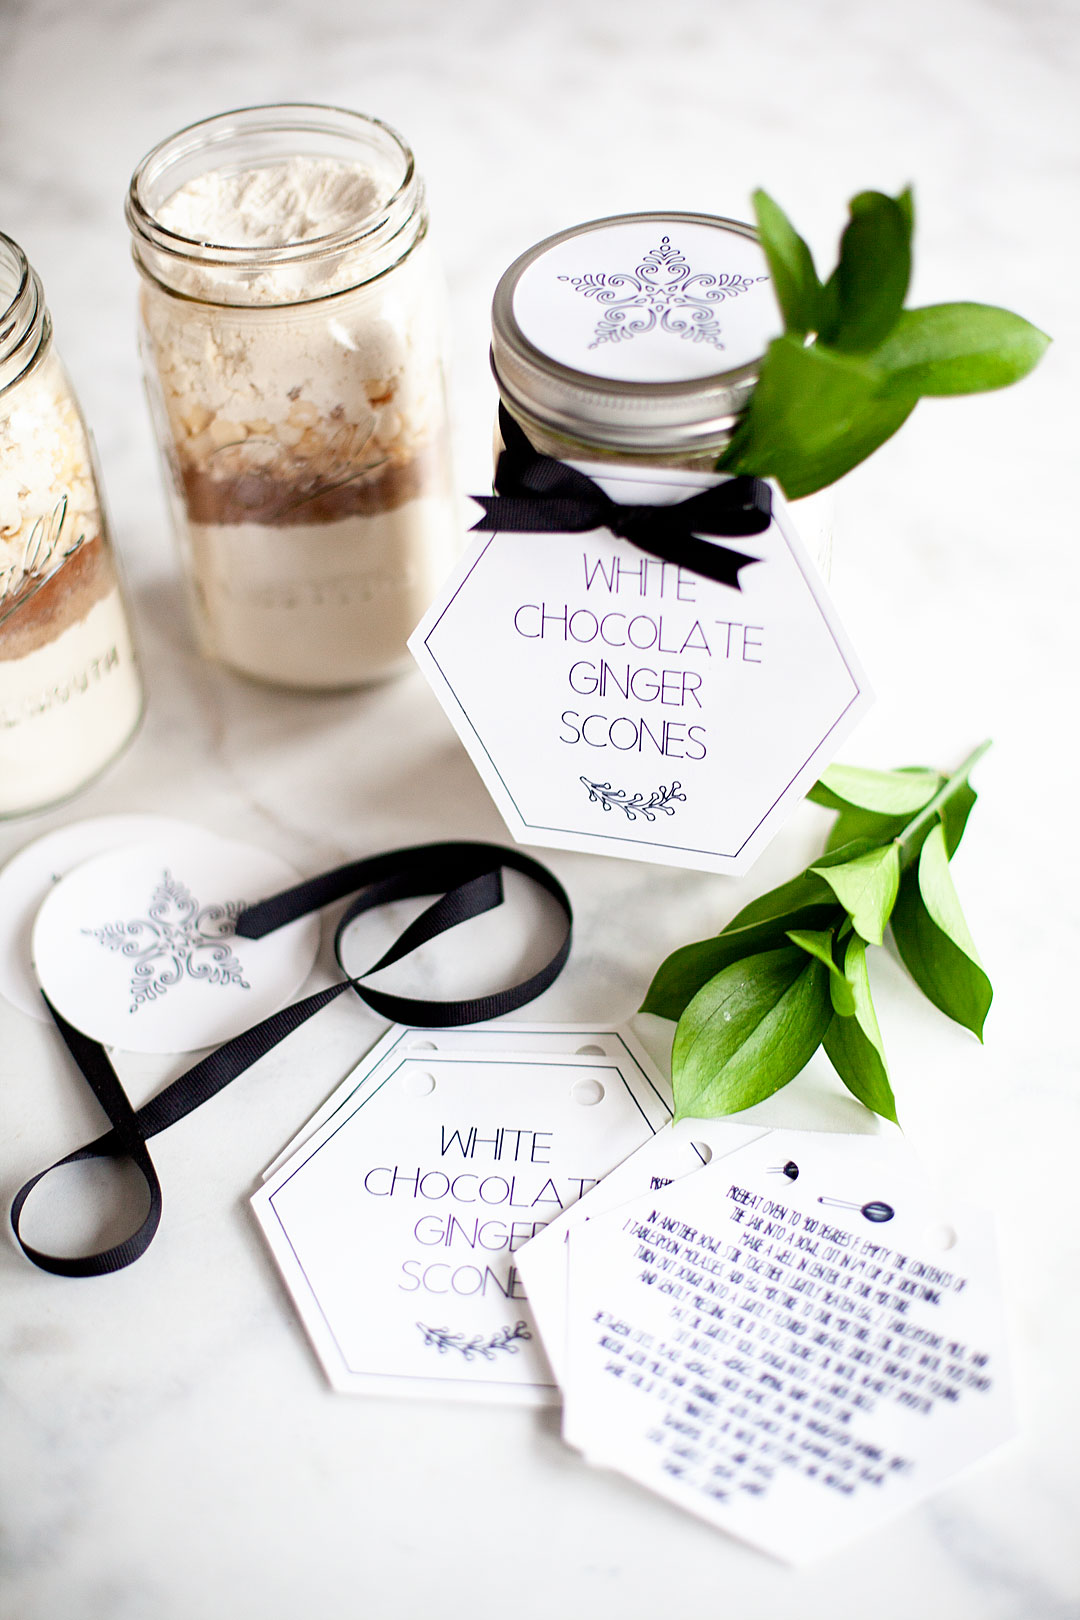
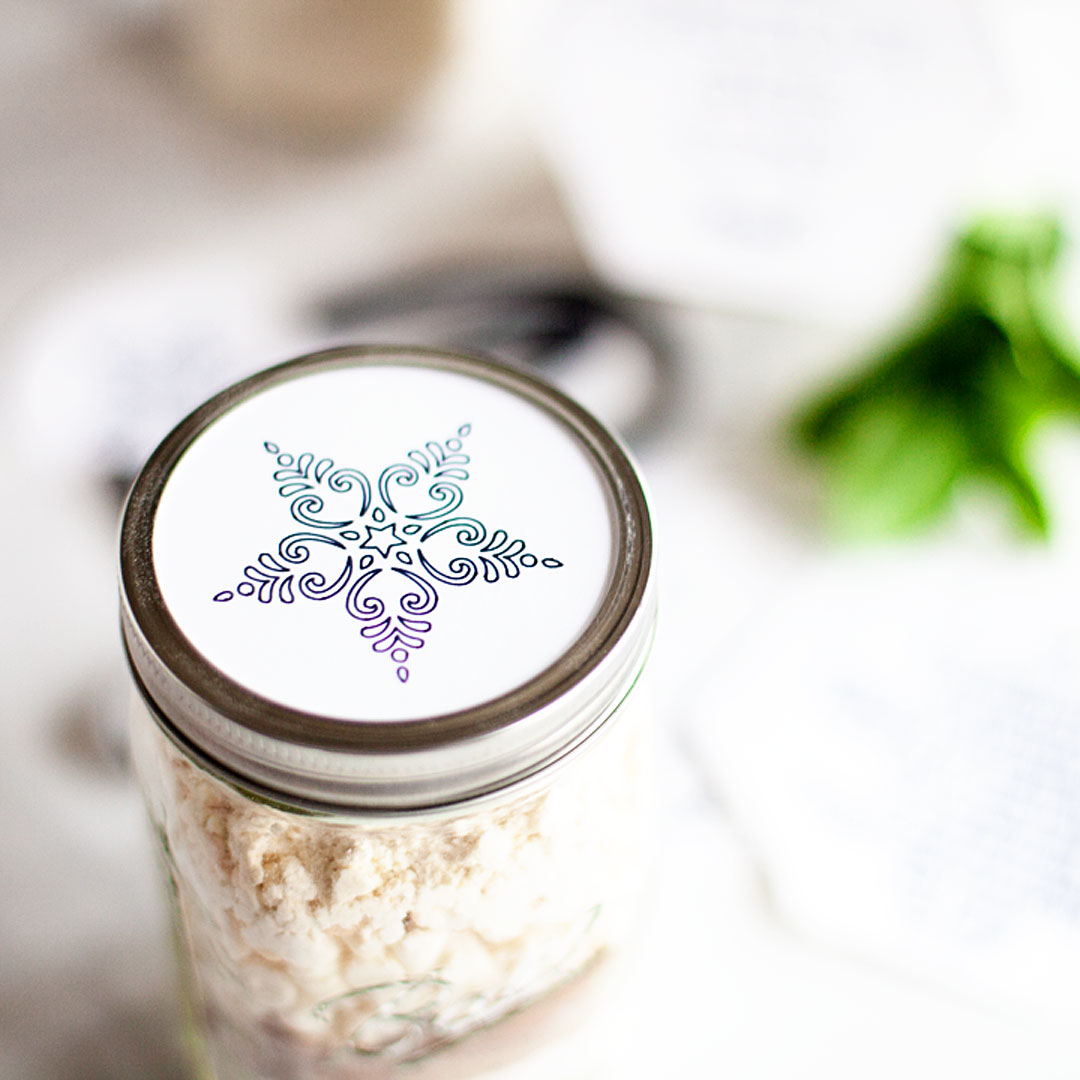
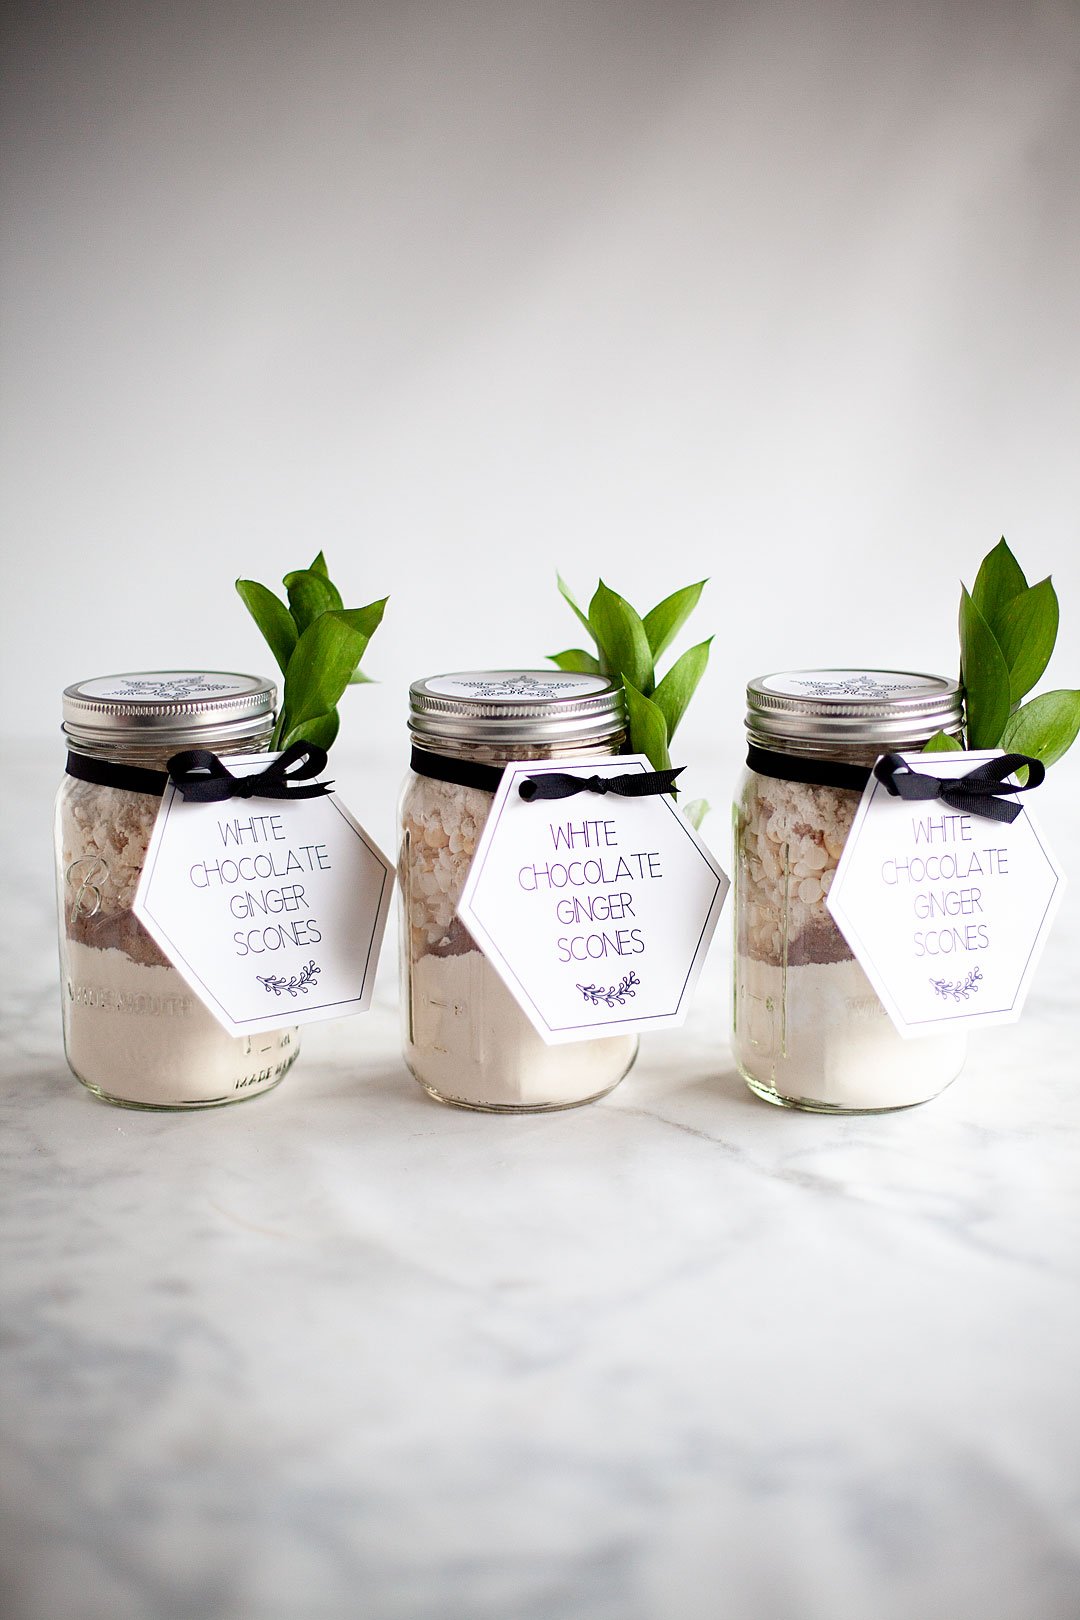
During this time, the importance of the presentation becomes apparent. It’s not enough that the products are just good. They should also look attractive. One way to achieve this is to design custom boxes for customers. Such personalized elements highlight the product and help create a brand.
Create a Brand
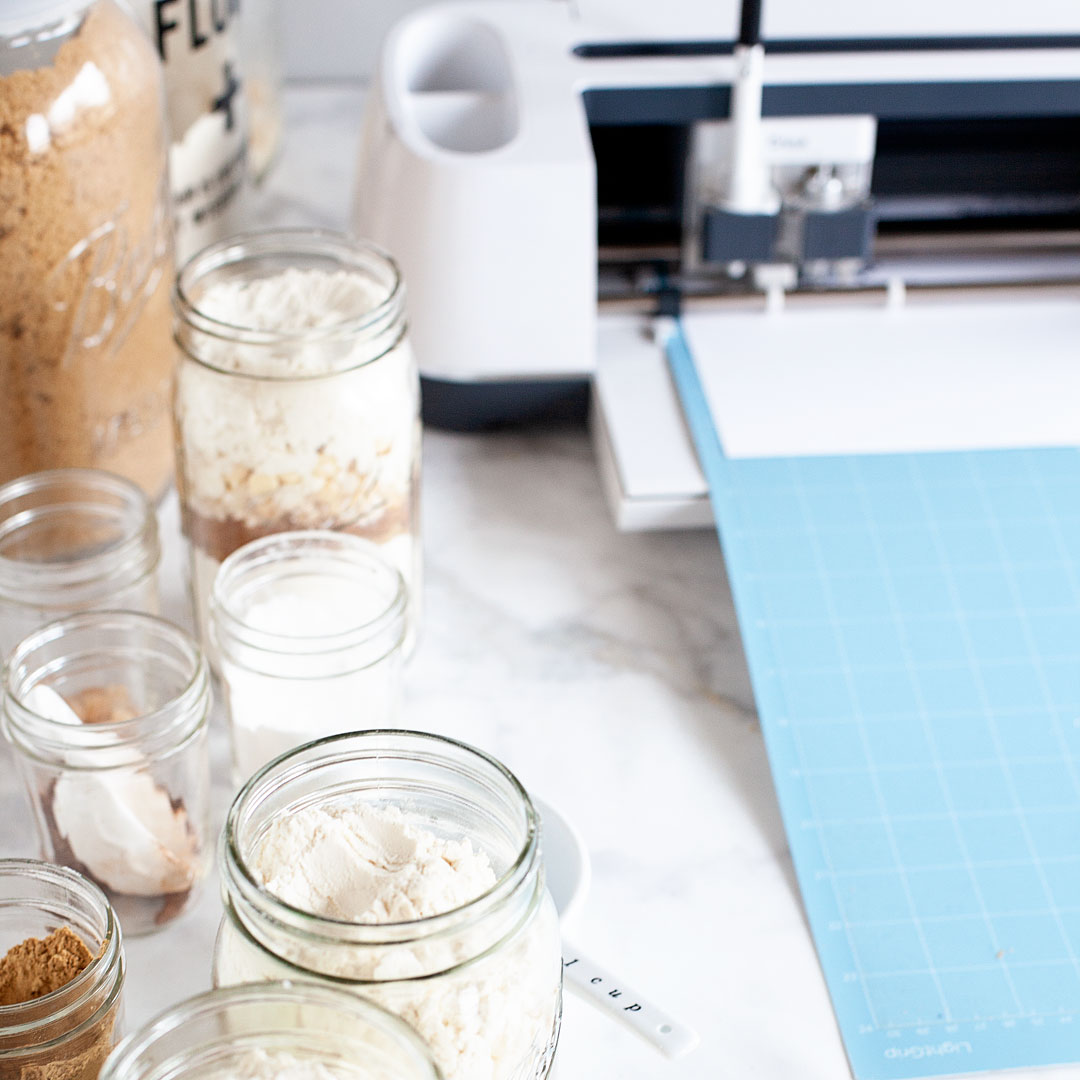
A strong brand identity is important in order to stand out in a competitive market. One of the first steps is to create your logo representing the business. The logo should reflect the personality and charm of the product or service. Using tools like Canva, it’s easy to create a professional-looking logo without needing expert graphic design skills.
Speaking of Canva, it is an invaluable tool for creating promotional materials. Canva’s online background removal features make it easy to create clear and effective images for social media and marketing purposes.
Use Social Media
Social media plays a huge role in the development of small businesses. Facebook Instagram and Instagram platforms are great for showcasing creations and documenting travel. Behind-the-scenes content, such as DIY projects or candid reviews of new products, can attract potential customers. Sharing stories not only attracts customers, but also creates a community of subscribers who offer support.
To maximize the benefits of social media, you need to constantly post messages and interact with your audience. Responding to comments, asking questions, and sharing relevant advice can help establish contacts. In addition, the advertising options available on these platforms can help reach a wider audience.
Master the Business Side
Turning a hobby into a business involves more than just doing what you love. This requires addressing aspects such as pricing, accounting, and legal requirements. Start by calculating the cost of materials, packaging, and time to set fair and favorable prices. An examination of local regulations ensures that operations meet the required standards.
It is very profitable for organizations providing assistance to invest in tools. Spreadsheets or small business applications can simplify accounting, inventory management, and order tracking.

Never Stop Learning
The worlds of needlework, baking, and business are constantly evolving. It is very important to keep abreast of trends and technologies. Online courses and seminars can help improve skills and offer new perspectives. Communicating with other small business owners can also provide valuable information and support.
Asking for customer feedback is another way to improve the situation. Constructive criticism can guide the adjustment of products and services, ensuring continuous growth.
Balance is The Key to Success
Finding a balance between business and personal life is often not easy. Running a business takes a lot of time, and it’s easy to feel overwhelmed. It’s important to set boundaries and prioritize your schedule. Early mornings, for example, can be devoted to work, and evenings to family or personal time. Delegating tasks such as hiring an assistant for packaging or shipping can also make a big difference.
Take Off From Hobby to Cake Business
Starting a hobby-oriented small business can be an incredibly lucrative journey. Combining a love of needlework, baking, or design with entrepreneurial efforts allows people to turn their hobbies into reality. Although it’s not always easy, clients appreciate hard work, which makes it worth enjoying.
For anyone who has a hobby and a dream, it is quite possible to make this dream a reality. Start small, stay passionate, and feel free to invest in yourself and your baking business. The hobby you love can be the next big chapter in your life.