// The Best Homemade Vanilla Ice Cream Recipe //
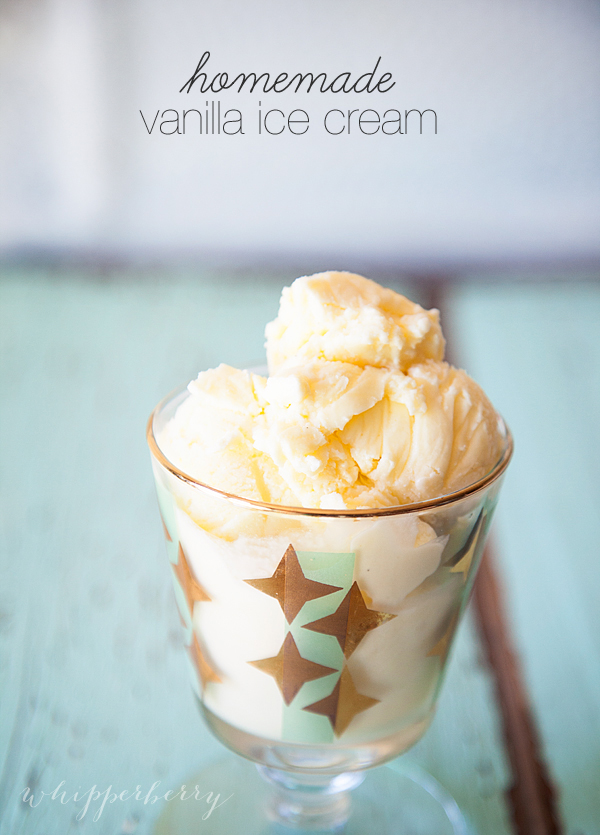
I am so ready for things to start warming up! I am single handedly willing the warmer weather to arrive with this fantastic ice cream recipe! Without question, anything homemade is ten times better than anything that you can buy pre made at the store. Ice cream is definitely one of those goodies that lives buy that rule.
I have fond memories of when I was a little girl, sitting on the back porch on a hot summer day, slowly turning the crank on our family’s “old fashioned” ice cream maker. I didn’t quite understand why you needed to salt the ice, but I trusted that my Dad knew what he was doing. I vividly remember homemade peach ice cream that could curl your toes it was so good. My Mom would make the ice cream base in the kitchen and us girls along my dad were in charge of churning the ice cream until it was just right, out in our back yard.
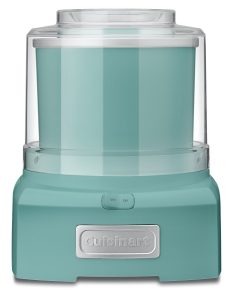
Things are a little different today… Today we have nifty, easy to use ice cream machines right at our finger tips. No more salting the ice, still not sure what that was all about. I’m not a science whiz. You can find ice cream machines in several different price brackets. I personally have a Cuisinart Ice Cream maker that I’ve had for years. I wish it was a little bigger, but it does the job. This cute turquoise one is priced at $59.95 at Amazon. Not too bad… You can ask for one for Mother’s Day this year!
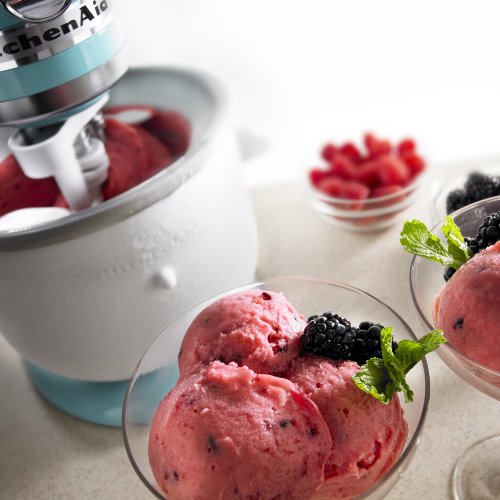
If you have a Kitchen Aid mixer you can purchase a freezer bowl for your mixer and create all kinds of fun frozen concoctions with that. It’s available at Amazon for $76.00.
Either option is pretty good for the home cook. Once you have a good freezing option, then you have to find a good ice cream base recipe. This is the key to good homemade ice cream. I have found a fabulous egg custard base recipe that I LOVE. I originally found it via The Pioneer Woman, but I have modified it a bit for my taste. It’s a rather large recipe but it can be prepared and then stored in the fridge for up to 5 days and then churned in batches. I love that I can create one flavor one day, and a completely different flavor the next all with the same base. Here is how you make it…
Vanilla Ice Cream Base
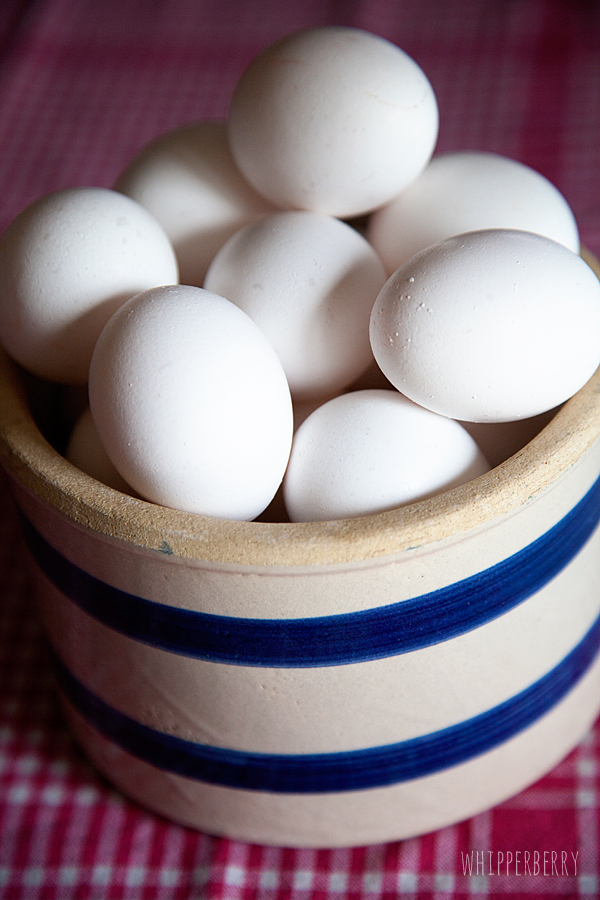
First you will need to grab your 18 eggs and separate the yolk from the whites. Save your whites in your fridge and use them to make macrons or angel food cake or egg white omelets… either way, you don’t want to just throw them down the drain.
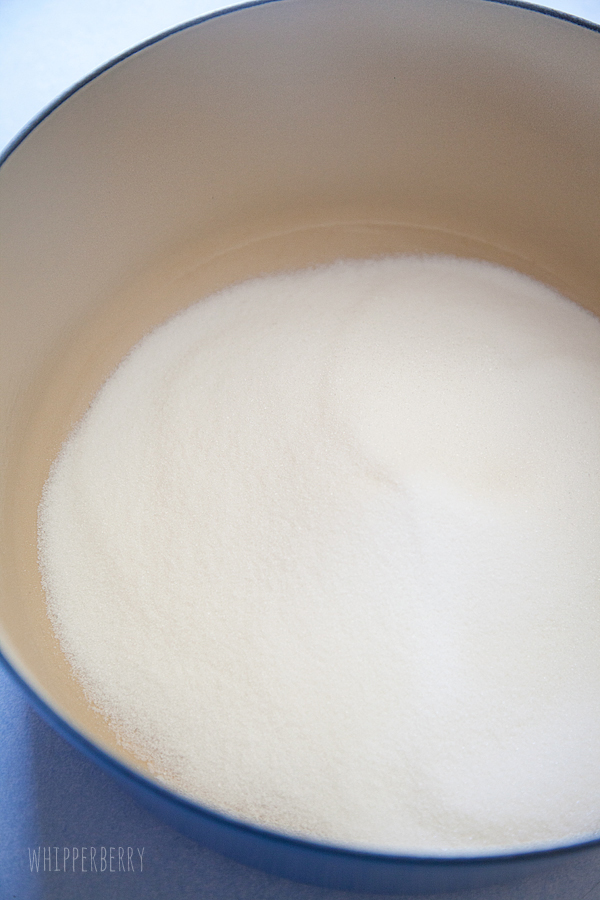
In a large sauce-pan, combine the sugar and whole milk (you may also use pasteurized milk). Stir to combine. Place over medium-low heat. Carefully stir and watch that is doesn’t ever come to a boil.
Cut your vanilla bean length wise and scrape out the vanilla caviar and place in the milk, sugar mixture. Then add the entire vanilla bean as well. Continue to gently stir. Heat the mixture until it is hot, but not boiling.
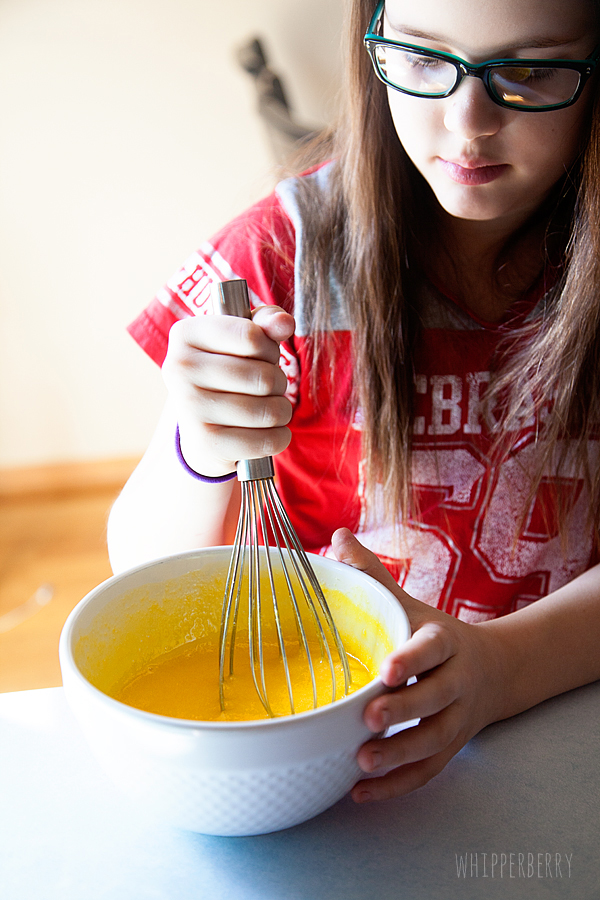
Add the yolks to a large bowl and whisk for 2 minutes until the yolks become a lighter color.
Now you need to temper the egg yolks with a couple of ladles full of the hot milk and sugar mixture. You need to do this so that your eggs don’t become scrambled eggs in the hot milk. Once your egg yolks are tempered or brought up to temperature, slowly stir them into the hot milk. Cook for an additional 2-3 minutes until the mixture starts to thicken. You can tell that it’s ready when it coats the back of a spoon.
Using a fine mesh strainer, strain your mixture into a large bowl. Discard any lumps. Slowly stir in the heavy cream.

At this point I divide my ice cream base into three separate containers, I refrigerate two batches and then prepare and churn the third batch.
For the basic vanilla ice cream, all you need to do is churn the ice cream base in your ice cream maker following the directions for the specific machine. Your ice cream will still be pretty soft when it is finished churning and will need more time in the freezer before you serve.
I line a bread pan with plastic wrap and scoop my ice cream in the bread pan, cover and place in the freezer for 3-4 hours before serving. More or less depending on what consistency you like for ice cream.
- 6 cups whole milk
- 4 cups of sugar
- 1 vanilla bean
- 18 large egg yolks
- 6 cups heavy cream
- First you will need to grab your 18 eggs and separate the yolk from the whites. Save your whites in your fridge and use them to make macrons or angel food cake or egg white omelets... either way, you don't want to just throw them down the drain.
- In a large sauce pan combine the sugar and whole milk stir to combine. Place over medium-low heat. Carefully stir and watch that is doesn't ever come to a boil.
- Cut your vanilla bean length wise and scrape out the vanilla caviar and place in the milk, sugar mixture. Then add the entire vanilla bean as well. Continue to gently stir. Heat the mixture until it is hot, but not boiling.
- Add the yolks to a large bowl and whisk for 2 minutes until the yolks become a lighter color.
- Now you need to temper the egg yolks with a couple of ladles full of the hot milk and sugar mixture. You need to do this so that your eggs don't become scrambled eggs in the hot milk. Once your egg yolks are tempered or brought up to temperature, slowly stir them into the hot milk. Cook for an additional 2-3 minutes until the mixture starts to thicken. You can tell that it's ready when it coats the back of a spoon.
- Using a fine mesh strainer, strain your mixture into a large glass bowl. Discard any lumps.
- Slowly stir in the heavy cream.
- At this point I divide my ice cream base into three separate containers, I refrigerate two sections and then prepare and churn the third.
- For the basic vanilla ice cream, all you need to do is churn the ice cream base in your ice cream maker following the directions for the specific machine.
- Your ice cream will still be pretty soft when it is finished churning and will need more time in the freezer before you serve.
- I line a bread pan with plastic wrap and scoop my ice cream in the bread pan, cover and place in the freezer for 3-4 hours before serving. More or less depending on what consistency you like for ice cream.
Disclaimer // This is not a sponsored post however, I am an Amazon affiliate.