This post brought to you my Bob's Red Mill // I’m part Scottish… By definition I was born with oatmeal in my blood. OK, not really… But, oatmeal is a large part of my Scottish heritage and one part that I really love. It’s one of those foods that you don’t have to feel one iota of guilt for loving. No matter what your taste, there is an oatmeal for you.
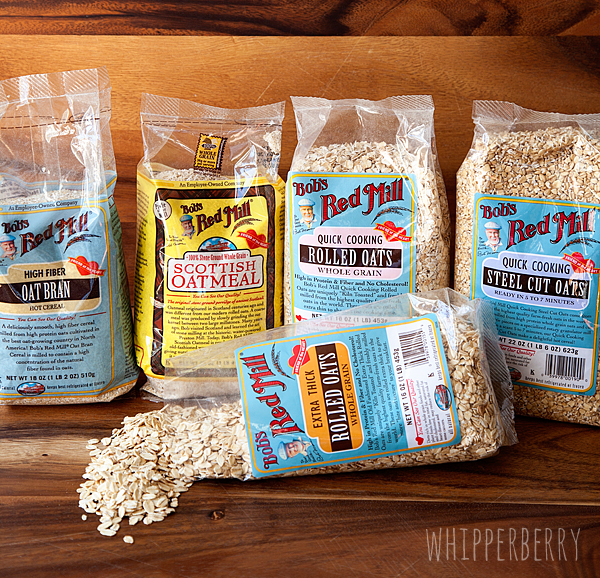
Bob’s Red Mill has a whole collection of different types of oatmeal… Organic Extra Thick, Steel Cut, Scottish, Rolled. Old fashioned and quick cooking, they even have Oat Bran. So no matter how you like your oatmeal, Bob’s Red Mill has you covered. They are an employee owned company that has a passion for creating quality products with time honored processes. Rather than trying to find new technology to process fine whole grain products, they use time tested, traditional techniques that preserve the quality and integrity of the grain, which in turn brings even better nutrition to your table.
The folks at Bob’s Red Mill challenged me to try one of their fun recipes to try with their oatmeal.
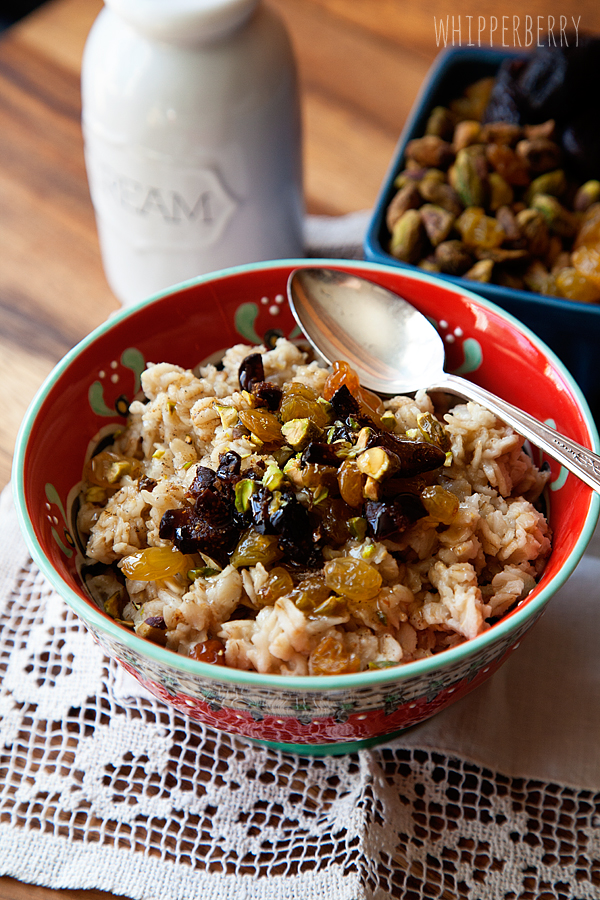
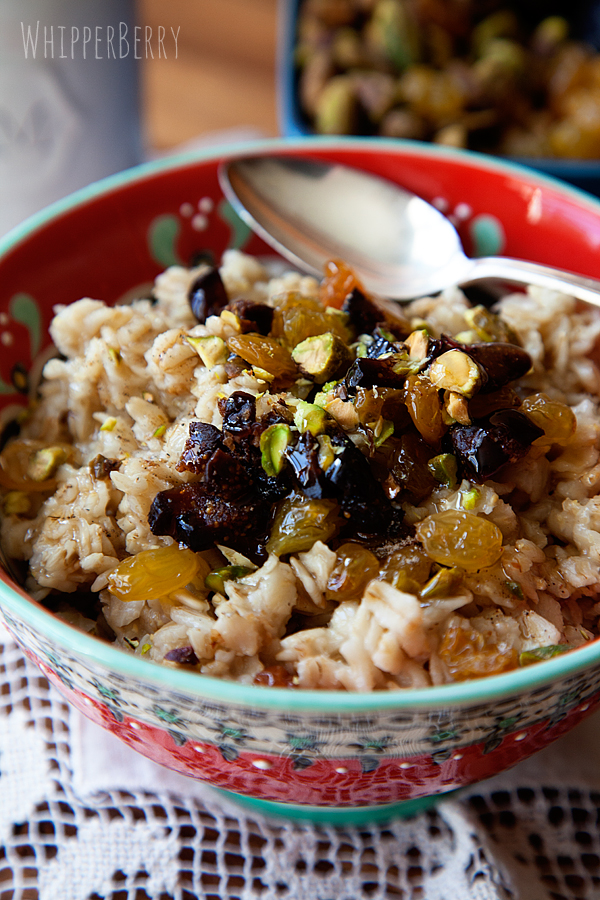
I chose their Gilgamesh recipe and added a few more little treats to fit my tastes. It has a bit of an exotic taste that takes me back to my travels in Israel. I made mine with the Organic Extra Thick Rolled Oats to have a real hearty bite. Here’s how you make it…
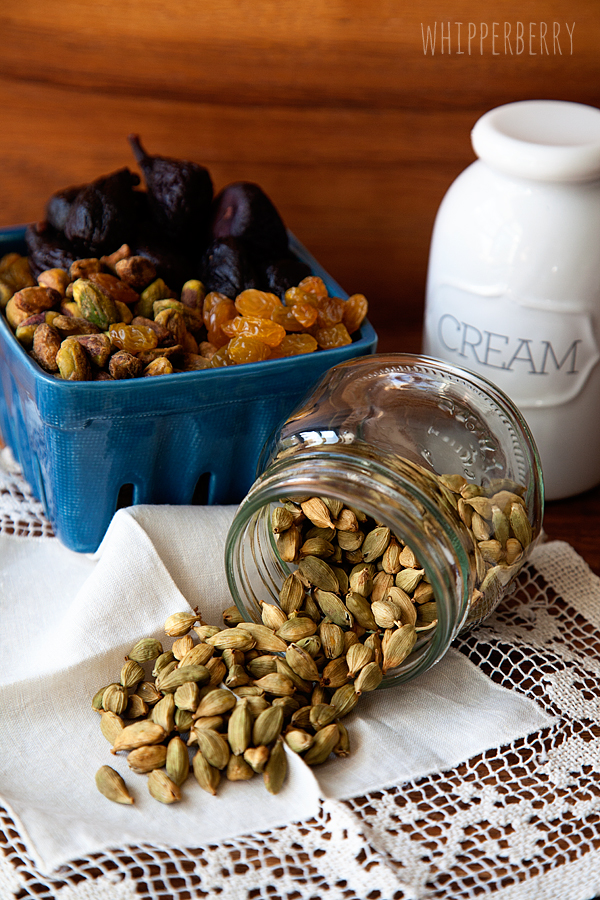
Gilgamesh Oatmeal Ingredients
Pistachios
Chopped Dates or Dried Figs
Golden Raisins
Honey
Milk or cream
Cardamom or Cinnamon (you could even do a small pinch of both)
Gilgamesh Oatmeal Directions
Cook your favorite type of Oatmeal according to package directions. Once slightly cool, place in a bowl and top with chopped pistachios, chopped dates or dried figs (I couldn’t find dates so I went with dried figs), golden raisins, a splash of milk or cream, a drizzle of honey and a small pinch of cardamom and/or cinnamon.
You will be transported to the Mediterranean and all the spicy flavors of that part of the world. It’s a trip in a bowl for sure!
Spicy & exotic not your style? Don’t worry… the folks at Bob’s Red Barn have all kinds of ideas up their sleeves.
![BRM_Oat Calendar_Live sm[2]](https://whipperberry.com/wp-content/uploads/2013/10/BRM_Oat-Calendar_Live-sm2.jpg)
So, what’s your favorite way to eat your oatmeal? What’s your favorite type of oatmeal? Come share some of your favorite toppings!
Disclaimer // This is a post sponsored by Bob's Red Mill. I received product and payment for this post. However, all thoughts and opinions are my very own.