• Skip to primary navigation
  • Skip to main content
  • Skip to primary sidebar
  • Skip to footer

Whipperberry

WhipperBerry • Your Home For Creative Inspiration

  • Home
  • Recipes
    • Starters
    • Easy Weeknight Dinners
    • Main Dish
    • Salads
    • Side Dish
    • Soups & Stews
    • Desserts
    • Breakfast
    • Miscellaneous
  • Tutorials
    • Creative Crafts
    • DIY Decor
    • Fabric Crafts
    • Food How-To
    • Jewlery
    • Paint Projects
    • Paper Art
    • Party Styling
    • Photography and Graphic Design
    • Silhouette
  • Holidays
    • Easter
    • Mother’s Day
    • Father’s Day
    • 4th of July
    • Halloween
    • Thanksgiving
    • Christmas
    • Valentine’s Day
  • Gift Ideas
    • Gifts For Everyone
    • Gifts for Dad
    • Mother’s day
    • For The Girls
    • For The Kids
    • Teacher Gift Ideas
    • Christmas
  • Printables
    • Holiday
    • Gift Idea
    • LDS Primary
  • Travel
  • About
    • Terms
  • Contact
  • Nav Social Menu

    • Facebook
    • Instagram
    • Pinterest
    • RSS
    • Twitter

Recipes

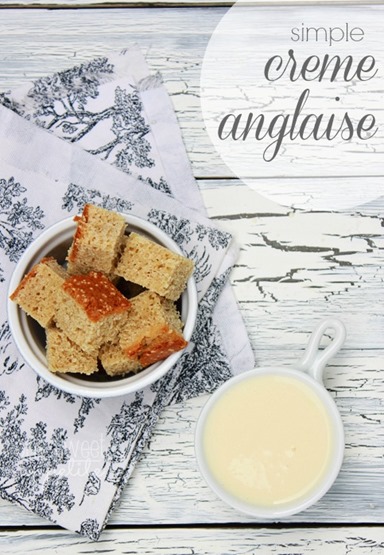
Simple Creme Anglaise Recipe

3 · Oct 16, 2013 · 3 Comments

Creme Anglaise Recipe // Hi all of you Whipperberry fans! It’s me Jesseca from One Sweet Appetite here to talk Holiday’s. It’s almost that time of year. You know… That time when you are starting to think of great recipes to share at holiday parties or dinners? If you are anything like me, you are probably wanting to make a great impression and serve up something that is going to be easy but also make a flavorful impact on your visitors. Luckily, I have you covered with this simple creme anglaise. You can whip it up the day before and serve it as a dipping sauce or drizzle over some Vanilla Pound Cake, which I happen to have up on my site today!  You will never believe how quick this recipe is or how quickly it disappears. The wonderful aroma of vanilla will fill your house and get your senses working while it gently cooks. Everyone will be drooling in anticipation!

creme-anglaise-custard_thumb

Start by whisking together two egg yolks with 1/4 cup of sugar. You want the color to lighten to an off white. Fill a 9×13 pan with ice and water. Set a medium sized bowl in the center. Set that aside and move on to the next step.

whipped-egg-yolks_thumb

Combine 1 cup of half and half with 1-1/2 teaspoons of pure vanilla extract. Heat until small bubbles begin to form around the edges.

half-and-half

Slowly drizzle your half and half into your egg mixture. Whisk to combine.

second-cook-time

Return to the pan and cook on low heat until just slightly thickened.

ice-bath

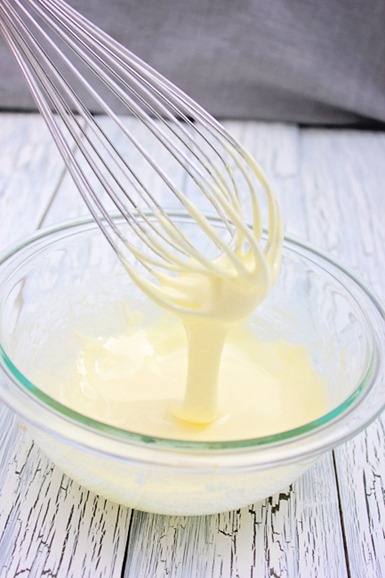
Immediately pour into the bowl that you placed in the ice bath earlier to stop the cooking process. Serve now for a warm drizzle or refrigerate for a cooler custard sauce later.

creme-anglaise

My husband decided the cooled down version is great to eat all on it’s own. I, however, prefer it as a dipping sauce for that Vanilla Pound Cake I mentioned earlier! Both can be made the night before to save on time. Which might be convenient during all of the crazy family parties that are sure to be starting soon! Thanks for letting me take over your site today Heather! Hopefully I’ll be seeing some of you soon over at One Sweet Appetite!


Apple Butter Recipe

4 · Oct 1, 2013 · 4 Comments

Apple Butter Recipe // Ahhhh fall. So many great things to look forward to this time of year. Boots, comfy sweaters, Halloween, Thanksgiving, pumpkins, changing leaves, apples…I love all of it! It also seems to be the time of year where we see a lot more of our friends and family, and that means the opportunity to eat and share lots of good food!

So this is the perfect time for me to try out some new recipes, and do some planning for the upcoming holiday season! When I'm putting together appetizer and meal ideas for company I really try to keep things simple, and use ingredients that most people love.

This recipe is one of those dishes! Apple Butter is the perfect thing to keep on hand for a number of different occasions. It's great served on top of Brie for an appetizer, or spread on a ham & Brie sandwich for lunch, or scooped onto ice cream for dessert. It's so versatile!

Apple butter is made in the crockpot over a 10-12 hour period, so that the apples and spices have time to come together and make a smooth apple spread. Don't be afraid of the length of time it takes to make Apple Butter, it's really very simple. All you have to do is put the ingredients into a crock pot and let it simmer during the day or even overnight. Then you have the most delicious treat!

Apple-Butter-{A-Pretty-Life} Apple-Butter-Title2 Ingredients: (Makes 1 – 2 cups) 6 medium/large apples, cored and peeled and chopped 1/2 cup sugar 1/2 cup brown sugar 1 1/2 to 2 tsp cinnamon pinch nutmeg pinch allspice dash salt 1 tsp vanilla (optional)   Instructions:

  • In a crockpot, mix together the chopped apples with the sugars and spices. Mix well.
  • Cook in the crockpot on low for 10 hours, stirring occasionally if you can. Let the mixture cook until it is thick and dark brown.
  • After the 10 hours, remove the lid and blend the apple mixture with an immersion blender until smooth.
  • Then cook uncovered in the crockpot for an additional 1 – 2 hours.
  • Store in sterile jars in your fridge for up to 2 weeks.

  Serving Ideas:

  • Serve on a brie cheese wheel (see below).
  • Make a ham and brie cheese sandwich, and spread on some apple butter. You could cook it like a grilled cheese sandwich. Yum!
  • Serve alongside roast or BBQ'd pork.
  • Serve on vanilla ice cream.
  • Spread on toast.

– – – – – – – – – – – – – – – – – – – – –

Whisk

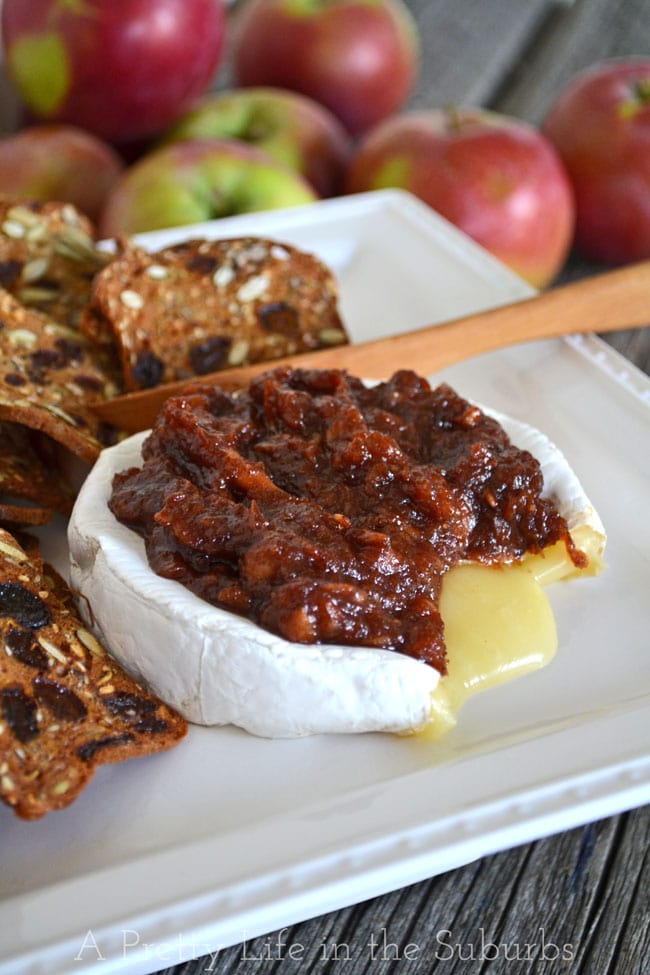
Now because I have an obsession with anything having to do with Brie cheese, I wanted to give you an option on how to serve some of your Apple Butter. Apples and Brie are a match made in Heaven. Major deliciousness going on here.

Actually the whole inspiration for me to make Apple Butter was just imagining it baked onto some Brie cheese. I thought it would make a perfect fall appetizer…apples, cinnamon & spices with cheese…a delicious seasonal dish. Mmmmmmm!

Apple-Butter-&-Brie-{A-Pretty-Life}

But you may notice in this picture that the apple butter is not smooth. I wanted the mixture to be chunky on top of the brie…I just like the texture better. All I did was take about a 1/2 cup of the apple butter out of the crockpot before I blended the rest. This step of course is entirely up to you.

Apple-Butter-Title

Instructions:

  • Preheat your oven to 400 degrees.
  • Place a brie cheese wheel in an oven proof serving dish. Score the top with a knife, then place it in the oven for about 5 minutes, until the brie is softened.
  • Then mound about 1/2 cup of the apple butter on top of the brie, and bake for about 3-4 minutes more.
  • Serve with crackers or chunks of bread.
  • Enjoy!


I hope you enjoy these recipes for Apple Butter!

– – – – – – – – – – – – – – – – – –

For even more delicious appetizers, come on over!

Whipperberry-Features

Cedar Planked Fruit & Wine Brie Bites | Artichoke & Spinach Dip | Tomato & Basil Bruschetta

– – – – – – – – – – – – – – – – – –

Have a delicious day! Signature

Brown Butter White Chocolate & Cinnamon Chip Cookies Recipe

1 · Sep 24, 2013 · 6 Comments

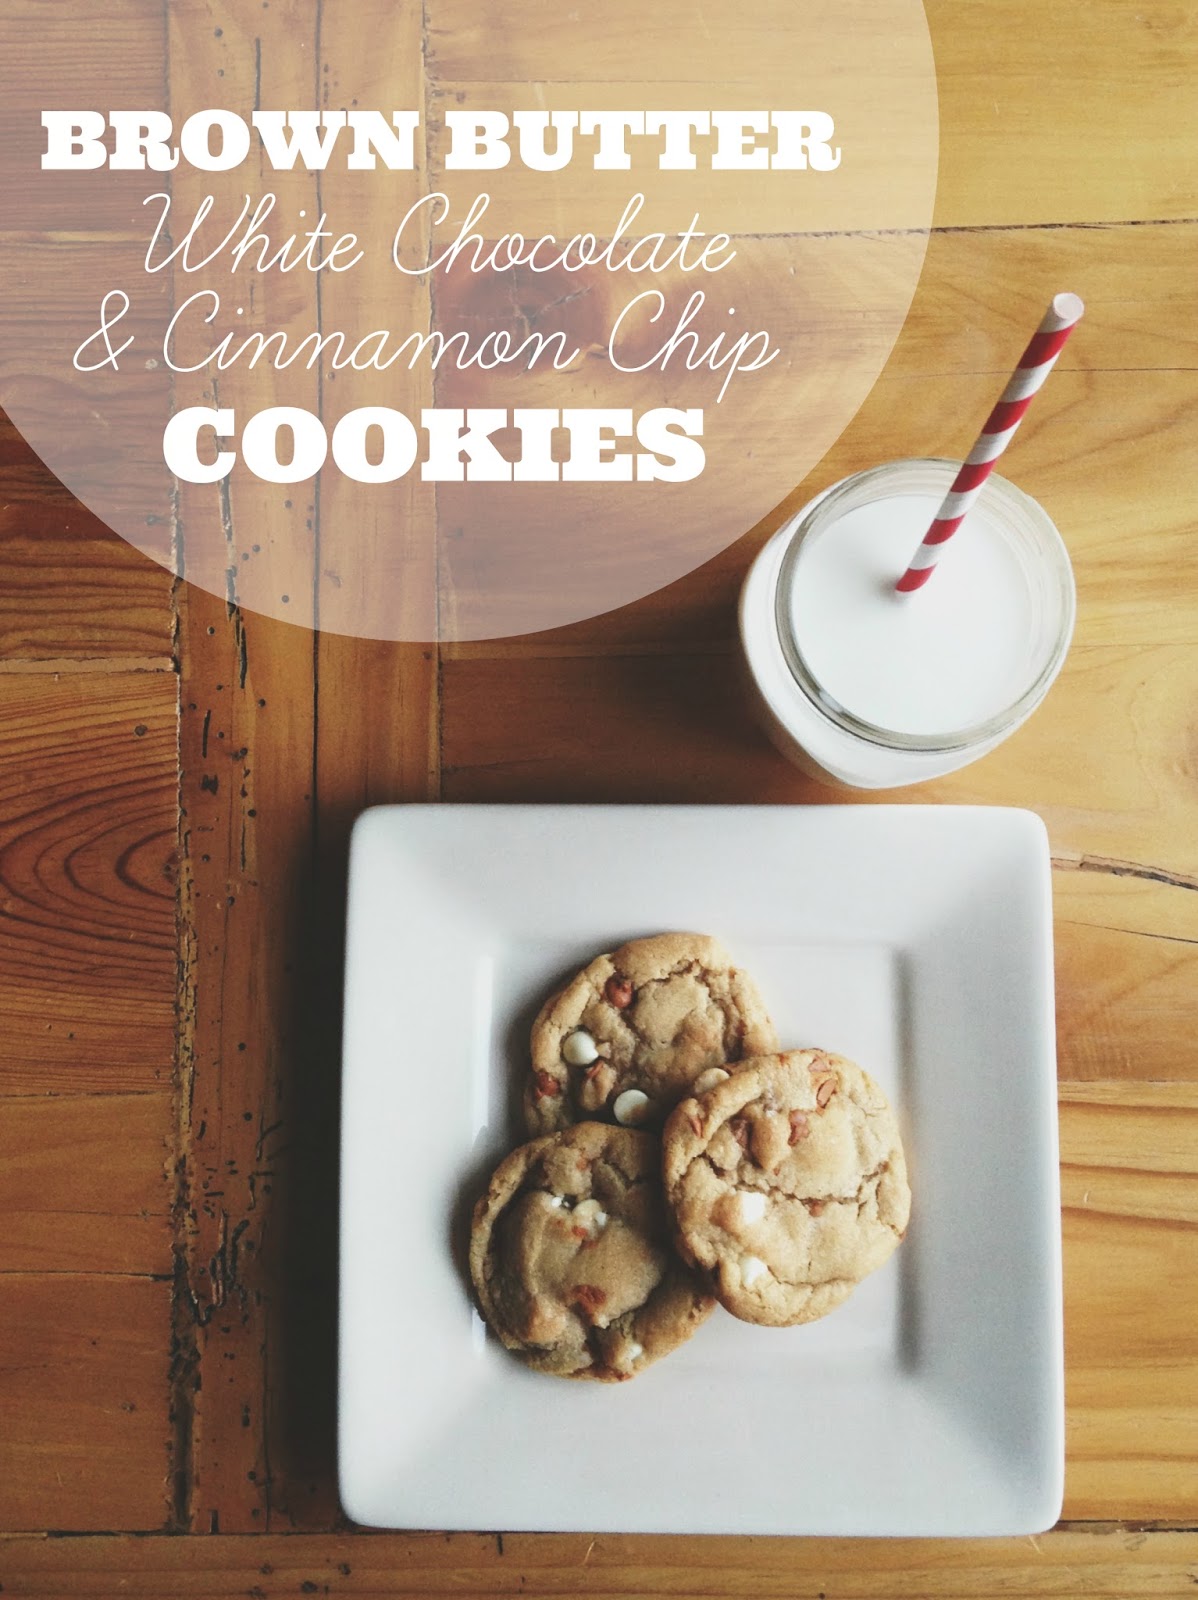
// Brown Butter White & Cinnamon Chip Cookies Recipe //
 
Thanks again Heather for having me!
 
When September arrived a few weeks ago, I absolutely loved knowing my nieces, nephews, and dear little friends were starting up school again. This time of year is so nostalgic for me. It's hard to beat the thought of freshly baked cookies ready at home for our hard-working school kids, right? My little ones aren't quite there yet, but before I know it I'll be sending them off to school, and I hope they'll enjoy coming home to a sweet treat every once in a while.
 
I recently discovered Hershey's Cinnamon Chips (I've only been able to find them at Walmart) and wanted to try them in cookies. Brown butter anything is a winner in my book, so I looked up my favorite brown butter cookie recipe found here and adjusted the recipe a bit. They have a delicious nutty flavor, rich with the white chocolate, and the cinnamon chips add a wonderful fall flavor. I think they'd be a great after school snack, for kids and parents!


BROWN BUTTER WHITE CHOCOLATE & CINNAMON CHIP COOKIES
{Adapted from Ambitious Kitchen's Nutella-Stuffed Brown Butter + Sea Salt Chocolate Chip Cookies}
 
2 1/4 cups all-purpose flour
1 1/4 teaspoon baking soda
1/4 teaspoons of salt
2 sticks (1 cup) unsalted butter
1 1/4 cup packed dark brown sugar
1/4 cup granulated sugar
1 large egg plus 1 egg yolk
1 1/2 teaspoon vanilla extract
1 tablespoon plain greek yogurt or sour cream
2/3 cup white chocolate chips
2/3 cup cinnamon chips
 
Whisk together the flour, baking soda, and salt in a bowl and set aside. Melt butter in a saucepan over medium heat. The butter will begin to foam. Make sure you whisk constantly during this process. After a couple of minutes, the butter will begin to brown and give off a nutty aroma–smelling heavenly. Immediately transfer the butter to a bowl to prevent burning. Set aside to cool for a few minutes.
 
With an electric mixer (I used my kitchen aid with the paddle attachment), mix the butter and sugars until thoroughly blended. Beat in the egg, yolk, vanilla, and yogurt until combined. Add the dry ingredients slowly and beat on low-speed just until combined. Gently fold in all the chocolate chips.
 
Chill your dough in a covered container for about 2 hours in the refrigerator. Just before the dough is done being chilled, preheat the oven to 350 degrees F. Scoop balls of dough (about 2 tablespoons) onto a lined baking sheet. Bake for 9 minutes (a little more or less depending on your oven). They will look a bit underdone in the middle, but will continue to cook once out of the oven. Let cookies sit on baking sheet for a minute or two, then remove them and let them fully cool on a wire rack. Or, if you're like us you'll enjoy one or two straight off the pan, being sure to "blow blow blow" as my little boy would say. 😉 Repeat with remaining dough and enjoy!!
 
xo,
Haley
 
And here are a few recipes and projects that make my autumn-loving heart all sorts of happy:
Roasted Peach & Strawberry Buttermilk Ice Cream
Festive Mantel with Silhouettes and a DIY Halloween Photo Banner
To Die For Blueberry Muffins
 

Roasted Veggie Taco Salad // Easy Weeknight Dinners

1 · Sep 23, 2013 · 3 Comments

Easy Weeknight Dinners //  If I didn’t love meat so much I would be a vegetarian… Seriously, I LOVE vegetables! I would much rather have a plate full of veggies along with a small side of protein. With all of the wonderful Farmer’s Market goodies at this time of year, I thought I would make a tasty Roasted Veggie Taco Salad for dinner. You can also check out my Taco Hand Pie recipe if you just can’t get enough tacos.

Roasted Veggie Taco Salad by WhipperBerry

It’s was a knock it out of the park hit with the family! The combination of the savory roasted vegetables with the fresh Mango Salsa was perfect. It was just fun and colorful enough that the kiddos didn’t balk at a plate full of veggies and my meat loving sweetheart didn’t even complain once.

Layering it all with lettuce, refried beans and topped with Queso Fresco made for a very satisfying weeknight meal. Here’s how you can make it for your family tonight.

Ingredients for Roasted Veggie Taco Salad

1 zucchini

​1 yellow summer squash

1 large onion

1 small head of garlic

1 jalapeño

1 large green chili

2 green tomatoes (optional)

1 T extra virgin olive oil

2 T taco seasoning

salt & pepper

1 can of refried beans

4-6 tortilla bowl or a large bag of tortilla chips

1 large head of green leaf lettuce, red leaf or Romaine

Fresh Mango Salsa

1/2 cup Queso Fresco or a mild Feta cheese

Sour Cream

Taco Sauce

Directions on how to make Roasted Veggie Taco Salad

Heat oven to 450˚, wash and cut veggies in large, yet still bite size pieces.

If you would like to have your salad on the spicy side leave the ribs and seeds in the jalapeño, for a milder salad, remove the ribs & seeds. Remove the garlic from it’s skin, but leave whole. I just happened to have some green tomatoes in my garden and I thought I would add them to the mix. The roasted up perfect and tasted fabulous, but they aren’t a deal breaker by any means. If you don’t have any, don’t worry. Really you can add any kind of veggie you want to this mix. That’s the beauty of this recipe.

On a baking sheet drizzle with olive oil and generously season with salt, pepper & taco seasoning. Toss to coat everything with the oil and seasoning.

seasoned roasted veggies

Roast at 450˚ for 30 minutes or until the veggies start to char a bit. Remove from oven and let cool.

roasted veggies

While the veggies are cooling you can mix up your Mango Salsa. You can check out my recipe for that here.

mango and avocado salsa

I just love this fresh salsa and it adds such a bright flavor to the salad.

Next, in a small sauce pan, heat your refried beans. Once they are warm, you can start to layering your salad with the beans at the bottom of your tortilla bowl or on the bottom of your plate surrounded by corn chips.

add beans to the bottom of your salad

The next layer is the lettuce that you have washed, dried and cut into bite size pieces. Then top of with a good helping of the roasted veggies, then the mango salsa, with a good sprinkling of the Queso Fresco or Feta.

Roasted Veggie Taco Salad from WhipperBerry

I then add a dollop of sour cream and then a splash of taco sauce to act as the “dressing.” Mix together and enjoy!

This will take Taco Tuesday up to a whole new level for sure!!

  • « Go to Previous Page
  • Page 1
  • Interim pages omitted …
  • Page 48
  • Page 49
  • Page 50
  • Page 51
  • Page 52
  • Interim pages omitted …
  • Page 67
  • Go to Next Page »

Primary Sidebar

Heather from Whipperberry
Hello... my name is Heather and I'm the creator of WhipperBerry a creative lifestyle blog packed full of great recipes and creative ideas for your home and family. I find I am happiest when I'm living a creative life and I love to share what I've been up to along the way... Come explore, my hope is that you'll leave inspired!

Footer

  • Privacy Policy
  • Crafts
  • Food
  • Gifts
  • Holidays
  • Home
  • Mom Life
  • Recipes
  • Travel

Copyright © 2026 · Seasoned Pro