Hello Whipperberry fans! I'm Jenn from Clean and Scentsible and I cannot tell you how excited I am to be contributing to Heather's amazing blog!

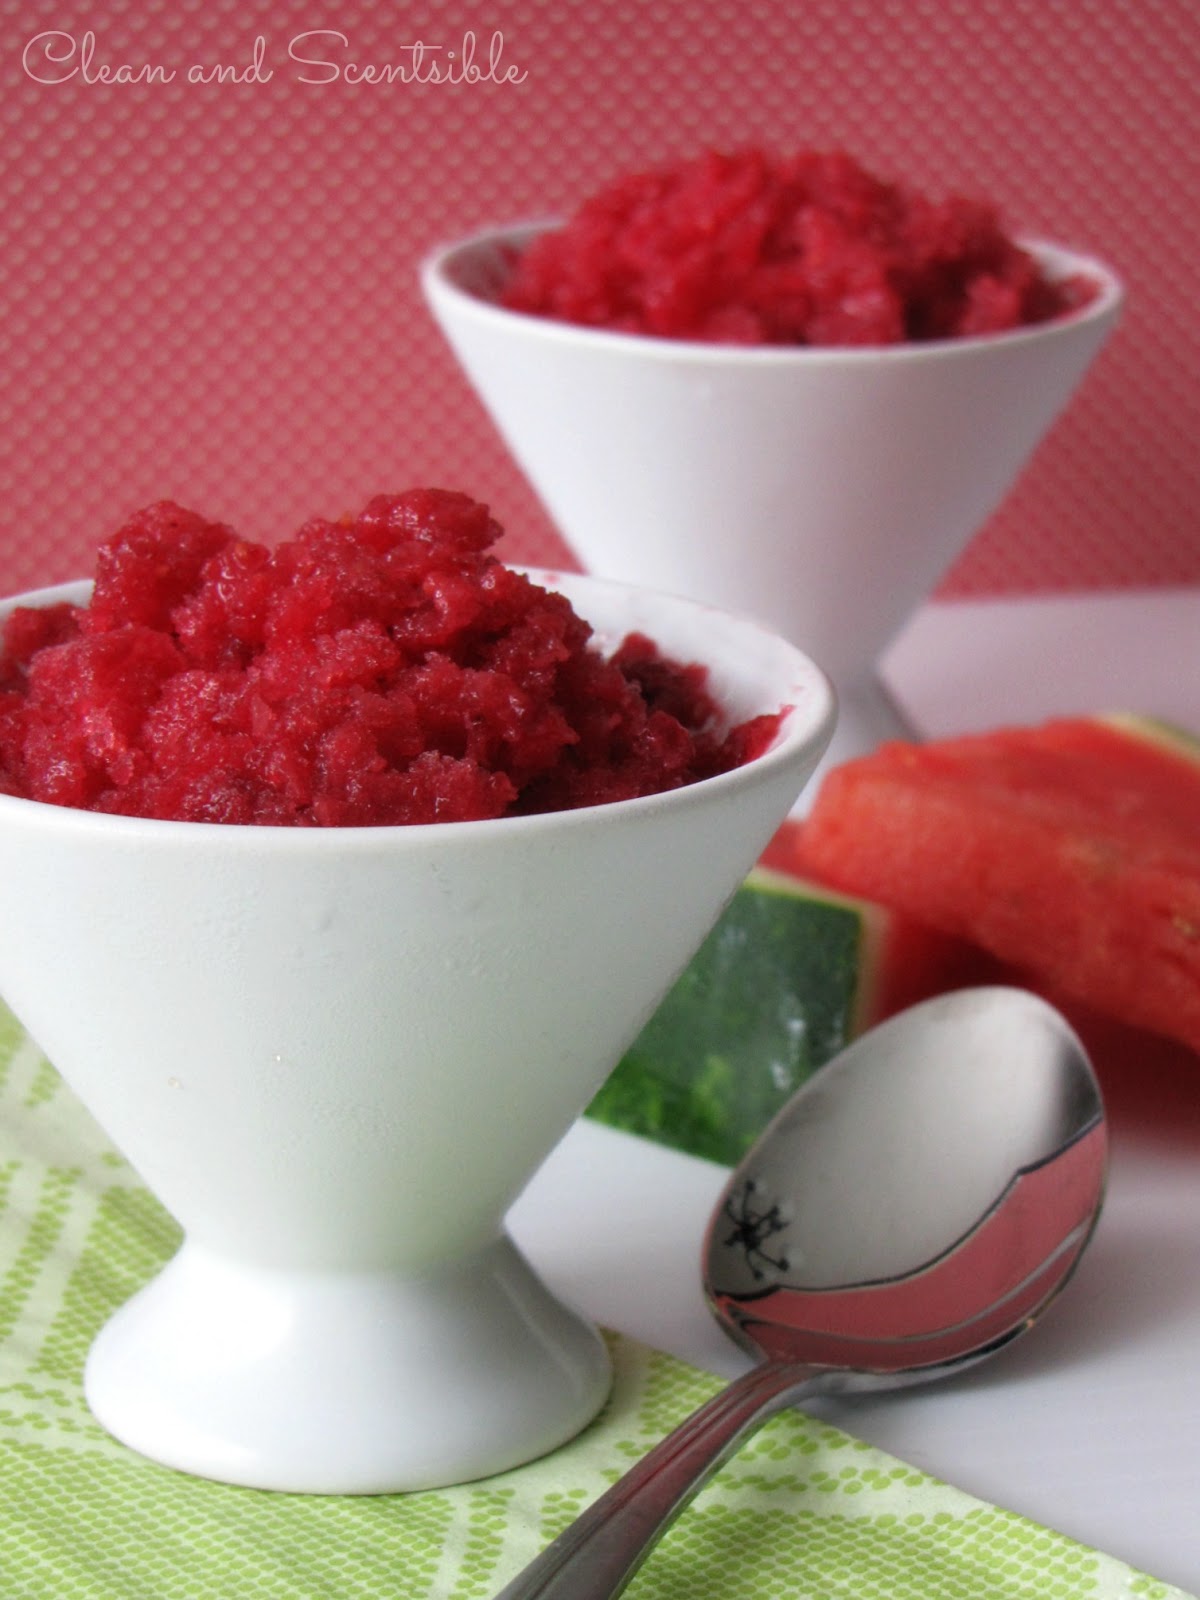
To me, summertime is all about simplifying things. We usually only have a few months of nice, warm weather around here so I savor every moment I can get! This raspberry watermelon granita is one of my favorite summertime treats and is so easy to make. It does require a bit of patience while it is freezing but it is well worth it!
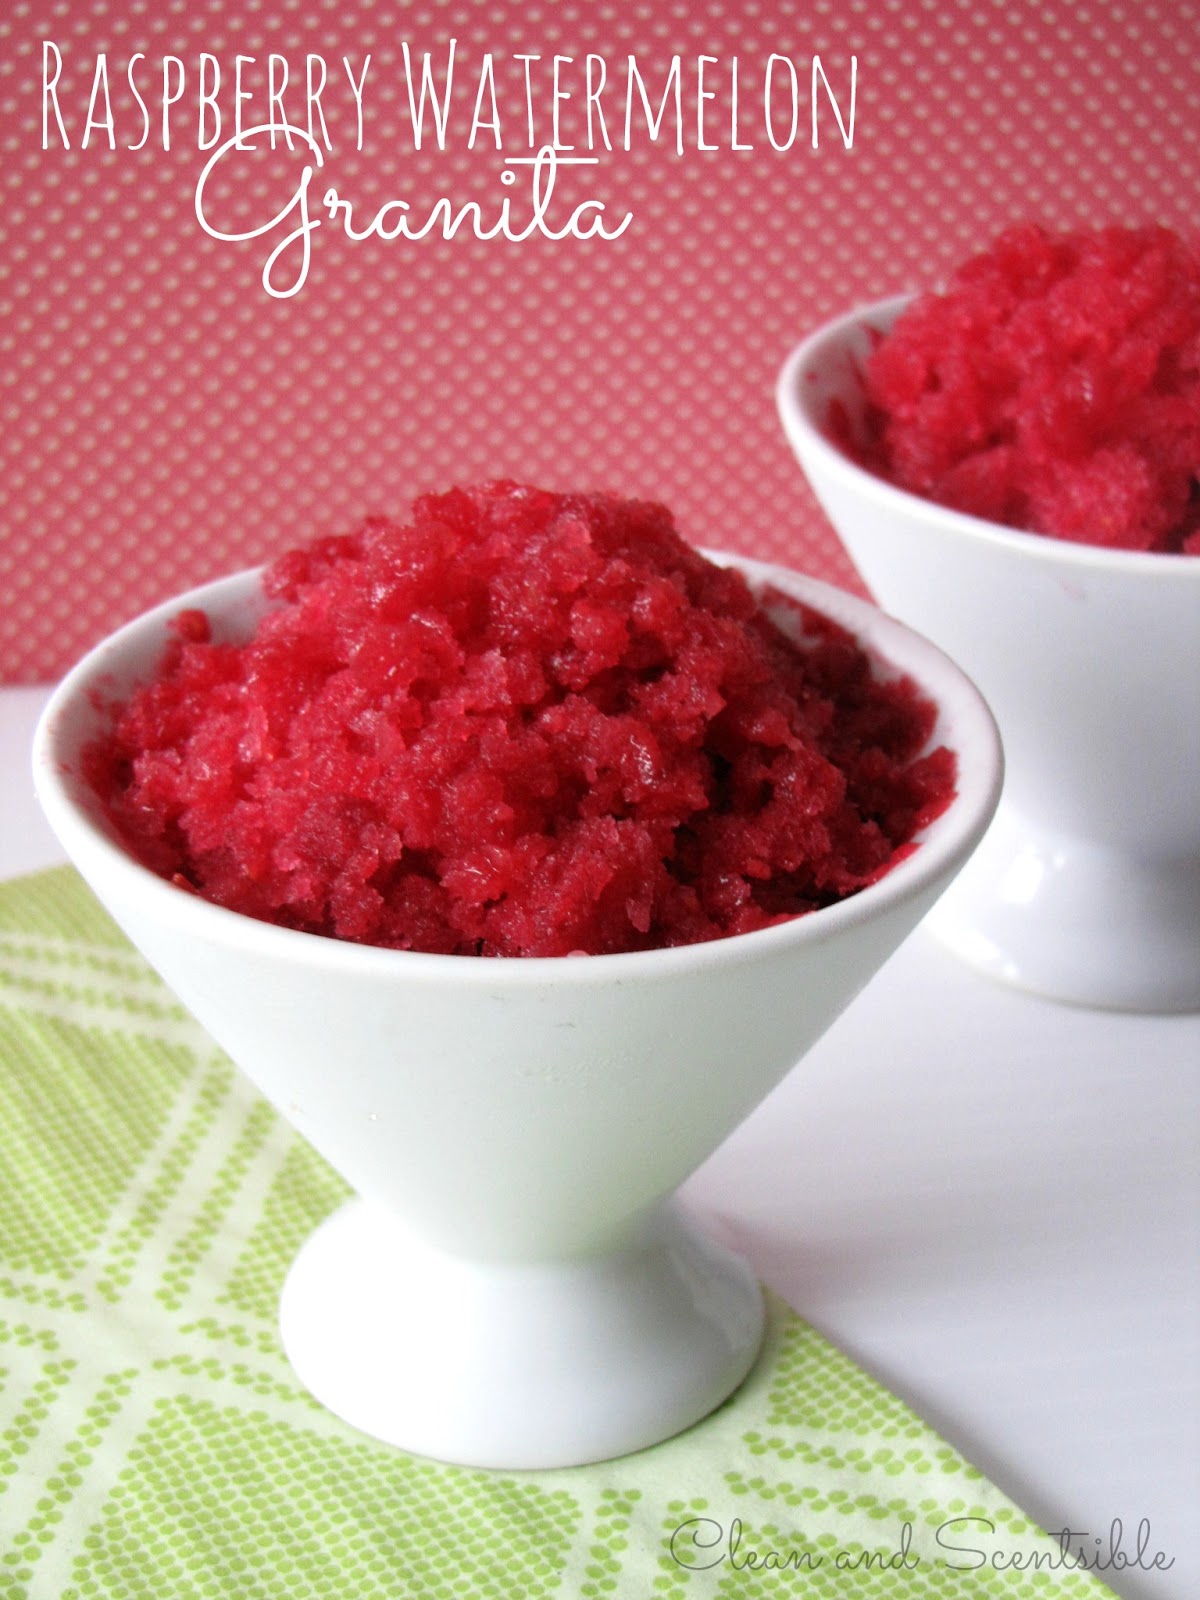
Raspberry Watermelon Granita
5 cups cubed seedless watermelon
2 1/2 cups fresh or frozen raspberries
1/2 cup sugar
1 envelope unflavored gelatin {1/4 ounce}
1/2 cup cran-raspberry juice cocktail
Preparation
Puree the watermelon and raspberries in a food processor or blender. Depending on the size of your blender you may need to do this in two batches.
Combine the sugar and gelatin in a small sauce pan and stir over low heat until gelatin dissolves. Stir in juice.
Combine about half of the sugar mixture with the puree. Slowly add the remainder of the mixture to taste depending on how sweet you would like your granita to be. Remember that it will lose a little of the sweetness once frozen.
Pour into a 9 x 9 baking pan, cover with foil, and place in freezer.
Freeze for at least 2-3 hours and then use a fork to scrape along the top layers creating an icy texture. Continue until you start to get close to the less-frozen middle and then place back in the freezer. Repeat this process until it is all scraped. Makes about 10-12 servings.