Normally a costly buy, these farmhouse tiered bowls are a stylish storage option for either the kitchen, office or craft room. Rather than breaking the bank, you can grab a few items at Michaels to make one of your own.
+ This DIY Farmhouse Tiered Bowls post brought to you by Michaels +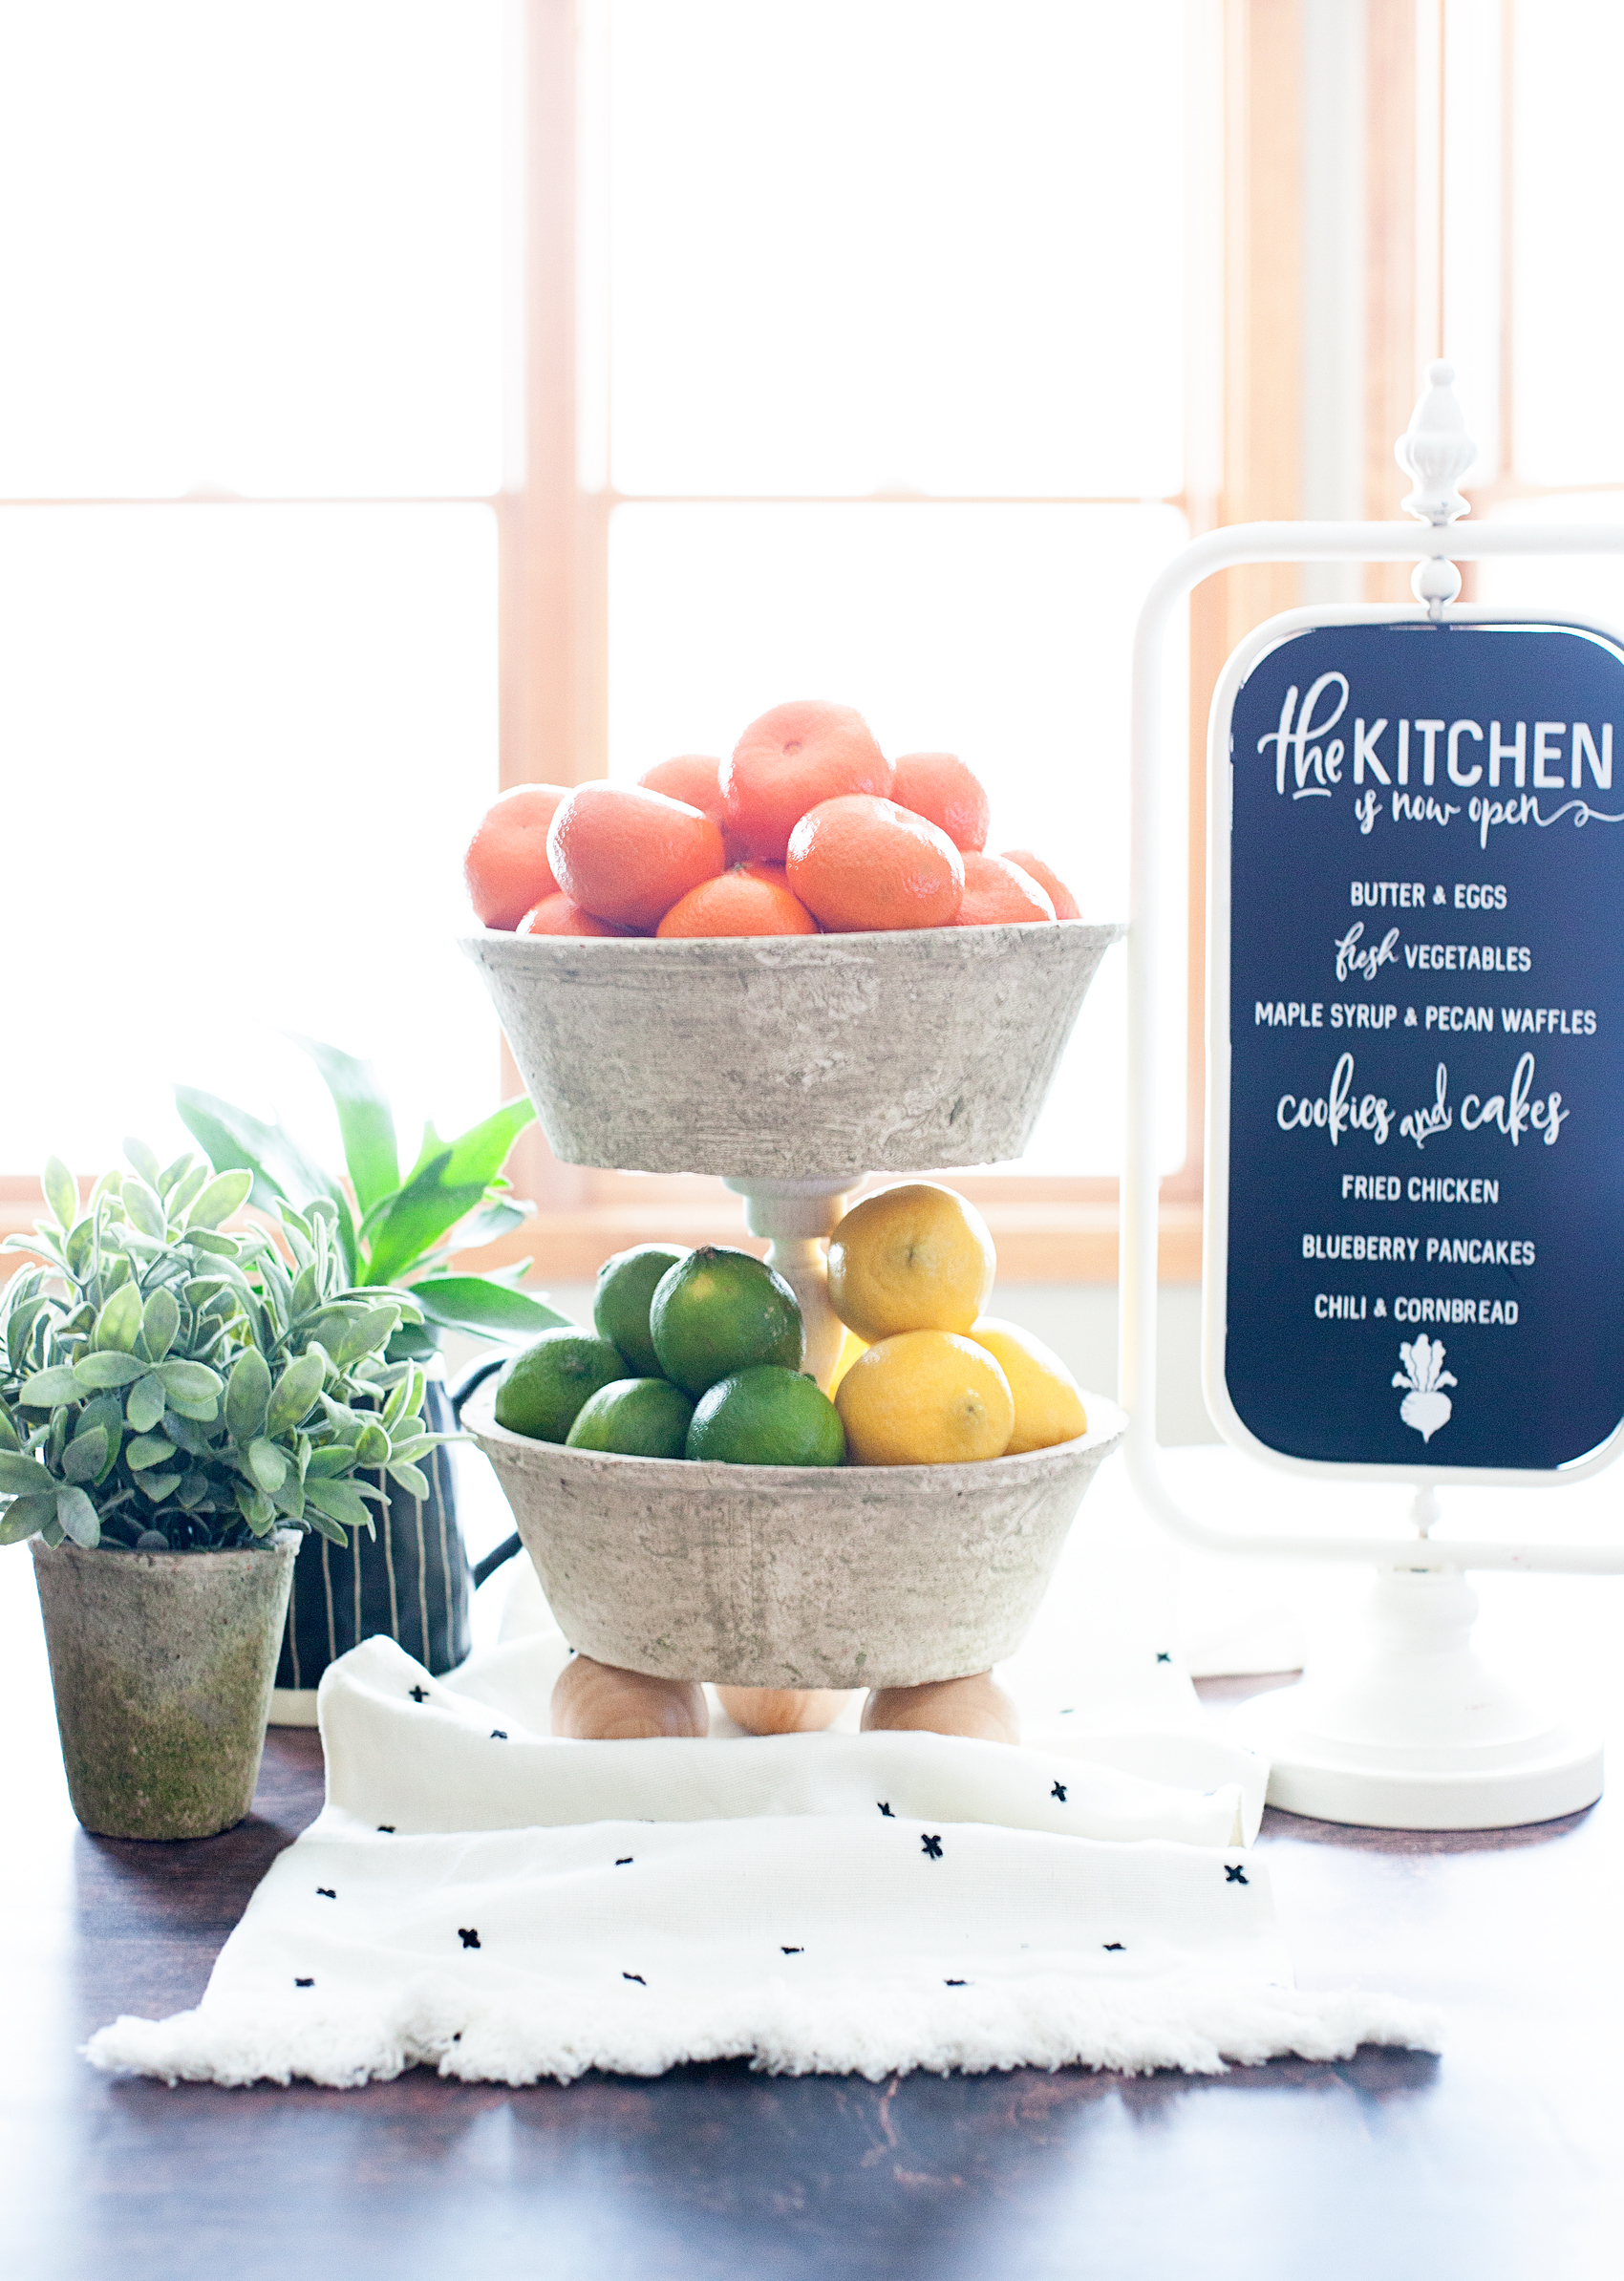
I will fully admit, I love the farmhouse trend. I’ve slowly been gathering home decor pieces that help to transform my spaces into cute little farmhouse nooks.
One piece that everyone loves right now is tiered trays or tiered bowls, you see them everywhere. I’ve looked and sometimes these gems have a hefty price tag which stinks because they are great for organizing in the home. They are handy in the office to organize office supplies, pens, pencils, scissors. You can even add in some decor to dress up your office. The same is true for the craft room. Tiered bowls are great for story craft supplies; paints, brushes, markers, your Cricut tools and so much more. In the kitchen they are super handy as well. You can use them to keep healthy fruits and vegetables on the counter so that your kiddos reach for the healthy snacks that are close at hand.In need of a set of tiered bowls for the kitchen, I thought rather than purchasing one, maybe I could make one of my own.
Of course, I ran over to Michaels to see what I could find. Their isles are packed full of great storage and organization goodies this time of year. Well, all year, but this time of year especially. The cool thing about looking for storage solutions at Michaels, you can think “outside of the box” and CREATE your own storage solution from the isles there.
DIY Farmhouse Tiered Bowls Supplies
Rustic clay pots have always been a favorite of mine. I found these beautiful clay pots in the floral section at Michaels. They have that farmhouse or even old world look that I just love and, they are large… Perfect for tiered bowls.
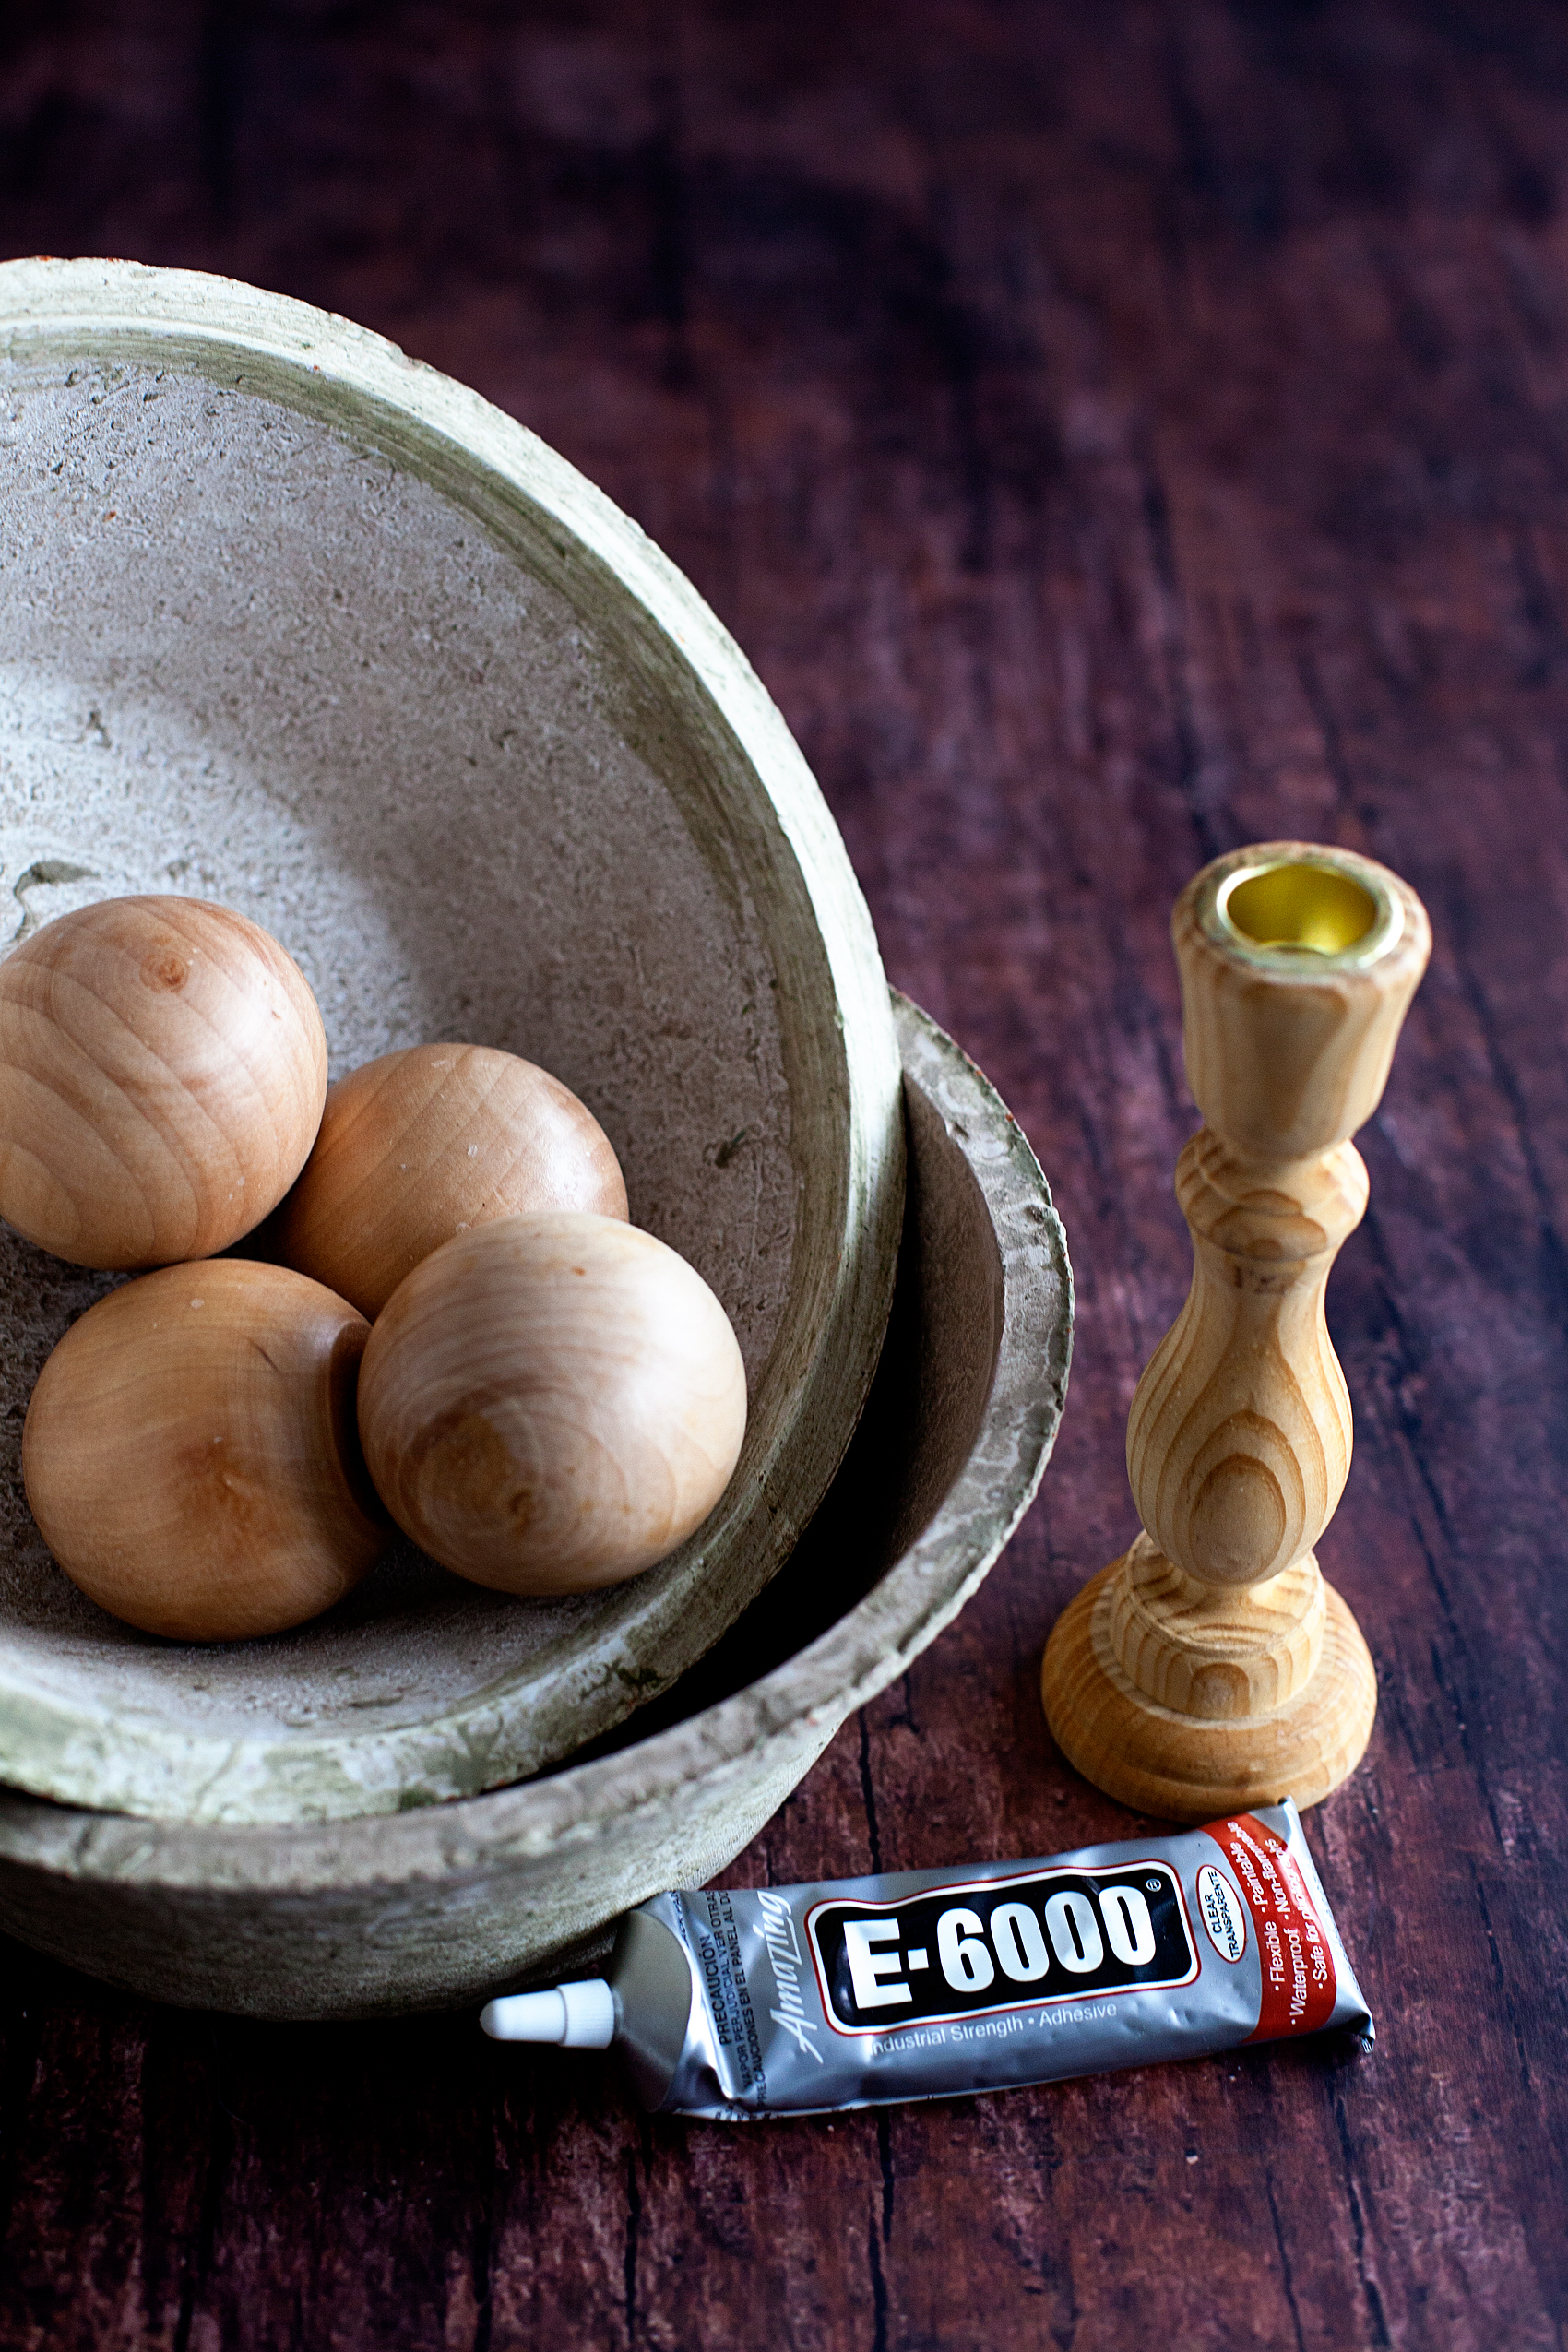
• large clay pots in the floral section at Michaels (I would provide a link however, they aren’t listed online yet)
• ArtMinds™ Wood Decorative Candle Holder, 6 3/4″
• Wood Doll Head by ArtMinds®, 2.5″
• E6000® Permanent Craft Adhesive, 2.0 oz.
• Americana® Decor™ Chalky Finish Paint, 8oz. – white
Instructions
Now, this part couldn’t get any easier. To begin, I painted the candle stick with a light coat of the chalky finish paint.
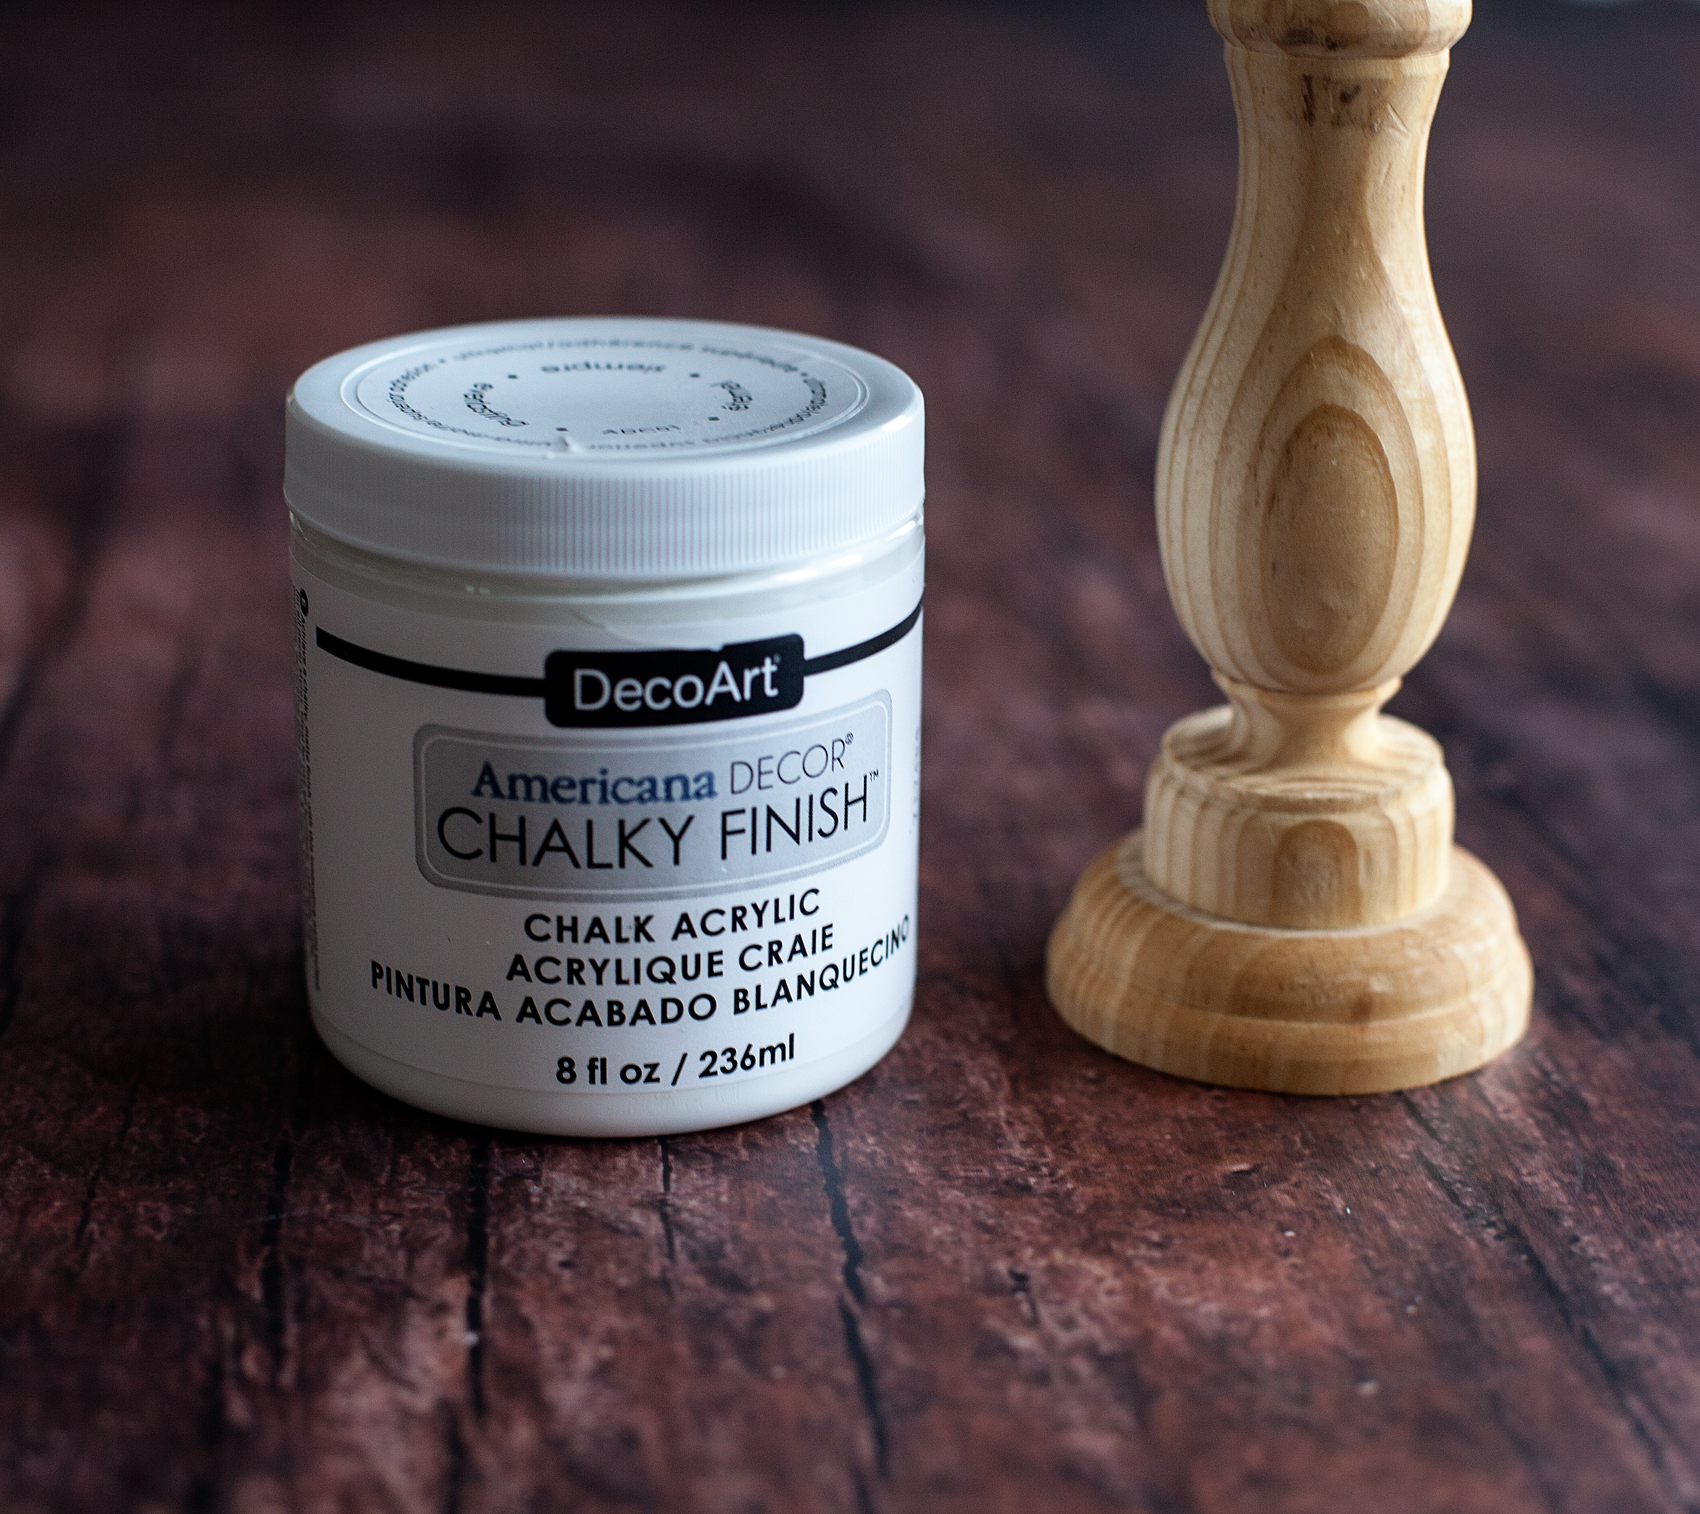
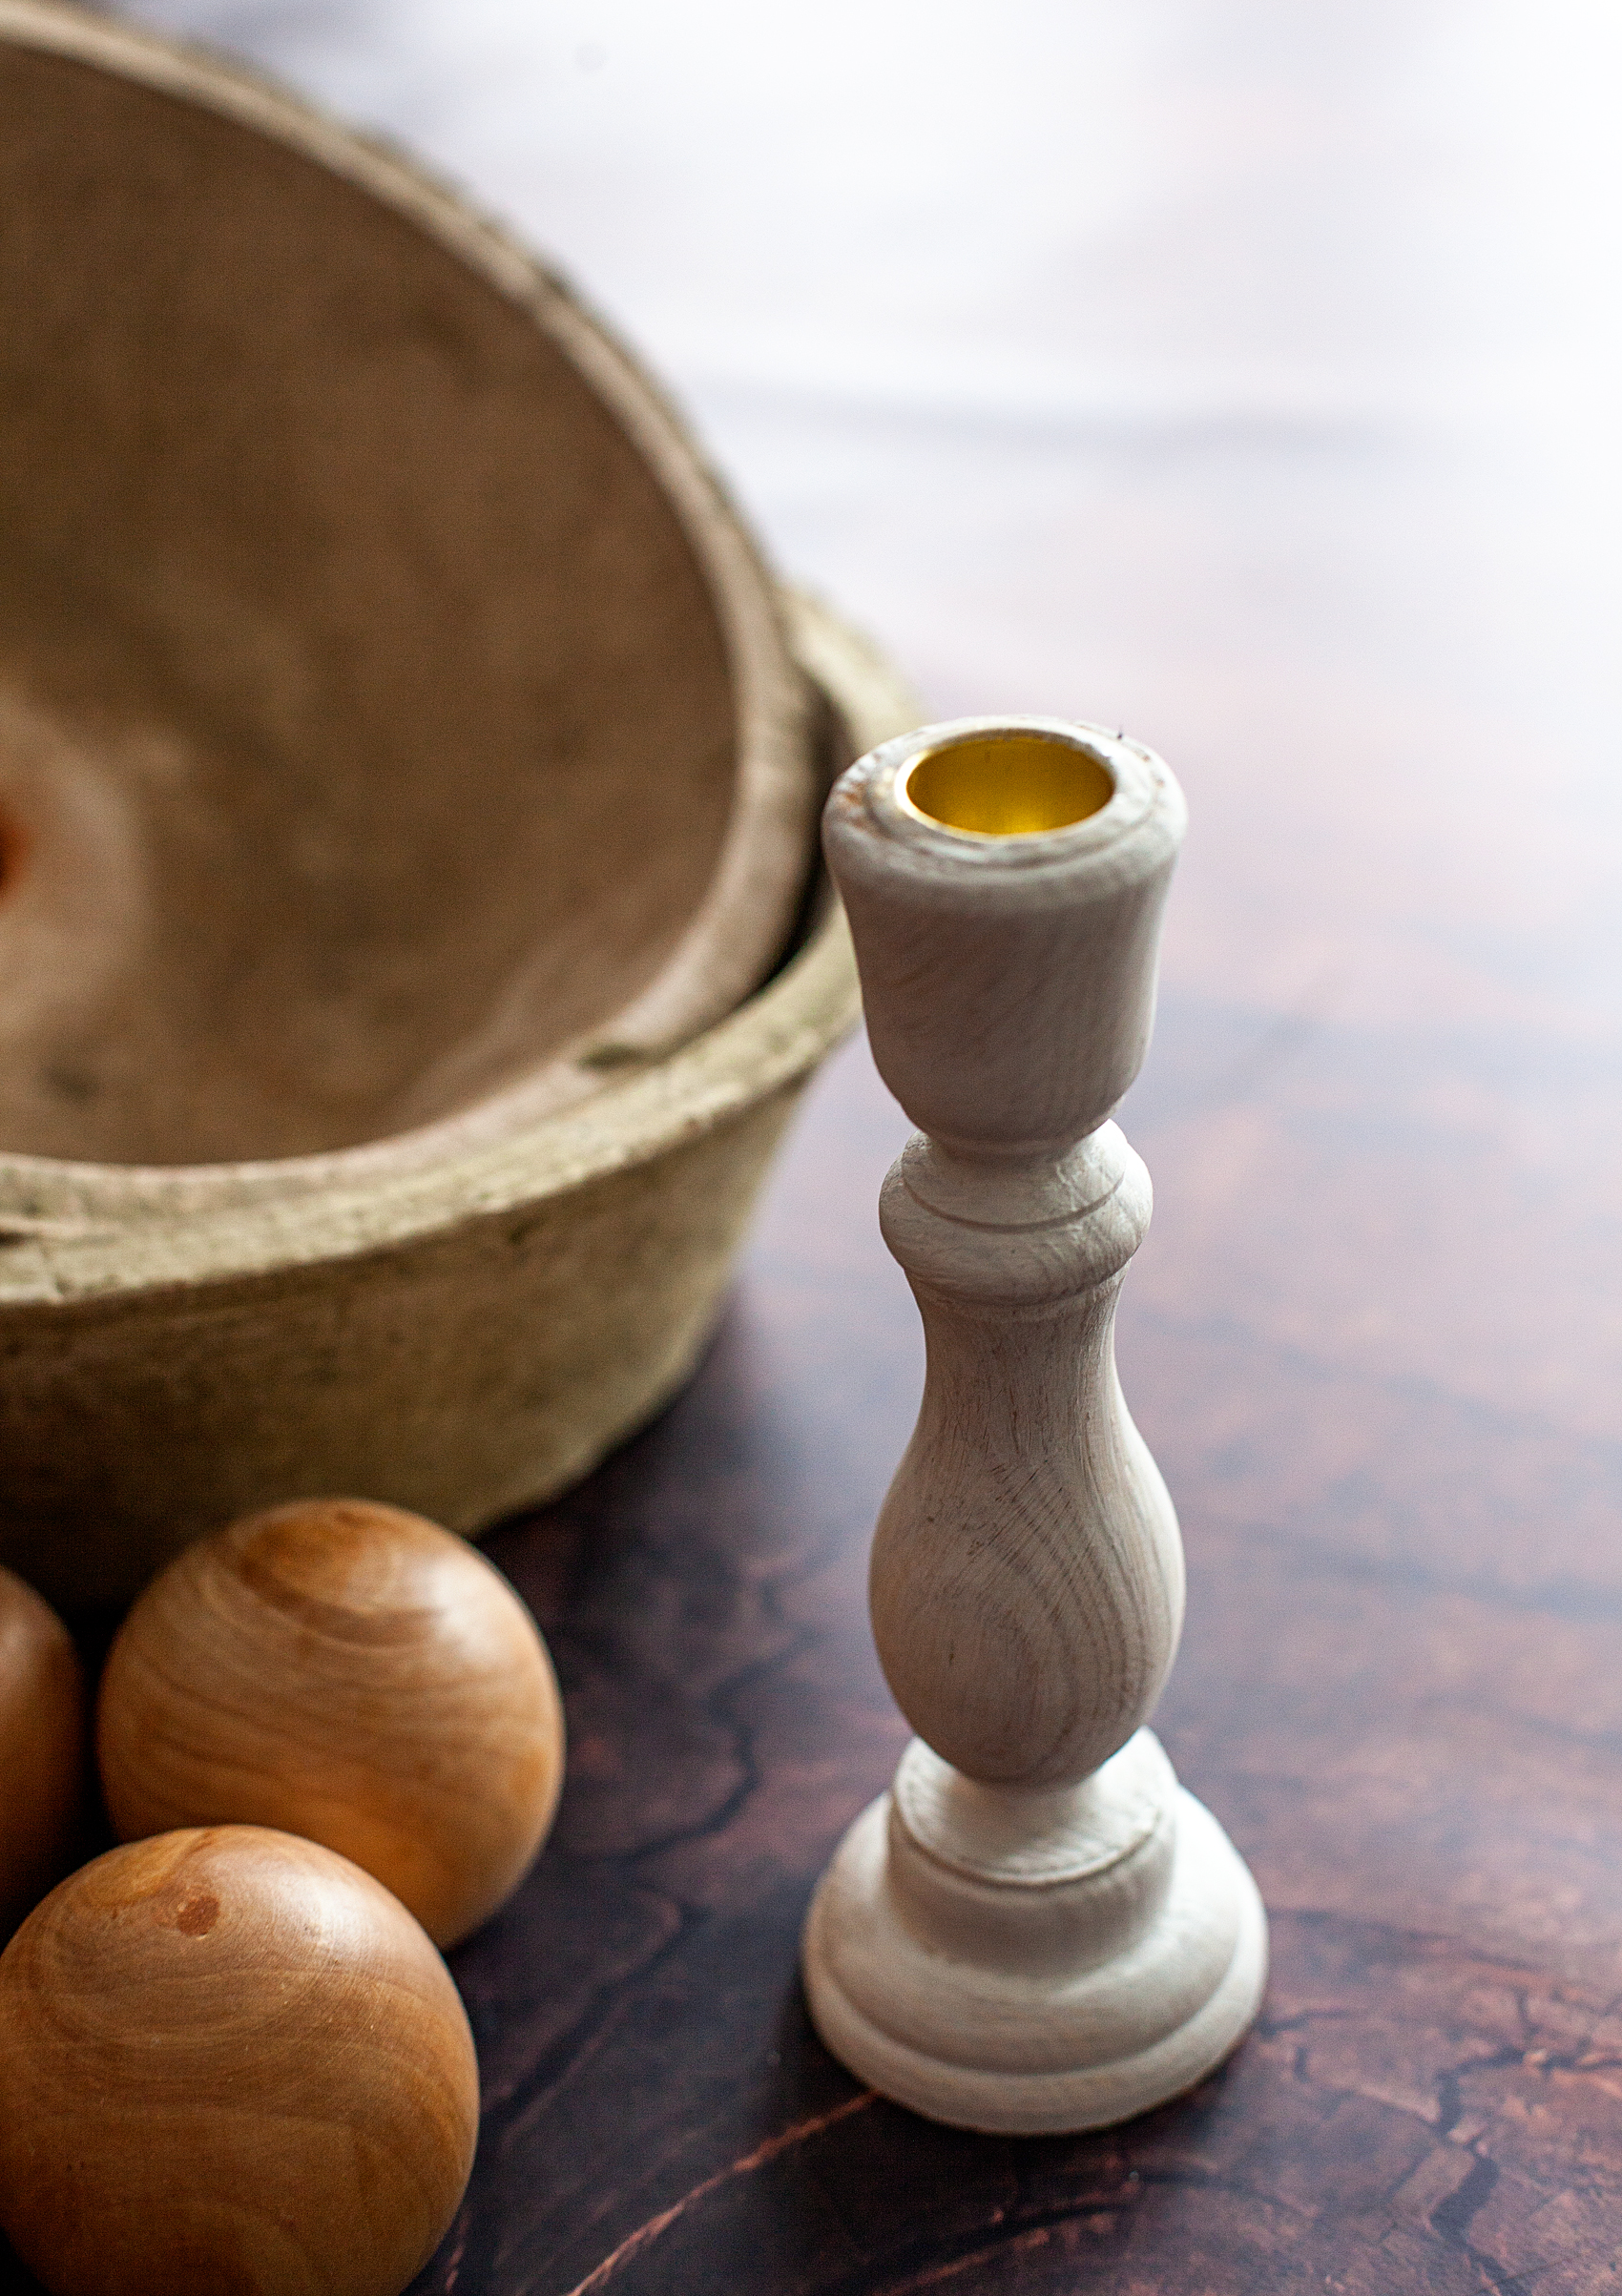
That will dry in just a few minutes. While you’re waiting for that to dry, check the center point of your bowls. The bowl on that will be on the bottom may need to be sanded down a bit in order for your candle holder to sit straight.
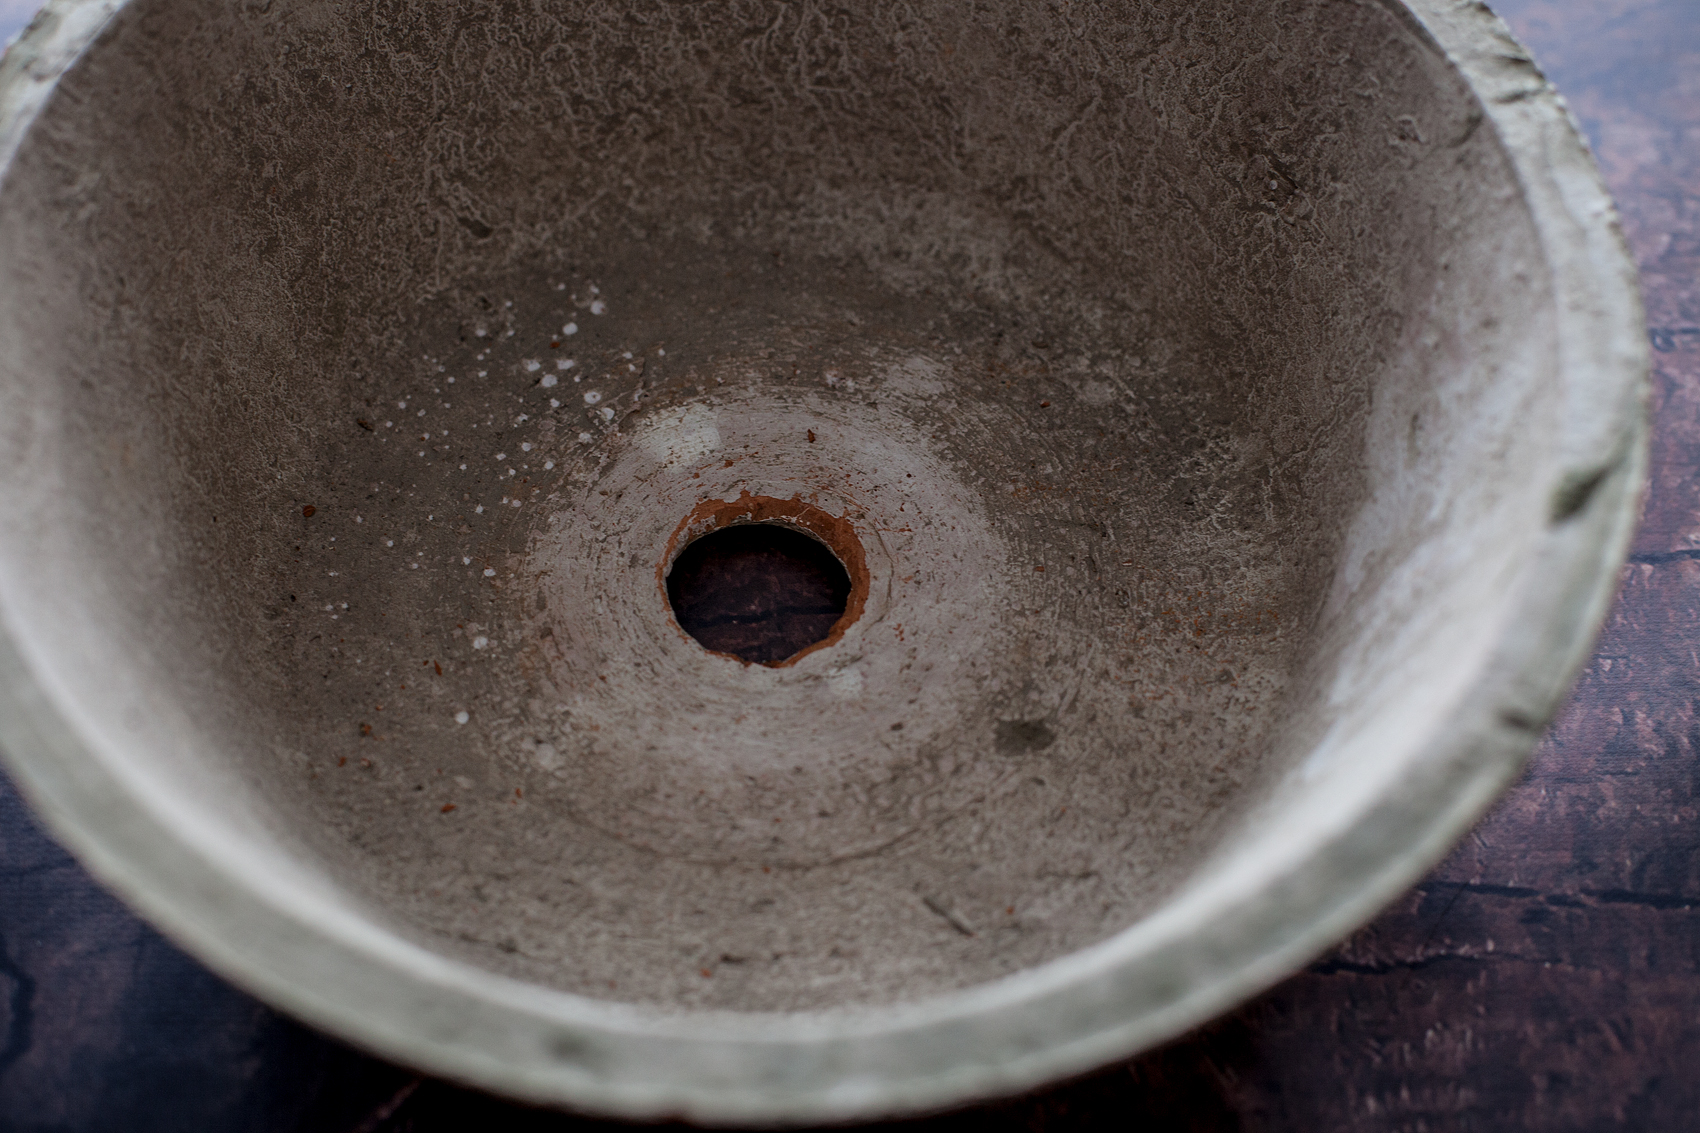
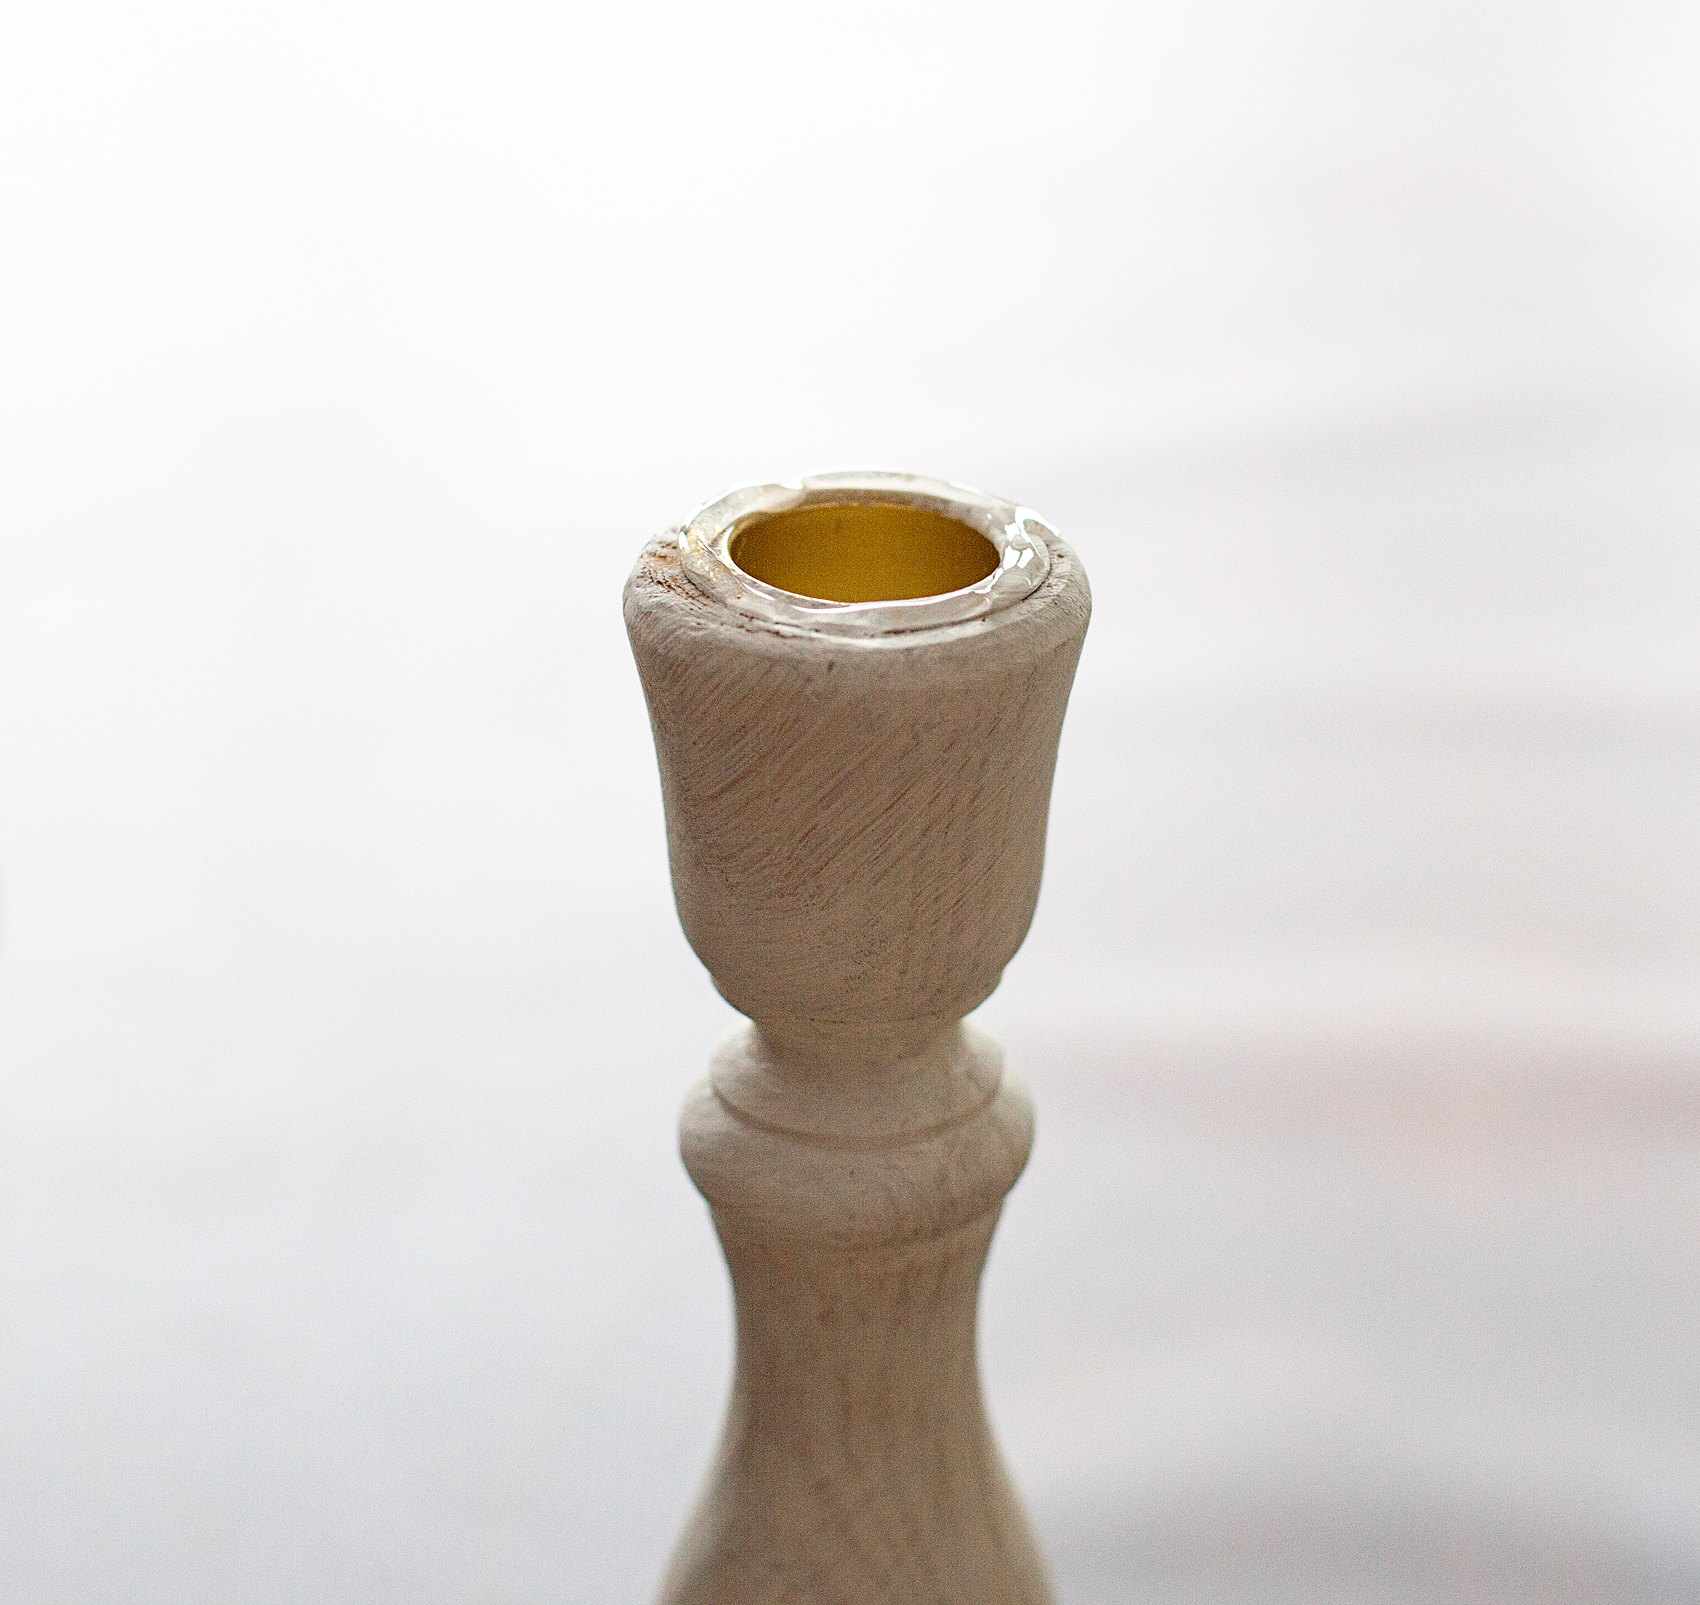
Once your candle holder is dry, add your E-600 to the top and follow the package directions for adhering it to the center of the clay pot. Keep in mind, you’re going to glue the TOP of the candle holder to the bottom bowl so that the the wider BOTTOM of the candle holder will hold-up the top bowl.
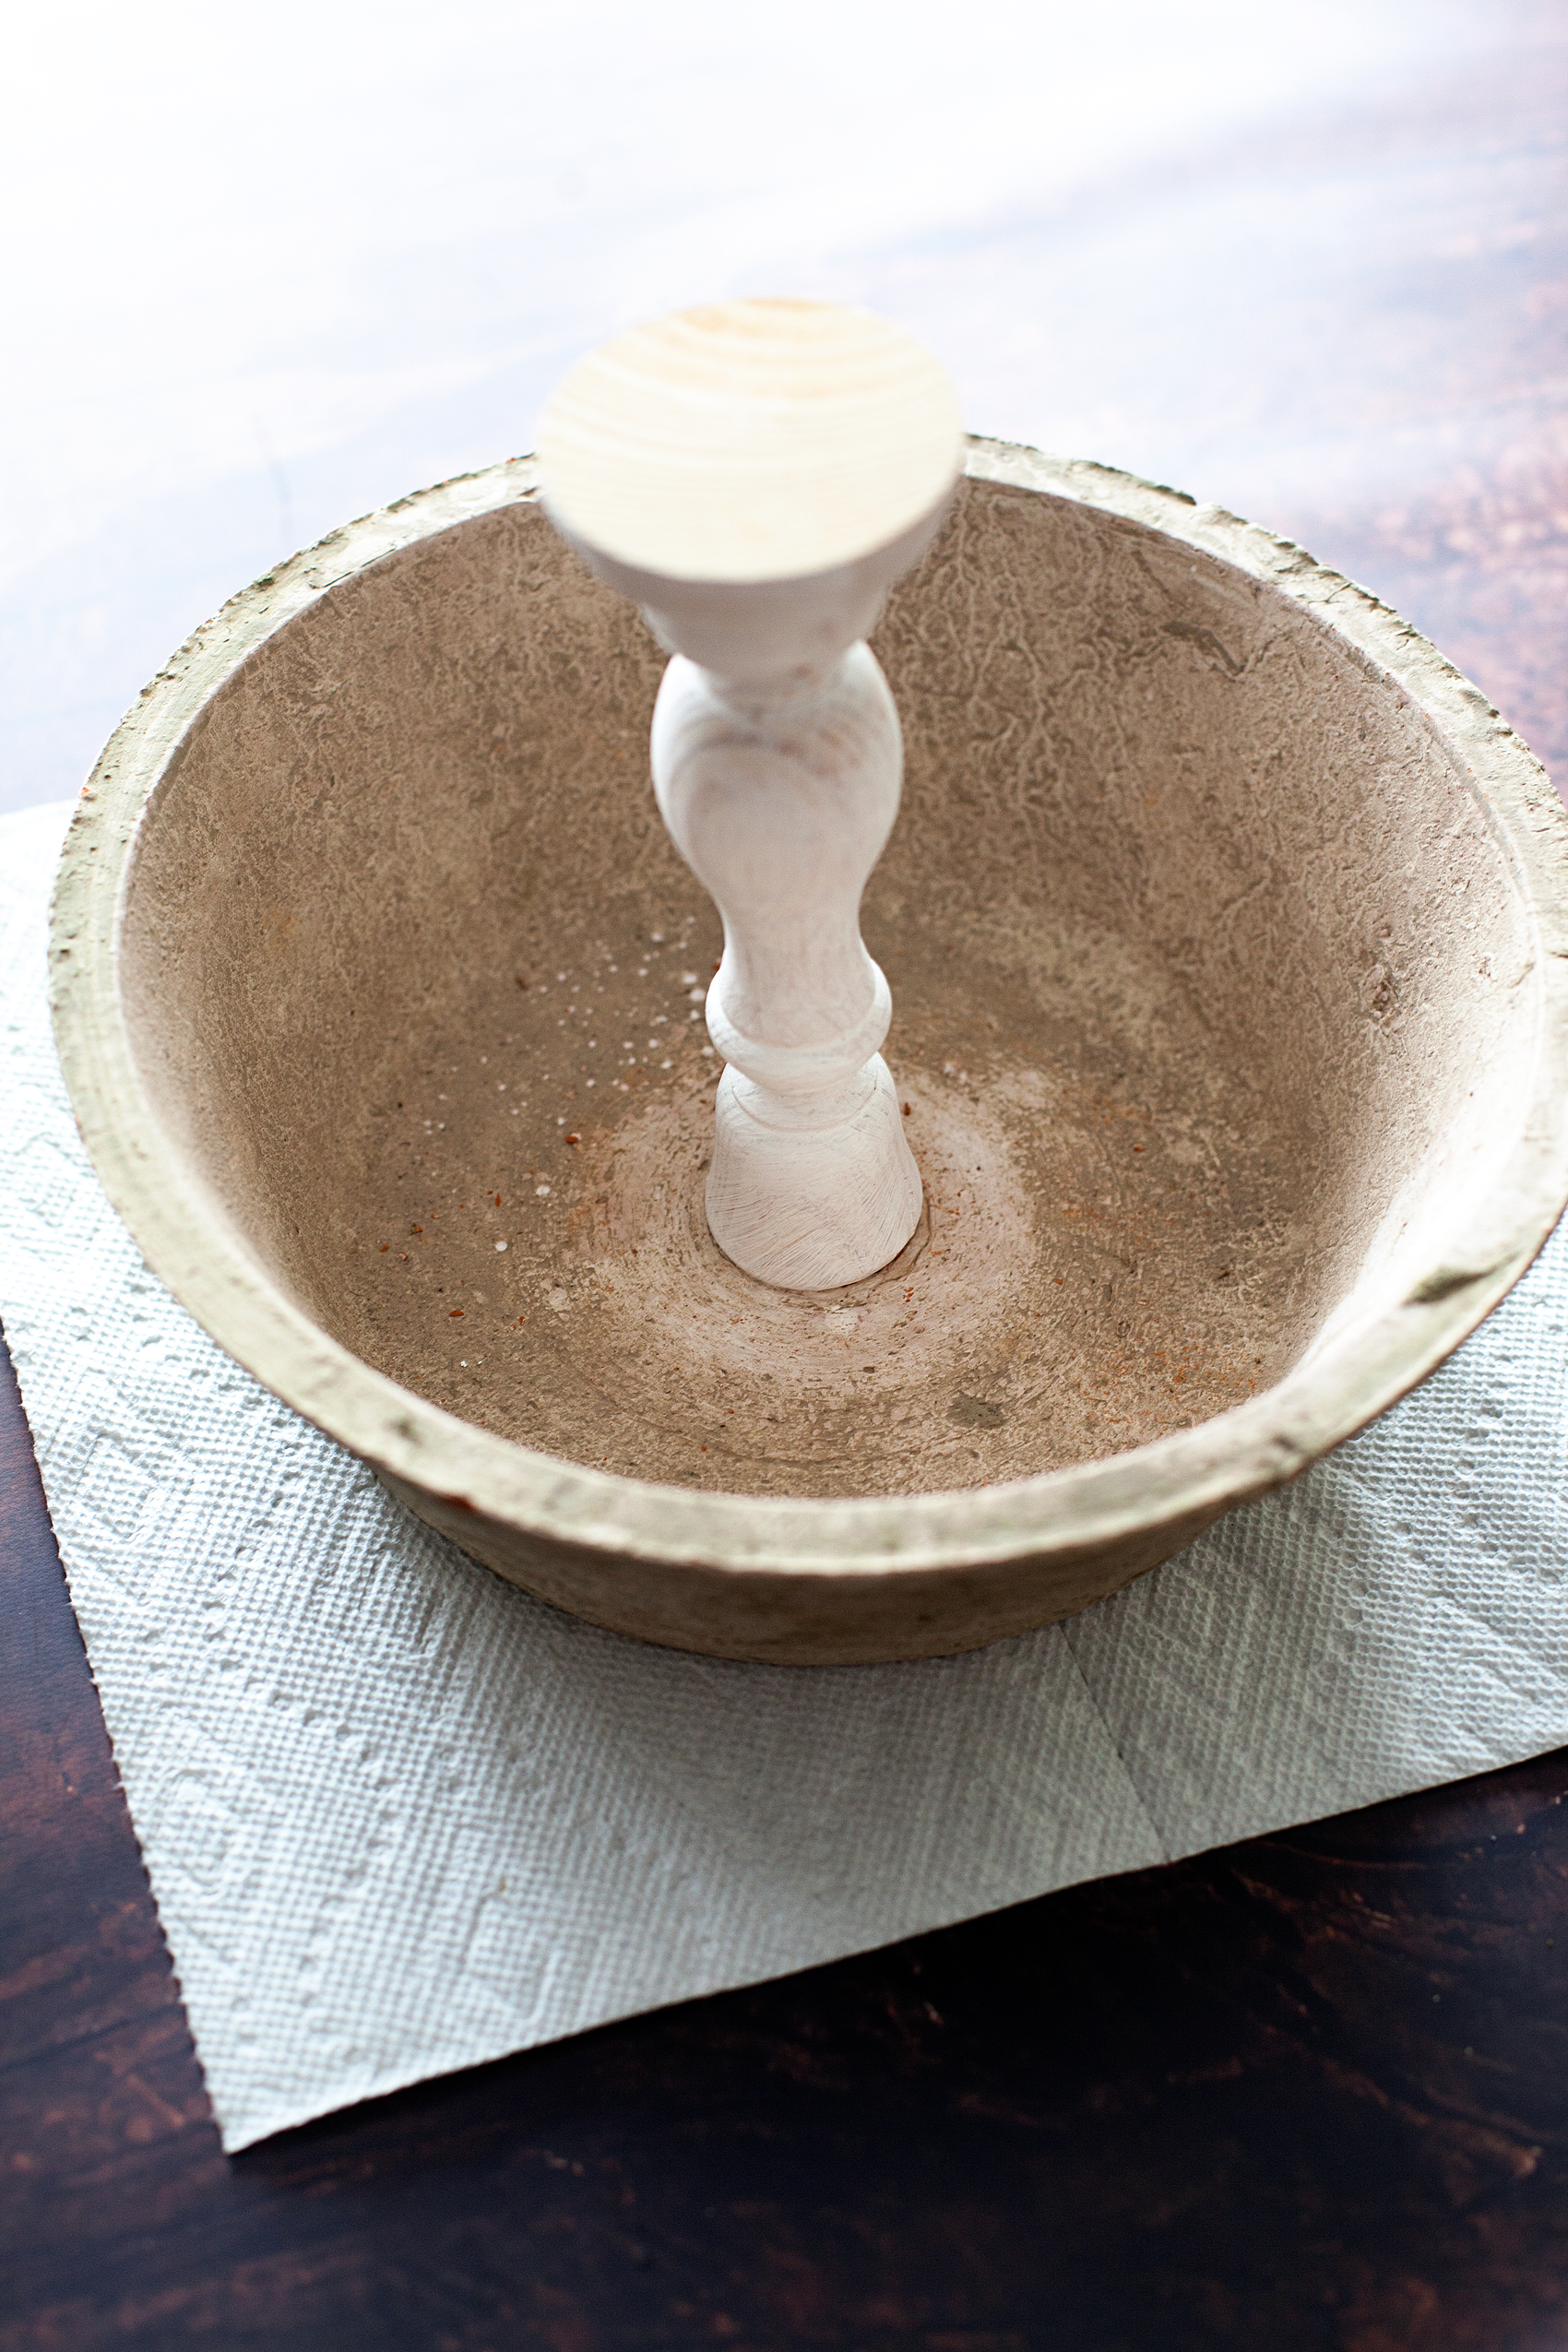
I placed a paper towel underneath to protect my surface from any glue drips. Once that is nice and secure, you can glue the wood feet i.e. doll heads, to the bottom of the bowl again, with the E-6000.
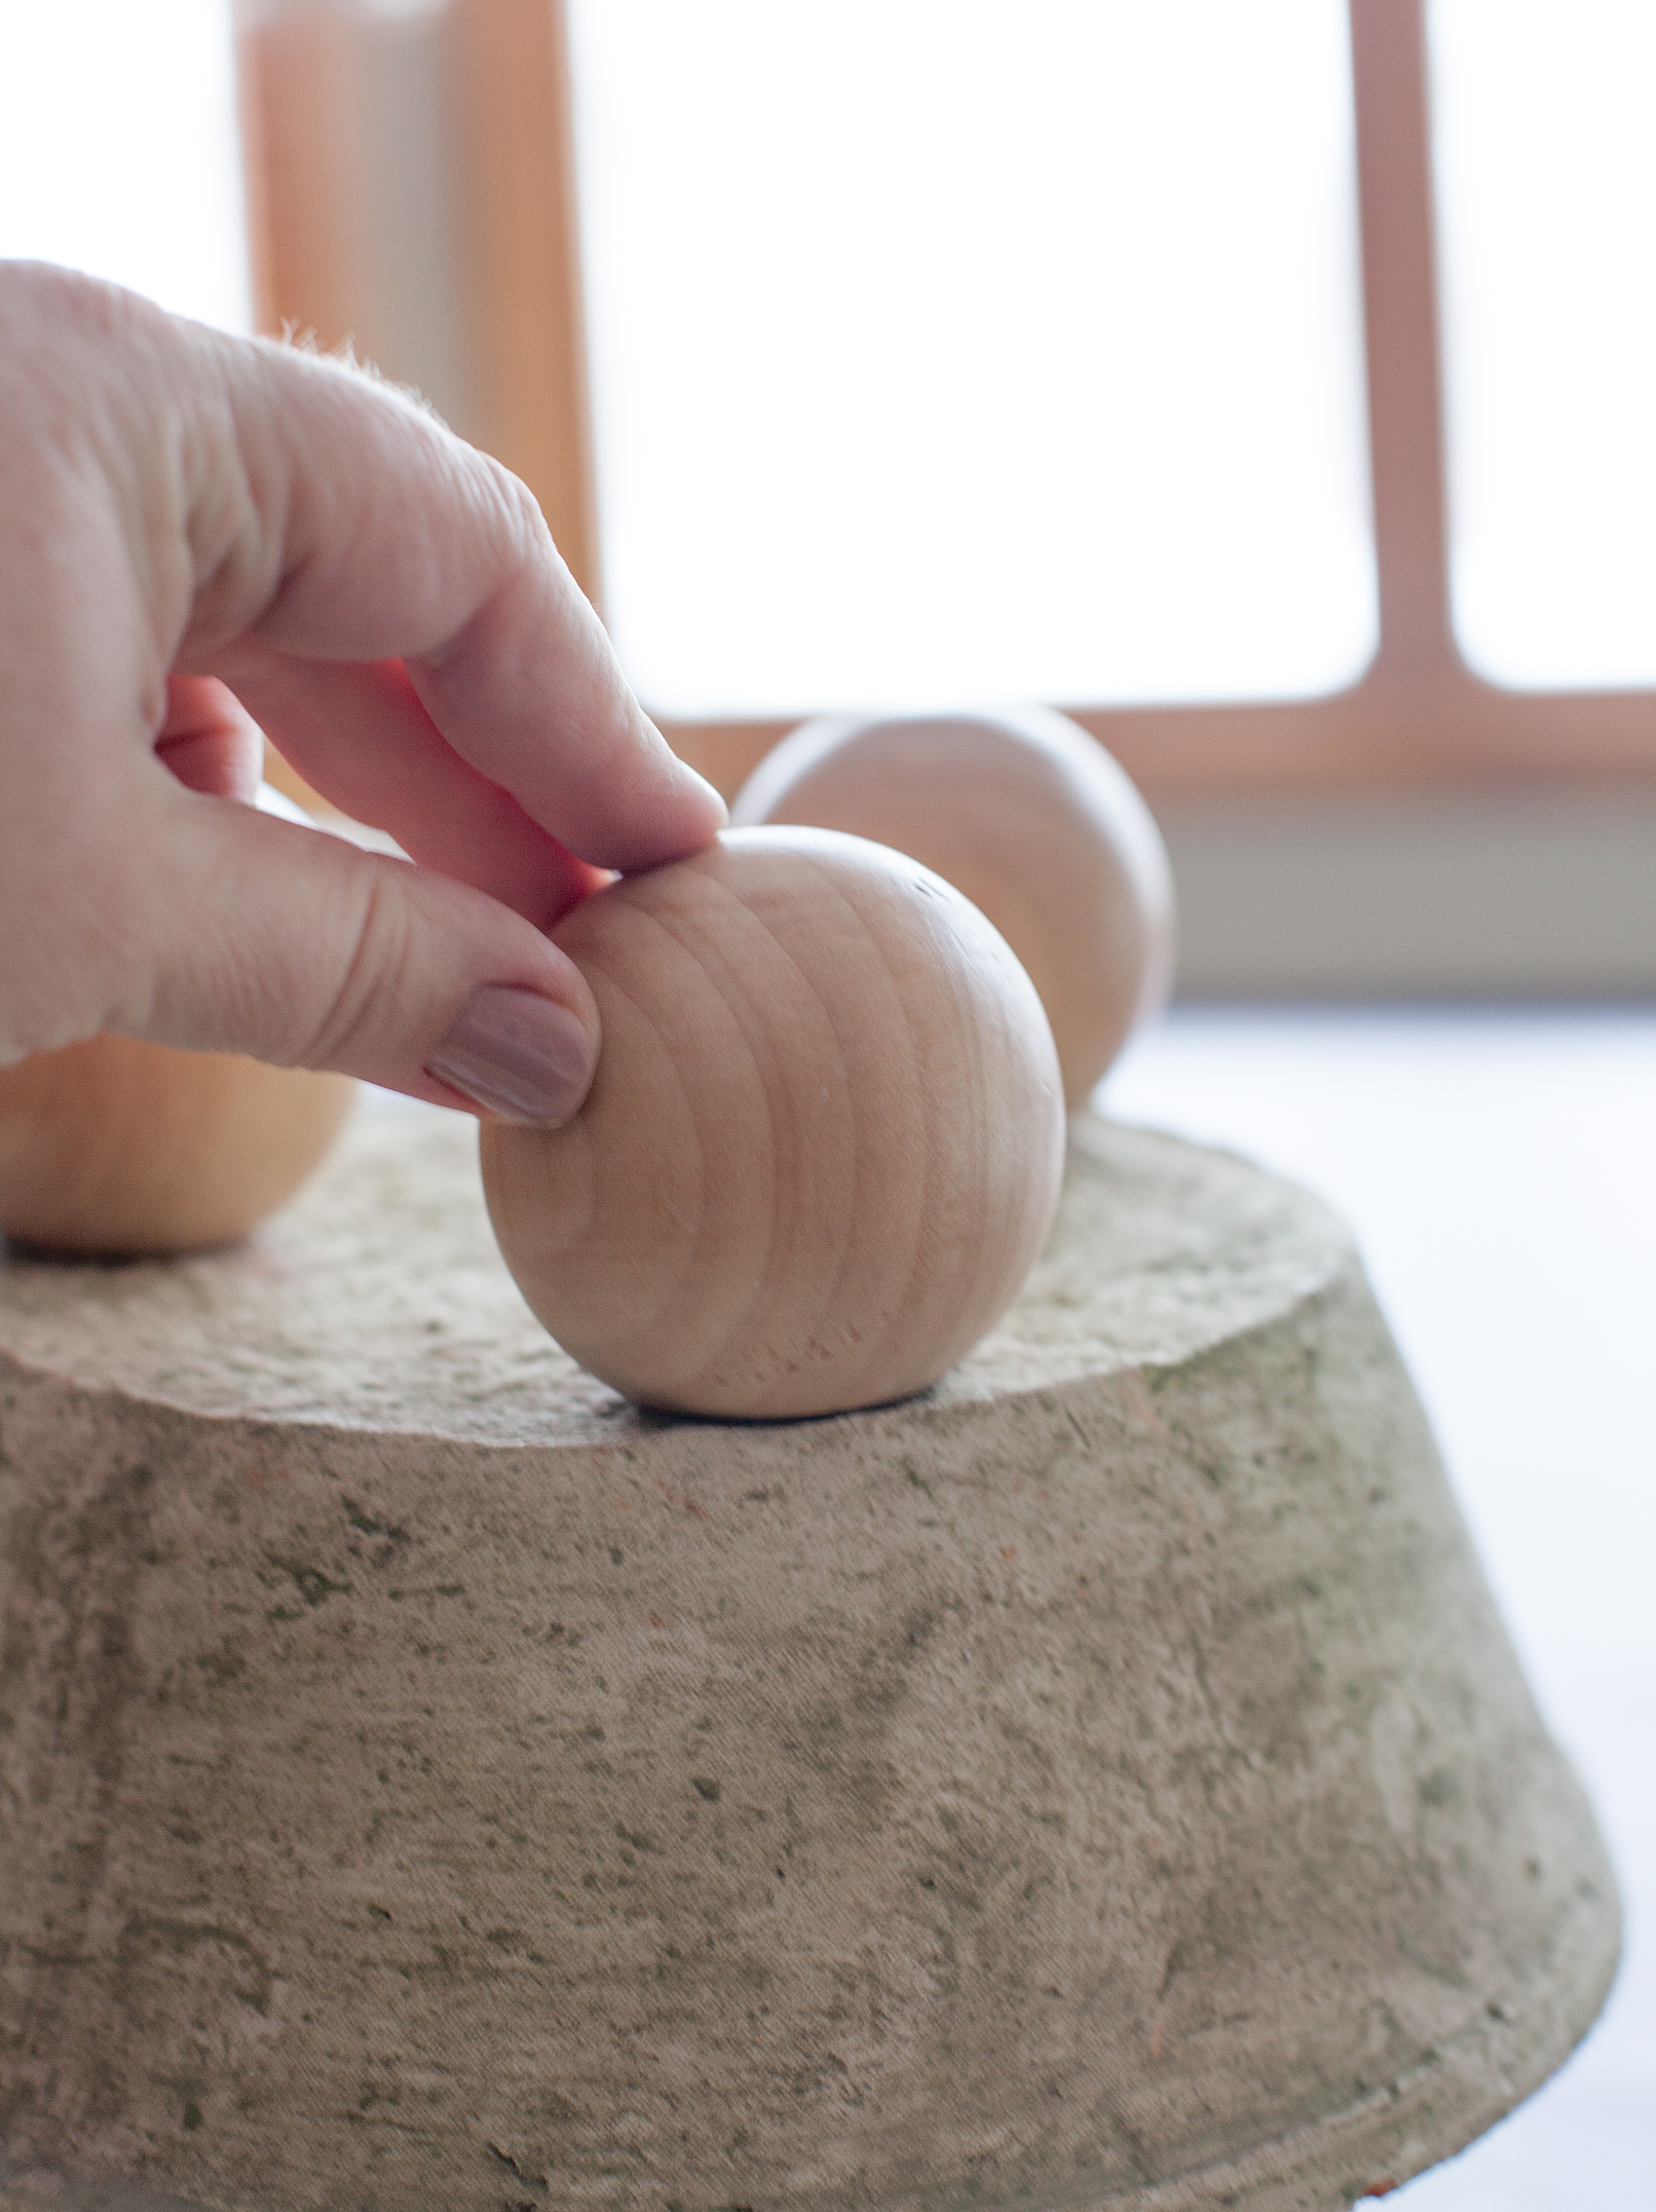
Let those cure according to package directions and then do the same with the top bowl.
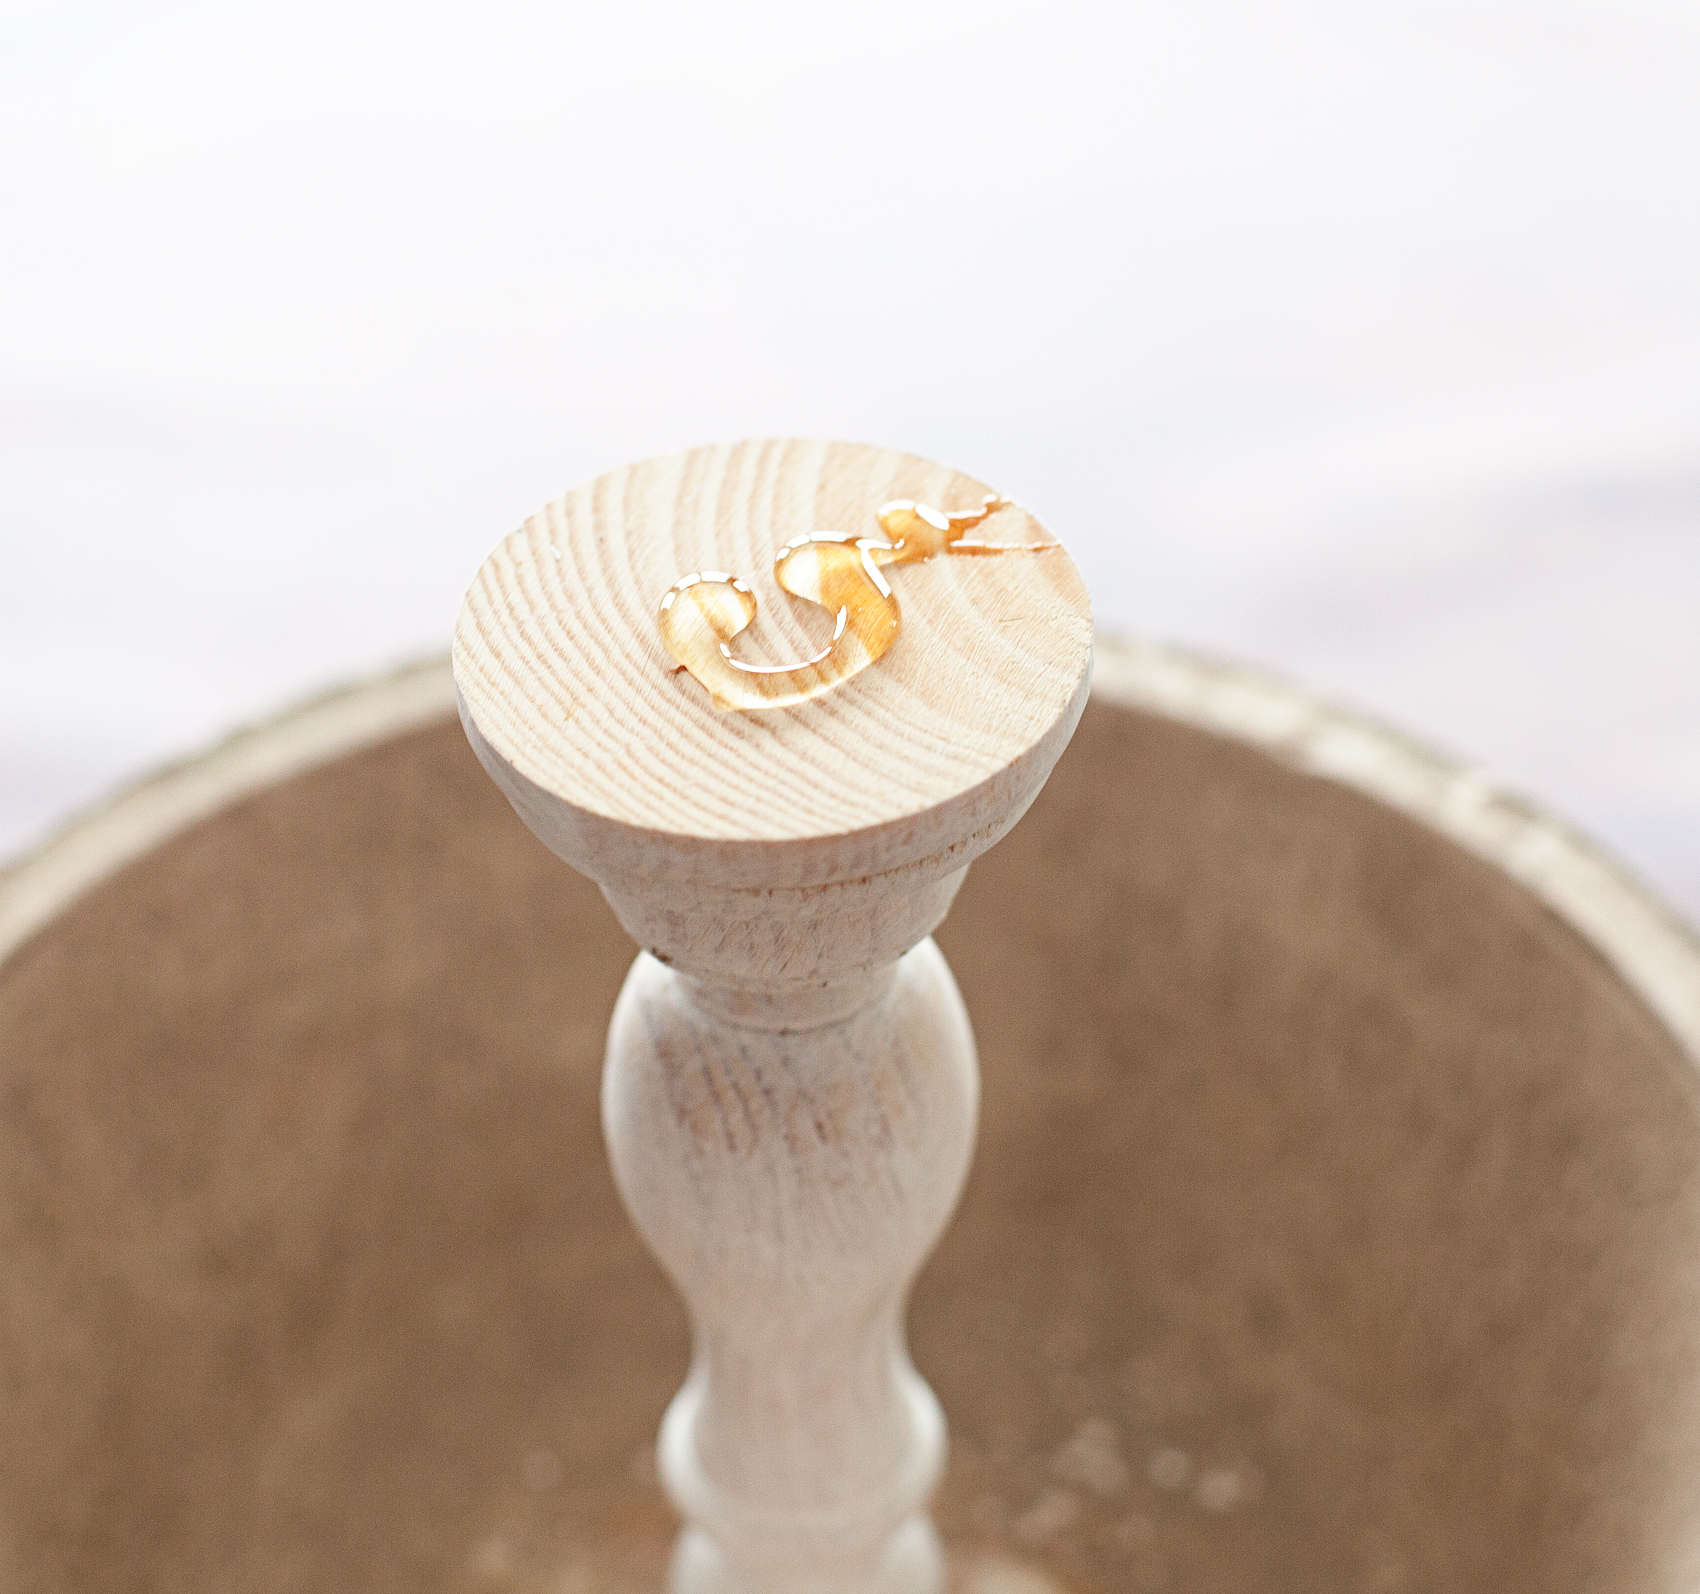
Once that has properly cured, you’re all finished! You now have farmhouse tiered bowls!
I’m using mine to hold fruit in my kitchen. It fits perfect on my counter tops right under my cabinets.
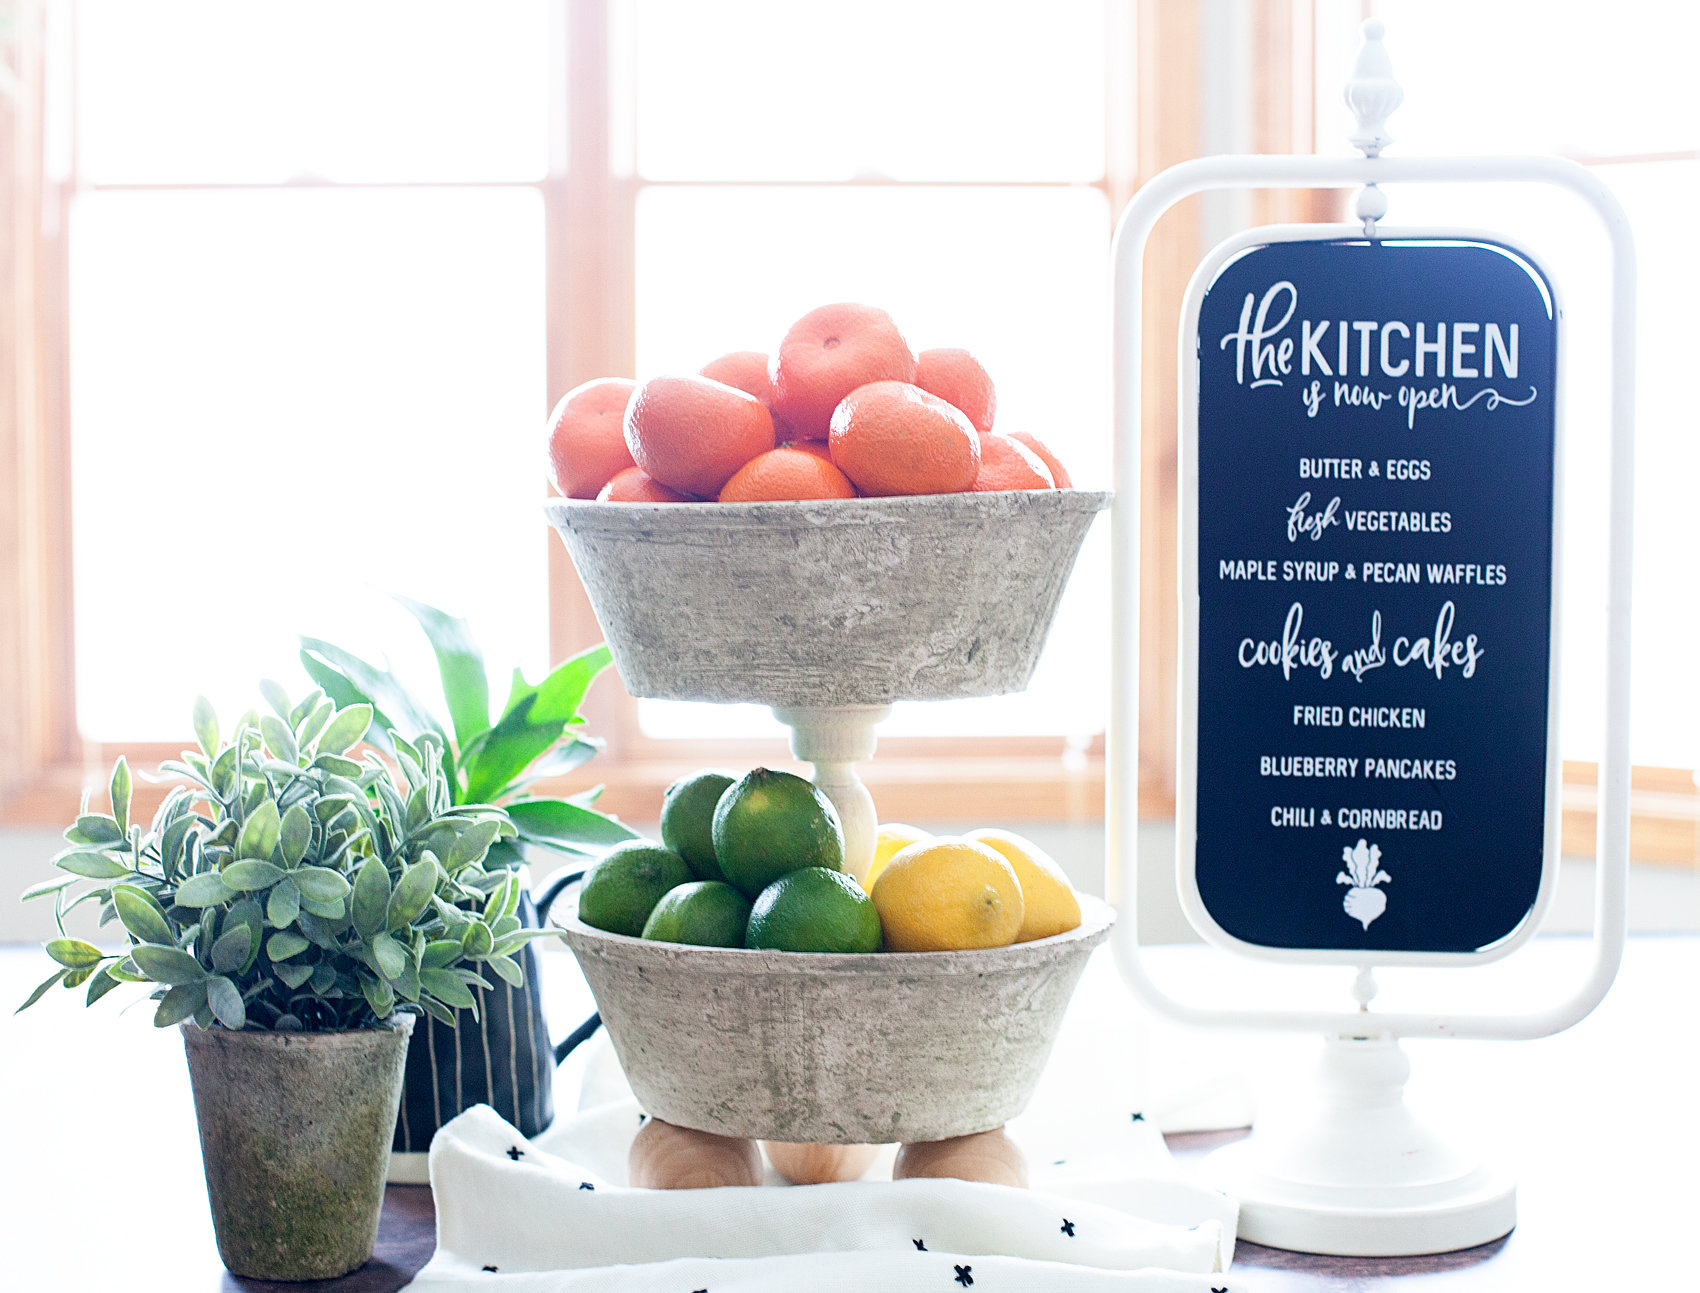
I love the look of these pots so much, I stocked up on some smaller ones for all of my plants this spring.
What are you looking to organize? Do you need a creative storage solution? Michaels has everything you need to get organized for the new year! From washi storage to lexington carts, you can MAKE your year the most organized one yet!
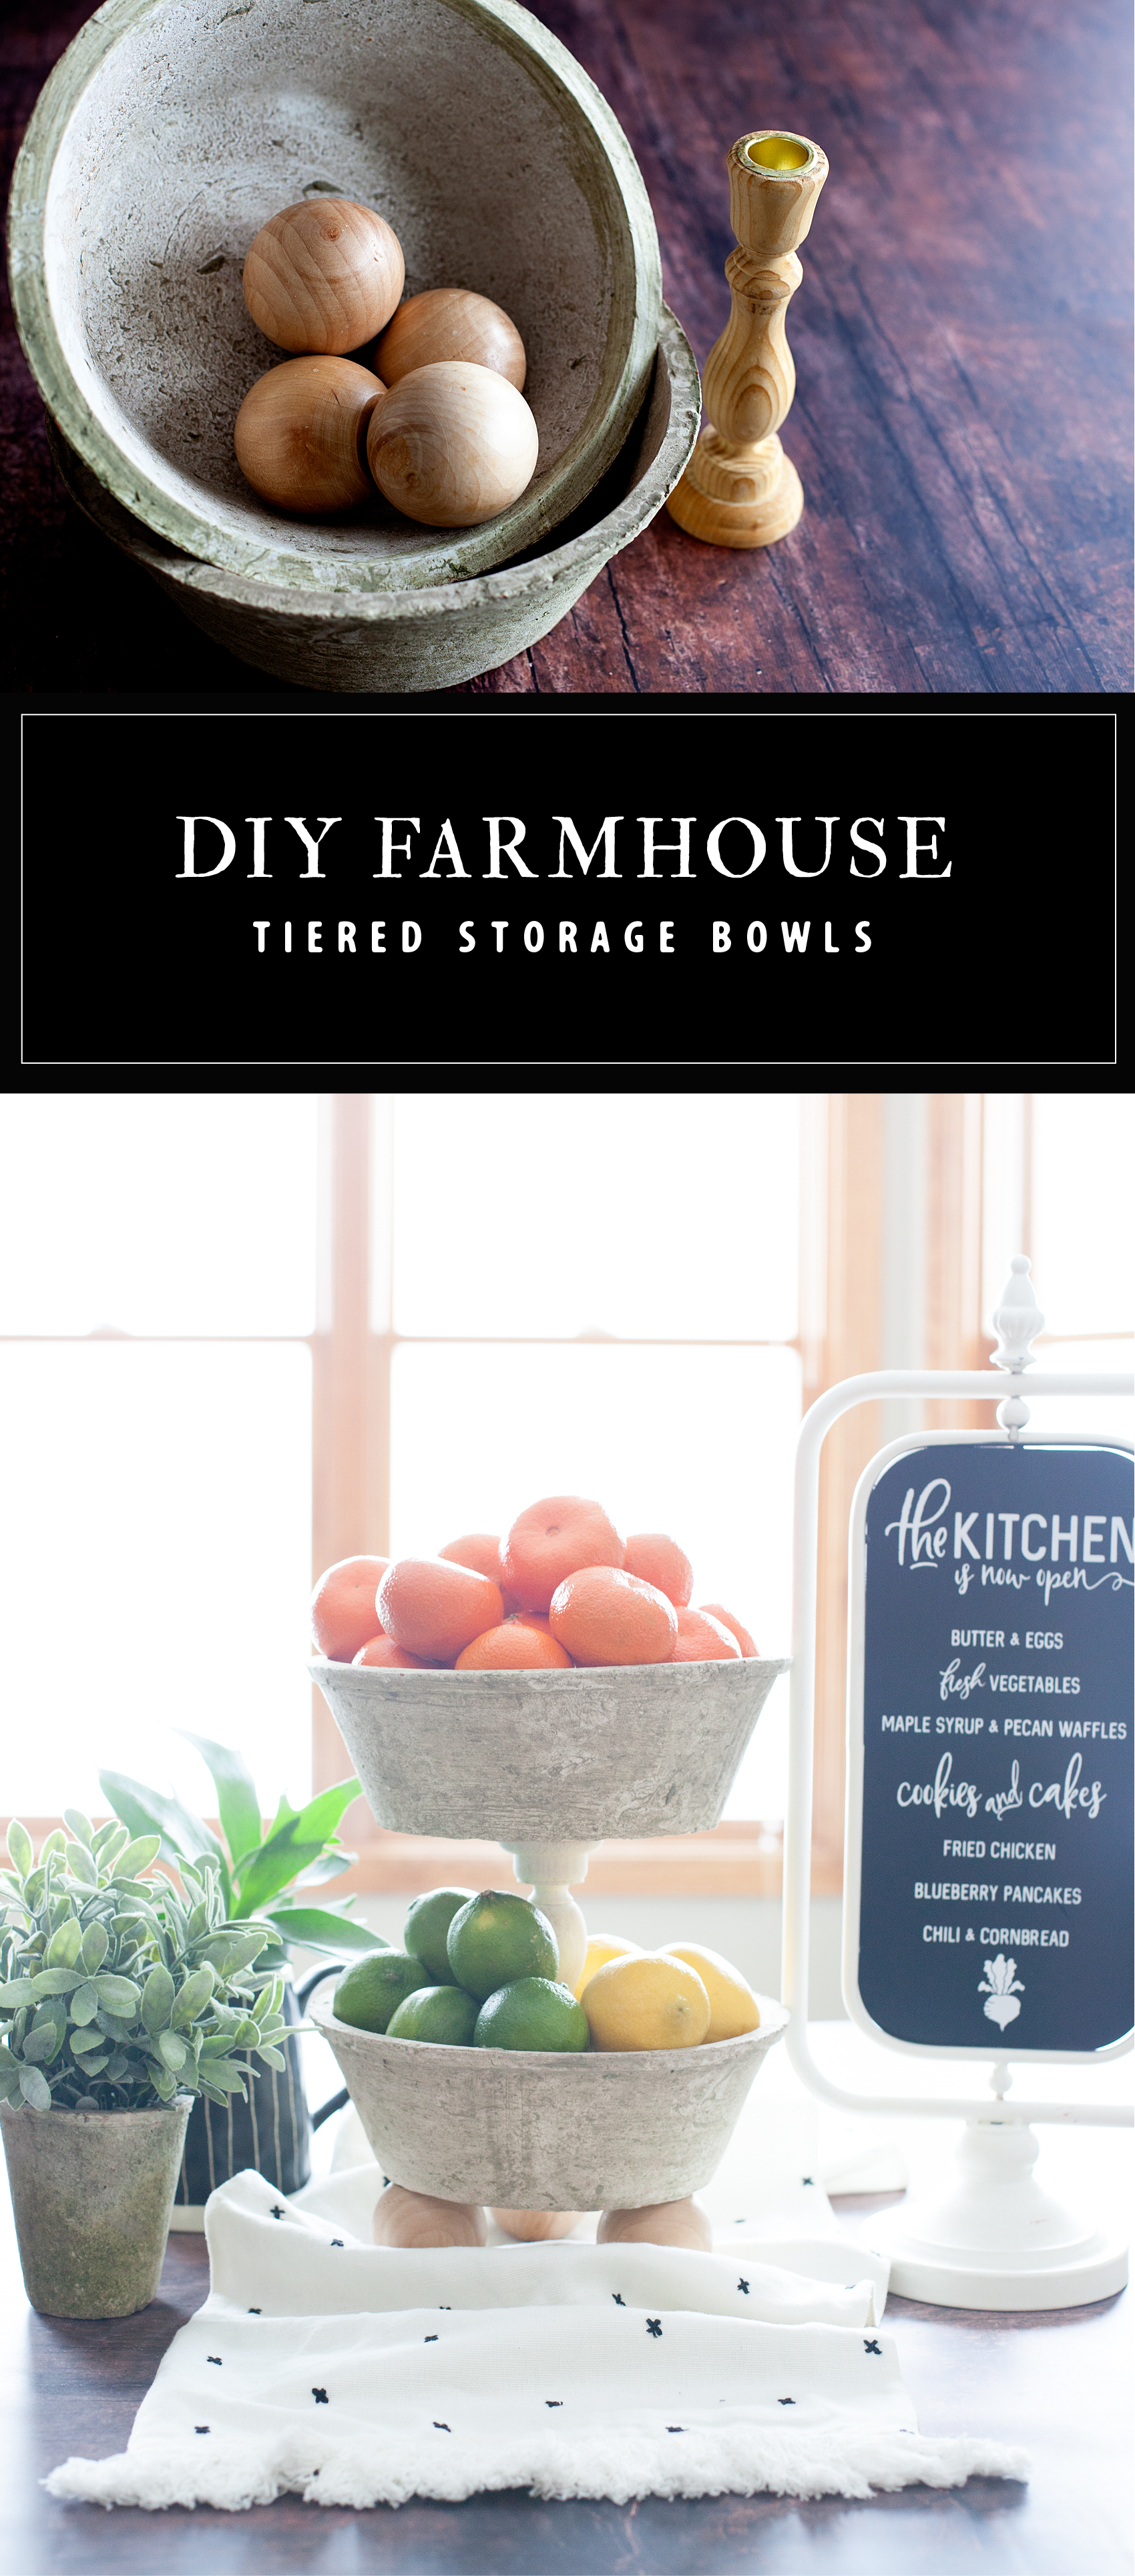
What to keep this project idea close at hand? Feel free to pin the image below to your favorite DIY board so that you can find it later.
7
Leave a Reply