+ This Holiday Nog Pull Apart Bread post brought to you by Silk +
I’m so excited for this time of year… I LOVE baking and creating goodies for my friends and neighbors. I grew-up with a Mom who kicked it into high gear for a few weeks in December every year, pumping out Holiday goodies like peanut brittle, chocolate peanut butter bars, and fudge along with cookies galore. I remember watching both my parents working together on those scrumptious neighbor treats, and it always made my heart happy.
I remember the year when I ate SO MUCH of my favorite Chocolate Peanut Butter Bars, I swore I would never eat chocolate again! It took me a few years, but I eventually found my way back.
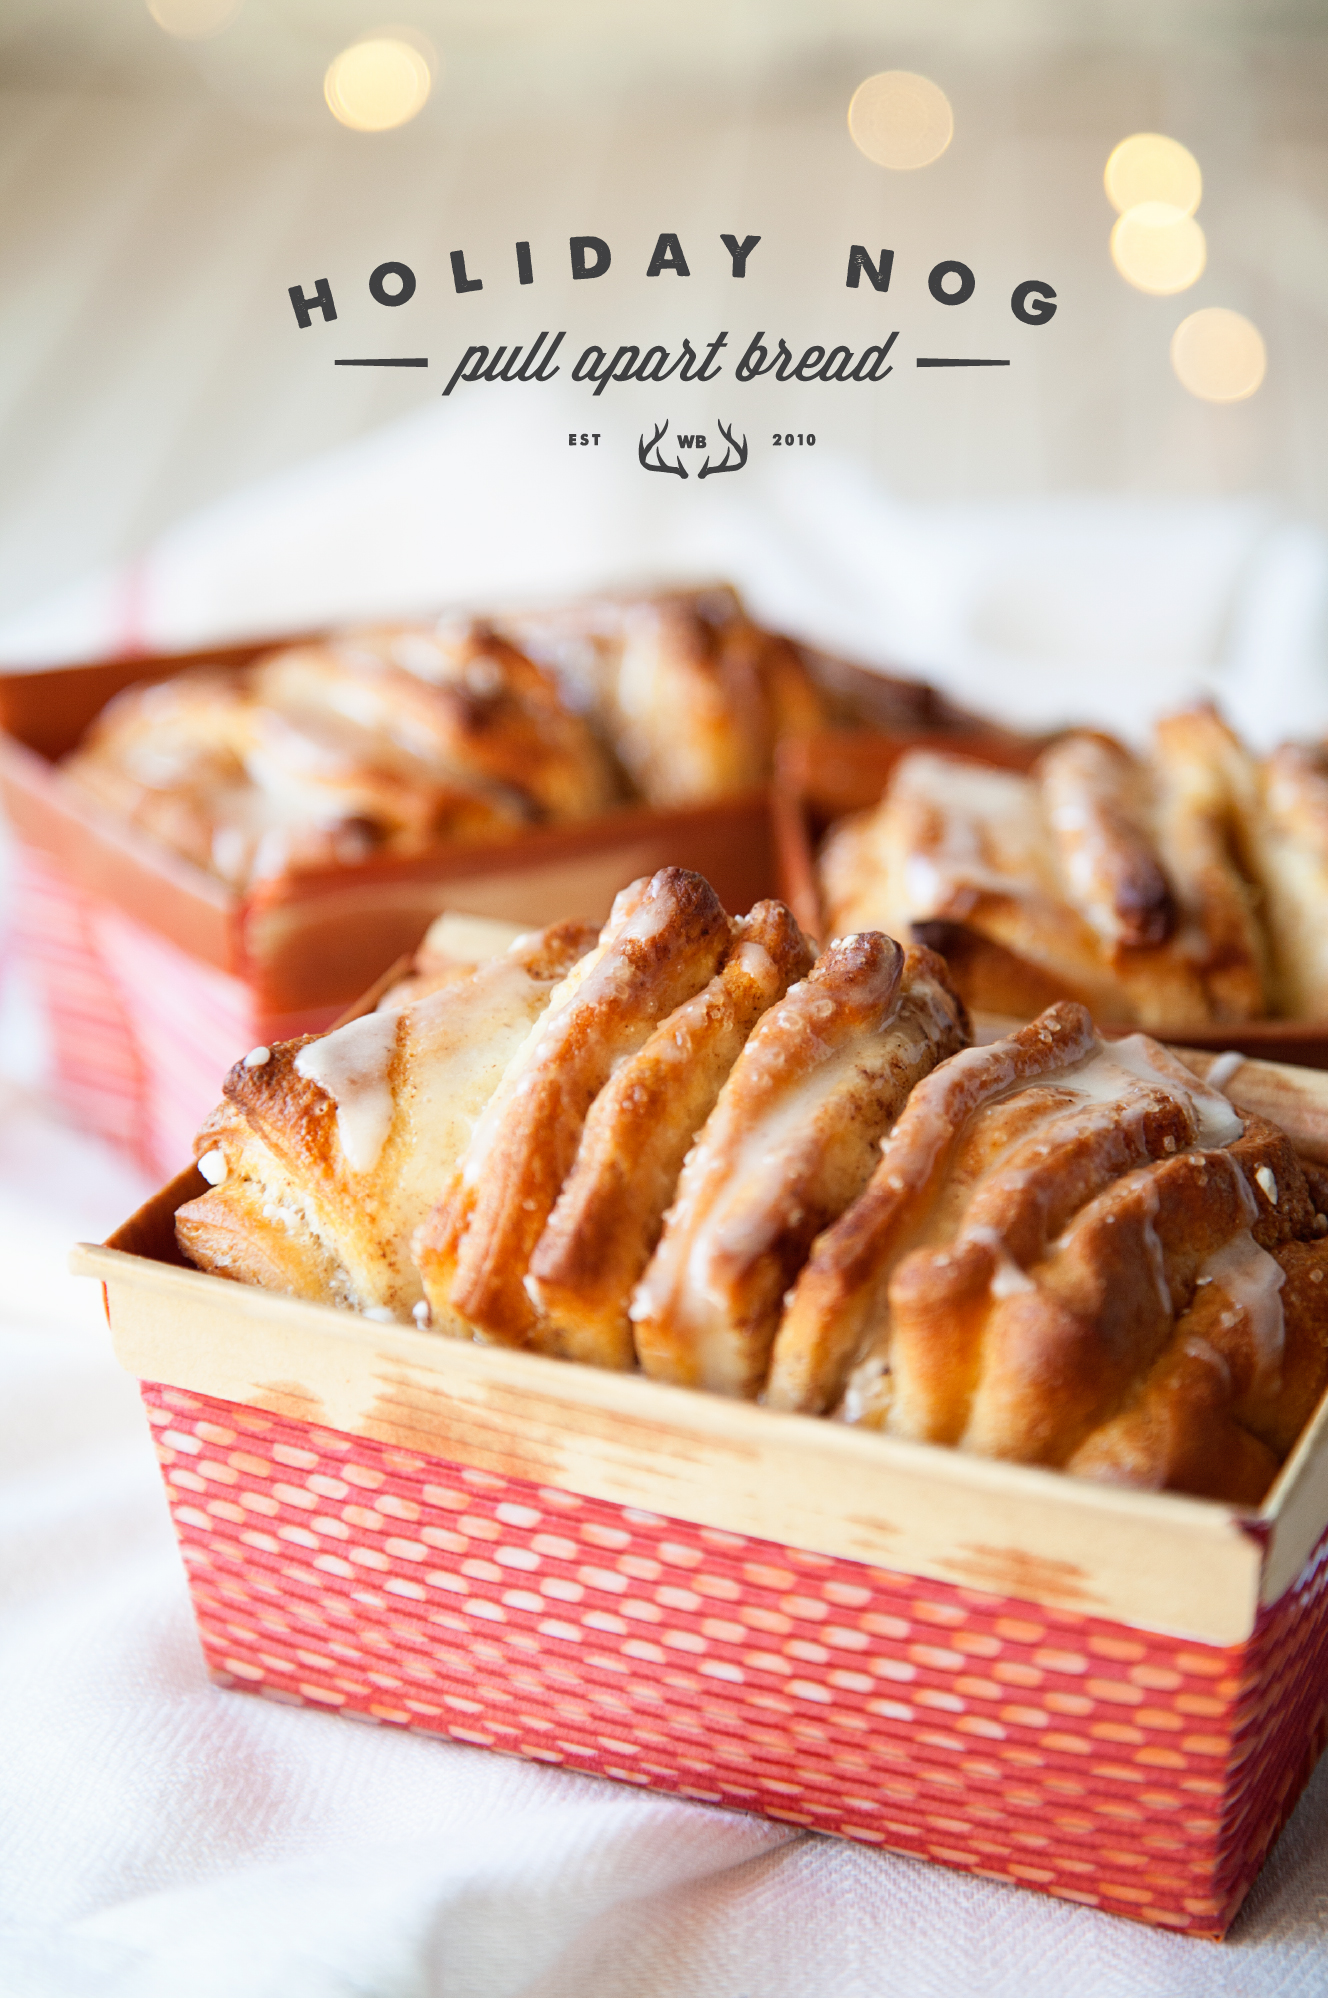
Now that I’m the Mom, I try to come up with some fun goodie each to year to share with our friends. A few weeks ago, I was at the Pillsbury Bake-Off and was inspired. A few of the entires were fun pull-apart breads with various different flavor profiles. I thought it would be fun to have a Holiday Nog Pull Apart Bread for a neighbor gift.

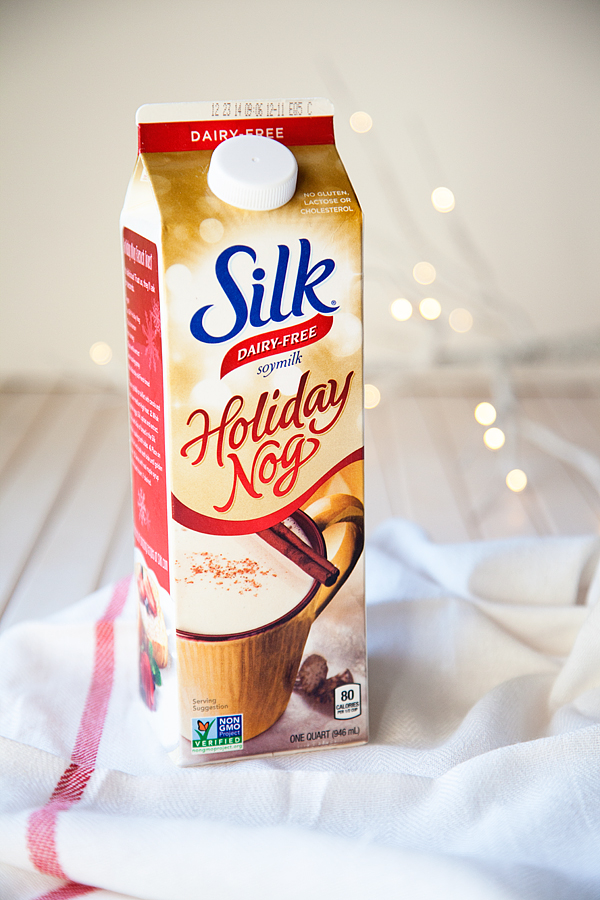
This is really just a simplified cinnamon roll with the addition of a Silk Holiday Nog glaze on top. Why Silk Holiday Nog you ask?
Well… First off, I LOVE it! It has all the Holiday flavor without all the guilt. It is free of dairy, egg, casein, MSG & lactose. It has no cholesterol or saturated fat and has a fraction of the calories of traditional Egg Nog. It’s the perfect Holiday treat minus the guilt. I thought it would be the perfect flavor profile for my pull-apart bread!
Now, the real secret to this pull apart bread is how EASY it is to make! You will look like you slaved over it for hours, but no… It really only took minutes to make. Here’s how you make it.
Holiday Nog Pull Apart Bread Recipe
1 can of Pillsbury Crescent Seamless Dough Sheets
3 tablespoons melted unsalted butter
1 teaspoon pumpkin pie seasoning
2 teaspoons of sugar
1 teaspoon of Swedish Pearl Sugar (optional)
1 cup powdered sugar
1 tablespoon Silk Holiday Nog
pinch of salt
non-stick baking spray
Preheat the oven to 350˚
You will need small paper loaf baking pans to bake your bread in. This will also make it easier to give as gifts to your friends. Spray the pan with a non-stick baking spray and set aside.
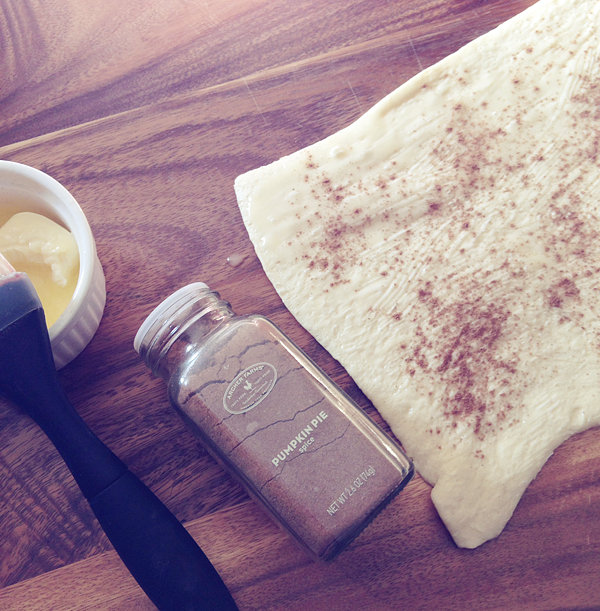
Open your Pillsbury dough and unroll on a clean surface and brush with melted butter.
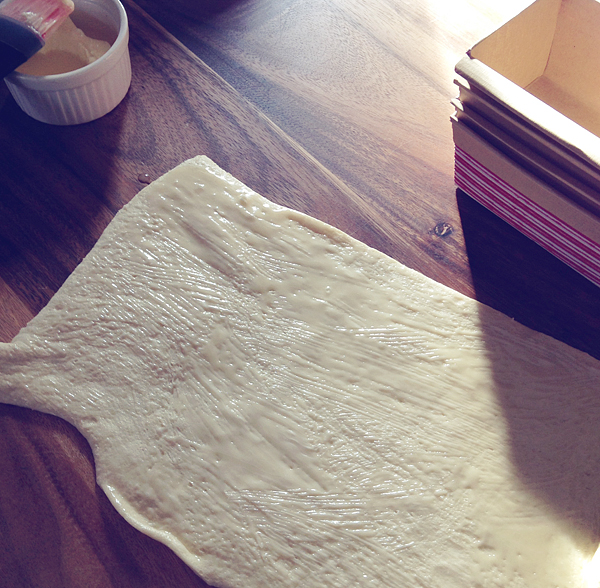
Then sprinkle the entire surface with pumpkin pie seasoning and sugars.
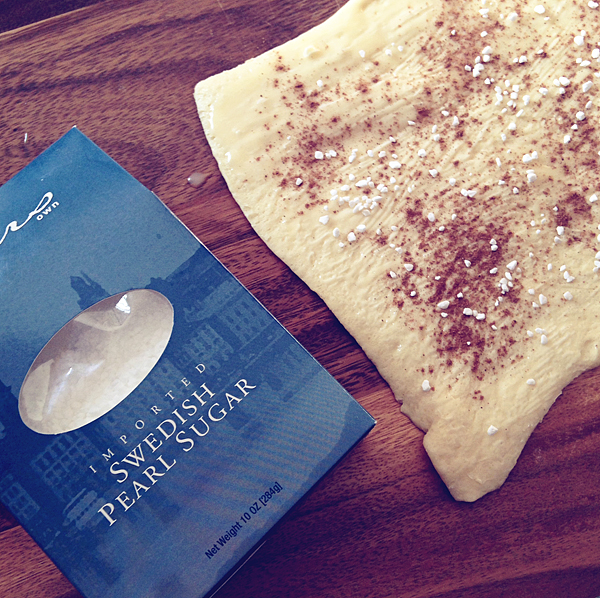
I like to add the Swedish Pearl Sugar to my bread, but it’s not totally needed. It just gives it that little extra something. You can find this in most grocery stores these days in the baking isle.
Next, cut your dough into squares roughly the width of your baking pan.

Stack your squares, and place them in your pan.
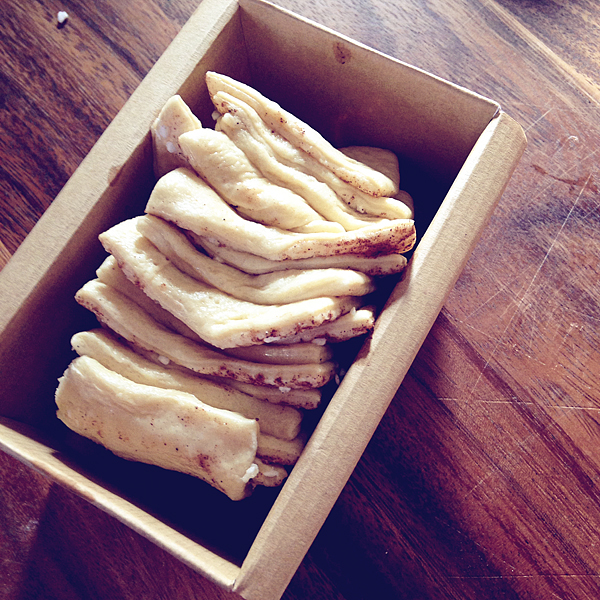
You should have some extra room for the dough to expand. Brush the top with more melted butter and sprinkle with more sugar.
Place in a 350˚ oven for 30 minutes. Remove from oven and let cool.
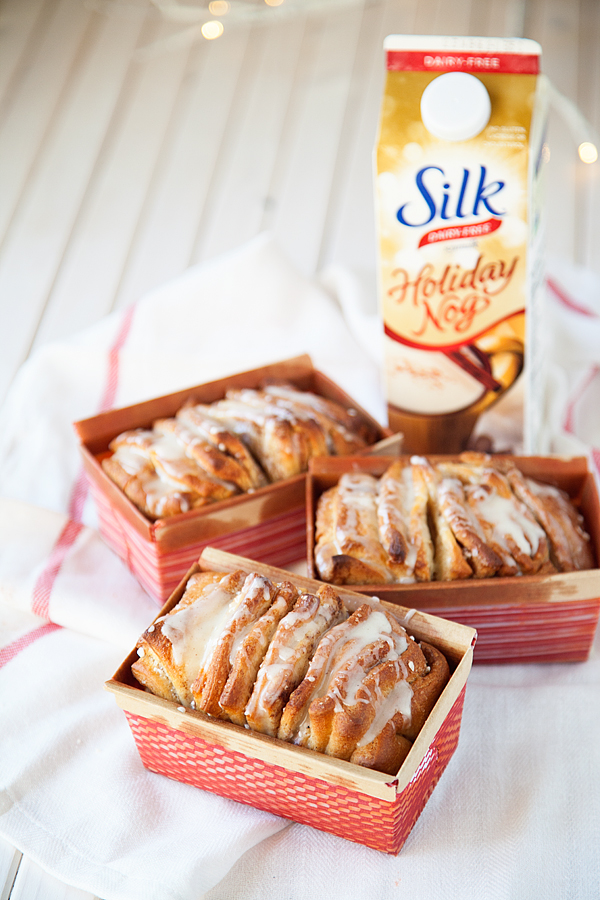
In the meantime, you can whisk-up your glaze. In a small bowl add 1 cup of powdered sugar and pour 1 tablespoon of Silk Holiday Nog into the sugar, whisk together. The sugar should melt right into the Holiday Nog. Play with the consistency, If you like a thick glaze, don’t add as much liquid, if you like a thinner glaze, add more. Once you get your desired consistency, add a good pinch of salt. Carefully drizzle glaze over your pull-apart bread.
Package it up in a cellophane bag for your friends and neighbors. I think I am also going to add a carton of Silk Holiday Nog to the basket when deliverthis treat! It will taste so good with the bread!!
Now this recipe makes one loaf. If you are wanting to make more than one, you will need to grab more cans of dough and double or triple the recipe.
I will have you know… NONE of the bread that I made for this post even left the house! My husband and the kiddos got to it first and they inhaled them before they even had time to cool and be photographed. Yep they are that tasty!
For more fun holiday treat ideas from Silk, sign-up for their club and get special deals as well. You can also find great ideas on the Silk Facebook page.
What’s your favorite Holiday treat to share?
This conversation is sponsored by Silk. The opinions and text are all mine.