+ Coconut Curry Shrimp Recipe +
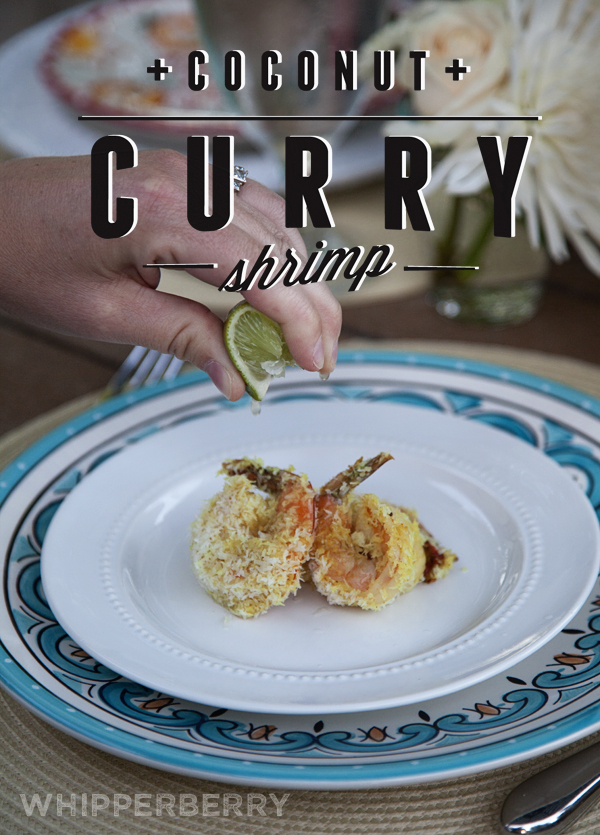
Looking for a fun way to jazz up your shrimp? I hosted a coconut dinner party the other night and these Coconut Curry Shrimp were tasty little bites! Not your traditional coconut shrimp which usually has a tropical flair, this recipe takes it’s inspiration from India and there is no deep frying involved.
Time Saving Tip // You can make up your sauce before hand to save time and then reheat and cook the shrimp right before you serve to your guest.
Coconut Curry Shrimp Recipe
Prep time
Cook time
Total time
These quick and tasty little bites are a perfect appetizer that your guest will love!
Author: Heather // WhipperBerry
Recipe type: Appetizer
Cuisine: Indian
Serves: 8
Ingredients
- 1 pound of large shrimp, peeled and deveined
- 1½ cups of Silk Original Coconut Milk
- 1 tablespoon curry powder
- 1 tablespoon minced ginger
- 2 whole cloves of garlic (leave as a whole clove but smash)
- salt and pepper to taste
- 1 tablespoon fresh lime juice
- 1 cup coconut powder
- fresh lime wedges for serving
Instructions
- In a medium sauté pan, mix together the coconut milk, curry powder, ginger and garlic. Slowly bring to a boil over medium low heat. Simmer for 7-10 minutes until the sauce starts to thicken. Add salt, pepper and lime juice.
- (At this point, you can refrigerate your sauce and save until right before you want to serve your shrimp before your event.)
- Once your sauce is simmering, add your cleaned shrimp, toss around in the sauce and cook until the shrimp have turned pink and are opaque in color. Do not over cook. This will take about 4-5 minutes depending on the size of your shrimp.
- Place your coconut powder in a bowl. Toss your cooked shrimp in the coconut to coat. Serve with a lime wedge and enjoy!