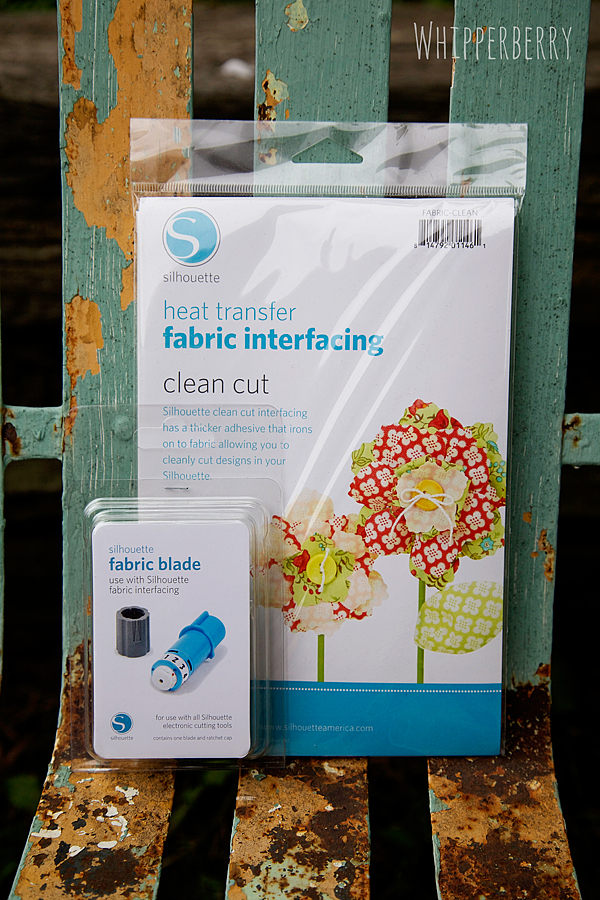
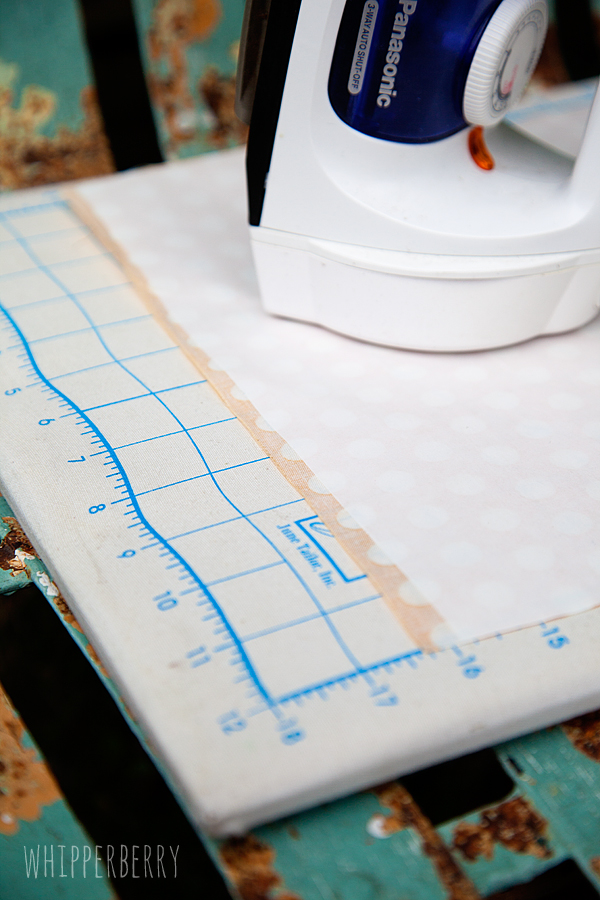
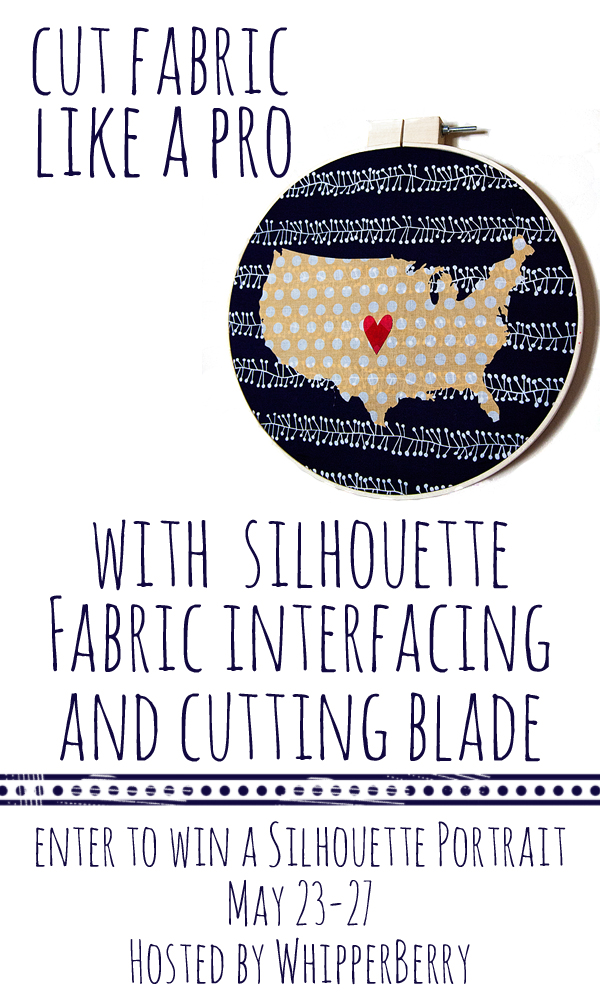
Silhouette Portrait GIVEAWAY (Affiliate) // As someone who is crafting all the time, I often find myself falling into ruts. What… You too? Then I am reminded of a product that I just love, but have for some reason have placed on the back of my craft shelf. I pull it out, dust it off and fall in LOVE all over again. That is exactly what happened this week when I had the chance to pull out my fabric stash and play around with Silhouette's Fabric Interfacing and their Fabric Cutting Blade.
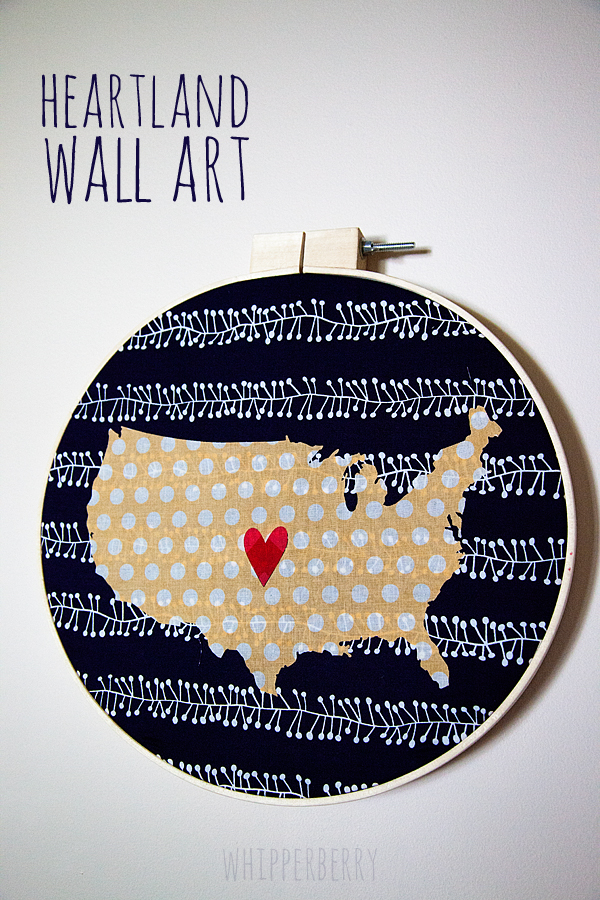
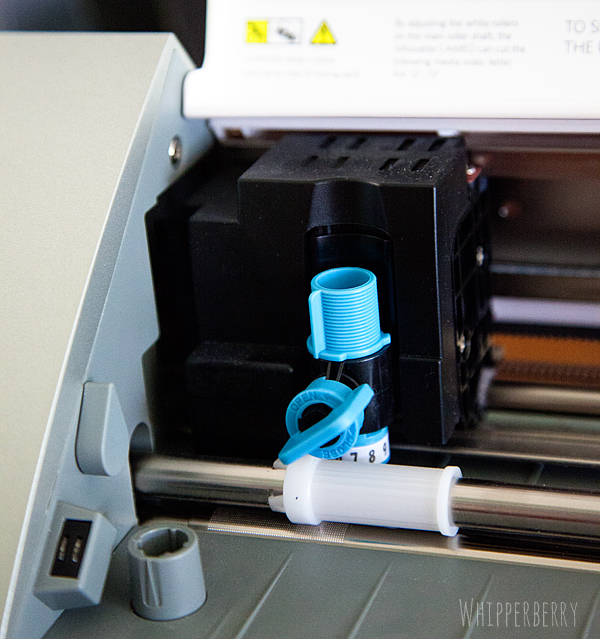
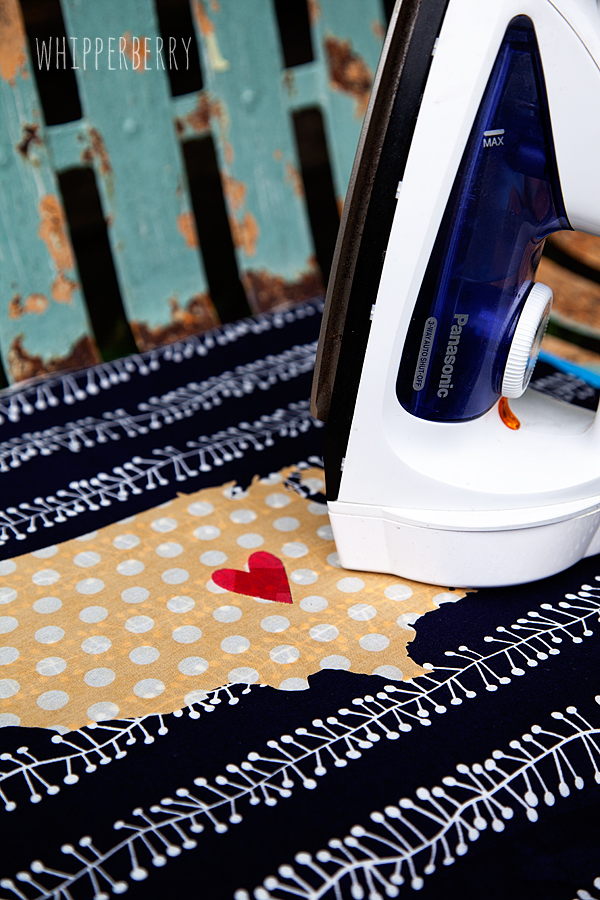
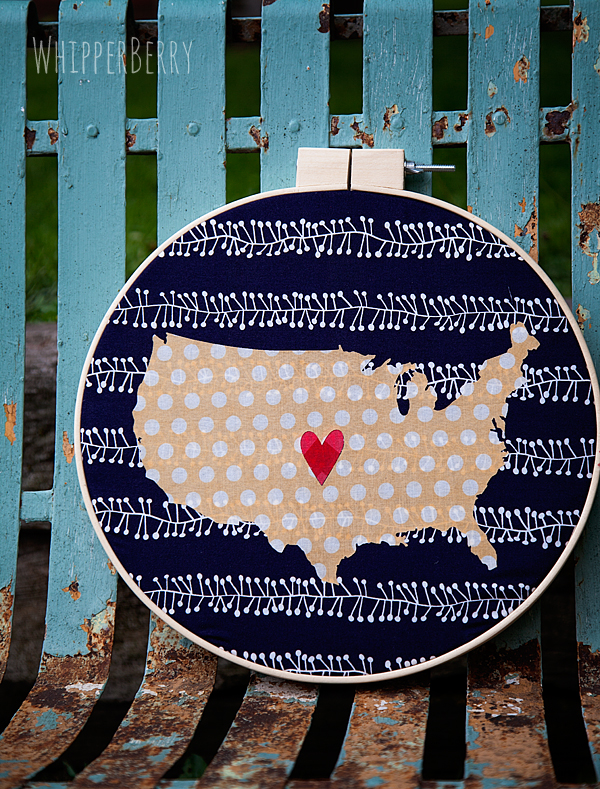
I made this fun Heartland wall art for a new gallery wall that I'm working on for my living room and I just fell head over heels in love with my CAMEO's fabric cutting tools!! Check out these clean lines on my United States image…
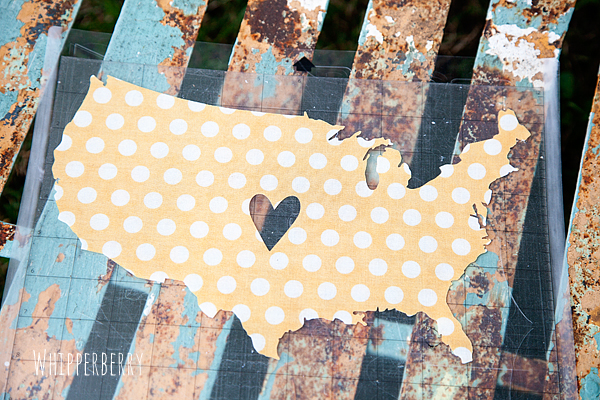
You can check out the entire tutorial HERE.
This week Silhouette has their entire fabric line on sale along with their fabulous machines. Check out the May Promotion…
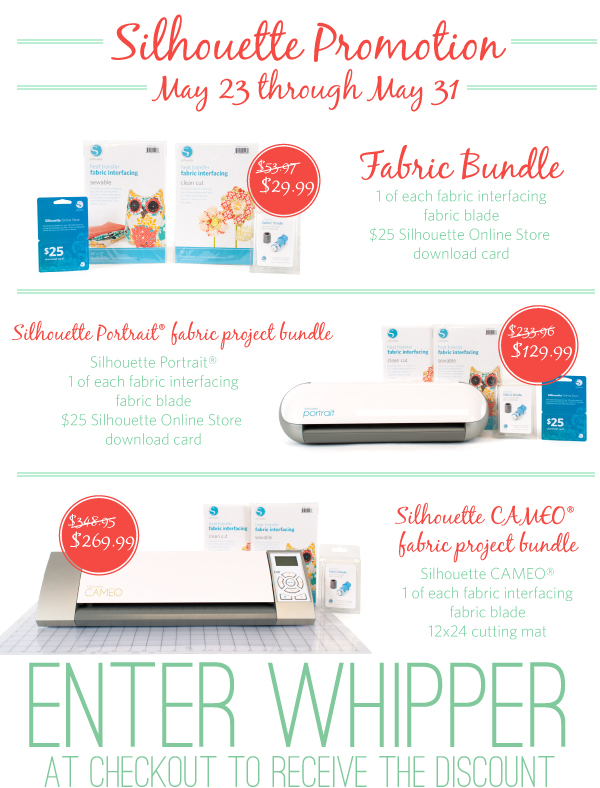
Click here to visit the Sale Page over at the Silhouette Site!
The folks at Silhouette have given me one Silhouette Portrait to give away to one of YOU my favorite friends!! All you have to do is follow the directions in the Rafflecopter box below…
A few more of my friends are giving away Silhouette Portraits as well. You can visit their giveaways to increase your chances to win!!