Chocolate Peanut Butter Bars // My all time favorite Christmas goodies are my Mom's Chocolate Peanut Butter Bars…

Some of my earliest Christmas memories are hanging out in the kitchen with my Mom and sometimes my Dad while they made their famous holiday concoctions. They had a few staples on the list… Fudge, peanut brittle (not my favorite,) your classic Christmas Sugar cookie and then my favorite the chocolate peanut butter bar. I remember dreaming about this little treat all though out the year. Not to mention the anticipation I would feel when Mom would start the task of holiday baking. She always kept the pans of goodies out in our cool garage which acted as our overflow kitchen storage. They were supposedly hidden from sticky little fingers, but no… I always found them. Nibbling little morsels here and there until the sad day when the pan of chocolate peanut butter goodness was gone for another year.
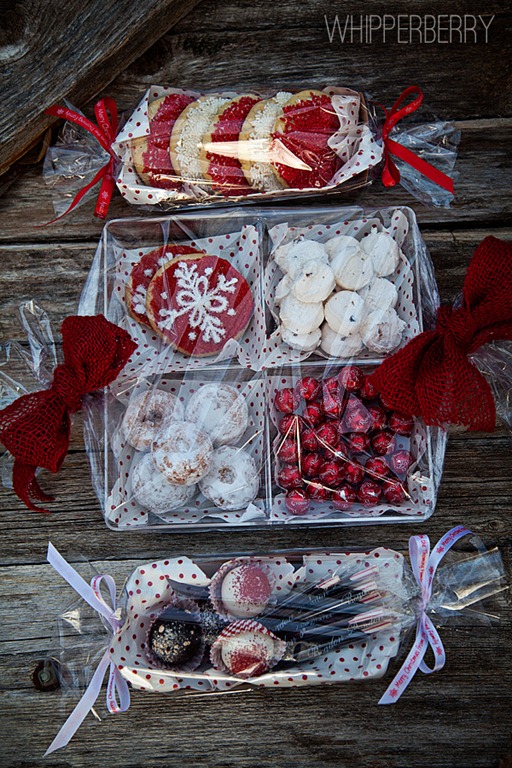
I remember that sense of pride I felt as we would travel out as a family to deliver our plate of goodies to friends and neighbors. I always felt like my Mom's holiday plate was just a little extra special because of the chocolate peanut butter bars. My Mom would always make them in a 9×13 pan and then cut them into bars. This year I made some for my family and friends in these super cute mini paper loaf pans that I found at Walmart and then wrapped them with decorative parchment paper tied with bakers twine. A nice little updated touch to an old family classic.

I just love these little treats full of messages of love from giver to the lucky person receiving the special gift. Whether it's a personalized card or cookies right out of the oven, I love sharing the warmth of the holiday season with my family, friends and, of course, my readers!
Chocolate Peanut Butter Bars
2 cups graham cracker crumbs
1 cup peanut butter
2 cups powdered sugar
2 sticks butter (melted)
2 cups chocolate chips
Directions
Mix graham crakers crumbs, peanut butter, sugar and butter together well and press into a 8×8 pan. Melt chocolate and spread on top of peanut butter mixture and chill for 30 minutes. Cut into small squares and serve at room temperature.


