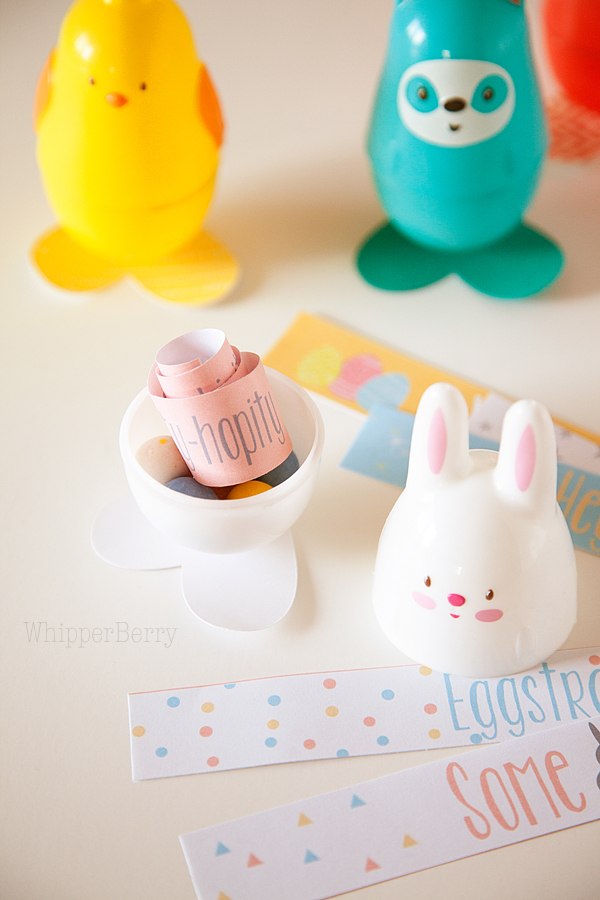
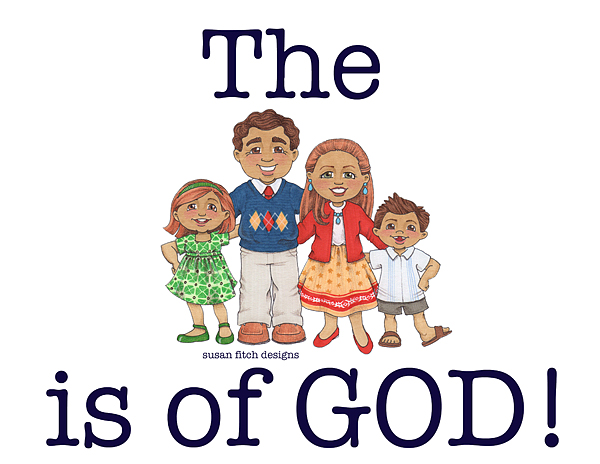
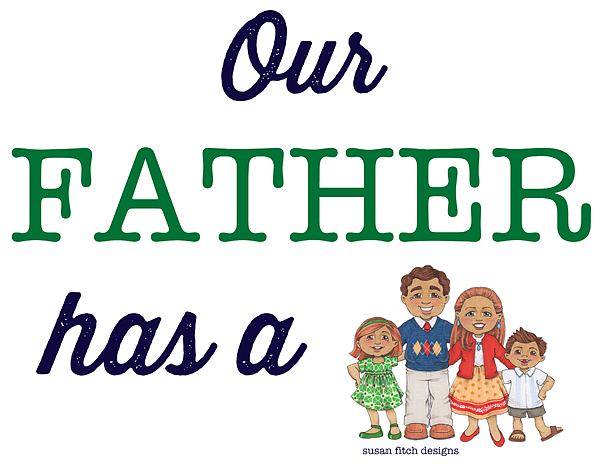
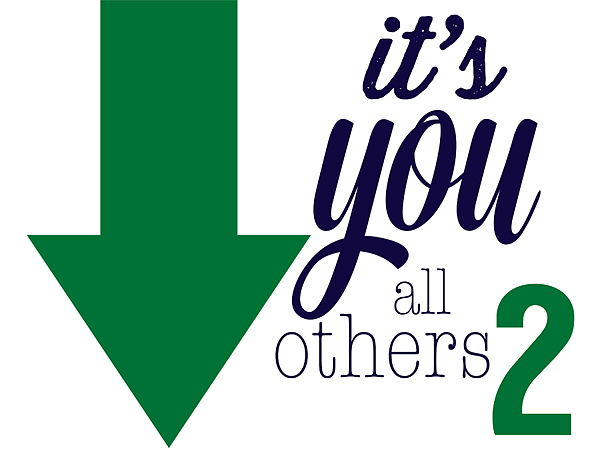
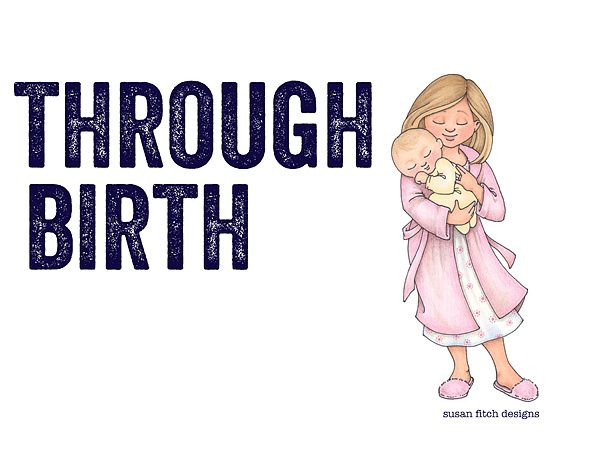
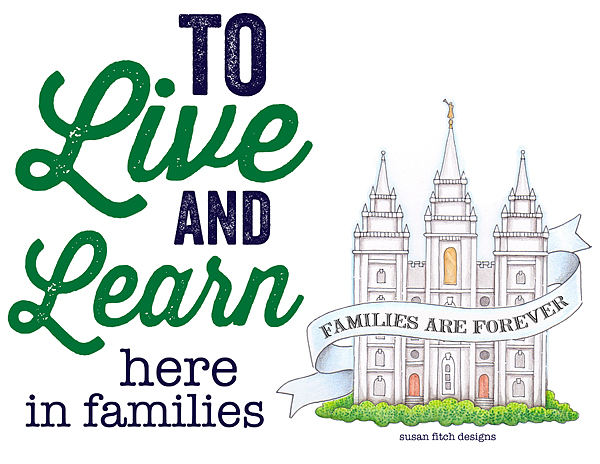
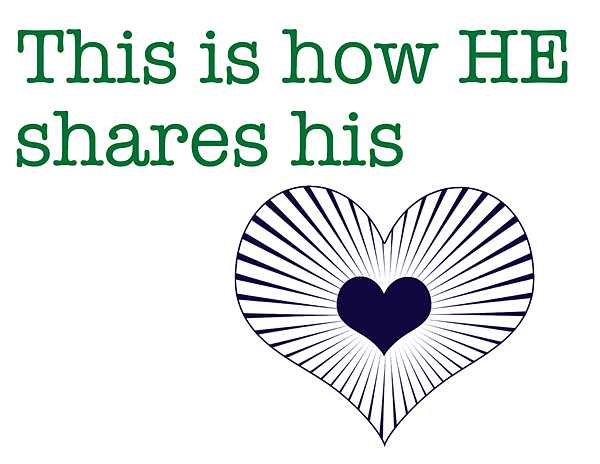
The Family is of God Flip Chart // It’s almost April and for all of us LDS Primary choristers, it’s time to start teaching a new song for the month. This month’s song is The Family is of God, and it’s so beautiful. I can’t wait to teach my kiddos. I’ve been playing it on my iPhone in the background for the last couple of week so that I could get the words down and I’ve just fallen in love.
I have put together a flip chart for the 1st verse for this week. I will have the other verses up soon as well. I can’t wait to share what I’ve been working on for the next couple of verses, I think the kiddos are going to like it.
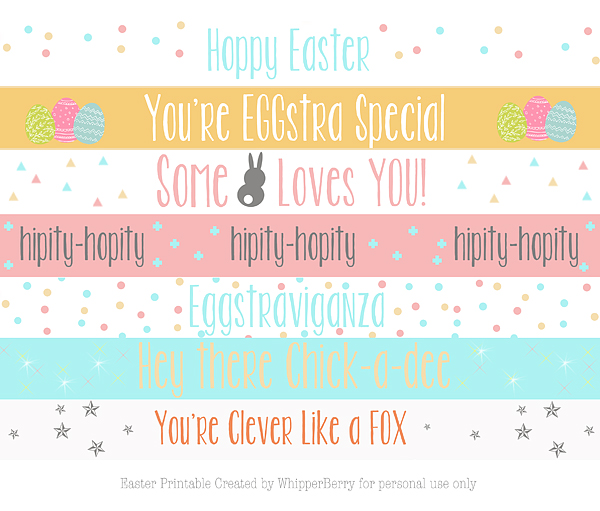
With that said, here’s what the flip chart looks like. You will need to go here to DOWNLOAD the full sized flip chart for your own use.

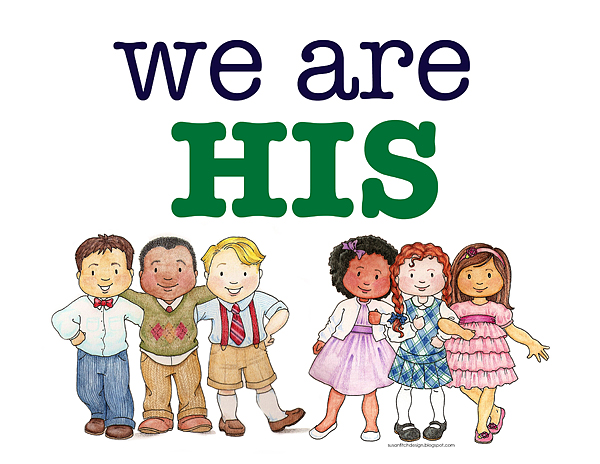


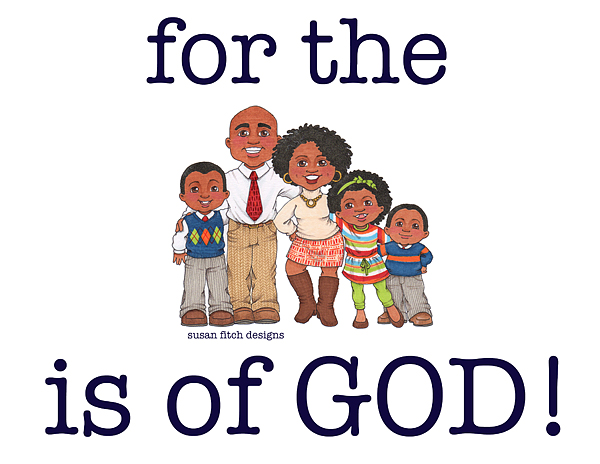
Again, I used several illustration from Susan Fitch. Here talent is amazing and she is so incredible to share those all with us. You need to run over to her site and see all of her amazing work!
Please remember this flip chart is for personal or church use only.


.jpg "Delicious banana bread recipe! This is THE Starbucks banana bread recipe(not a knock-off) you can make at home...yum! #BananaBread #Recipe #Starbucks #RealCoake")