Hi all! Shannon from eat.sleep.make. here! So excited to share this inexpensive and easy project with you! All you need is a sheet of basswood, a craft knife, a rule, pencil and some paint!

First – Decide how big you want your tree to be. My first one I made 6 inches tall and 4 inches wide. Mark the wood and draw your triangle

Second – Use your ruler and craft knife to cut along the lines you drew. It may take several scores with the knife to get through the wood. Don't press too hard or you may crack the wood.
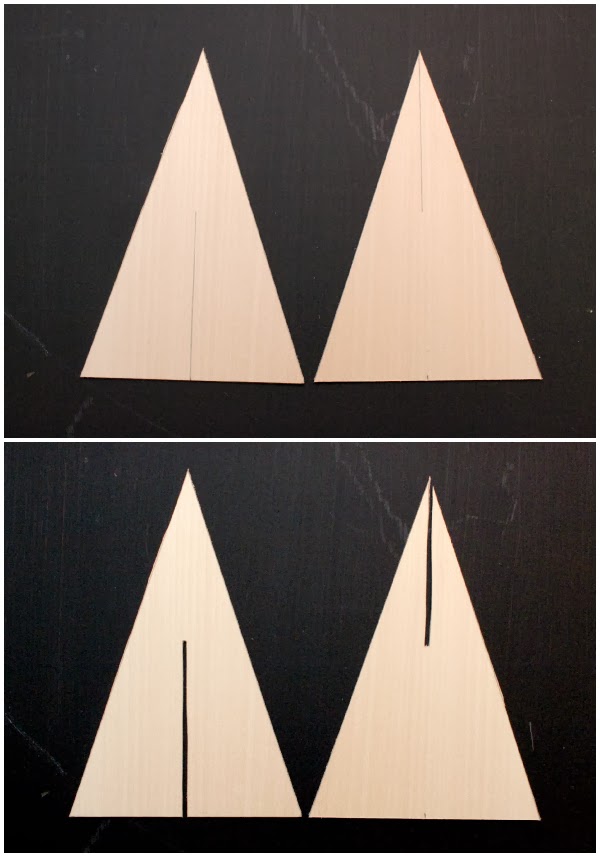
Third – Draw a line half way up from the middle of the base on one triangle. Then draw a line half way down from the tip of the triangle on the other. Use your craft knife to cut a slice about 1/16 to 1/8 inch where the line was.

Fourth – Slide your pieces together to make sure they fit.
Fifth – Paint a fancy little design on it!

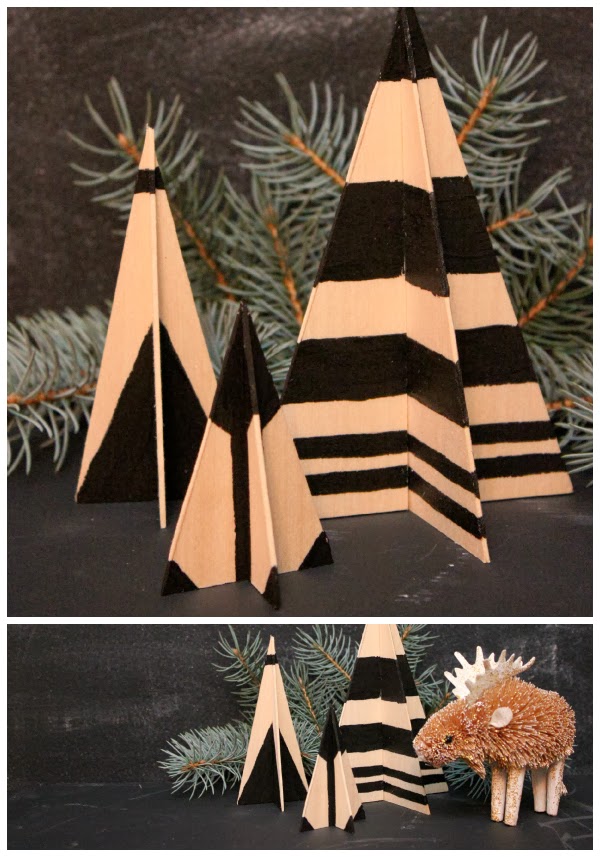
These take little time to make, but turn out so adorable! It would even be fun to cut them out and let the kids paint/color/glitterfy them.
Stop over at eat.sleep.make. and check out some of our other Christmas projects!

Celebrate the Light Canvas