Who’s looking for something fun & simple to do this Christmas? Something even the kiddos will love!
This year, I’m looking to simplify. I want to simplify everything, the gift giving, the message, the decor. I want the Holidays to be more about the family and the true meaning of Christmas. Several years ago my family spent a month in Germany in December and we had a chance to enjoy a European Christmas that was simply magical. For the Germans the holiday is all about nature, simplicity & family. We fell in love! Ever since then I have wanted to create more of an old-world Christmas experience and this year is finally the year… I’m so excited!!
It’s all starting with my simple kid-friendly DIY Christmas Village. I wish I could take all of the credit for this, but I can’t. I was inspired by a friend of mine here in Lincoln from Little Red Cabin. She has this beautiful shop where she sells simple, yet stunning decor items for the home. She used to sell these Christmas Villages in her shop but she no longer carries them, therefore I had to make one of my own and of course put my WhipperBerry spin on them. It’s really quite simple, you only need a few items.
Christmas Village Supplies
Behr Premium Plus Sample Pots FLAT – Mink & Decorator White
Krylon Premium Metallic Spray Paint – Copper Foil
DIY Christmas Village Instructions
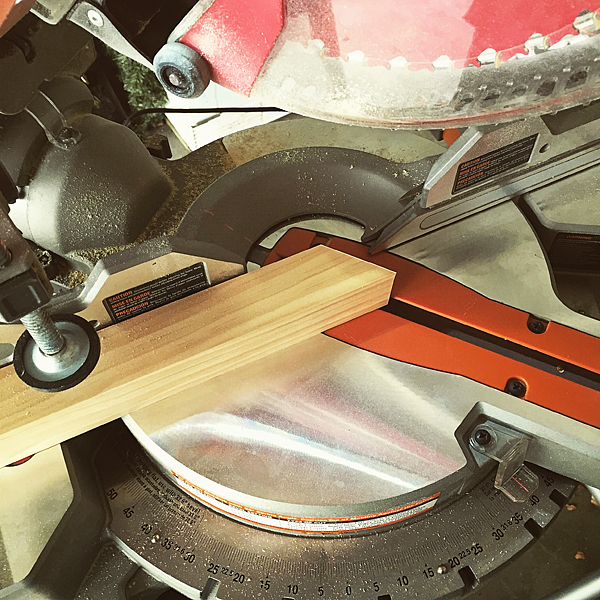
The trickiest thing with this project is getting access to a saw. If you don’t have a saw, hit up your neighbors or family members. I’m sure someone has something you can use. I have a Rigid 10 inch Sliding Compound Miter Saw and it works like a dream for this project, but it isn’t the only saw that will work.
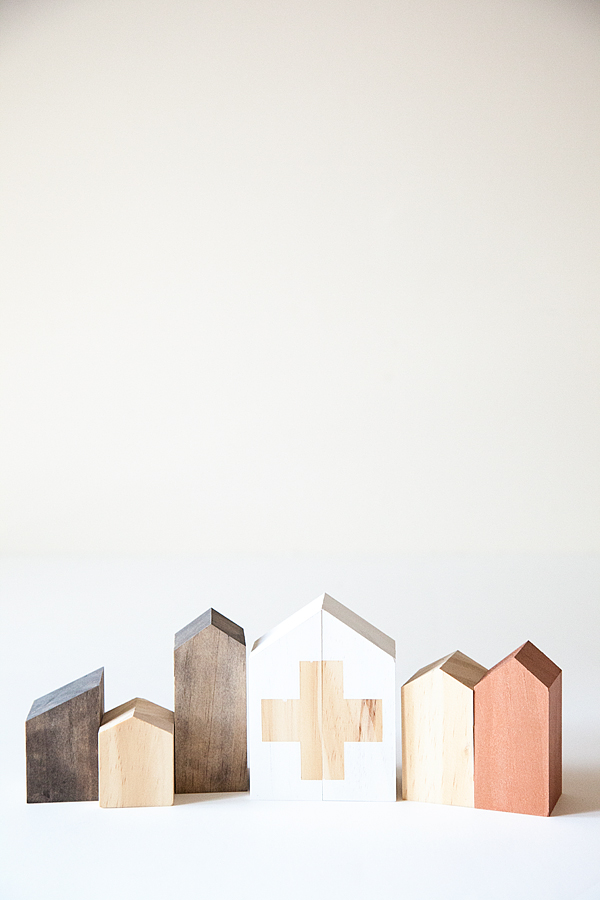
All you need is to be able to cut at an angle for this little village. There is no rhyme or reason when you’re cutting the little buildings. I made the little buildings roughly 3-4 inches tall, with all different types of angles for their roofs. I mostly used a 30-40˚ angle when cutting to tops of my buildings.
The only one that needs to be exact is the larger building in the center that you place your stencil on. For that one I used a 35˚ cut and made sure both sides of the building were the same hight.
Sand your blocks if needed. My wood cut so nice that I didn’t really need to sand them at all.
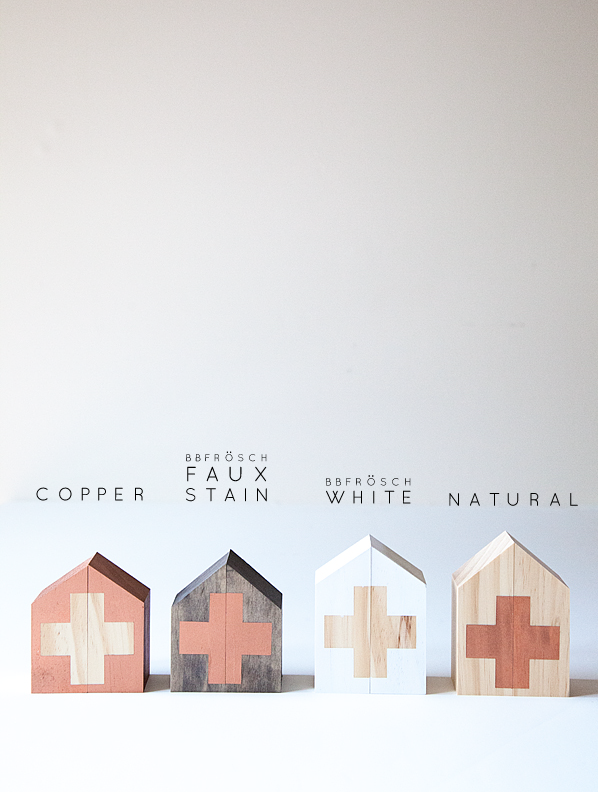
Now it’s time to paint your village. I knew that I wanted to keep some natural wood, Faux Stain some building with BB Frösch & then spray some of the buildings with copper spray paint for a metallic accent. I’ve see others use puffy paint for these kinds of projects but I liked the spray paint instead. If you have kids creating these then you can use puffy paint instead because they love it. I wrote a post about how to make your own puffy paint too!
Faux Staining & Painting with BB Frösch Chalk Paint Powder
This to me is my favorite part… I LOVE working with Chalk Paint! I use BB Frösch Chalk Paint Powder when I’m crafting. Typically Chalk Paint is too expensive for crafting, but not when you use BB Frösch. I mix the chalk paint powder with a sample pot of Behr Premium Plus Flat paint from Home Depot. The BB Frösch turns the regular paint into CHALK PAINT for a fraction of the cost.
It’s so easy to mix-up your chalk paint, here’s a quick video showing you how to do it.
For the White buildings, I just brush on the Decorator White BB Frösch Chalk Paint and because it’s has the all-natural mineral additives, it dries super quick! I don’t really bother to wax these guys, they don’t really need it. Plus, I like the look of the flat finish.
Now for the Faux Stain… You use this technique that I created when you want to see the natural wood come through. Traditionally people would use Stain for this, but I use BB Frösch because it’s so much easier. You can visit this post on WhipperBerry to learn how to Faux Stain.
I love how the faux stain turns out for this Christmas Village. I use the color MINK from Benjamin Moore for most of my Faux Staining. YES, I use the sample pots of Behr at Home Depot, but they have the color recipe for the Benjamin Moore colors in their computer. Just ask for Benjamin Moore Mink and they will be able to look it up.
Copper Buildings
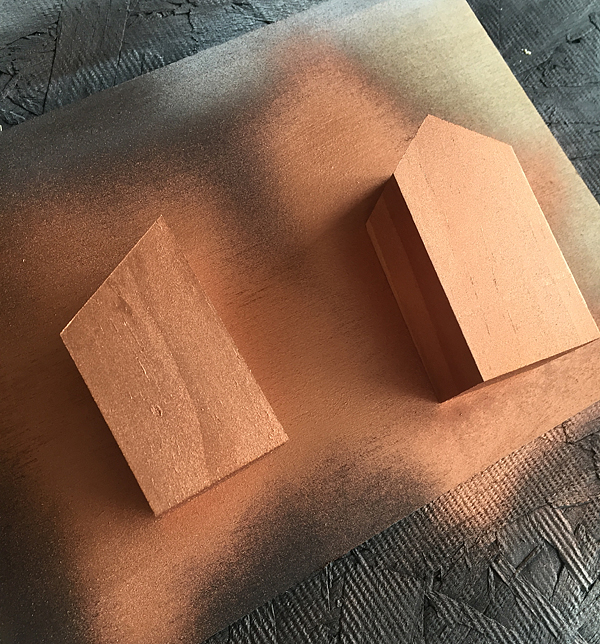
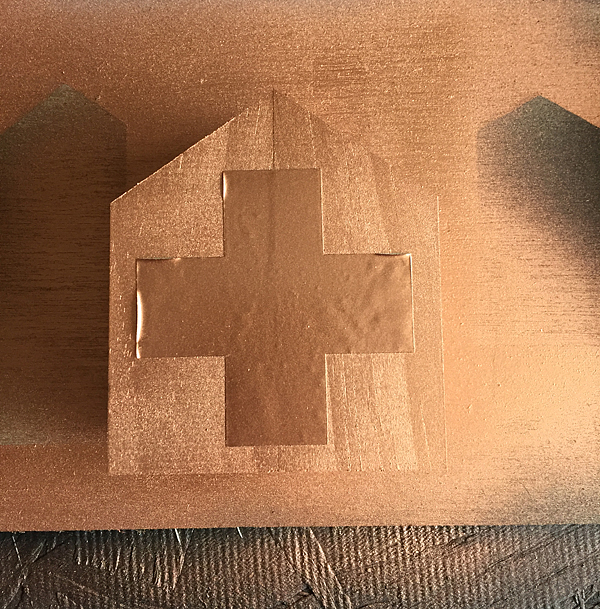
Now for the copper, I use Krylon’s Premium Metallic Spray Paint in Copper Foil. It’s super simple and adds that little pop of copper that is so hot right now.
Just spray paint a couple of your buildings for that accent color.
Stencil
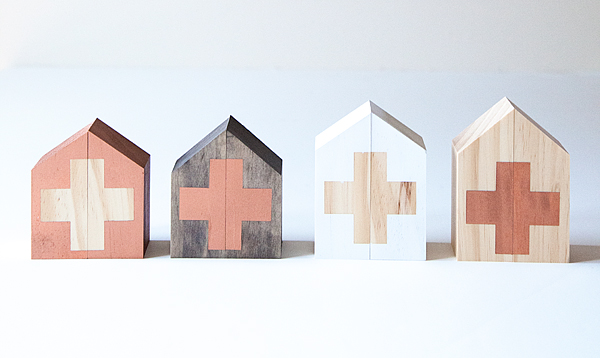
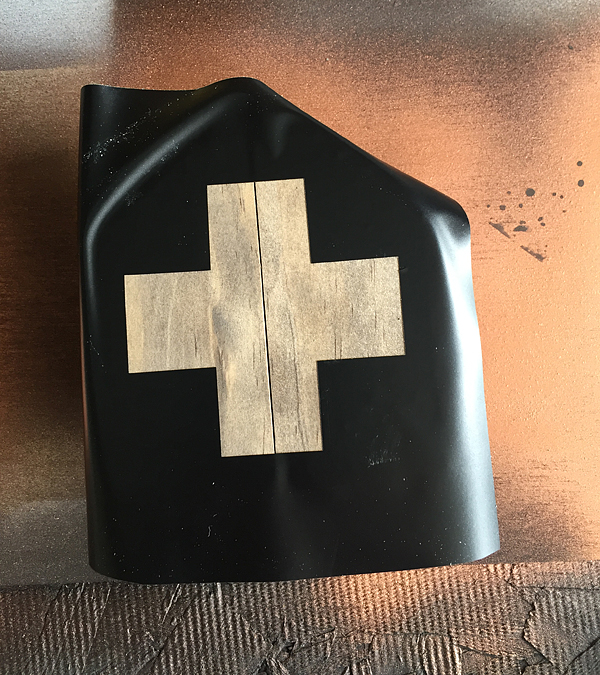
Now for the stencil…I’ve used a Swiss Cross, but you can use whatever you like. A star, snowflake, heart… Whatever you come-up with really. I cut my stencil out of vinyl on my Silhouette CAMEO but you can either buy a pre-made stencil or create one of your own.
I put the two pieces of cut wood together and then place the stencil on top.
Then paint with your desired color. ALSO, don’t forget that you can use both the positive and negative parts of the stencil. That way you don’t have to waste anything!
Peel-off the vinyl once it is dry and voilá… You have a stylish decorated building for your set.
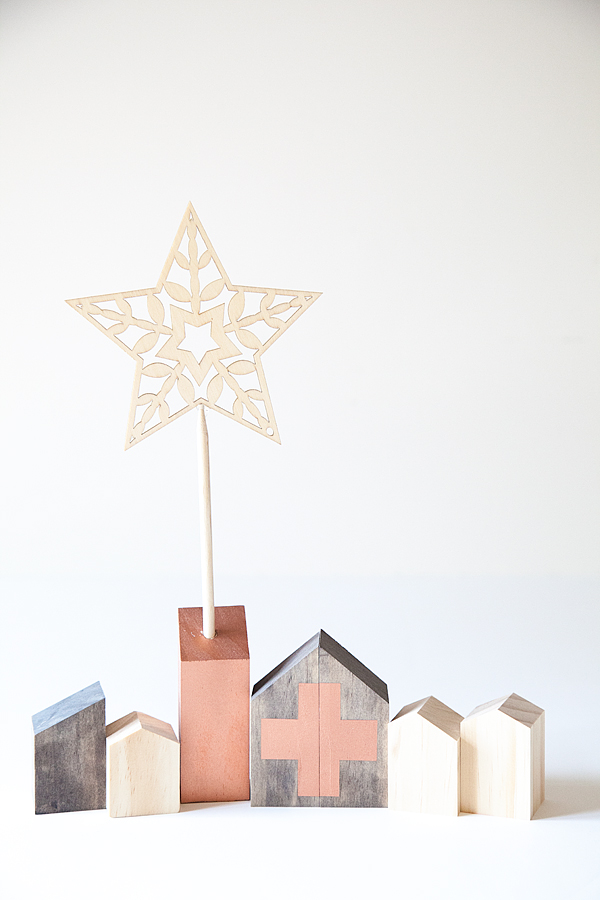
You can also drill a hole into one of your buildings and add a star. I just glued a star ornament from Michaels to the top of a dowel and it fit perfect with the village.
I love this simple decor that is kid friendly. So many Holiday decorations are breakable and we’re constantly following the kiddos around telling them not to touch… With this simple Christmas Village they can touch and play with it all they want!
+ This was originally a guest post on 30 Handmade Days +
3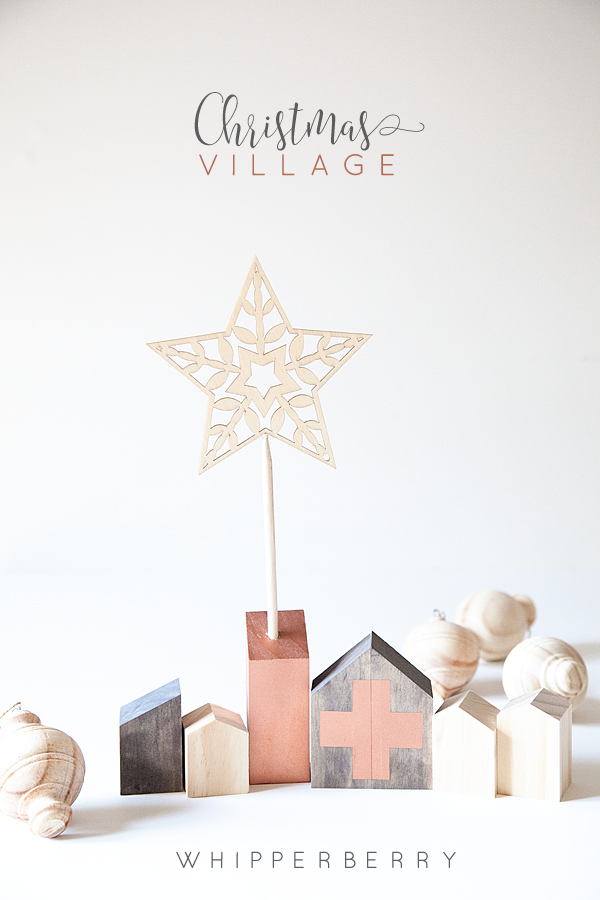

Leave a Reply