+ This Holiday Nog Panna Cotta Recipe Post brought to you by the folk at Silk +

It’s here, it’s HERE!
The Holiday Season is in full swing and that means it’s…
Holiday Nog TIME!!
Our family ADORES Egg Nog, I mean really, who doesn’t? It’s rich and creamy and has all of the flavors of the season. The thing is… with all of the other goodies of the season, traditional Egg Nog may not be the best choice. A few years back I was introduced to the Silk Holiday Nog and our family hasn’t ever looked back!
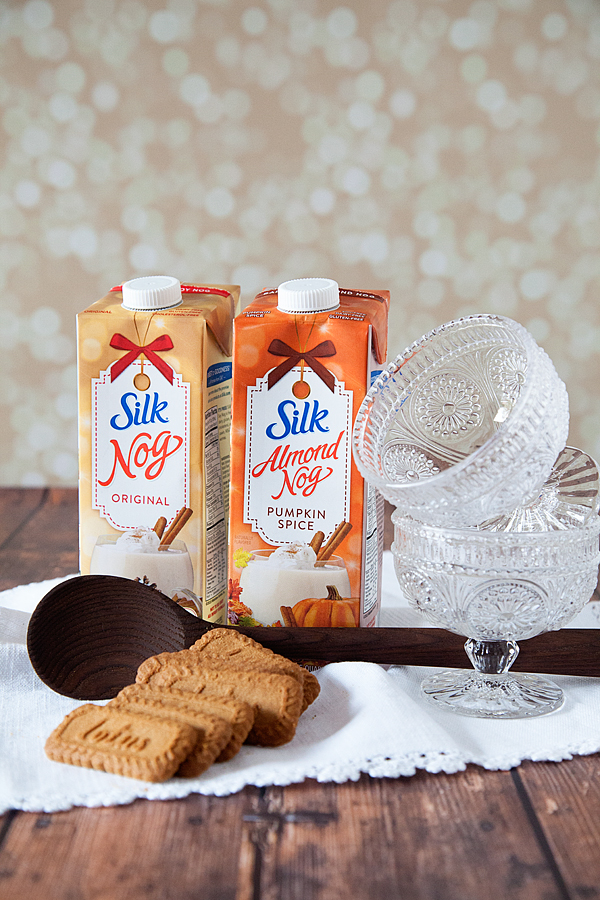
With Silk Holiday Nog you can ring in the season with notes of nutmeg and cinnamon, and a smooth velvety flavor. You can raise a festive glass or two without feeling naughty because it’s made without eggs, dairy or saturated fat. This year they have a few additions to the Holiday Nog family, Almond Holiday Nog & Almond Holiday Nog Pumpkin Spice Flavor.
I’ve loved creating all kinds of Holiday Nog goodies throughout the years. Here are a couple of my favorites… Spice Cookies with Holiday Nog Glaze & Holiday Nog Pull-Apart Bread.
Today, I’m sharing my Holiday Nog Panna Cotta recipe. Holiday Nog is perfect for Panna Cotta because traditionally Panna Cotta is a rich creamy eggless custard. If you were making this with regular Egg Nog, you would be introducing eggs into the mix. With Holiday Nog, you can have all the flavor without the addition of eggs.
This recipe is PERFECT for the busy Holiday Season. It’s a cinch to make and it really has a huge bang for your buck. Forget slaving over a pie or cookies… Take a few minutes to whip-up a Holiday Nog Panna Cotta Recipe and you’re GOLDEN!
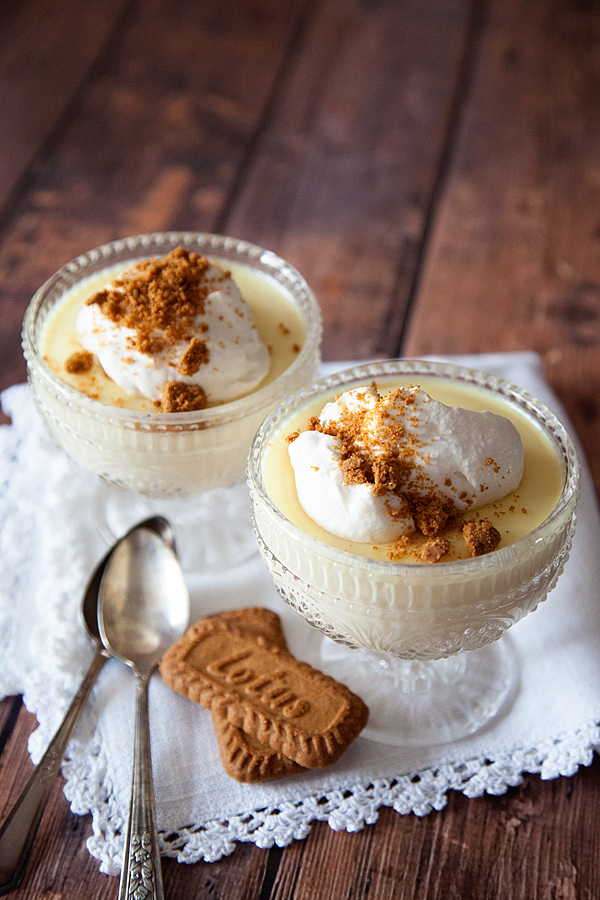
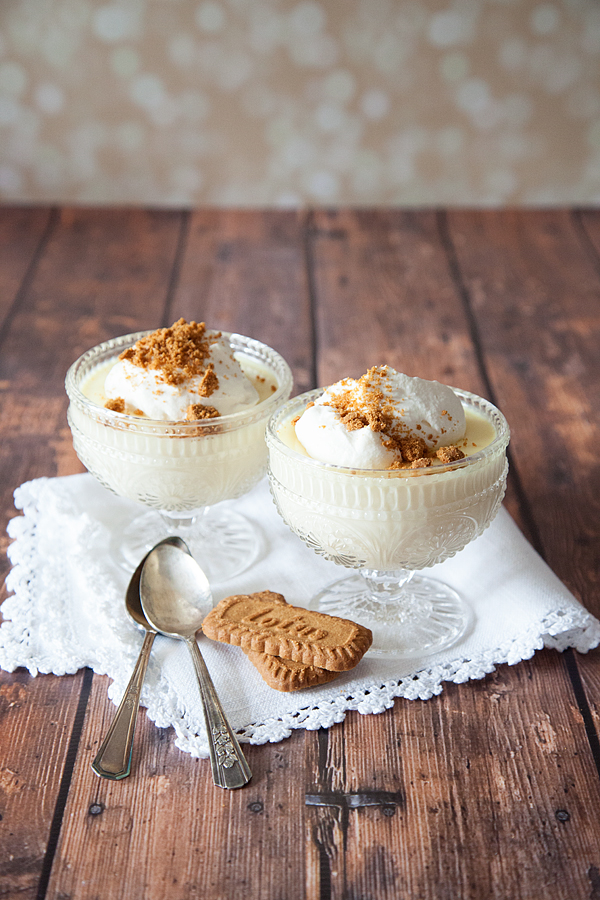
Holiday Nog Panna Cotta Recipe
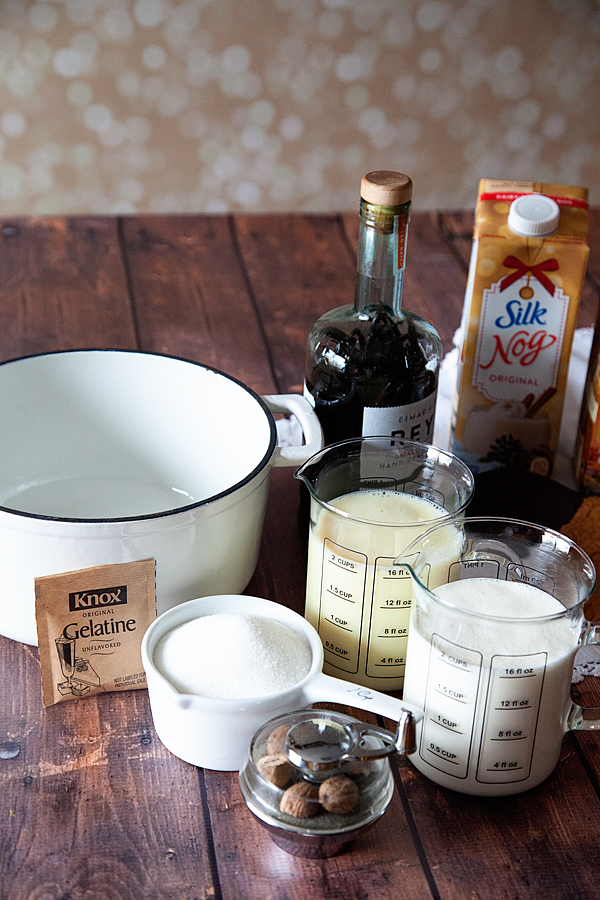
2 cups Silk Holiday Nog
2 cups heavy cream
1 cup sugar
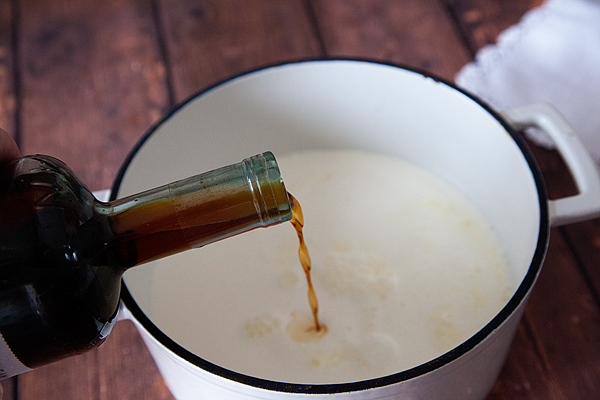
2 teaspoons vanilla extract – Homemade is the BEST!
1/4 teaspoon fresh ground nutmeg
2 packets of Knox Gelatin (aff link)
4 Bischoff Cookies (aff link)
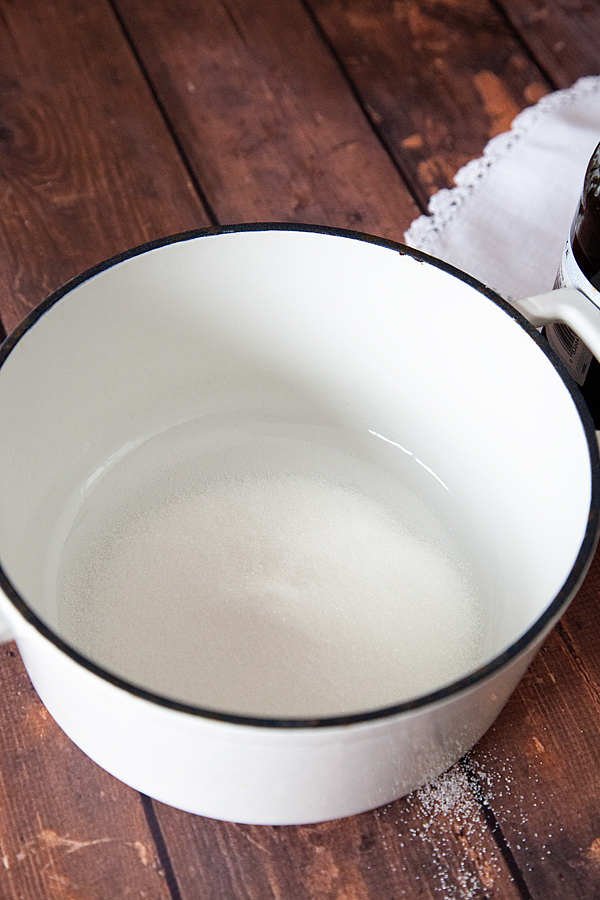
In a medium sauce pan add your sugar,
Cream,
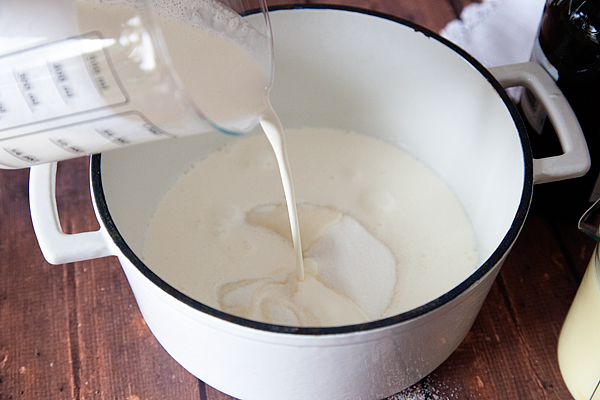
Holiday Nog,
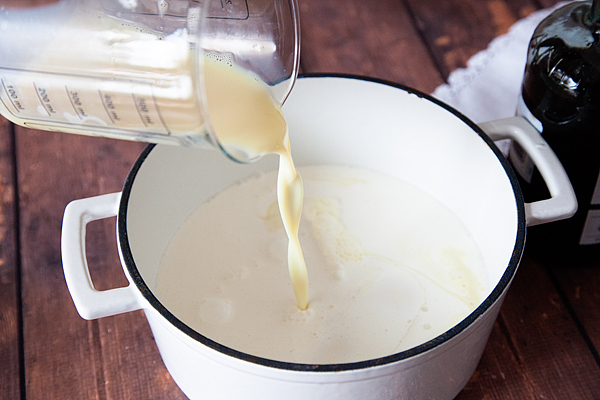
vanilla,
and nutmeg.
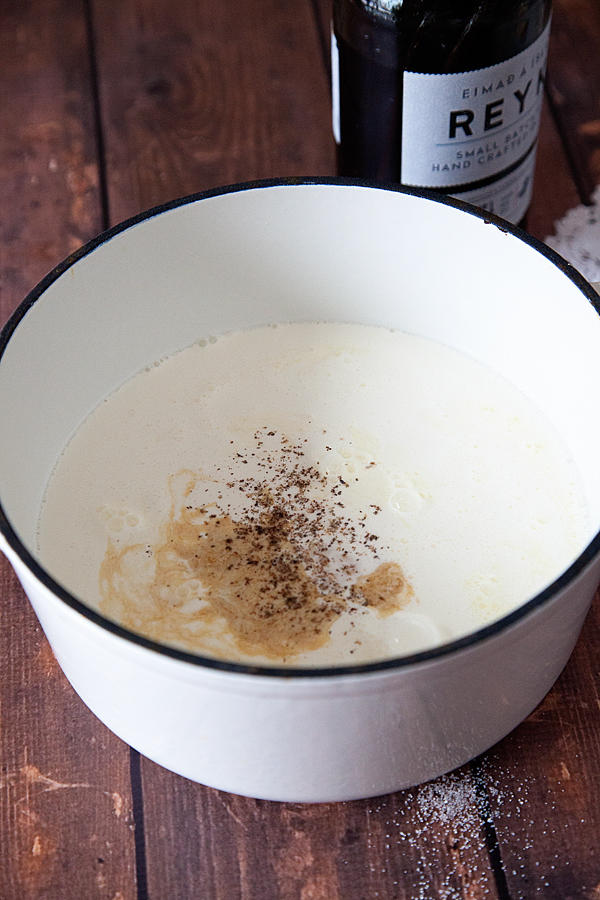
Place over medium heat and bring to a light simmer. Once it starts to simmer, remove from heat and whisk in your gelatin. Pour into small 1 cup serving bowls and place in the refrigerator for at least three hours to set. Once the Panna Cotta is set, top with whipped cream and crushed Bischoff Cookies.
This recipe serves four.
It really can’t get any easier that that!!
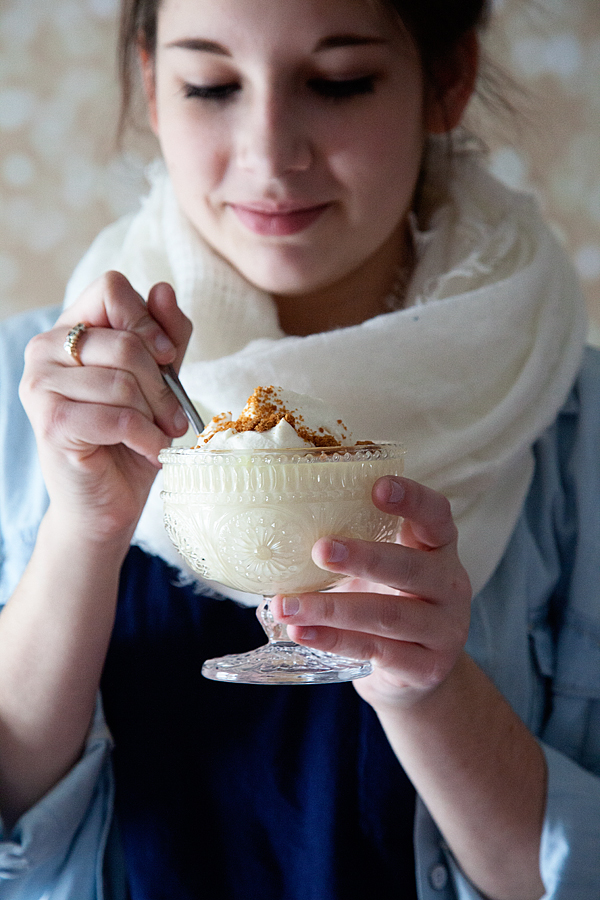
Give it a try, your friends and family will LOVE YOU!!
For more Holiday Nog ideas and coupons visit the Silk Holiday Headquarters!
This is a sponsored conversation written by me on behalf of Silk . The opinions and text are all mine.