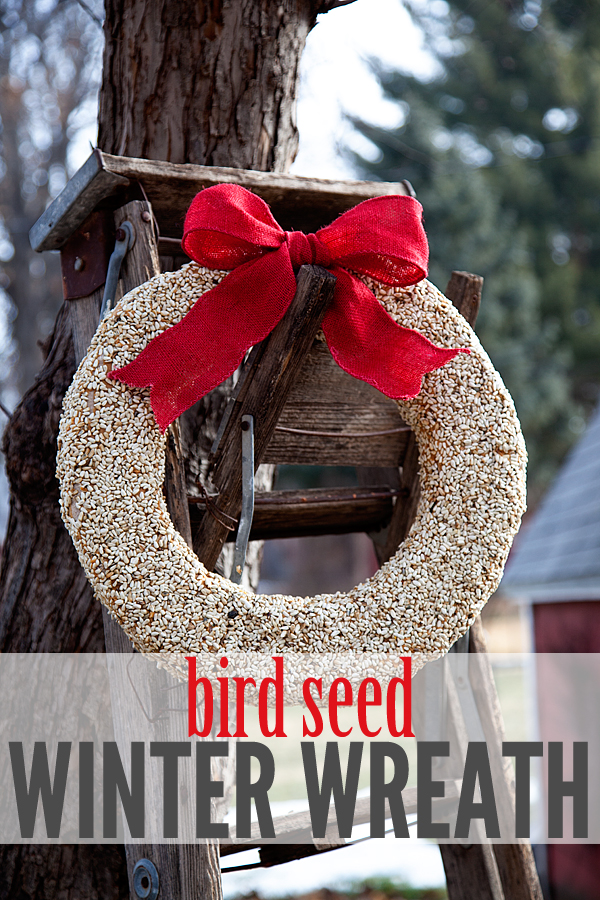
Bird Seed Winter Wreath // One of my favorite things to do since moving to Nebraska is watching the colorful birds outside my window. Las Vegas isn't really known has a habitat for pretty birds so I've missed them for several years. Here in Lincoln we have Blue Jays and every once in a while we even have a red Cardinal or two and I adore them! Over the Christmas break my girls and I were thinking of fun things to do and Hannah thought it would be fun to make some type of bird feeder for the birds during these cold months. I thought it would be fun to make a bird seed winter wreath.
Supplies Needed
- Foam wreath form
- Fabric strips
- 2-3 push pins
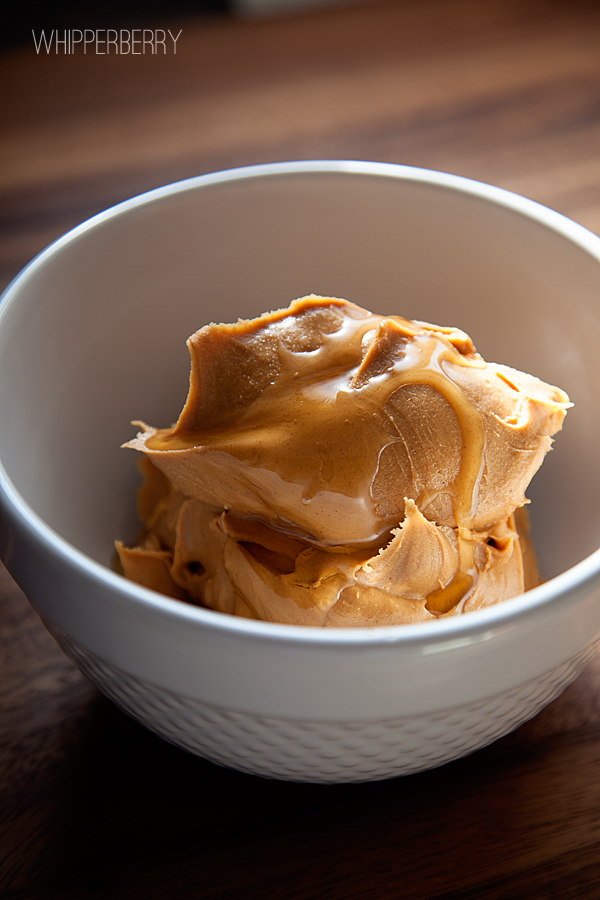
- 1 jar peanut butter
- 1/2 cup honey
- Parchment paper
- Bird seed mixture of your choice
Instructions
I happened to have a foam wreath form on hand so we decided to us it, but I was worried about the birds pecking at the styrofoam. We decided that we would wrap the wreath with strips of fabric to protect the birds.
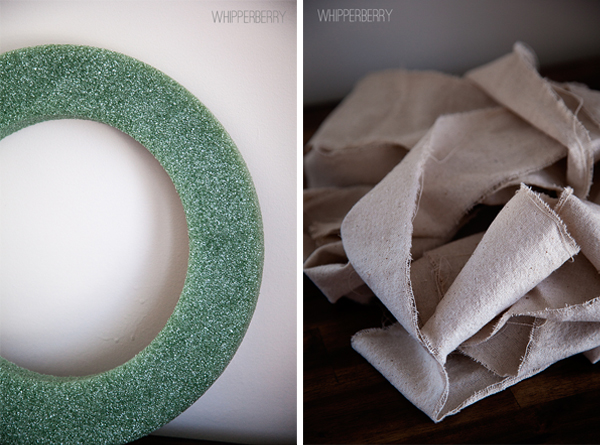
The girls and I cut some scrap fabric into 2 1/2 to 3 inch wide strips and wrapped the wreath with them and secured the fabric with some push pins. Next we made a peanut butter and honey concoction. We took one small jar of honey and mixed it with about 1/2 a cup of honey.
The girls and I then place our wreath form on several pieces of parchment paper and started to cover the wreath with the peanut butter spread…
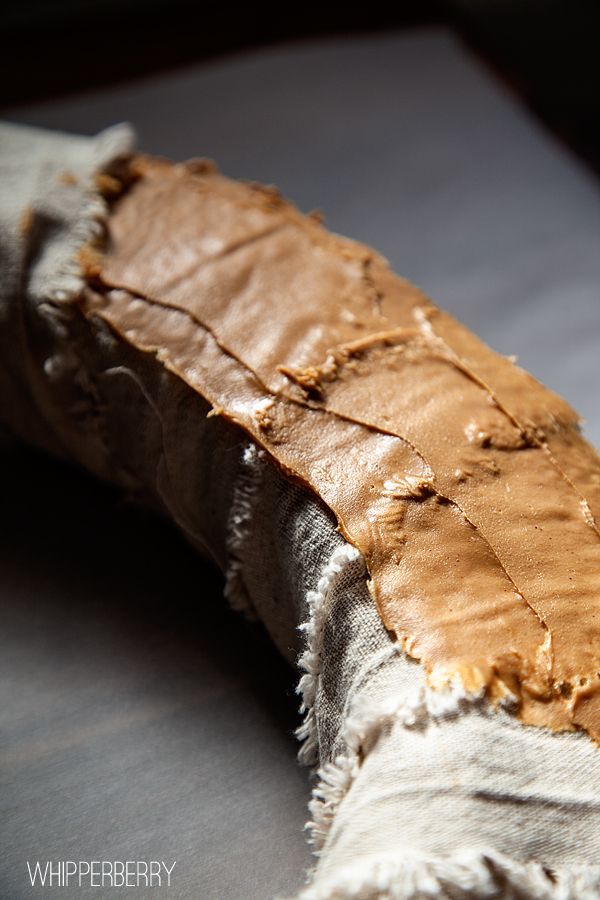
… and then the bird seed.
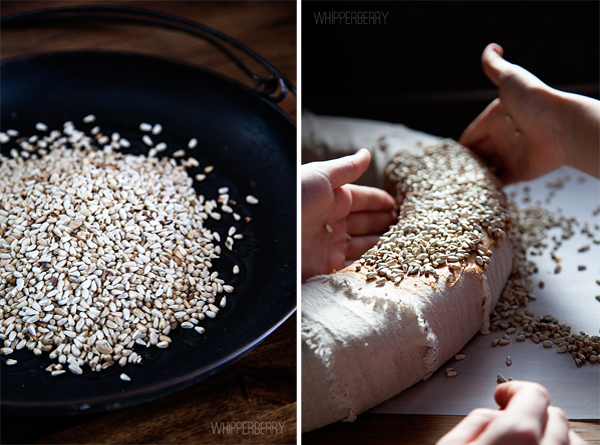
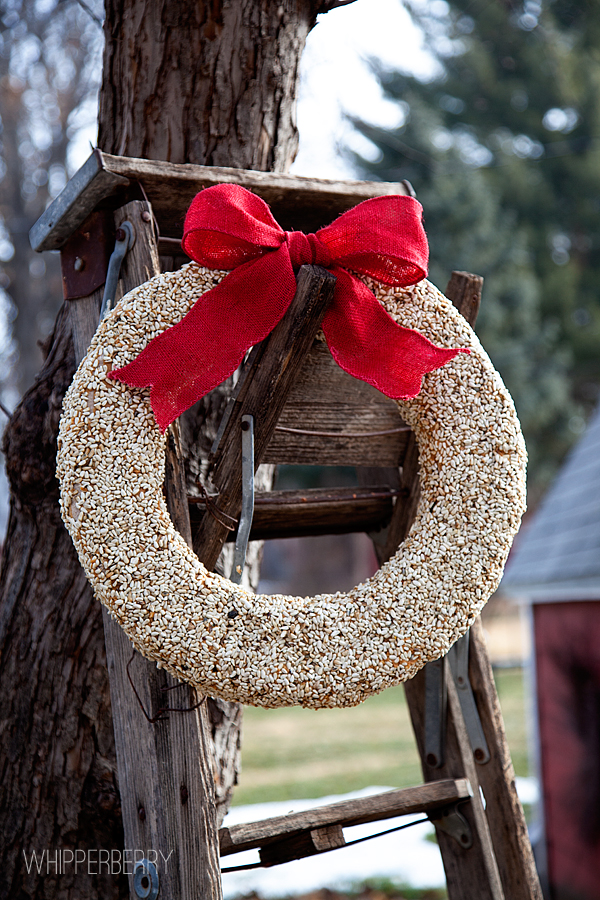
We found the parchment paper quite helpful when we were placing the bird seed on the sides of the wreath. Once we were finished we place the wreath outside in the cold garage to let it set a bit. Then after a couple of days we added a burlap bow and placed it out in our yard so that the birds could enjoy a little winter treat!
What are some fun winter activites that you like to do with your kiddos? We're actually having a ball living in a place with a real winter so we would LOVE some new ideas!


