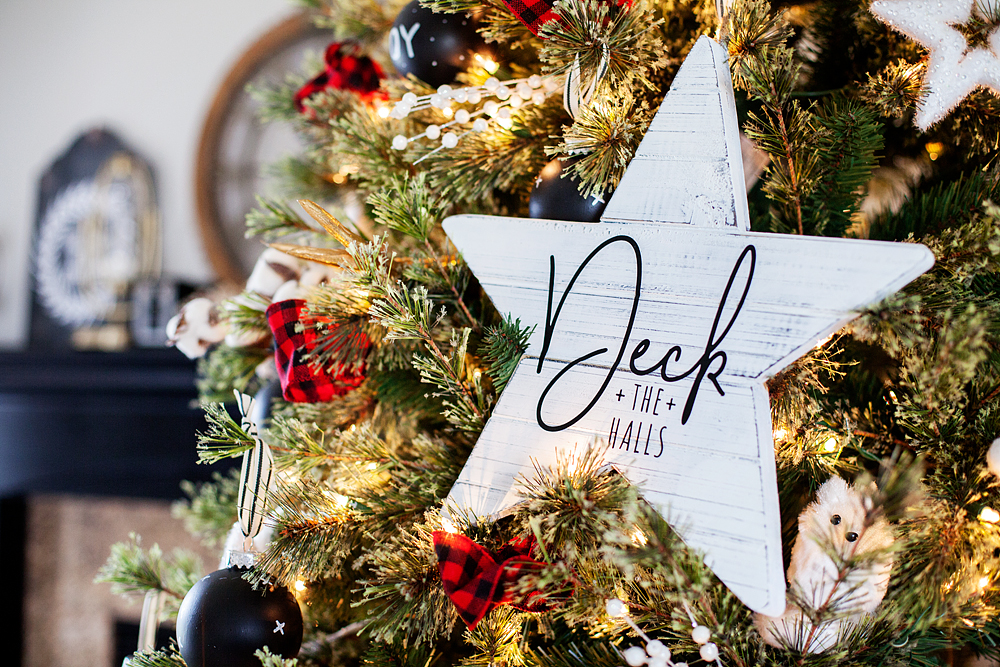
With the craziness of the Holidays, who couldn’t use a spa inspired holiday survival kit? It’s full of homemade sugar scrub, shower bombs in stylish Buffalo Check Ball Jars, one of my favorite Yankee Candles®, even a cute little Ball® jar filled with matches. It turned out so cute, come learn how to make some kits of your own to give give to friends and family this Christmas. You could even use it as a Secret Santa gift!
+ This post brought to you by the folks at Newell Brands, makers of Ball® Fresh Preserving Products + 
I know when I’m working preparing all of the Holiday magic that comes this time of year, I can easily get a little run down. Nothing major, nothing a nice aromatic bath with some candles couldn’t cure. With that thought in mind, I thought it would be fun to put together this Holiday season to give to my friends, neighbors, teachers… Basically, anyone who could use a little pick-me-up as well.
Sharing Jars
I love the mission of the Ball® Sharing Jar. When you purchase the Sharing Jars your purchase will benefit Feeding America® – the nation’s largest domestic hunger-relief organization. For every package of Sharing Jars purchased, Newell Brands will donate 4 meals*! I LOVE it when I can help support a worthy cause when buying stuff I would normally buy any way.
*Newell Brands® will donate $0.36 per package of Sharing Jars sold, up to $150,000 provided to Feeding America®. $1 helps provide 11 meals secured by Feeding America® on behalf of local member food banks.
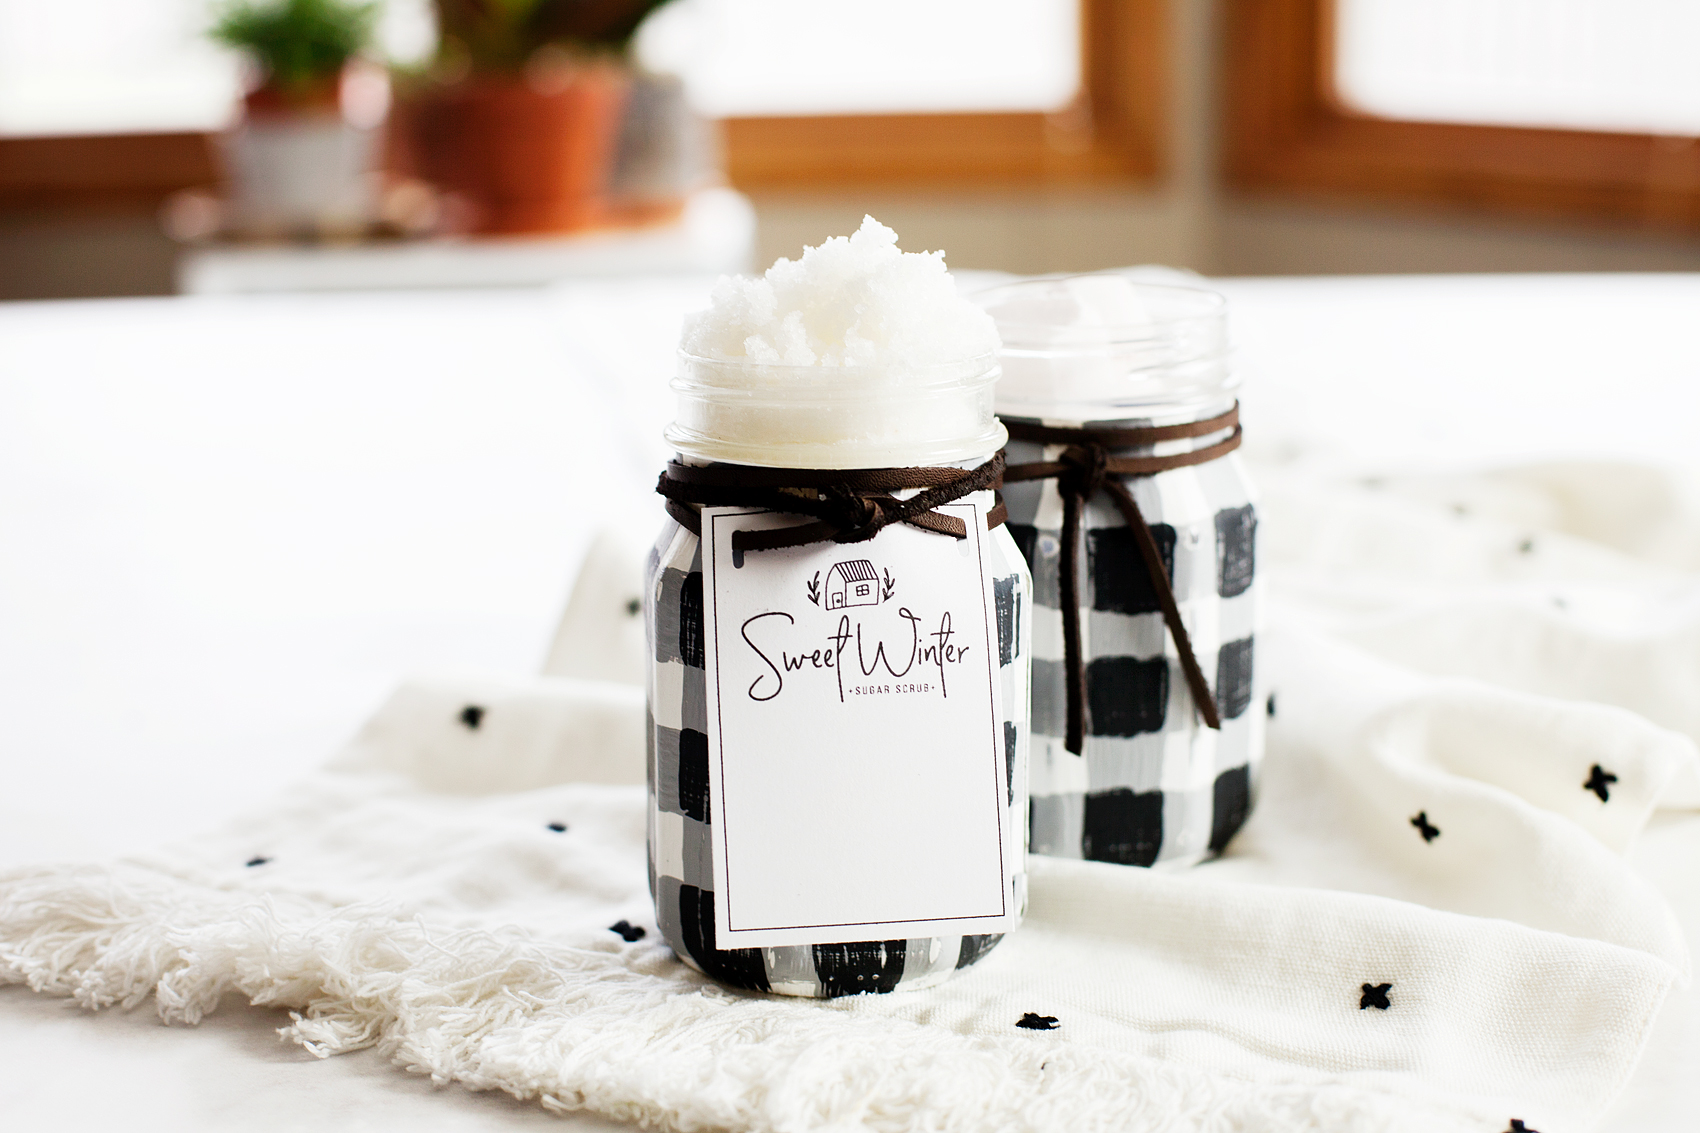
Sugar Scrub Recipe
Before you can start assembling your Holiday Survival Kit, you’ll need to mix-up some simple sugar scrub. This couldn’t be any easier. You can mix this by hand or with a mixer. Either way is totally fine. Here’s what you’ll need.
- 2 cups sugar
- 1/4 cup coconut oil
- 10 drops of peppermint essential oil
Add sugar to your mixing bowl and slowly add your coconut oil until you get the desired consistency. I don’t like to add any food coloring because I don’t like to add extra chemicals and keep things natural. Plus, you don’t want to accidentally spill on something and have the color transfer.
Finish up by adding the essential oils and package in your Ball® Sharing Jar.
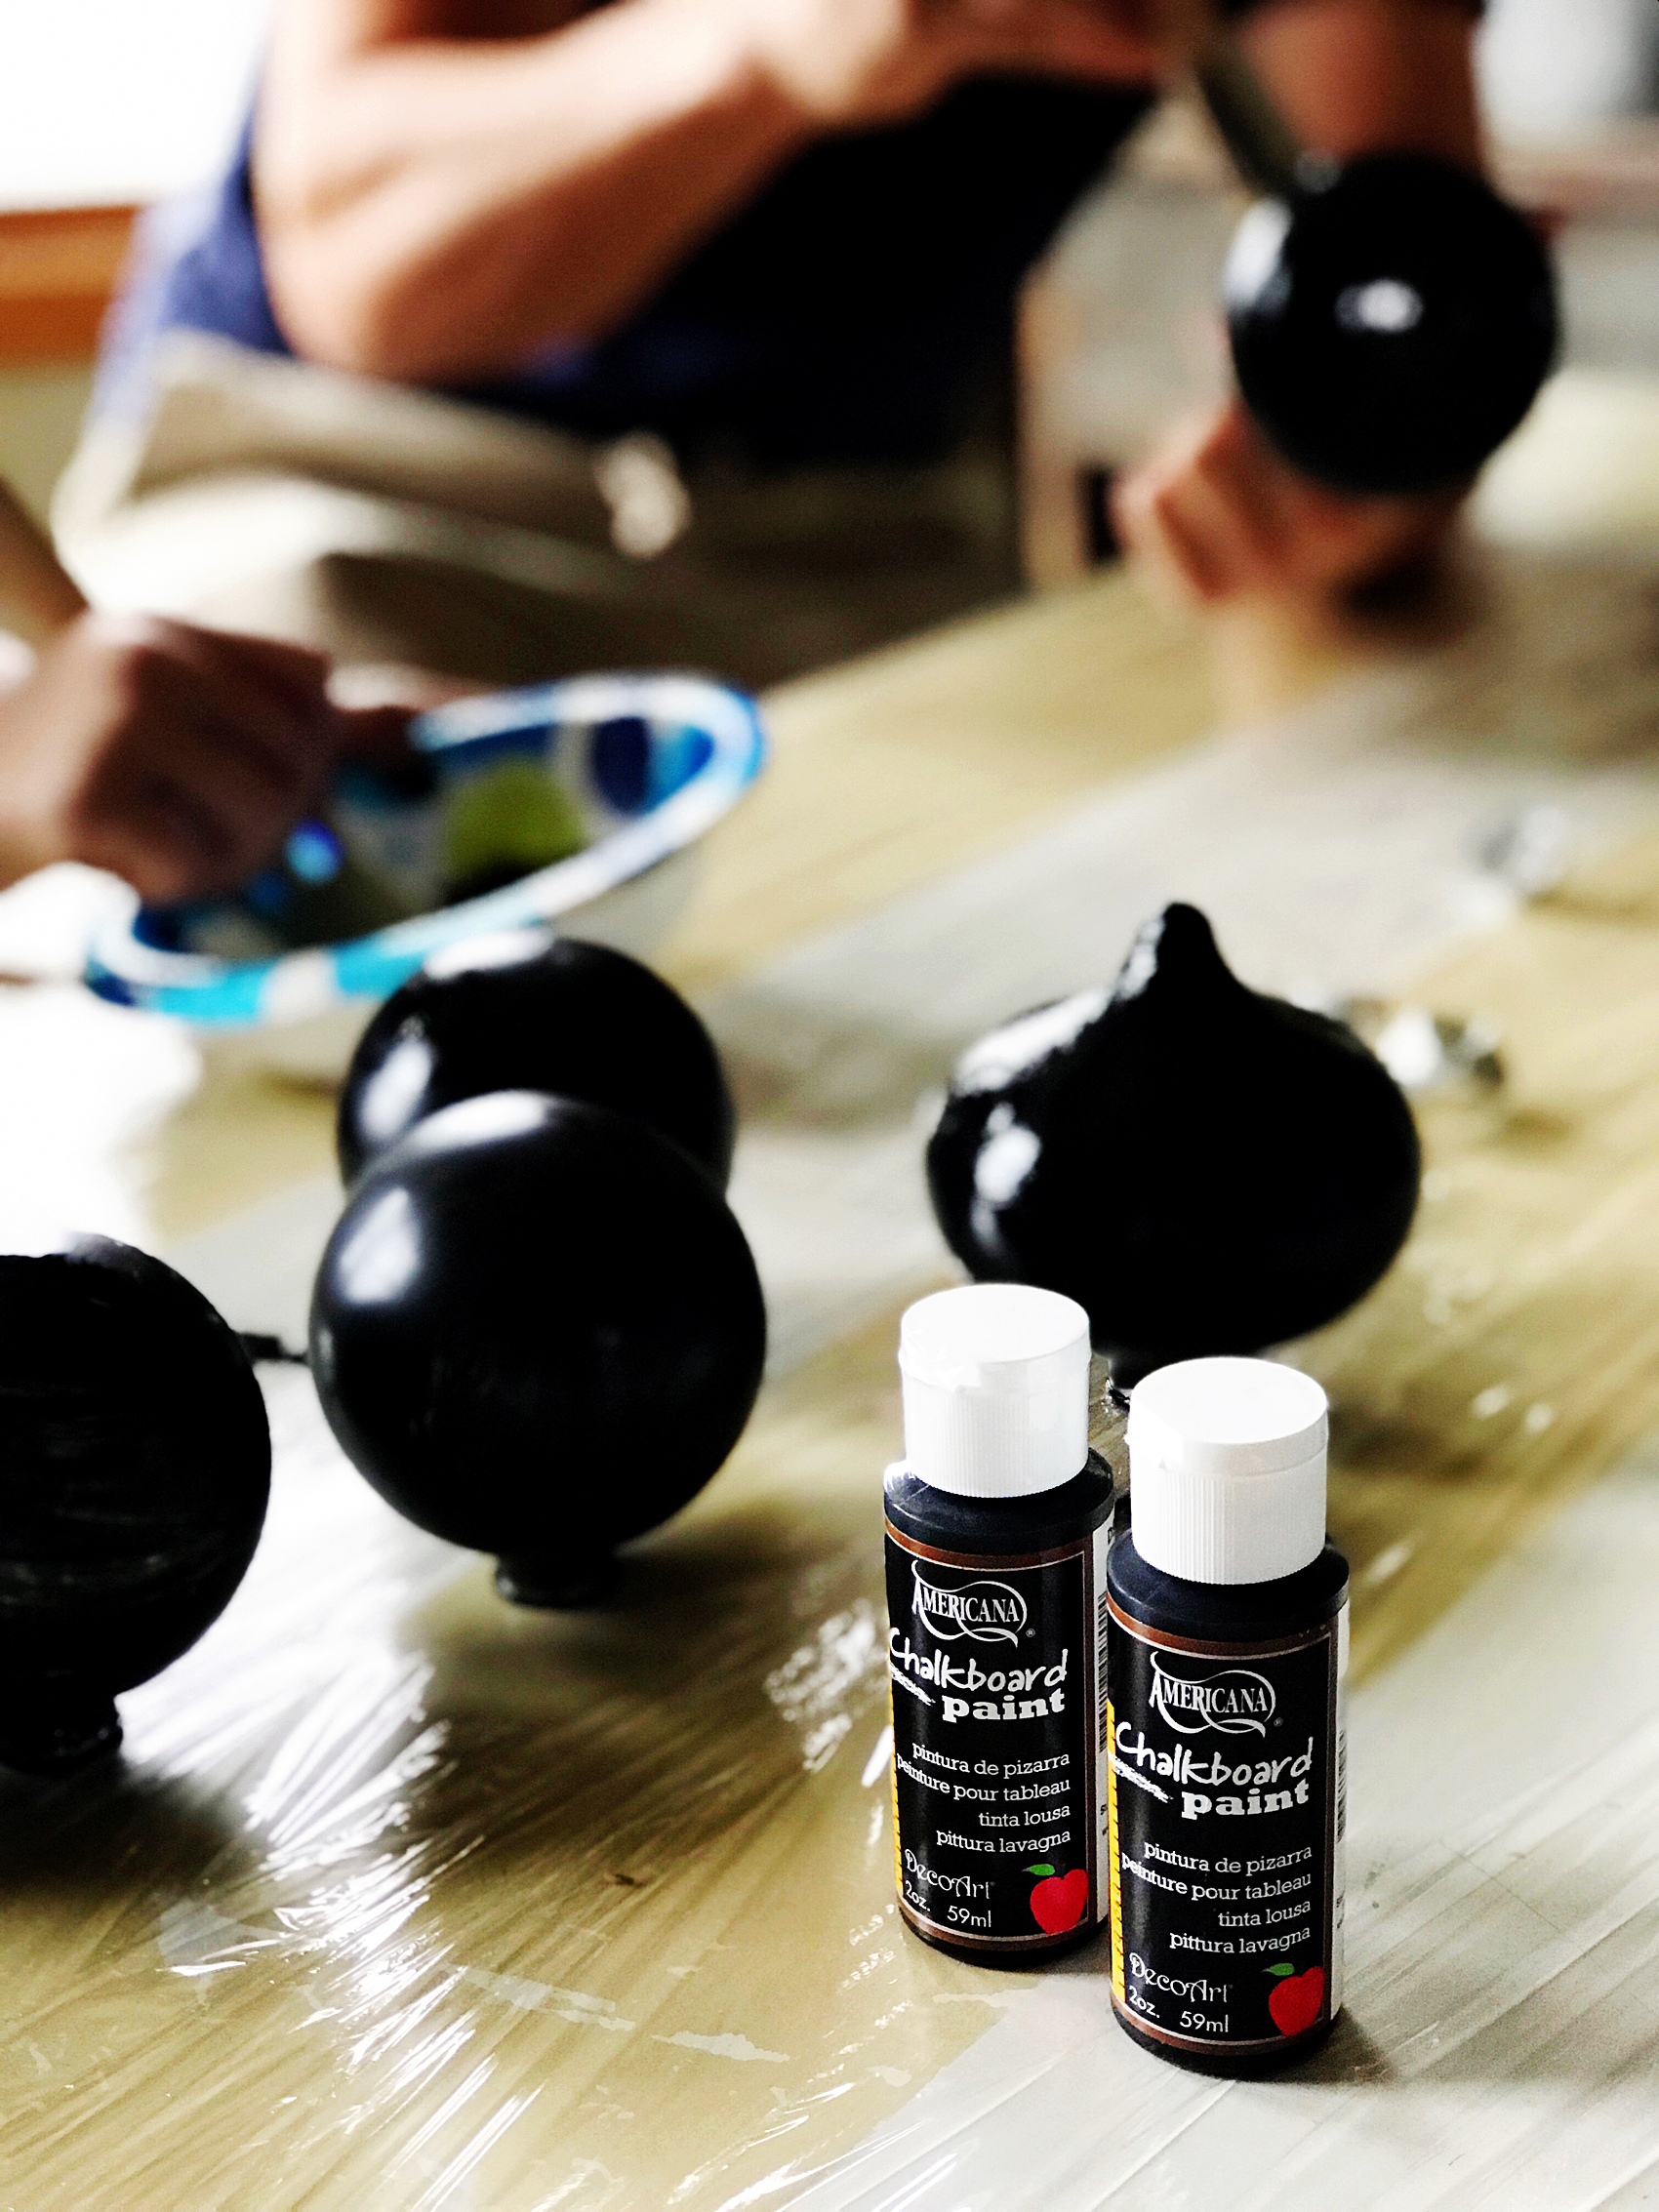
Shower Bomb Recipe
The shower bombs take a little more patience. These little guys are very similar to the Snowball Bath Bombs I made the other day. They are made with baking soda and you want to make sure you don’t activate it while you are in the process of mixing up your shower bombs.
- 1 cup baking soda
- 1/2 cup citric acid
- 1/2 cup corn starch
- 2-3 tablespoons water
- 3o drops peppermint essential oil
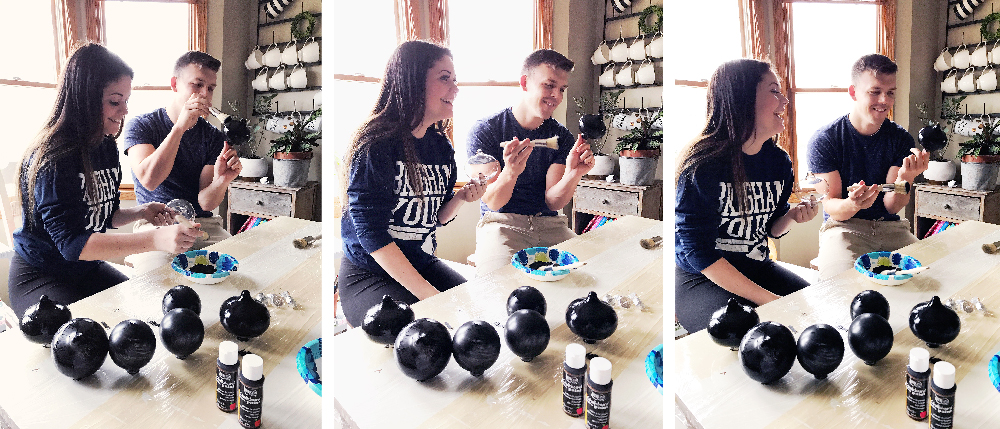
In the bowl of a stand mixer, add baking soda, citric acid and corn starch. Put water and essential oil into a small spray bottle and slowly spray dry mixture while mixing on low. Continue adding water/oil mixture until you achieve a nice wet sand consistency. DO NOT rush this process.
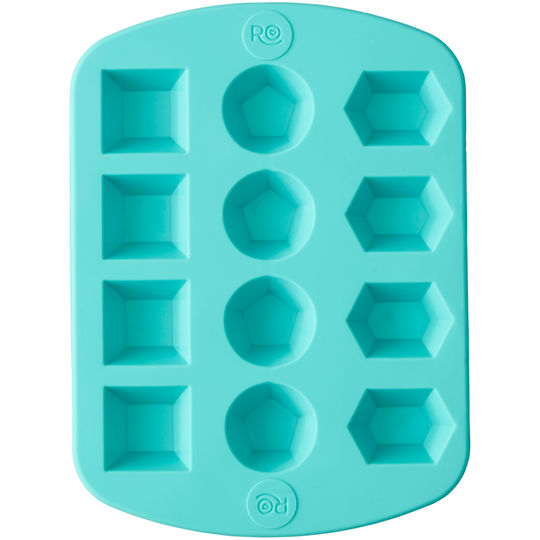
Add mixture to a silicon mold like the one below and press firmly.
Let mixture sit in mold for 4-5 minutes and then carefully unfold. Let the shower bombs sit on a flat surface overnight to dry.
Fill the other sharing jar with the shower bombs and attach printable tag to jar.
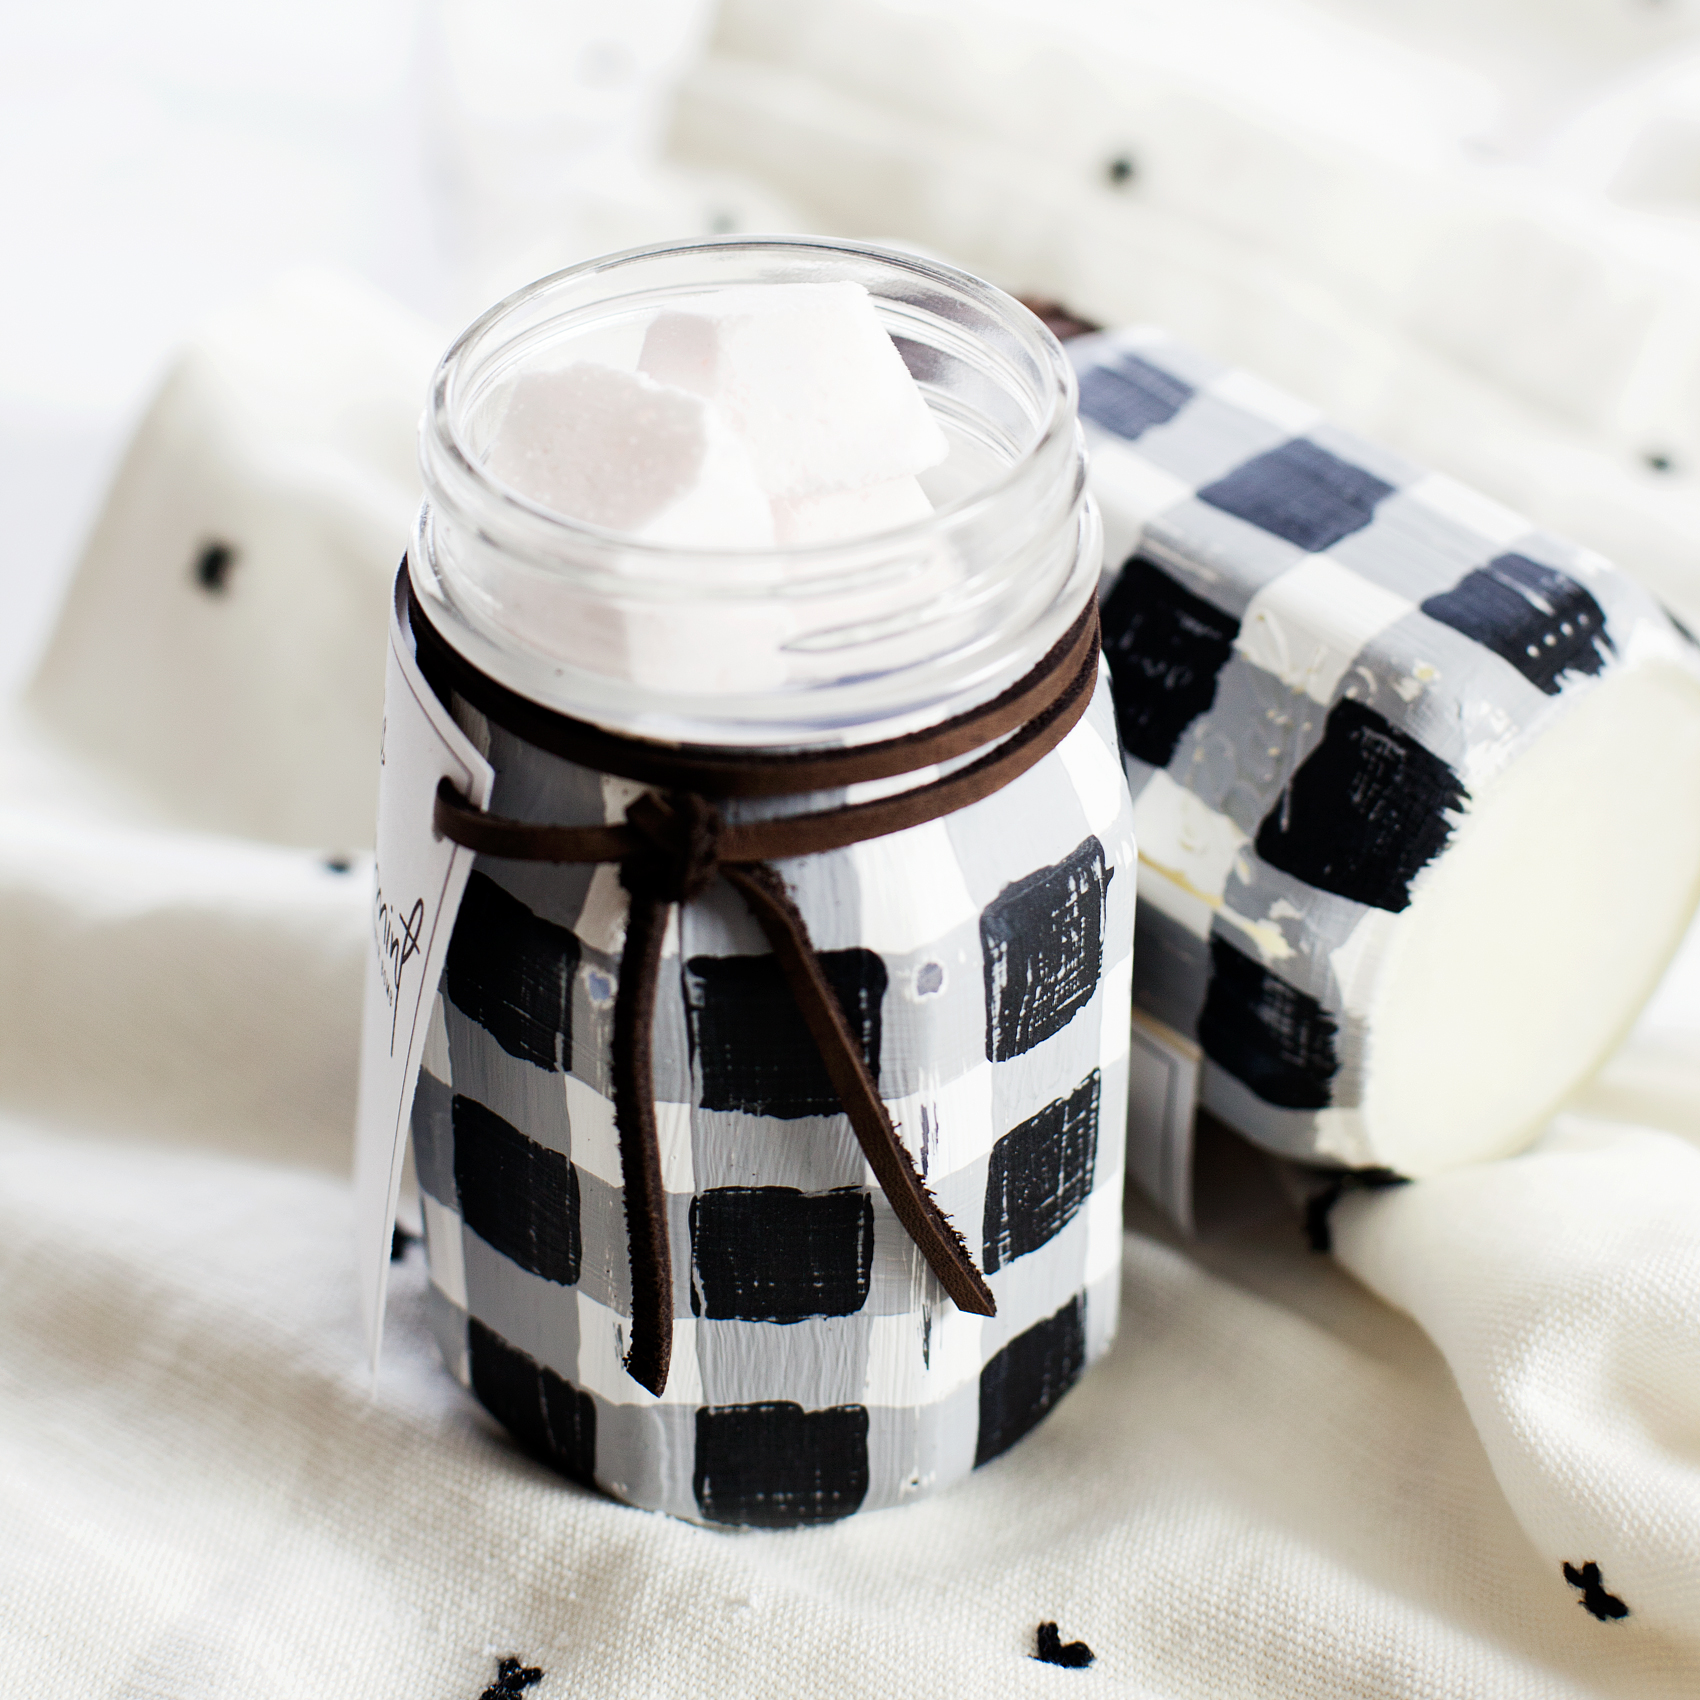
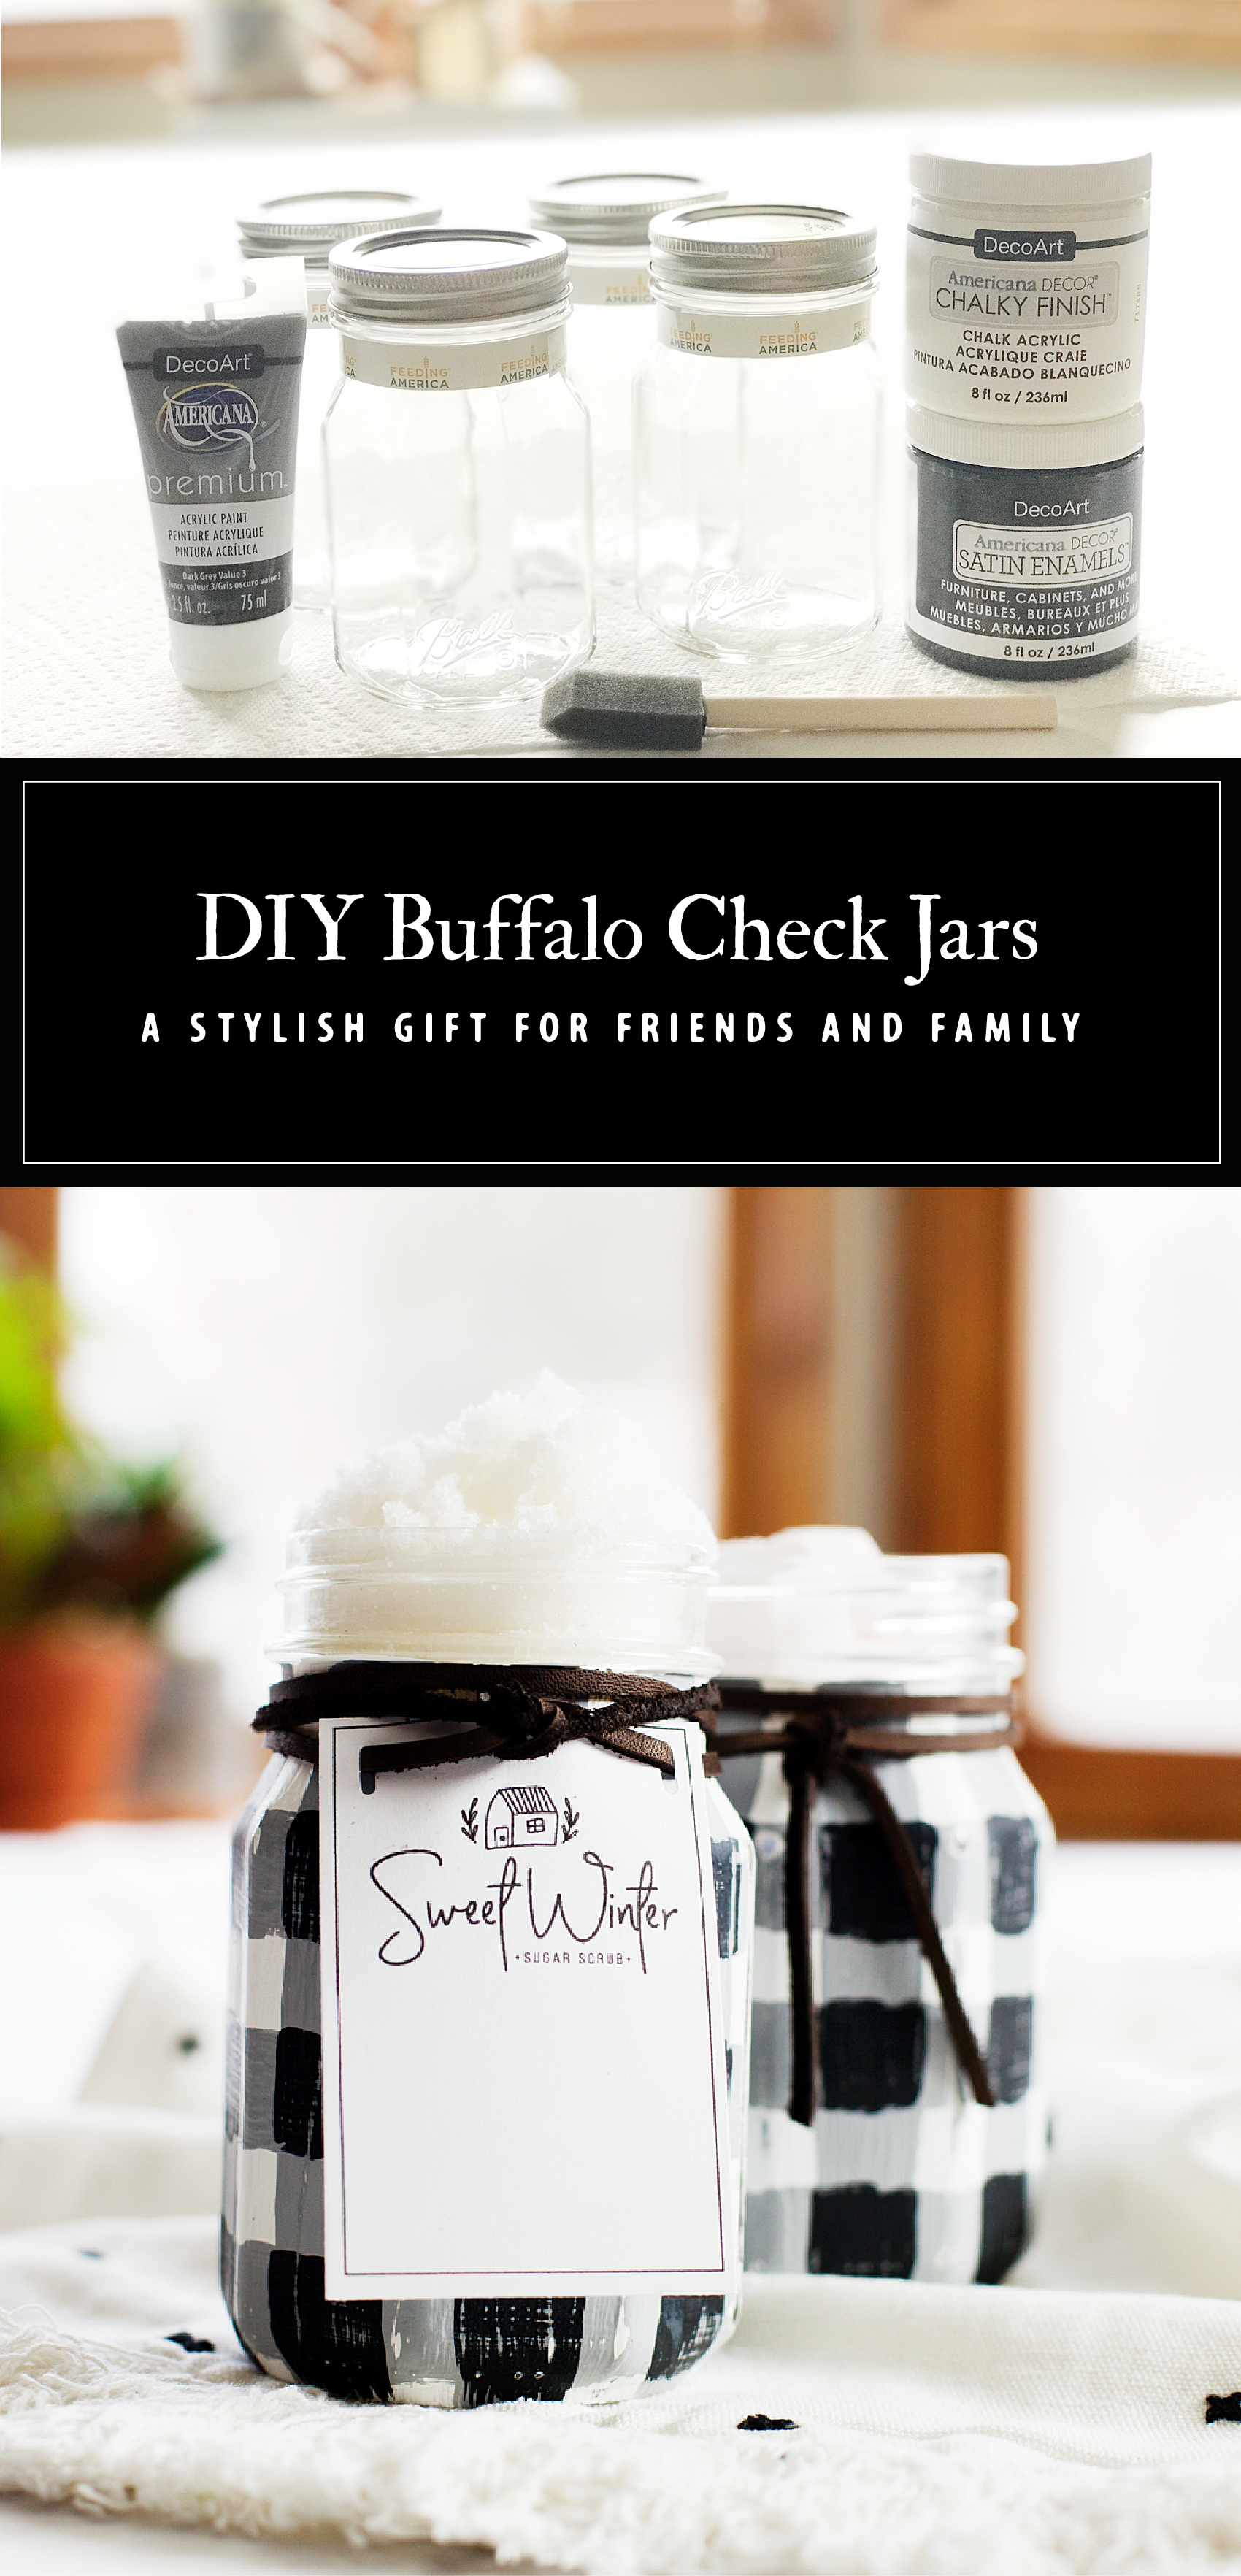
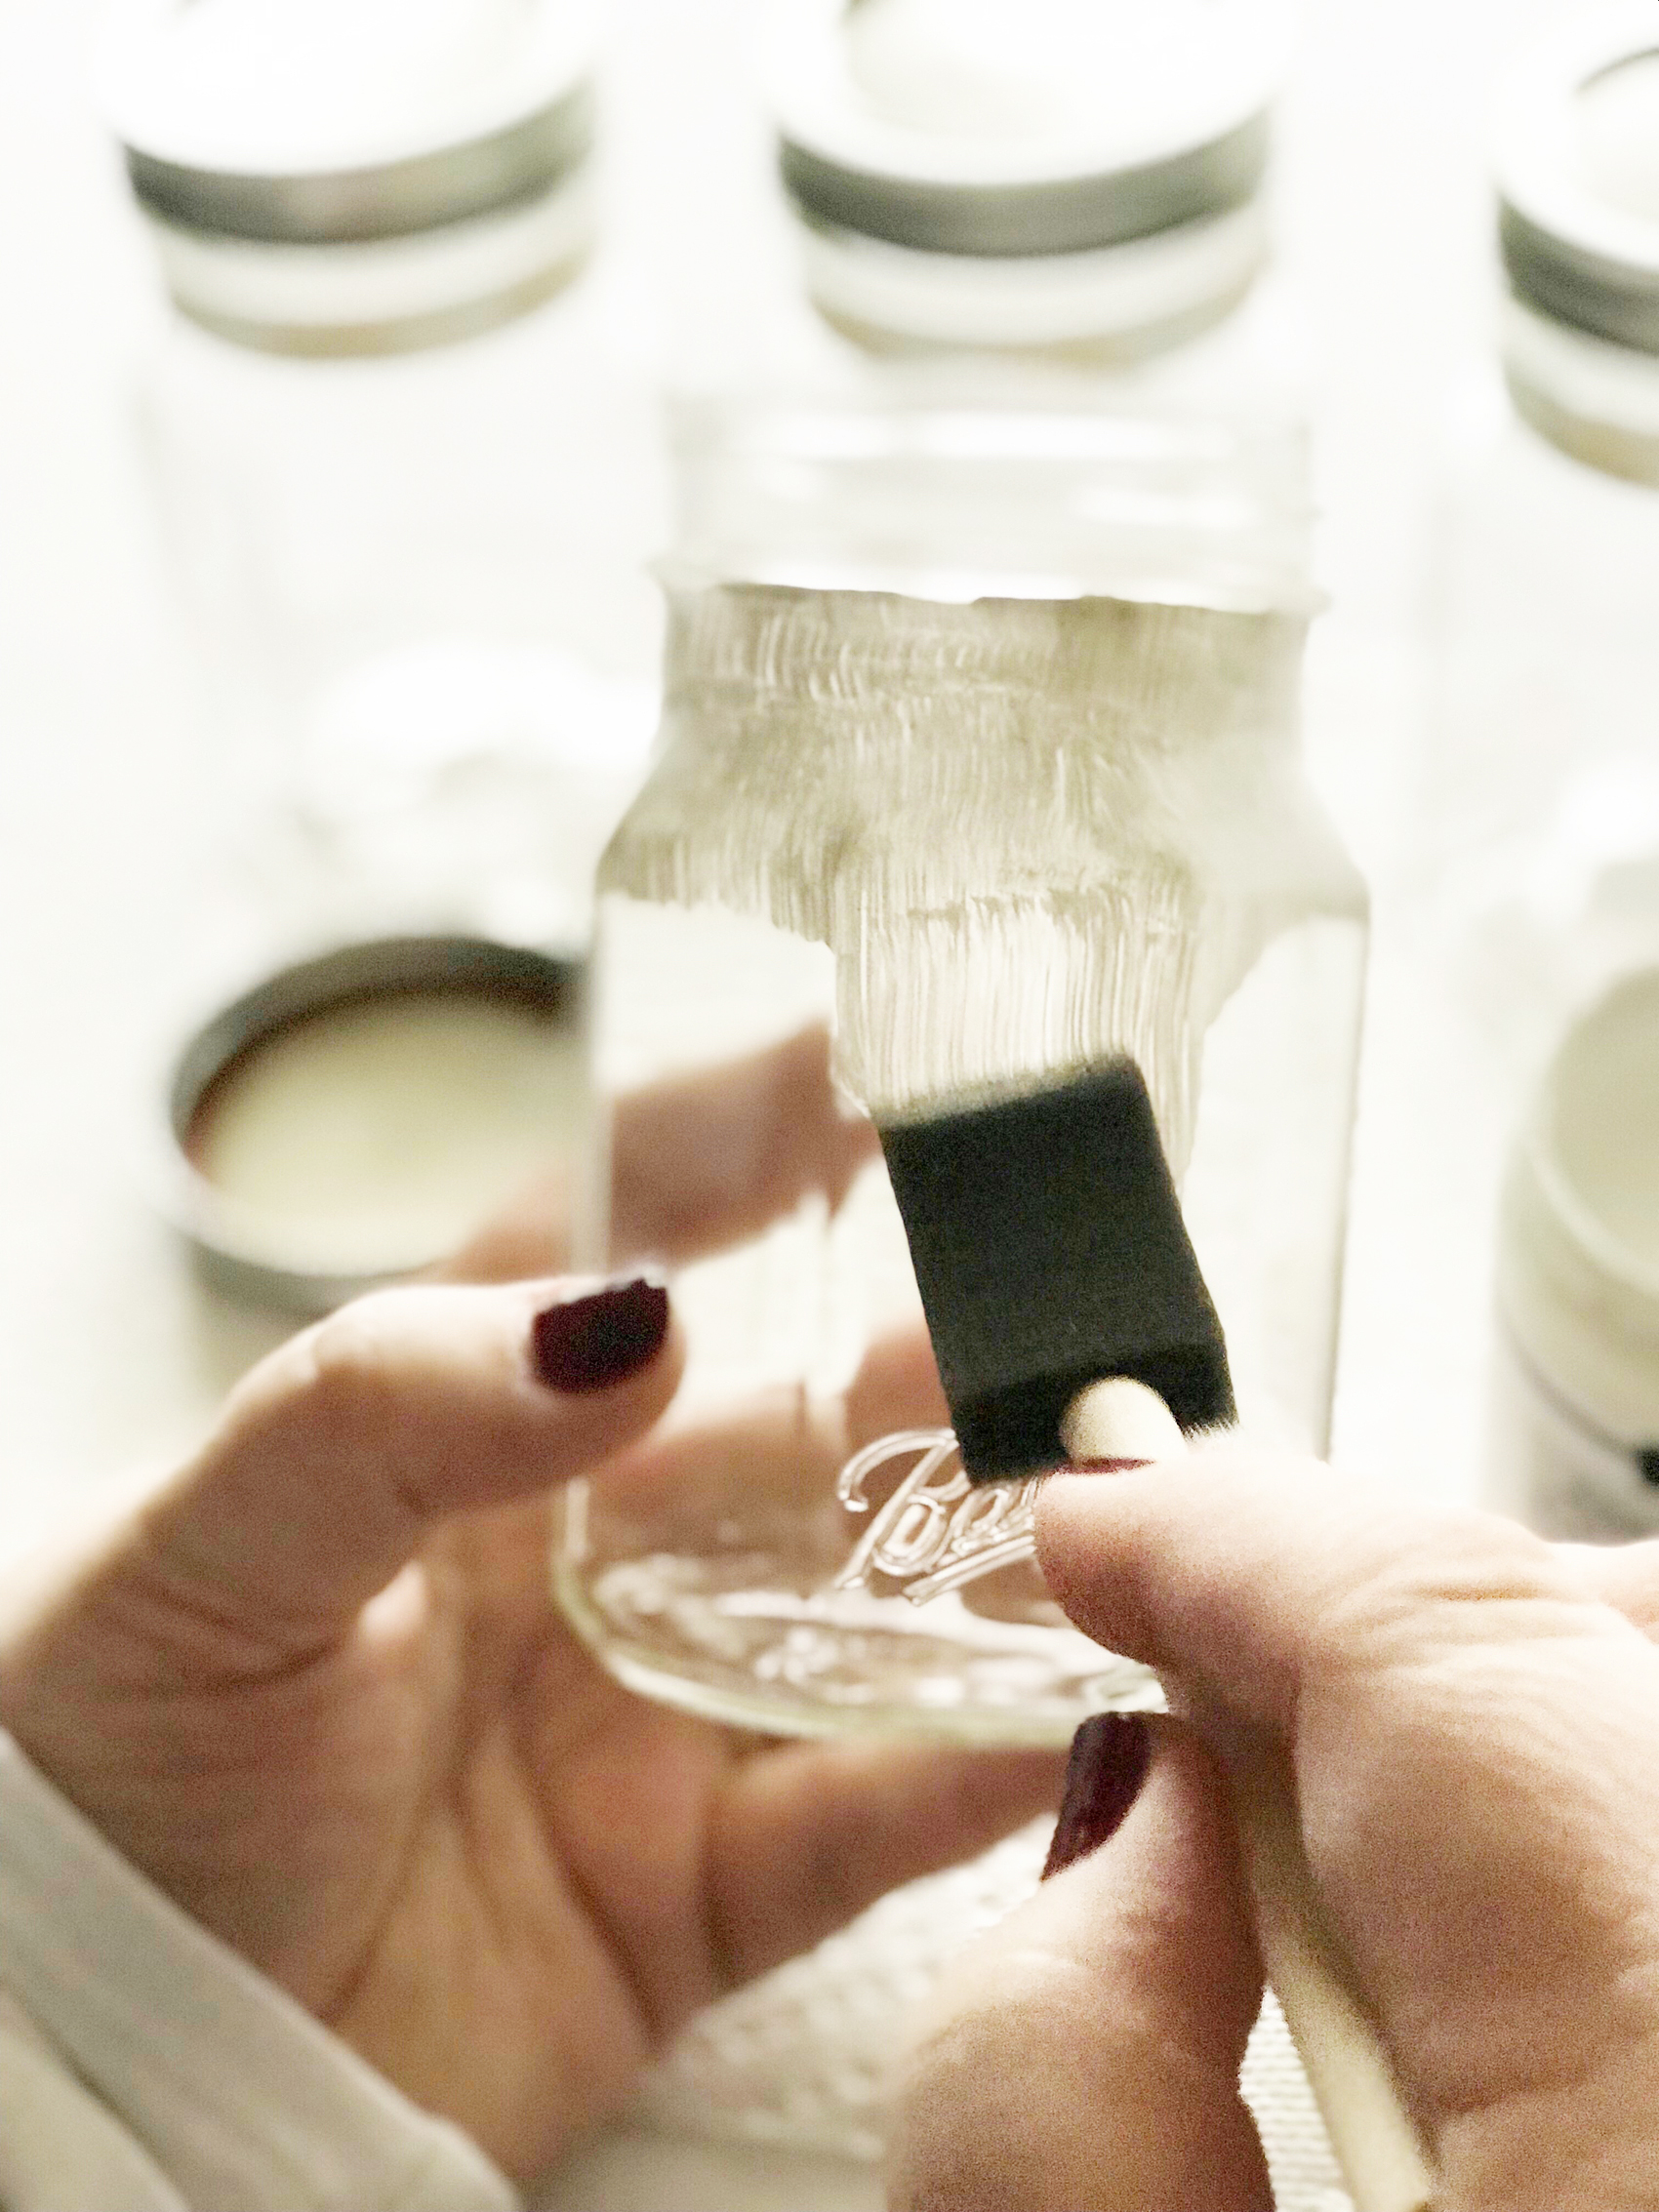
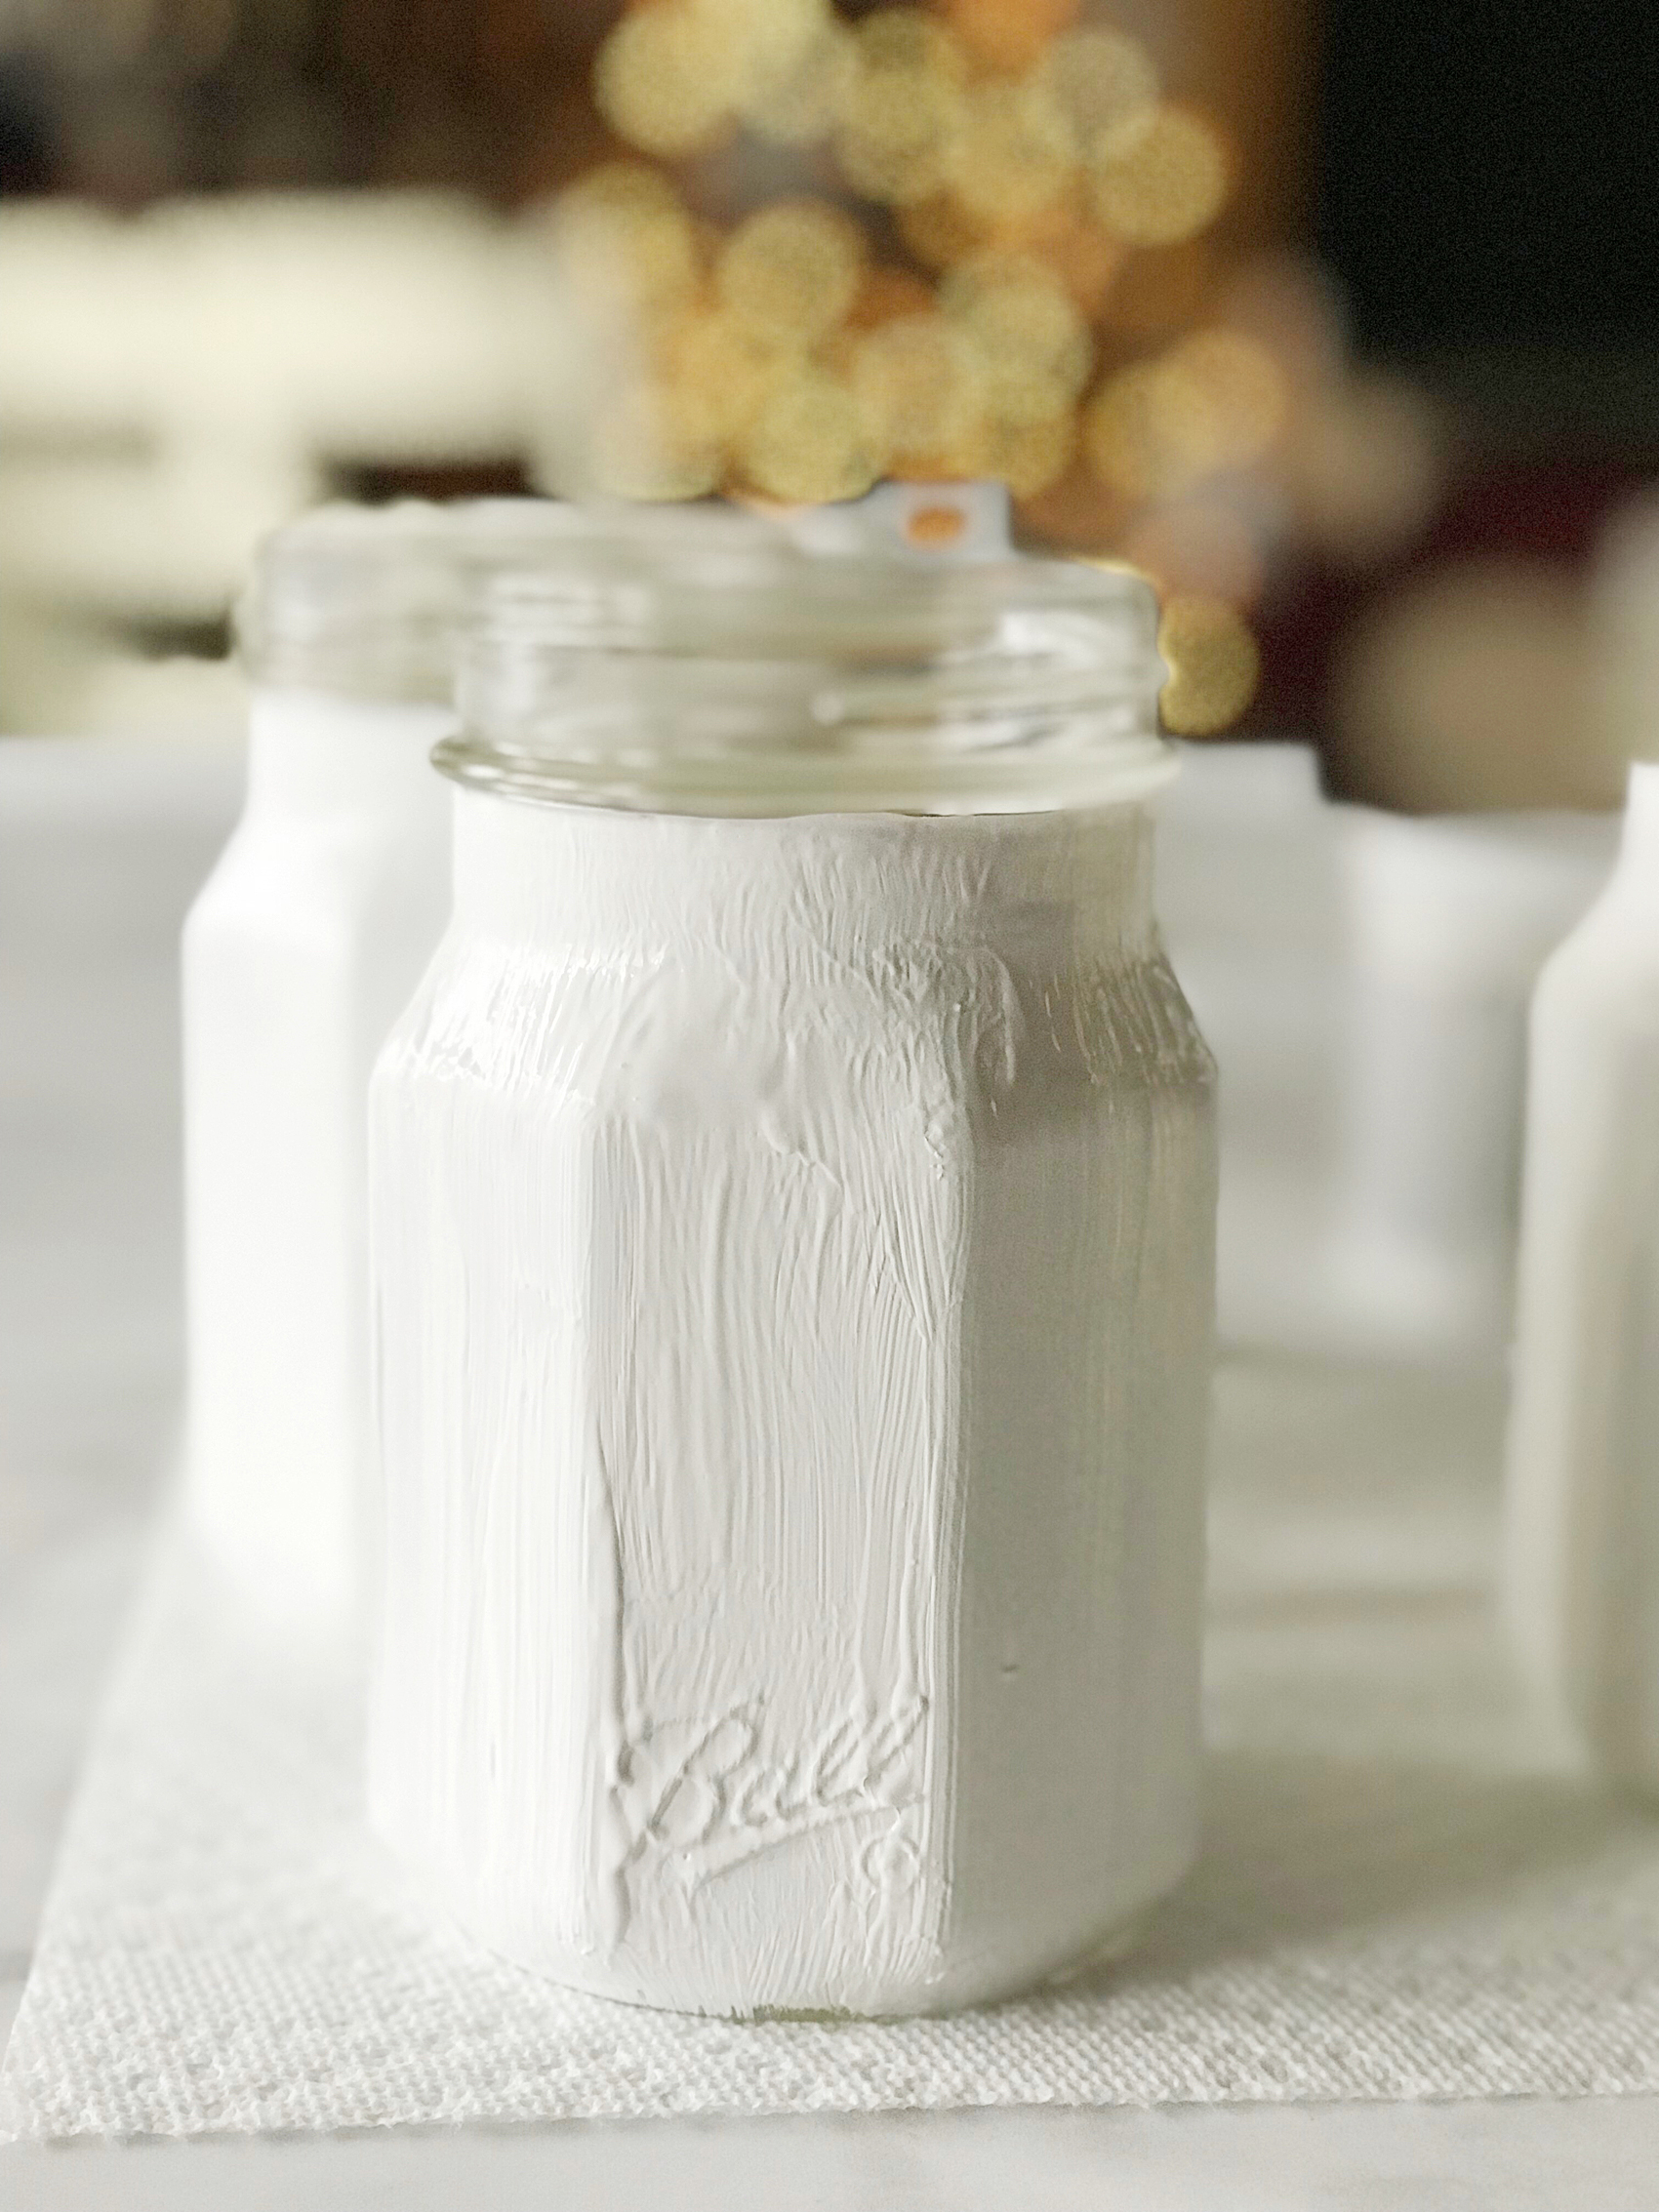
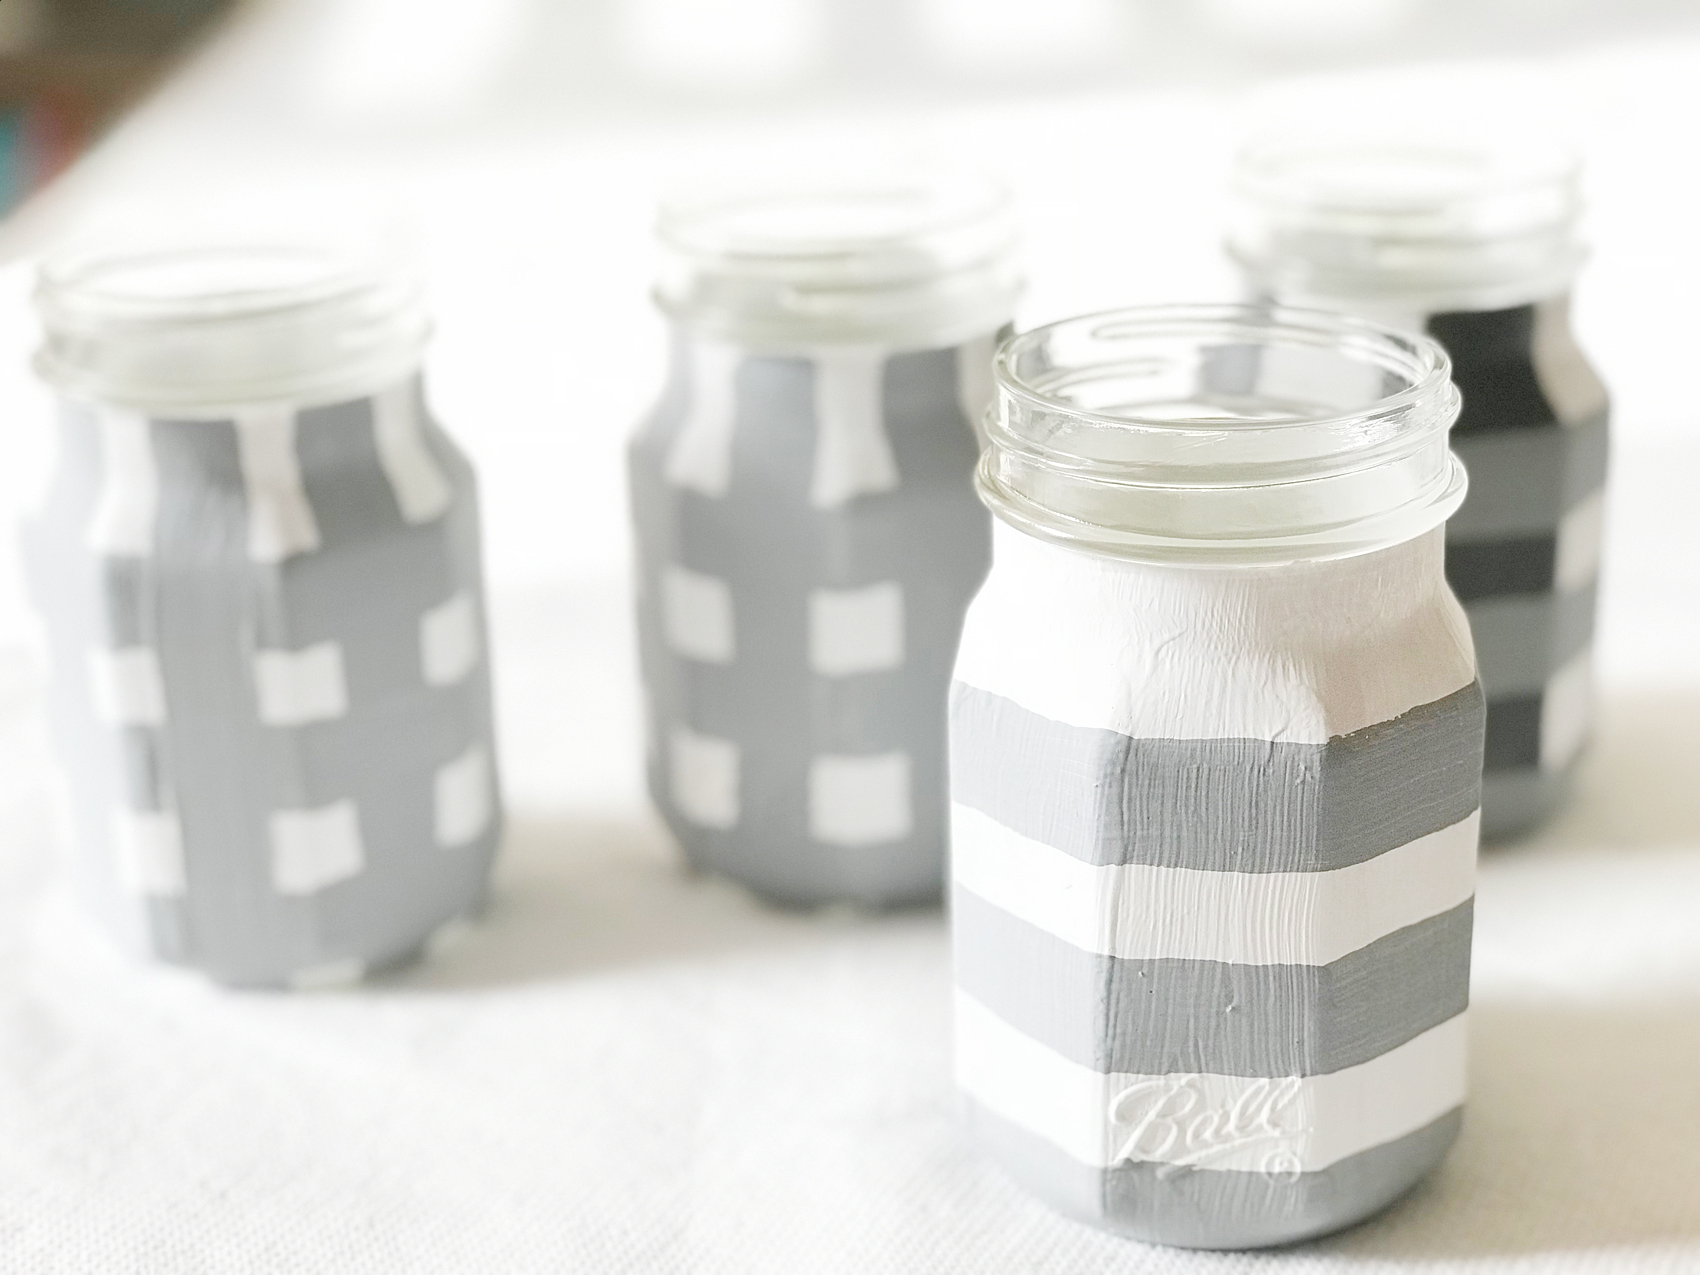
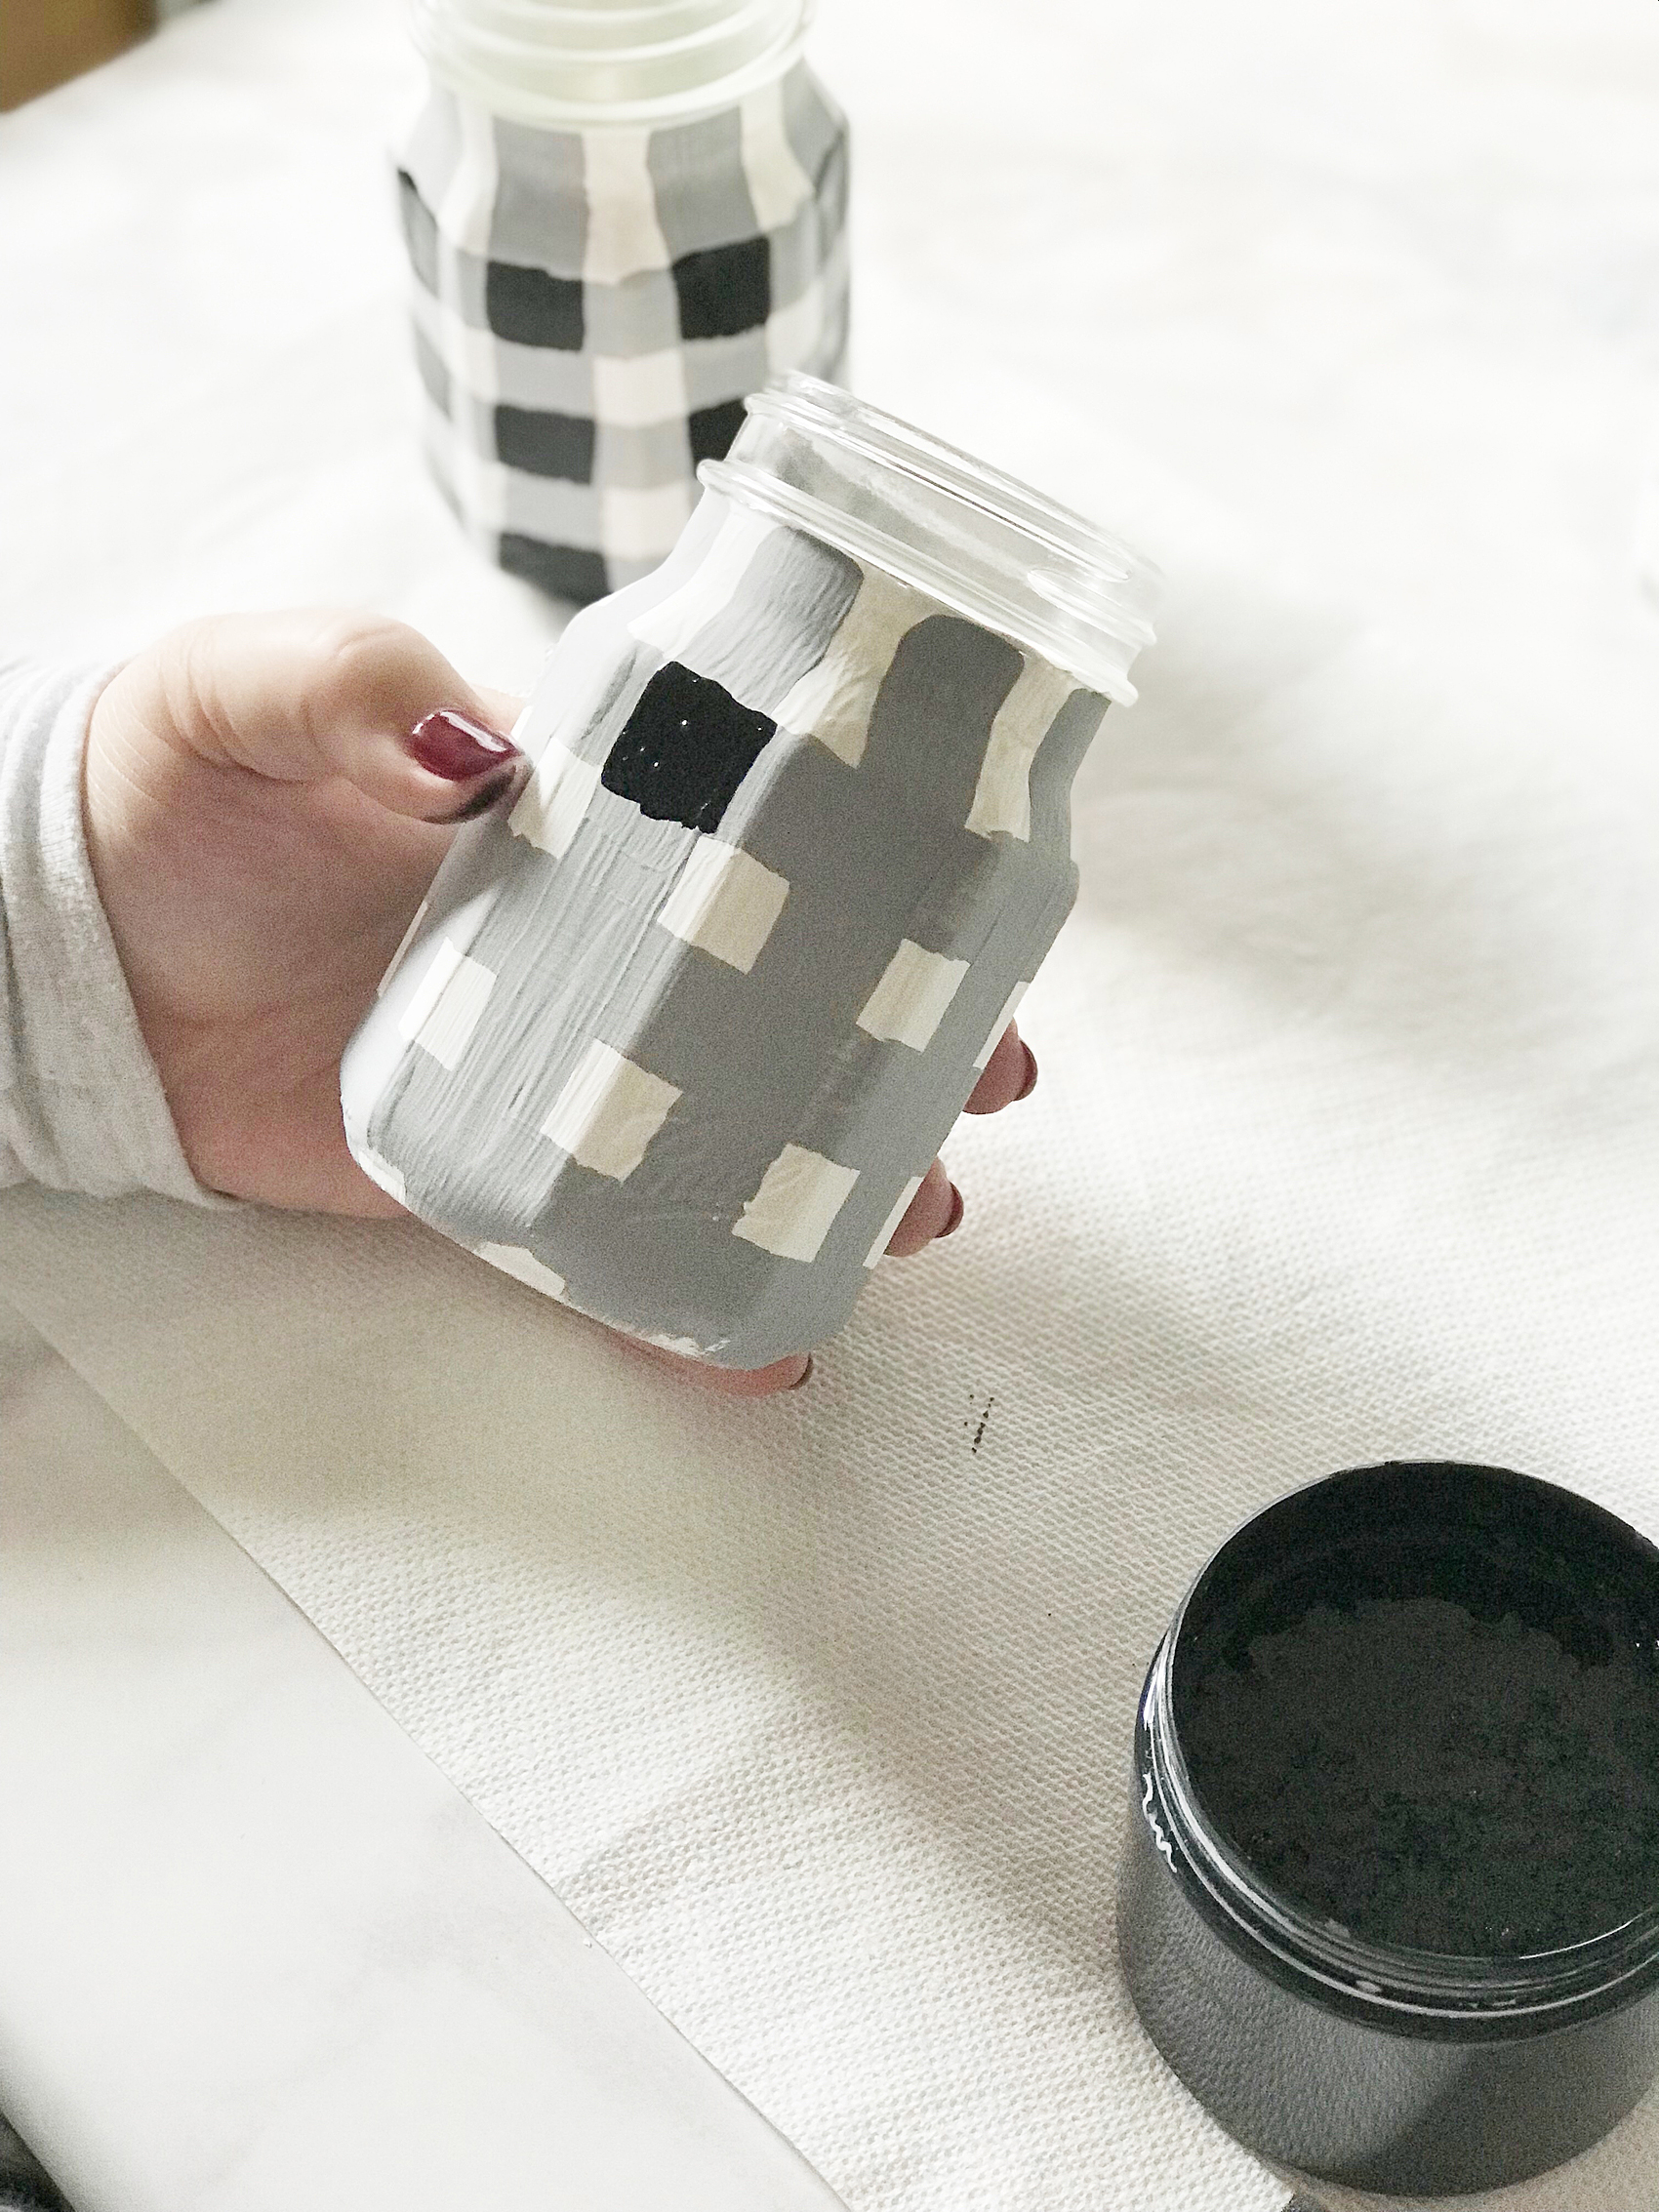
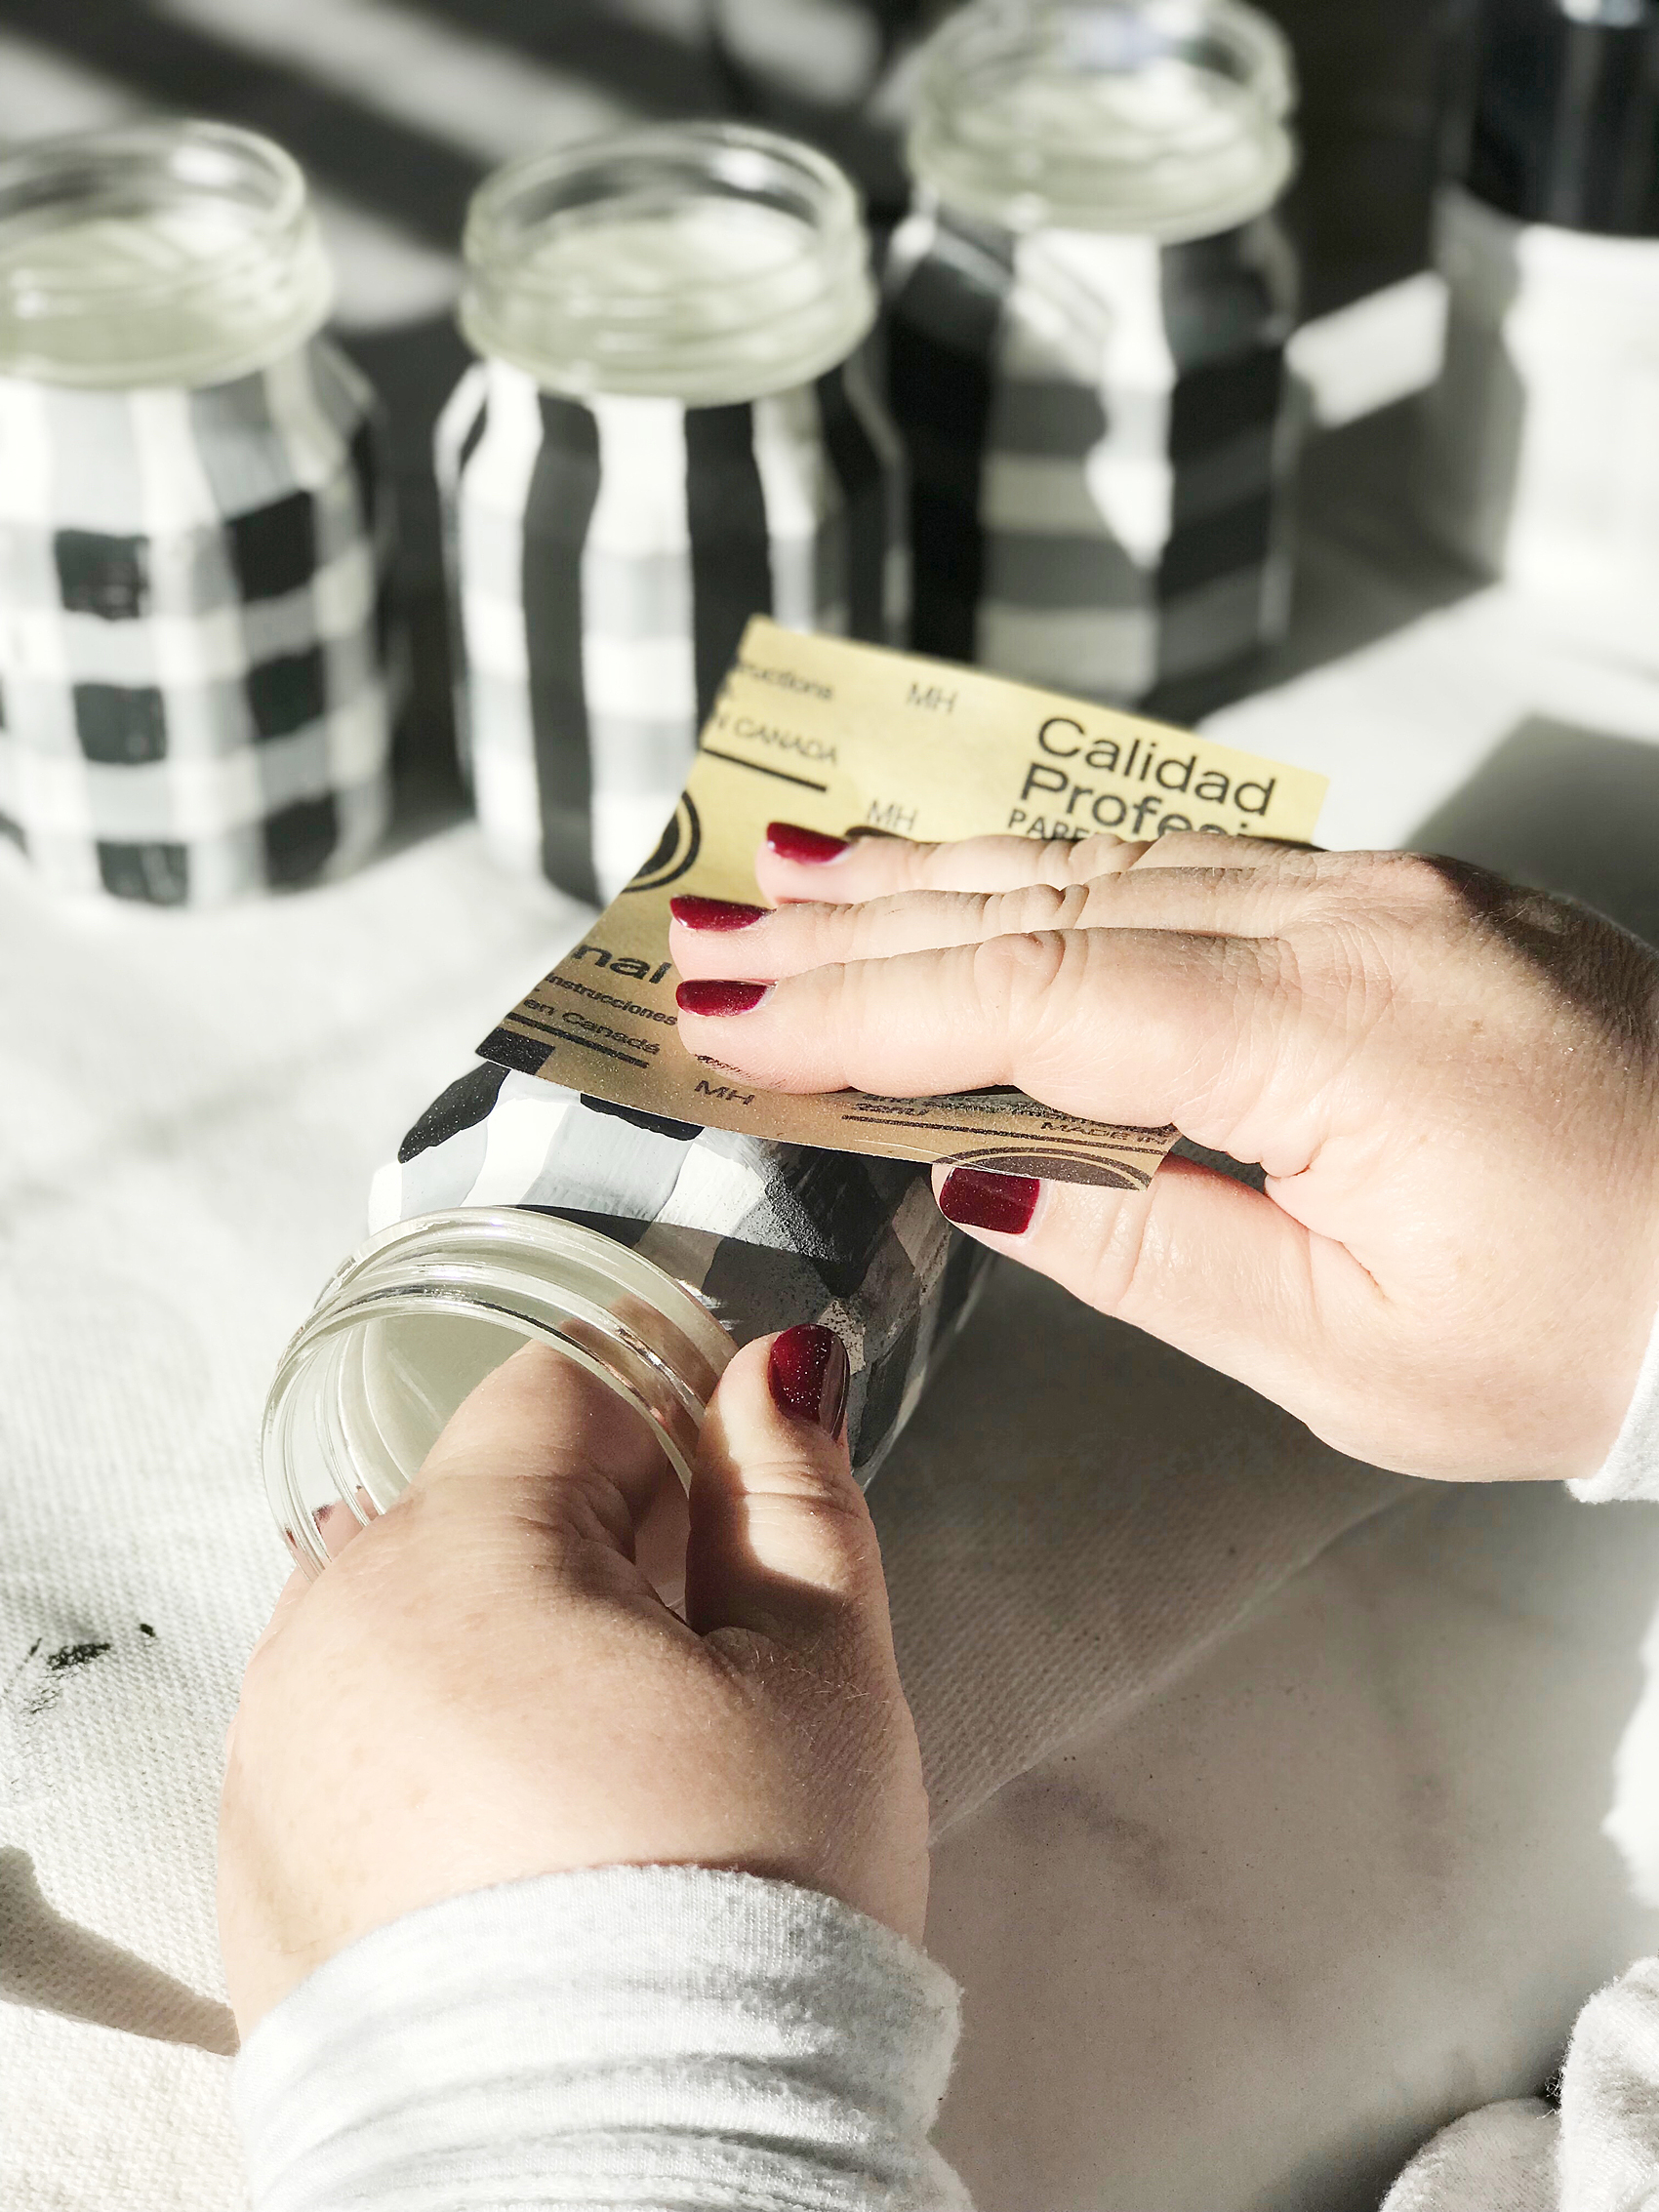
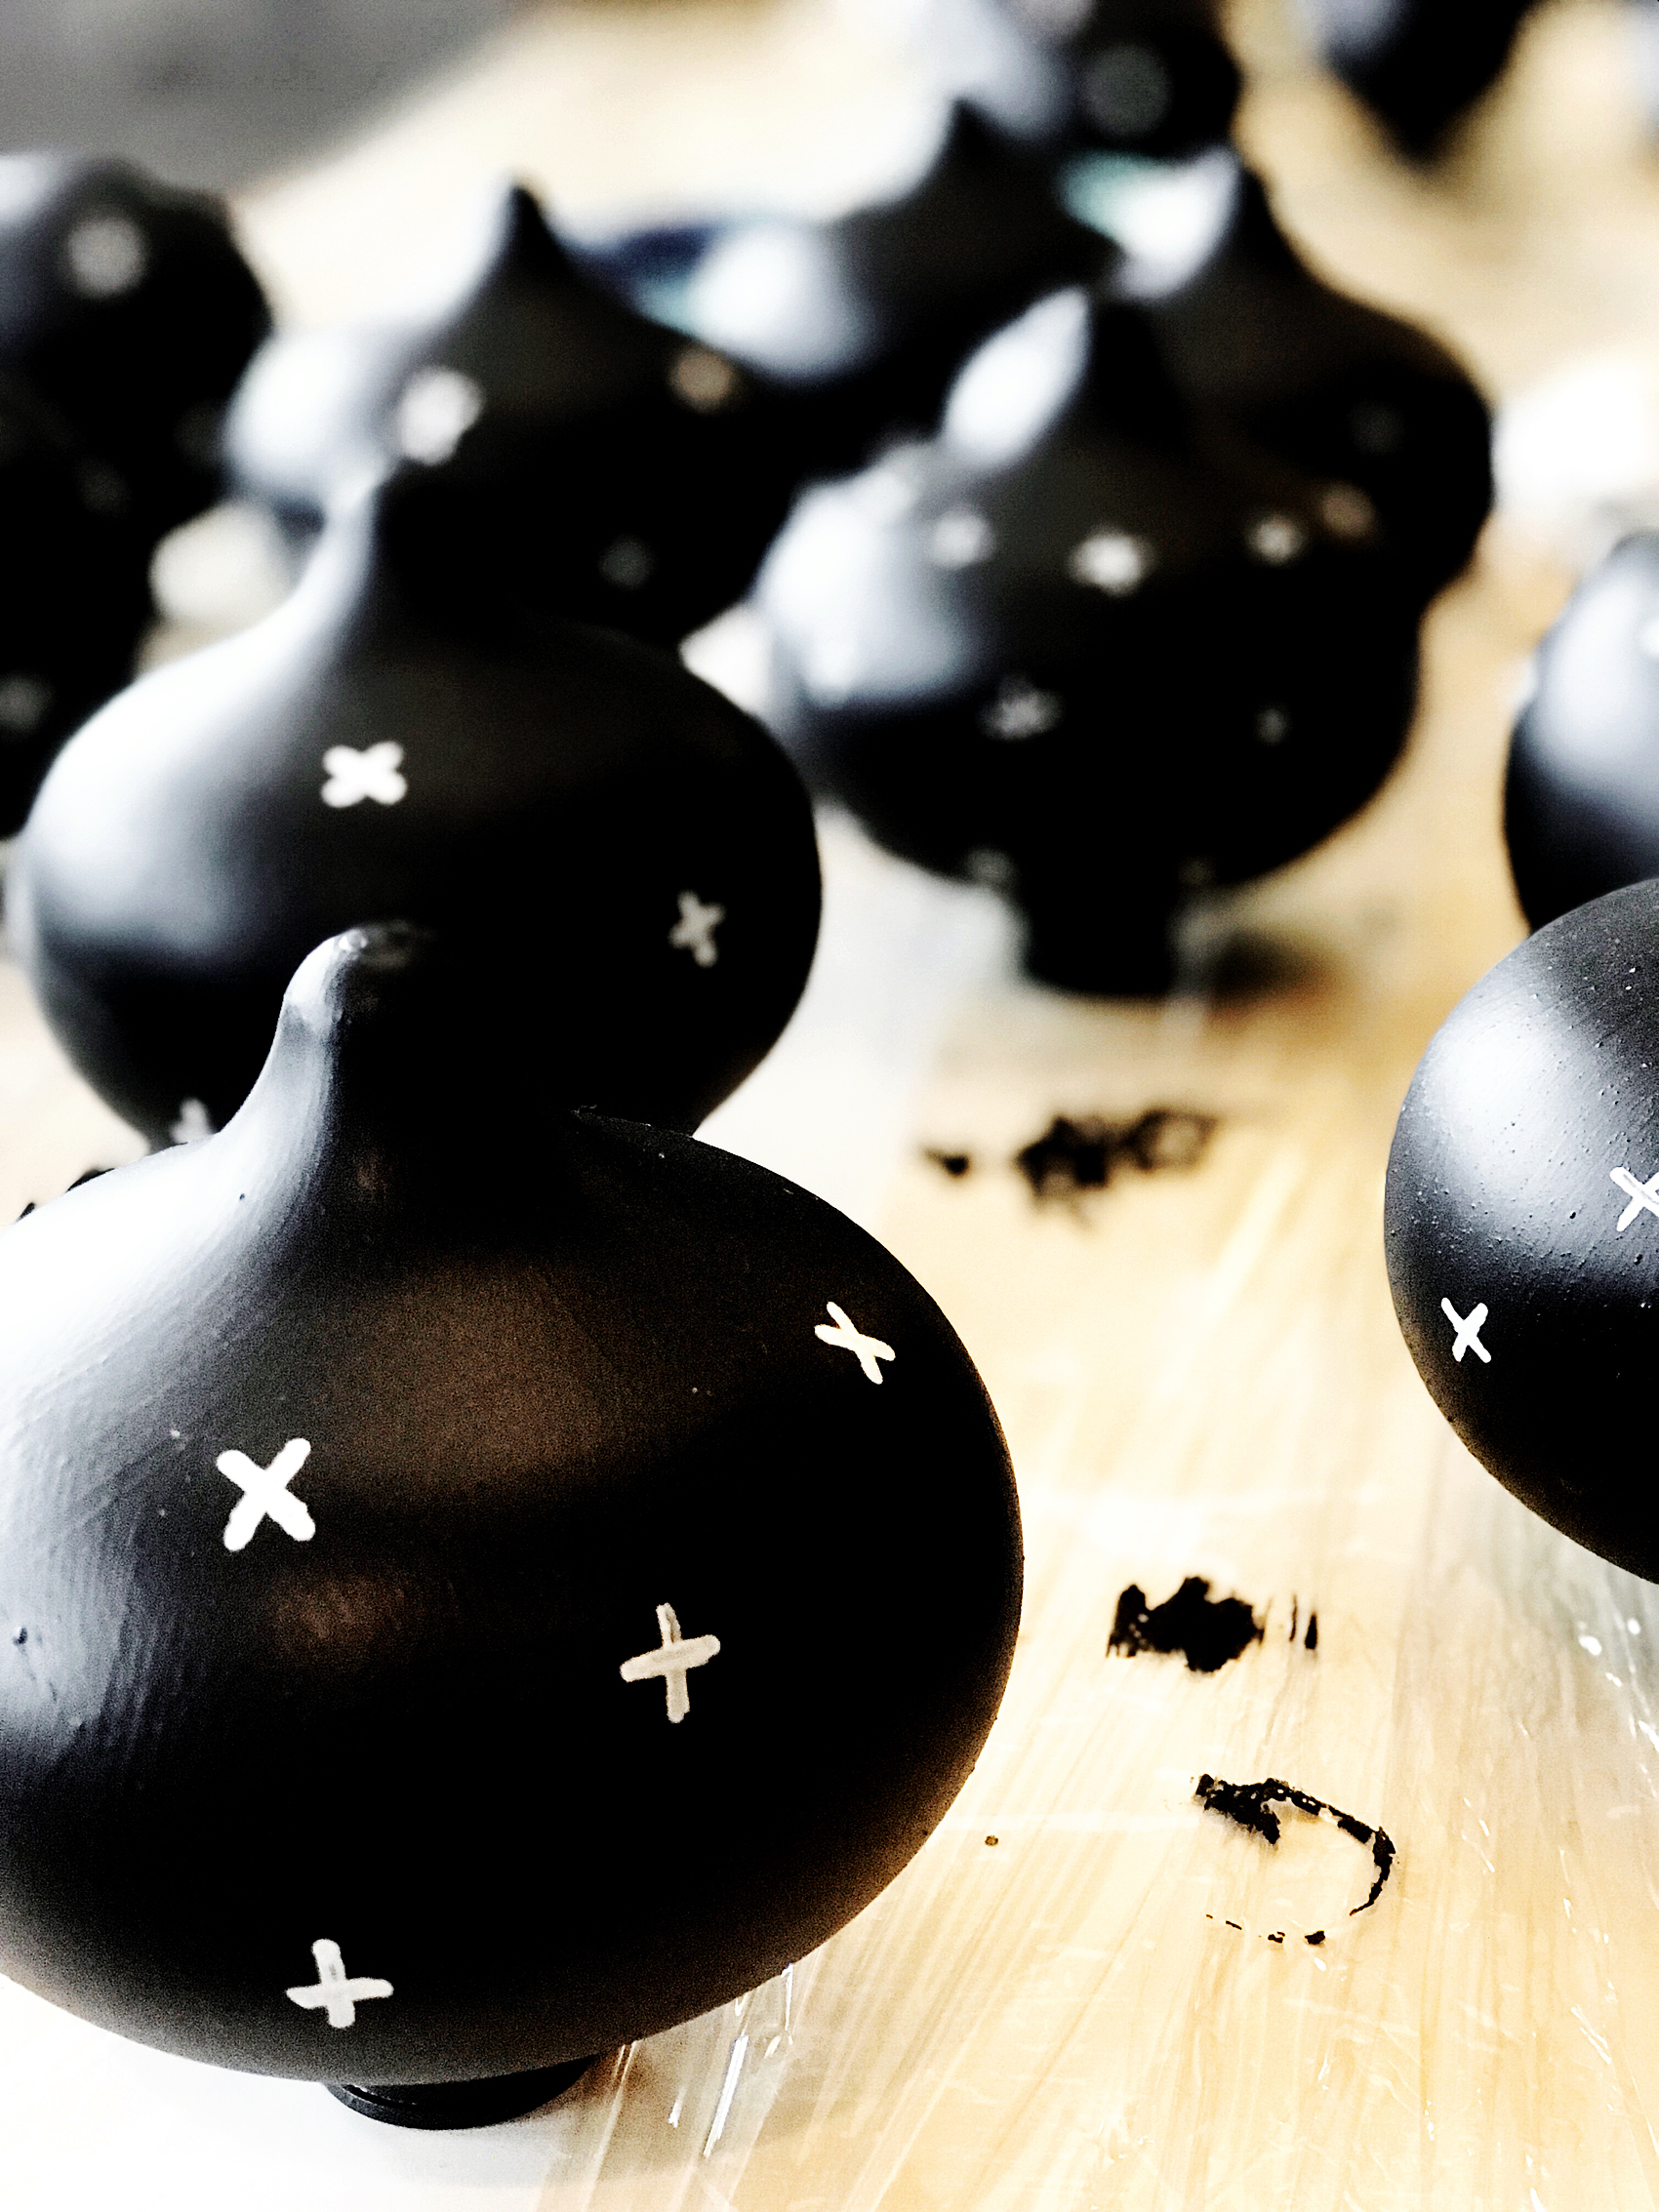
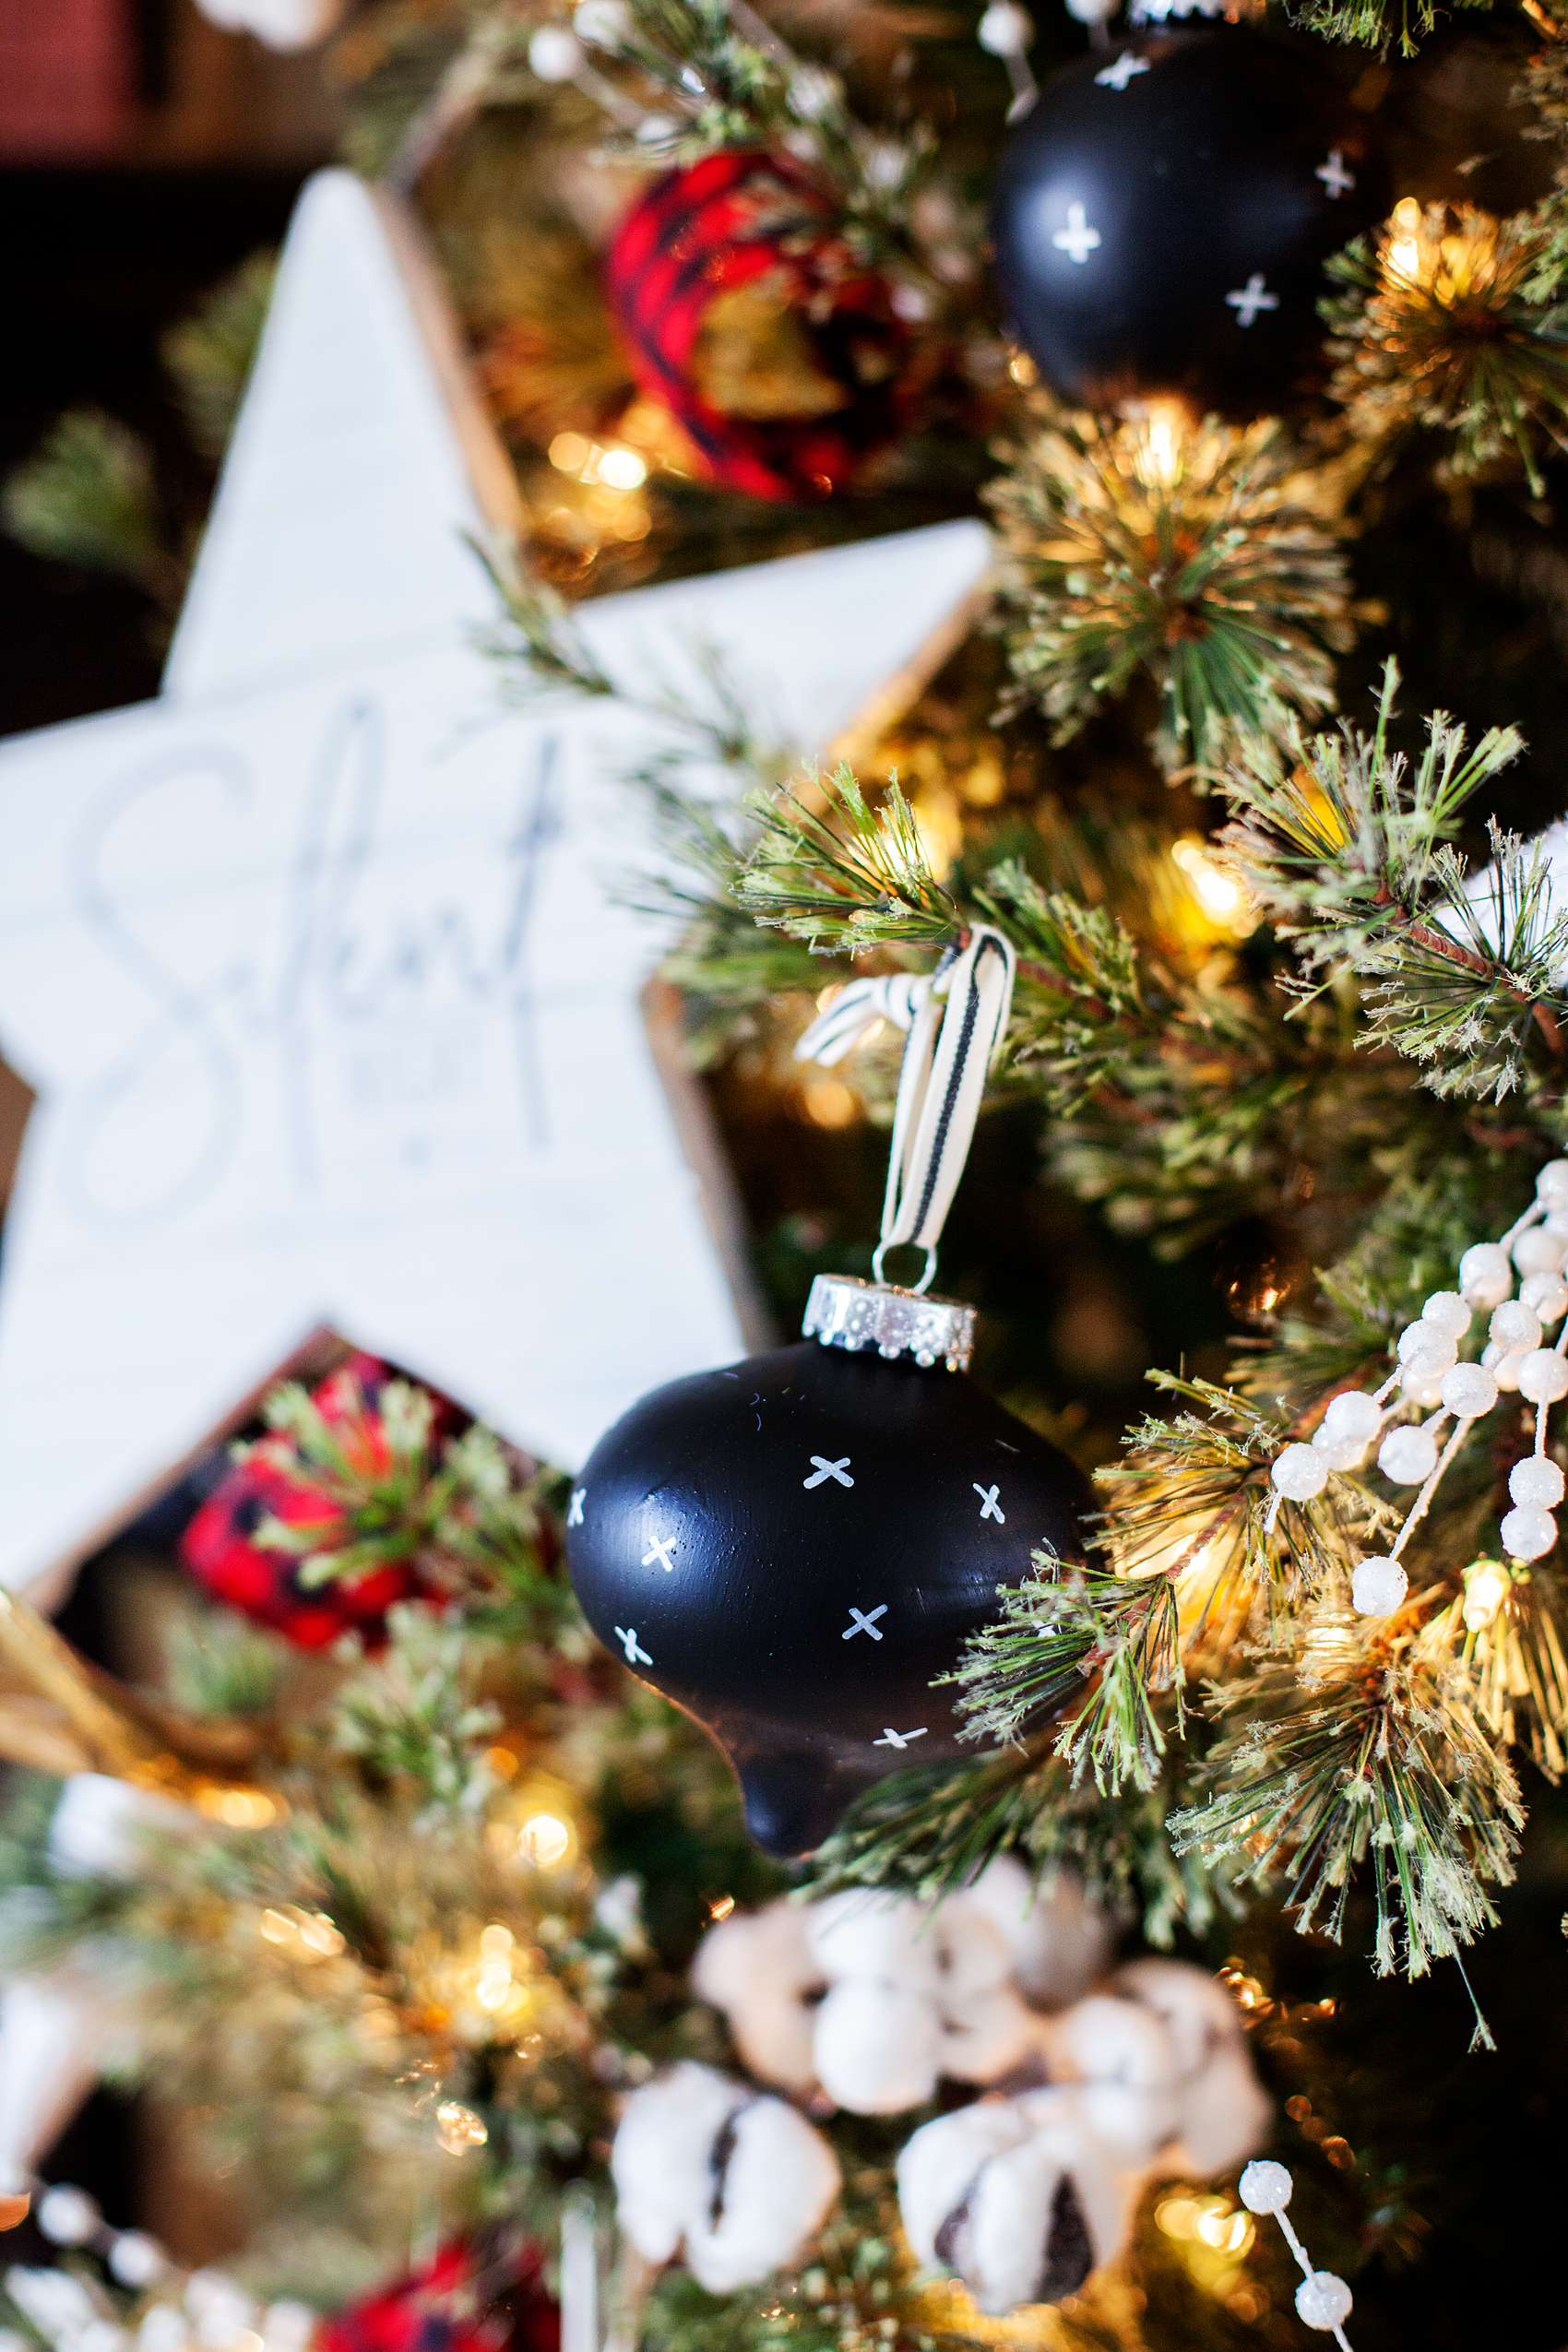
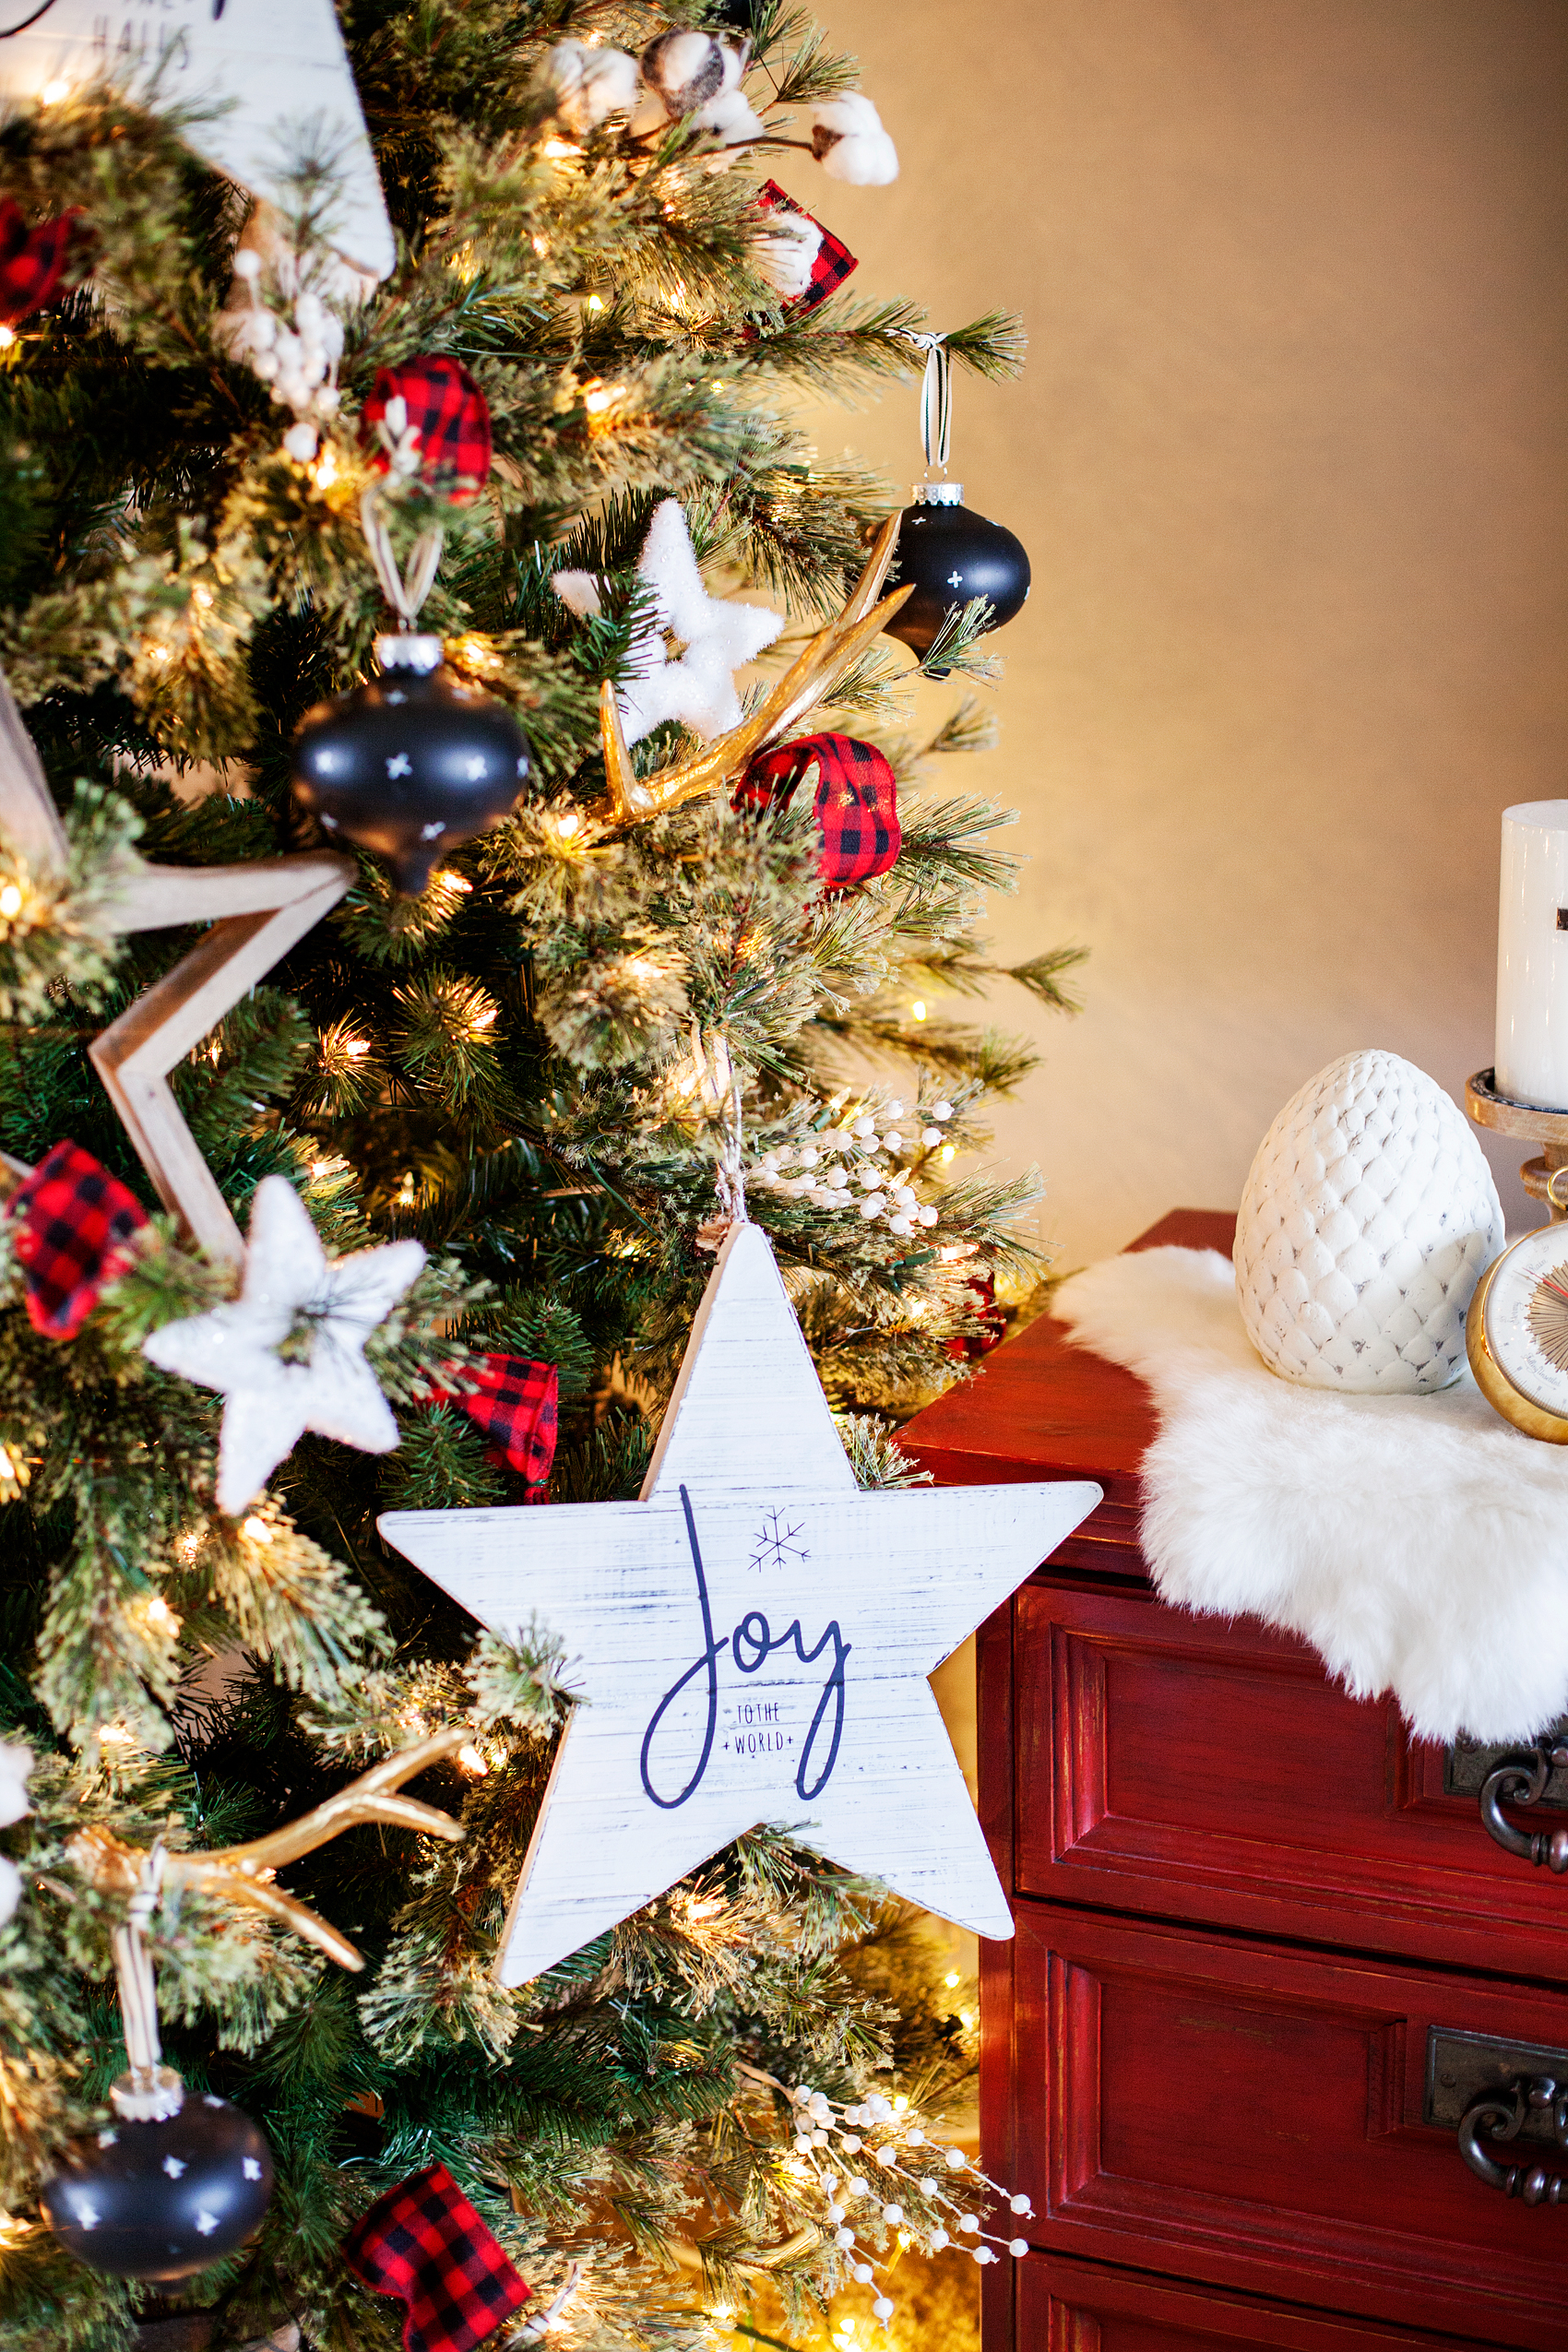
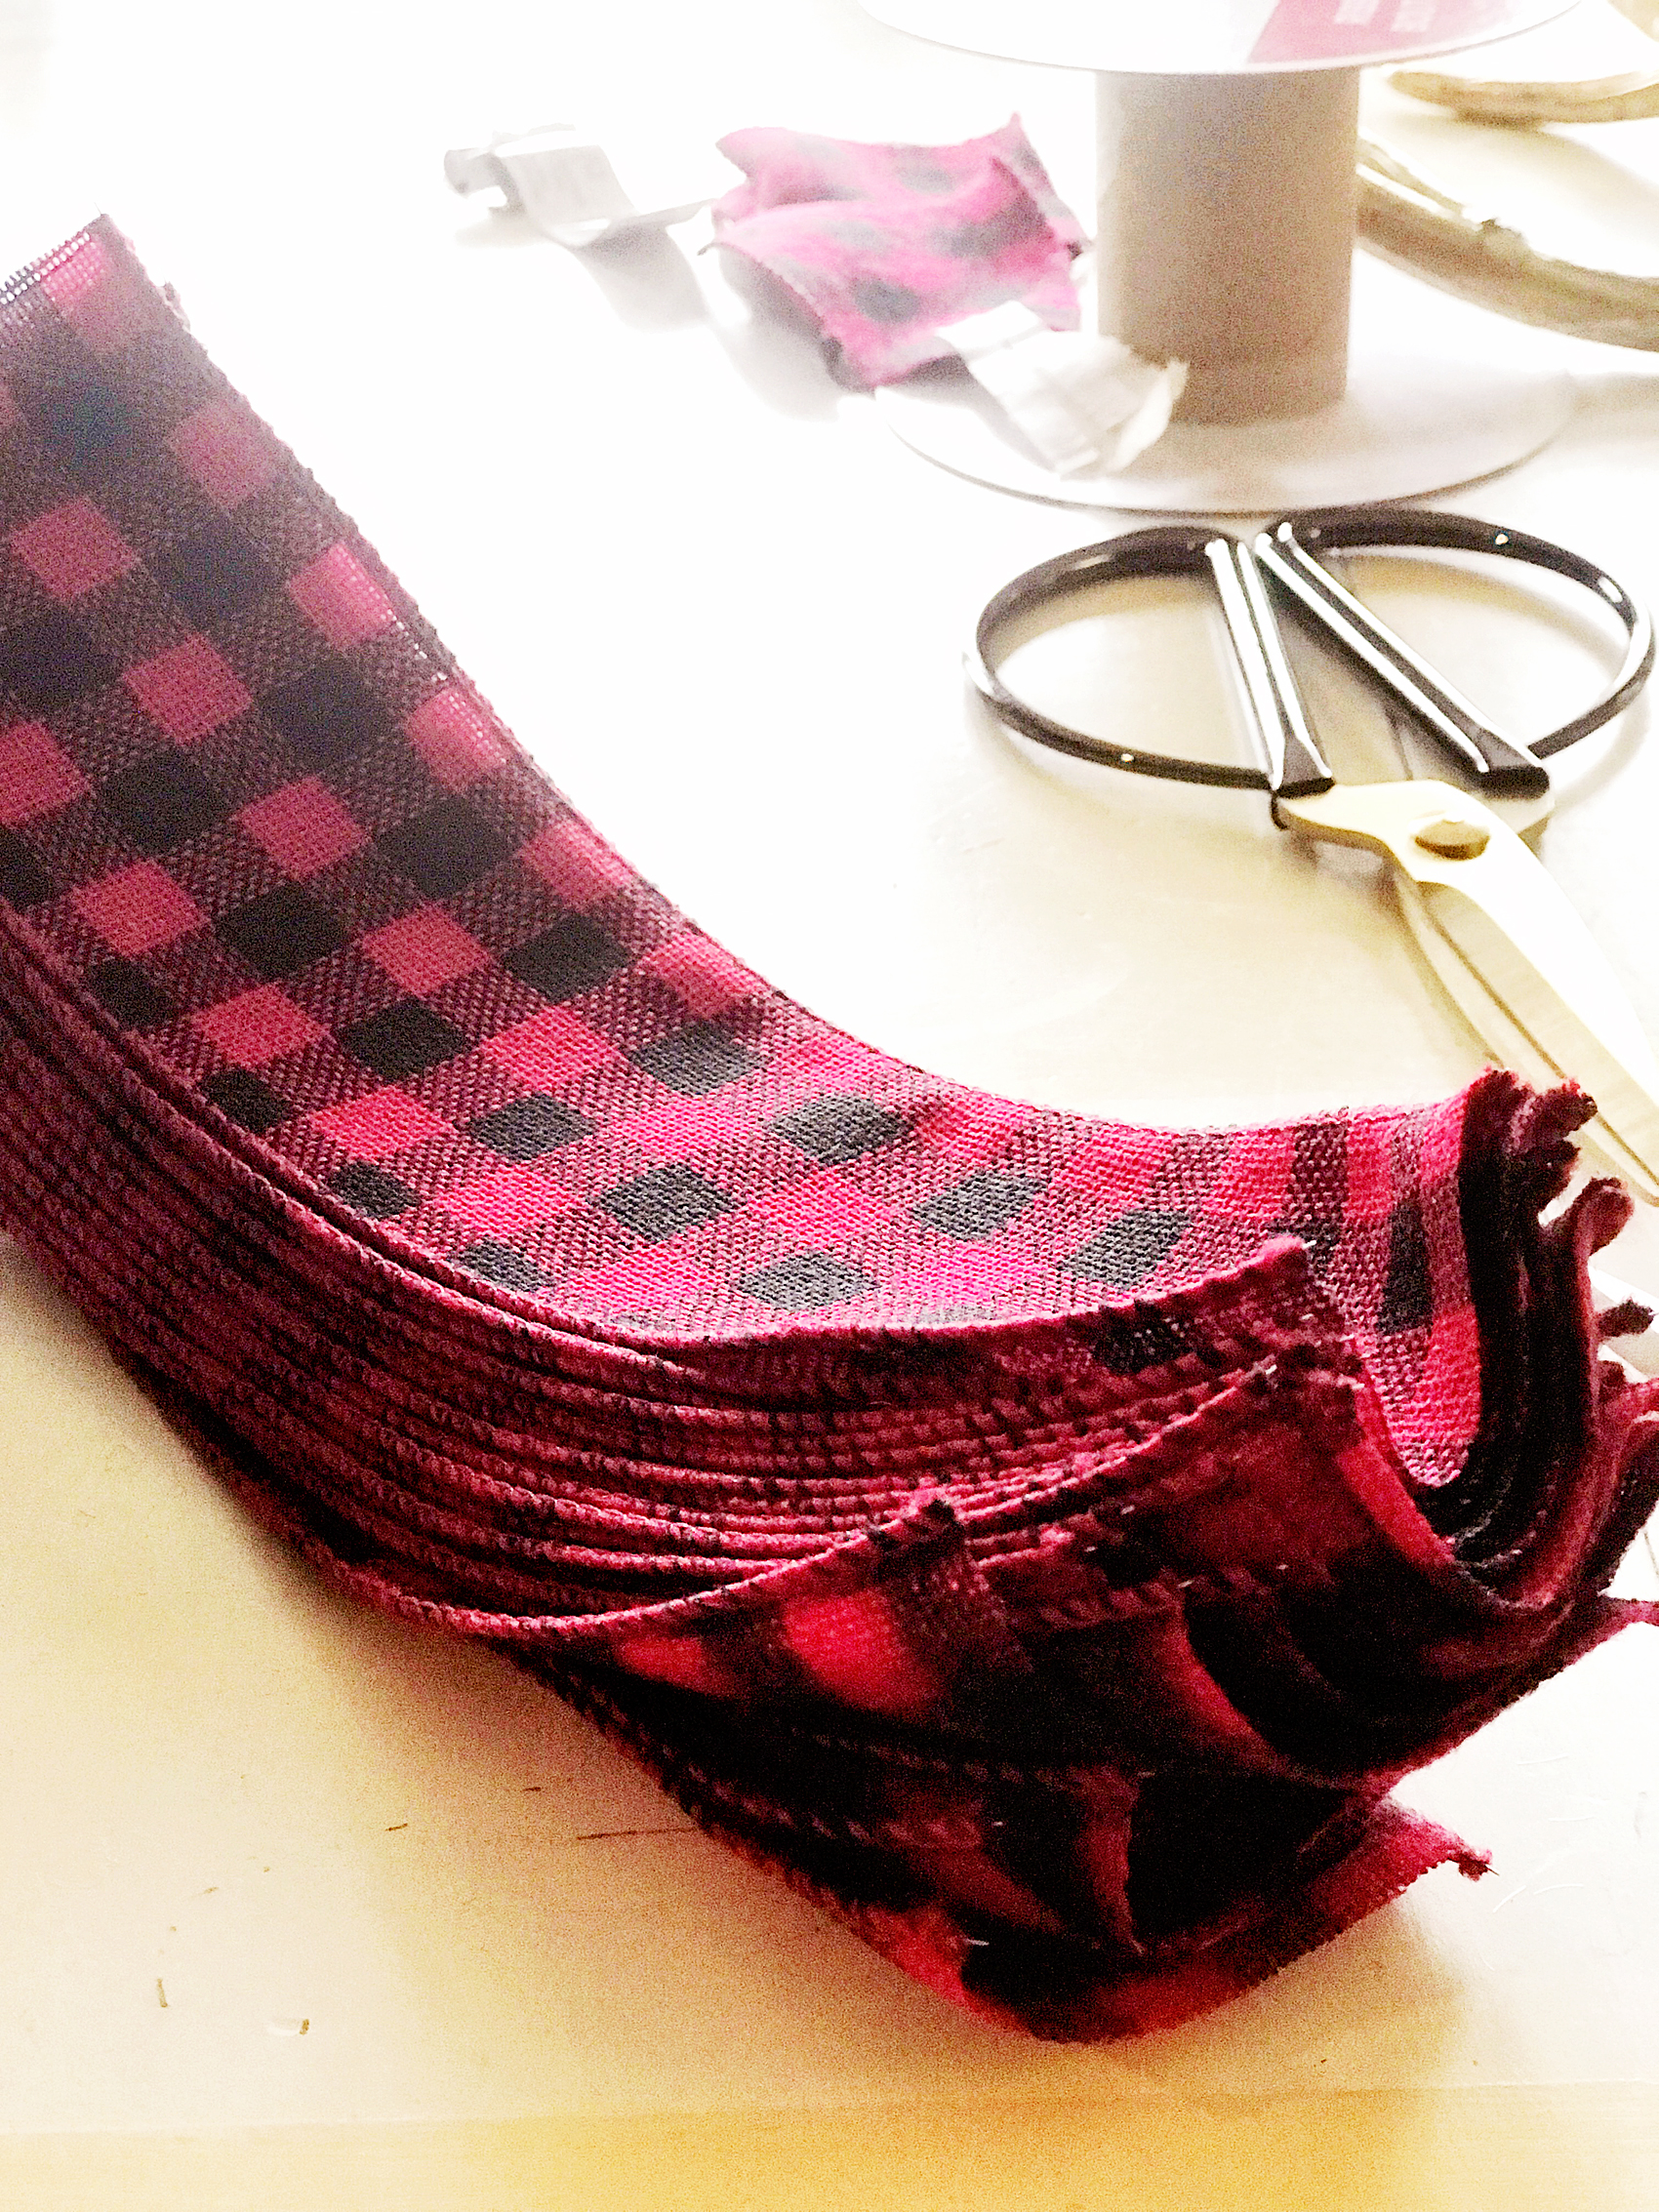
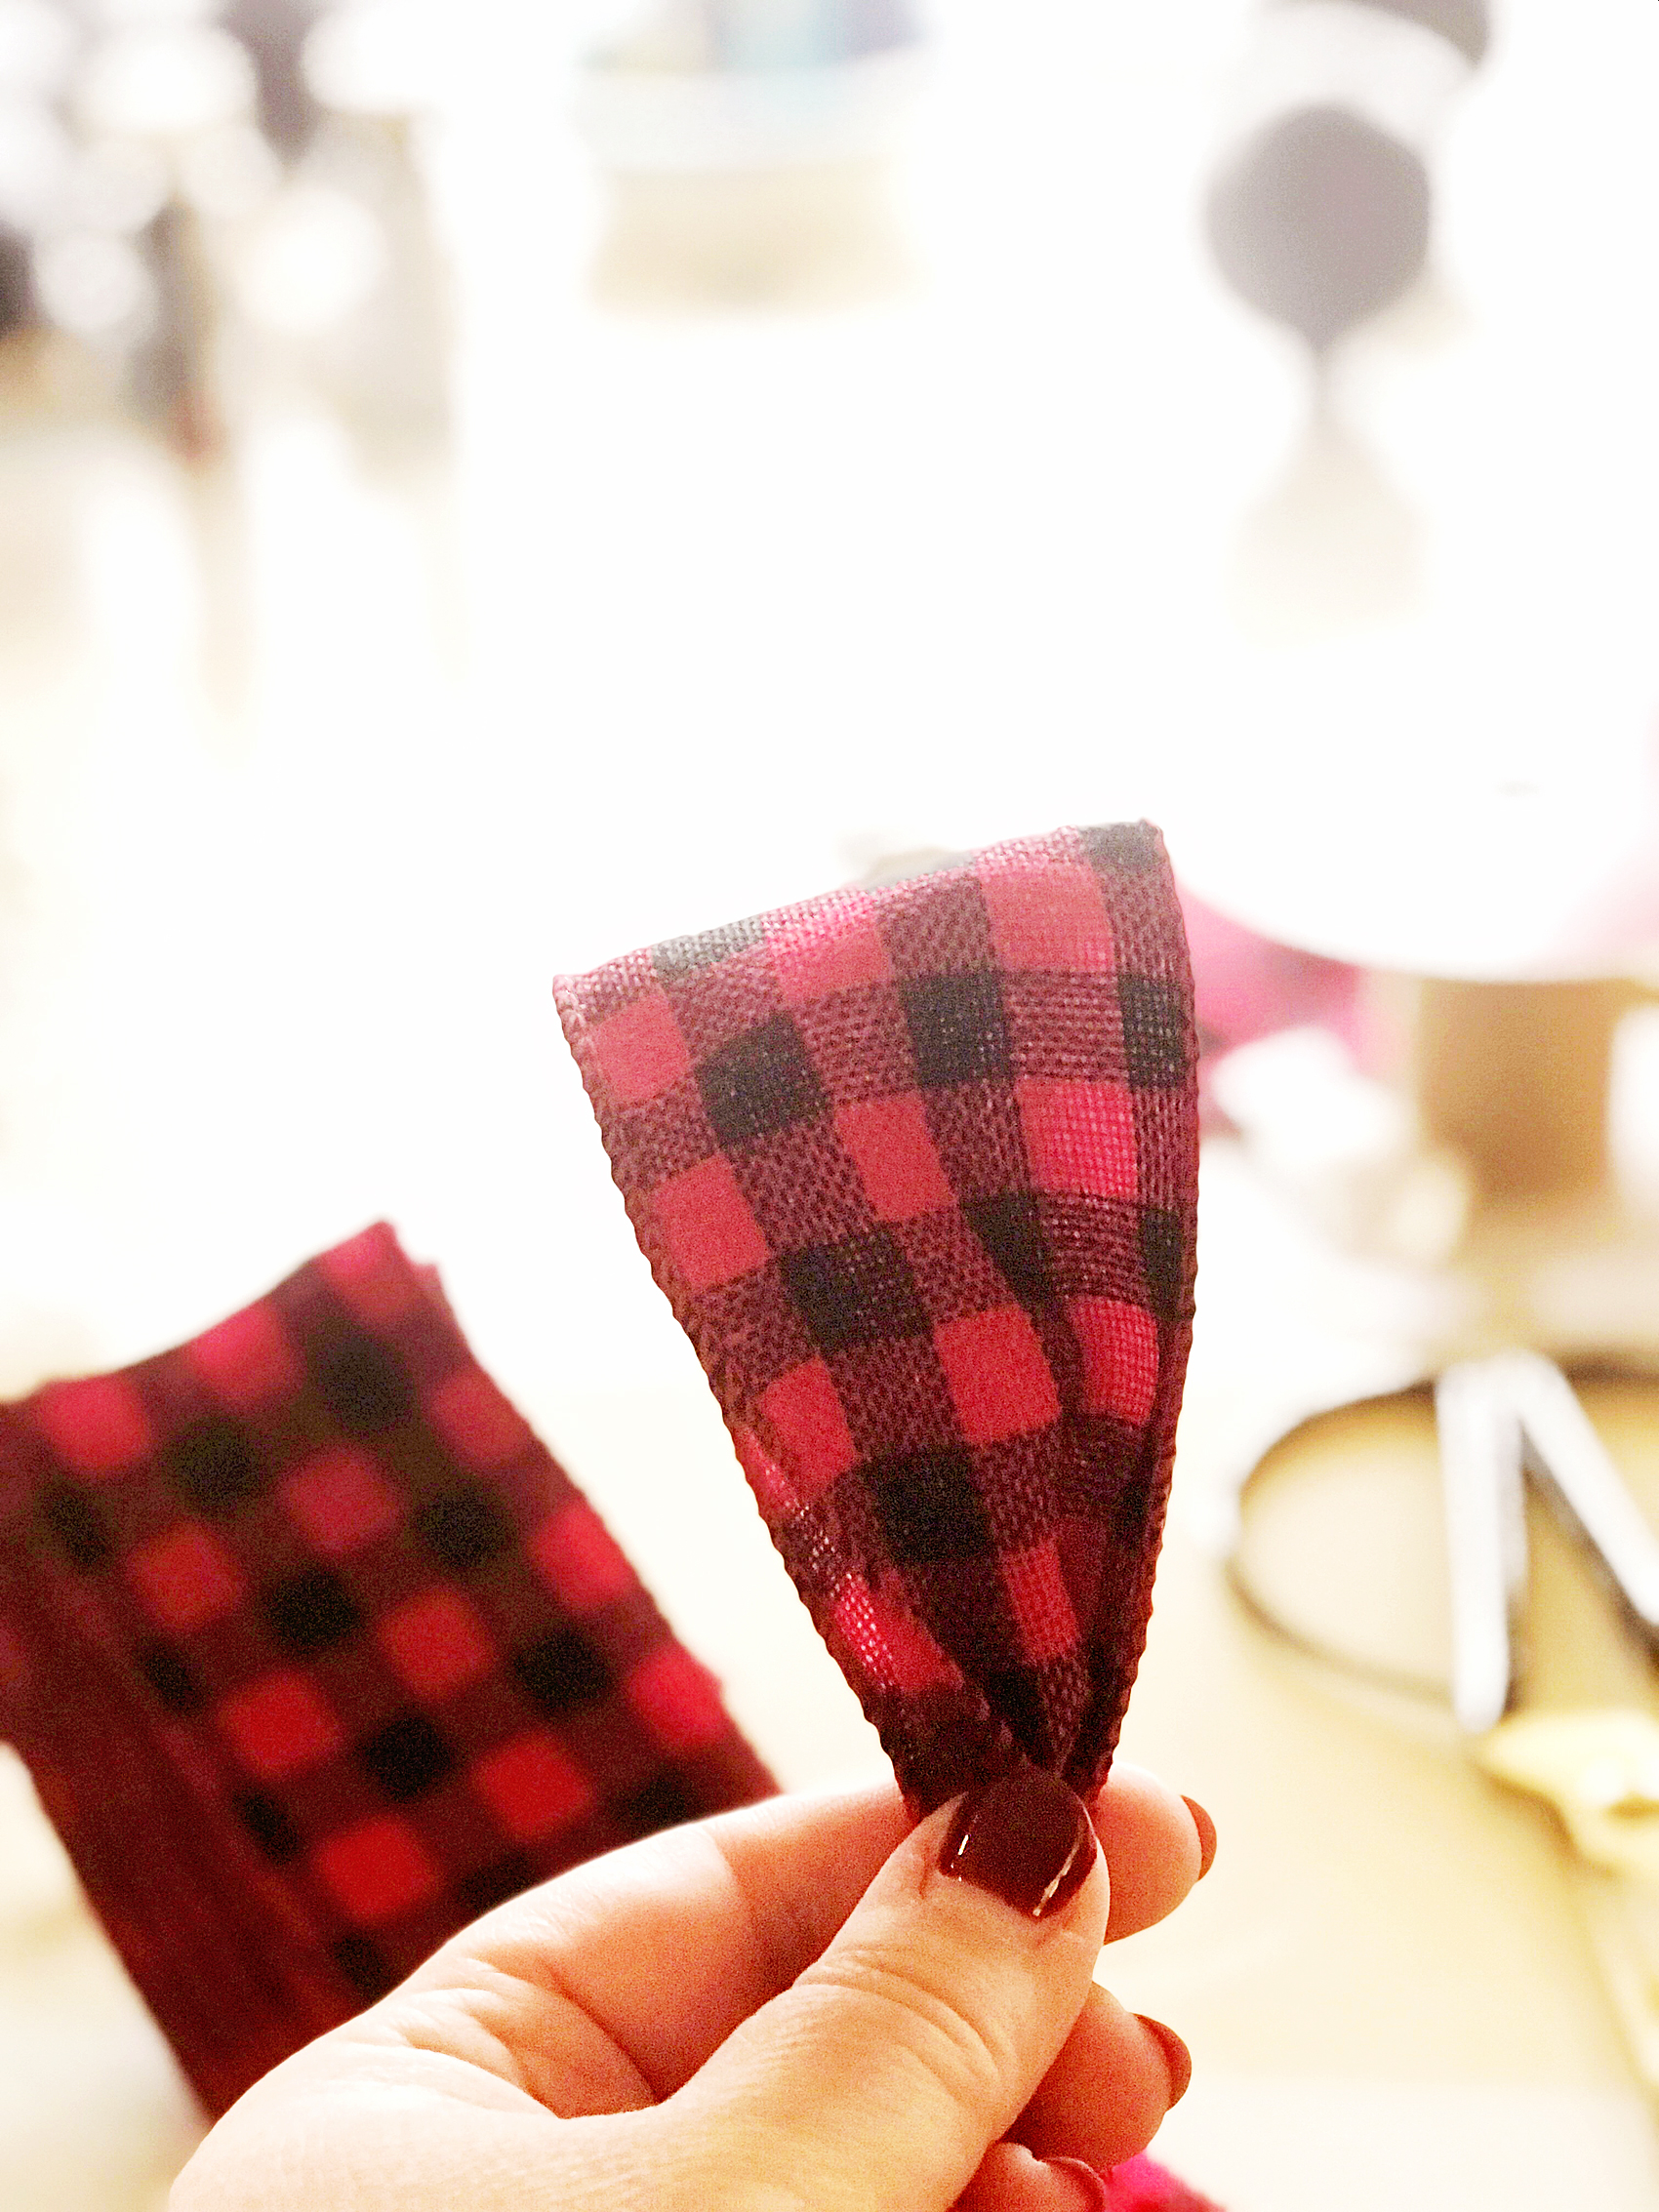
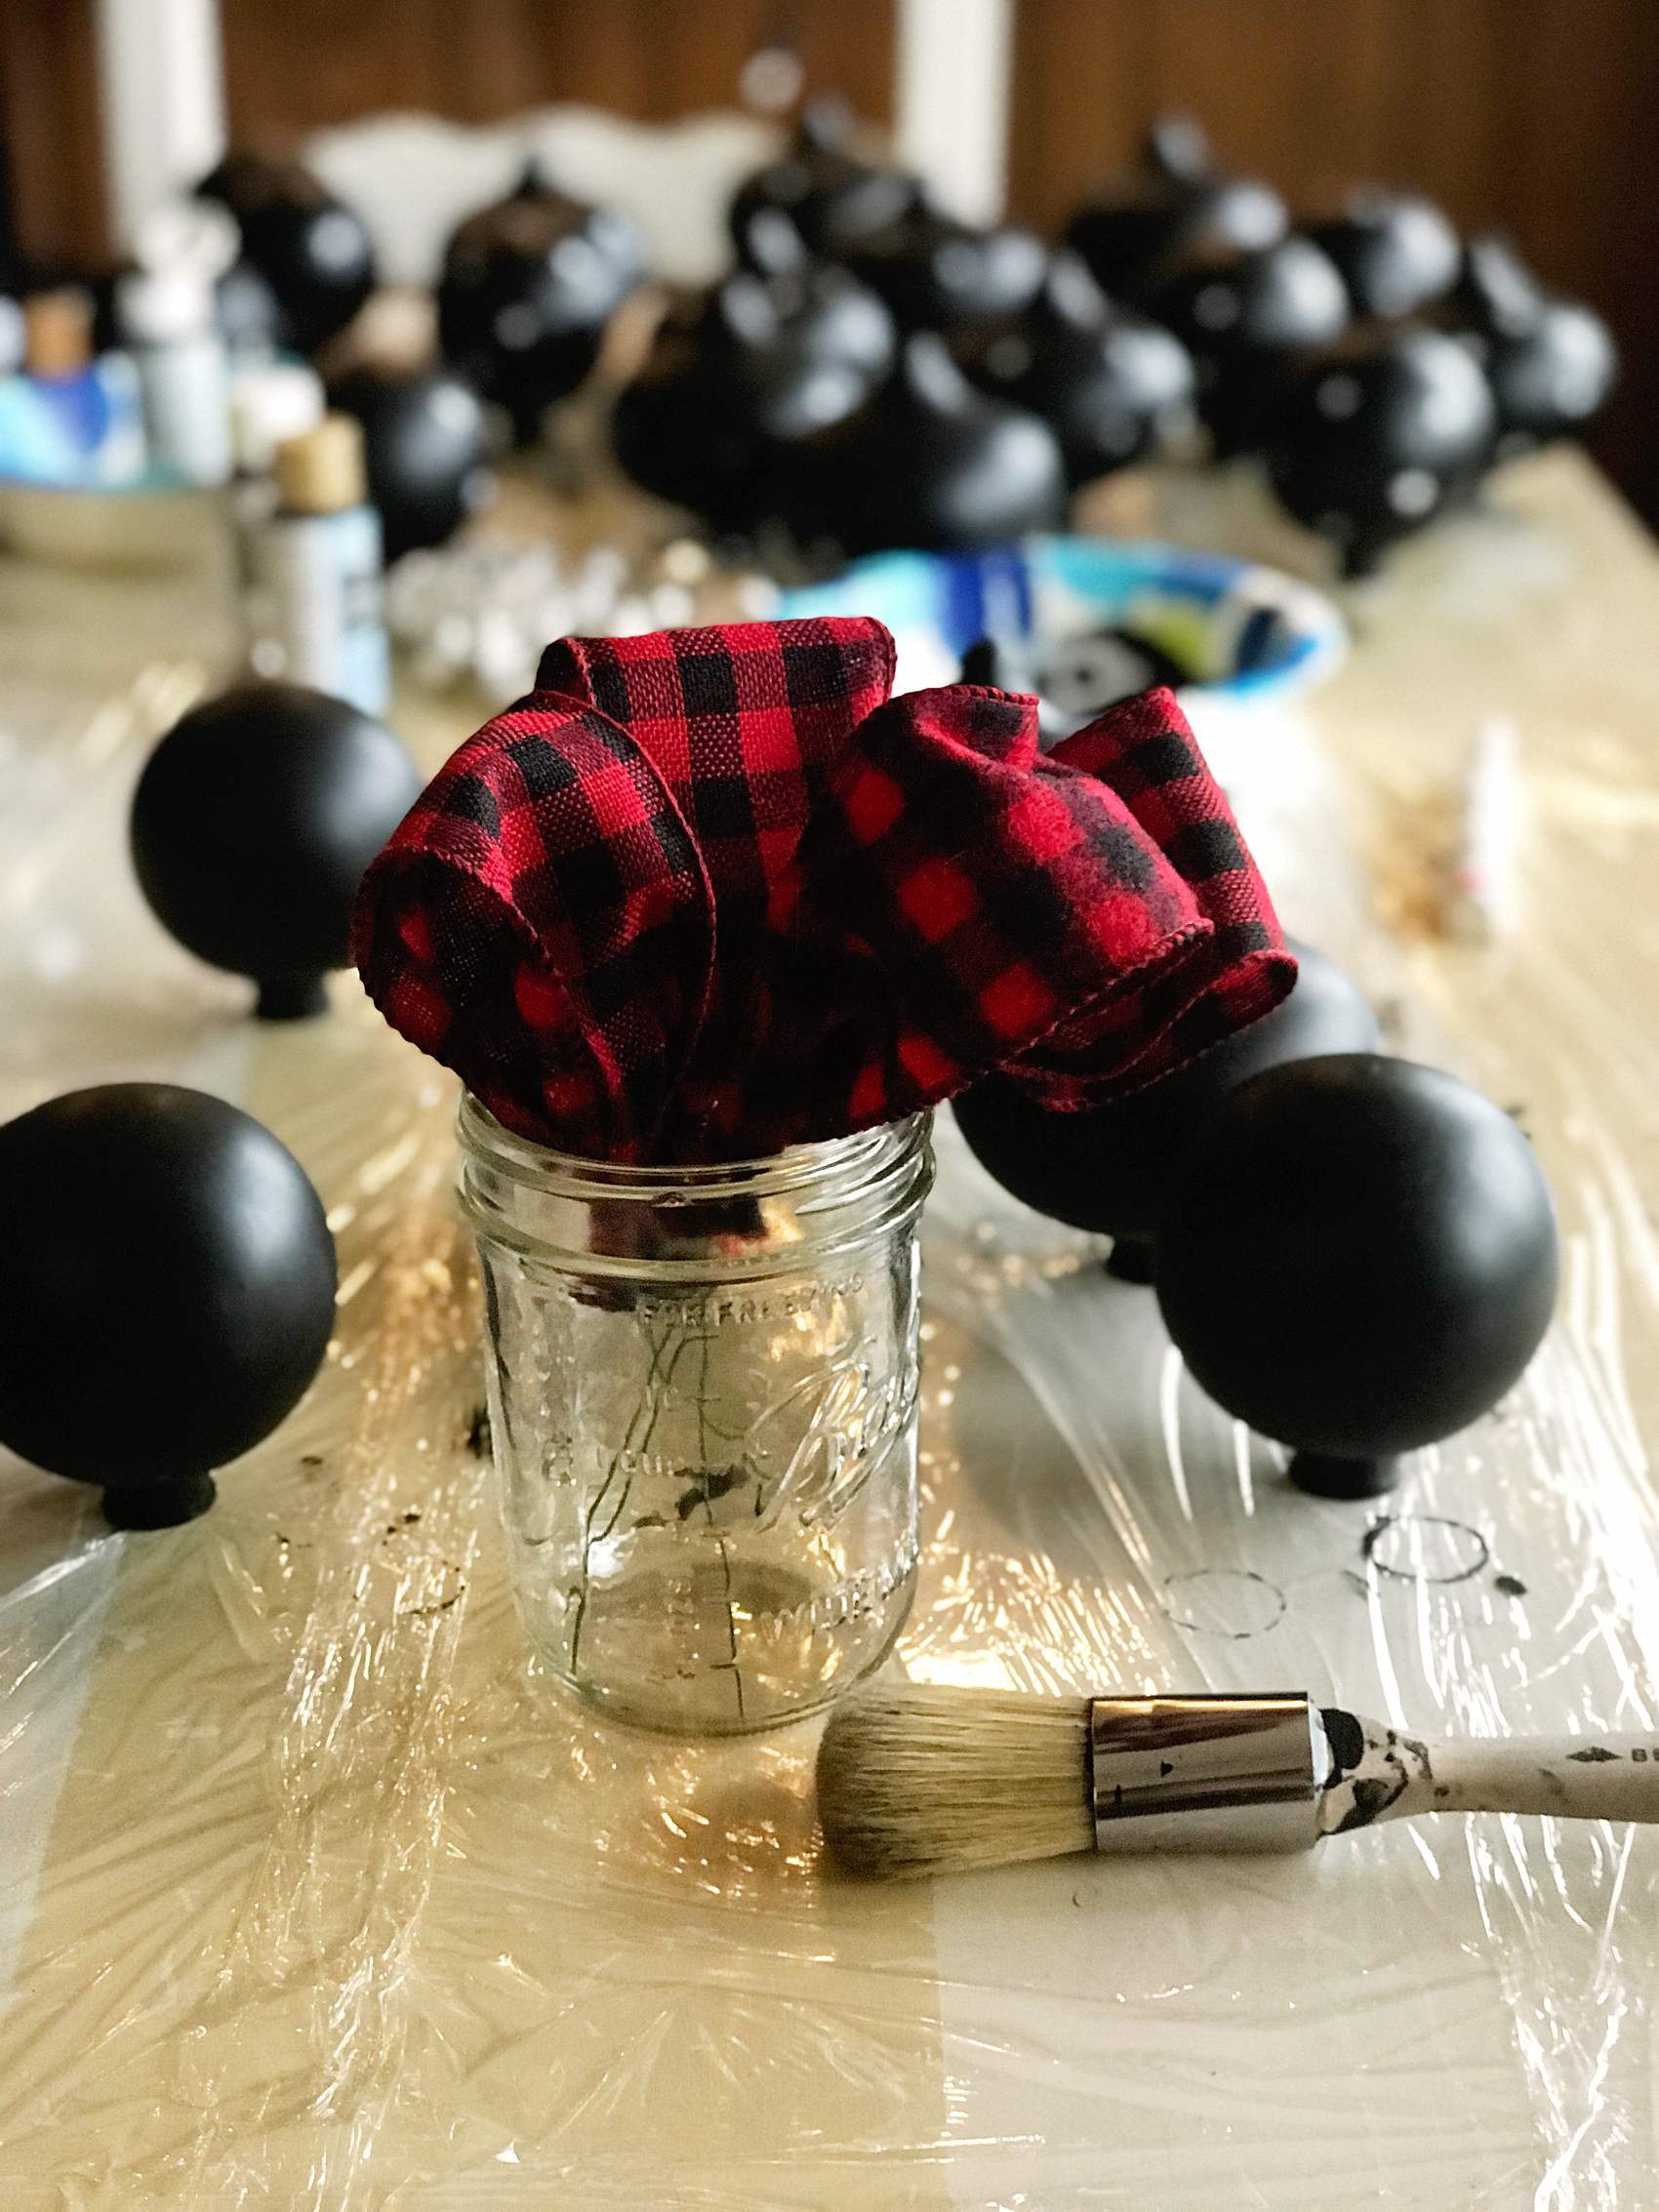
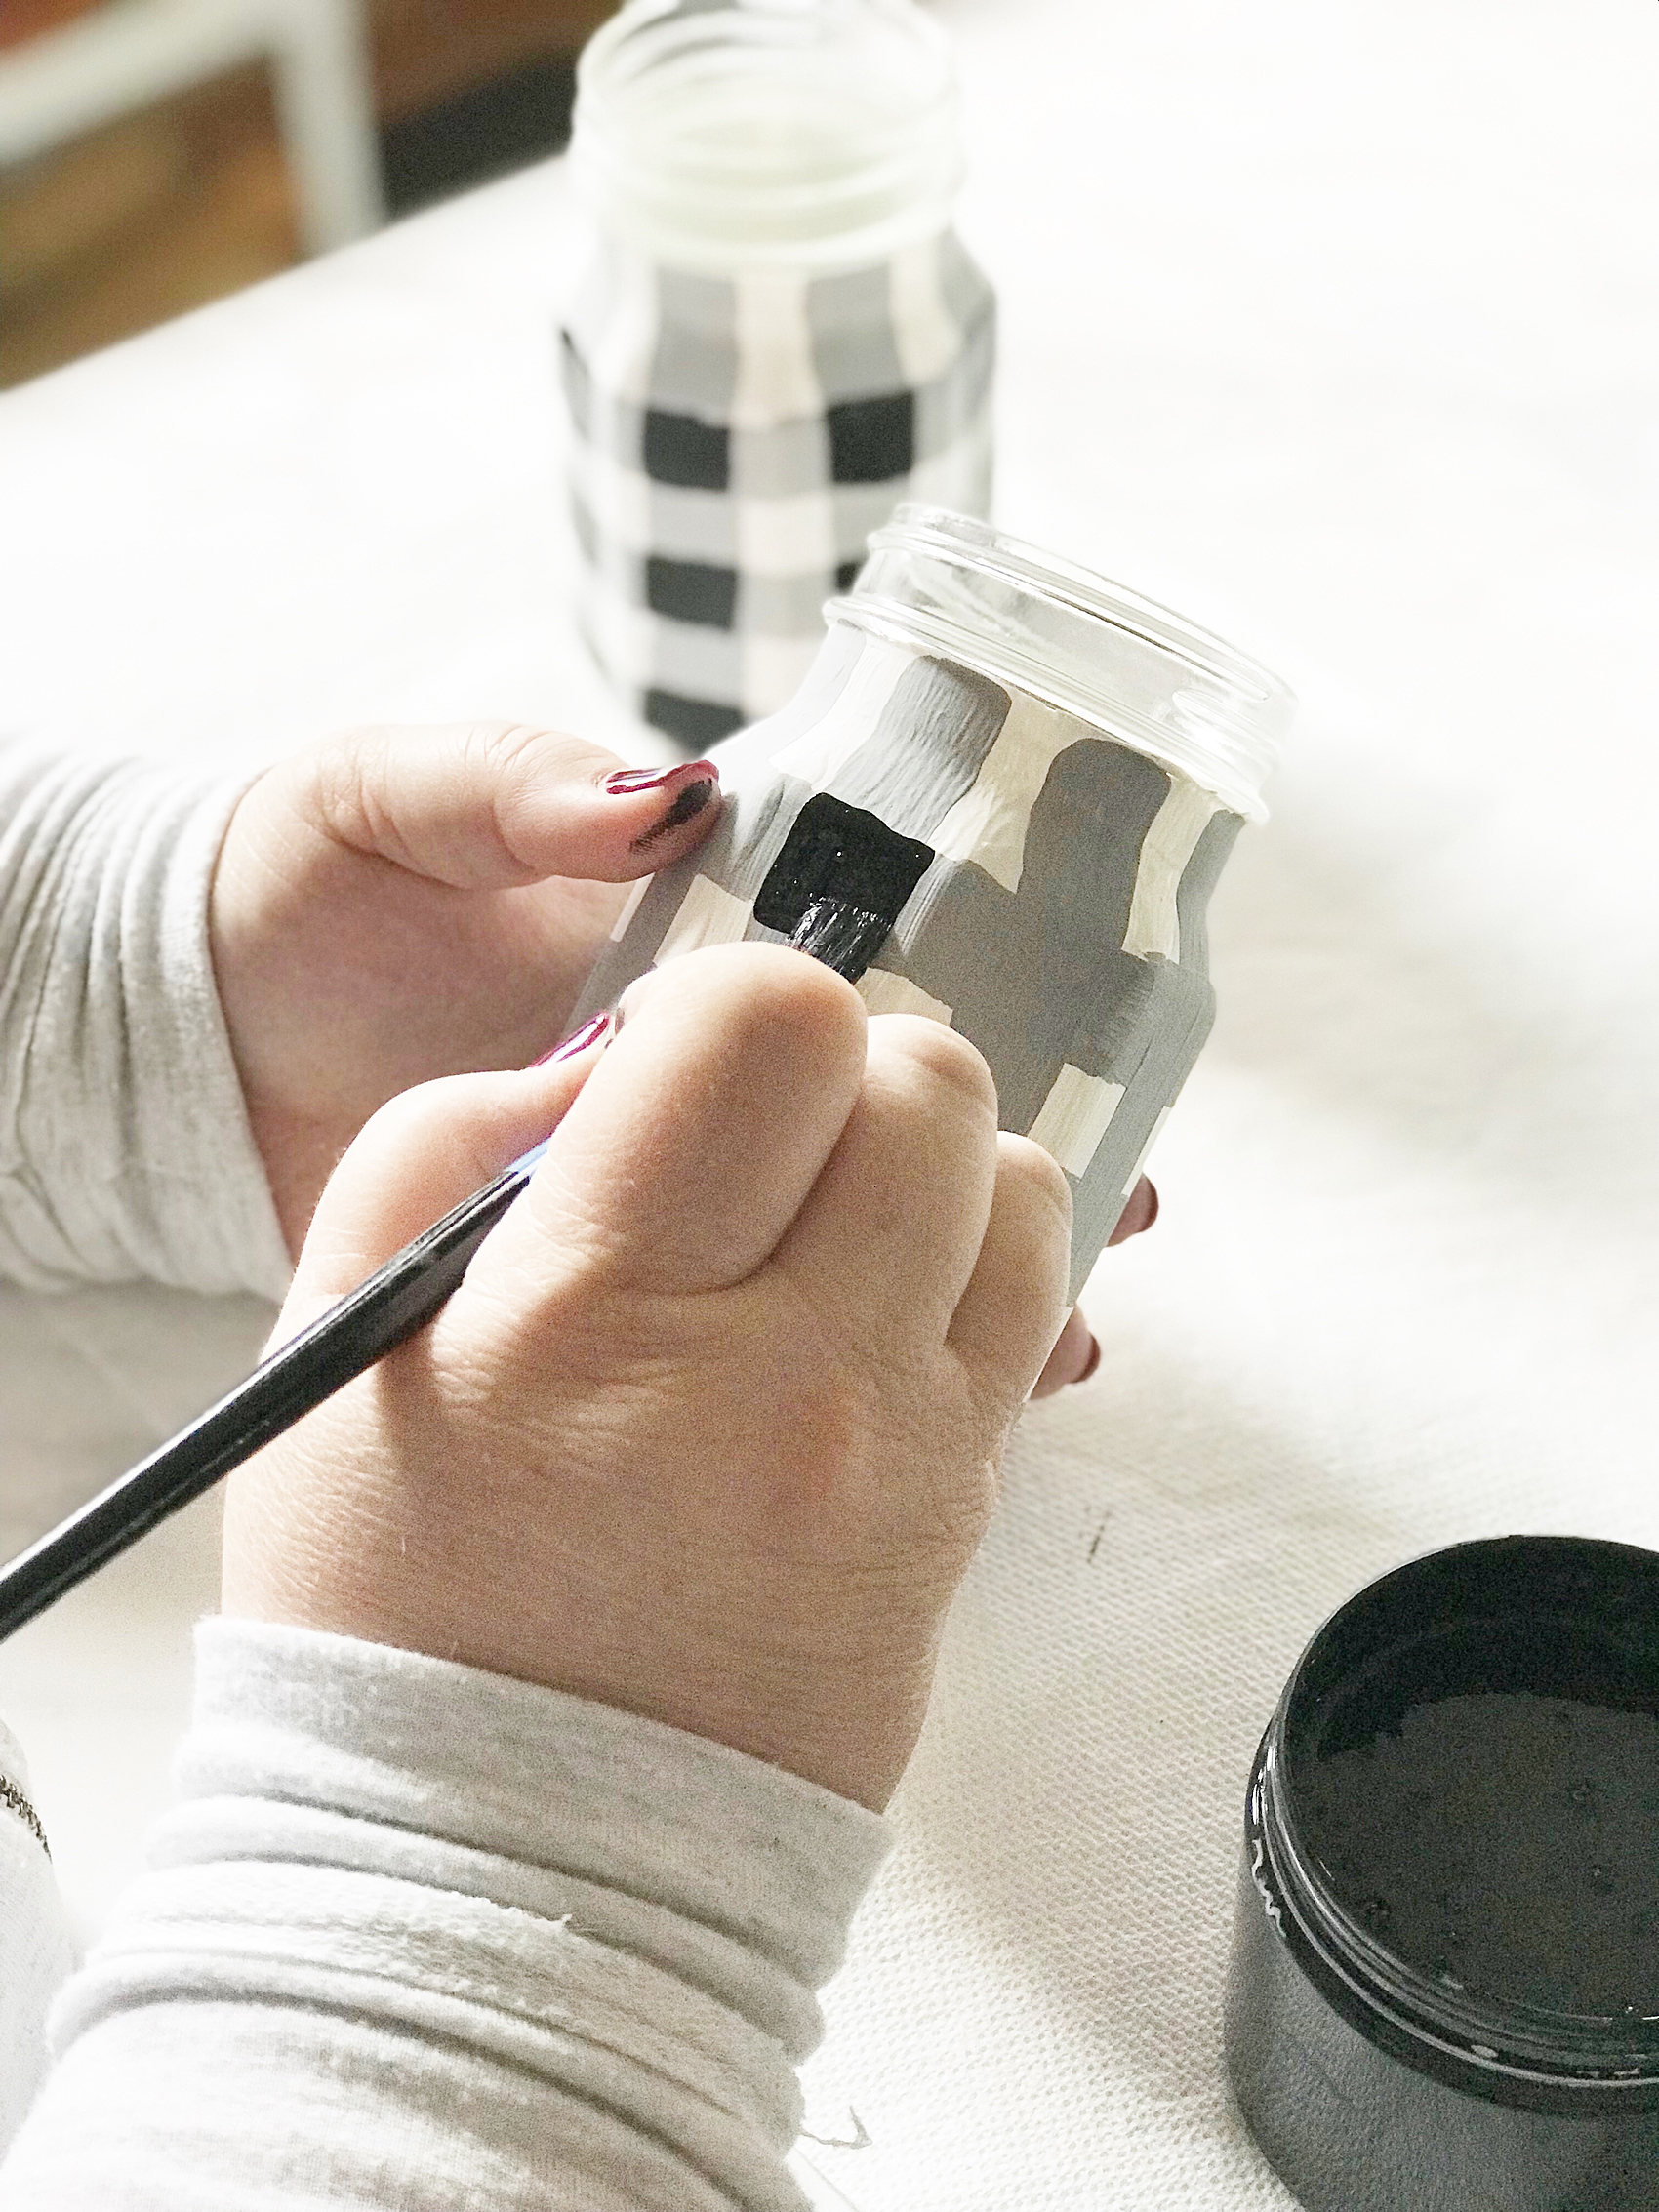
Buffalo Check Jars
These buffalo check jars are a true gem! I have a feeling I’ll be using these year-round. Here is a quick post to show you how to make them.
Printable Gift Tag
If you know me at all, you know I LOVE to design all kinds of printable. These may be some of my favorite thus far.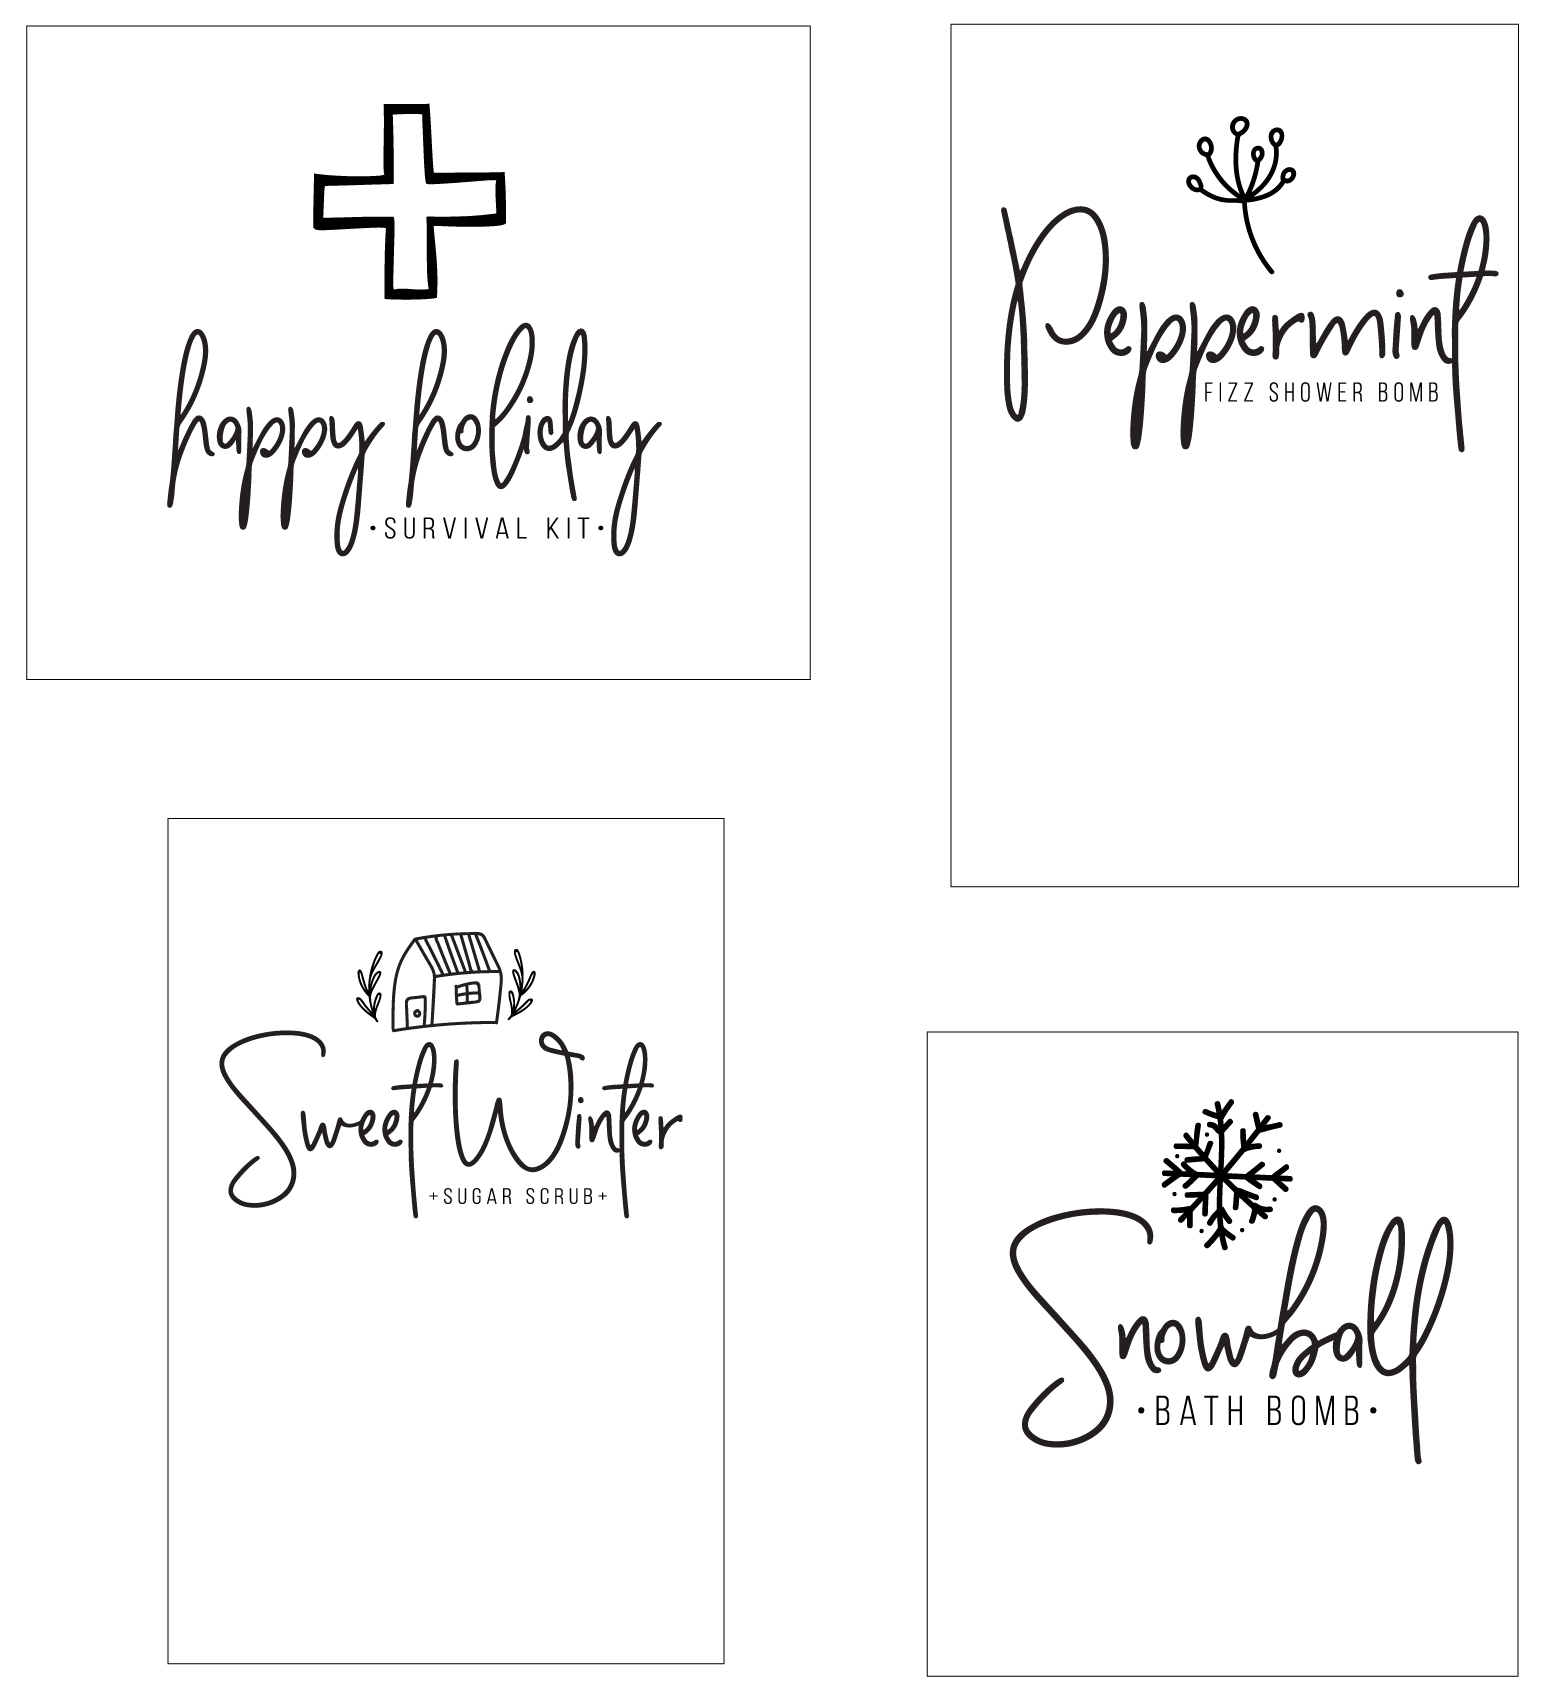
You can download the tags HERE
Match Jar
Alright, I am so in love with this little, itty-bitty Mini Ball® Storage Jars. They are only 4 oz. and they are just too darn cute!
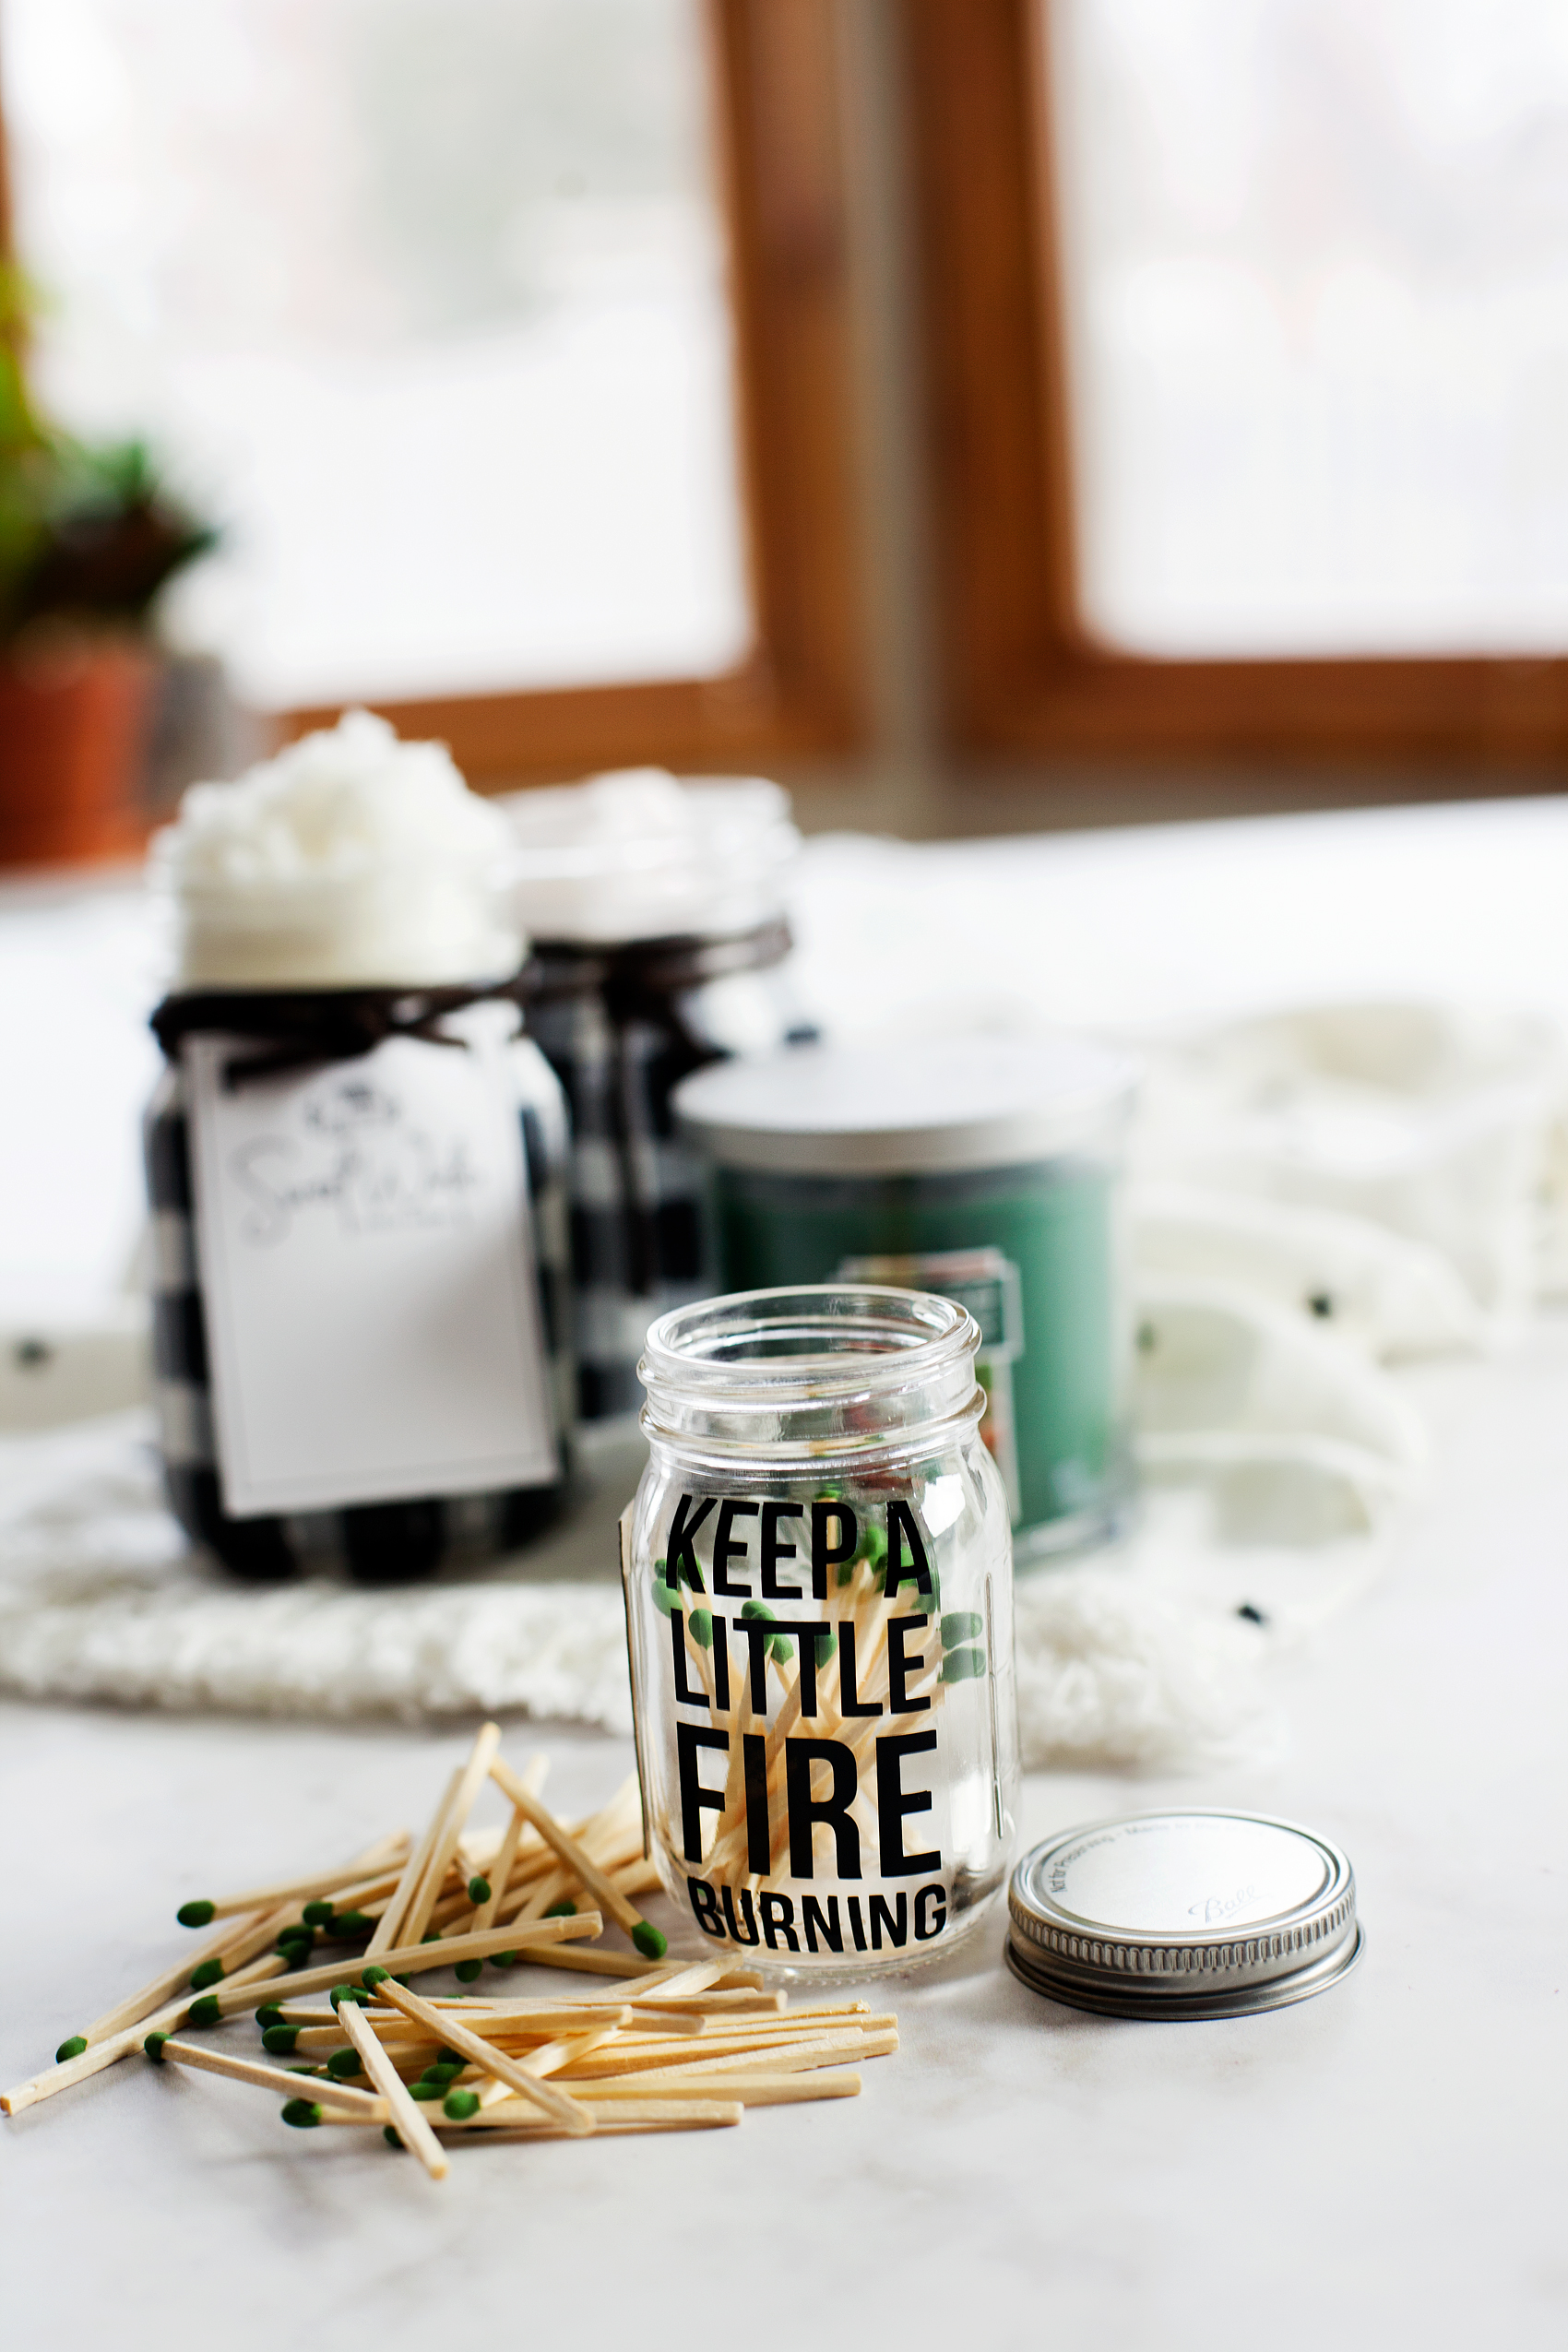
They are the perfect size for a little match jar for your Holiday Survival Kit. I filled the jar with matches, thenI cut a strip of the matchbox striker and glue it to the side of the jar.
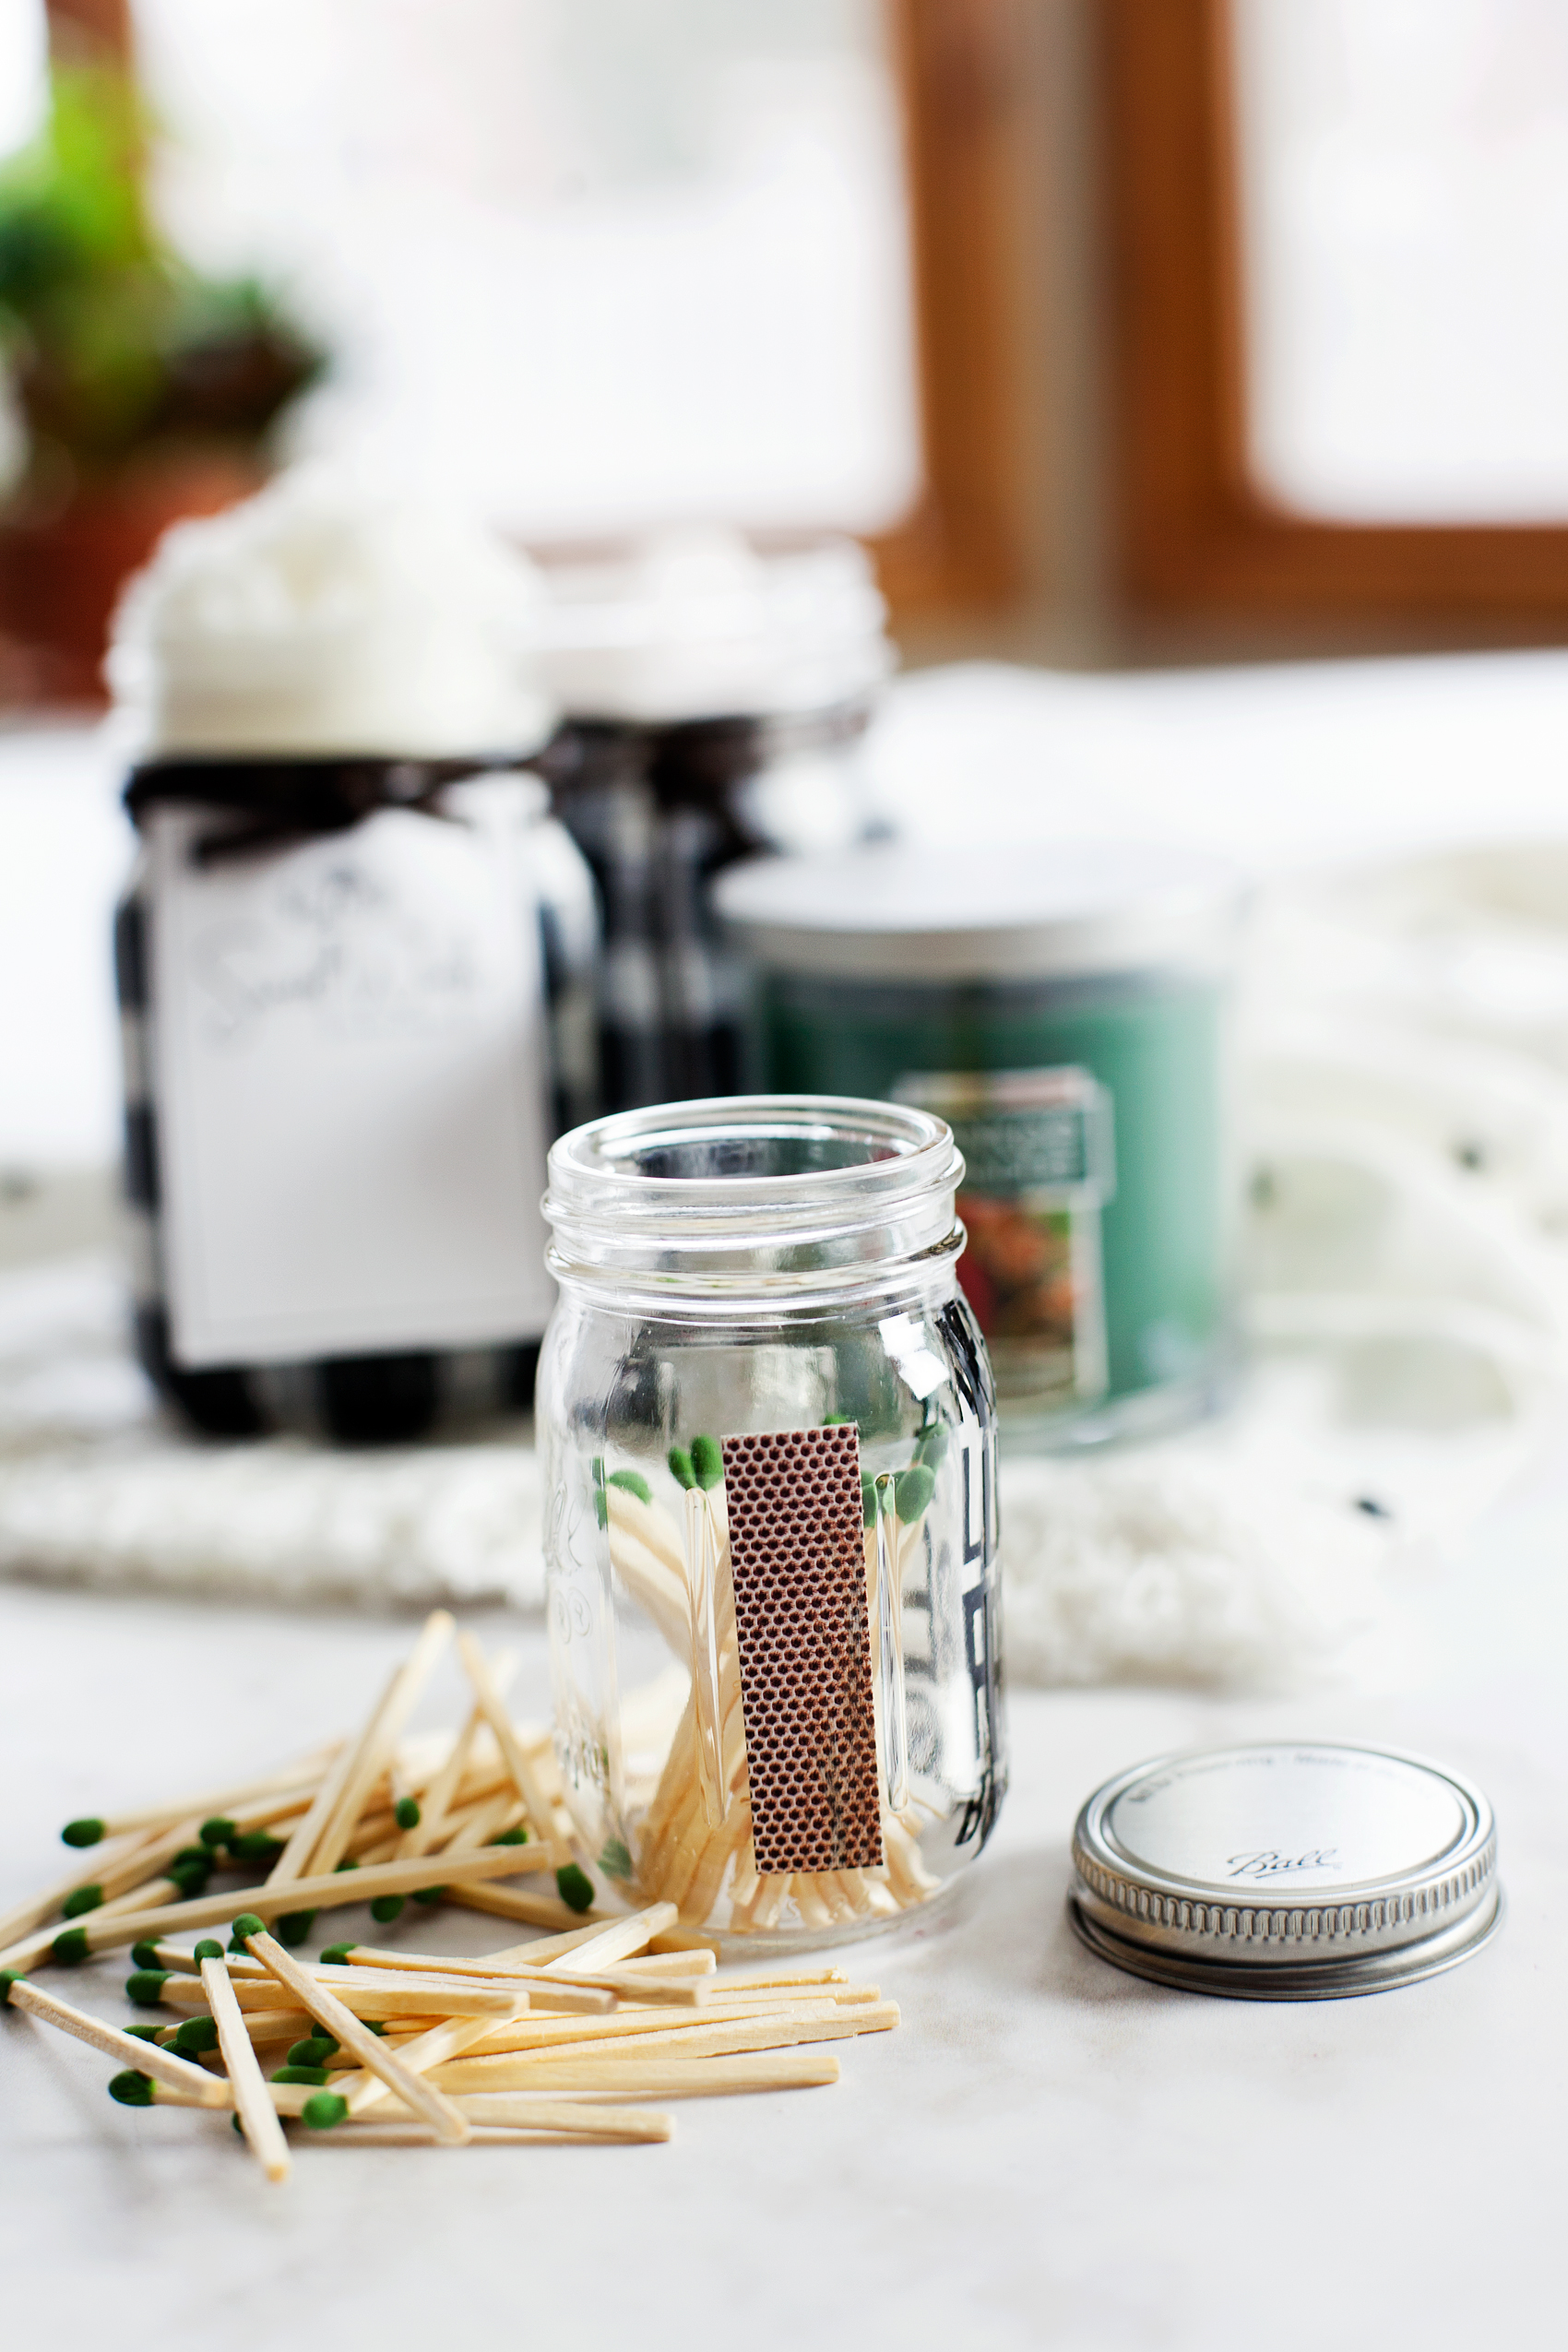
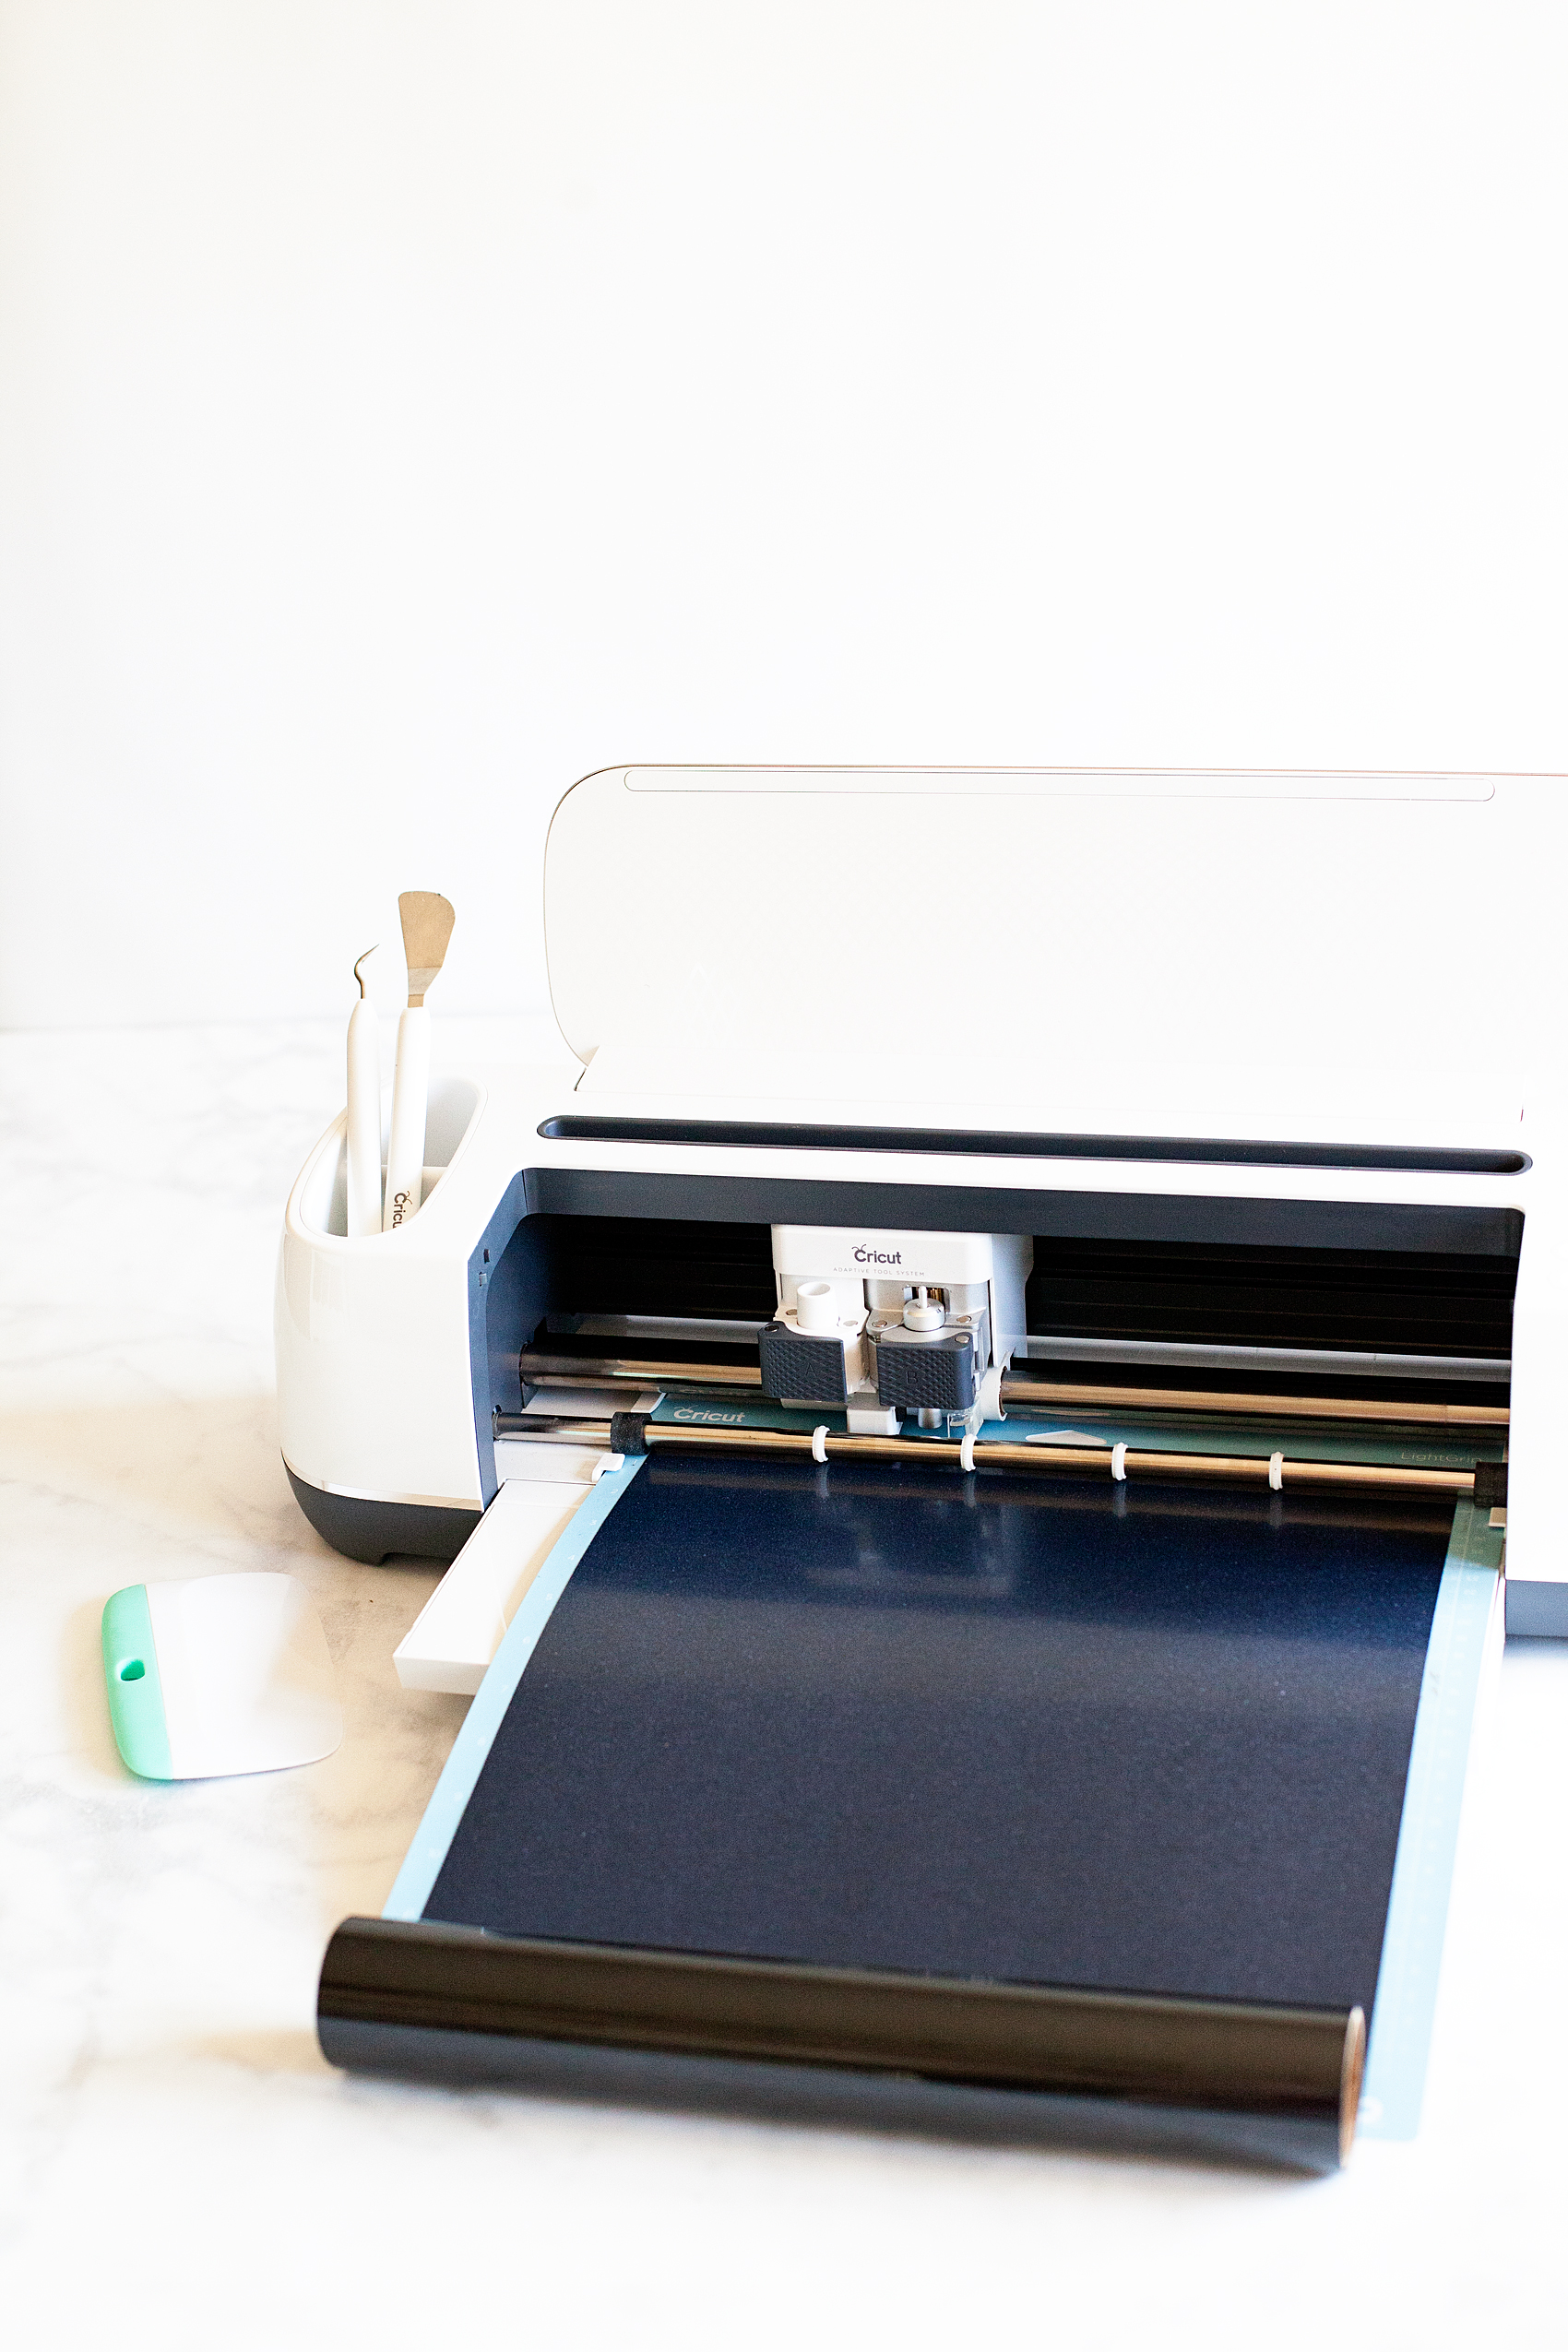
I also cut some vinyl on my Cricut that looks super fun on the jar…

You can download the cut file HERE
Holiday Survival Kit Assembly
Now, all you need to do is assemble your spa inspired Holiday Survival Kit…
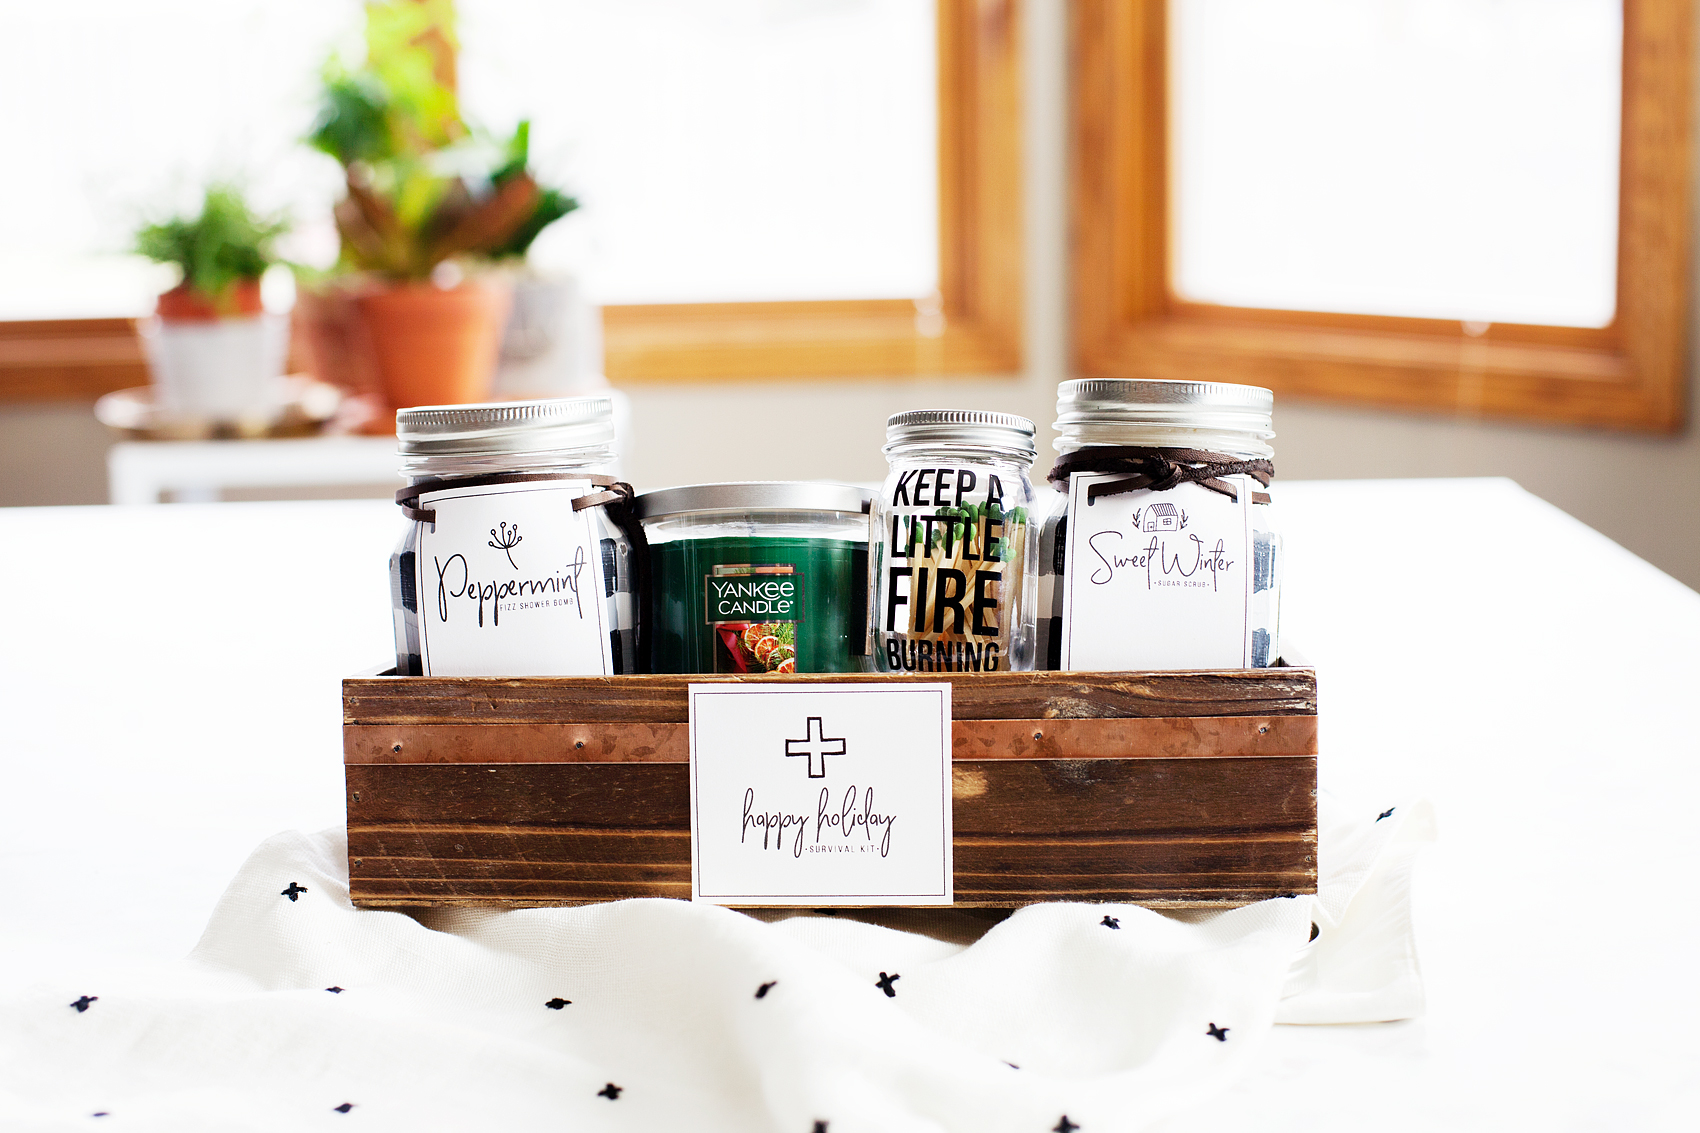
I grabbed a Yankee Candle® Small Tumbler Candle to go with my match jar and a little box and I assembled my Survival Kit with he printable tag glued on the front of the box. I also tied the gift tags on the jars with some leather that I bought at my local craft store. Now, it’s giving time!
Secret Santa
I am super excited this year to participate in the Ball® Home Canning Products Secret Santa Program! Their lovely crew assigned me to an amazing talented blogger, Almost Makes Perfect. I adore her style and was thrilled to send my Spa Inspired Survival Kit to her. I can’t wait to see what she thinks of it.
I was lucky enough to receive a Ball Secret Santa gift from Jamie of C.R.A.F.T. She sent me this cute little candy jar set…
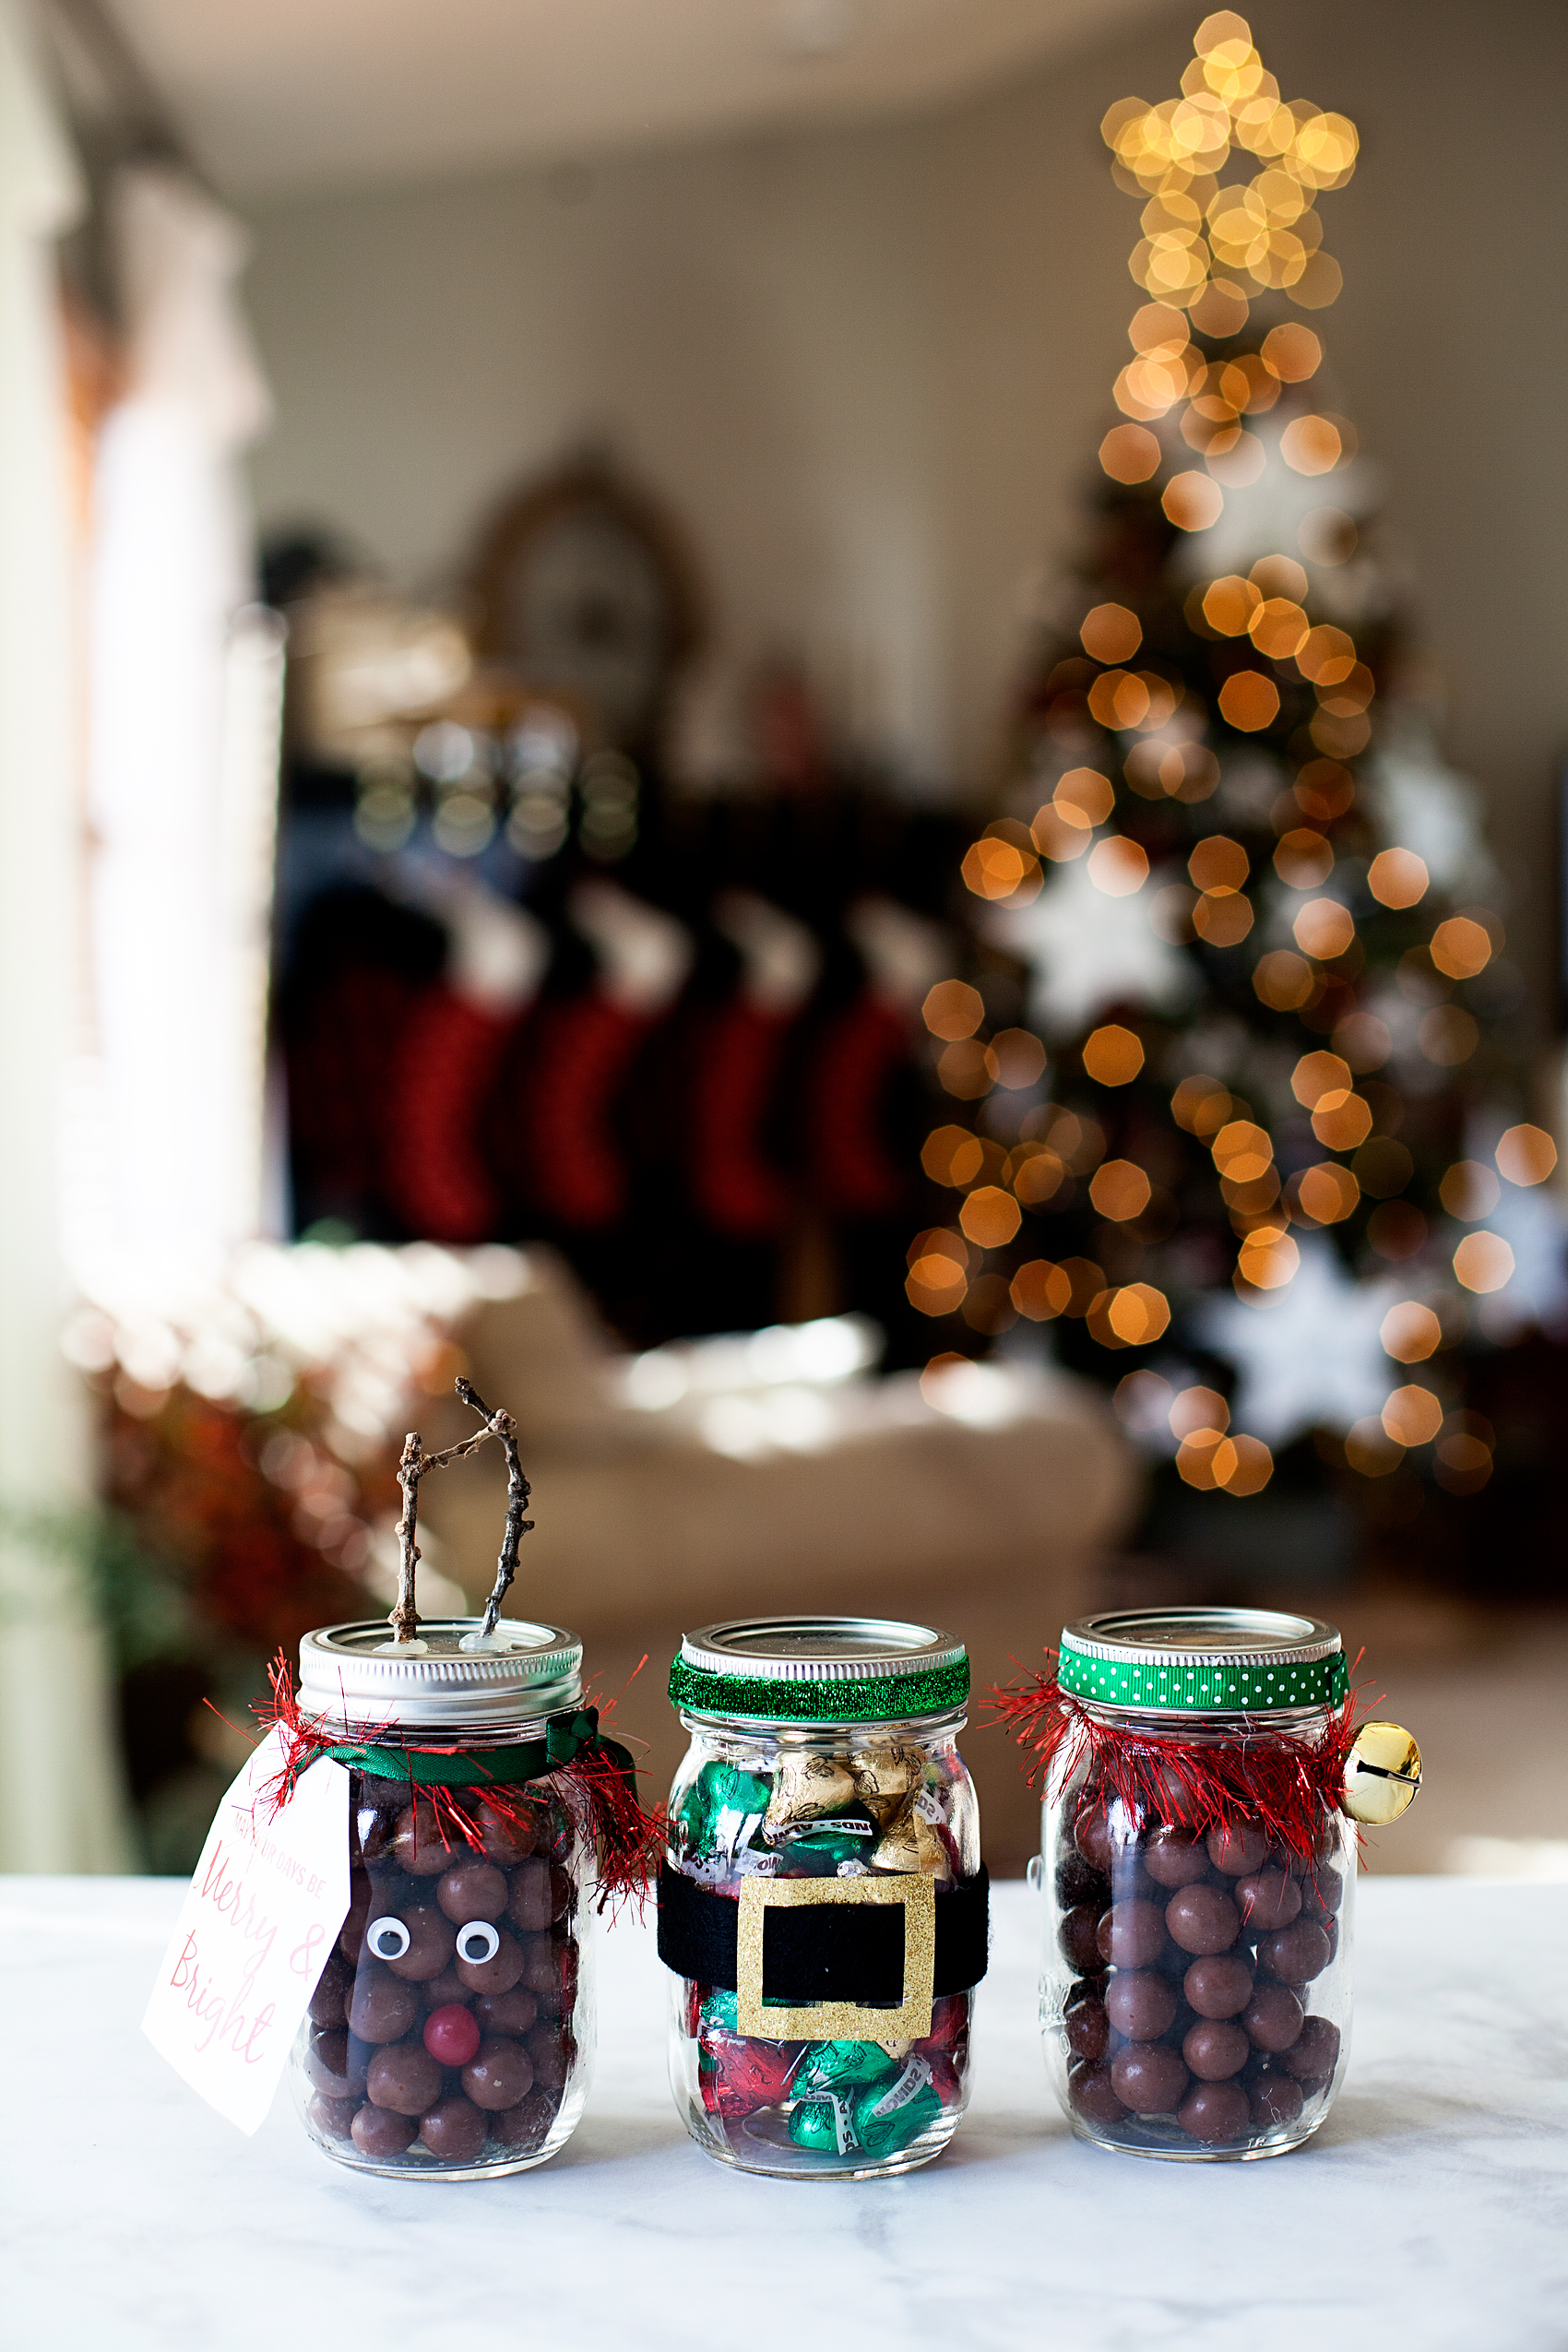
How fun is that? Adding some twigs as antlers and a belt to the jar to look like Santa. Honestly guys, creating with Ball® Canning Jars is so much fun! What can you guys think-up for this Holiday Season?
Disclosure + I am a paid partner for Newell Brands, makers of Ball® Fresh Preserving Products. However, all thoughts and opinions expressed are entirely my own.