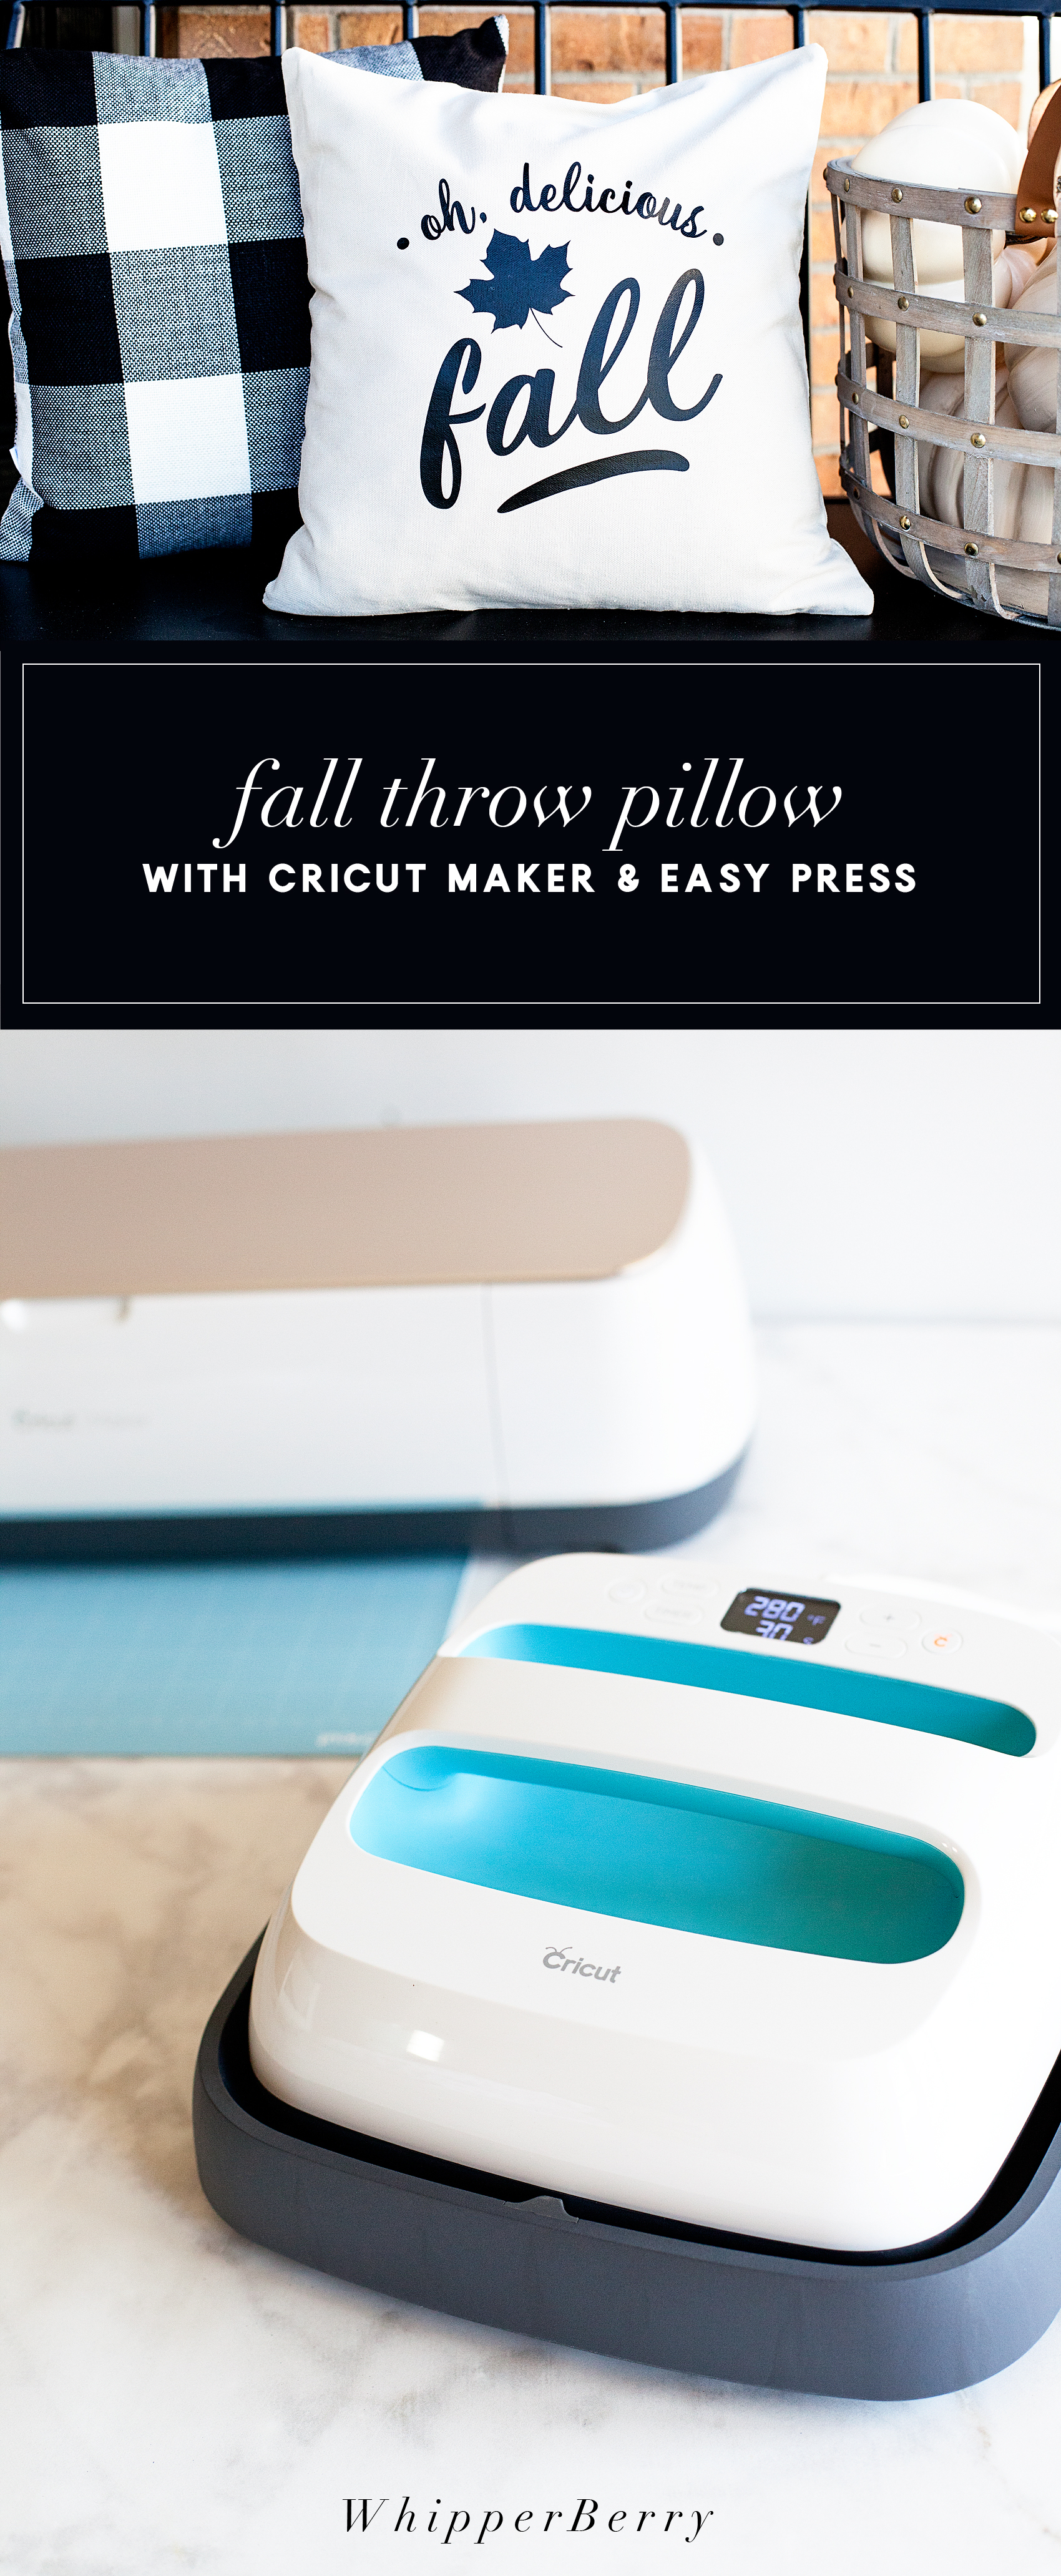
Summer is coming to a close and it’s time to start thinking about Fall decor! This DIY Fall Throw Pillow is Perfect for your front porch or any room in the house!
{ This post brought to you by • Cricut }
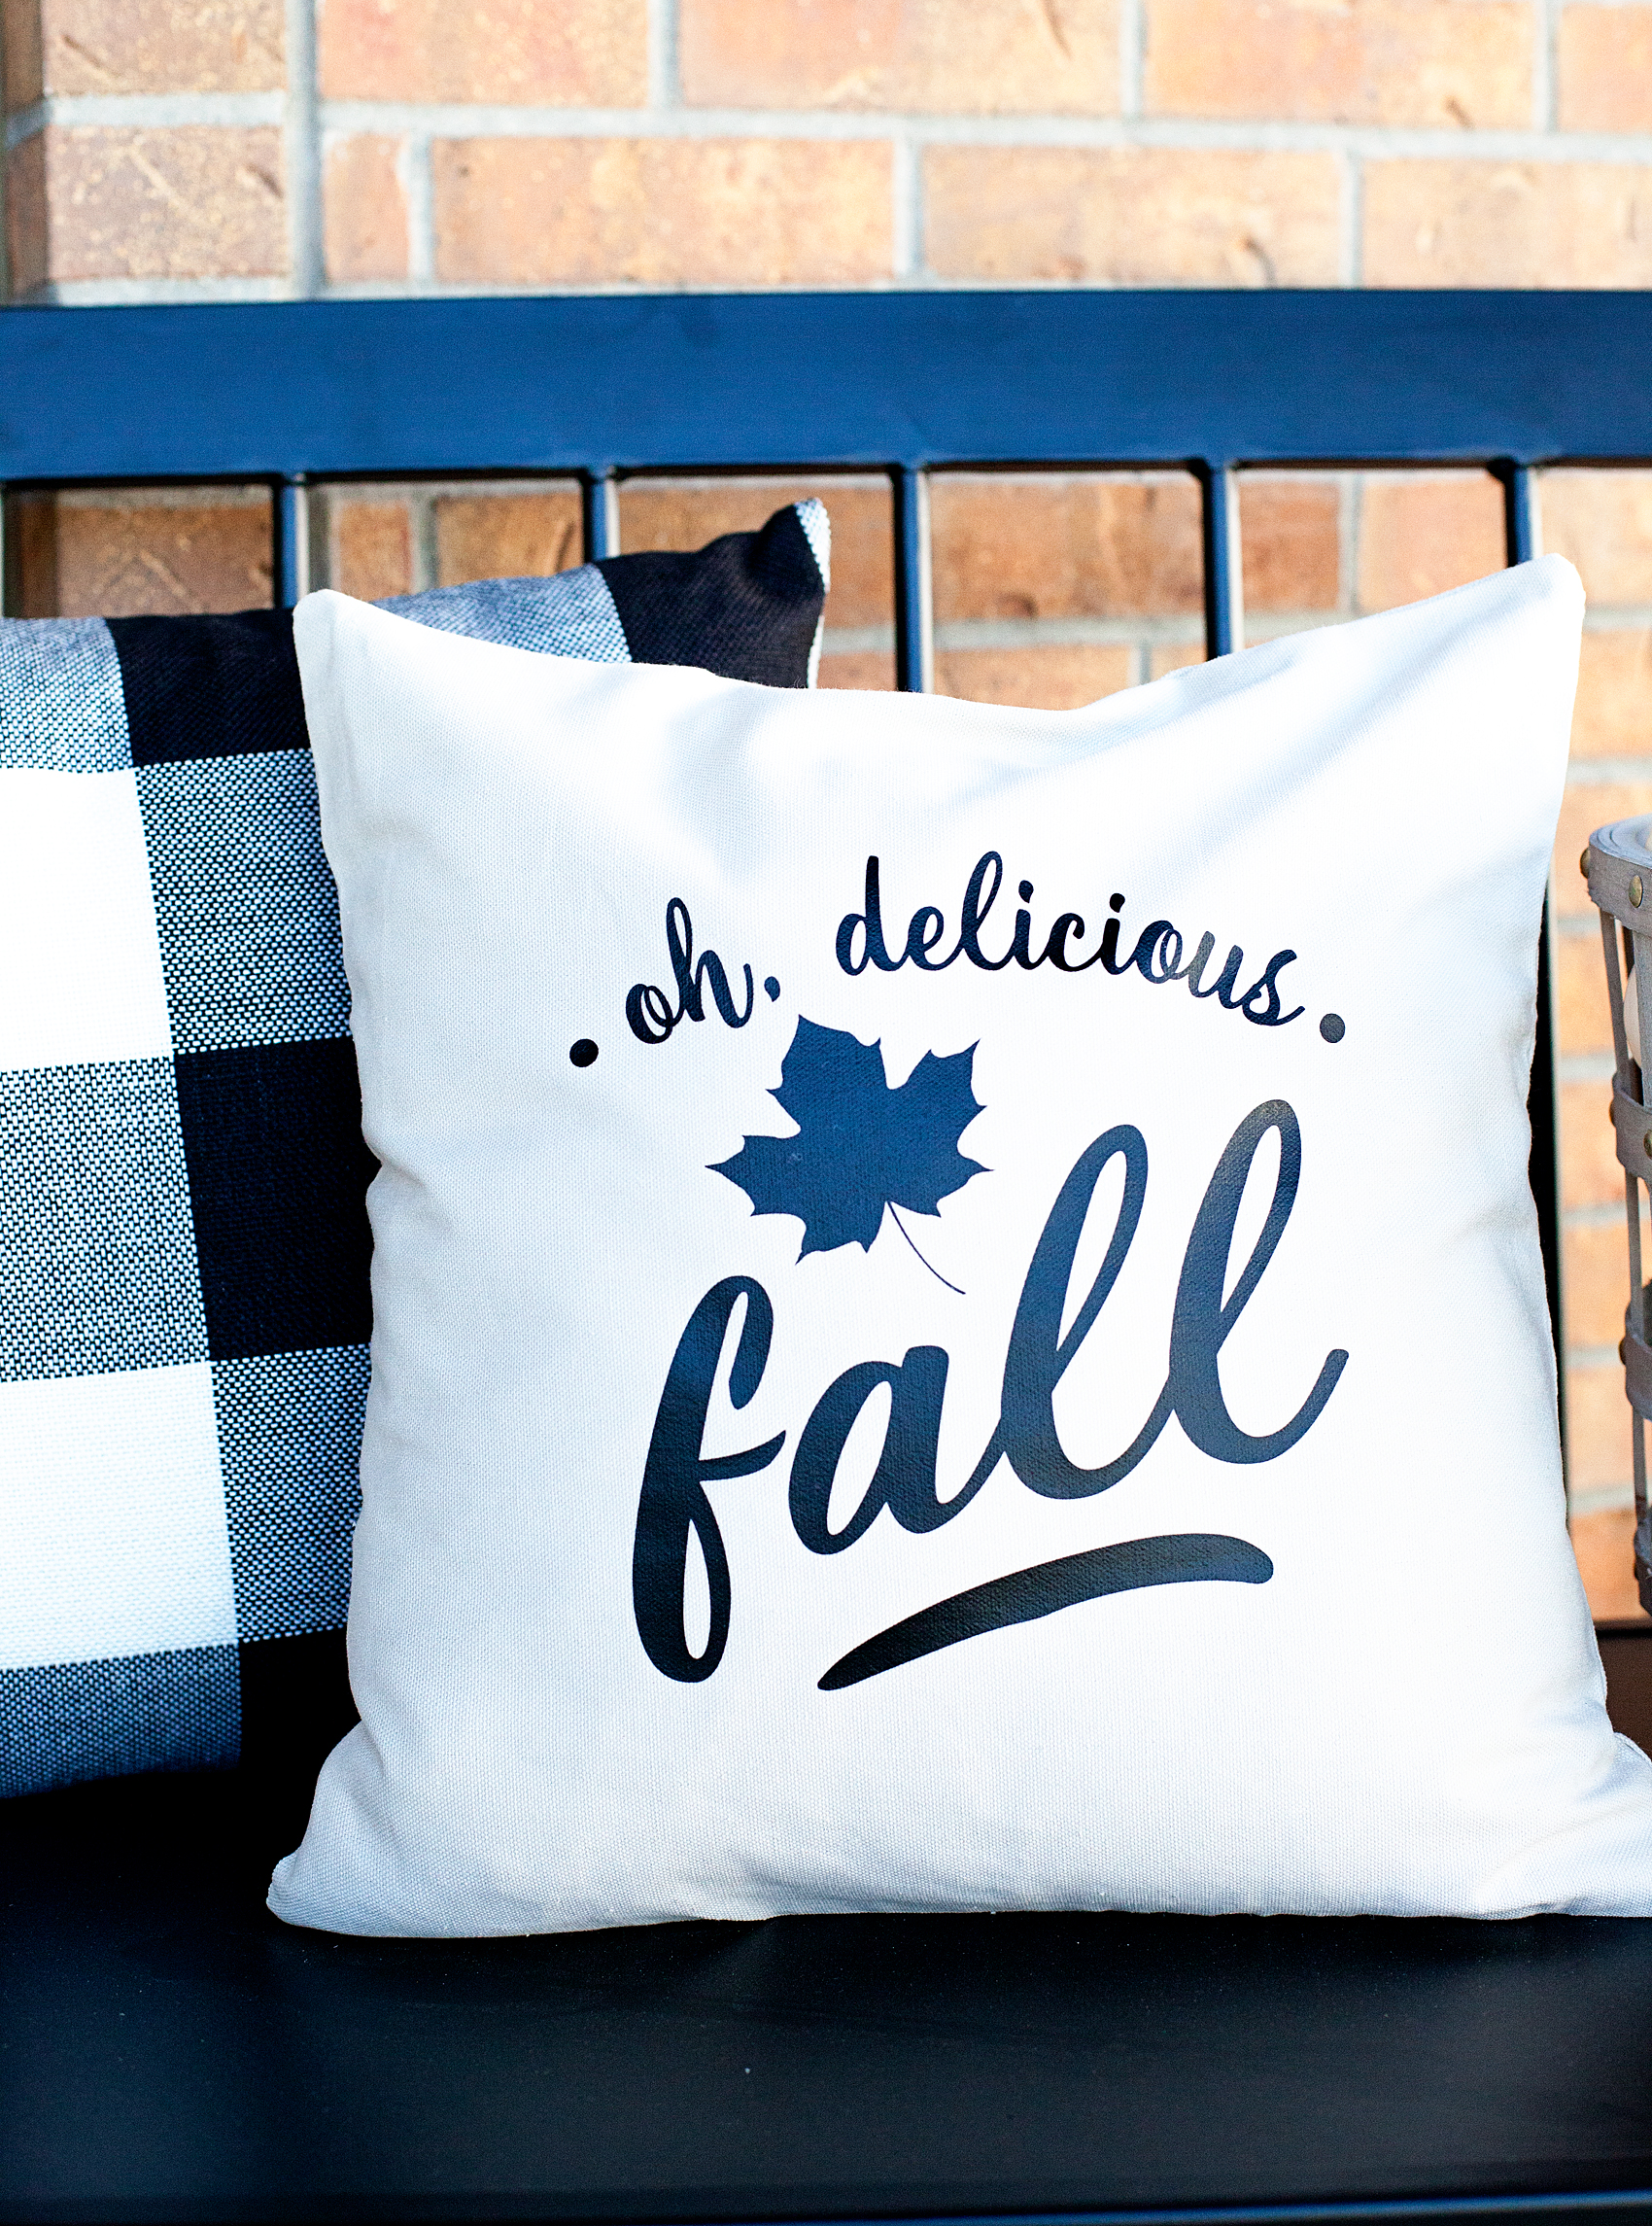
It’s time to start decorating for Fall and I’m over the moon excited to finally have a front porch that I can decorate! I’ve been working on all kinds of projects for the porch design and today I’m going to show you one of the elements. My DIY Fall throw pillow with the cute saying, “Oh, Delicious Fall.” Earlier today if you have been following my Story on Instagram… You watched live, how easy it is to make this simple accent pillow with the new Cricut Maker & Easy Press along with the Cricut Heat Transfer Material. It’s sooooo cool!!
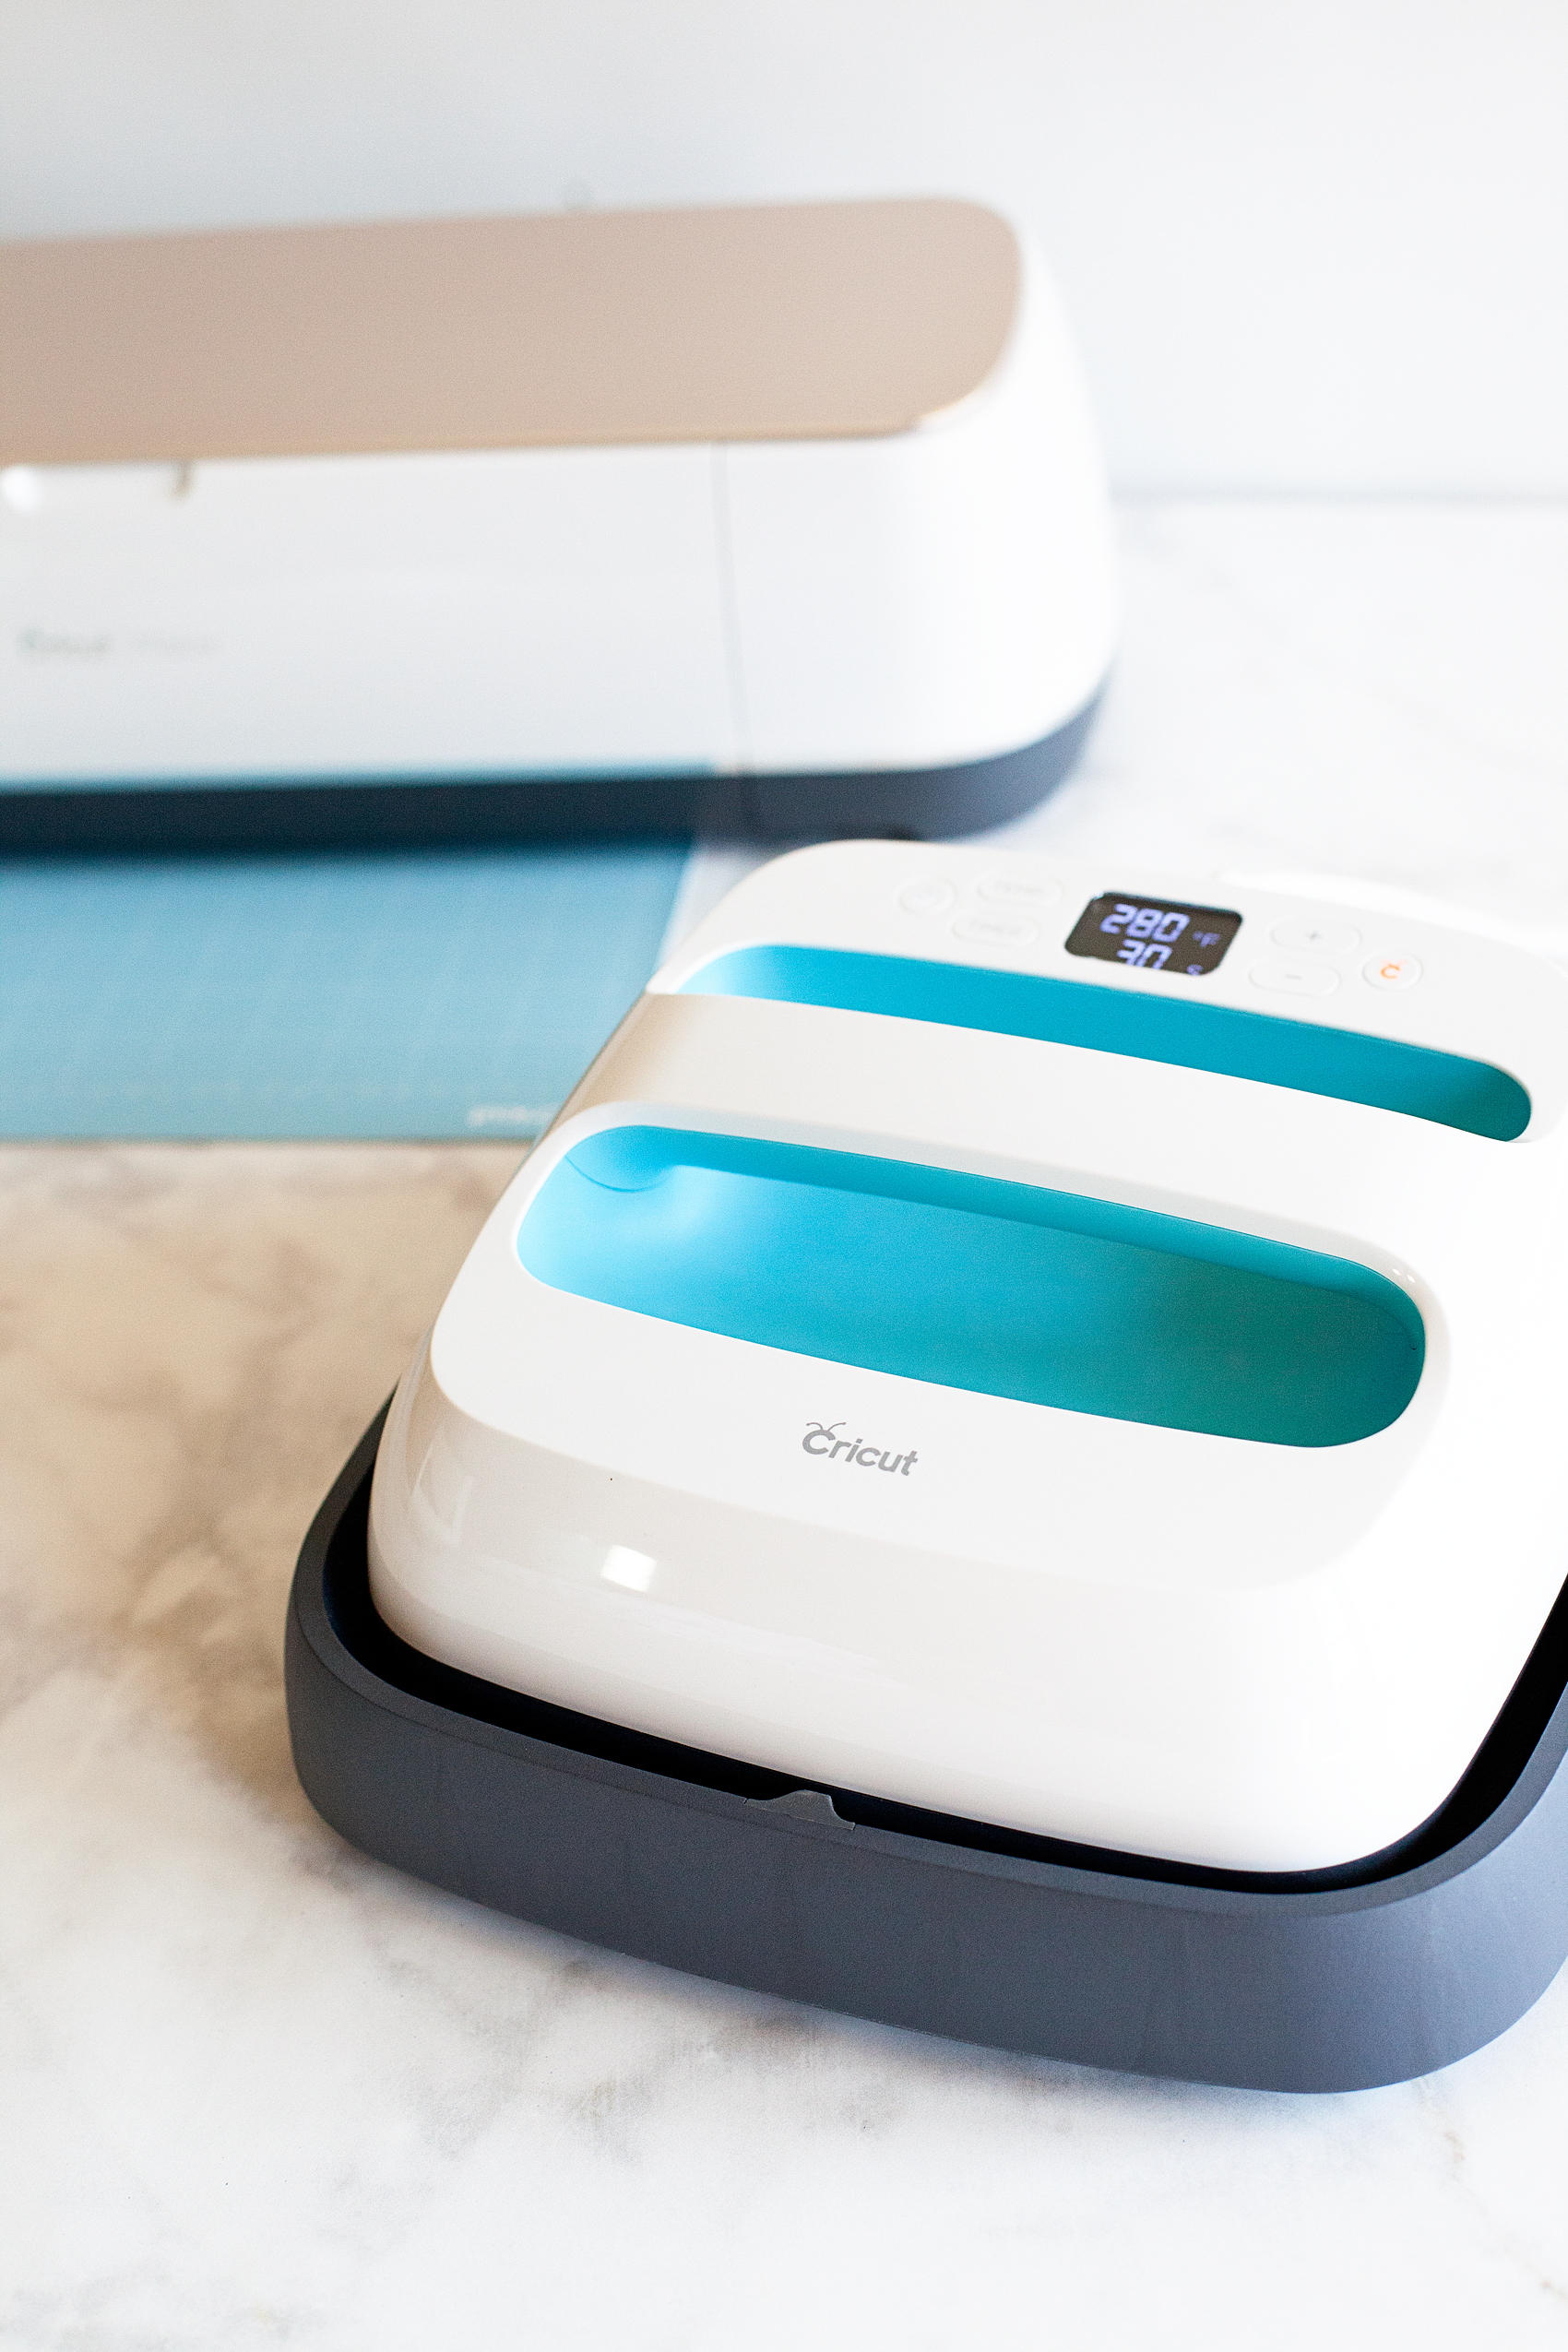
The Cricut MAKER
You guys… I know you’ve seen all the buzz around the creative world about the new Cricut Maker and Cricut Easy Press. I’m here to tell you, everything you’ve heard is legit. These two new machines are game changers in the creative world. I’m sure you’ve seen some of the stuff the new Cricut Maker can do, it cuts…
- fabric { without any type of backing }
- felt
- leather
- balsa and bass wood
- crepe paper
- chip board
- mat board
- and the list goes on and on…
The engineers at Cricut have come up with an adaptive cutting tool system that is truly inspired. They have also dramatically increased the cutting power which allows for all of the new materials. They’ve increased the cutting power 10x… That’s seriously impressive! Here are some of the displays with amazing vignettes all created with the Cricut Maker for the launch event earlier this month.


Well, enough about that… Let’s get to work on the Fall throw pillow. Now keep in mind, I am using the new Cricut Maker but, you can use any of the Cricut cutting machines like the Cricut Air 2 for this project. We are using the Cricut Heat Transfer Material that any of those machines can handle just fine. Also, I am using the Cricut Easy Press, which is FABULOUS!! But, you won’t be left out in the cold if you don’t have an Easy Press yet… You can use your iron to create this accent fluffy pillow as well.
Instructions for the DIY Fall Throw Pillow
Materials needed:
- pillow cover
- pillow form
- Cricut Iron-On Lite – black
- Cricut Light Grip cutting mat
- Cricut cutting machine
- Cricut Easy Press or an Iron
- light cotton towel
- Cricut Design Space
Directions:
First, you need to download the “Oh, delicious Fall” design that I’ve created for this pillow.

Then you’ll need to upload it into Design Space…
You’ll do that by clicking on the upload button on the left side of the screen.

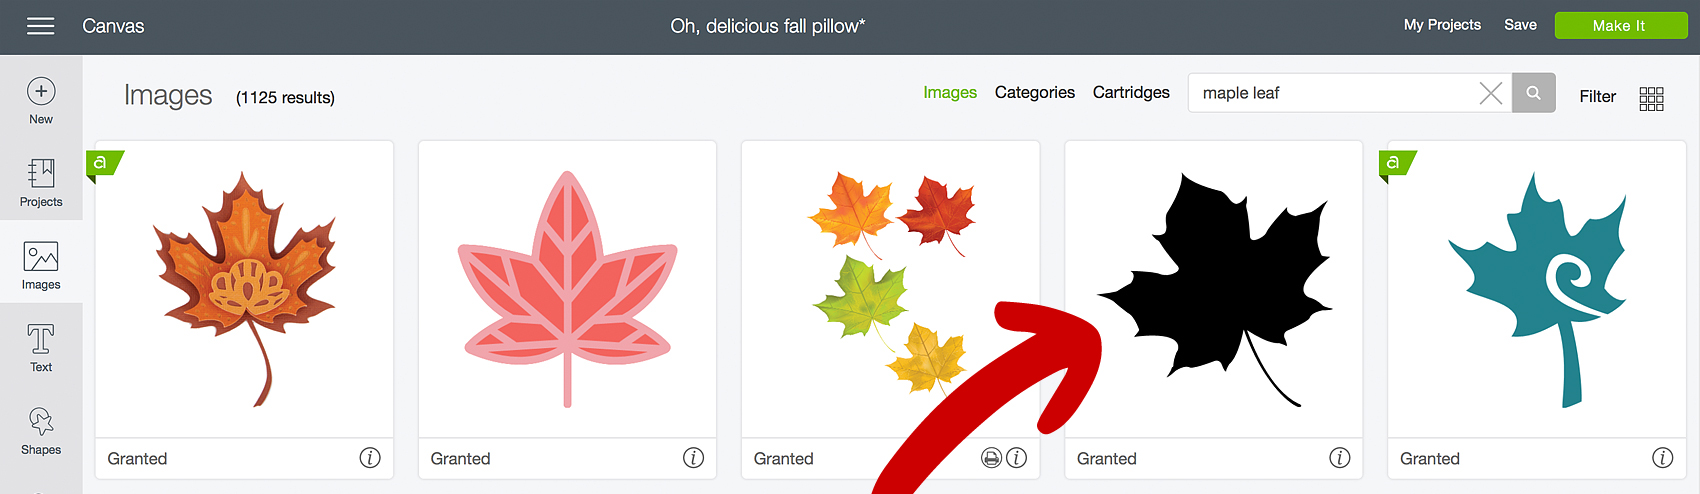
Now, the design is already sized for your standard 15 inch throw pillow but you can size it larger or smaller if you like. You will also need to add the maple leaf from the image library. I searched for a maple leaf in the search bar and then selected the leaf below. You could always select whatever image you like.
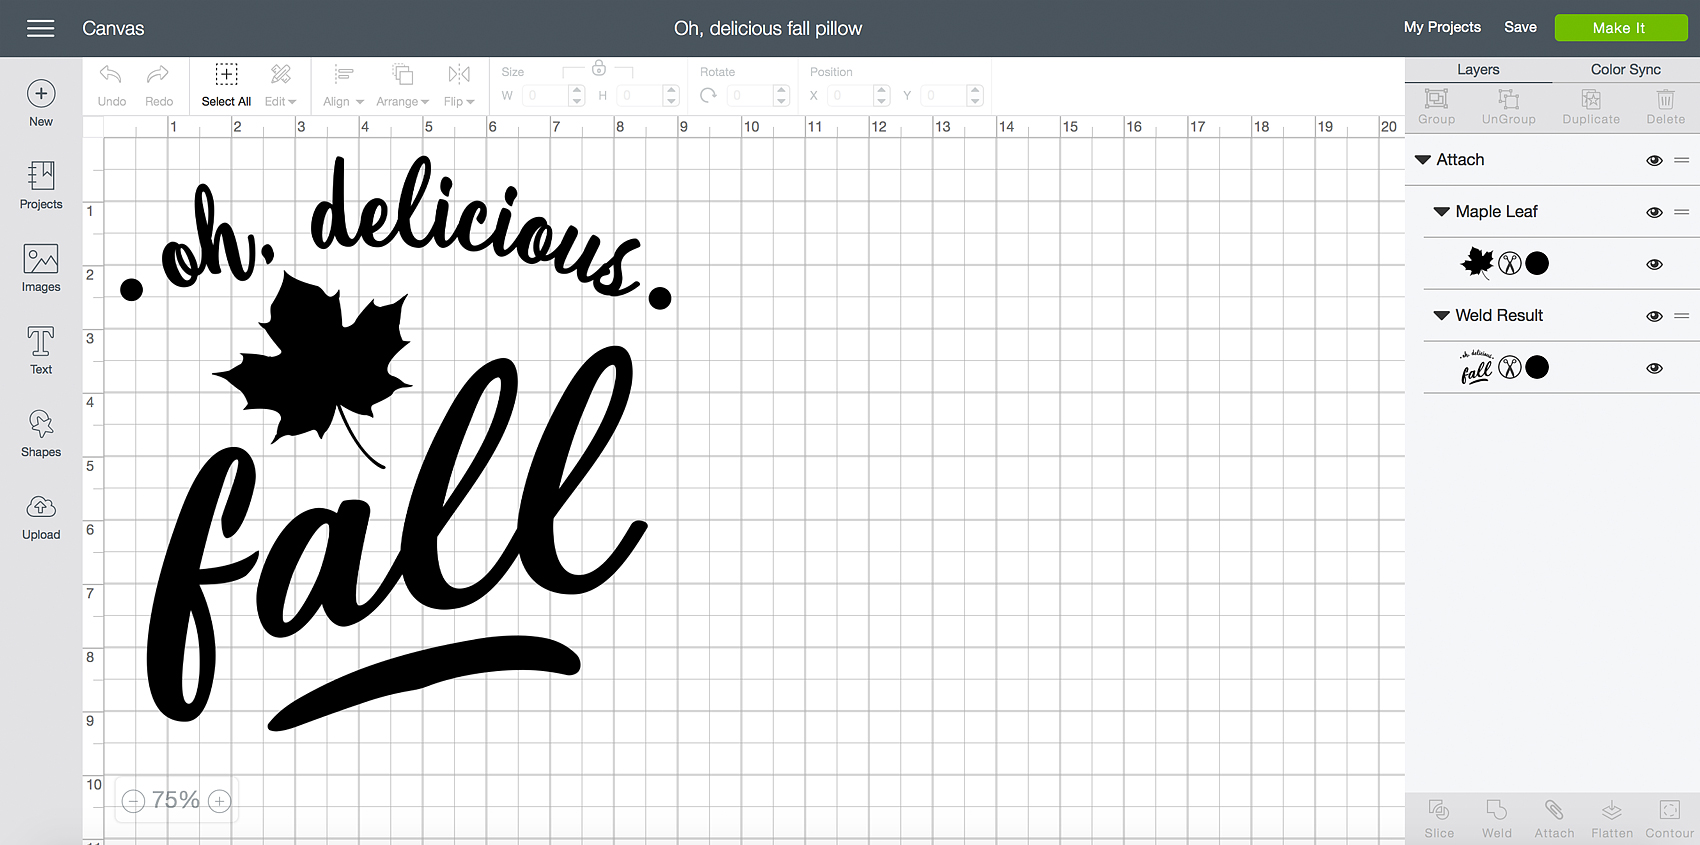
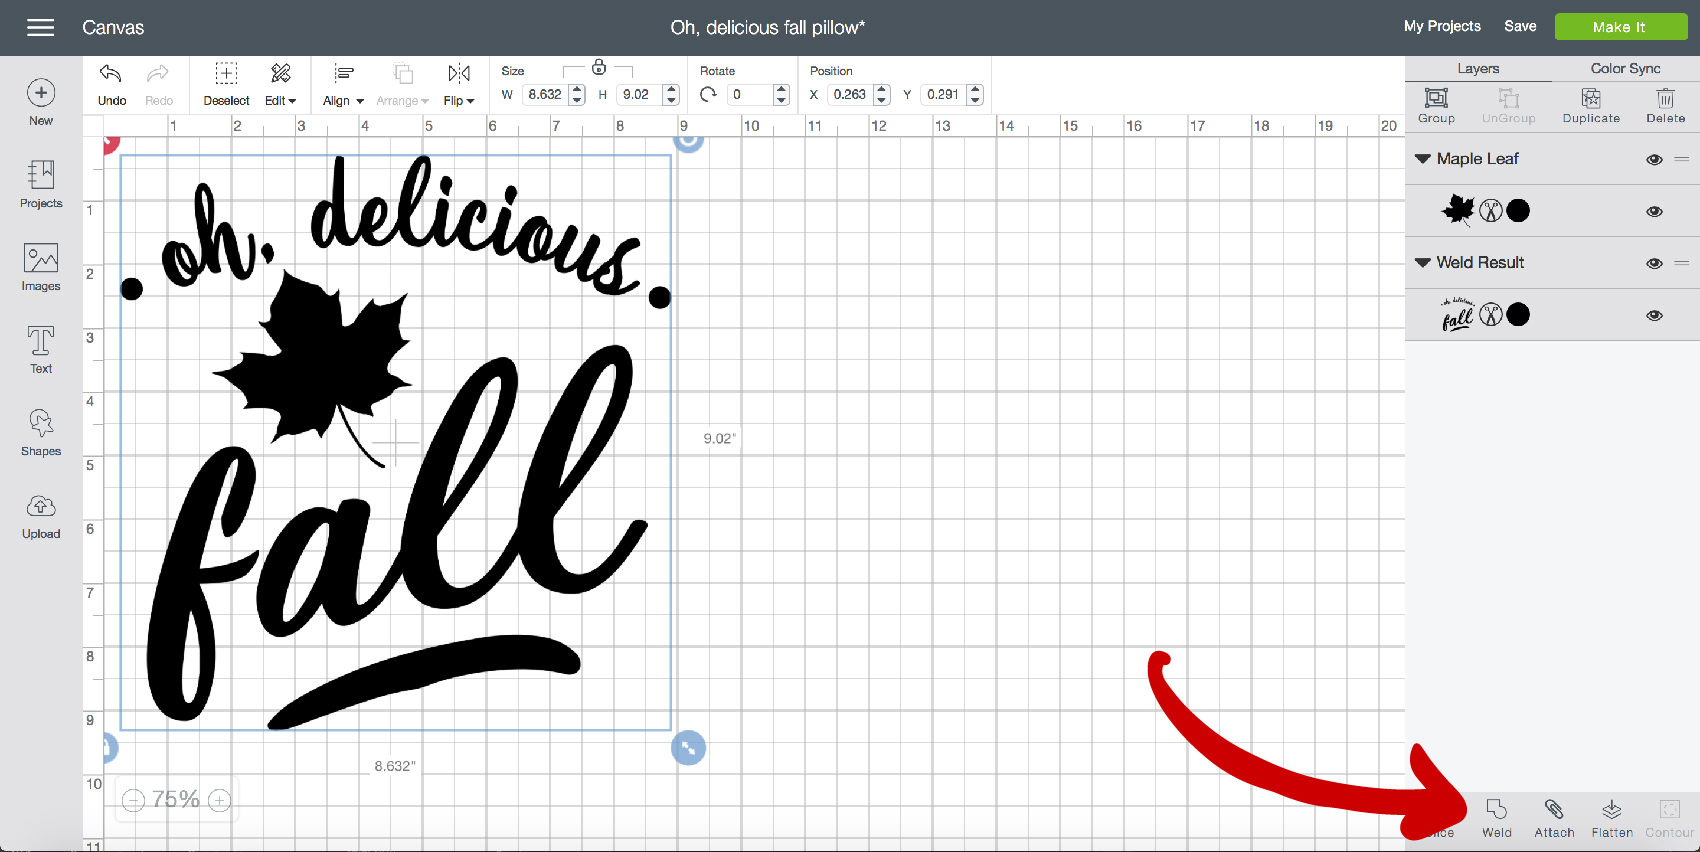
Size and place the leaf into the design and then you need to select your designs and then Weld them together and then Attach them to your “cutting mat.”
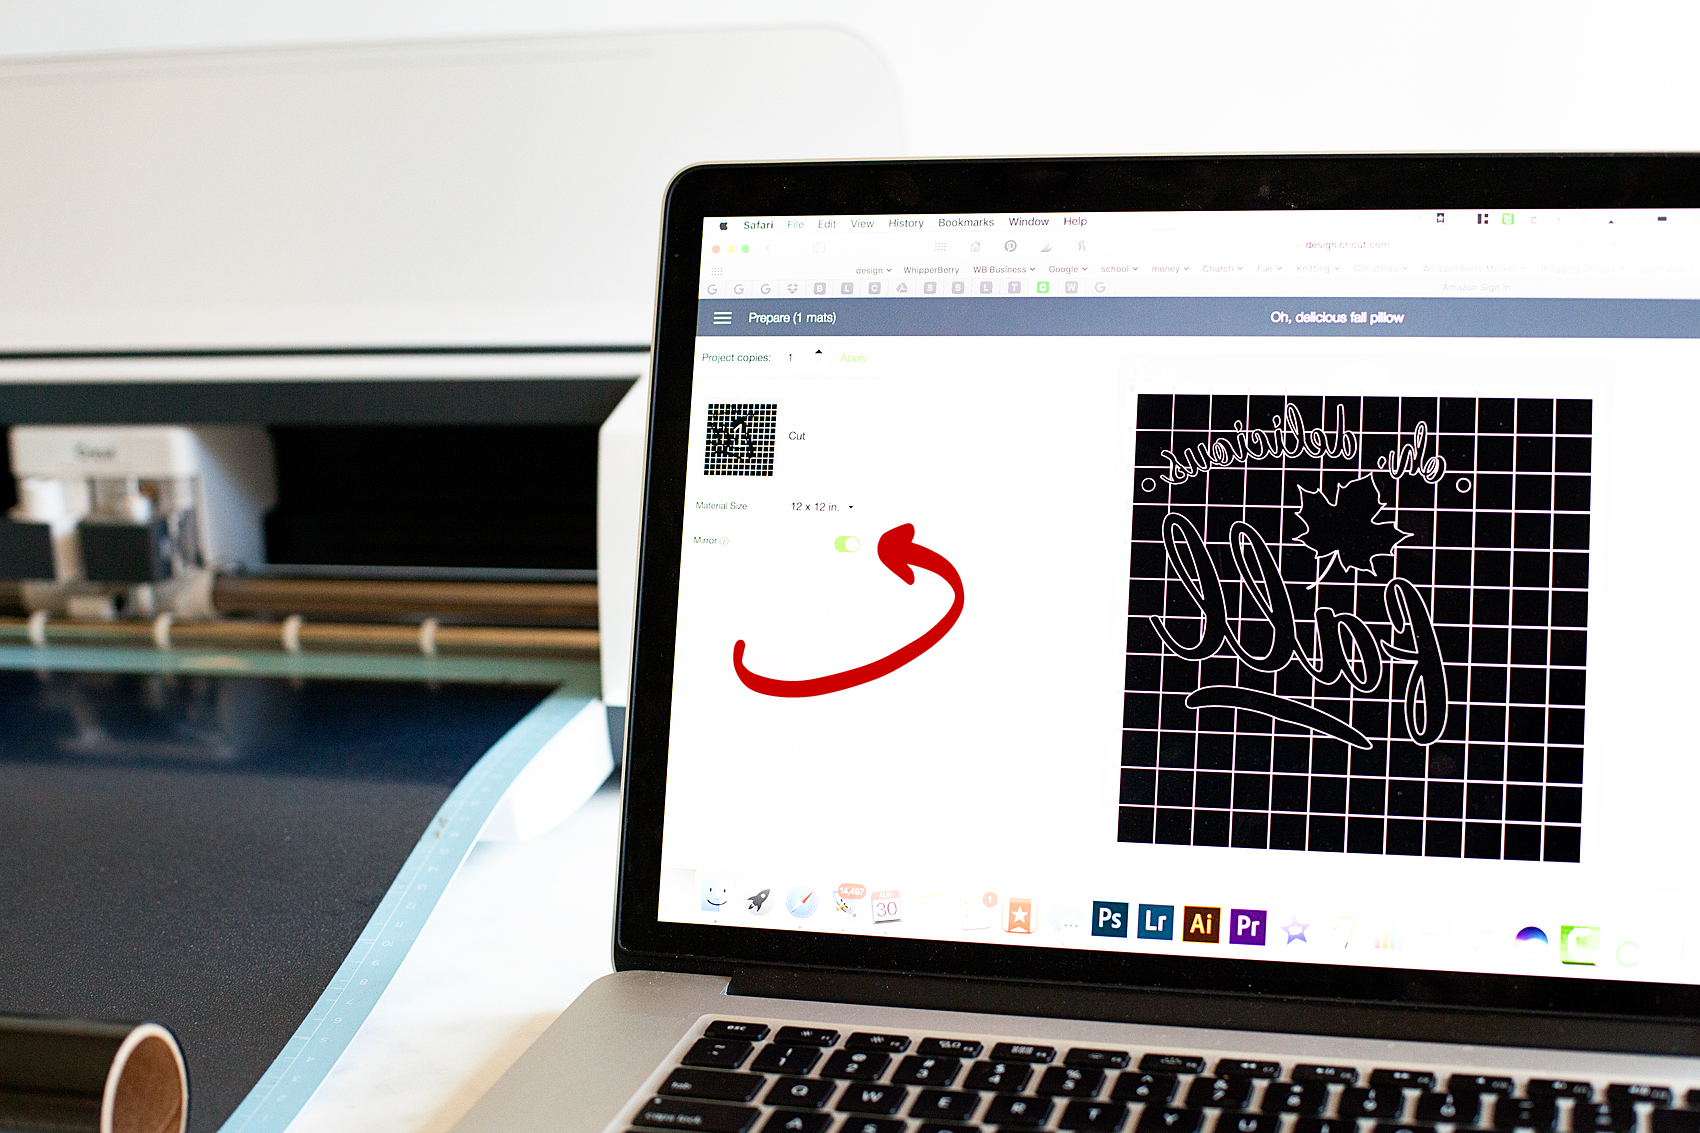
Now, it’s time to “Make It” by clicking on the Make It button at the top right of the screen. When working with iron-on material, you need to make sure that you mirror the design so that it cuts properly.
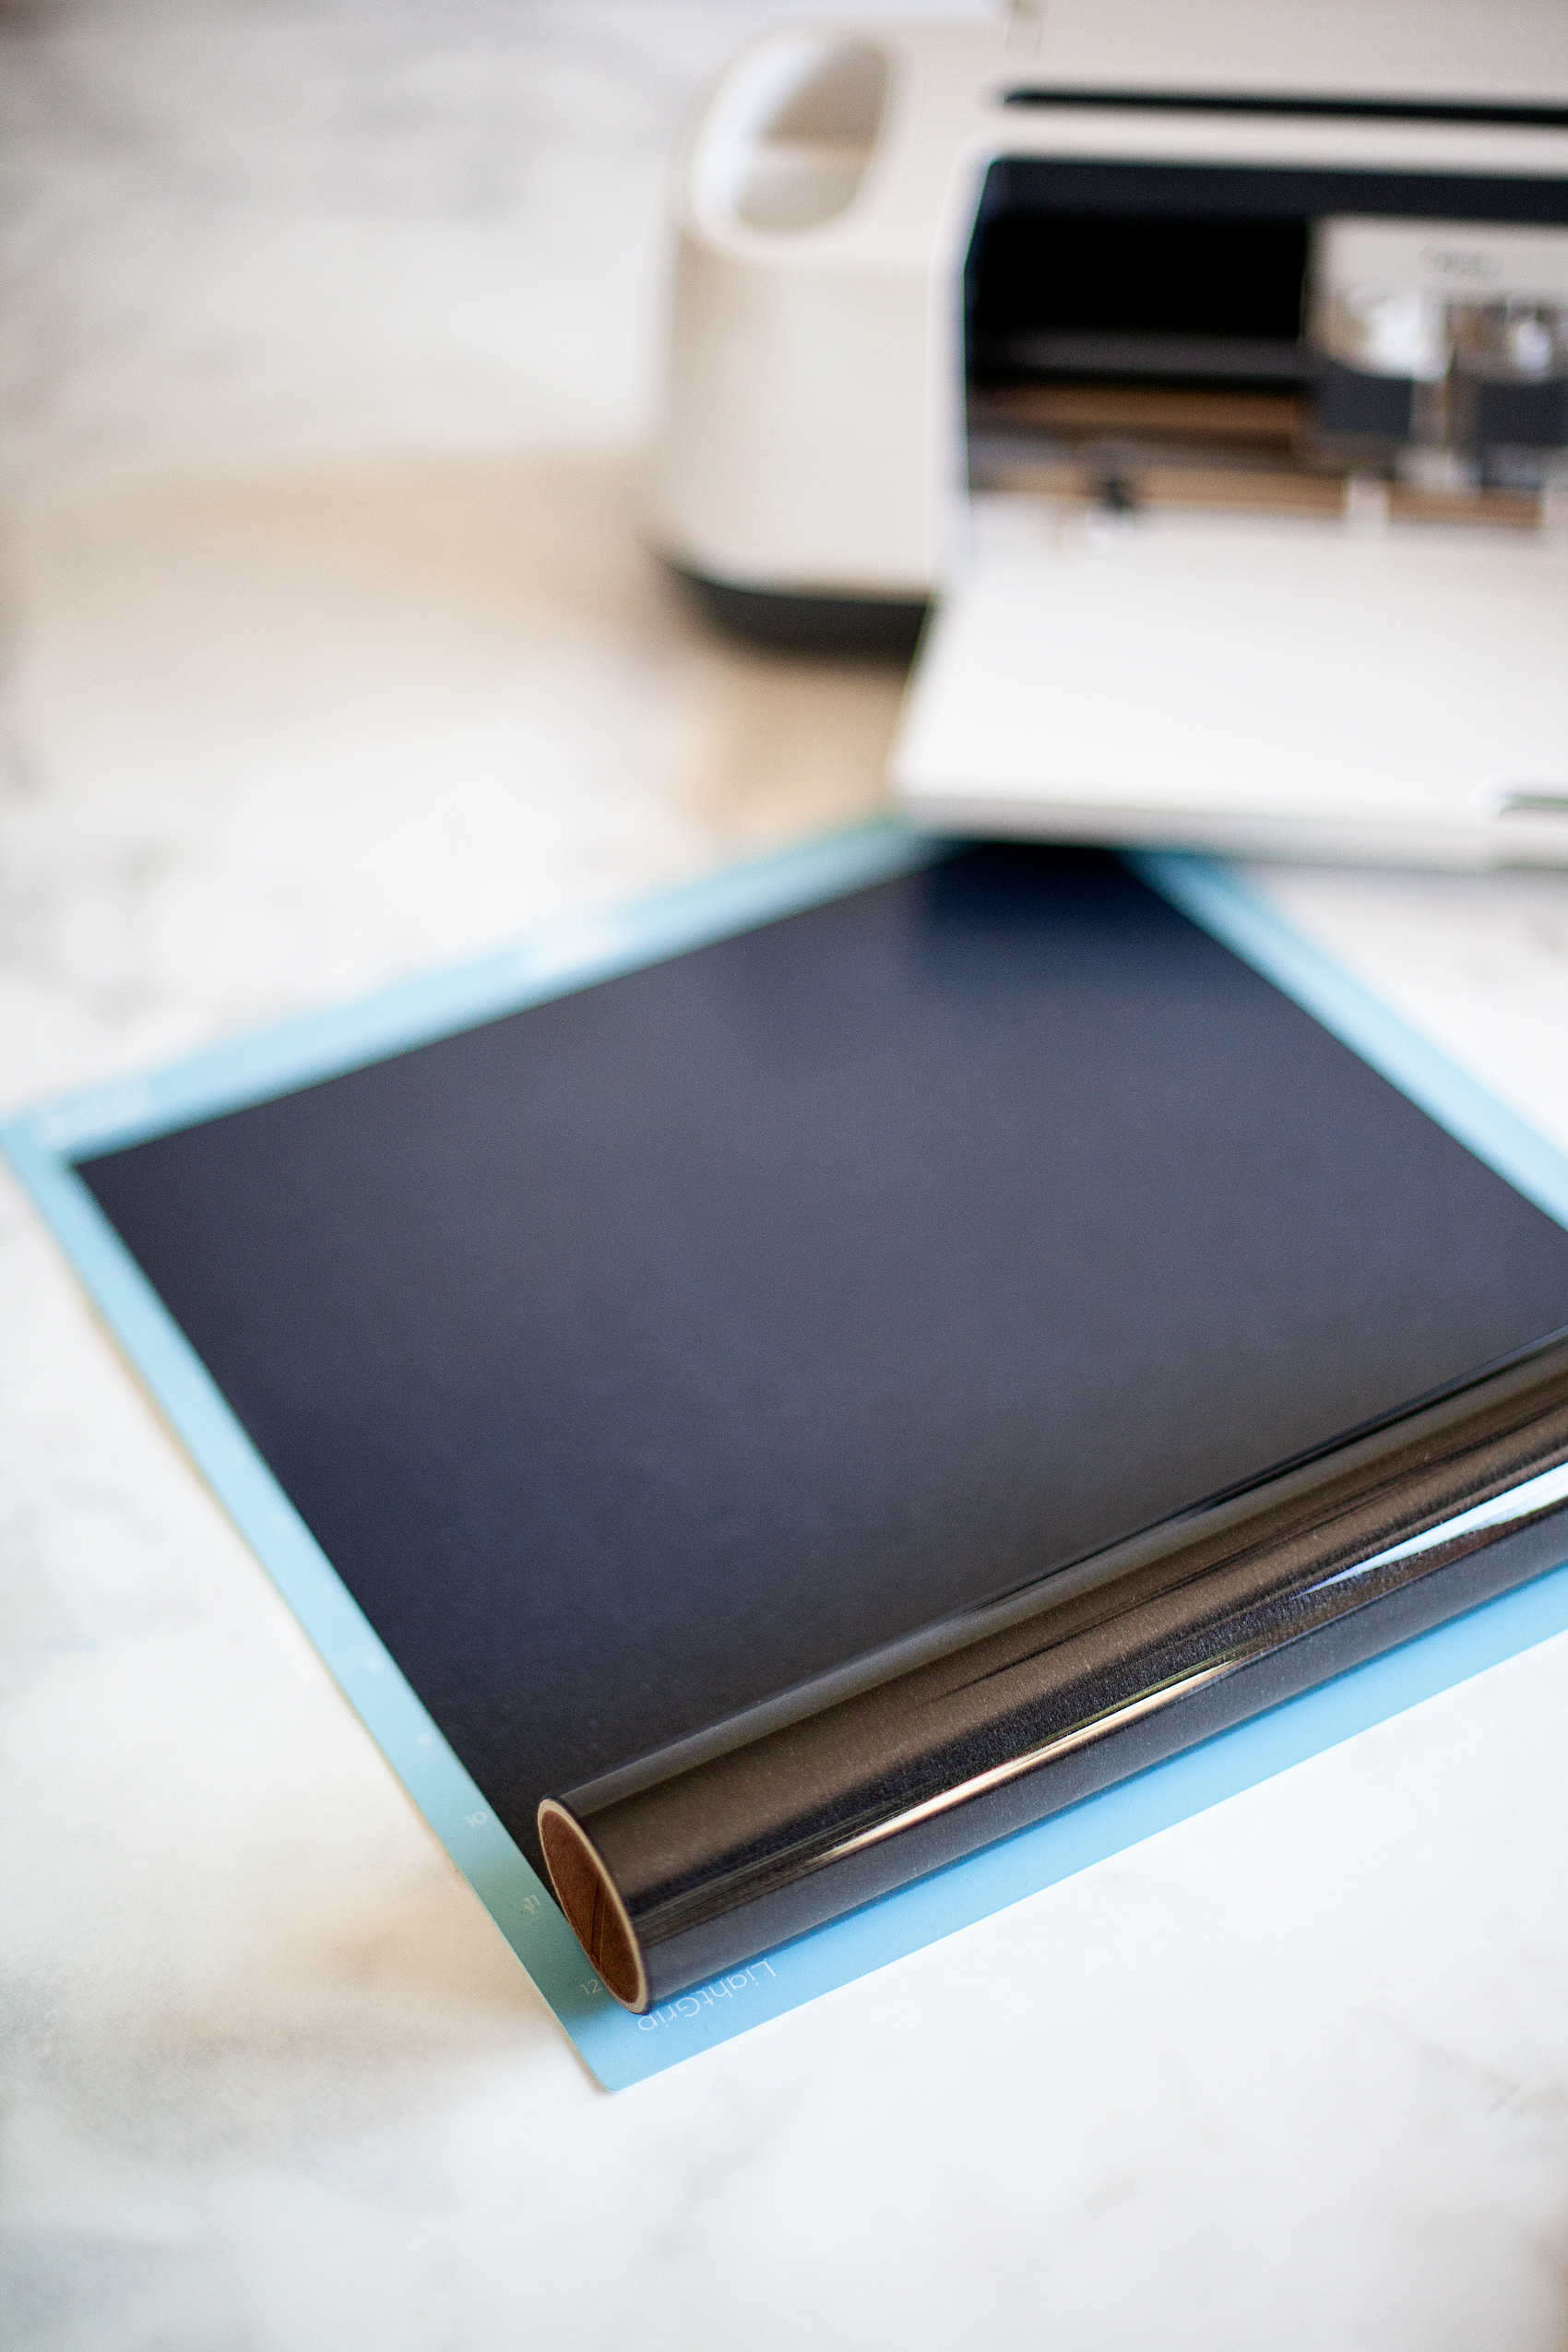
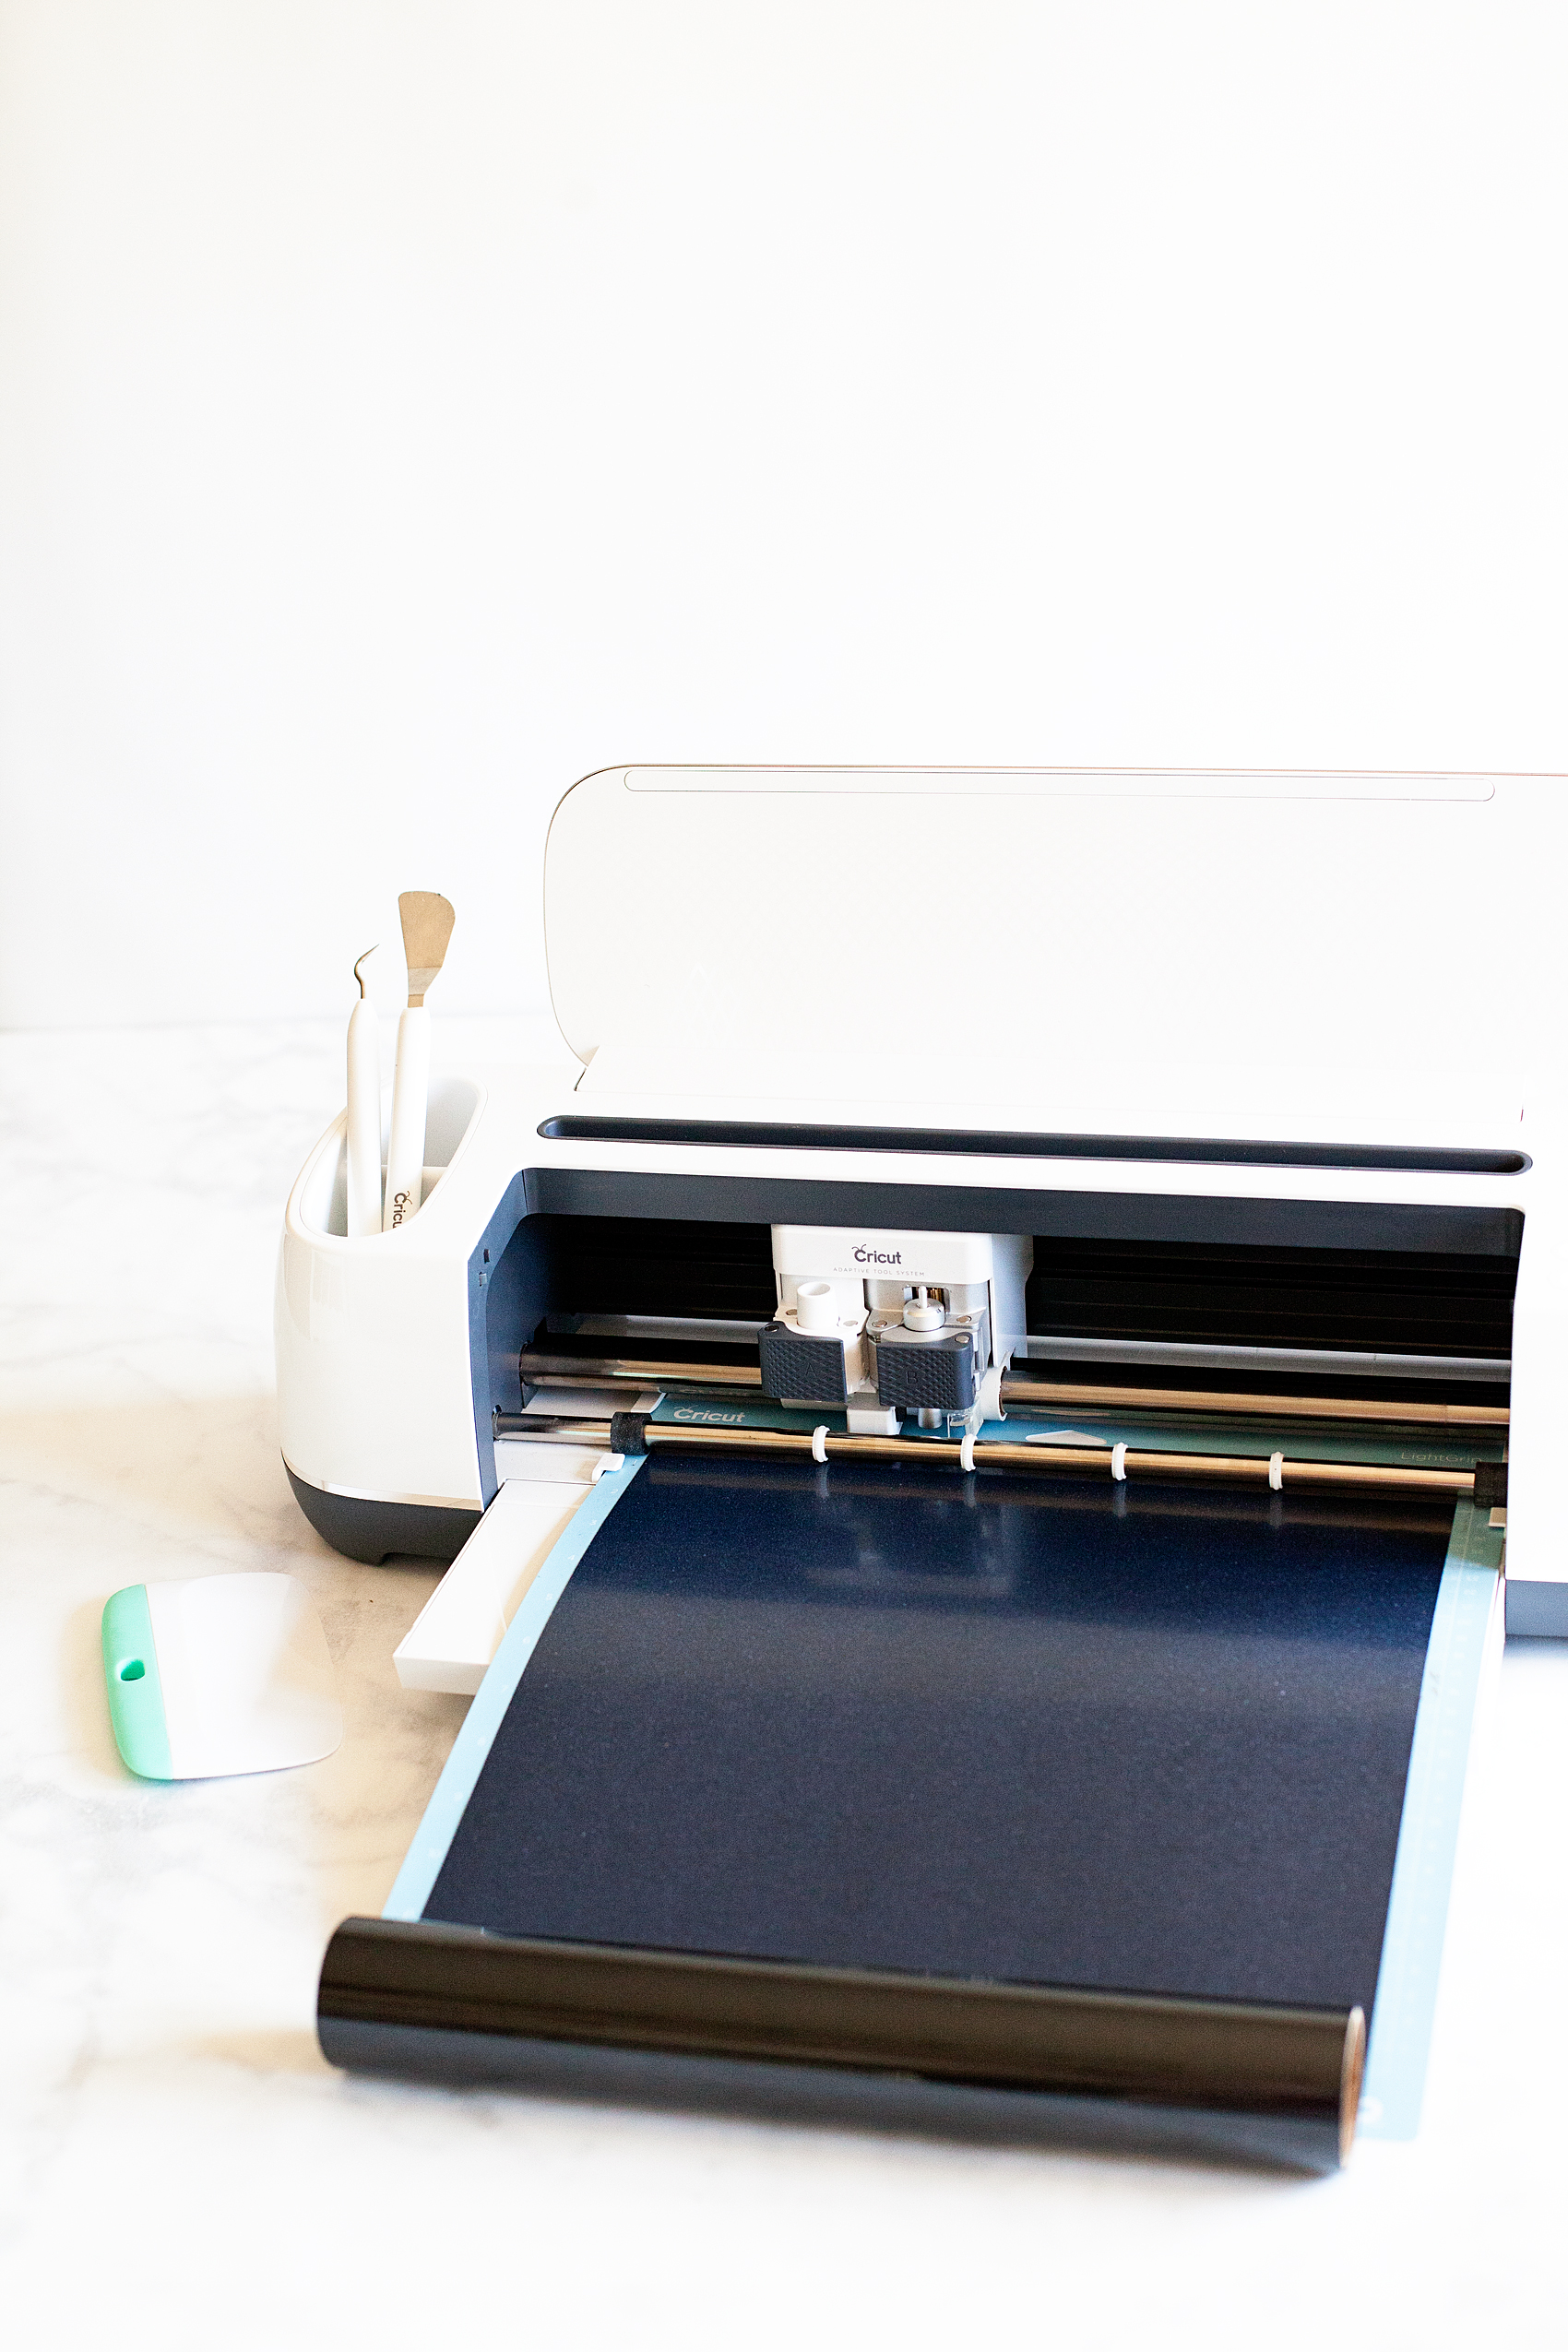
Now, you need to place your Cricut Iron-On light onto your cutting mat. Make sure to follow the package directions for how to place it on your mat. Basically, the shiny side needs to be placed face down on the mat. If you were following my Instagram Story, you would have seen that I don’t bother to cut the material off of the roll until I have finished cutting my design. It cuts down on waste and makes it easier to remove your design from the cutting mat. All you need to do is roll it right back up. It’s super slick.
Now, you need to load your mat into the machine, connect your machine to your computer, iPad or other mobil device via Bluetooth and then select your material that you will be cutting.
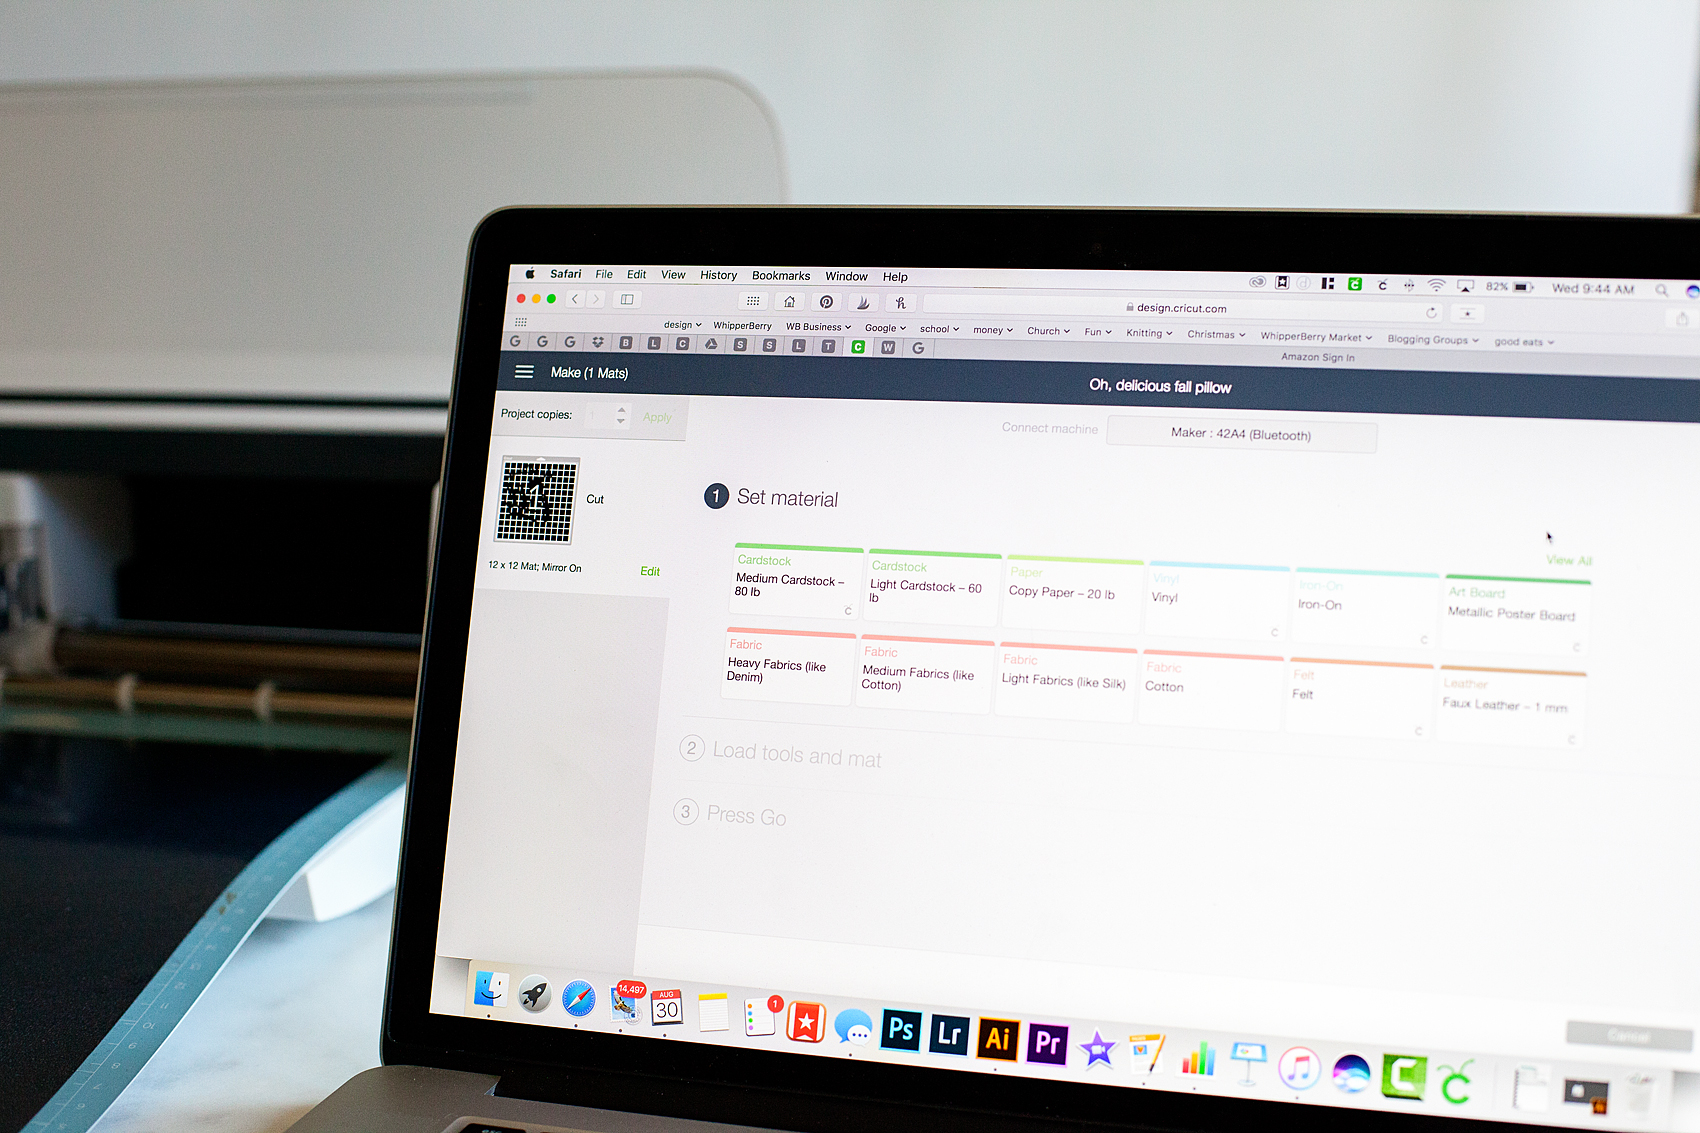
Click on Iron-On and you’re all set to cut…
Once you have finished the cutting process, you’ll need to weed your iron-on vinyl to remove the excess material.
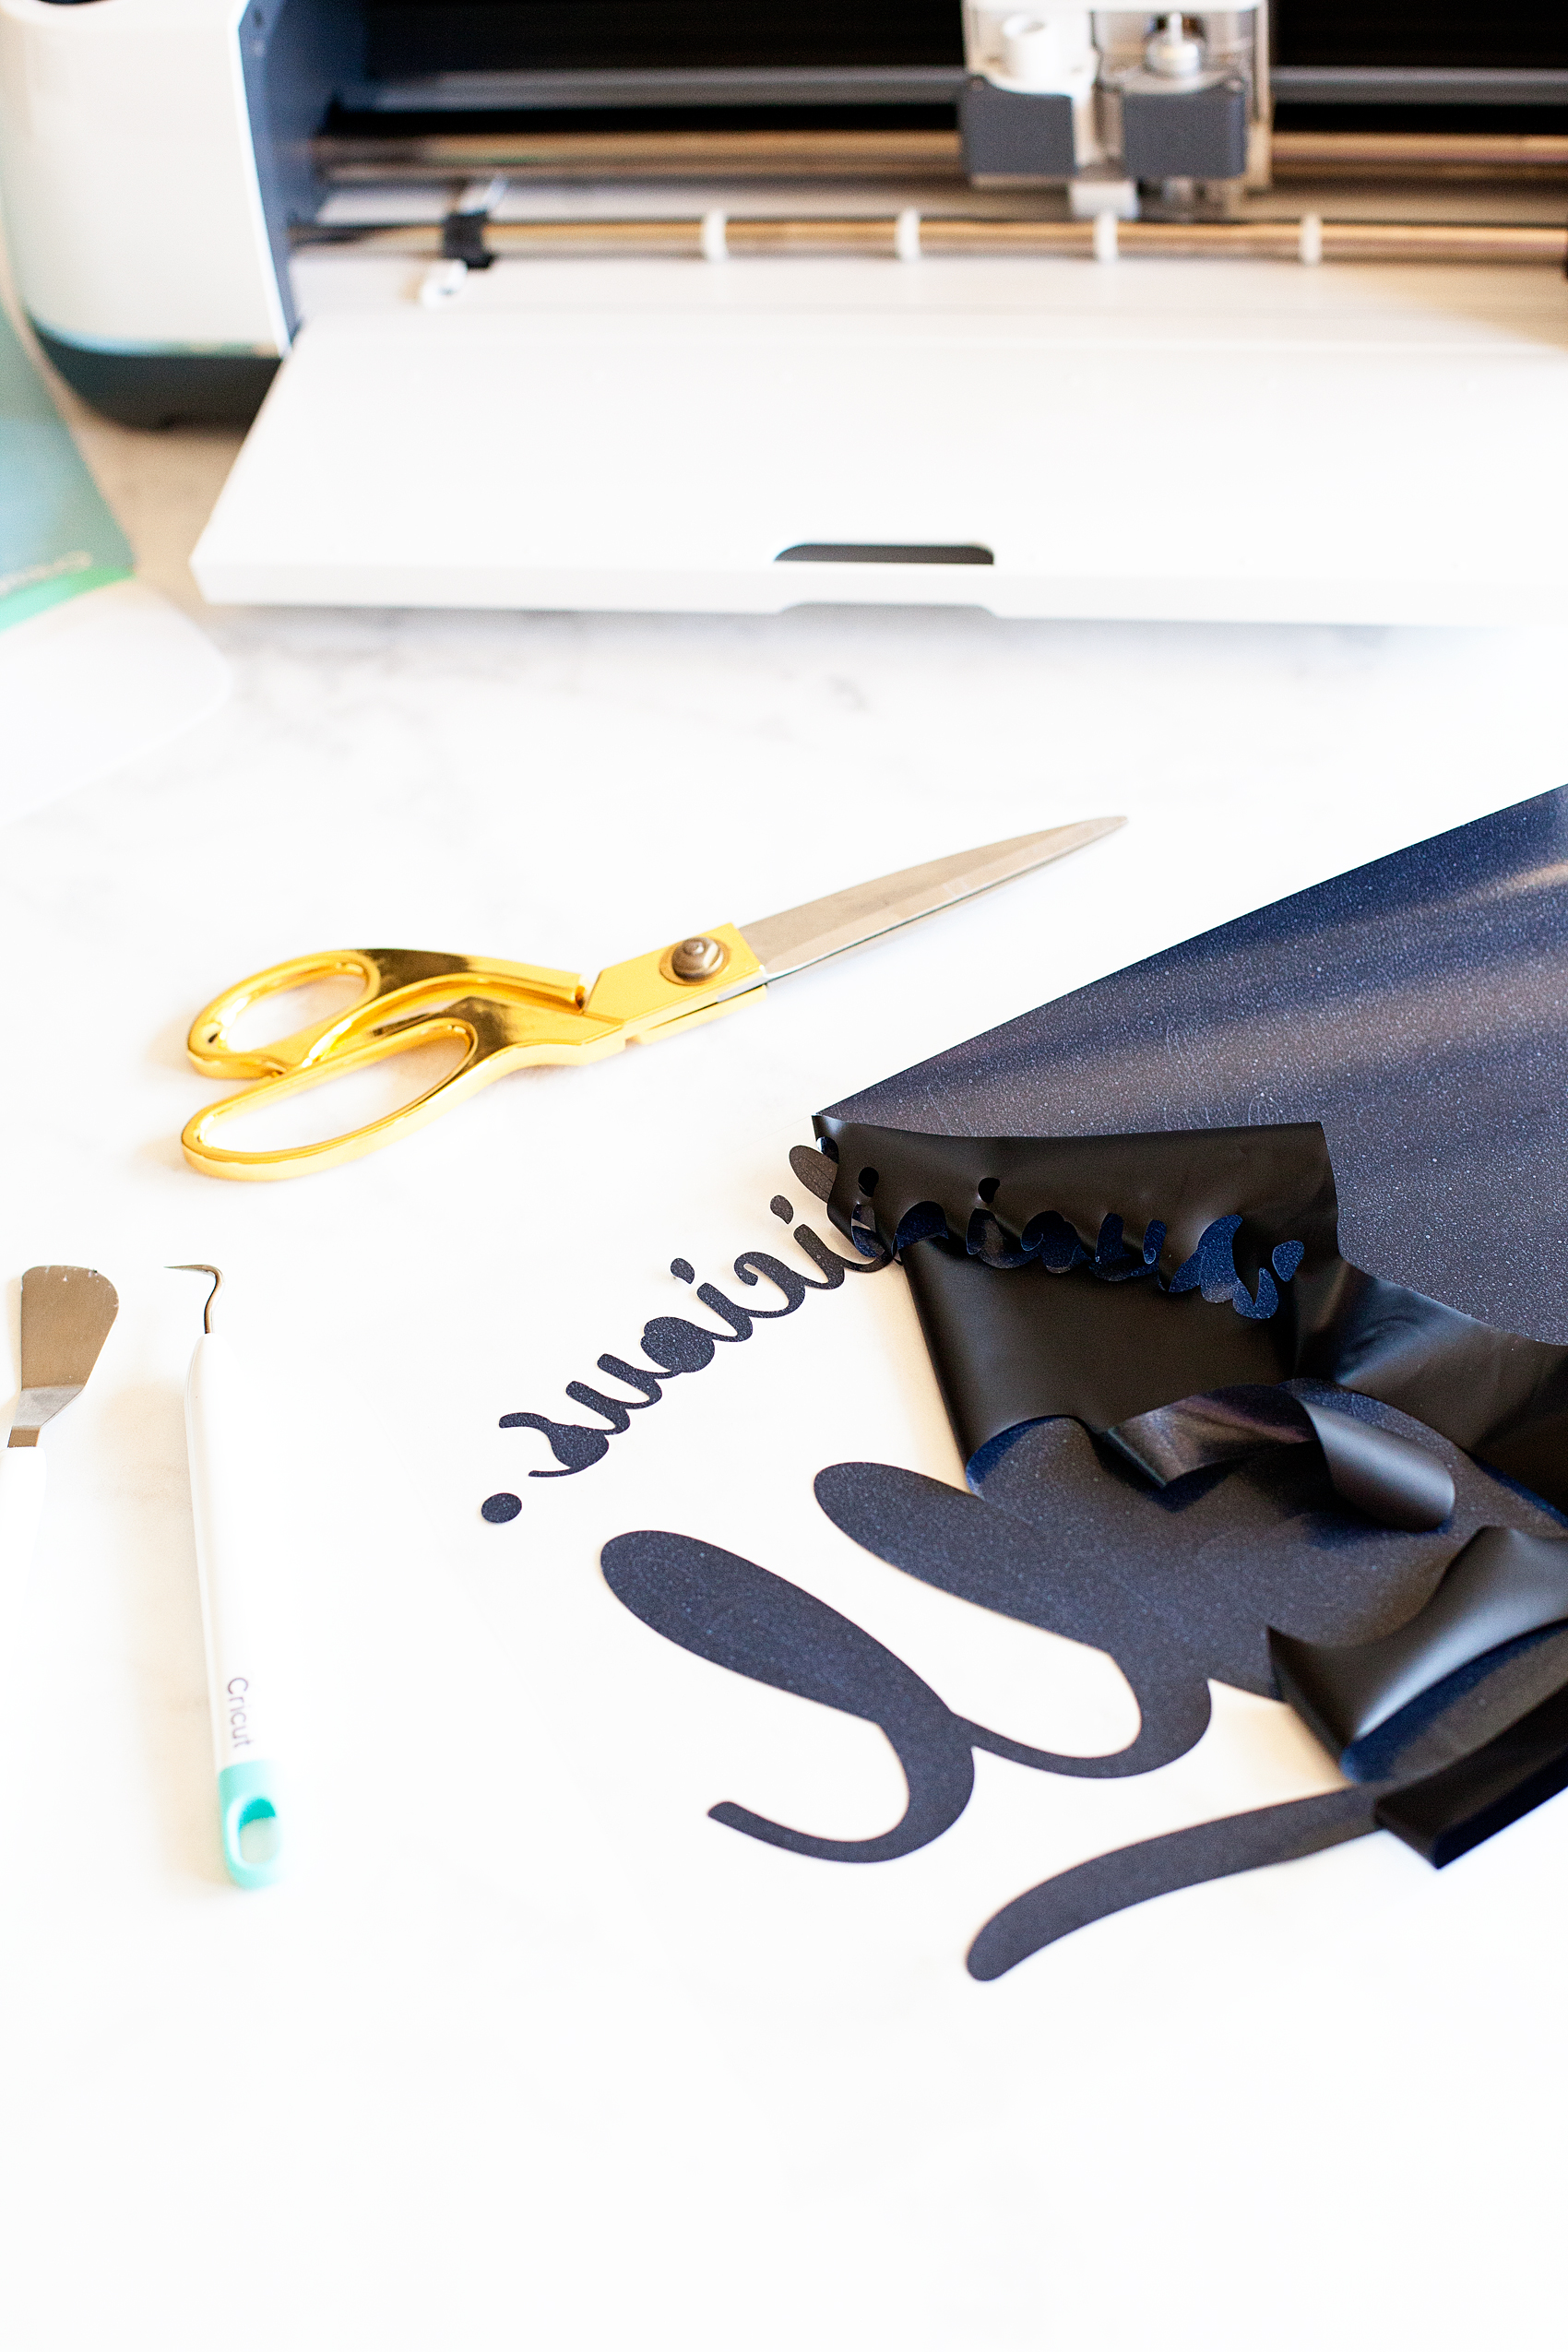
While you are weeding your iron-on vinyl, you’ll want to pre-heat your Cricut Easy Press or your iron so that you’re ready to go once you’ve finished weeding.
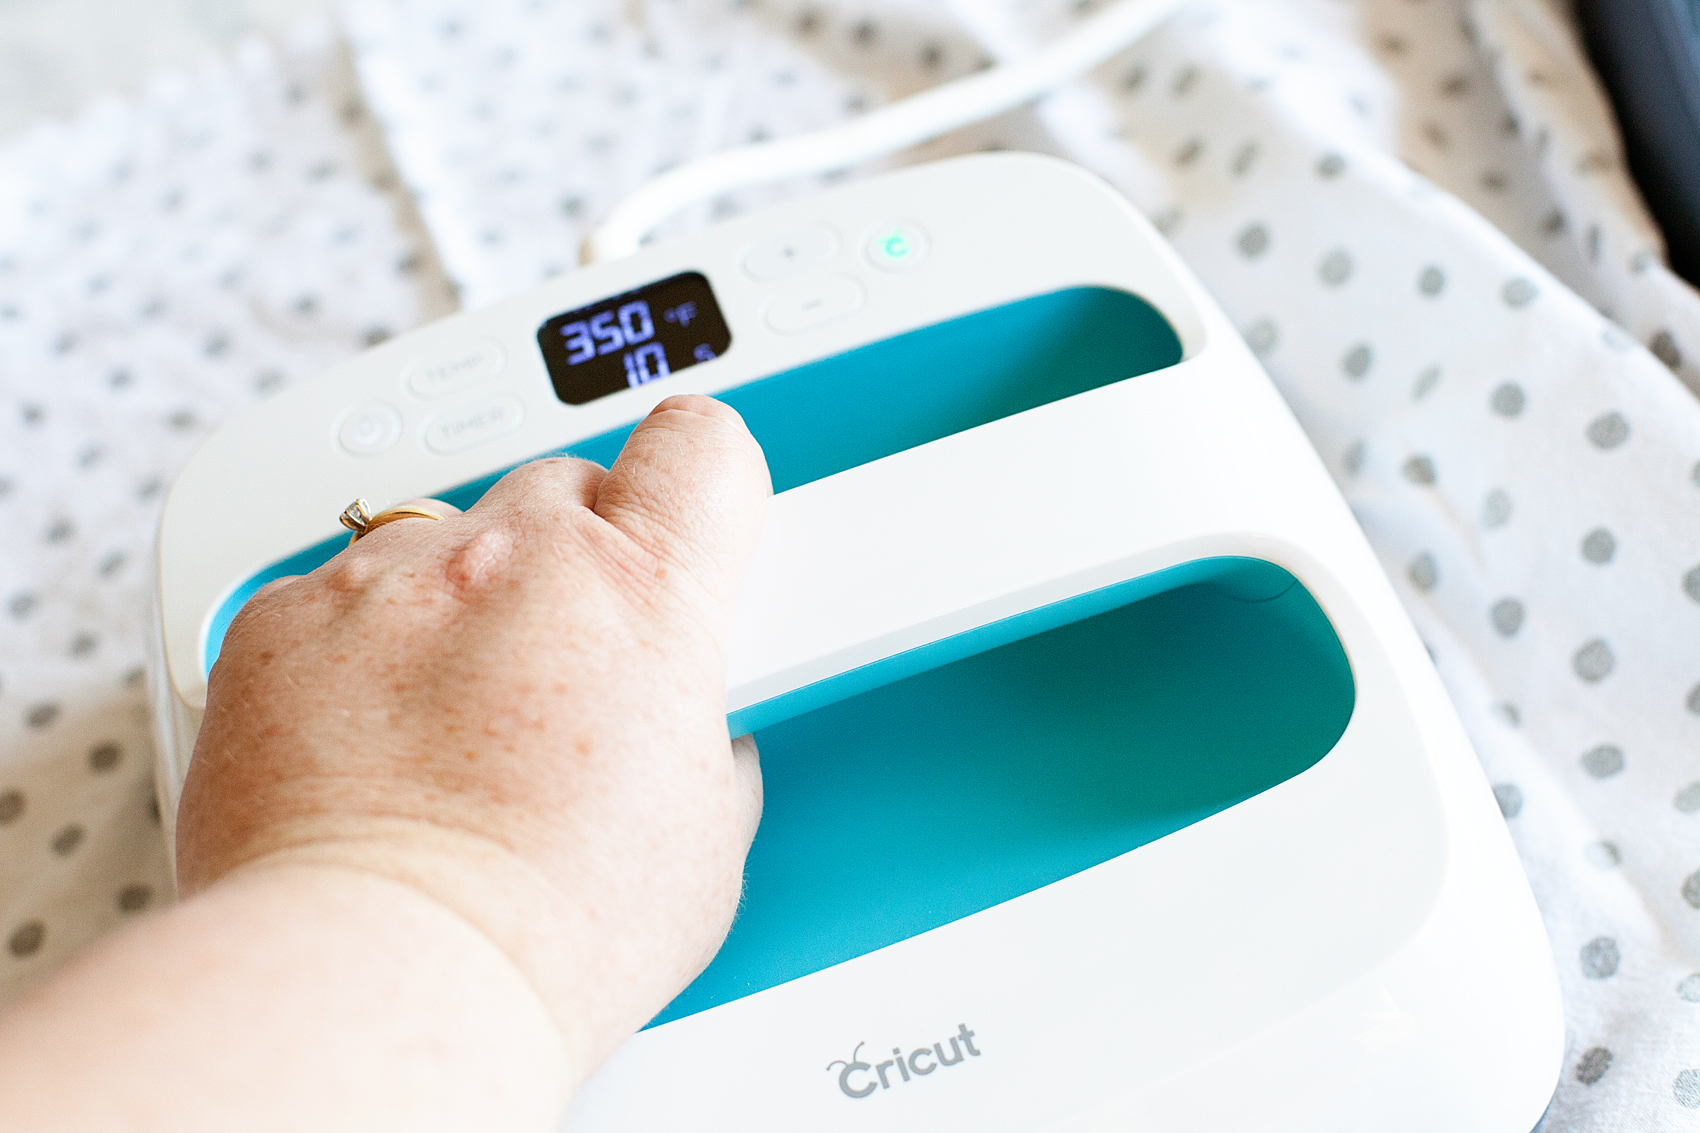
I have found a setting of 350˚ for about 50 seconds usually does the trick when I’m working with the Cricut Iron-On Lite. The nice thing about the easy press is that is has nice consistent temperature over the entire base. Check this out…
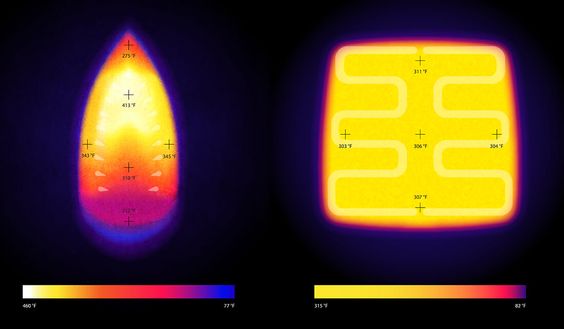
This is showing the heat variance with a traditional iron. That’s why some people have been frustrated in the past with creating iron-on projects. You don’t have to worry about that anymore with the Easy Press. It has a large 9×9 inch plate which is AWSOME!! That’s how you’ll achieve professional results without investing in a bulking and expensive heat press machine. It’s light weight and easy to store which is a total bonus.
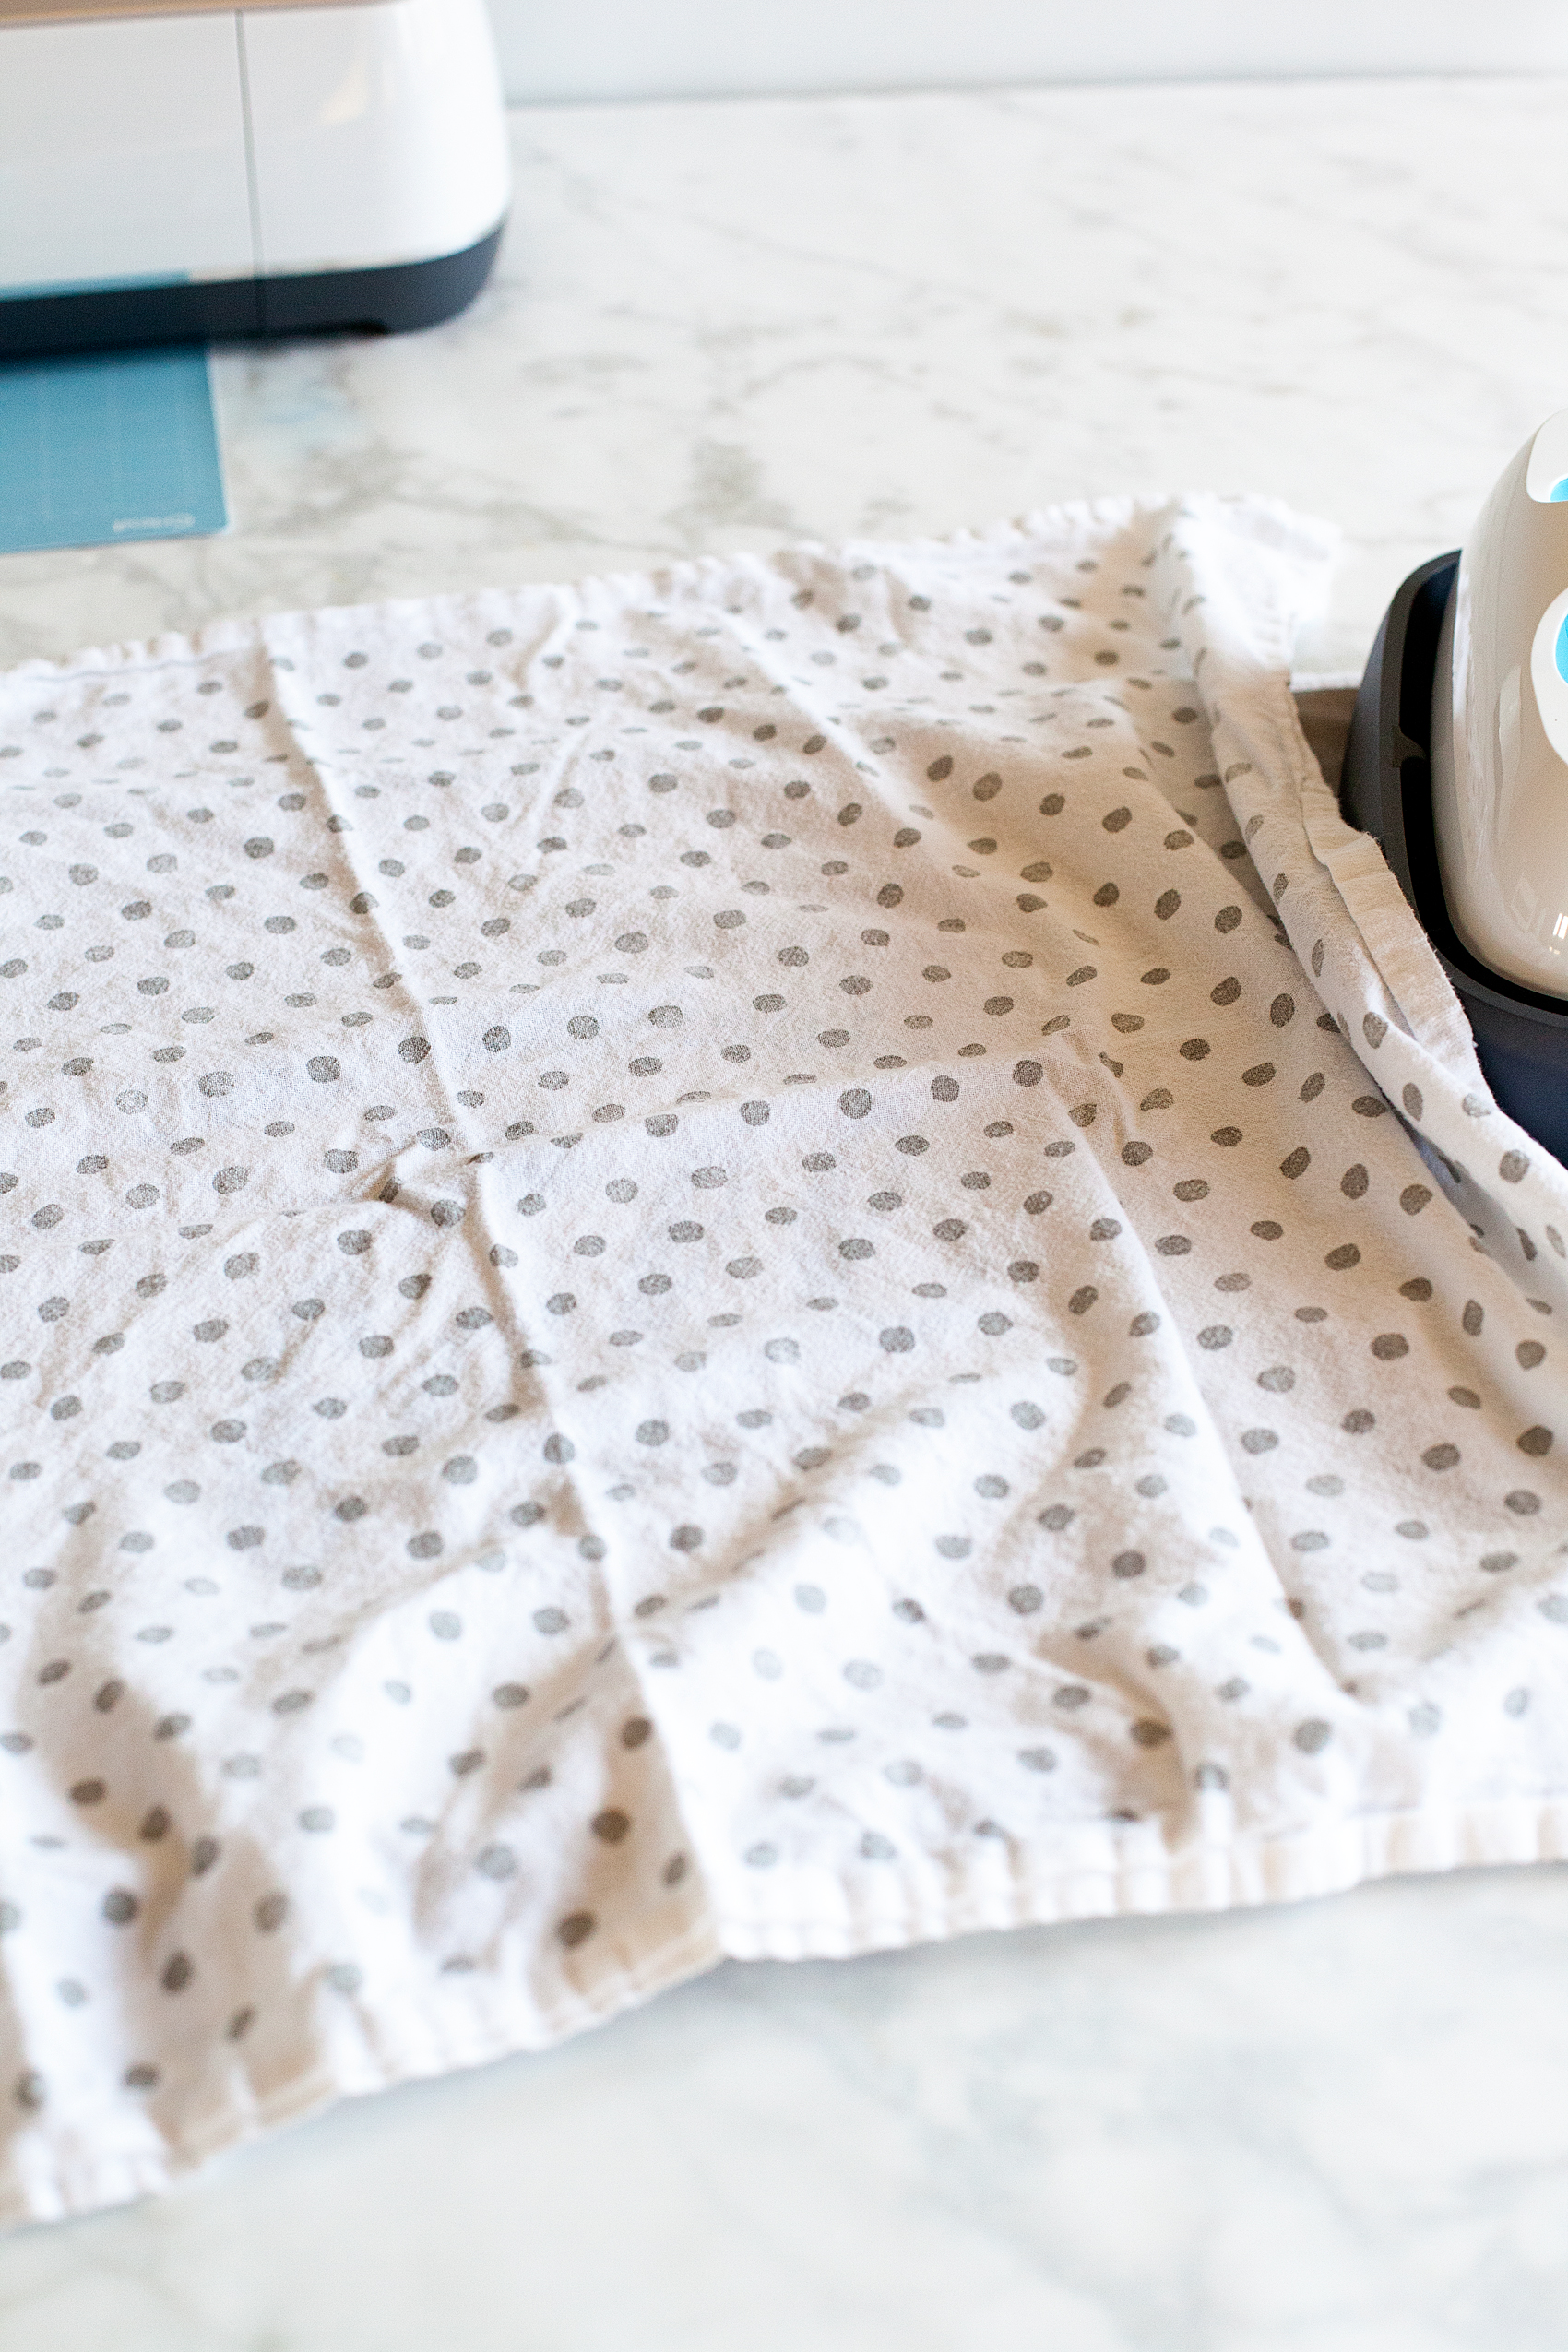
First, I pre-heat my pillow cover, this helps to start the iron-on process with the vinyl. Plus, it irons out any wrinkles in your pillow cover.
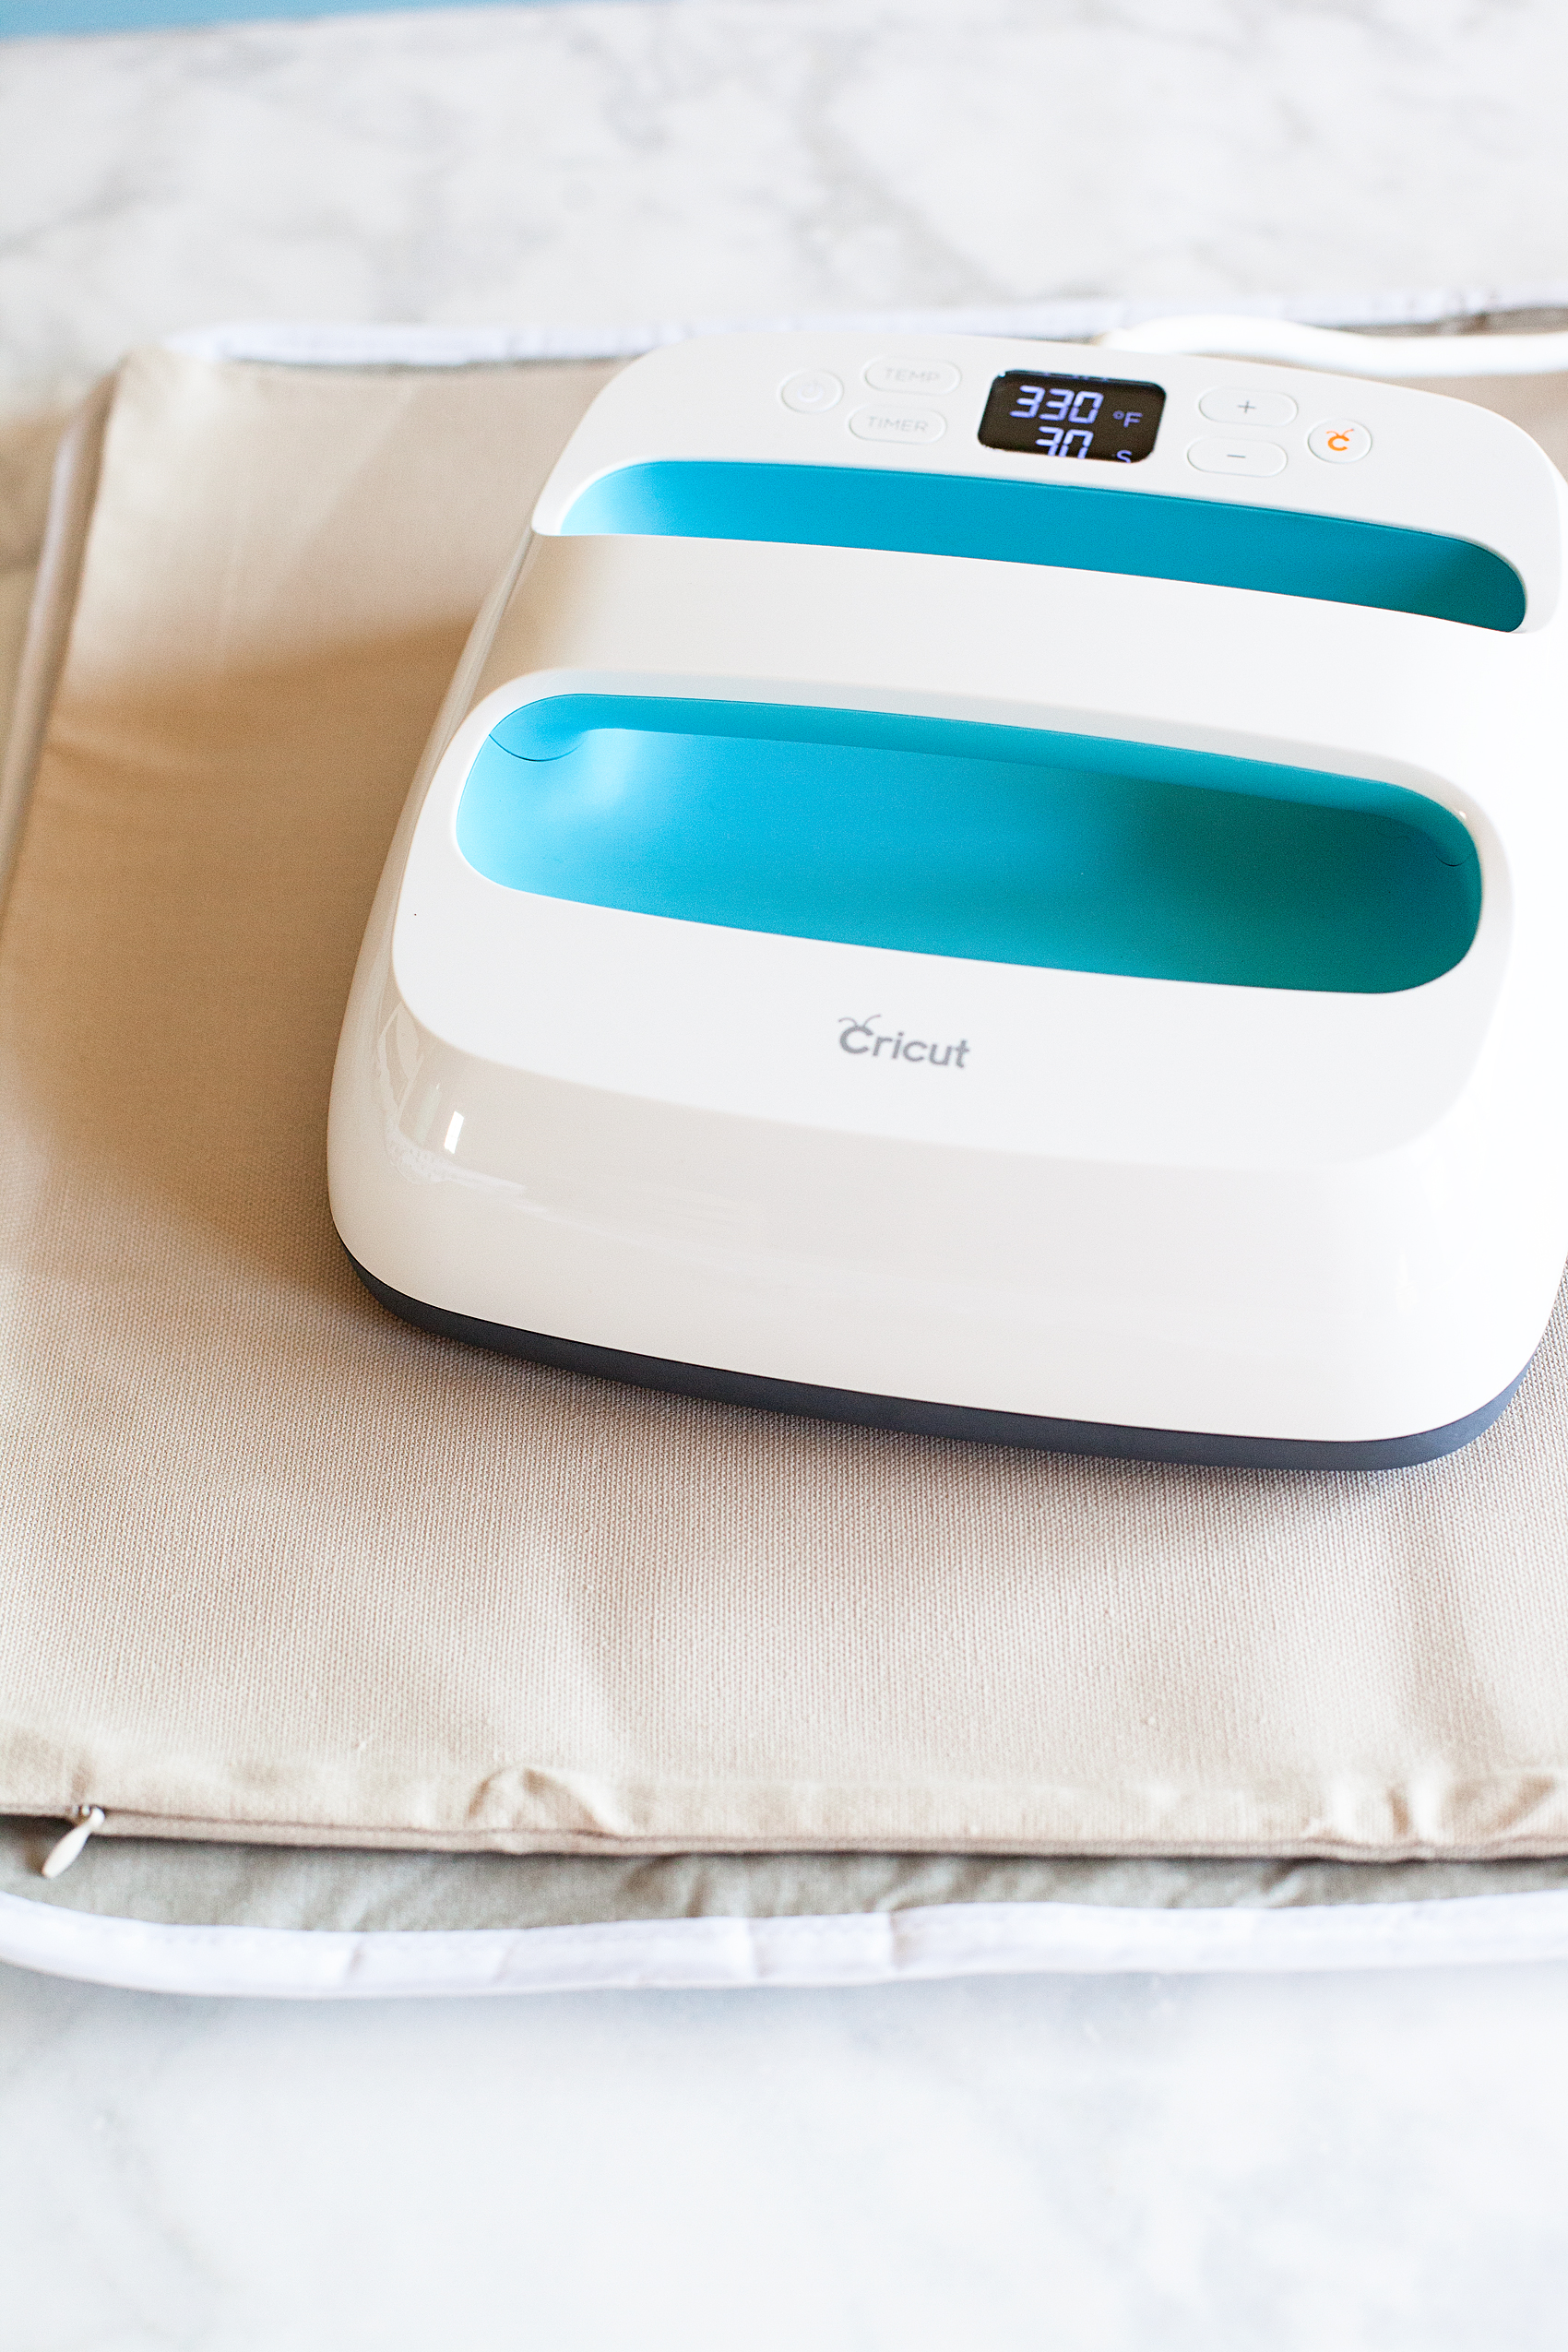
Oh, I also use a portable ironing blanket that you can find at Walmart or Target in the laundry section. It’s perfect for protecting your surface while you’re using the Easy Press.
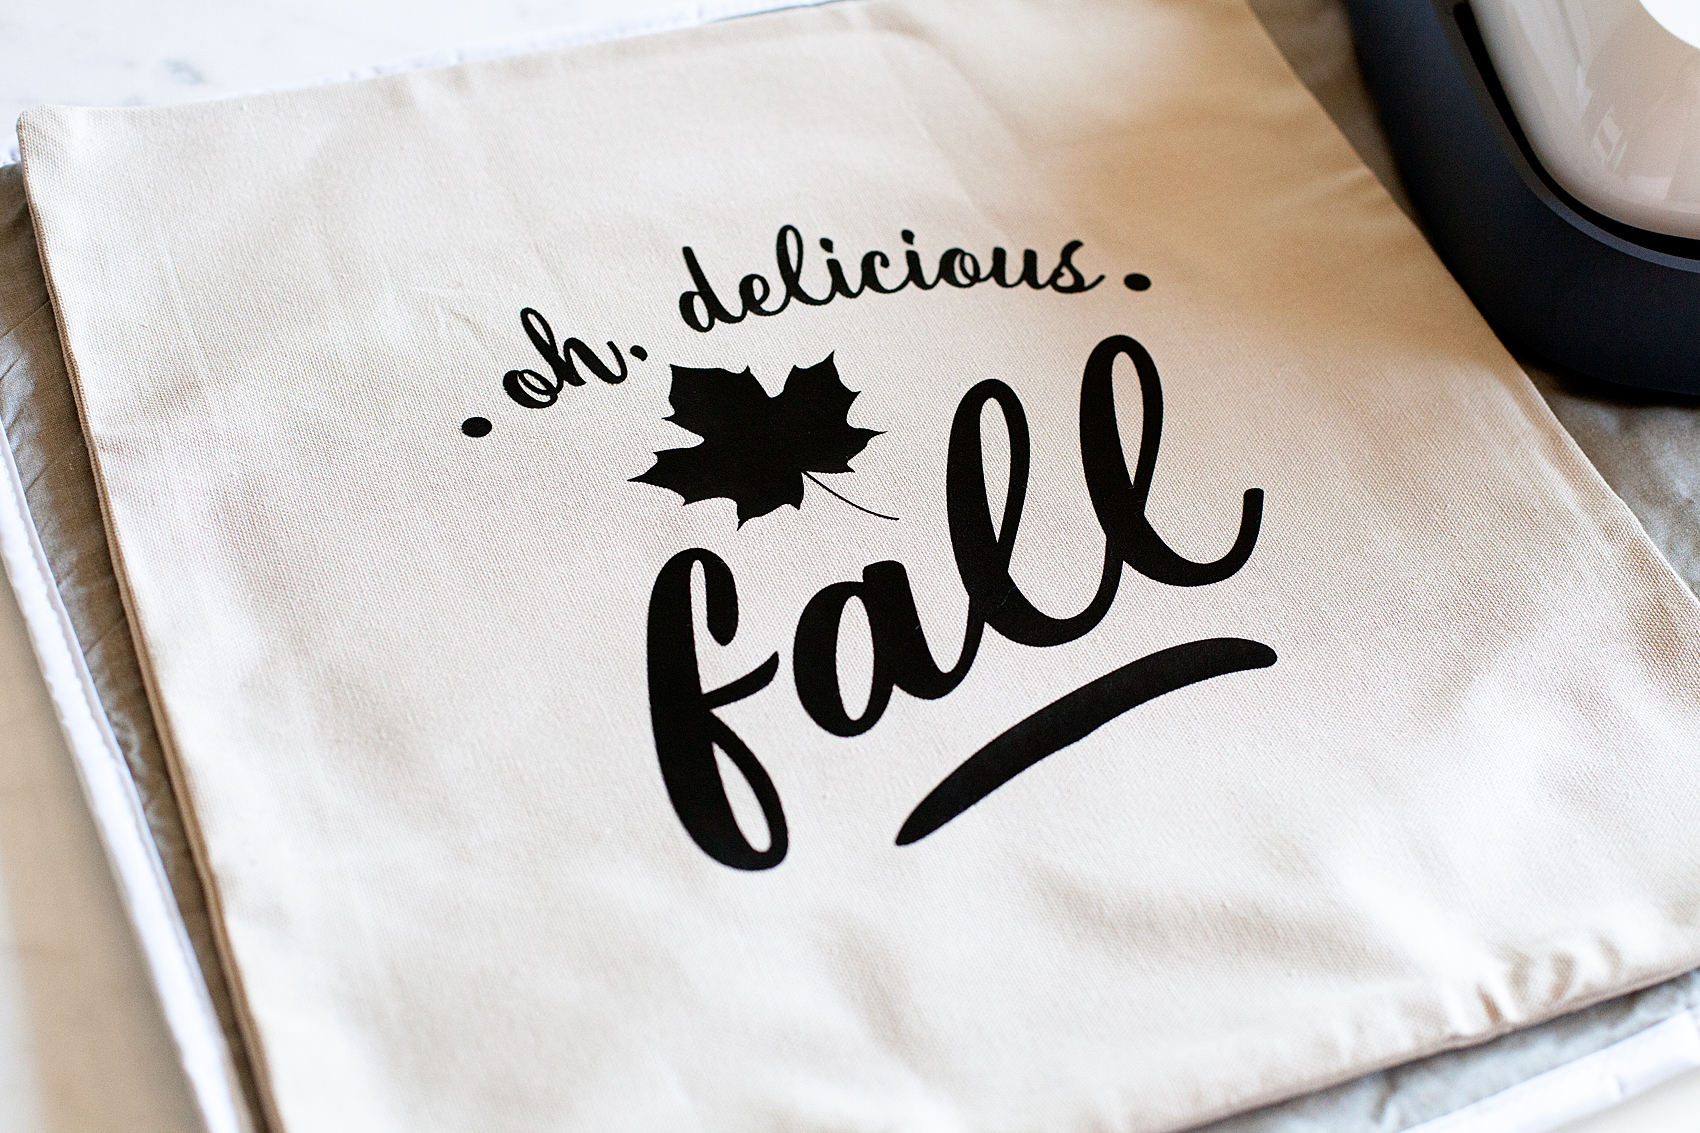
Now, center your design on your pillow cover.
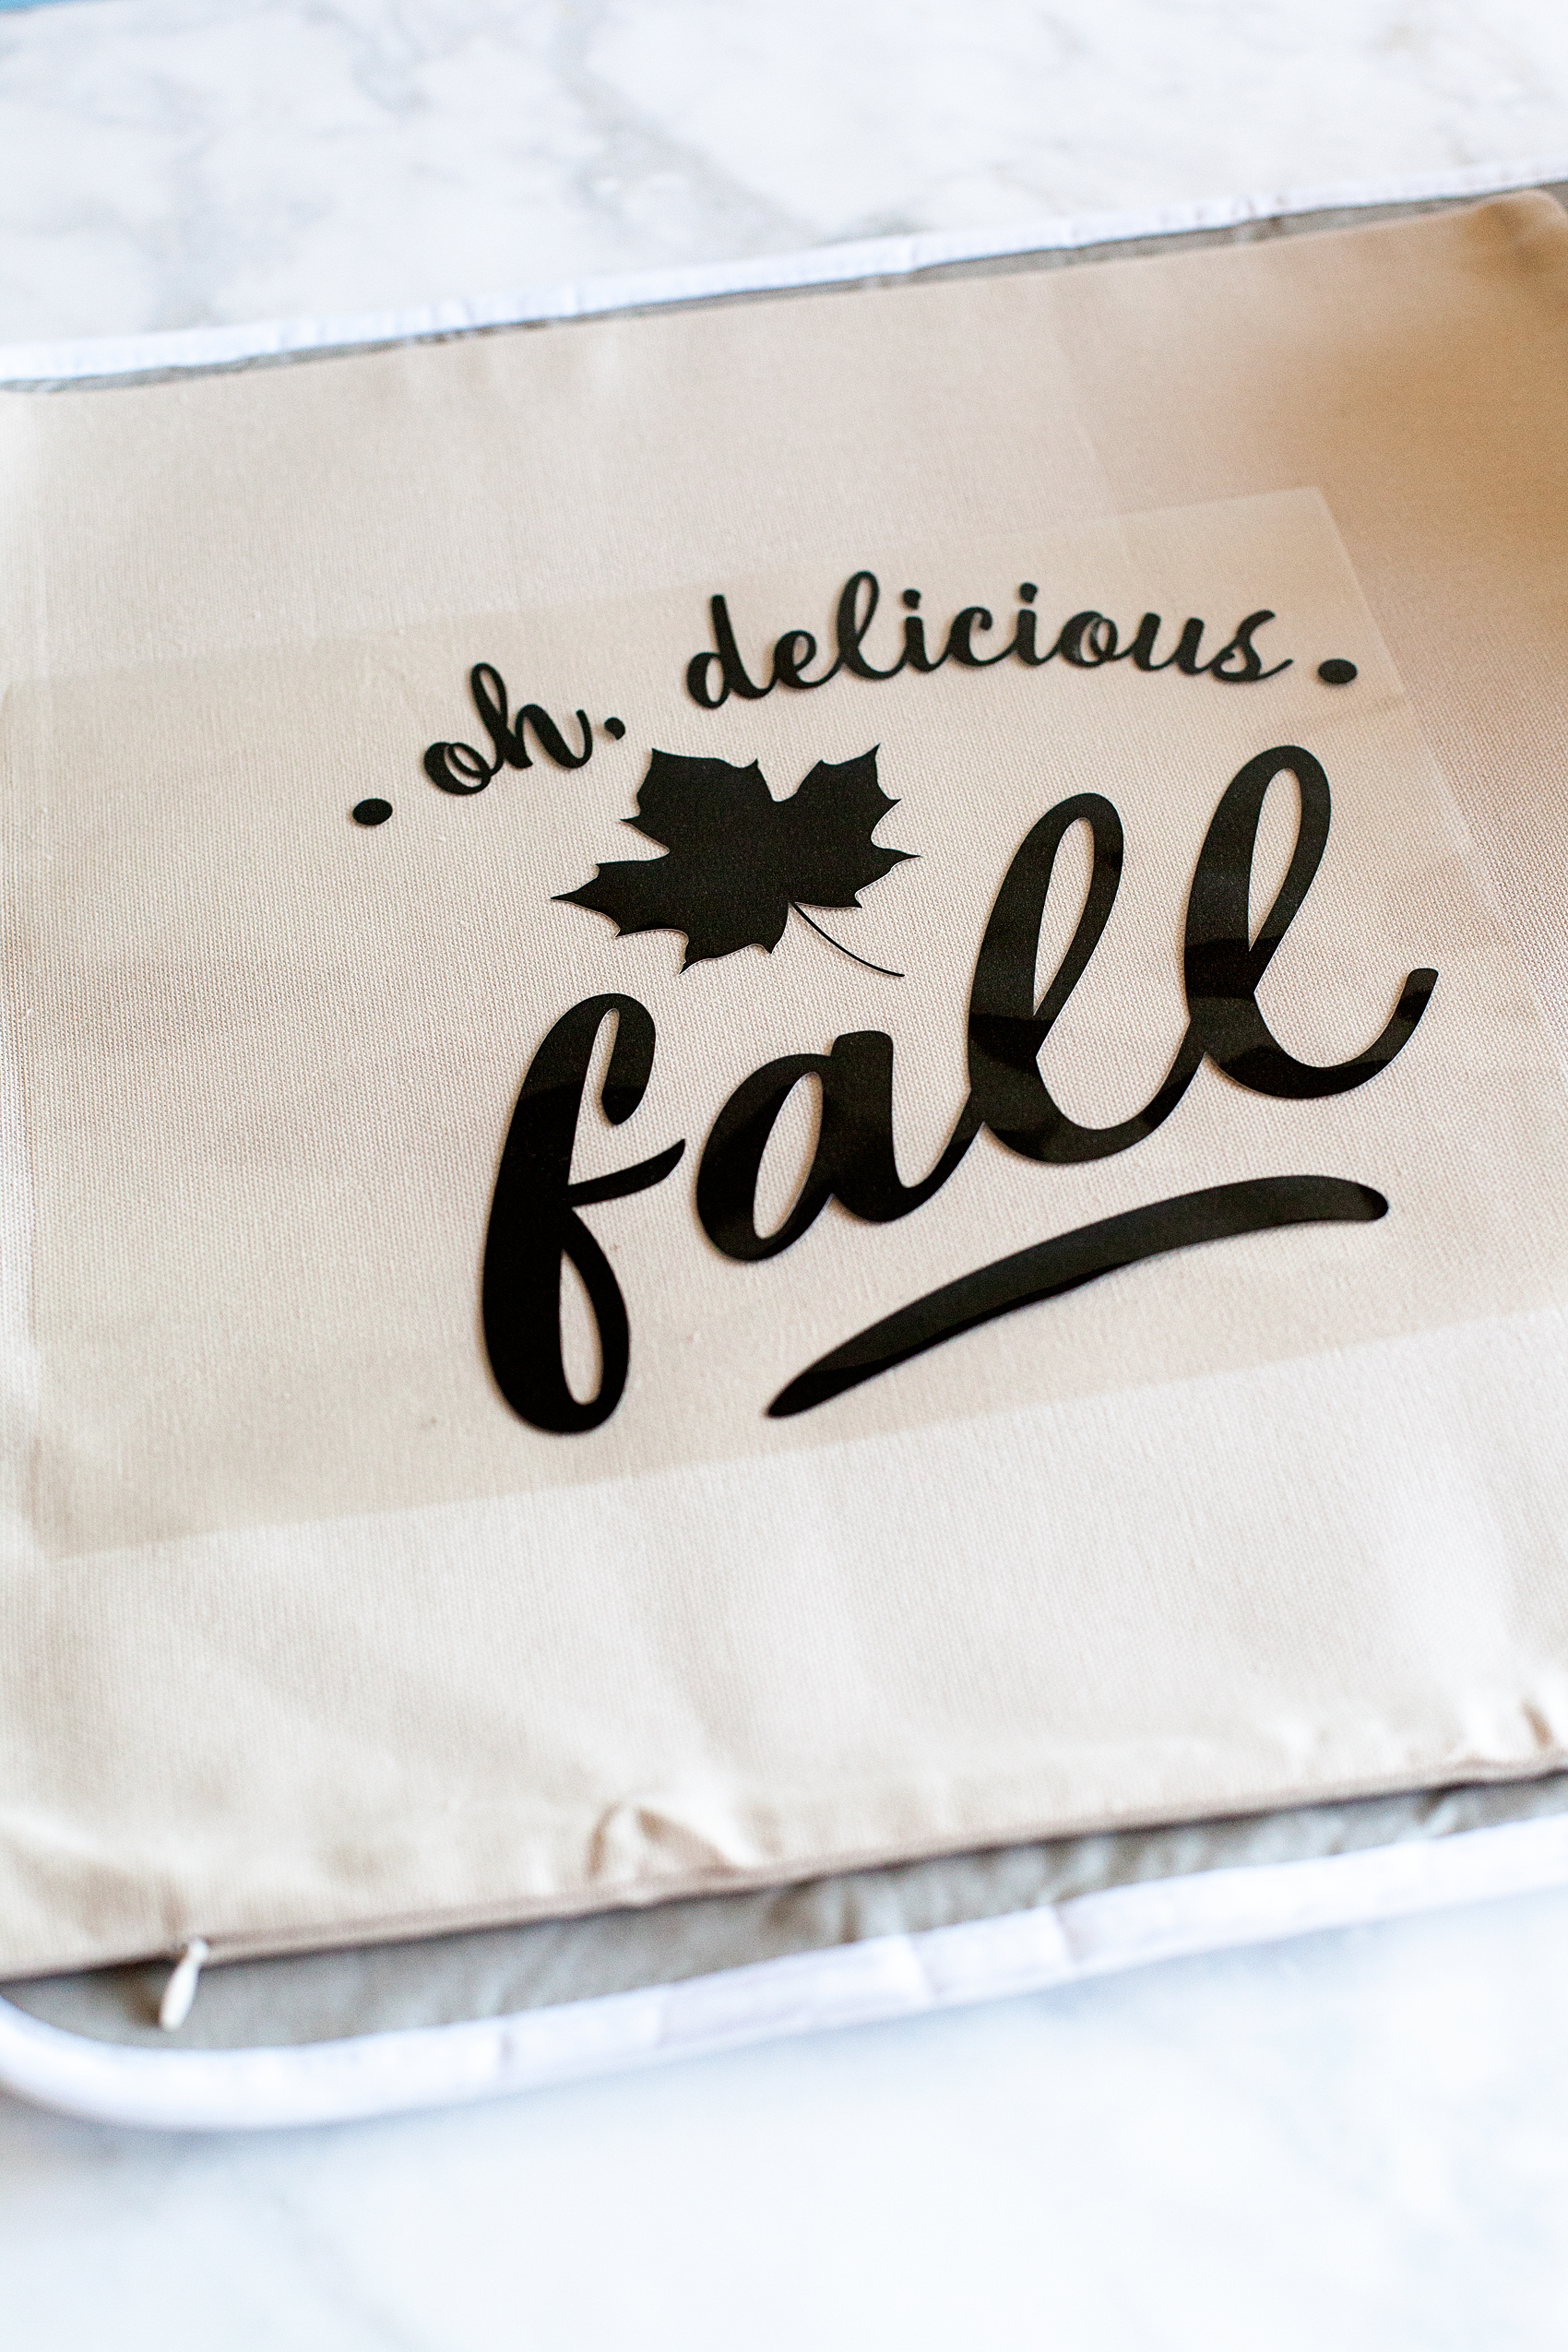
Cover your design with a light cotton tea towel.
And then, place the Easy Press onto your design with the timer set for 50 seconds and press the Cricut button to start the timer. Lightly press on the Easy Press and wait for the timer to go off.
Now, my design was a little larger than the 9×9 plate so I did it a few times to make sure I had transferred the entire design onto my pillow cover. Then I removed the protective plastic cover, replaced the towel and then did one more go with the Easy Press to make sure everything was set.
That was it! I put the pillow form into the pillow cover and voilá… I had a fun accent piece for my new front porch bench.
How simple is that? If you don’t have a Cricut machine or the Cricut Easy Press… I would for sure start dropping hints to Santa pronto! This is a new era for creating and these are the must have tools!!
Disclaimer • I am a Cricut Ambassador this year and I’m thrilled to be a part of that crew. I truly love these products and for sure would not share anything that I didn’t naturally use in my own life and LOVE. I have received product and payment for my time in putting together this informative post for you guys. I hope you ENJOY!
This is a sponsored conversation written by me on behalf of Cricut. The opinions and text are all mine.