• Skip to primary navigation
  • Skip to main content
  • Skip to primary sidebar
  • Skip to footer

Whipperberry

WhipperBerry • Your Home For Creative Inspiration

  • Home
  • Recipes
    • Starters
    • Easy Weeknight Dinners
    • Main Dish
    • Salads
    • Side Dish
    • Soups & Stews
    • Desserts
    • Breakfast
    • Miscellaneous
  • Tutorials
    • Creative Crafts
    • DIY Decor
    • Fabric Crafts
    • Food How-To
    • Jewlery
    • Paint Projects
    • Paper Art
    • Party Styling
    • Photography and Graphic Design
    • Silhouette
  • Holidays
    • Easter
    • Mother’s Day
    • Father’s Day
    • 4th of July
    • Halloween
    • Thanksgiving
    • Christmas
    • Valentine’s Day
  • Gift Ideas
    • Gifts For Everyone
    • Gifts for Dad
    • Mother’s day
    • For The Girls
    • For The Kids
    • Teacher Gift Ideas
    • Christmas
  • Printables
    • Holiday
    • Gift Idea
    • LDS Primary
  • Travel
  • About
    • Terms
  • Contact
  • Nav Social Menu

    • Facebook
    • Instagram
    • Pinterest
    • RSS
    • Twitter

home decor

Colorful Nautical Gallery Wall Tips and Tricks

2 · Mar 20, 2017 · 1 Comment

The Gallery Wall… Everyone loves them. Yet, some find them really challenging. It can be hard to come up with the perfect combination of items that complement each other. Finding the right arrangement on the wall can be mind boggling BUT… It doesn’t have to be. You don’t have to be a certified gallery wall specialist, you just need to find a good partner like Michaels and then follow a few tips and tricks to create the PERFECT gallery wall for your home.Tips and tricks for the perfect gallery wall
Gallery Wall 101

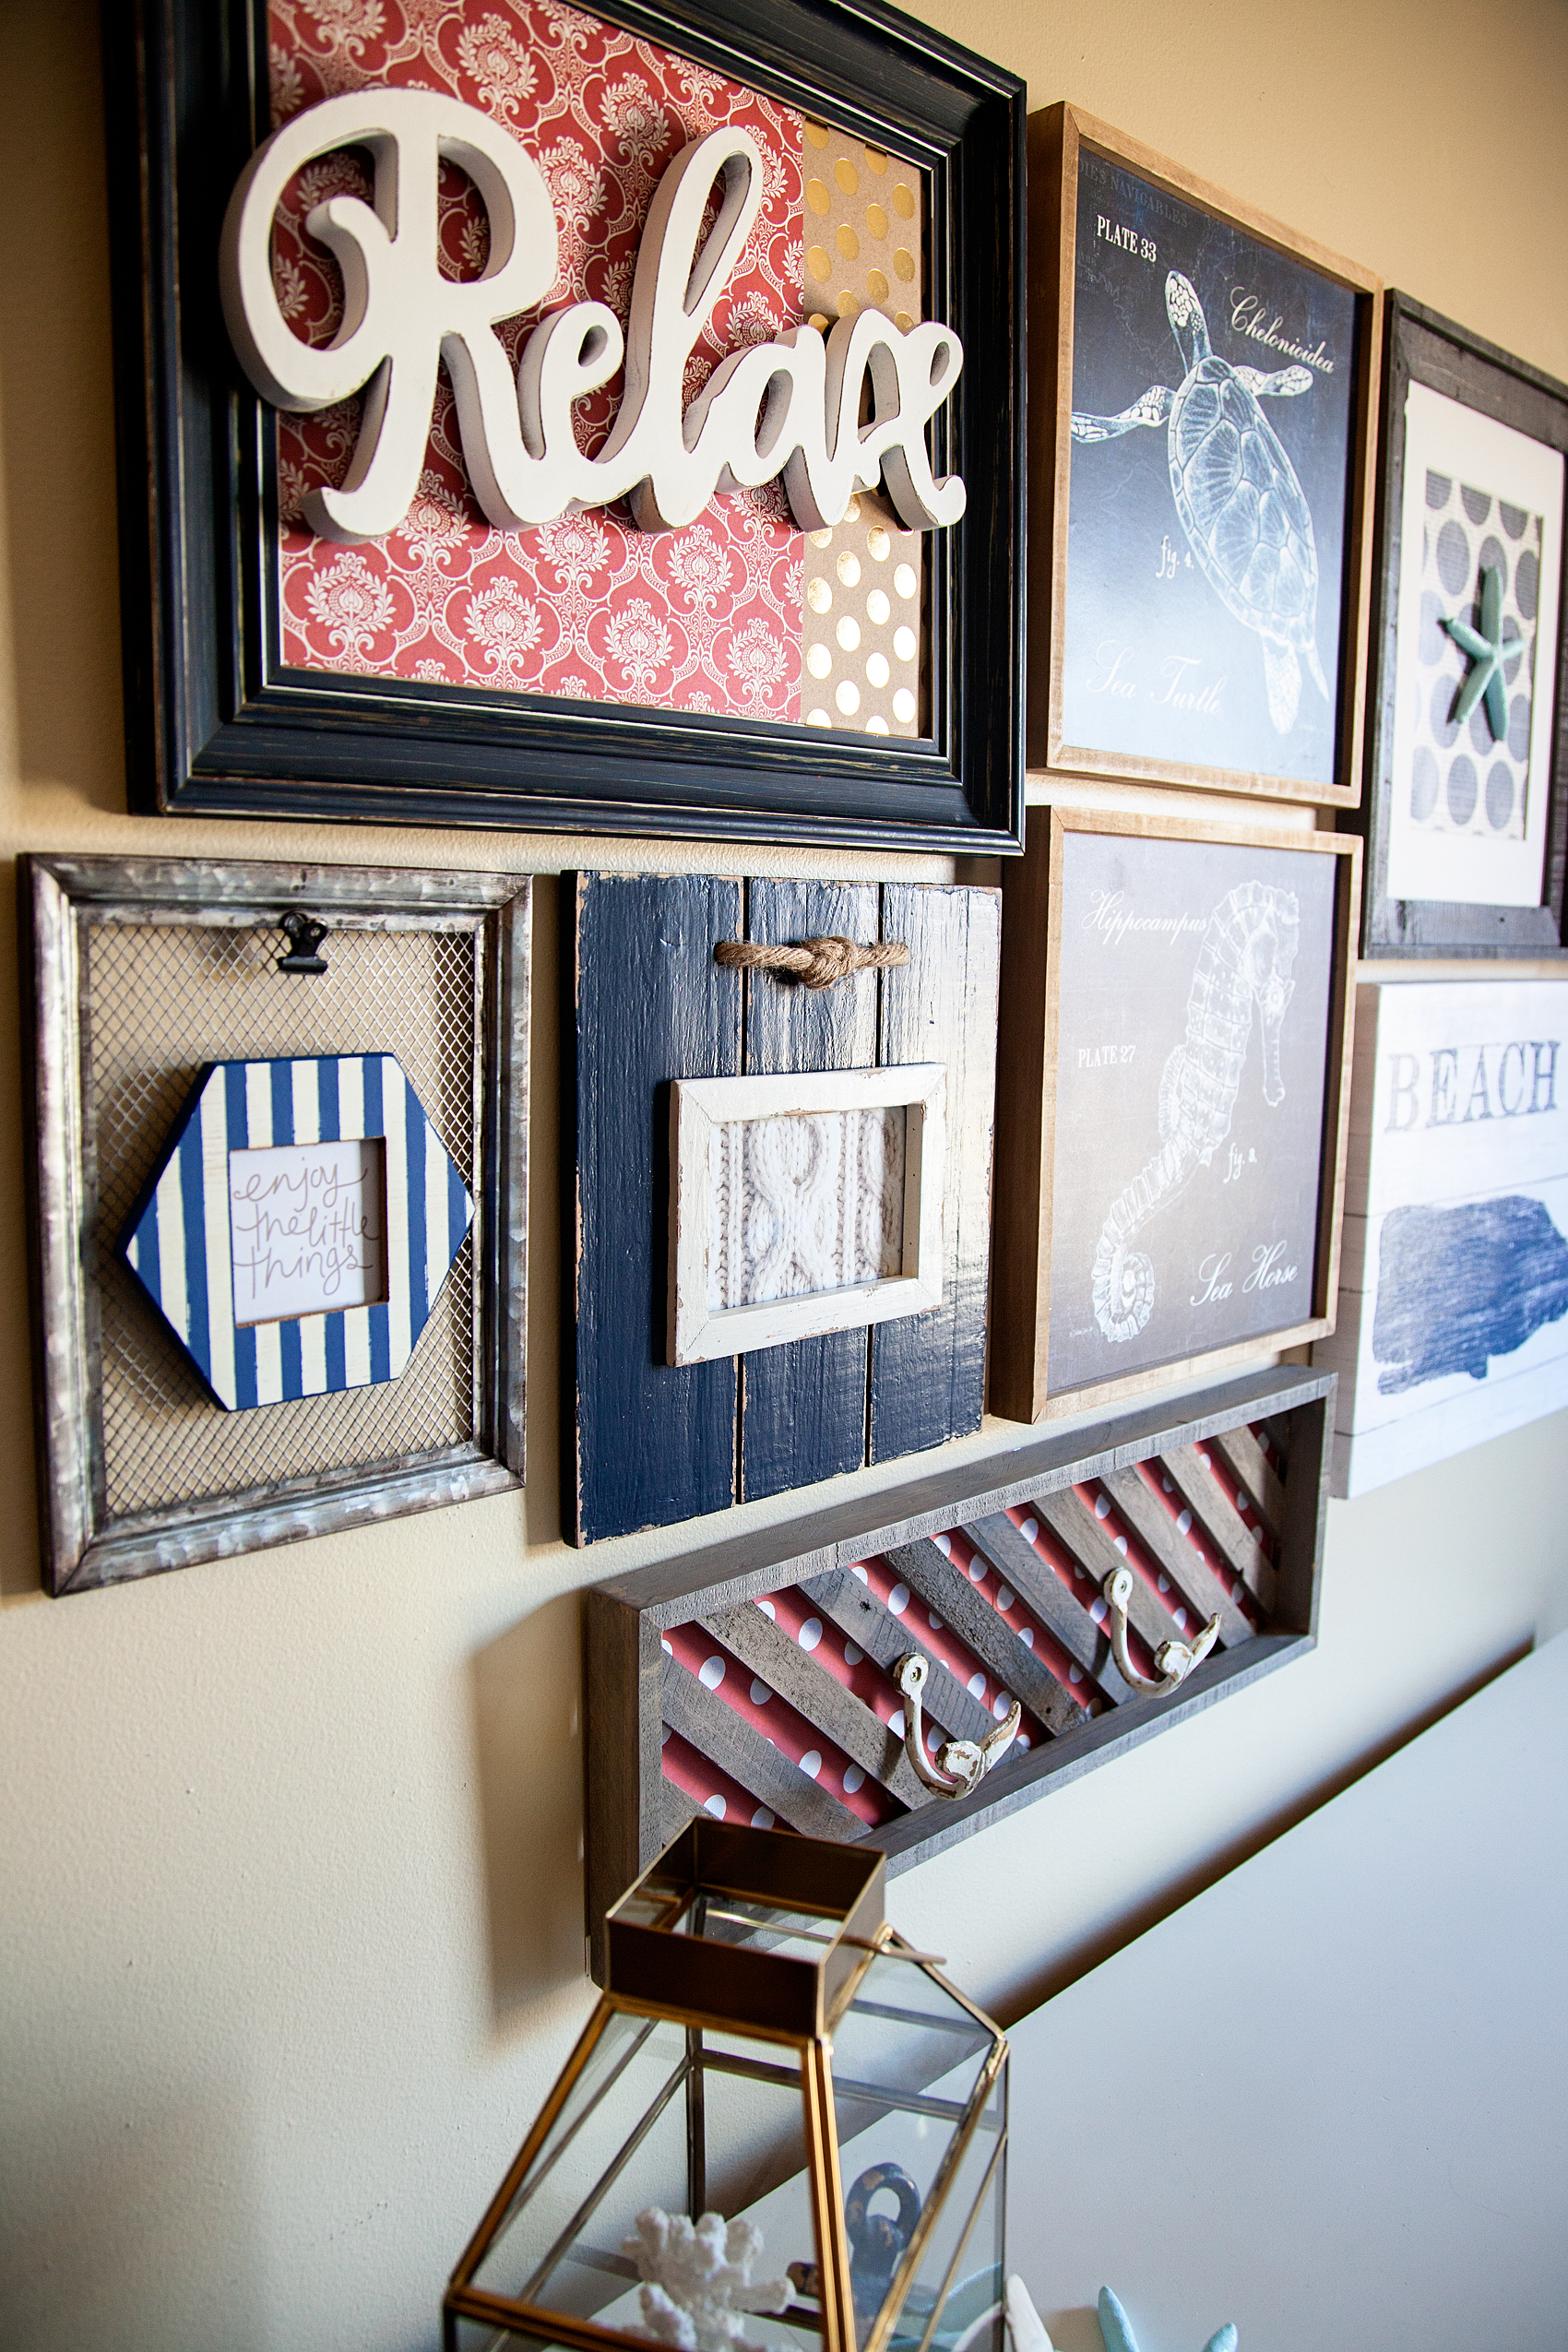
  • Gather items that compliment the room – You need to stay true to the space and find items and frames that enhance the space and stay true to the style of the room. If you have a rustic white farmhouse space, it would make no sense to put together a mid-century inspired wall gallery. The examples below are from Michaels new Gallery Wall collections. They are each designed to complement YOUR STYLE and make it easy to pull that style together without a degree in the fine arts… They’ve done all of the hard work for you. Tips and tricks for the perfect gallery wall
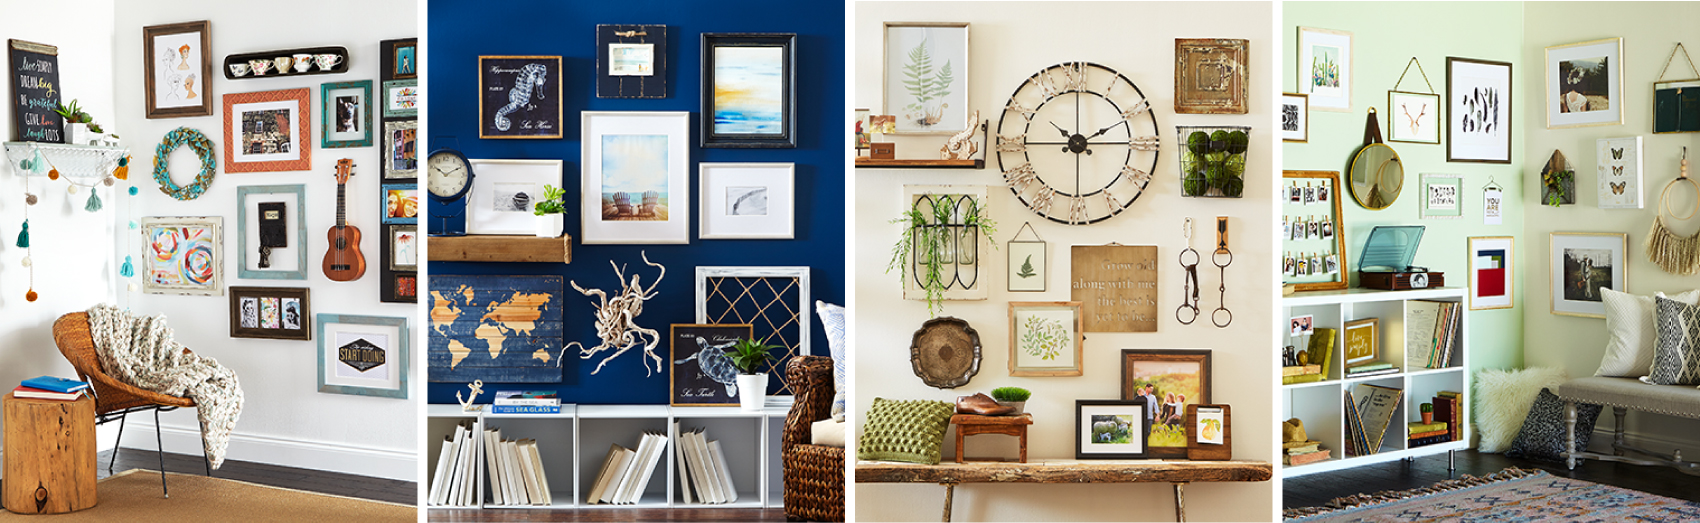
  • Don’t be afraid to gather more than you need – It’s so much easier to gather items such as frames, photos, hooks, clocks, shelves, planters, wall art, mirrors, meaningful items… The list could go on and on. It’s better to have too much to start with than not enough. It’s easier to start working on your layout and then edit out items that don’t work. (Michaels PRO TIP, If you join their rewards program YOU NO LONGER NEED A RECIPT TO RETURN ITEMS! Yep, they keep all of your purchases stored under your account and you no longer have to keep those pesky recipes.)
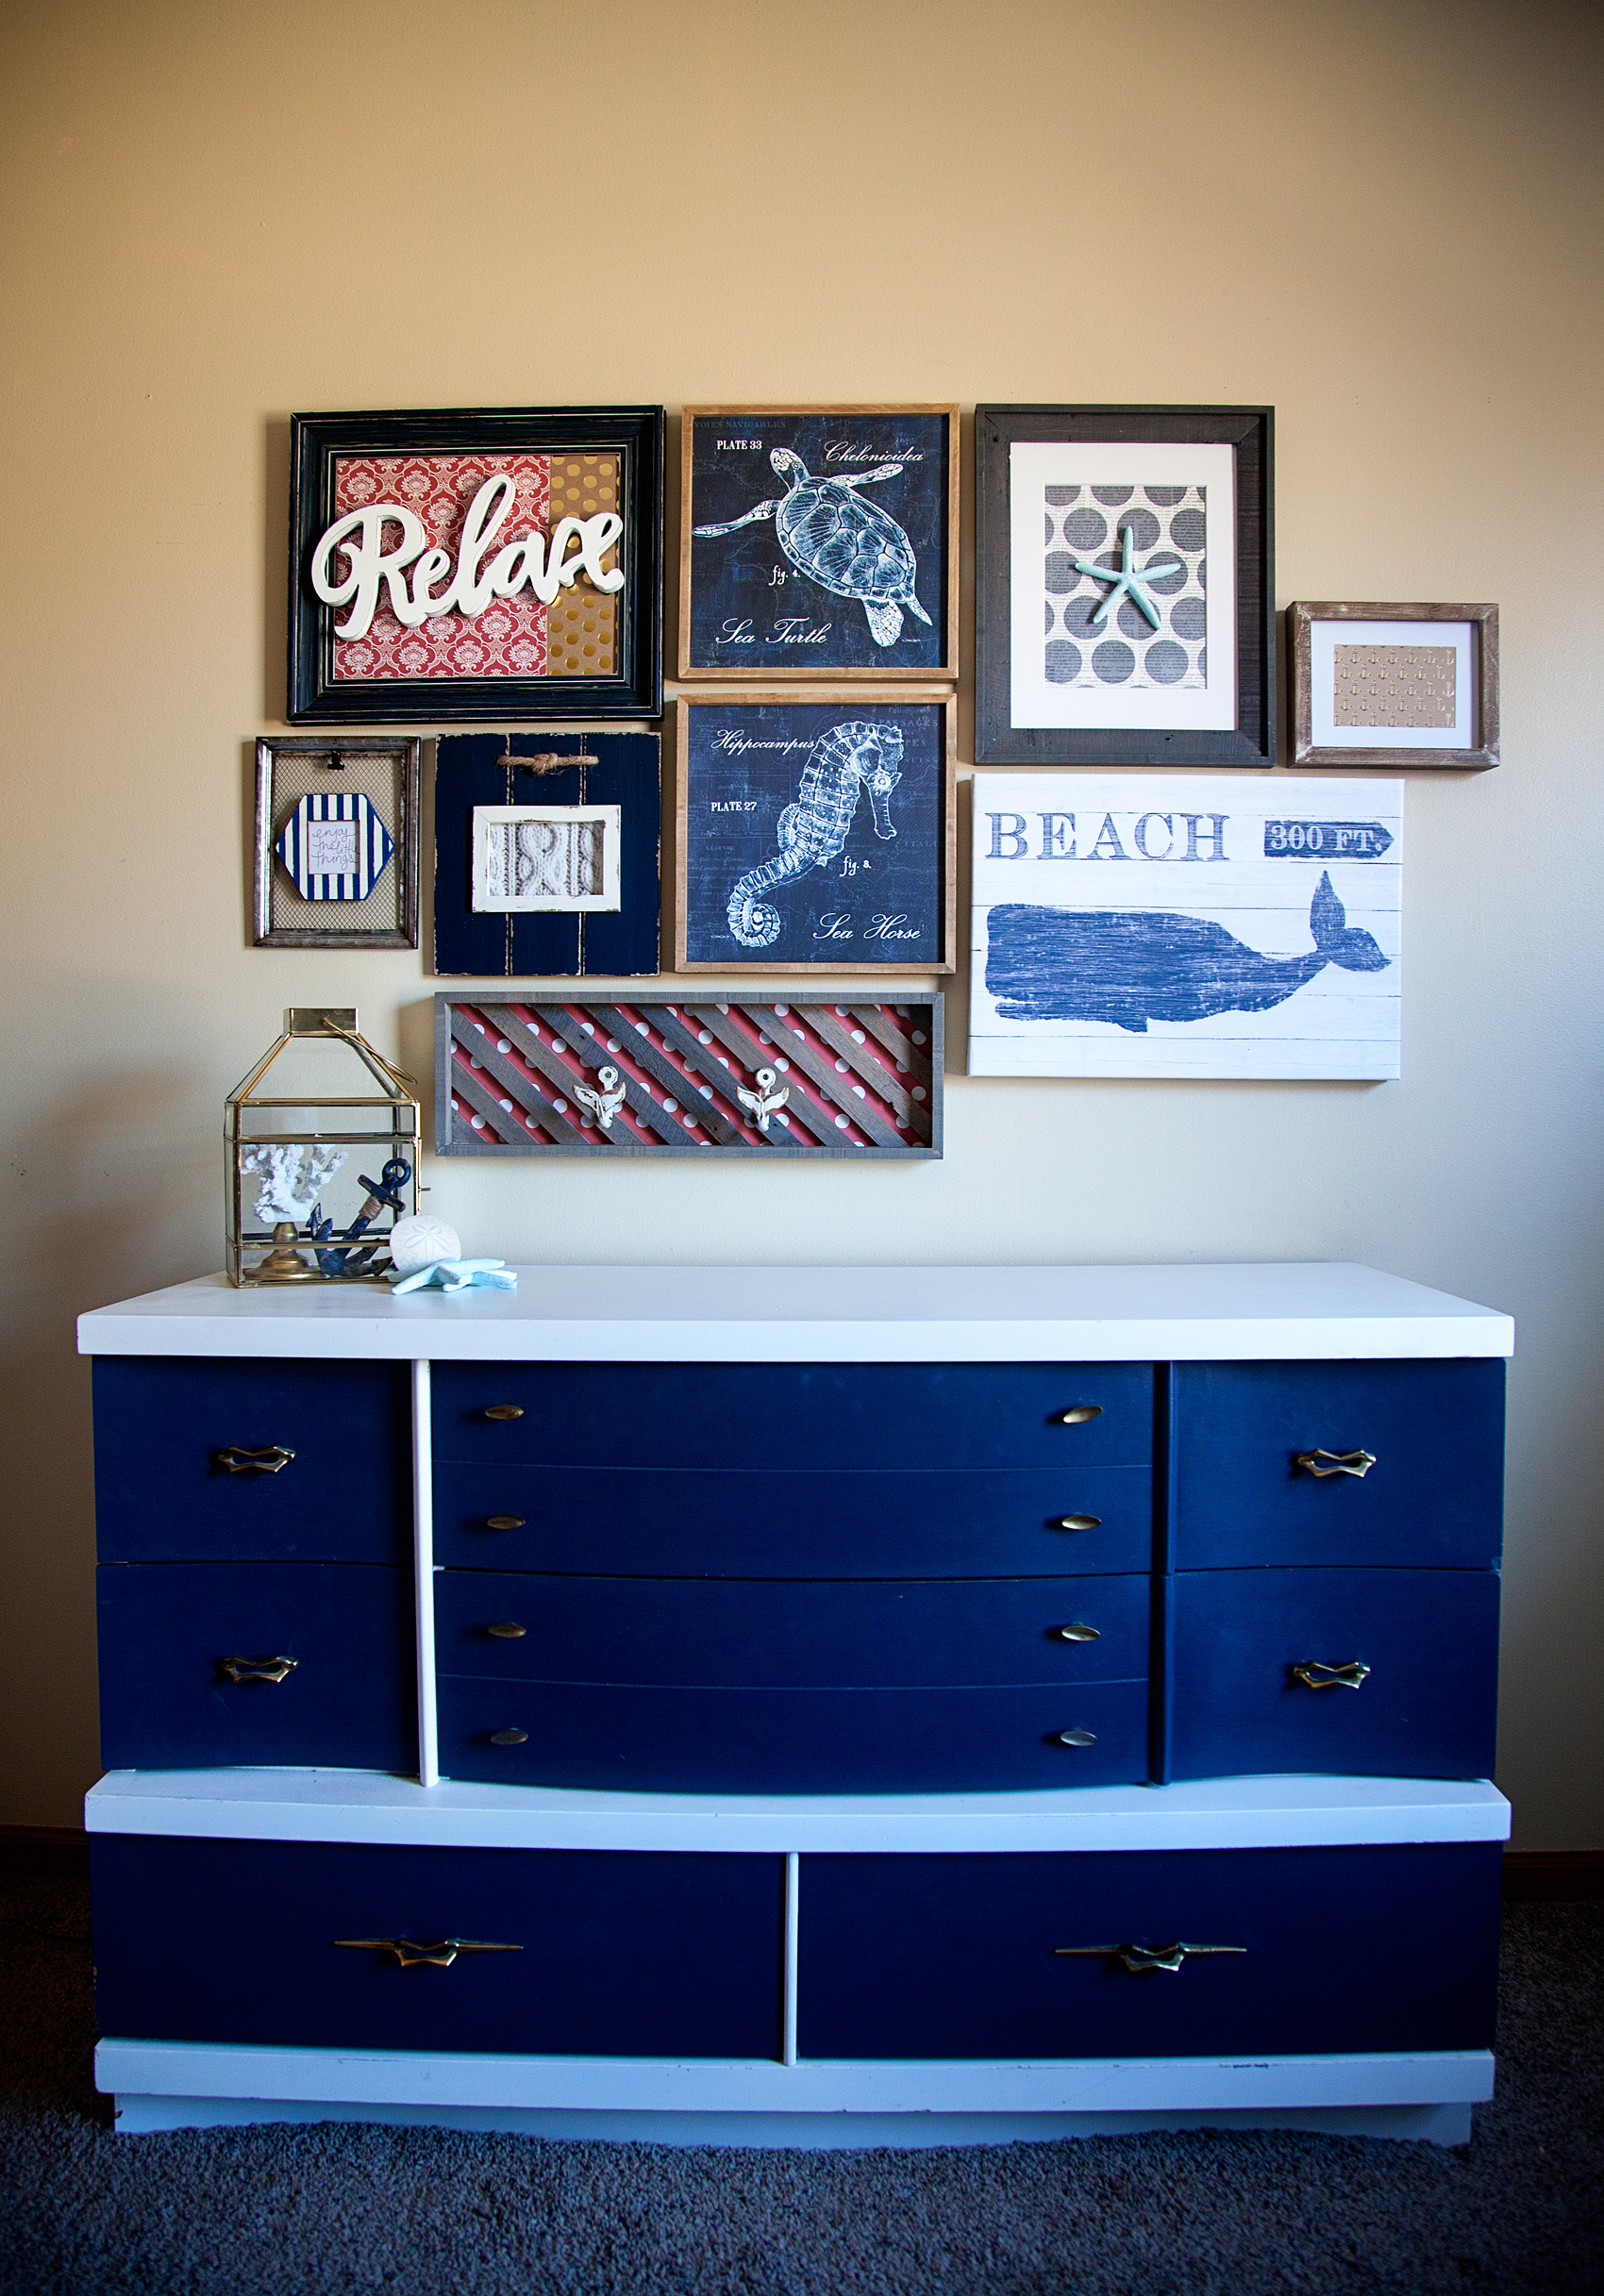
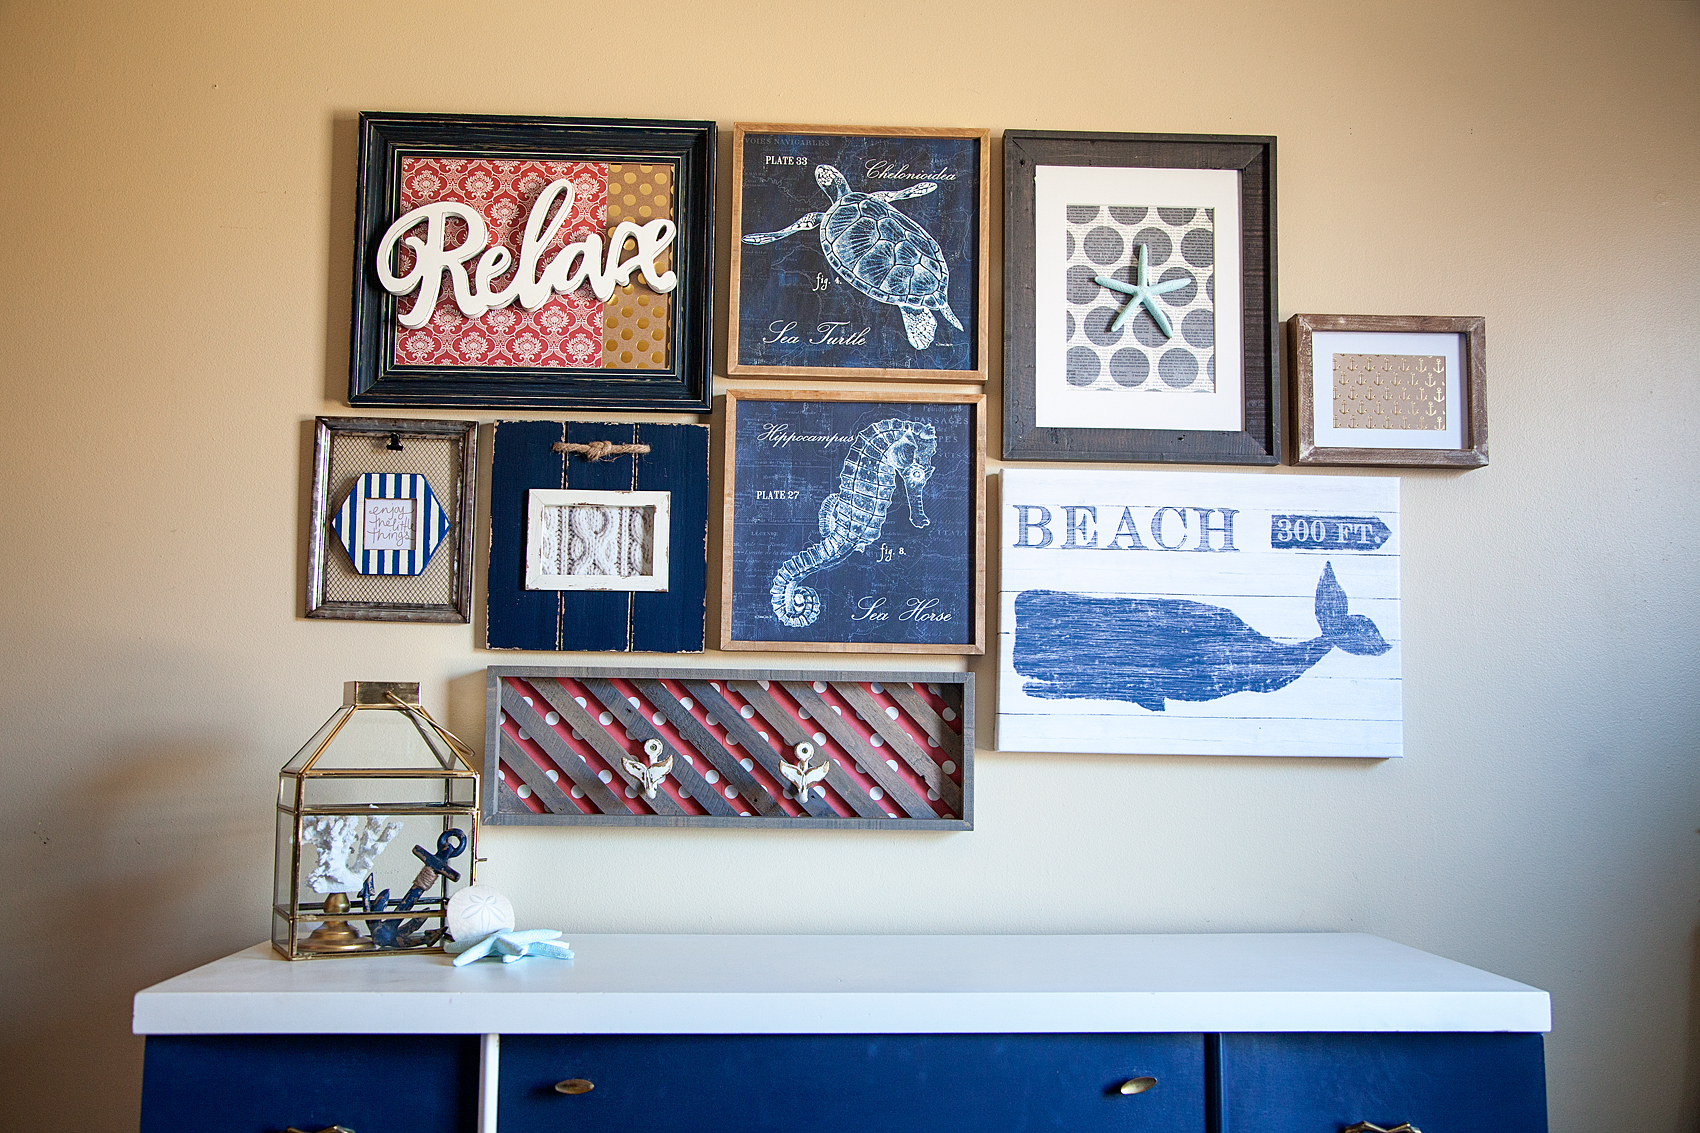
  • Define your space – Gallery walls come in all shapes and sizes. Don’t be afraid to break the rules! Trust your eye and see what works best for your space. For my gallery wall, I wanted something nice and tight that didn’t go too much past the edges of the dresser in my daughter’s room. Yet, I didn’t really want it to be in a uniform shape. Don’t be afraid to think outside of the box. Gallery walls can also spread out over multiple walls, around corners and take up larger spaces. So, don’t be afraid to spread out as well. Tips and tricks for easy Gallery Walls
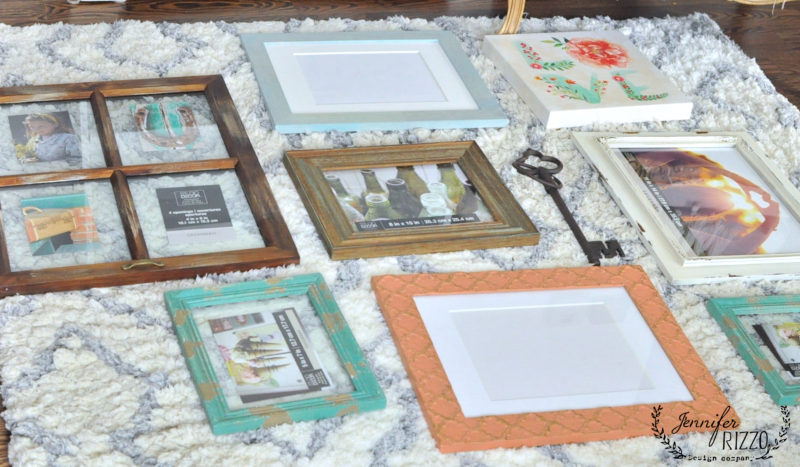
  • Layout your design on the floor – Jennifer Rizzo created a fun gallery wall using this idea. Before you get out the hammer & nails… Layout your design on the floor to get an idea of what it will look like. It’s so much easier to move stuff around that way and play with different designs. It’s much easier on your walls as well. Click on the photo to see how beautiful her gallery wall turned out!Tips and tricks for the perfect gallery wall
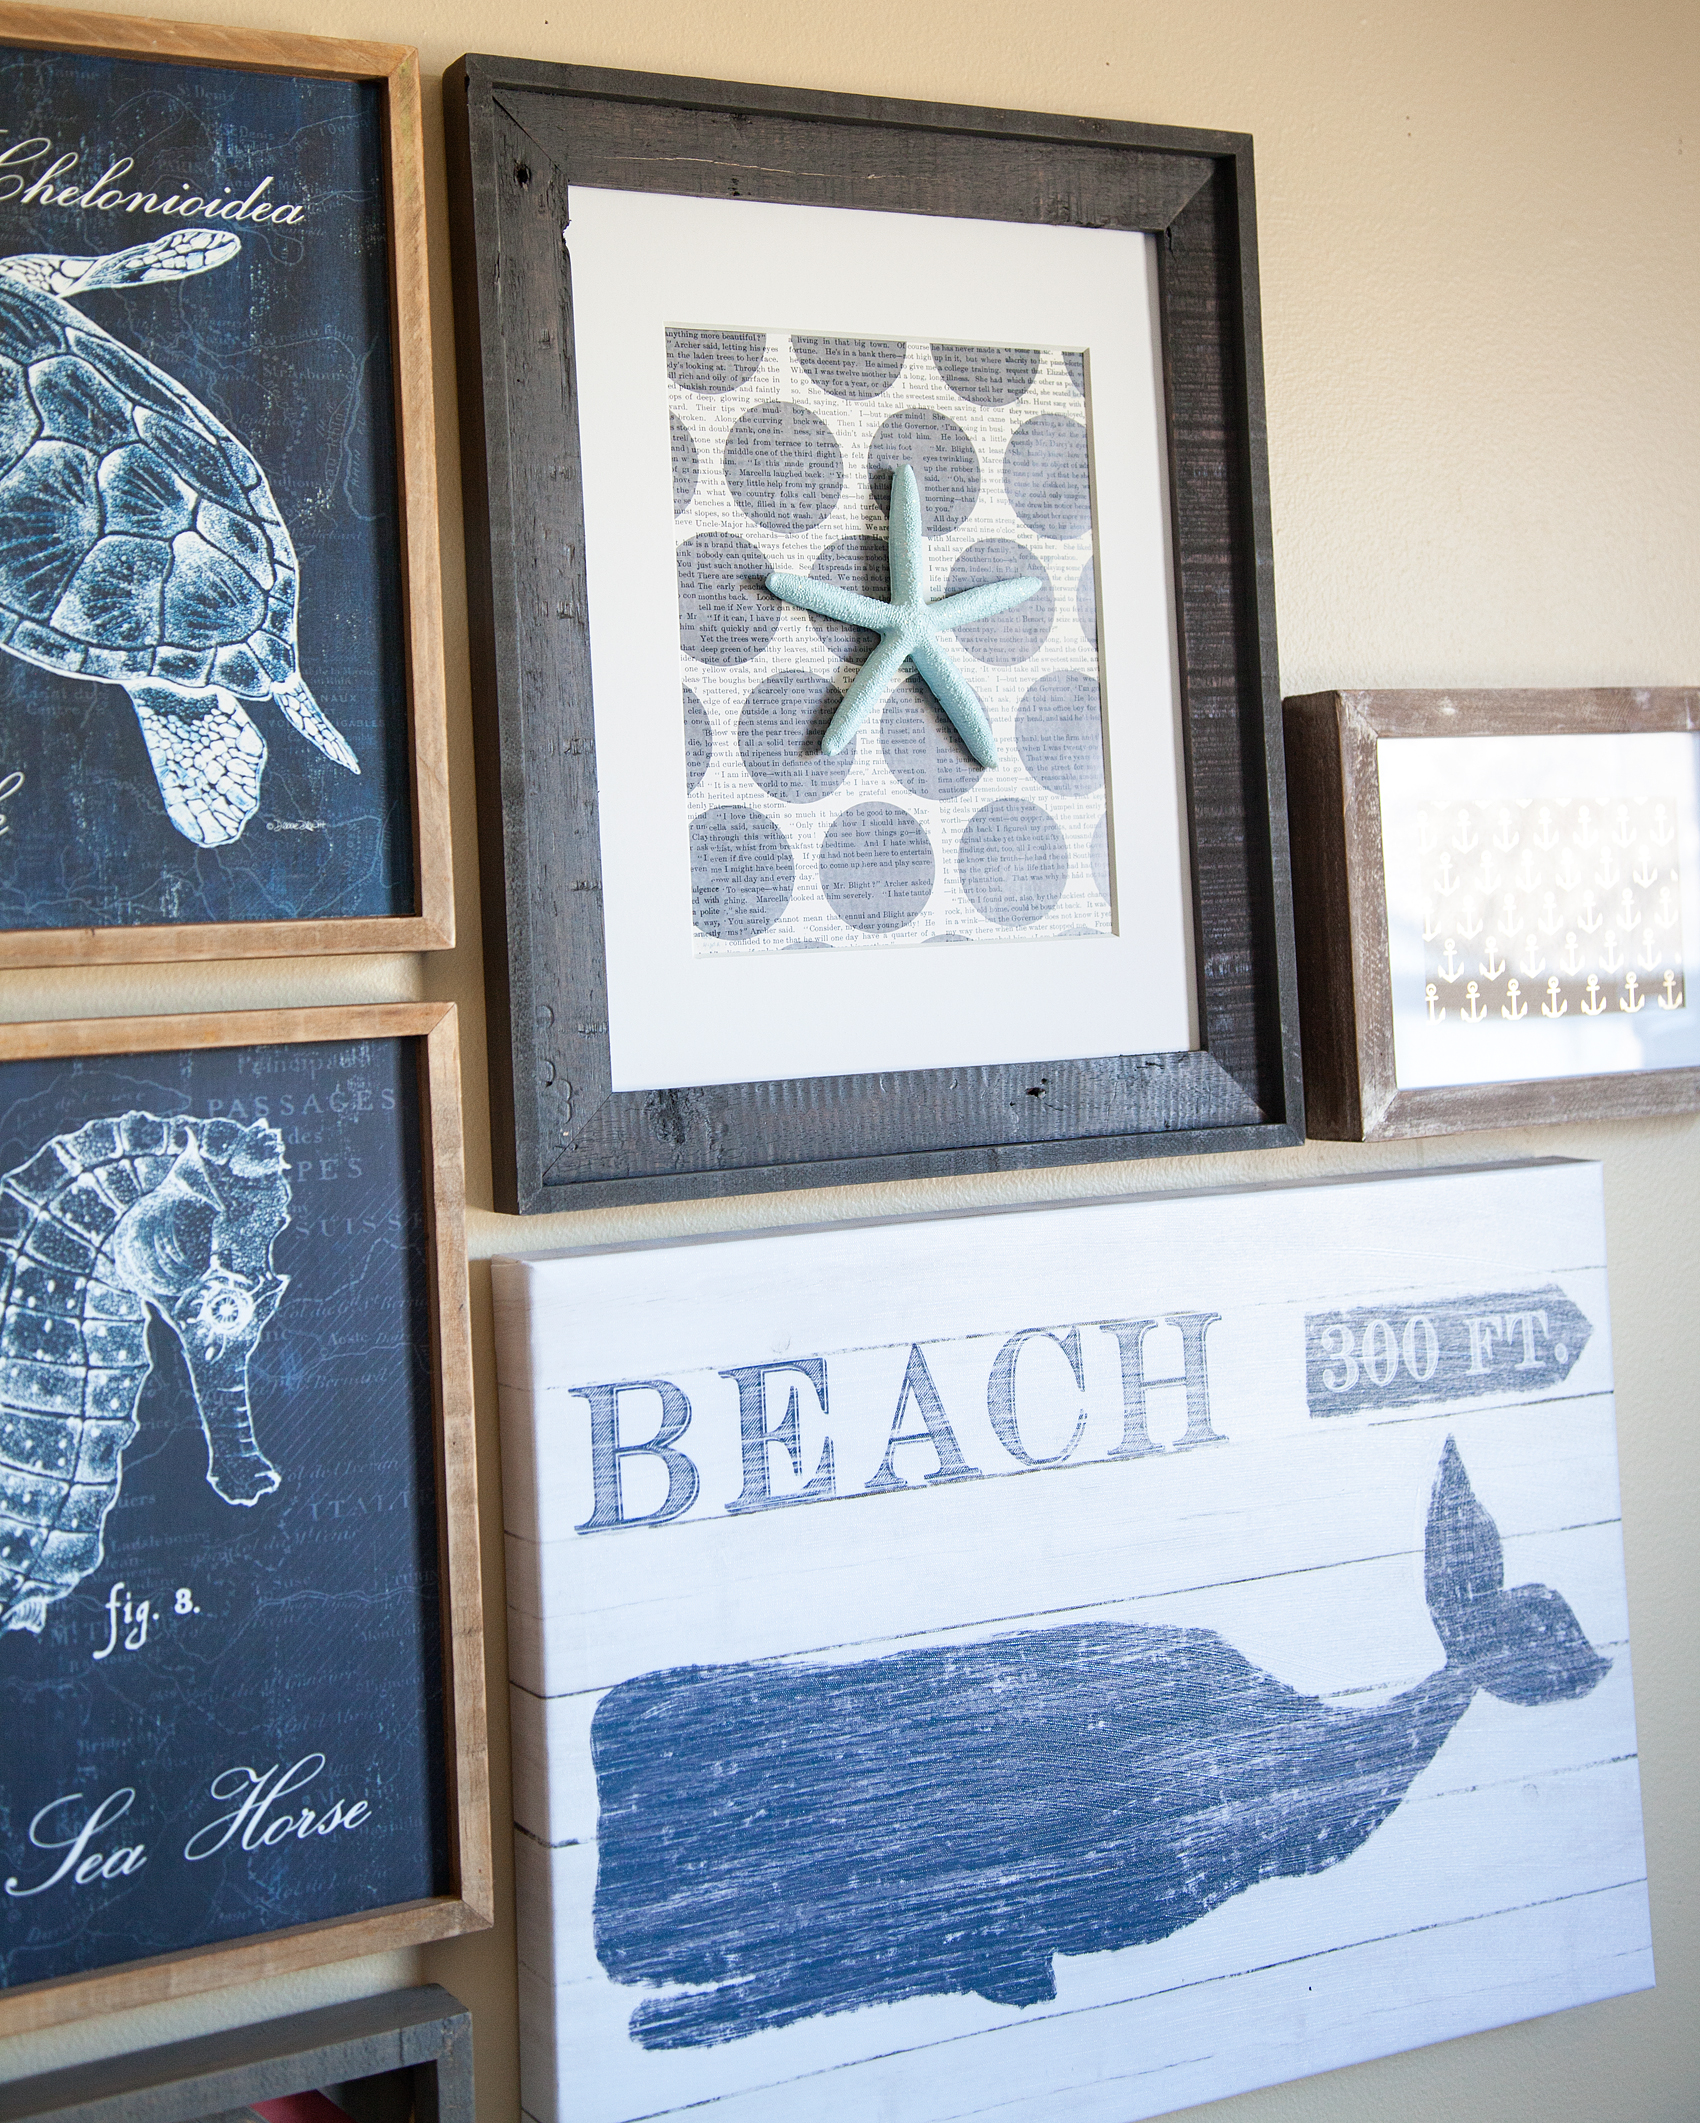
  • Layer items to give more dimension – Flat is OUT! Gallery walls don’t need to to be one dimension. For my gallery wall I layered some items to give the space a little POP. I used strong adhesive glue like E-6000 to layer my different items.Tips and tricks for the perfect gallery wall
  • Add color and texture with decorative  paper – Not all frames need to be filled with photos. Using decorative papers is an inexpensive way to add color and texture. Tips and tricks for the perfect gallery wall
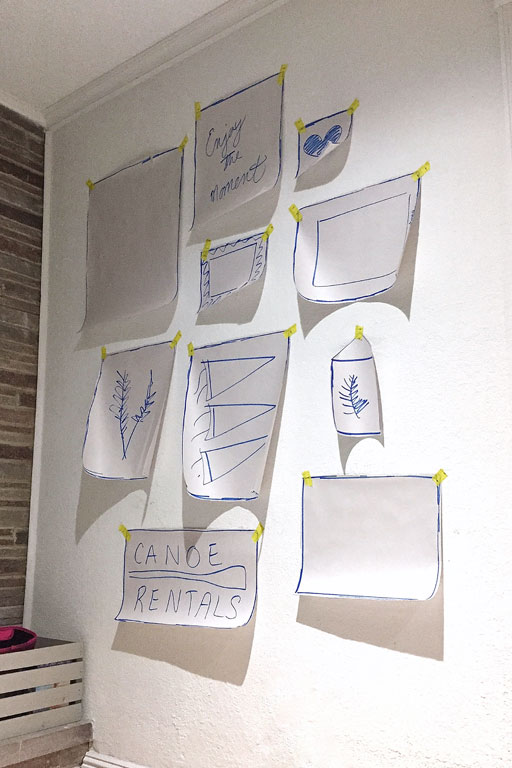
  • Trace your items on paper – STOP! Before you hang one single thing… Trace all of your items onto butcher paper or old paper grocery sacks. Cut them out and hang it on the wall just like your perfect layout that you created on the floor. Ashley Hacksaw from Lil’Blue Boo shows how to use inexpensive paper and some painters tape to layout your gallery wall BEFORE you start putting holes in the wall. Once you get your layout perfect then the hanging can commence. You can even hammer or drill right on top of the paper to make sure your nails or screws are in the perfect place. Click on the photo below to see how Ashley’s cool gallery wall turned out!Tips and tricks for the perfect gallery wall
  • Don’t be in a rush – Take your time. If you have a hard time feeling comfortable with creating your gallery walls and feel like you need a few second opinions, do it! Lay your gallery wall out on the floor and hand your paper gallery wall up and invite a couple of trusted friends over. Let it sit at this point for a few days until you are good and ready to move on to the next step. There is no need to rush… Unless your Mother-in-Law is coming soon, then you should probably get a move on.
  • Don’t be afraid to try other methods to hang your items – We live in an amazing time when we don’t always have to put nails in our walls to create an amazing gallery wall! Have you tried using Command Strips to hang your gallery wall items? I LOVE THEM!!! I especially LOVE the Command Strip picture hanging strips that are like Velcro. They are my current obsession. Will it surprise you to know that I didn’t use a single nail or screw for my gallery wall? Not a single hole was made in the wall. (My Dad would be so proud!) Now with that said, some heavier items will need a more secure way of hanging, so follow the directions on the Command Strips and make sure to use the right tool for the job. Tips and tricks for the perfect gallery wall
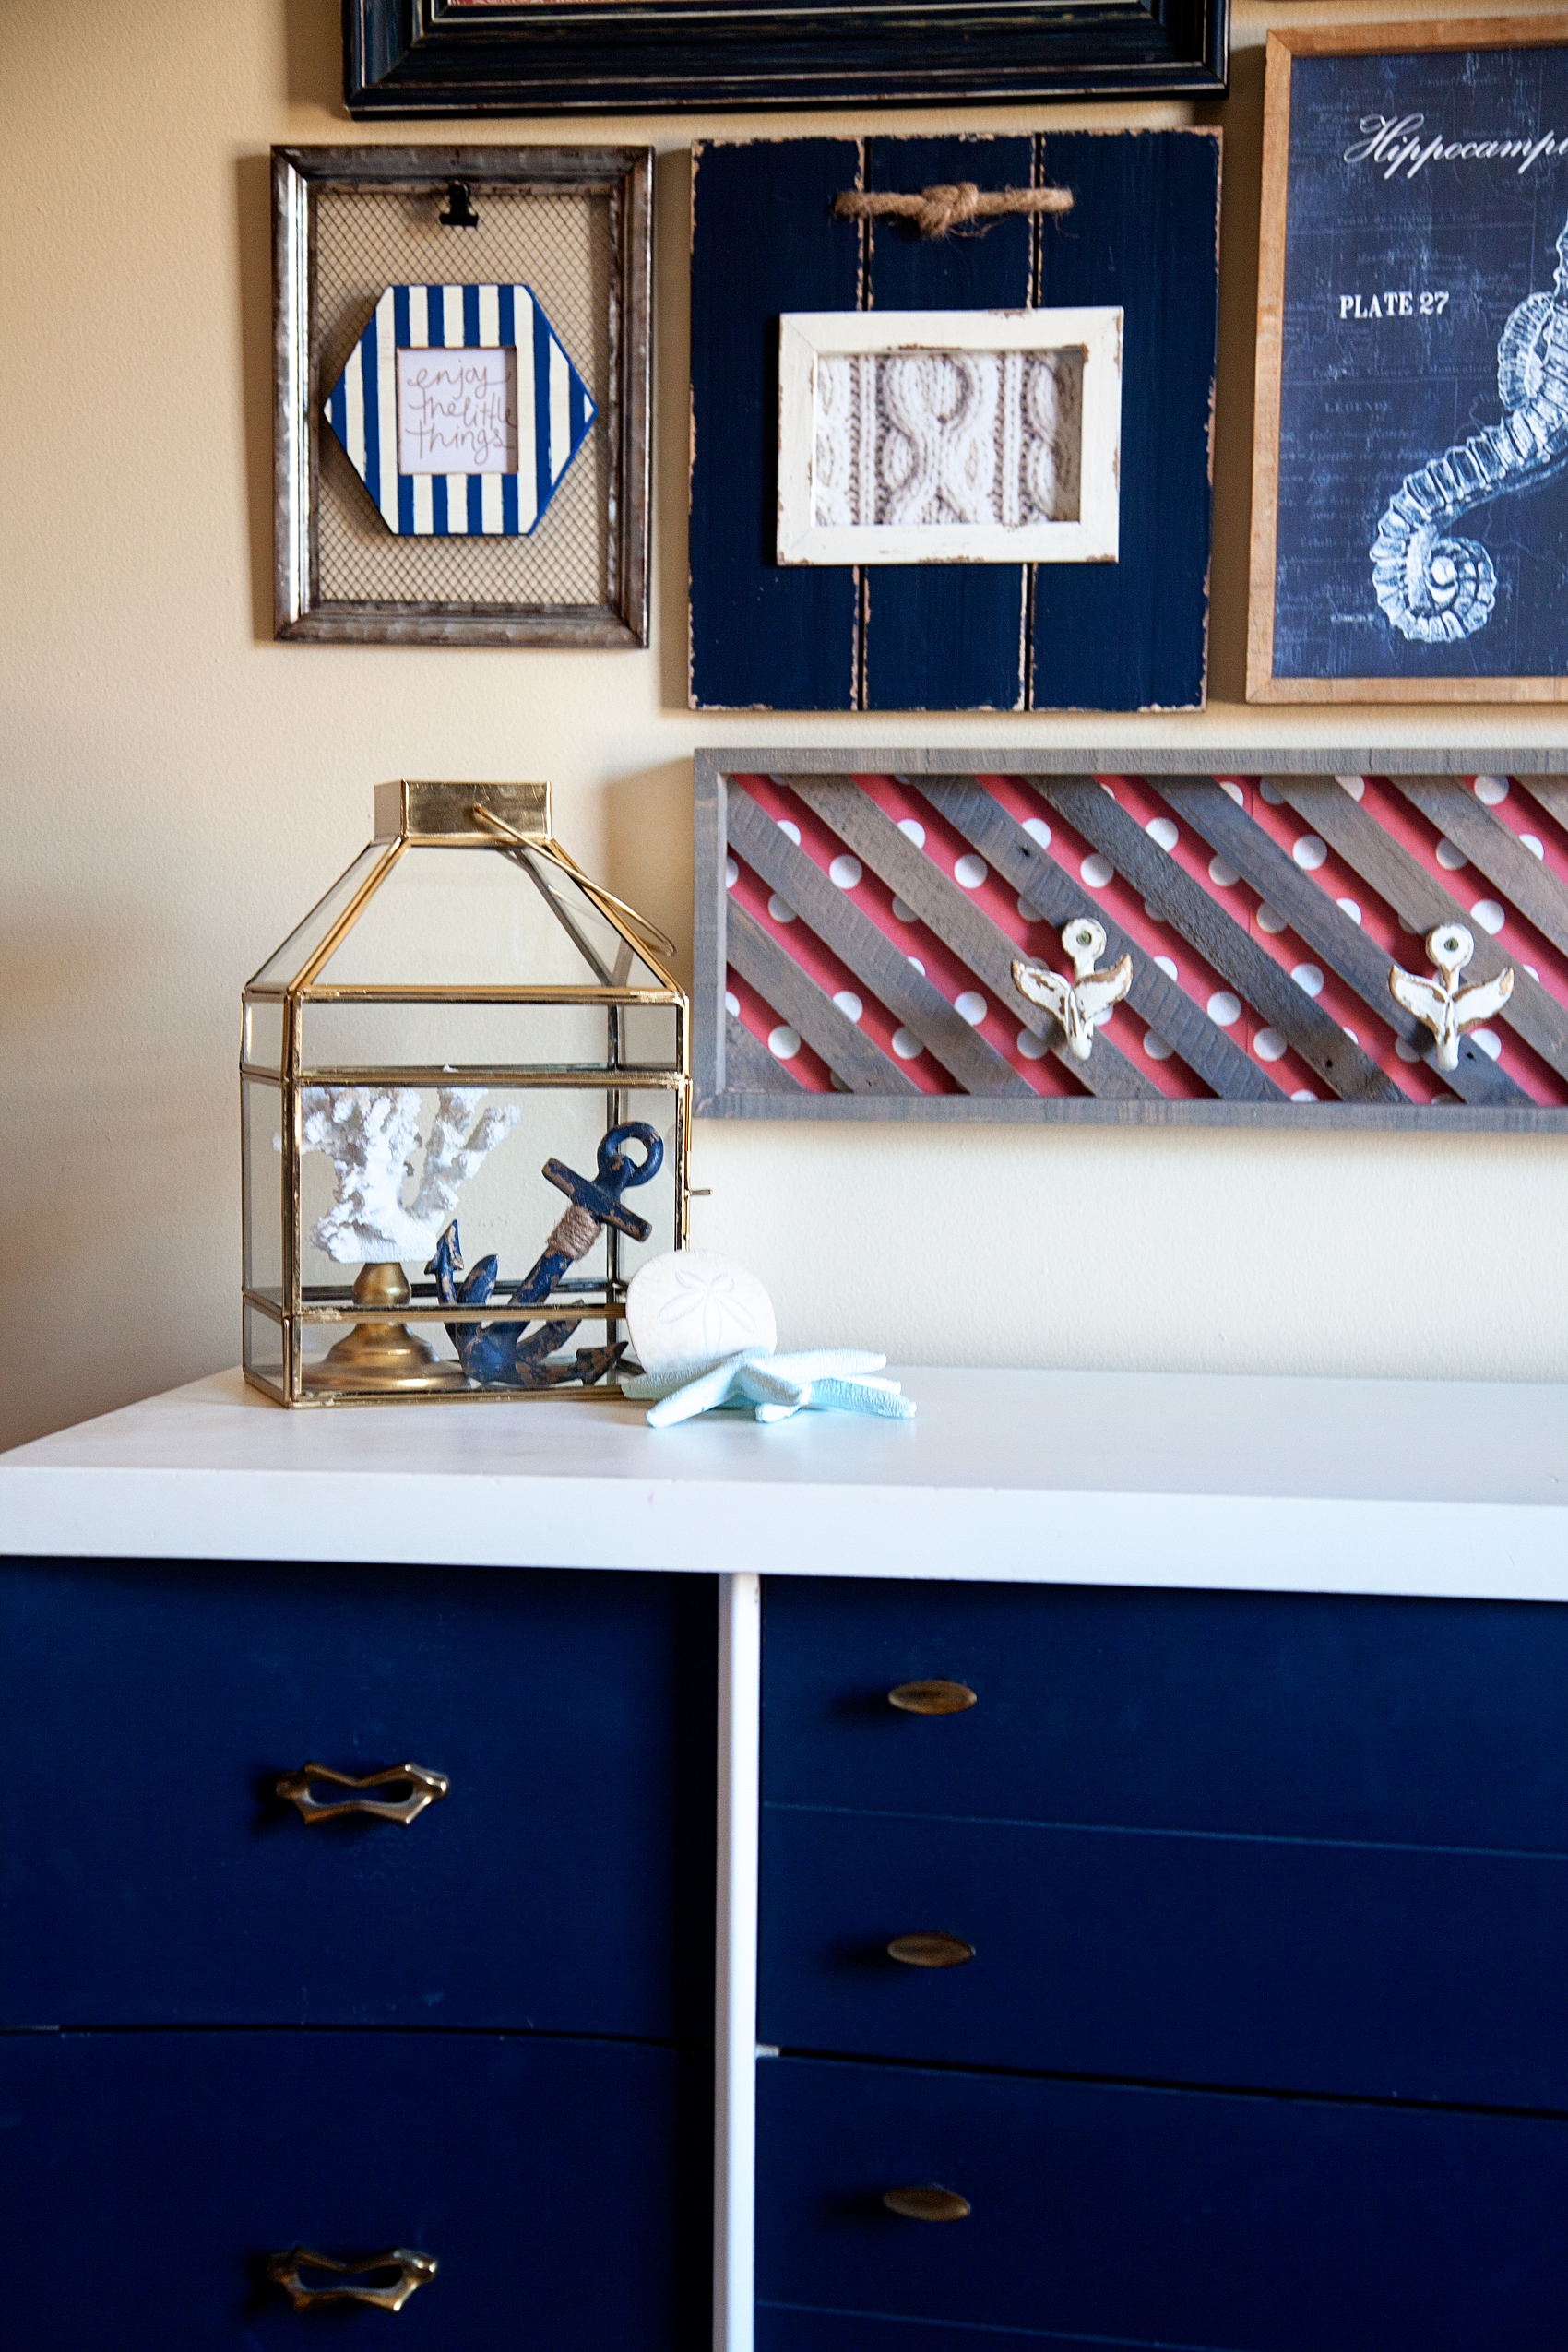
The bottom line is, DONT BE AFRAID! Break the rules, do what works for you and your space. You aren’t creating Mount Rushmore, if after some time you feel the need for change, than change it. Luckily Michaels makes it so easy by creating a great starting point with fun products for their four new gallery wall collections the Farmington, Catalina (that’s the one I used), Alexandria & Savannah.  Come on over to their blog the Glue String to get even more inspiration on how to create the perfect gallery wall for your home.

Disclaimer // I am thrilled to be a Michaels Maker and to have a chance to share with you some of my favorite Michaels projects. As a Michaels Maker they do provide the product for me to create with each month. However, I will only share what I truly love and use in my typical day-to-day life.
Lighted Floral Swag | Perfect to Add a Little Romance to Any Room

10 · Mar 2, 2017 · Leave a Comment

I know the majority of the country is looking forward to a little Spring heading their way. There is nothing better than some early spring blooms to help you out of the winter doldrums, but, if you’re still knee deep in snow… They aren’t going to show up any time soon. That’s when the Floral Market at Michaels should be your next stop ASAP!! Refreshing your home for spring is as easy as swapping out a few décor pieces or adding pretty faux florals. Or, you can make a Lighted Floral Swag to add a little romance to your room. Michaels has everything you need to get started!

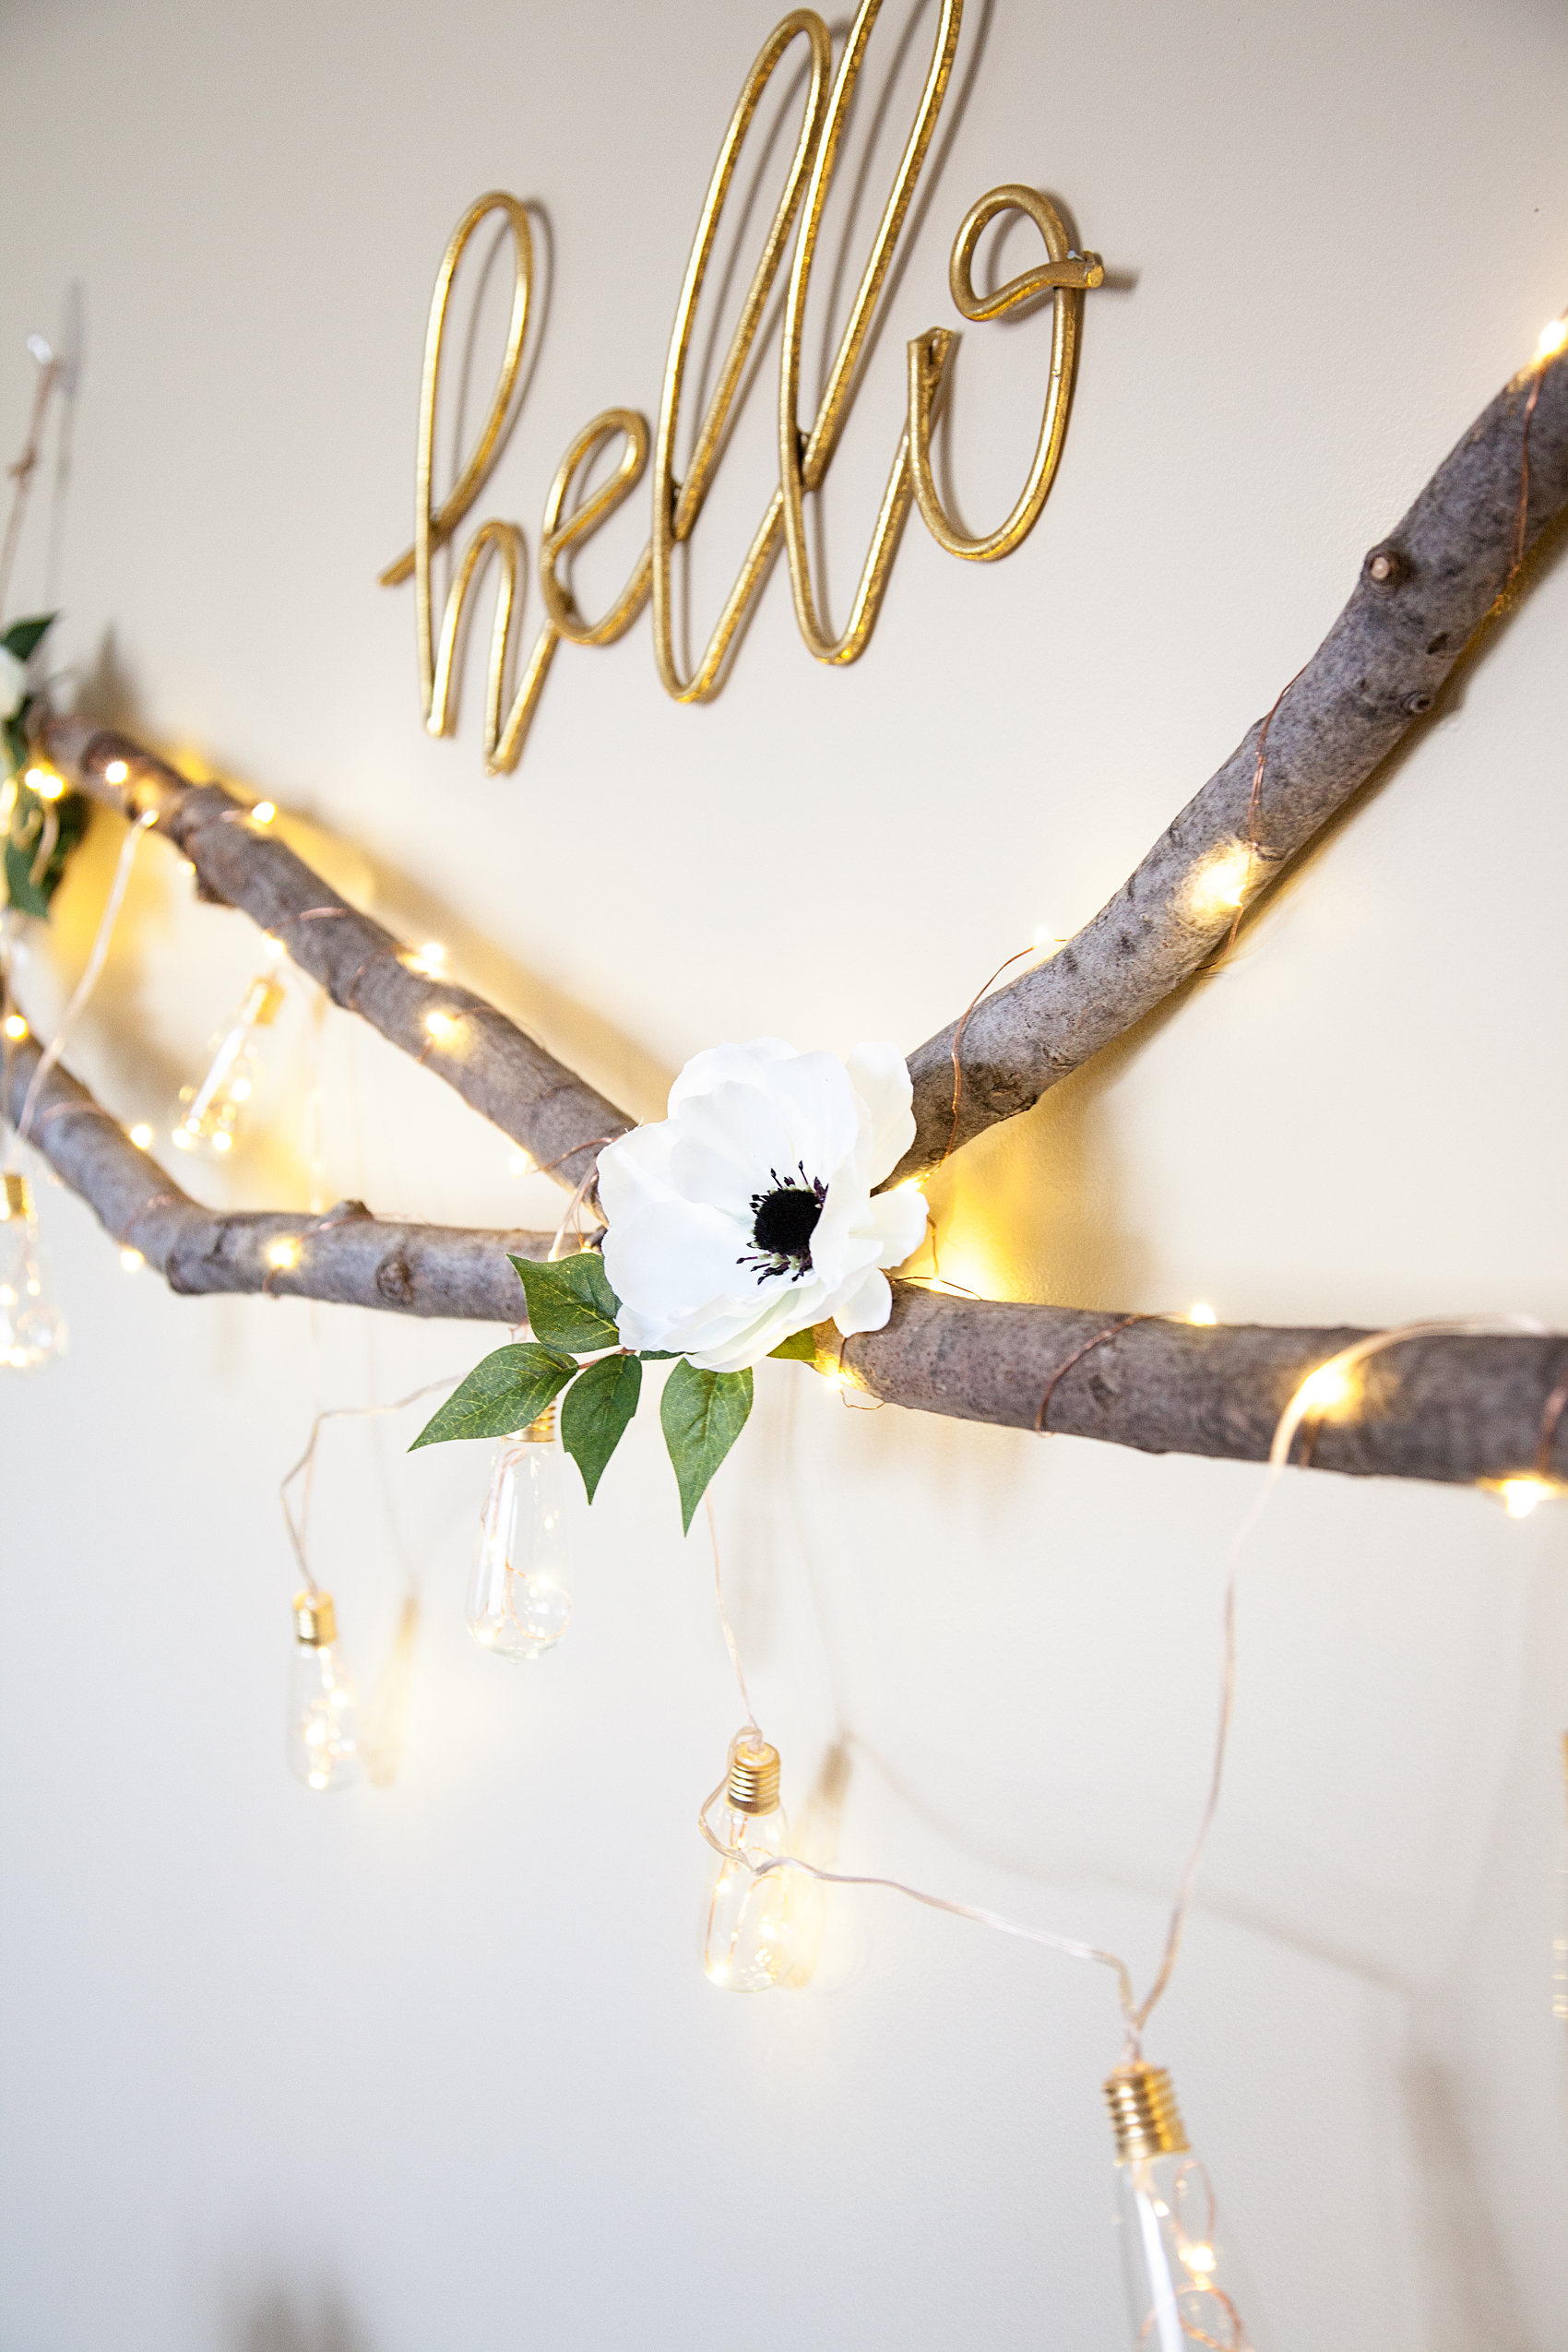
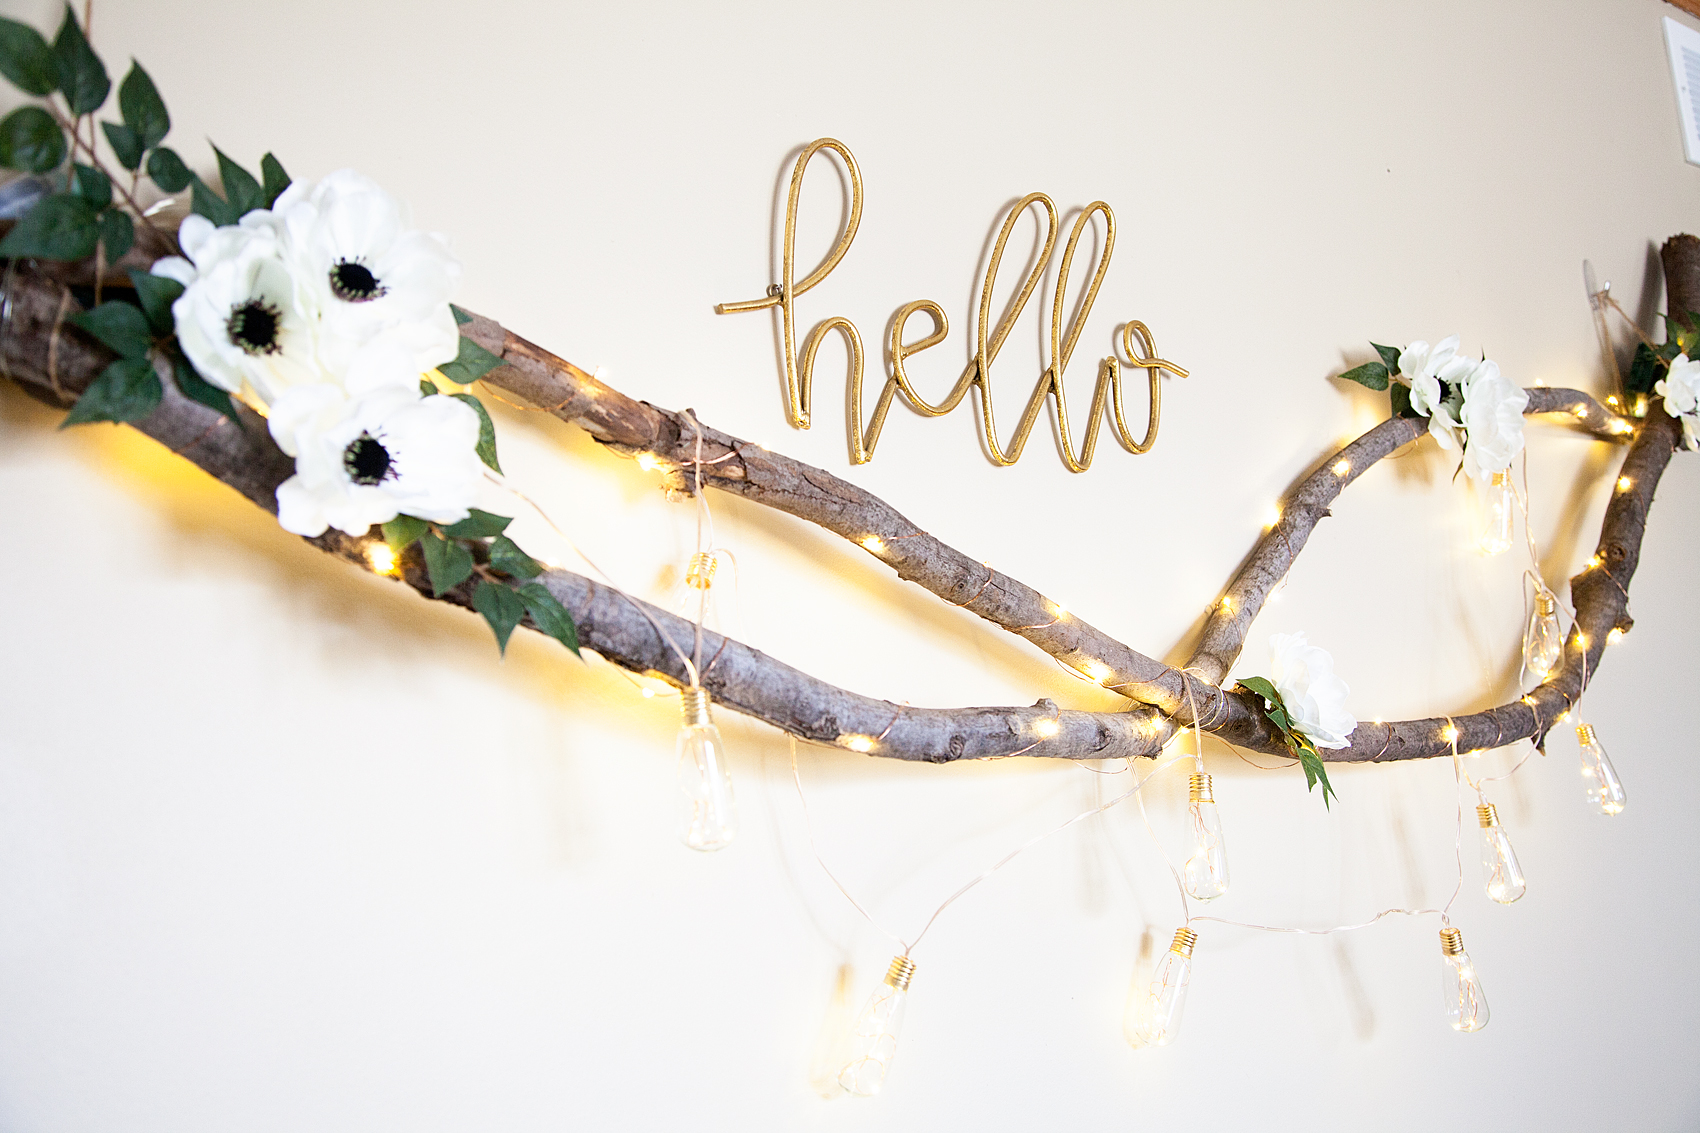
Lighted Floral Swag with beautiful flowers from Michaels via WhipperBerry

How beautiful is THAT! Won’t that brighten-up your dull, gray day?

I started with these lovely flowers from the Michaels Flower Market…

How to make a lighted floral swag via WhipperBerry

Then I grabbed two different kinds of led lights to add a little flair…

DIY Lighted Floral Swag from WhipperBerry

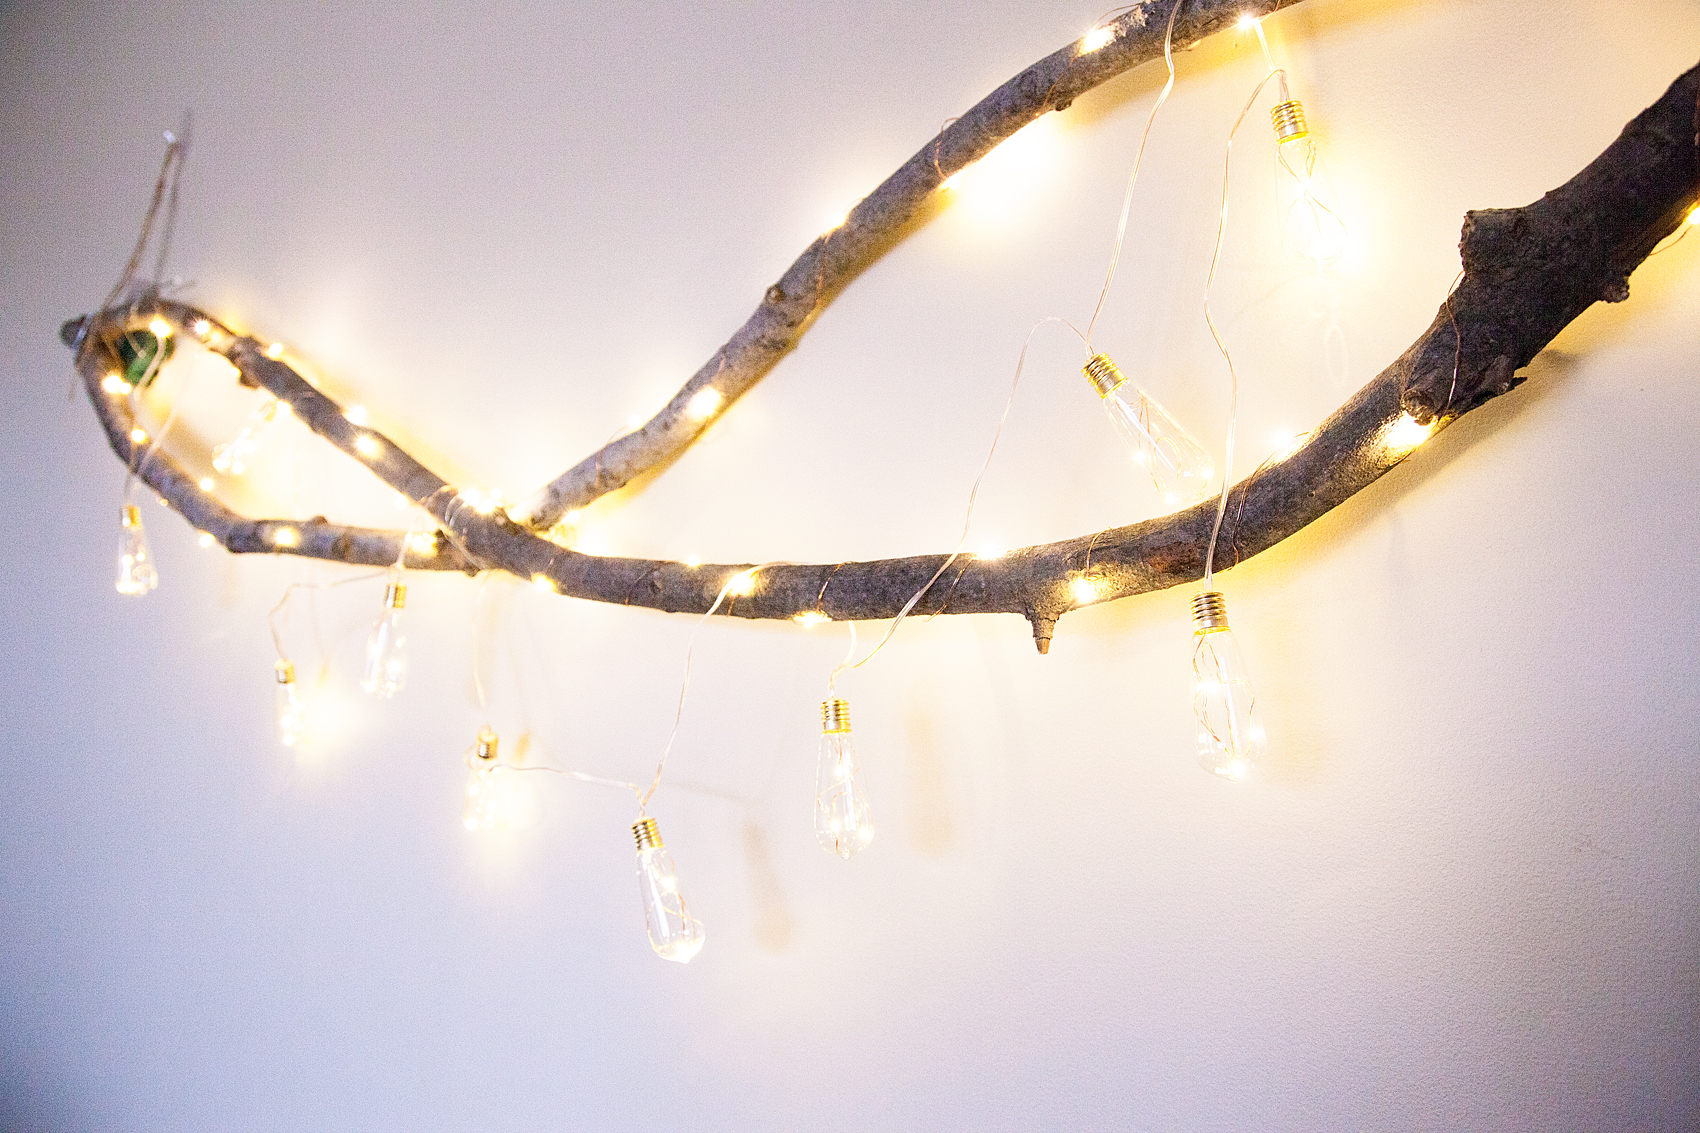
This fun vintage style string of Edison LED light bulbs and then just your basic LED string lights. The next item I needed was some great branches from out in the back yard. If you don’t have any fallen branches, scour your neighborhood and see if your neighbors would be willing to part with some of theirs. You can even buy branches at your local garden center if needed.

Lighted Floral Swag Instructions

First, I wired my branches together with floral wire and used some twine to create loops to hang the branches from. Then I wrapped them with the wire LED lights first.

DIY Lighted Floral Swag from WhipperBerry

Don’t worry about the battery packs that you can see on the sides. Those will be hidden later on with the flowers. You’ll also need to trim your twine to make it look nice.

Next, I draped the light bulb string loosely around the branches.

DIY Lighted Floral Swag from WhipperBerry

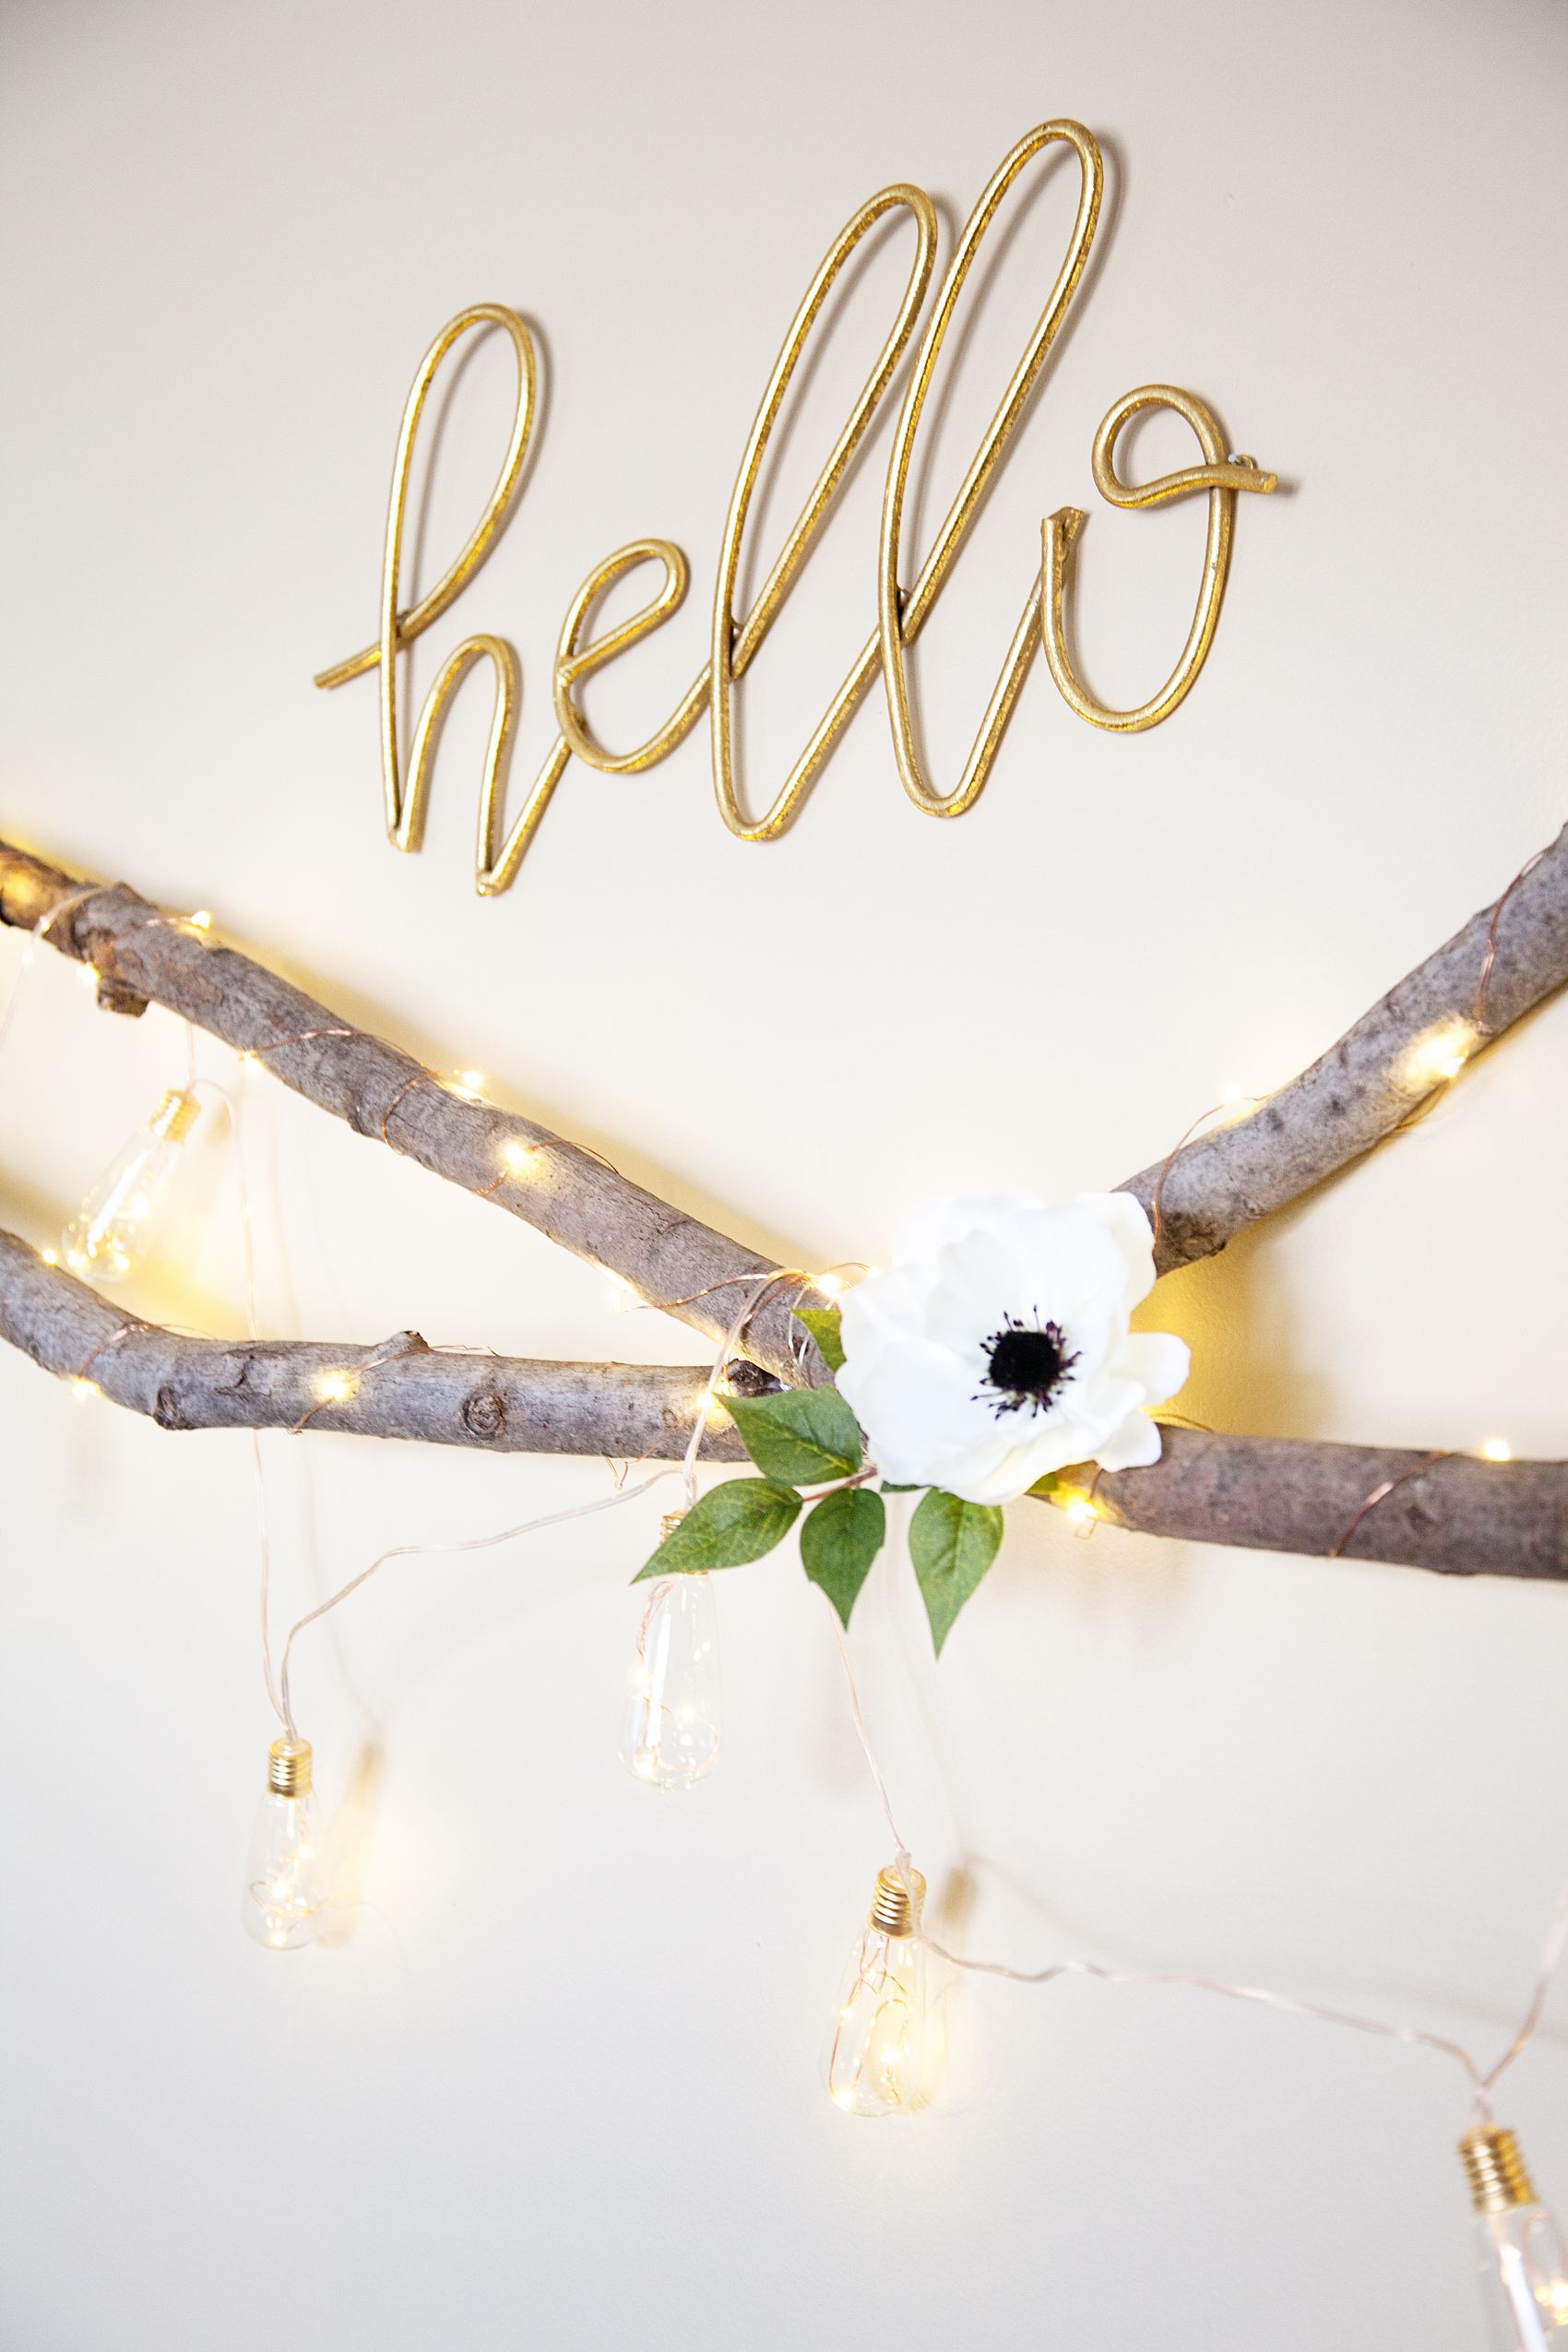
I love how those bulbs look hanging from the branches!

Finally, I hot glue my flowers to the branches. I wanted kind of a minimalist look for this swag, but, you can go totally crazy with the blooms if you’d like. It’s totally up to your preferences.

DIY Lighted Floral Swag from WhipperBerry

DIY Lighted Floral Swag from WhipperBerry

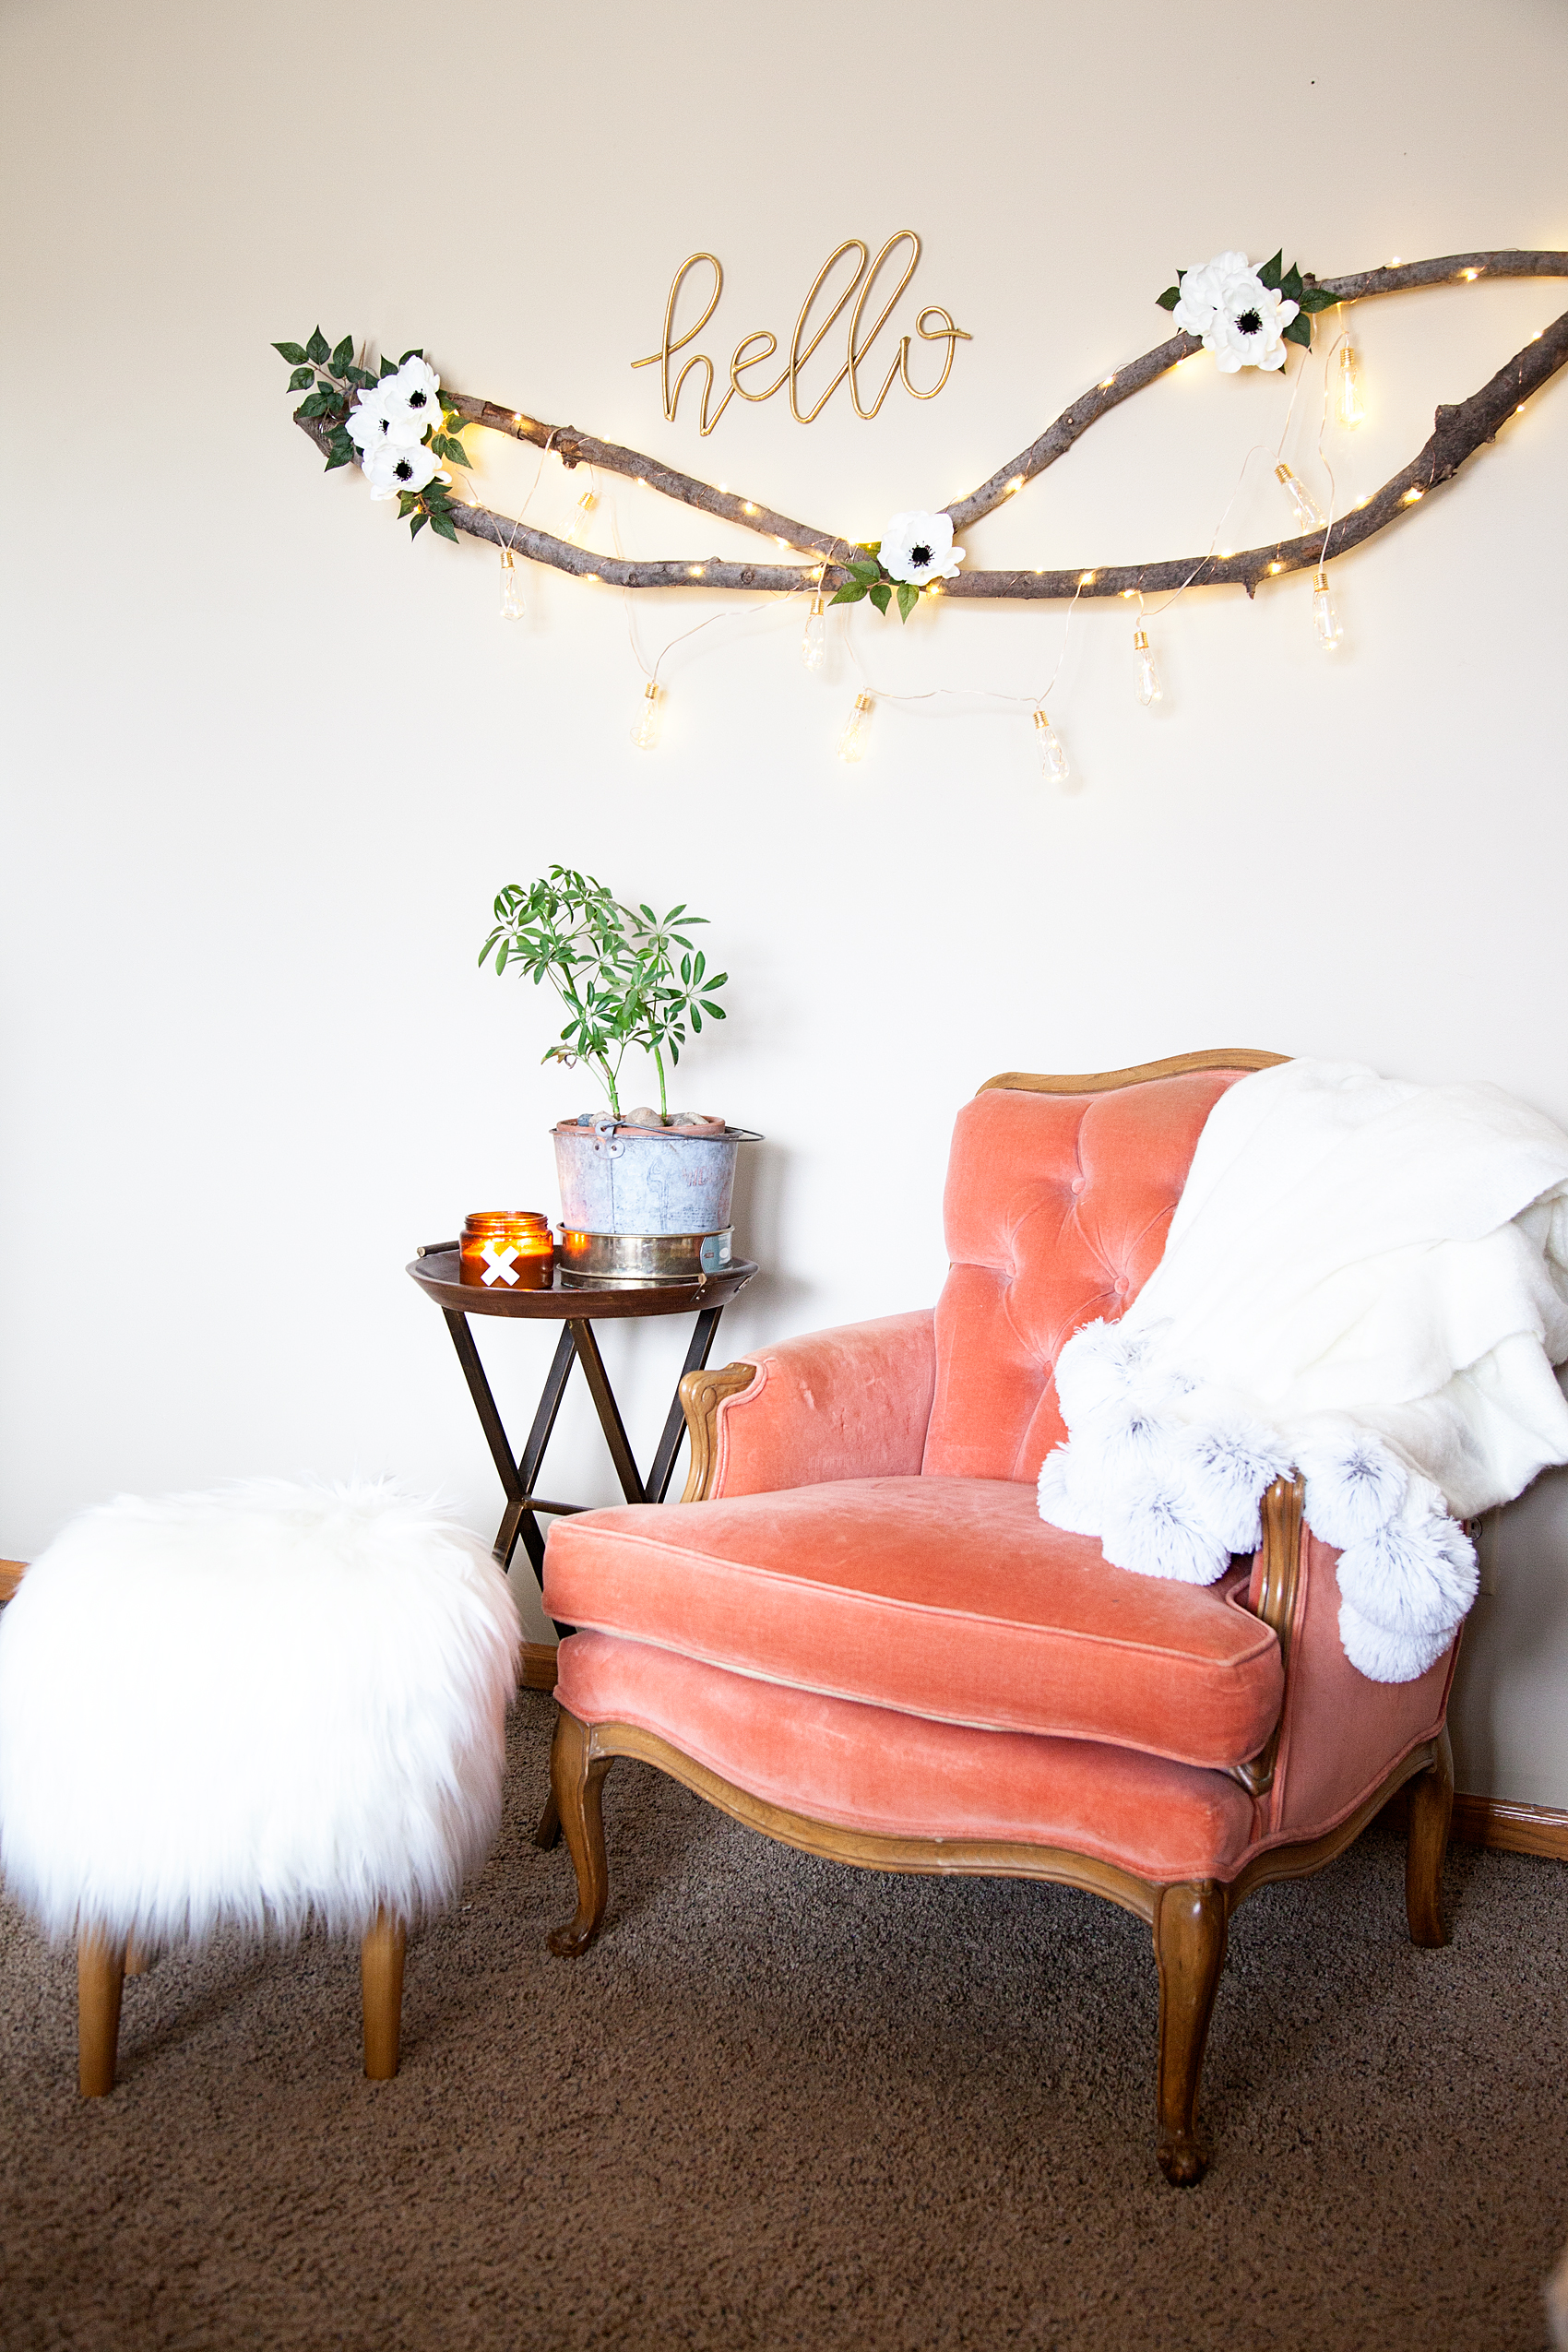
I completed the look with a few old pieces from around the house, plus a new FABULOUS foot stool from Michaels!!

DIY Lighted Floral Swag from WhipperBerry

I mean how cool is that footstool?! I also grabbed that yummy gold “hello” at Michaels as well in the same section. I just adore it all!

DIY Lighted Floral Swag from WhipperBerry

This project is super easy! Run on over to Michaels to grab your favorite florals and get started. Let’s start Spring off with a lovely BLOOM!

Looking for more inspiration? Make sure you visit Michaels’ blog, The Glue String, to see the rest of the Michaels Makers’ Spring Refresh project ideas.

An InLinkz Link-up

Using Cricut Faux Leather + Gold Foil to Dress-up Your Home

15 · Feb 15, 2017 · 2 Comments

149781-Hayneedle Photo Shoot-005

5 stylist walk into a bar… Alright, maybe not a bar. A glorious industrial blank space in the heart of Salt Lake, they have 3 Cricut Explore Air 2 machines, new bedroom furniture from Hayneedle and all kinds of Cricut tools & materials. One stylist says…

Alright, this is starting to sound like a really bad joke. The strange thing is, it really happened. I had the great opportunity to head out to Salt Lake to share in the creation of a fun bedroom space with some great blog friends. Hayneedle graciously supplied the basic room elements and then we had the assignment to add a little pizzaz to the space. The main themes were industrial, softened up with a little romantic floral flair. My assignment was the chair and then heading up the collaboration of one of the gallery walls.

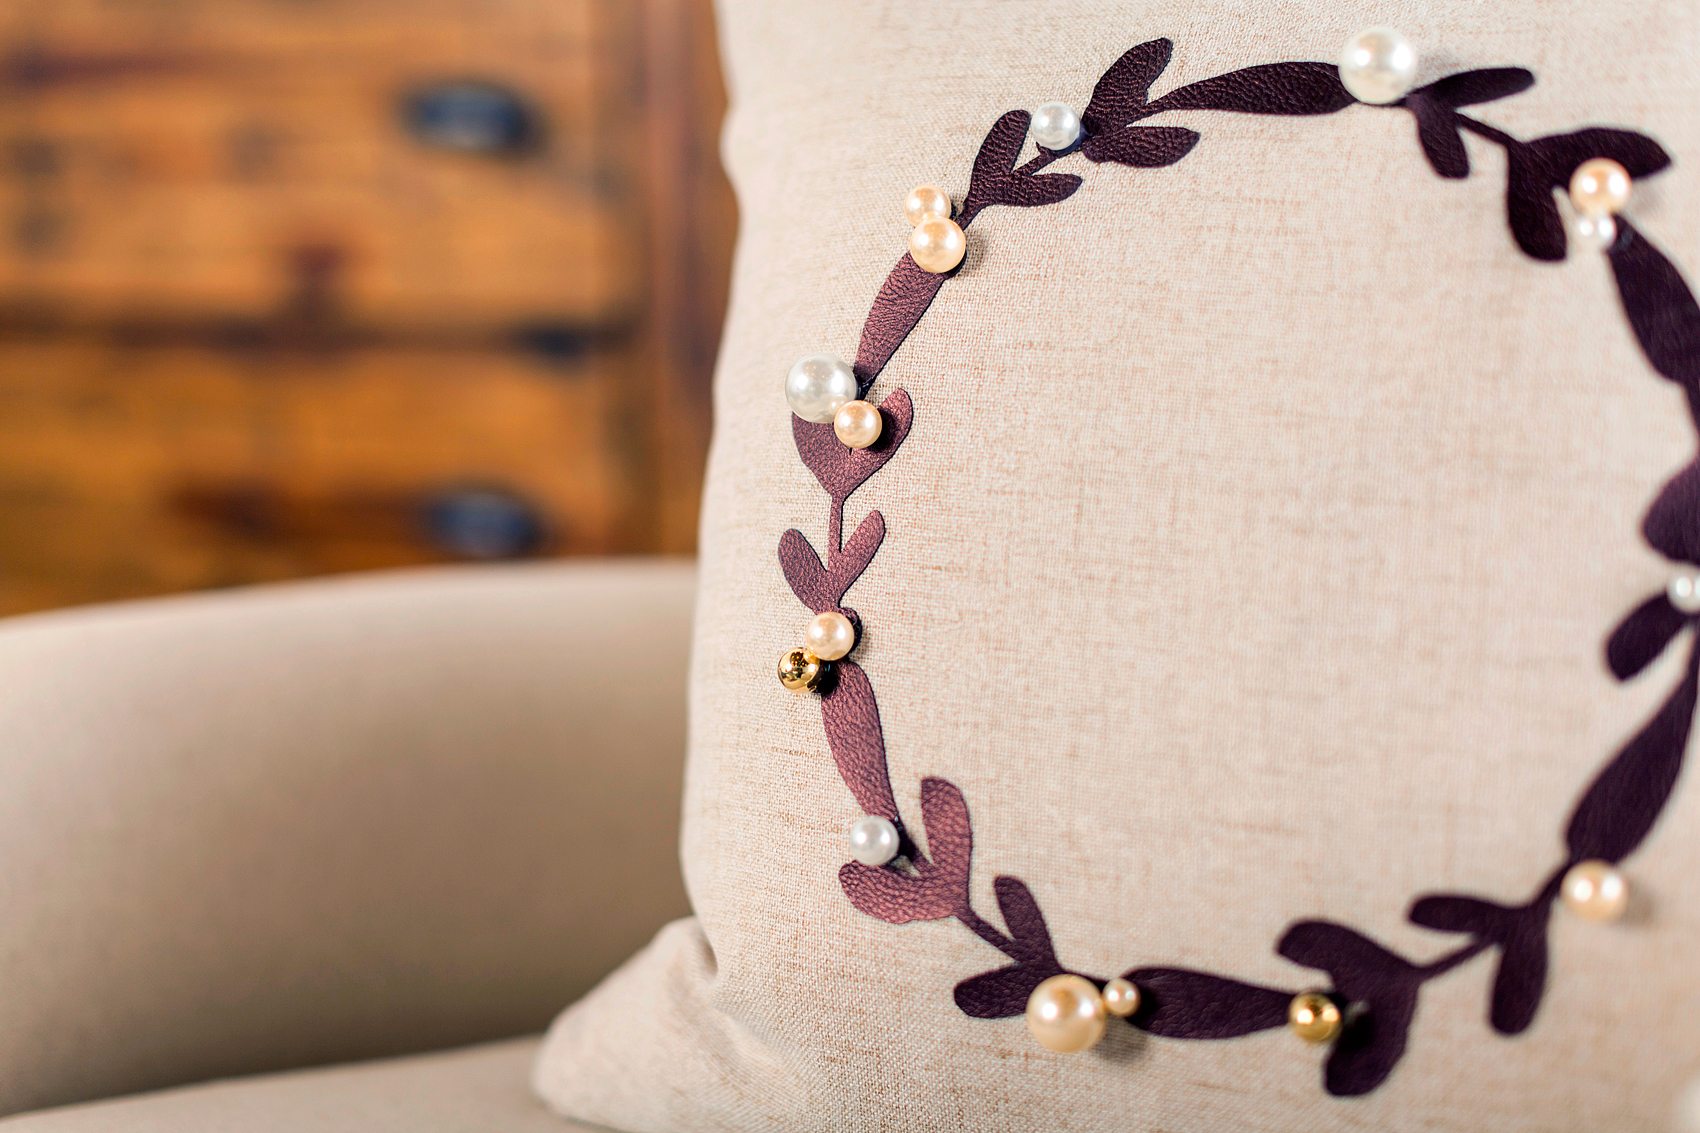
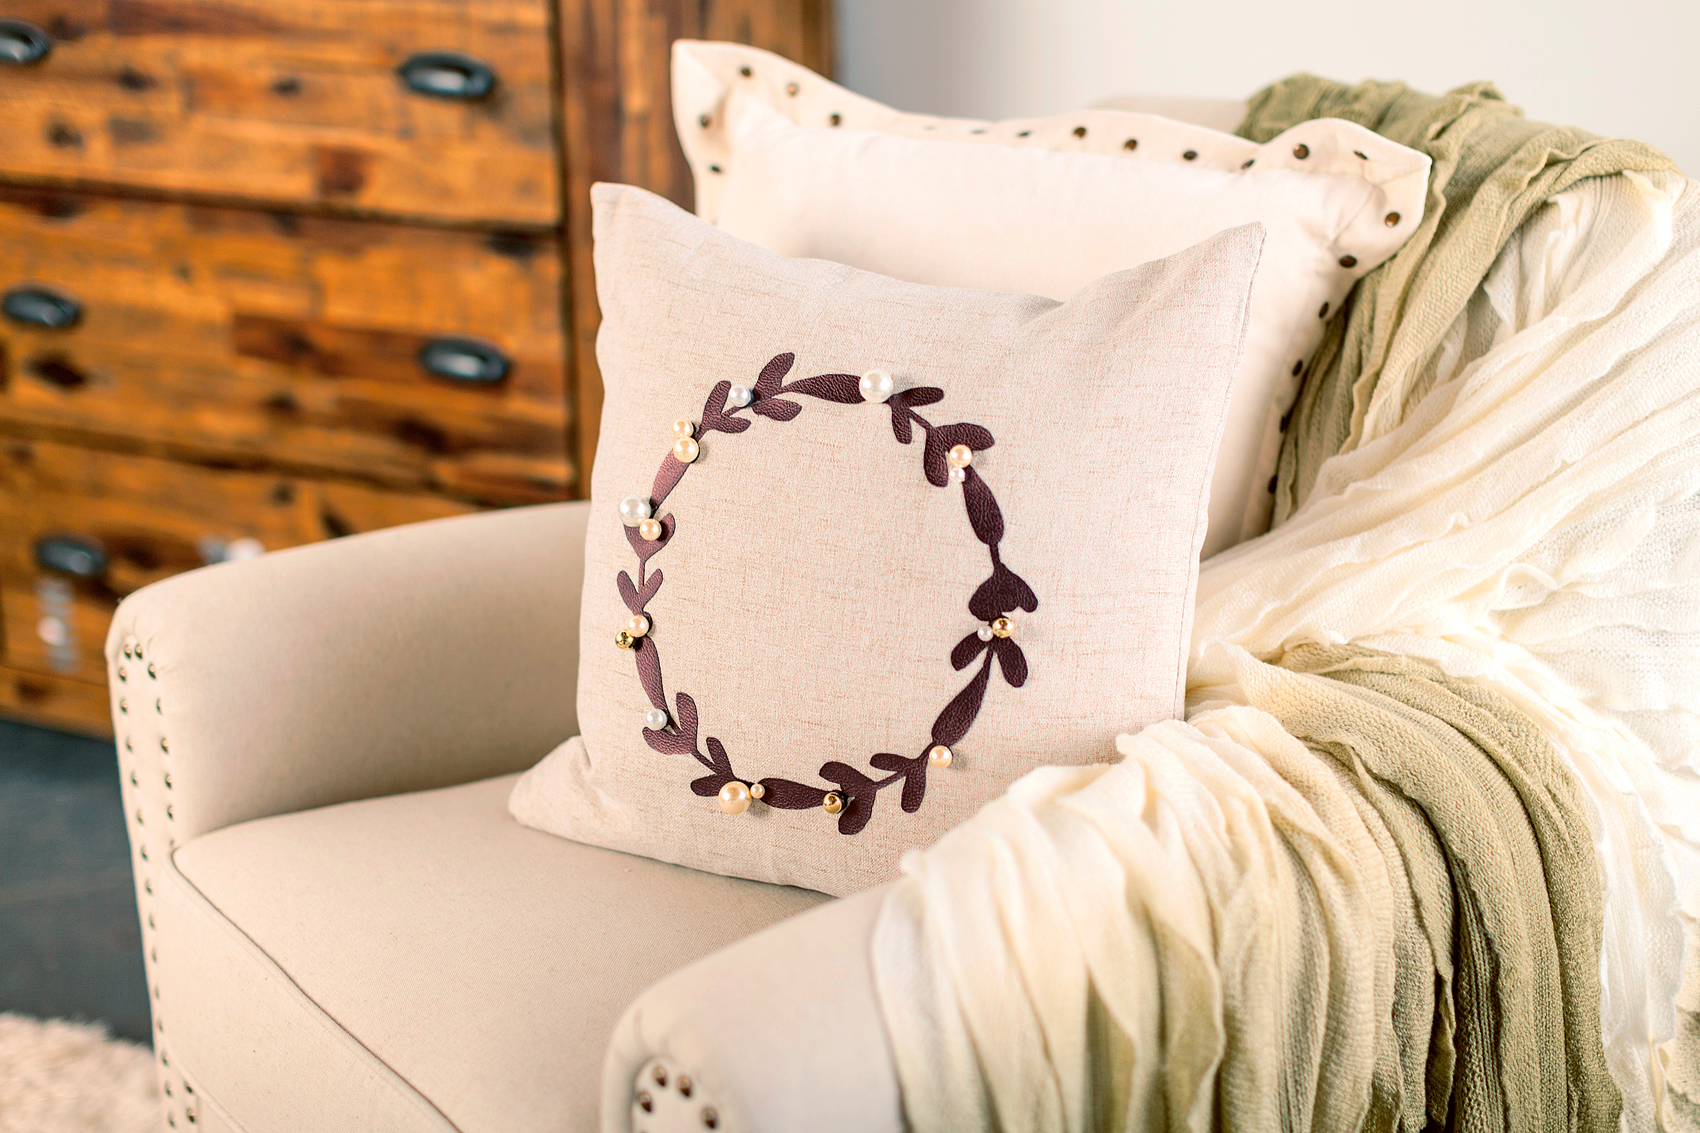
For the chair, I created a classic pillow using the Cricut Faux Leather and designed a fun wreath using crafting pearls from Michaels for the “berries.”

Classic Wreath Pillow created by WhipperBerry using Cricut Faux Leather and the Cricut Explore Air 2

I LOVED how it turned out… It added just enough personality to make the beautiful chair from Hayneedle SING!

149781-Hayneedle Photo Shoot-014

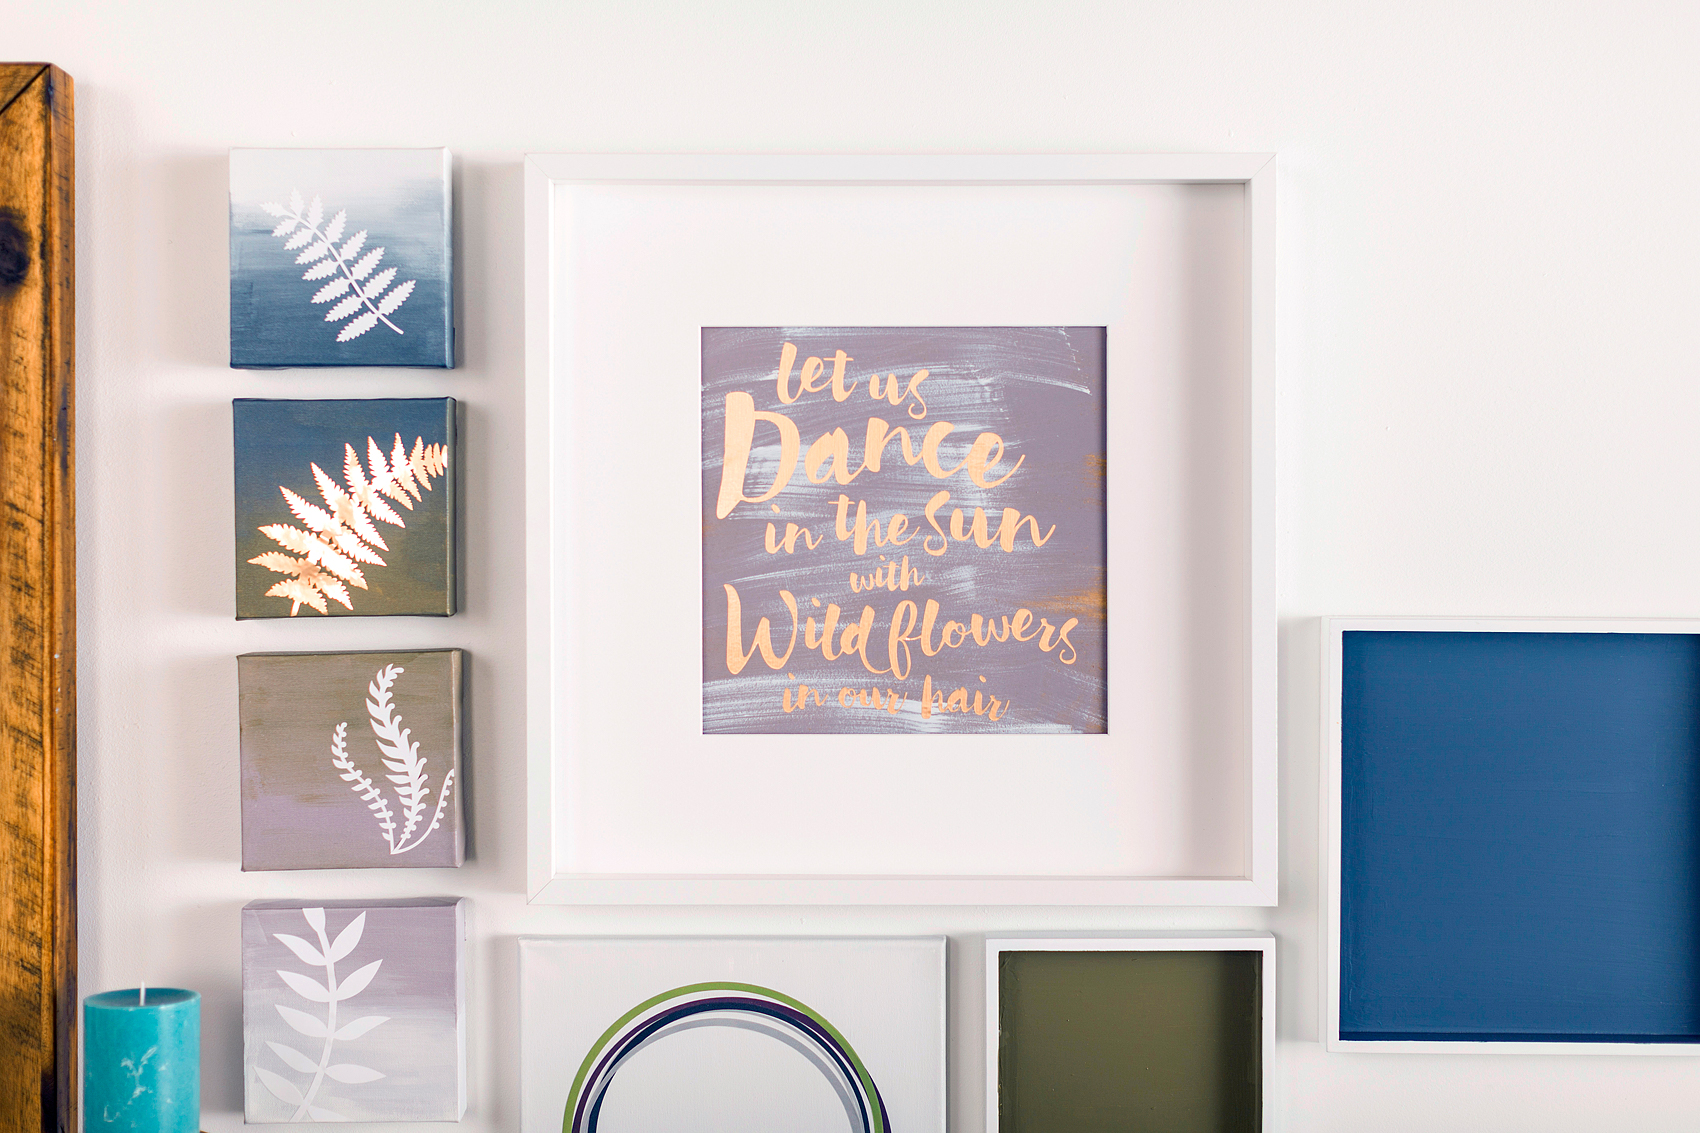
I then worked on a super fun piece of wall art that I adore…

Let us dance in the sun with wildflowers in our hair wall art from WhipperBerry

Since the room was going to have a floral flair, I thought a playful quote on the wall would look fantastic. I found this quote and then set to designing it so that would tie the other wall art pieces from the other designers together. I decided to use the AAAAMAZING Adhesive Gold Foil from Cricut for this piece and I ADORED how it turned out.

Come on over to the Cricut Blog to see WHO the other stylist are, see the rest of the projects, learn how to RE-CREATE what I designed and see the COMPLEATED ROOM. PLUS, you’ll have a chance to WIN the whole room for yourself!! You won’t want to miss out on that!

Disclaimer + I am a Cricut Ambassador and this post does have affiliate links. Please know, I will NEVER promote a company or product that I don’t truly believe in and use myself.

How to Decorate with Flowers

0 · Mar 1, 2016 · 2 Comments

+ How to decorate with flowers post brought to you by Michaels Craft Stores +

How to decorate with simple romantic flowers from the Michaels Flower Market by WhipperBerry

I ADORE flowers!

I love how something so simple can transform a space.

How-to-decorate-with-michaels-flower-market

Especially this time of year when we are all waking up from our winter hibernation. It’s time to pack away the buffalo check and the fun plaids and bring out the romantic spring florals. That’s why this month’s Michaels Makers Challenge is all about the Flower Market!

14616_MS_MM_MarchChallenge_m

How to decorate with flowers

My one issue…

I HATE how quickly fresh flowers fade. I love having them around, but I truly dislike the cost of keeping them up in our home. That’s why I’m in love with Michaels new Floral Market with over 500 fresh new blooms that will for sure match almost any personality and decorating style!

I tend to keep things more on the simple end. As much as I love huge arrangements in other spaces. I feel like the space in my home needs something a little more delicate.

Ranunculus-425-(1024x683)

img source + beyond sweet and savory

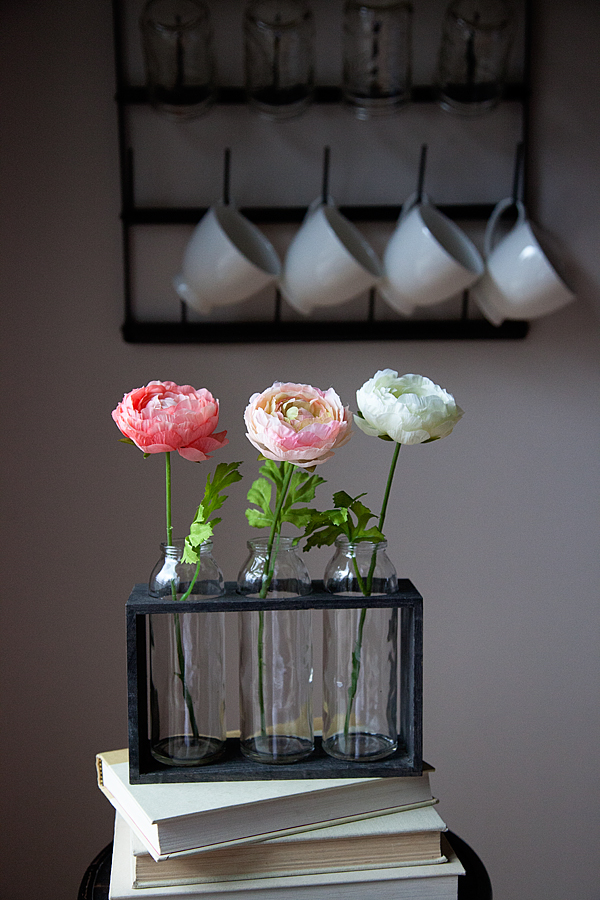
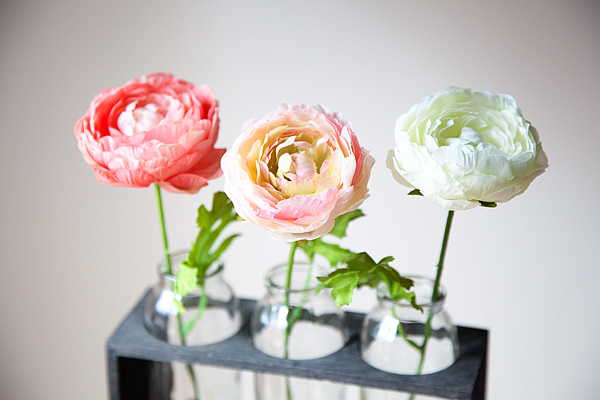
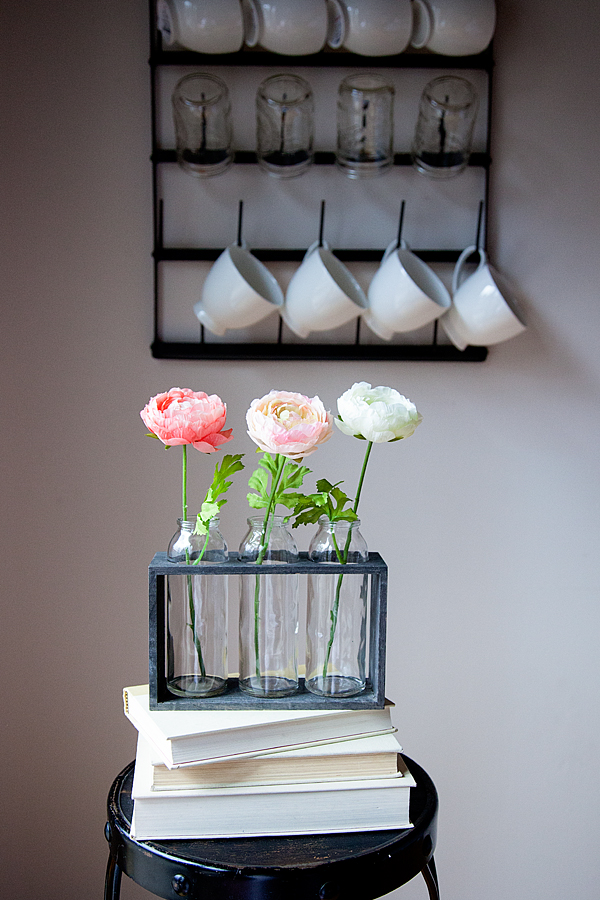
I have always loved Ranunculus blooms and thought they would be the perfect addition to this little corner in my kitchen.

decorating the simple but beautiful ranunculus blooms from Michaels Flower Market

These beautiful Ranunculus blooms paired with the romantic bud vase that I also found at Michaels it was a real home run!!

The beauty of the whole thing is that I get to have this romantic splash of spring and it’s not going to wither and die on me. I LOVE IT!

I’m sure you have a space in your home that could use a little love… It’s amazing how adding a little bloom can totally transform a room.

Looking for more simple floral ideas, you should visit Michaels blog The Glue String for all kinds of inspiration OR you can visit the 49 other Michaels Makers to see how they’ve dressed up their home from the Flower Market.

Michaels Makers Summit Challenge

Speaking of Michaels Makers…  YOU could win the opportunity to join us for this years Michaels Makers Summit

29016_SO_MakersSummit_Blog

Come and be creative with some of your favorite creative friends!!

All you have to do is submit a photo of your work at the Made with Michaels site. We will be pouring over your fun creative projects and we will be selecting a few of you to join us for this years event. Head on over for all the details.

NOW, here are all of the other fresh new spring ideas from the other Michaels Makers this month…

An InLinkz Link-up


  • « Go to Previous Page
  • Page 1
  • Interim pages omitted …
  • Page 6
  • Page 7
  • Page 8
  • Page 9
  • Page 10
  • Go to Next Page »

Primary Sidebar

Heather from Whipperberry
Hello... my name is Heather and I'm the creator of WhipperBerry a creative lifestyle blog packed full of great recipes and creative ideas for your home and family. I find I am happiest when I'm living a creative life and I love to share what I've been up to along the way... Come explore, my hope is that you'll leave inspired!

Footer

  • Privacy Policy
  • Crafts
  • Food
  • Gifts
  • Holidays
  • Home
  • Mom Life
  • Recipes
  • Travel

Copyright © 2026 · Seasoned Pro