• Skip to primary navigation
  • Skip to main content
  • Skip to primary sidebar
  • Skip to footer

Whipperberry

WhipperBerry • Your Home For Creative Inspiration

  • Home
  • Recipes
    • Starters
    • Easy Weeknight Dinners
    • Main Dish
    • Salads
    • Side Dish
    • Soups & Stews
    • Desserts
    • Breakfast
    • Miscellaneous
  • Tutorials
    • Creative Crafts
    • DIY Decor
    • Fabric Crafts
    • Food How-To
    • Jewlery
    • Paint Projects
    • Paper Art
    • Party Styling
    • Photography and Graphic Design
    • Silhouette
  • Holidays
    • Easter
    • Mother’s Day
    • Father’s Day
    • 4th of July
    • Halloween
    • Thanksgiving
    • Christmas
    • Valentine’s Day
  • Gift Ideas
    • Gifts For Everyone
    • Gifts for Dad
    • Mother’s day
    • For The Girls
    • For The Kids
    • Teacher Gift Ideas
    • Christmas
  • Printables
    • Holiday
    • Gift Idea
    • LDS Primary
  • Travel
  • About
    • Terms
  • Contact
  • Nav Social Menu

    • Facebook
    • Instagram
    • Pinterest
    • RSS
    • Twitter

Recipe

The New WhipperBerry Creative Team AND Mini Berry Cobblers

8 · Jun 5, 2013 · 14 Comments

Mini Berry Cobblers // I am over the moon excited to share with you my big announcement… WhipperBerry has a new CREATIVE TEAM!!

the whipperberry creative team

jenn from clean & scentsible // shannon & jen from eat.sleep.make // haley from life is sweet // jenn from my fabuless life // jo-anna from a pretty life // jesseca from one pretty appetite

These are seven of the most talented ladies out there and they are going to blow your mind with their creativity! They have all been long time participants in my friday flair link party and I can't wait to show them off even more! We will start the show with Jesseca from One Sweet Appetite. She is one talented food blogger with some mad photography skills!


Hi everyone! My name is Jesseca, and I am honored to be here as one of the amazing contributors to Whipperberry! You can find me over at One Sweet Appetite where I’m whipping up special dishes every week. Speaking of great dishes… It’s almost summer and that means our produce selection in Utah is going crazy. There are so many fun and fresh things to chose from. I could hardly control myself at our farmers market and had to pick up some delicious looking berries. My eyes are always bigger than my stomach, and I worried that the beautiful fruit was going to go to waste before we got to it! I couldn’t let this happen… So I rolled up my sleeves, put on my apron, and got cooking! berry_cobbler

Mini Berry Cobblers

2-1/2 Cups fresh chopped berries (I used blackberries and strawberries)

3/4 + 2 tablespoons sugar

1 cup flour

1/2 teaspoon salt

1-1/2 teaspoons baking powder

1 cup buttermilk Vanilla ice cream or whipped cream (optional)

Directions

Start by preheating your oven to 350 degrees. Lightly spray six ramekins with baking spray and set aside. Divide your fruit between the four ramekins. You can toss them in sugar if you’d like. Our produce happened to be sweet enough already, so I didn’t feel the need to add any extra sugar. This time. In a separate bowl, combine 3/4 cup of sugar, flour, salt, baking powder, and buttermilk. Whisk until combined. Divide the batter between your dishes, pouring directly over your berries. Sprinkle with the remaining sugar and bake fro 30-35 minutes, or until the top of your cobbler is golden brown. mini_berry_cobbler Serve your cobbler alone or topped with vanilla ice cream. Either way this is sure to be a crowd pleaser. It happens to be the most requested dessert from my four year old. berry_cobbler_ice_cream 
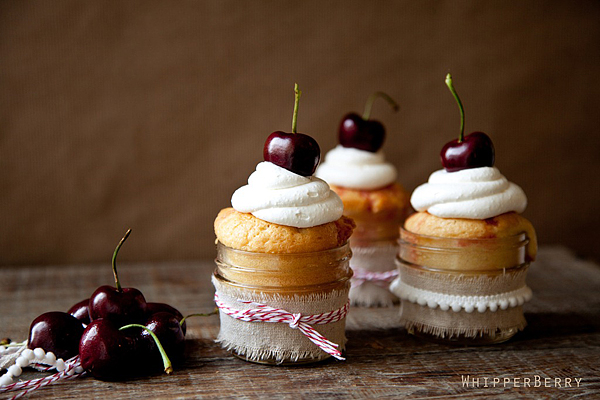
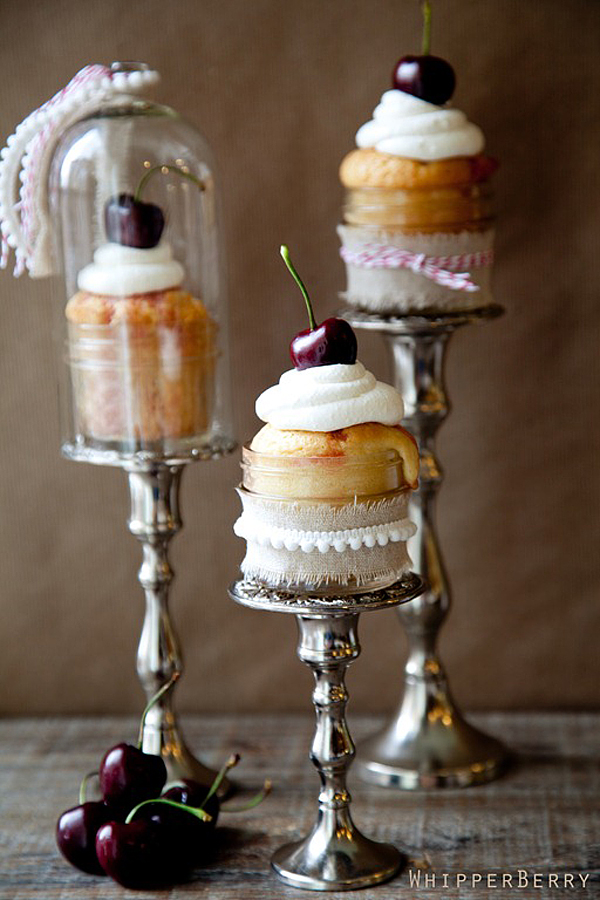
This recipe is also very user friendly. You can swap the berries for almost anything. Get creative and toss in some fresh mango or peaches. You can’t go wrong! If you liked this recipe you should check out one of these other great desserts: Blackberry Lemonade Cupcakes Cherry Lime Lollipops Apple Crumb Bars

Here are a few more of my recipes that you may like…

Jesseca

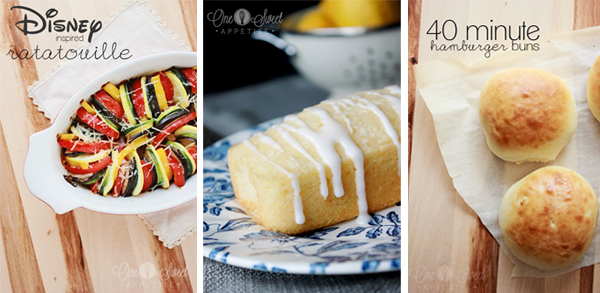
ratatouille // coconut lemon bread // 40 minute hamburger buns

Tips and Tricks for a Great Steak Grill-Off

1 · Apr 2, 2013 ·

One of my favorite things that happens when the weather starts to warm up, is the grilling season shouldn't be too far behind. I LOVE grill season.  I truly think there is nothing better than a good steak right off the grill. 

WhipperBerry Steakover with Walmart

My husband has become quite the grill master at our house and his steaks are by far some of the best that I've ever tasted. He just has a sense for when the meat is ready to turn and ready to rest. However, when we first married, we had a differing opinion as to how to prepare the lovely meat before we cooked it. I came from a marinade family and he came from a simple salt and pepper family. To be fair, he has a bit of a cattle background. His grandparents helped run a cattle ranch for several years when my husband was younger. So, he had learned this simple lesson, that it's better to season the meat with just a good crust of salt and pepper and let the natural flavor of the meat shine through. Bobby Flay the famed grill master has the same philosophy.

I, on the other hand, loved to marinade the meat in all kinds of lovely flavor enhancing goodies like olive oil, garlic and Worcestershire sauce. It gives the meat a nice rich flavor and has always been my favorite way to dress a good steak. But which way is better? The enhanced marinated steak or the rustic version?  We decided to have a grill-off! 

We each had a lovely premium ribeye steak from Walmart's meat department and went to town. 

WalMart Steak 

Just check out that marbling of fat throughout the meat, that's where flavor town resides. Always look for a steak with a fair amount of marbling, that's the kind of steak that is full of flavor and has a nice texture as well.

We actually used our indoor grill pan and finished the meat in the oven. It's a perfect alternative  to an outdoor grill. Here's the secret though…

Preheat a oven safe pan (cast iron if you have it) in a 450 degree oven. Get you grill pan screaming hot on the stove top. Generously season your steak with salt and pepper  and cover it with olive oil and place in the hot grill pan. Turn your heat down to medium high and grill on the first side for two to three minutes. Turn and do the same on the second side. Then place the steak in the preheated pan in the oven and finish your steak to it's desired temperature.  This is how a good steak house generally cooks your steaks. You get some great grill marks and smoke flavor and then place it in the over for a good all over heat to finish the steak off.

We had the family give each steak a try and I will humble admit, that my husband and Bobby Flay are right. The rustic treatment of the meat with just a simple salt and pepper crust was by far the best!! 

Basic Salt and Pepper for the steak 

The steak was buttery and tender full of flavor that draws you in and compels you to want more. Our Walmart steaks were amazing and trust me, we've tried many different kinds of steak. The only thing I added was a pat of a garlic basil compound butter that just kicked the whole experience up a notch. 

WalMart Stakeover with WhipperBerry 

What about you? Are you ready to experience Walmart’s Steak-Over for yourself? Find out why you should choose your steaks at Walmart here. We shared our winning grilling tips – now tell us yours!

This is a sponsored conversation written by me on behalf of Walmart. The opinions and text are all mine.

Black Cherry Jell-o Cake

6 · Mar 27, 2013 · 16 Comments

Black Cherry Jell-o Cake in a Jar // This is a repost of a jell-o cake recipe that I shared back in 2011 and has been lost and forgotten about, so I thought I would share it again. It is one of my favorite recipes and it's one that could be shared over and over again! 
 

Black Cherry Jell-o Cake

This cake, my friends encompasses several of my loves in life all into one perfect little bite. I was known in high school for being a connoisseur of all things black cherry.  Black cherry soda, black cherry ice cream, you name it to this day I LOVE it.  Other loves; Jell-o, white chocolate, white cake & and luscious whipped cream.  Generally you think of all of these ingredients and they don’t normal play nice with each other, but I’m hear to tell you they DO!!

Have you heard of a Jell-o cake or a poke cake?  This is a fun summer treat where you bake a white or vanilla cake,  poke holes in it with a toothpick and pour liquid Jell-o slowly into the cake.  It’s generally made with strawberry Jell-o and then topped with whipped cream or Cool Whip and it’s super yummy.  What I’ve done it incorporated a few new twists on the classic to make something heavenly, here’s what you will need…
 

Cake in a Jar

Black Cherry Jell-o Cake Recipe with Whipped Cream Topping

Jell-o Cake:

1 box of white or vanilla cake mix
1 small box of Black Cherry Jell-o

Whipped Cream Topping:

1 small box of instant white chocolate pudding mix

1 cup of milk

1 container of Cool Whip

Prepare according to package directions and bake in one of the following methods, 9×13 pan, cupcakes or cupcakes in a jar.  I would steer clear of a layered cake application, because after you add the jell-o this cake is super moist. 
 
Personally, I have fallen in love with the cupcake in a jar! I’ve seen a lot of people baking cupcakes, cutting them up and then adding them to a jar and then topping with frosting.  Did you know that you could bake the cake directly in the jar? 
I use the 4 oz. wide mouth jars and I fill the jar up a little over half way to prevent the cake spilling over and causing a big mess.  I also baked the cake a little longer that the normal cupcake time because it is a little bigger than your standard cupcake.  I baked it for a solid 30 minutes.  
 
For the Jell-O, boil one cup of water and dissolve jell-o in water, stirring mixture for 2 minutes until completely dissolved.  Add one cup of cold water.

With a fork or a toothpick poke holes into cooled caked and gently pour jell-o mixture over the cake.  Refrigerate for at least three hours.

Mix instant pudding with milk until completely smooth {I used my trusty Magic Bullet, yes I have one of those things} and then combine with Cool Whip.  Place in piping bag and pipe onto cupcakes or frost your cake with the luscious mixture.

Cherry cake in a jar


Ham and Cheese Egg Boats // Recipe

1 · Mar 14, 2013 · 12 Comments

Spring Egg Boats // Have you ever had an ah ha moment that makes you feel pretty silly? When I discovered this recipe a few weeks ago, my first thought was… Holy cow, why didn't I think of that!! I've been making all kinds of egg / bread dishes for years. Why hadn't I ever thought of just putting the egg right into the bread itself and baking it just like that. Total paradigm shift for me. What I love most about this recipe is how easy it is to make and yet it presents really well. This would be a fabulous Easter brunch dish idea, your guests will think you are a culinary genius! Yet it's simple enough for an easy weeknight meal as well. It's the best of both worlds.

egg boat

Ham and Cheese Egg Boats

This recipe is an adaption of a recipe originally found on Spoon Fork Bacon.

Large loaf of french or sour dough bread

6 eggs

1/4 cup whole milk or cream

Tabasco sauce to taste

1 cup of diced ham

3/4 cup of shredded cheese (I used an Italian blend of shredded cheese but cheddar would work fine too.)

Goat cheese (optional)

Directions

Cut a long narrow trough in the bread and scoop out a bit of the bread to make room for the egg mixture and set a side. In a bowl whisk together the eggs, milk, Tabasco (I usually put in about 6-10 dashes, but that's up to your taste), and 1/2 cup of the shredded cheese. Once the mixture has been whisked well, add the ham and carefully pour into the bread. Sprinkle the remaining cheese on top of the egg boat. If you are a goat cheese lover, you can add some little dollops of goat cheese on top as well. I love goat cheese but other members of my family do not. So, I made one with and one without. 

Now to bake this, if you are using a full size french loaf can be a little tricky. The loaf does not fit on a traditional baking sheet, so I had to improvise. I turned the baking sheet over and then used aluminum foil to create a baking dish for the loaf. That way if there were any spills, the foil would catch the mess and the inverted baking sheet provided stability. It worked like a charm.

egg boat pan

Place in a 350 degree oven for 20-30 minutes or until the egg has fully set. Let the egg boat cool for 10-15 and then slice into sections for your family or guests. I served mine with a lovely salad of mixed greens, tomatoes, goat cheese and pine nuts with a bright lemon vinaigrette. 

egg boat from whipperberry

Now that I've found this gem of a recipe, I can't wait to try all kinds of different variations. I can see all kinds of fun combinations with mushrooms, spinach, sausage you name it… Anything that would normally work in an omelet would be lovely. What combination would you try? Leave a comment and share and let's see what other amazing ideas we can all come up with!

  • « Go to Previous Page
  • Page 1
  • Interim pages omitted …
  • Page 41
  • Page 42
  • Page 43
  • Page 44
  • Page 45
  • Interim pages omitted …
  • Page 53
  • Go to Next Page »

Primary Sidebar

Heather from Whipperberry
Hello... my name is Heather and I'm the creator of WhipperBerry a creative lifestyle blog packed full of great recipes and creative ideas for your home and family. I find I am happiest when I'm living a creative life and I love to share what I've been up to along the way... Come explore, my hope is that you'll leave inspired!

Footer

  • Privacy Policy
  • Crafts
  • Food
  • Gifts
  • Holidays
  • Home
  • Mom Life
  • Recipes
  • Travel

Copyright © 2026 · Seasoned Pro