Every laundry room or bathroom for that matter, needs a Wash and Dry sign, right? Let me show you how to make a simple Fixer-Upper inspired sign with Cricut Iron-On Vinyl and a black canvas. 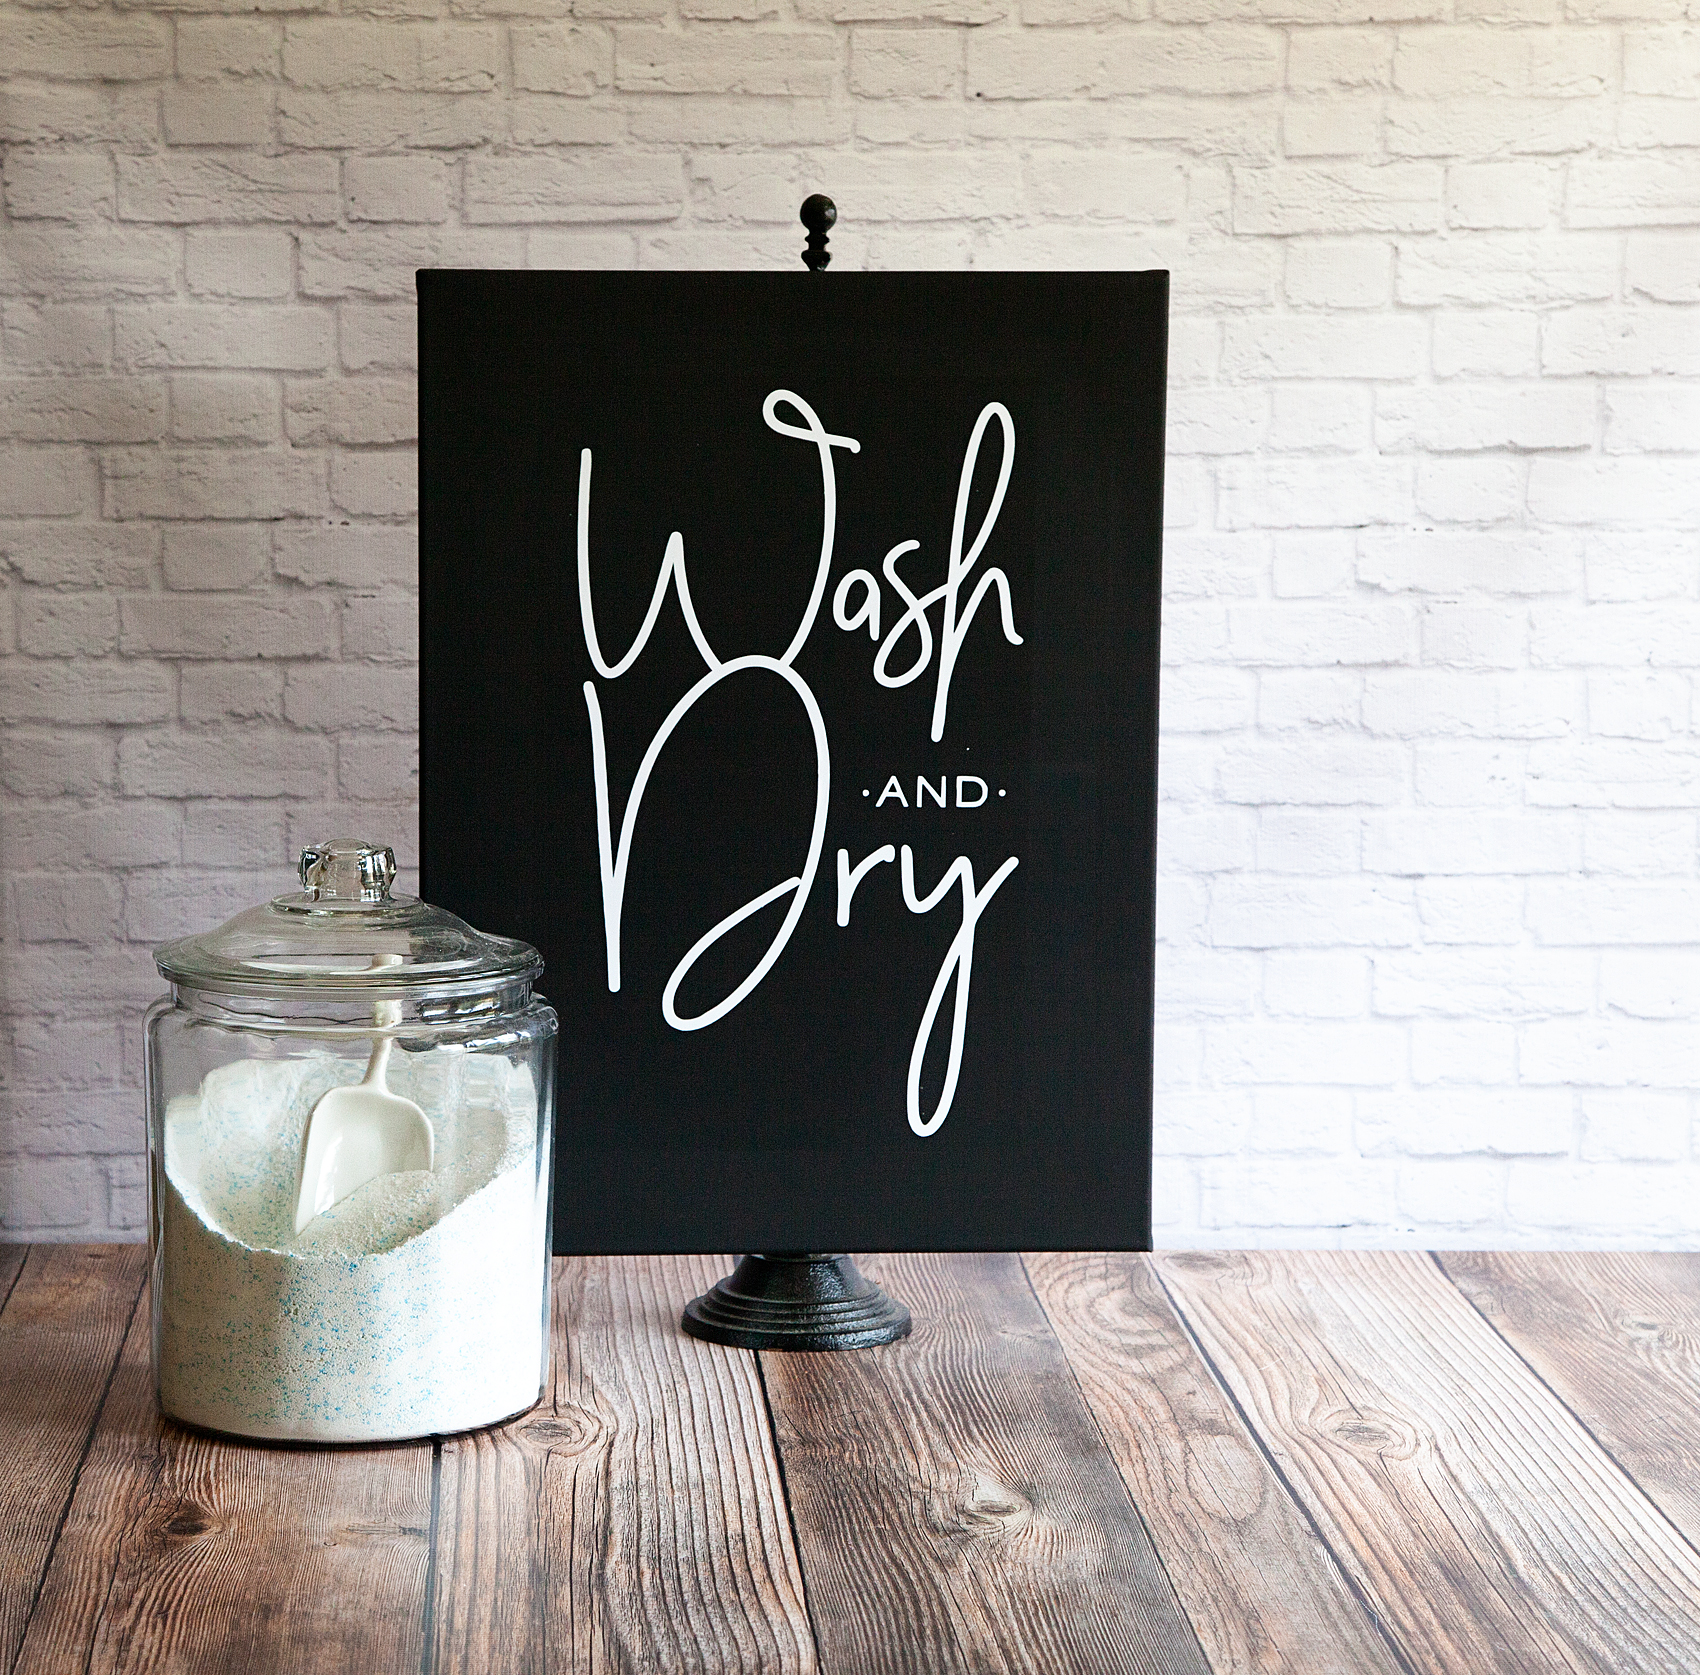
• This post is brought to you by Cricut •
A few weeks ago, I had the wonderful experience of traveling to Austin, Texas for the Indulge Conference (which was fabulous by the way!) On the last day of the conference, we hopped onto a bus and made our way to Mecca, I mean Magnolia Market a.k.a The Silos in Waco, Texas. To say that my heart was full that day would be an understatement. I came home with all kinds of goodies AND inspiration as well. They have a laundry room Wash and Dry sign at the Magnolia Market that I’ve been eyeing for awhile and I wanted to create something similar for my laundry room.
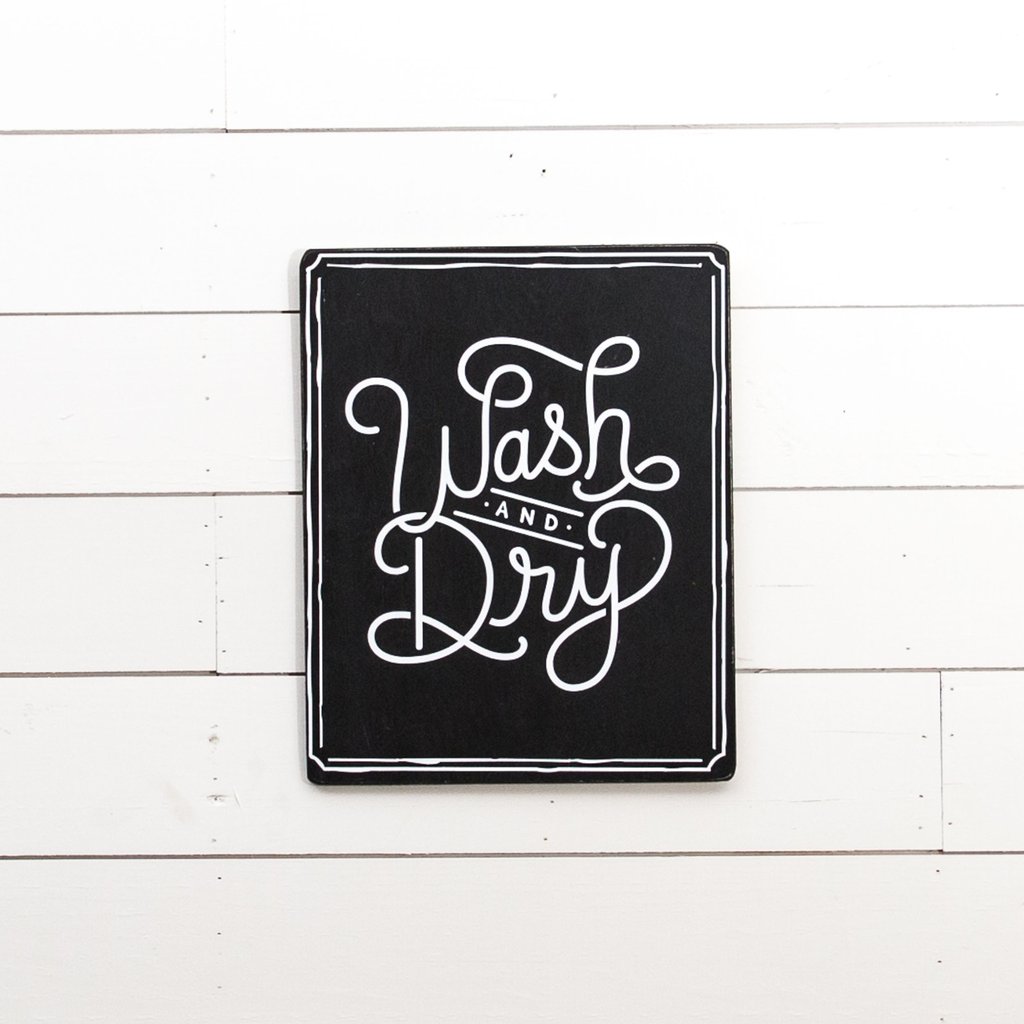
Magnolia Market • Wash and Dry Sign
The WhipperBerry Wash and Dry Sign Design
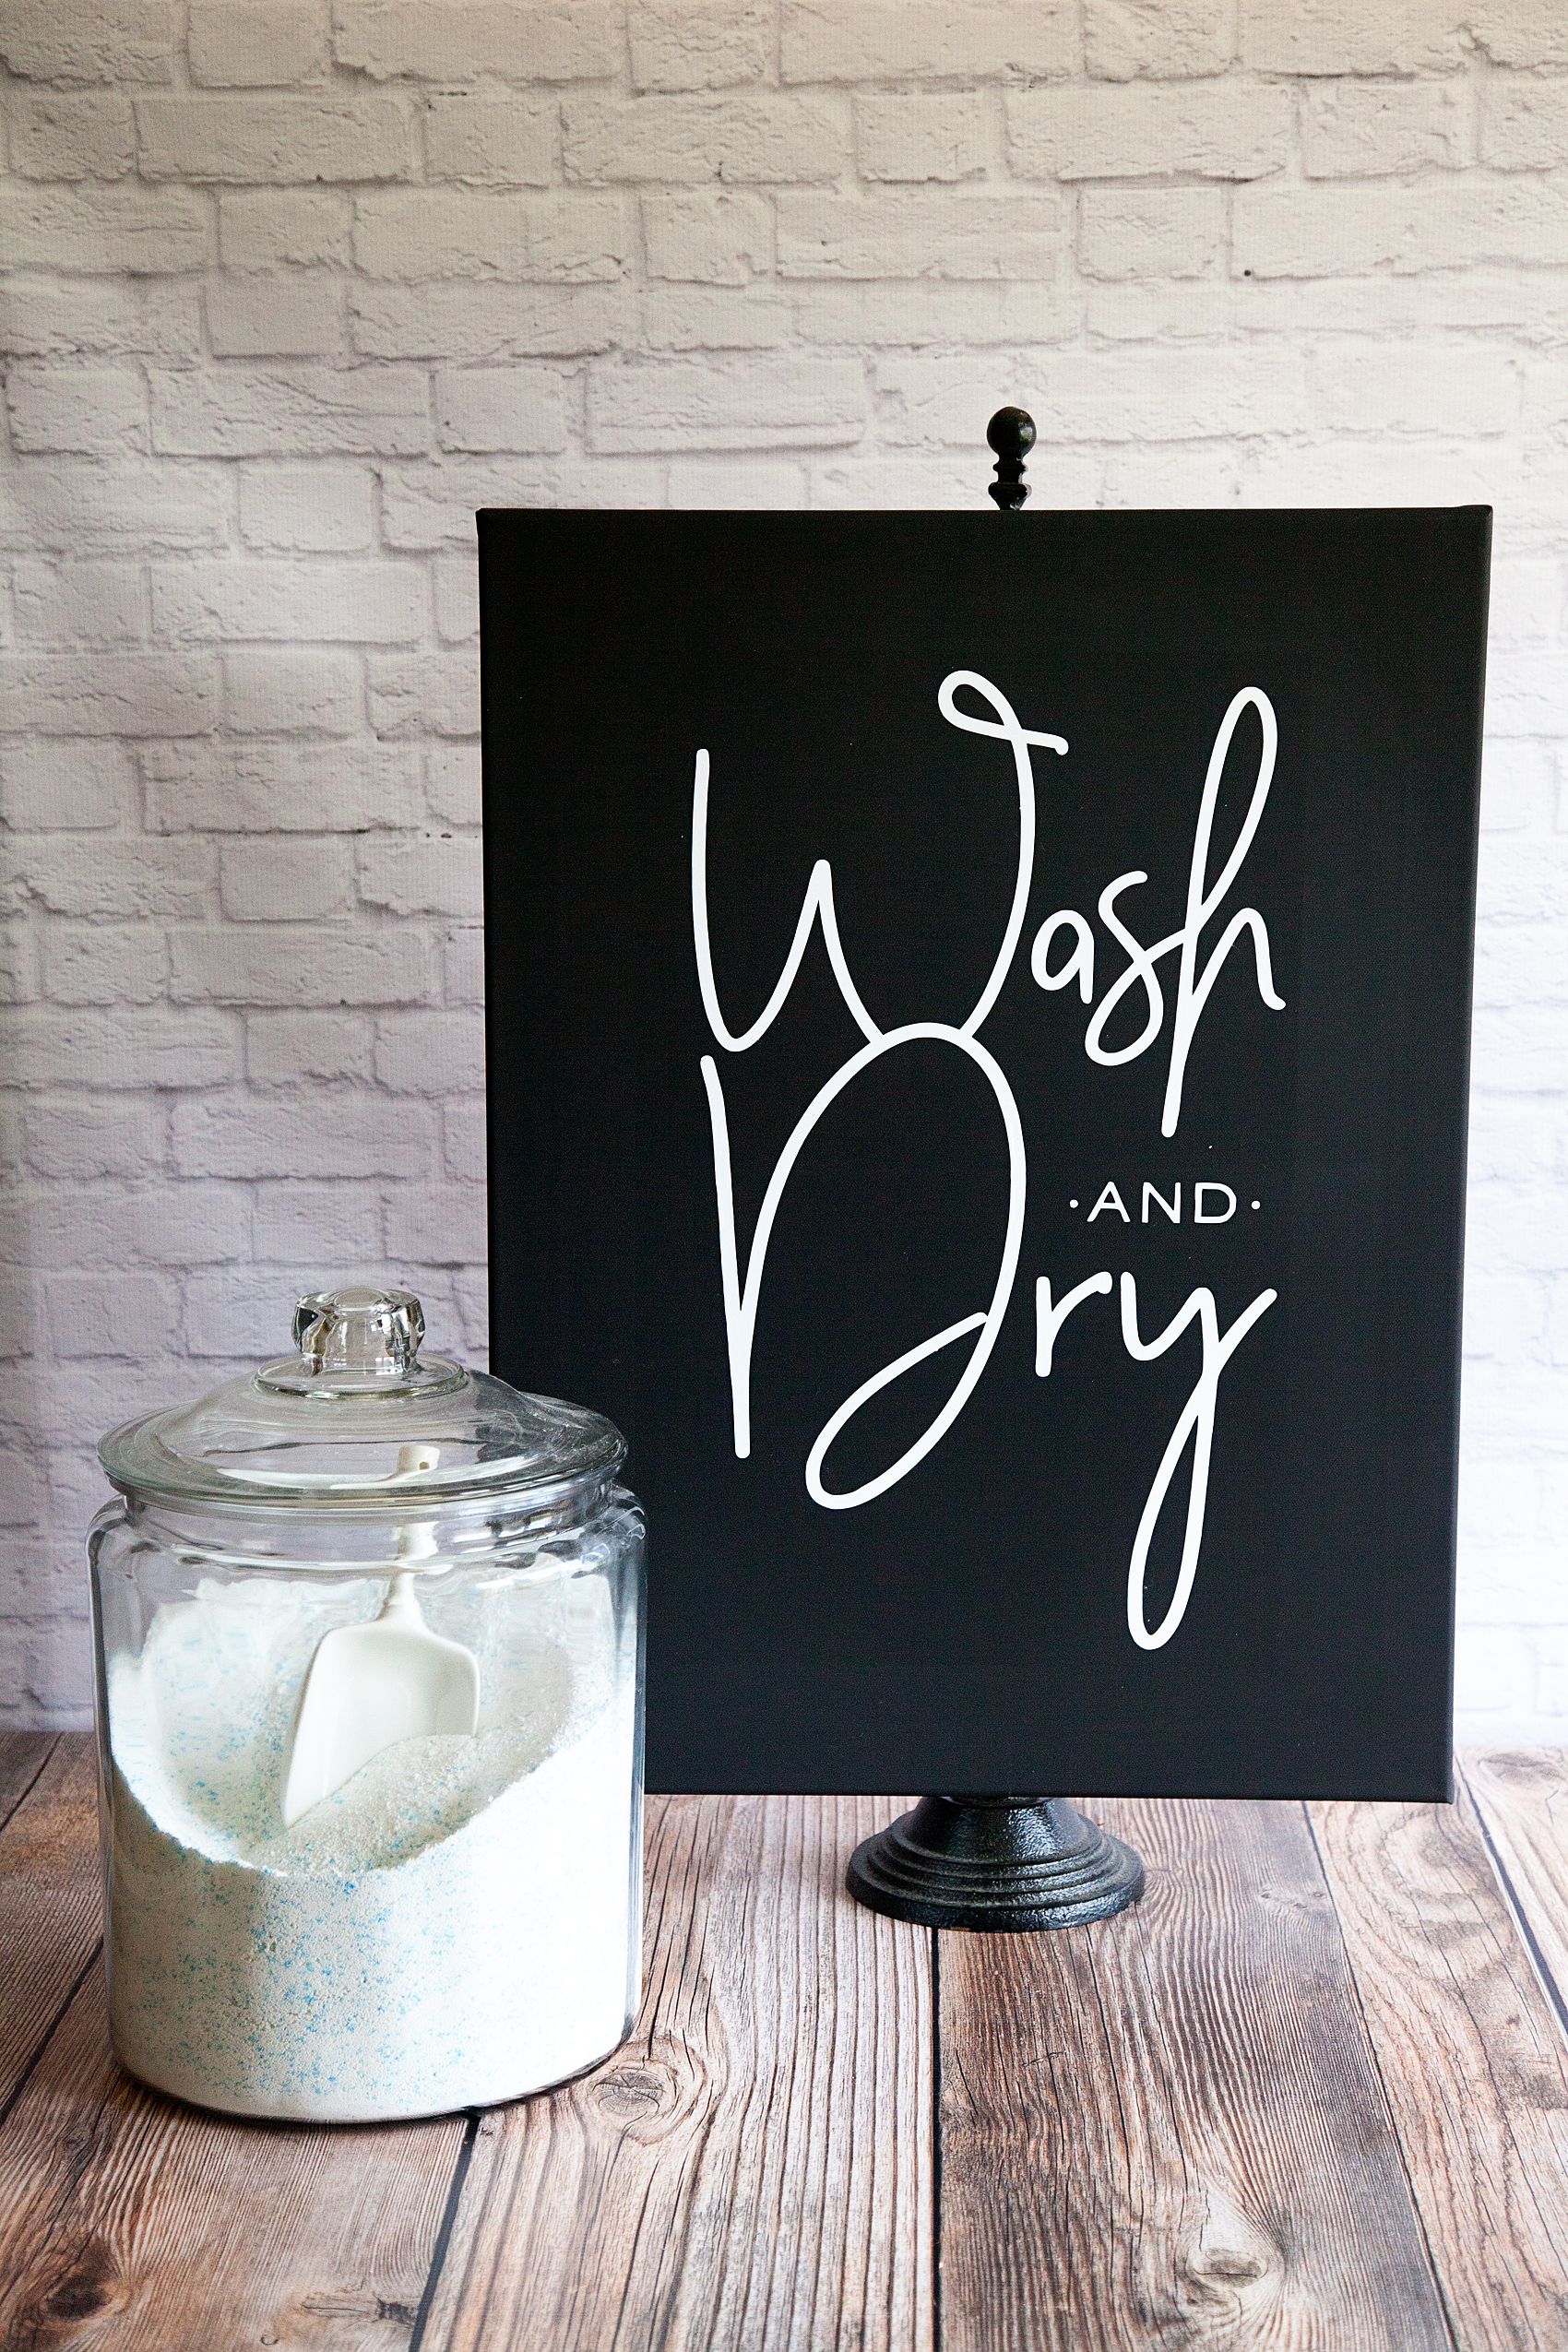
I set to work to create a Wash and Dry sign that fit my style and this is what I came up with…
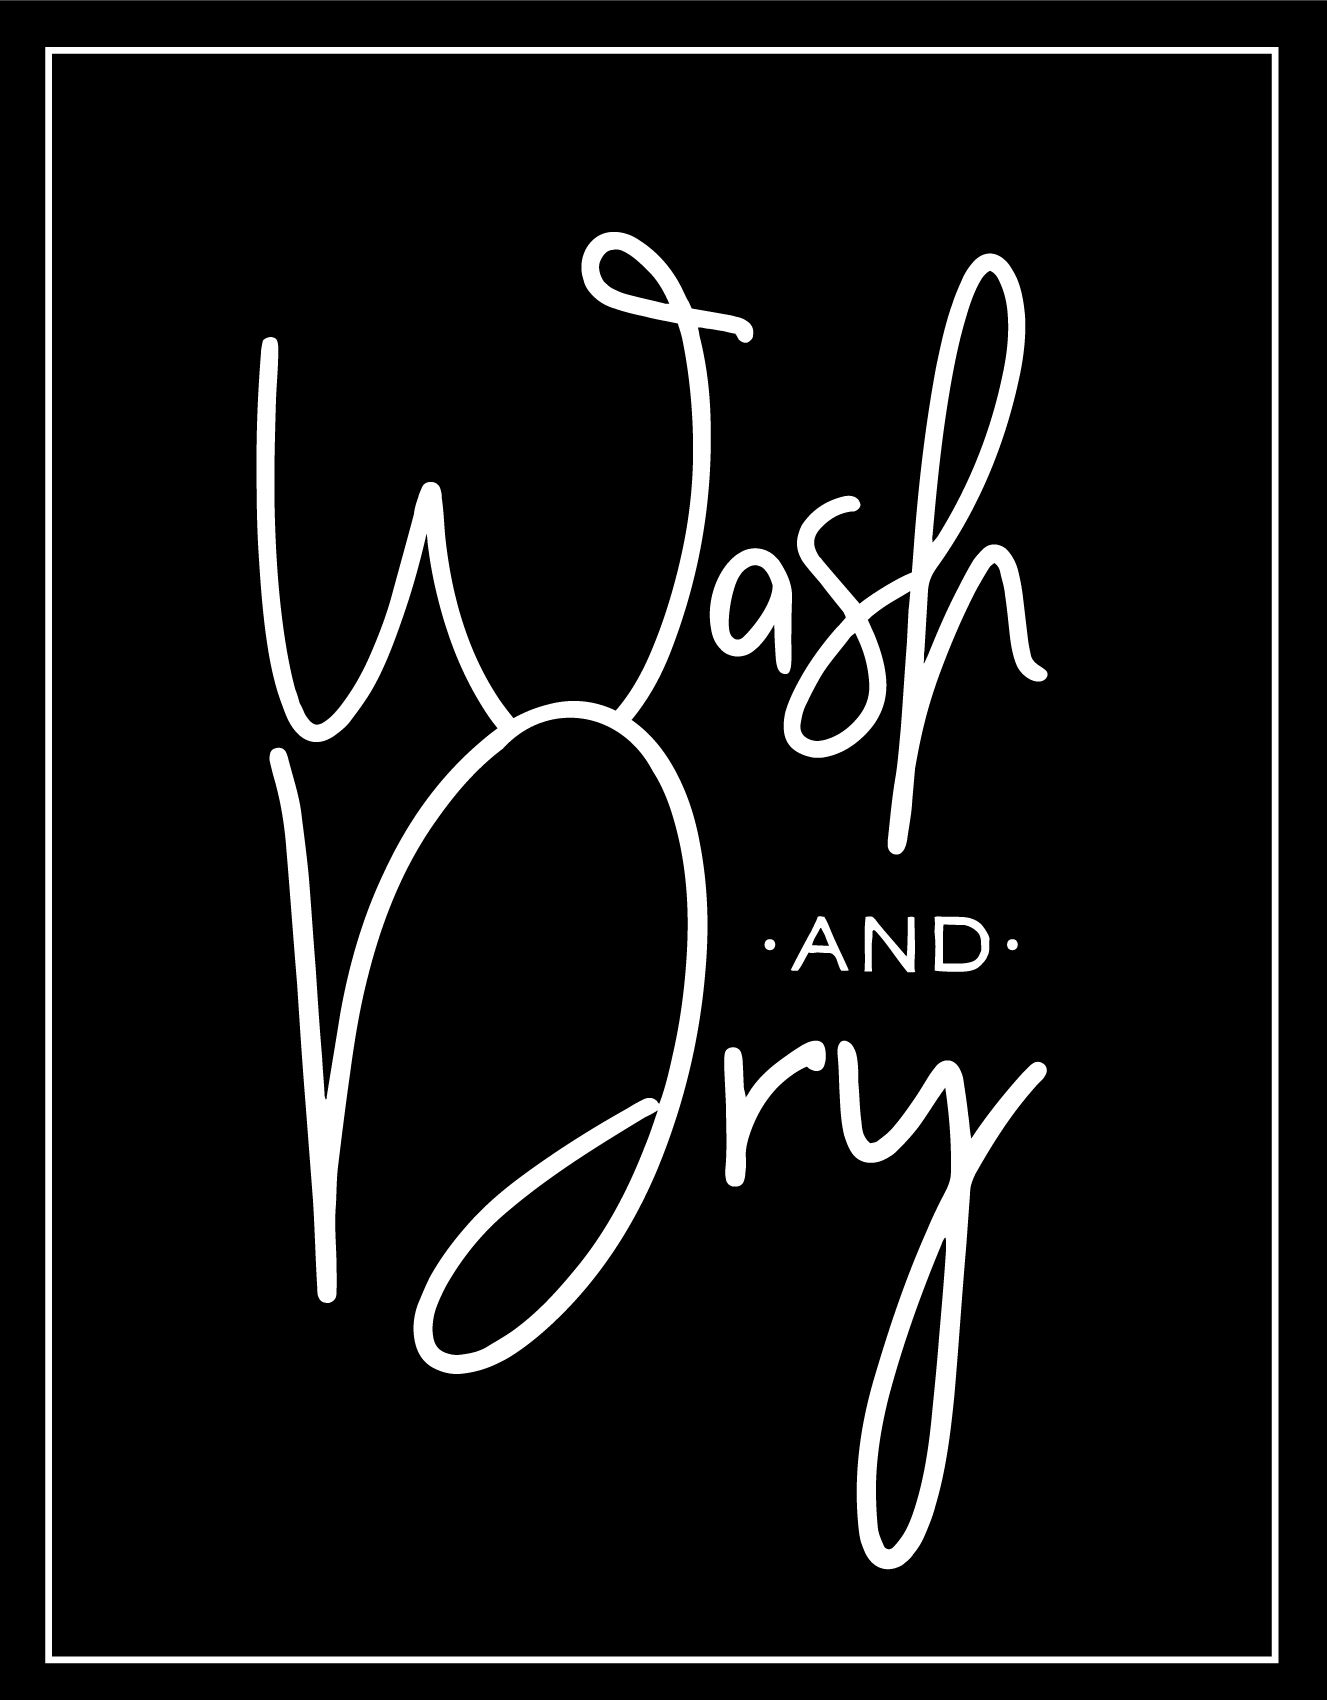
It has a little of JoJo’s vibe with more of a modern flair I would say. I kind of love it! For those of you who would like to download this sign design, click HERE for the PNG file. Shortly, I will have a full tutorial on how to use a PNG file in the NEW Cricut Design Space. It’s sooooo cool, so stay tuned!
How to create the Wash and Dry Sign
Once I had the design created, I needed to find the easiest way to create a nice looking sign. I decided that a black canvas with Cricut’s Iron-On Vinyl would be the best and easiest way to accomplish my mission. I grabbed a black canvas at Michaels and set to work… Here’s what you’ll need.
Wash and Dry Sign Supplies
- Black Canvas 18×24
- Cricut Machine { I use the Cricut Explore Air 2 }
- Cricut Design Space { I don’t want to knock your socks off BUT… The new Cricut Design Space has launched in BETA. That is a link to the new, awesome software!! No more Flash, which means… No more lag time! }
- Computer / Tablet / Phone { You guys… They all work WIRELESSLY with the Cricut Explore Air 2 }
- White Cricut Iron-On Lite
- Cricut 12×24 Light Grip Cutting Mat
- Light cotton tea towel { flower sack material is great } OR Parchment paper
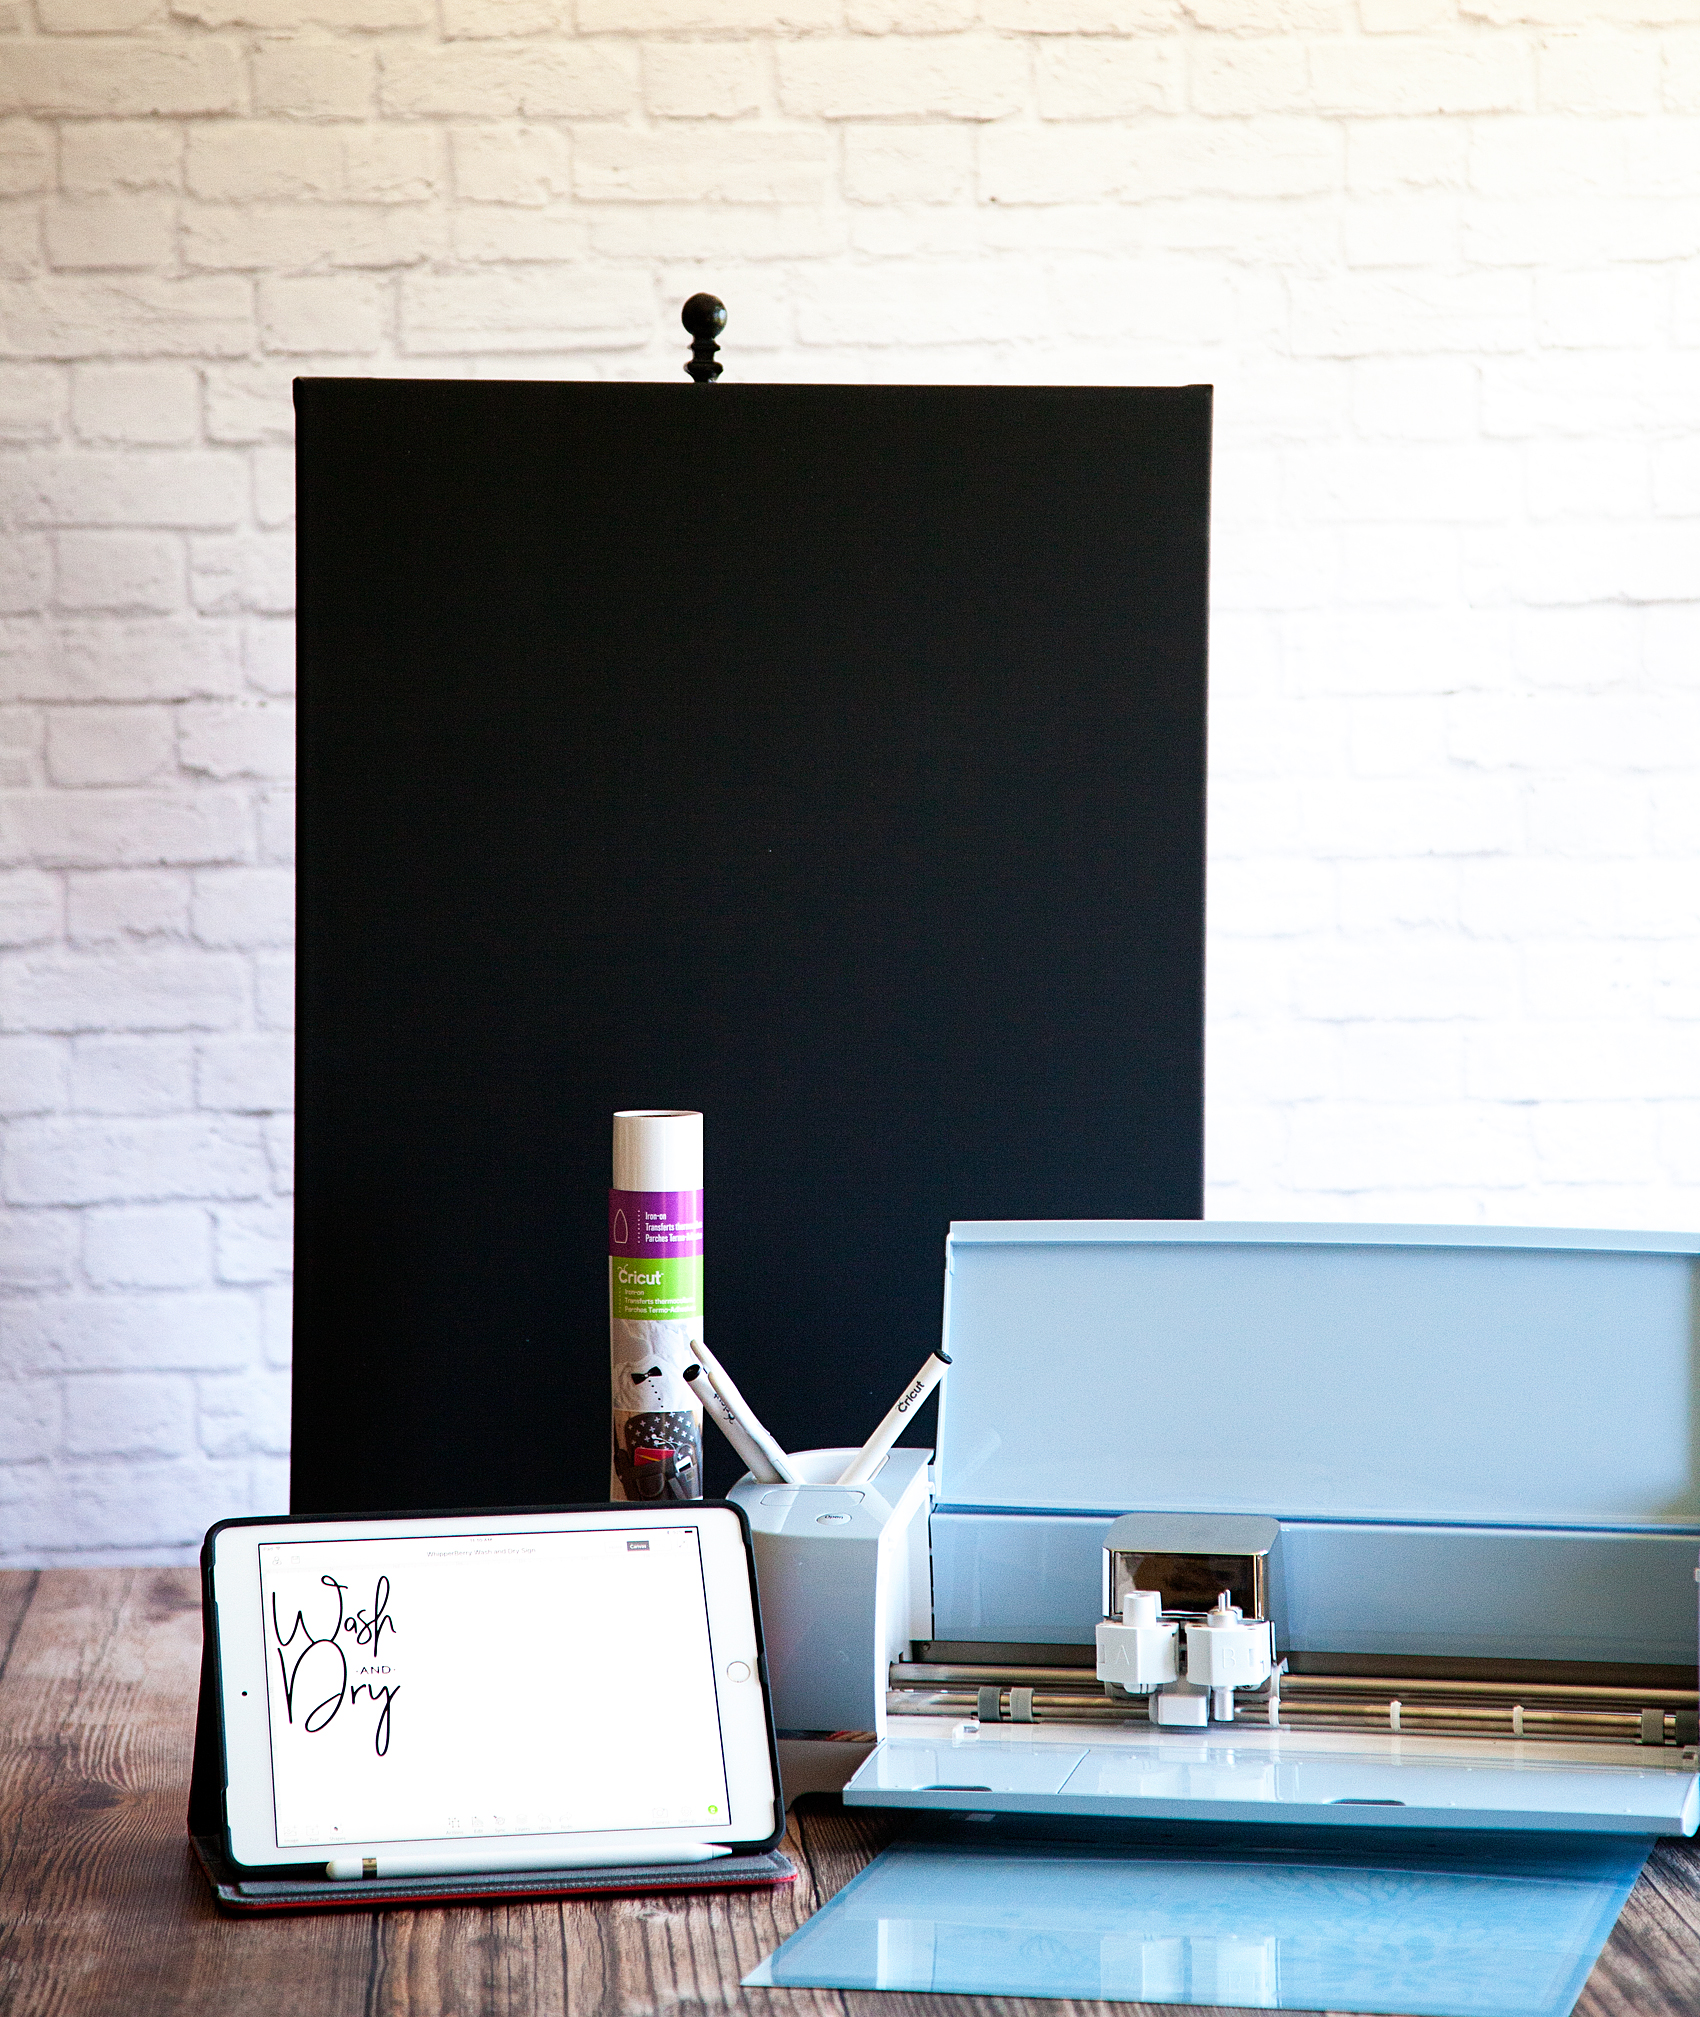
Ok, before we get started on the project, here’s a quick time lapse that shows how I made the sign…
Wash & Dry Sign by WhipperBerry from Heather Thoming on Vimeo.
Seriously, to quote Ina Garten… “How easy was that?” Let’s go into it in a little more detail starting with my tips and tricks for a successful project.
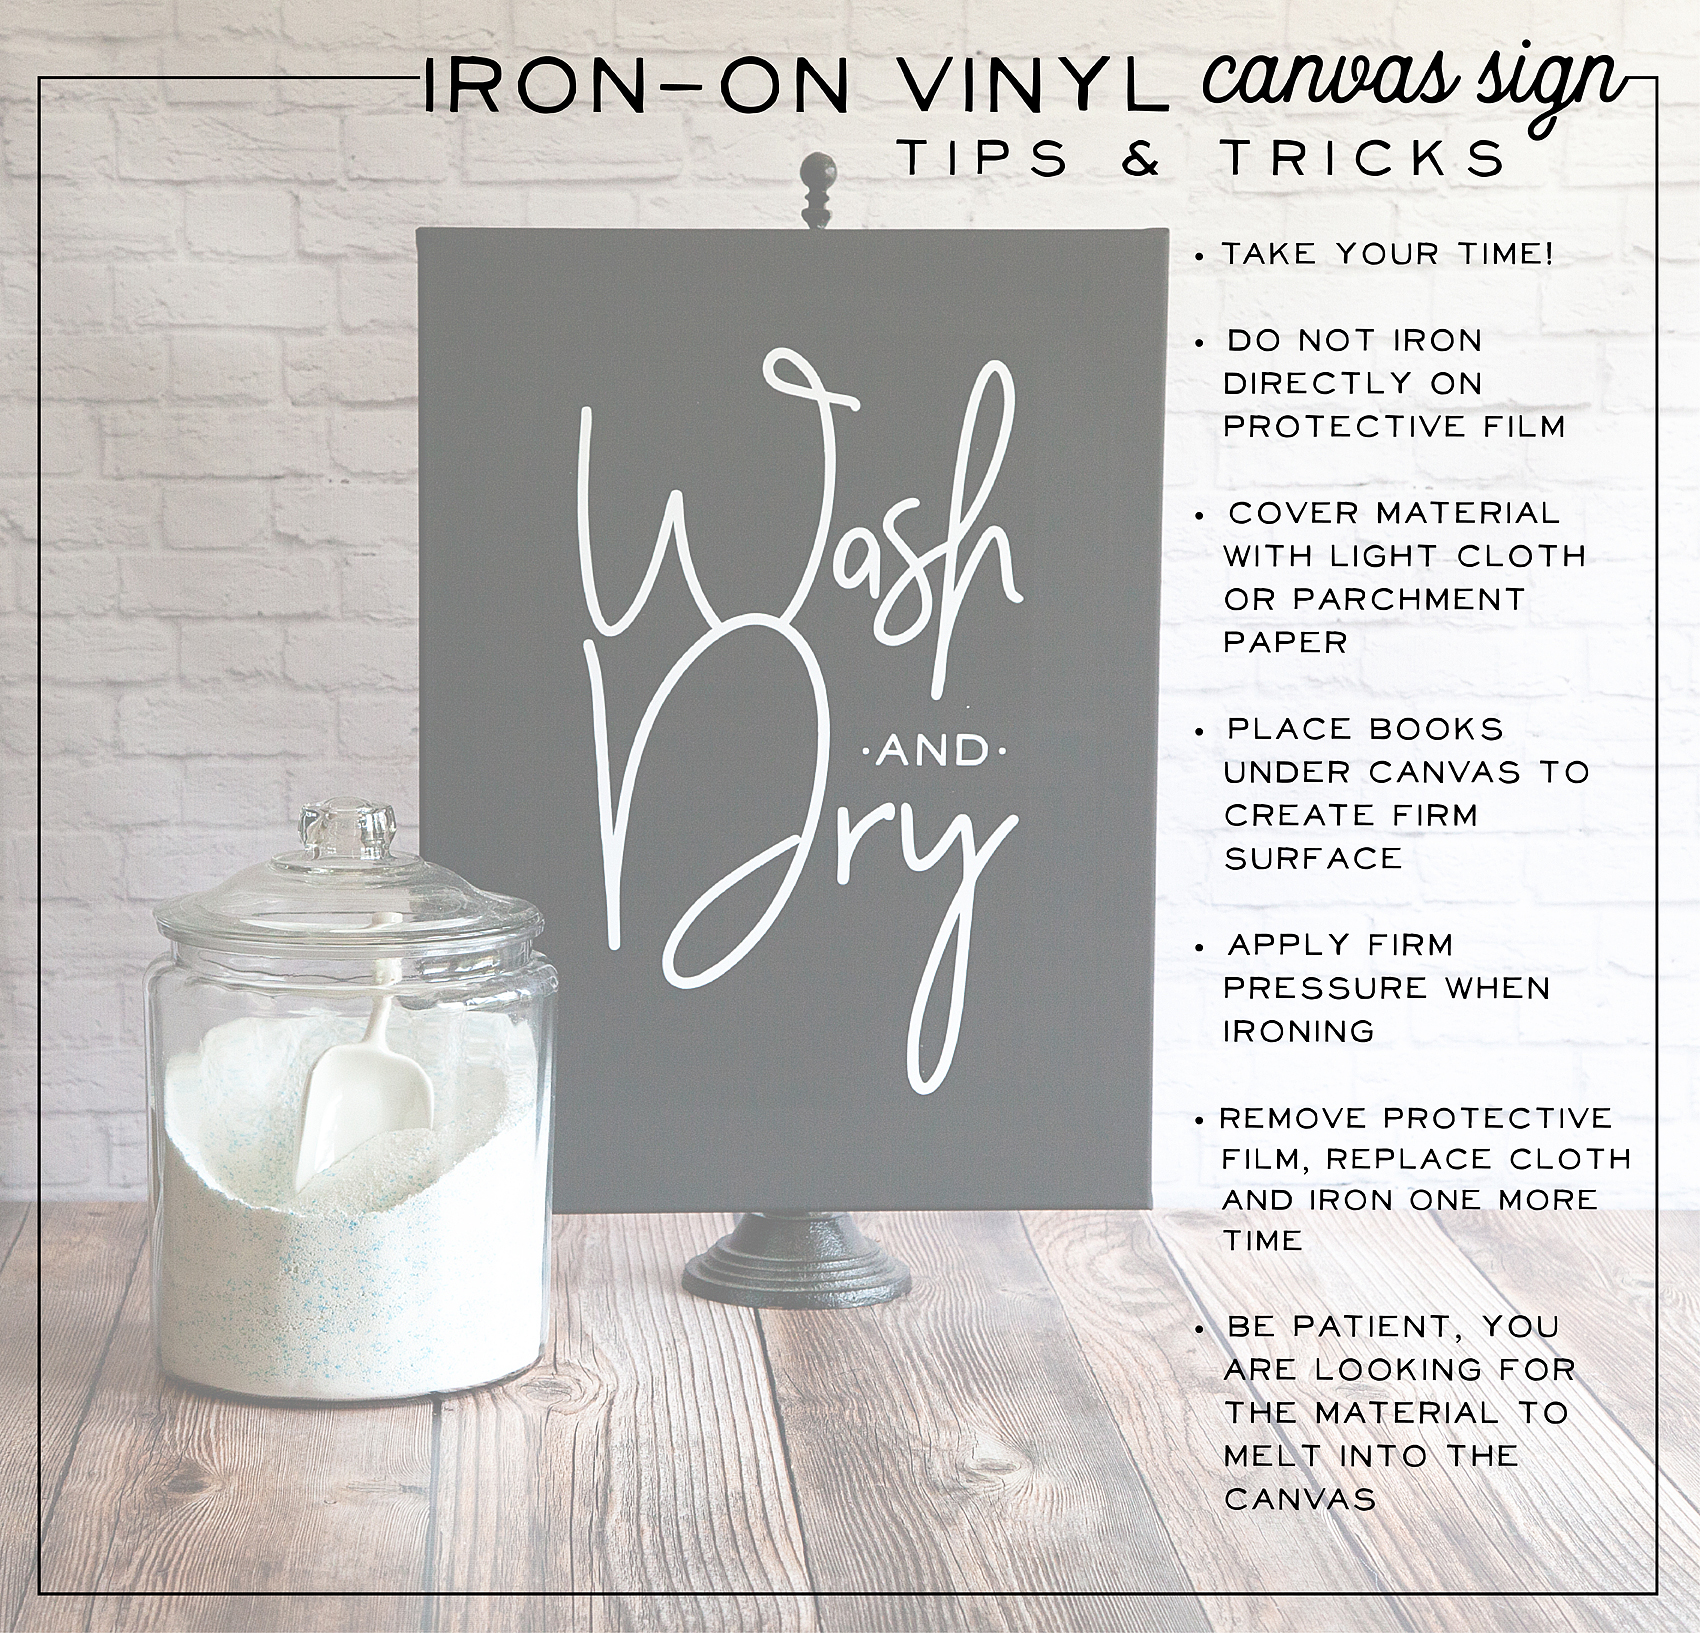
First tip, take your time. Many people try and rush through their projects and get frustrated when they don’t turn out right. SLOW DOWN! Especially if this is your first time working with the heat transfer vinyl. You want to love your project, take the time to do it right.
Cutting out the Iron-On Lite Material
First thing you need to do is, cut your file on the Iron-On Lite material via your Cricut machine. When working with Iron-On lite, you’ll want to place the material with the shiny protective film down and the matte side facing up. Yep, I’ve messed that up a few times so, don’t beat yourself up if you do as well!
Another key item, make sure that you select the iron-on button when setting up your design in Design Space. This will mirror your image so that it will work with the iron-on vinyl.
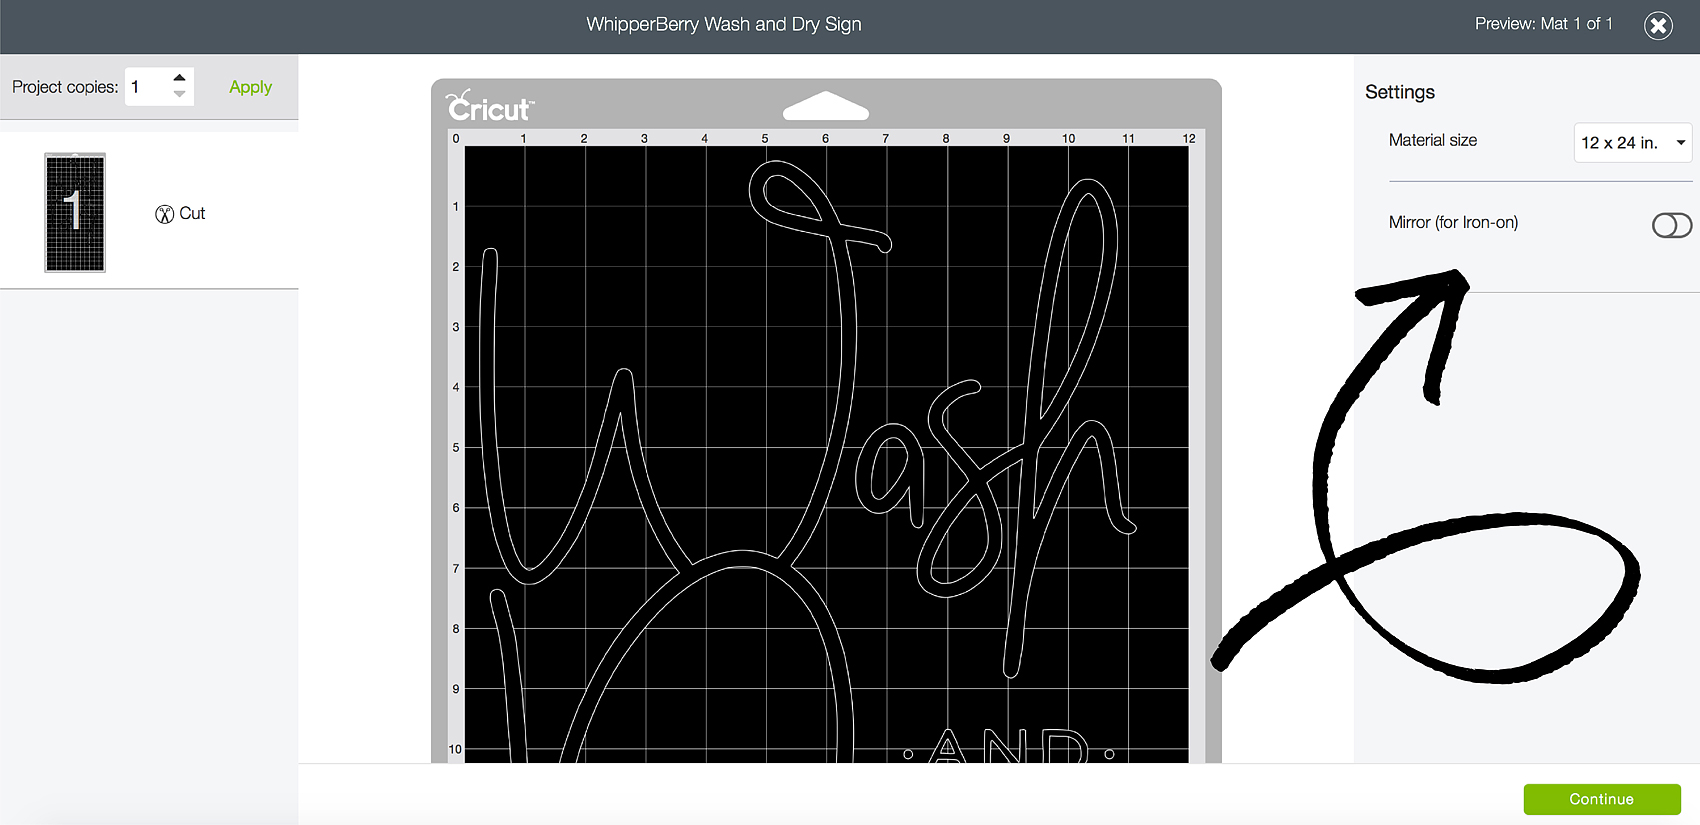
Next step, weeding your Iron-On Lite vinyl. This is my favorite part and if you don’t believe me, watch my Instagram story from yesterday. You’ll see why I love it and, you’ll get to see more of the project!
Wash and Dry Instagram Story @whipperberry from Heather Thoming on Vimeo.
Adhering your Iron-On Lite Vinyl to Your Canvas
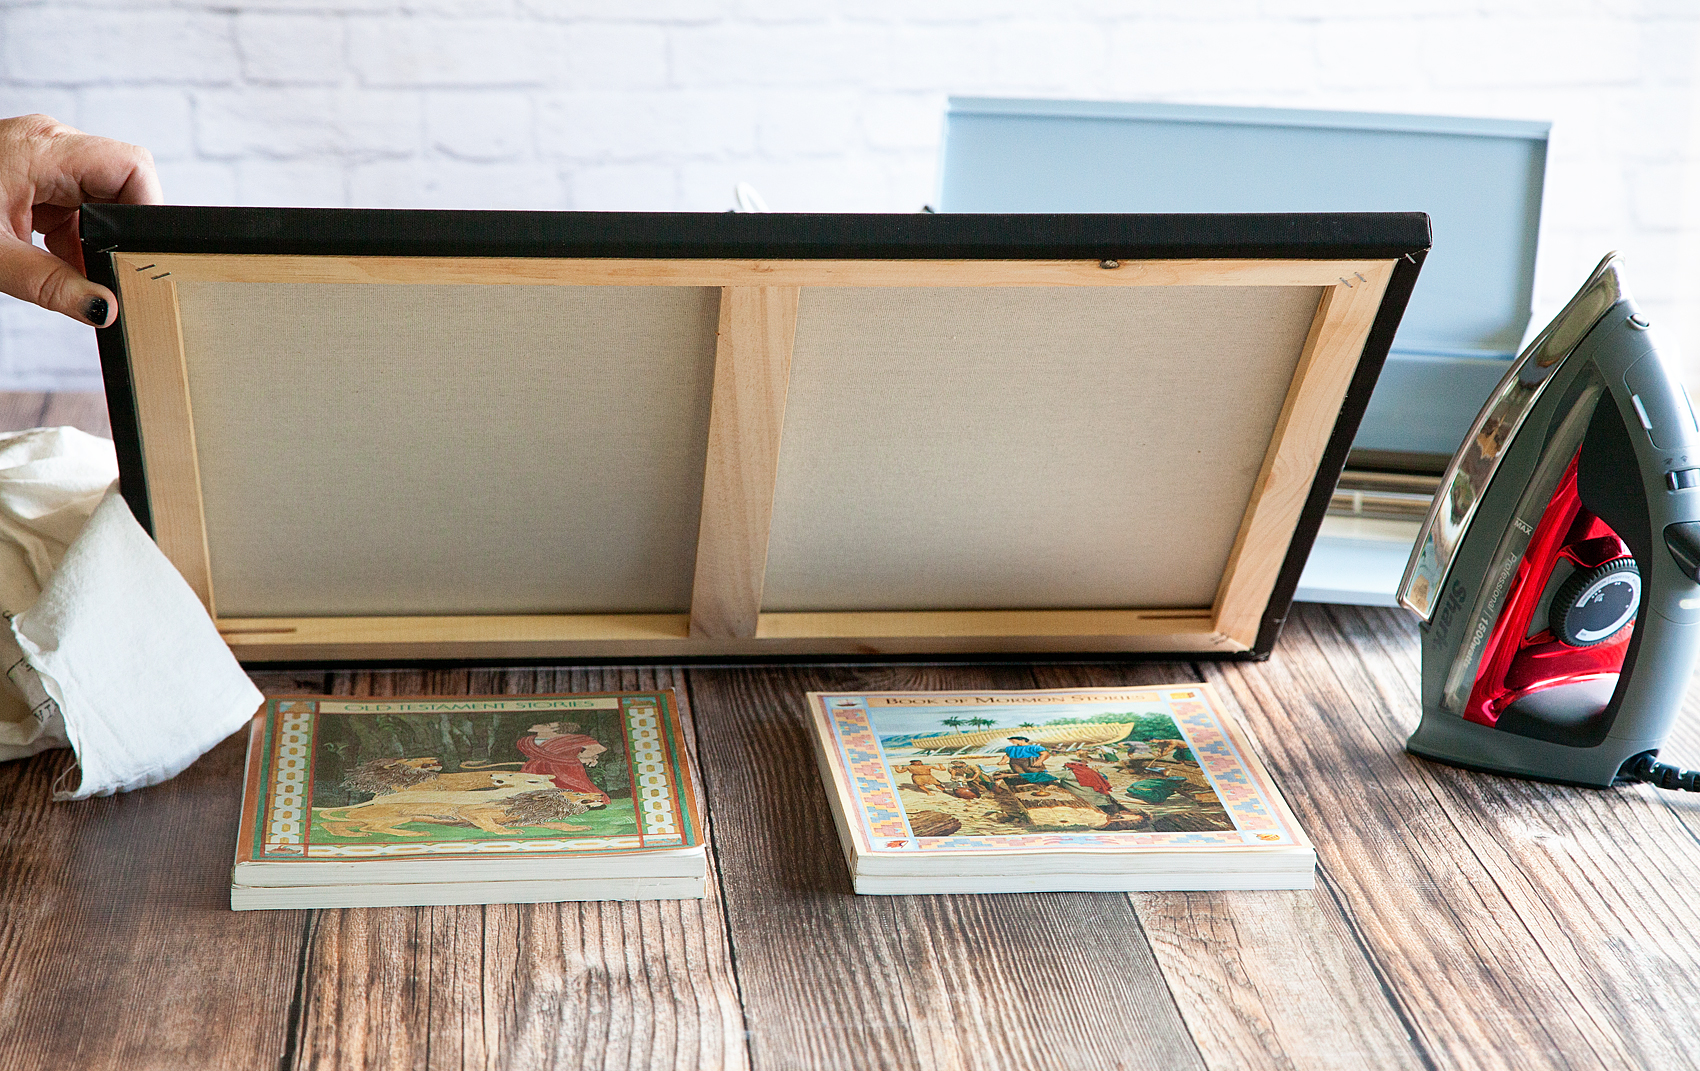
Now, working with traditional stretched canvas rather than your fabric does provide for a few little obstacles. Namely, the canvas is stretched on a wood frame which makes it hard to “iron-on” something to it. To get a good transfer of the vinyl you need to apply pressure on a hard surface and the raised nature of the canvas makes that a challenge. To solve this problem, I put some books under the canvas to provide that firm surface that I needed.
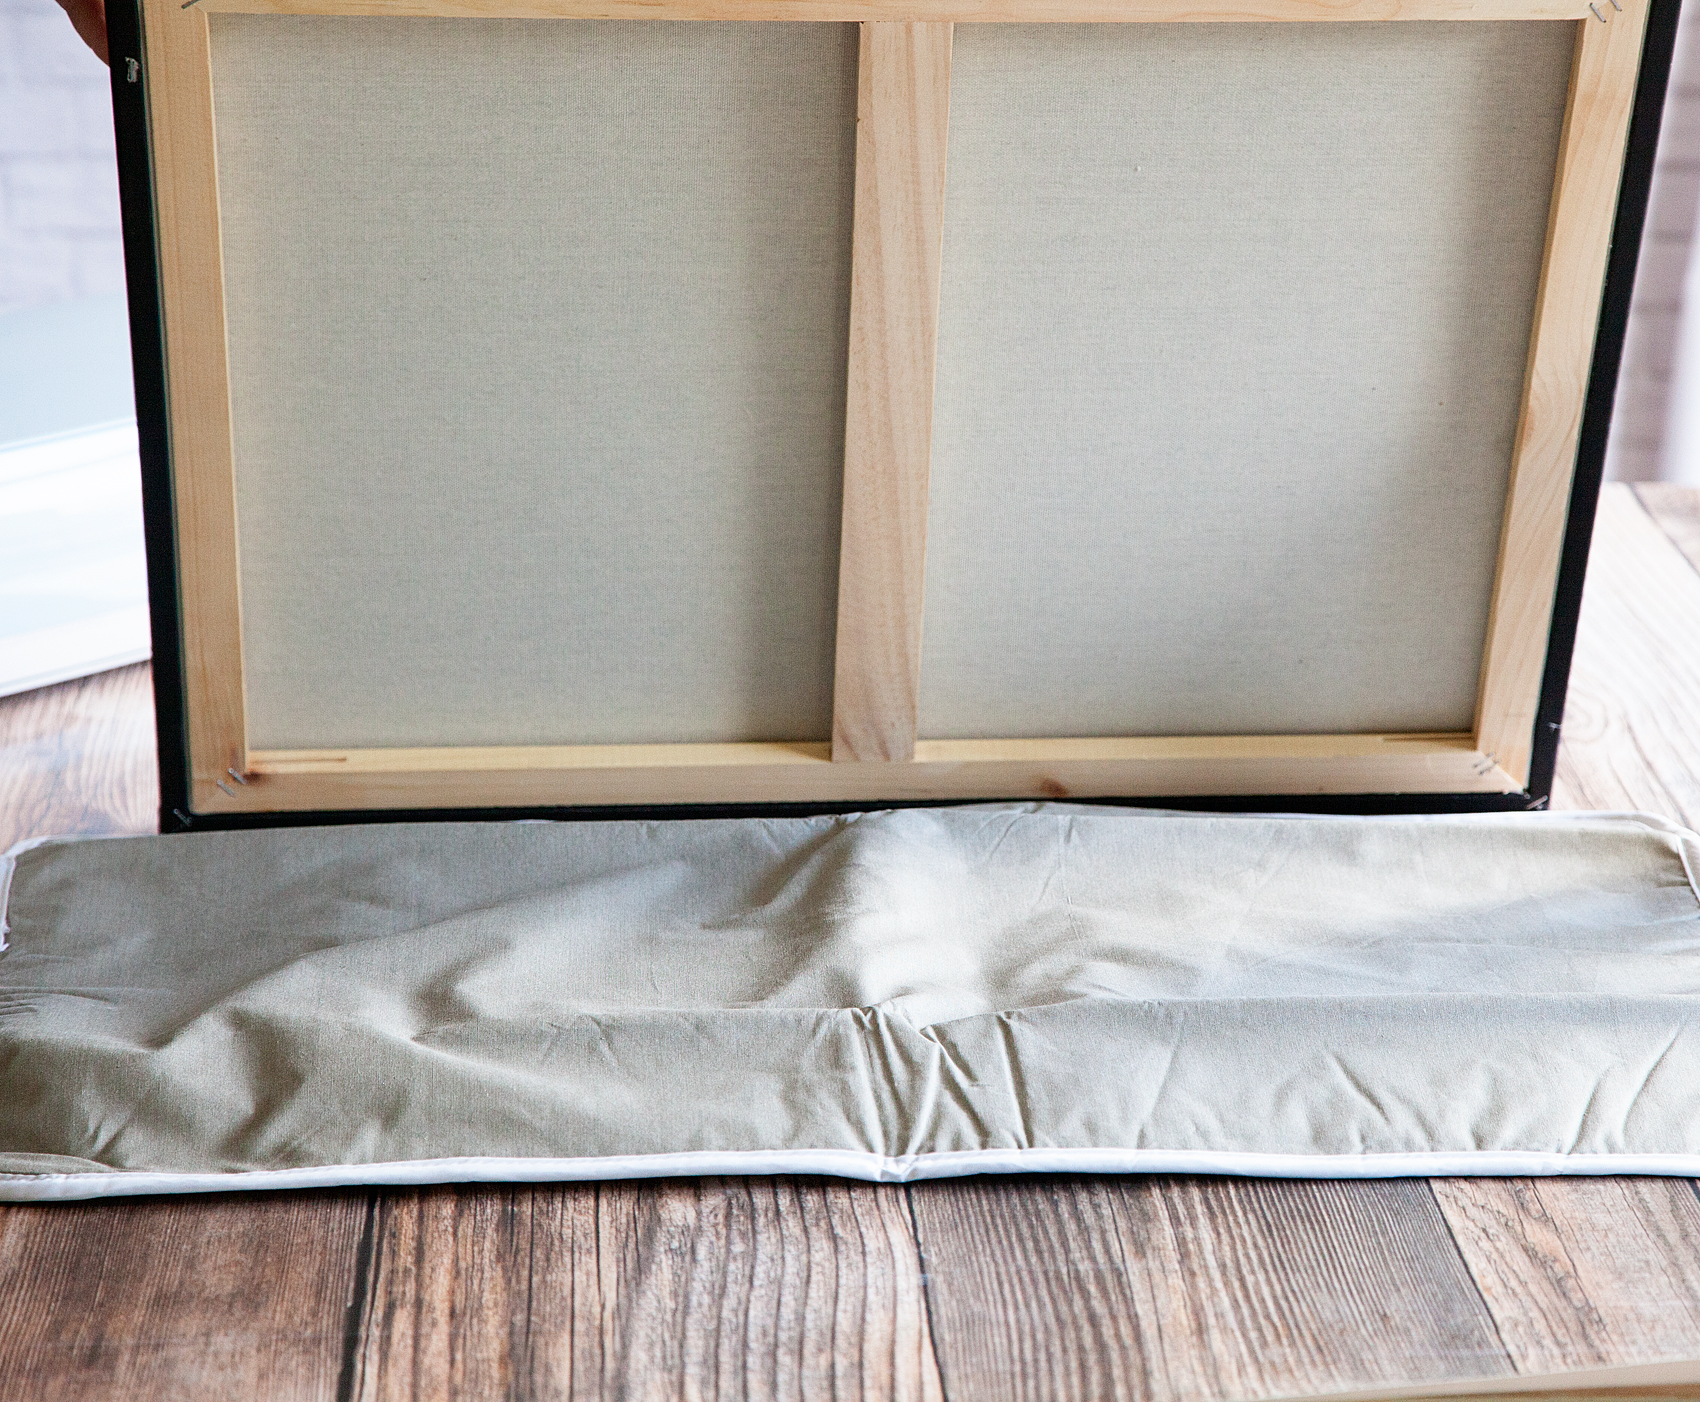
I also placed a heat mat on top of the books to protect them from the heat of the iron. I found this portable heat mat at Target in the laundry section.
You’ll lay down your design onto the surface of your canvas with the protective film on top. That protective film is your friend at this point. It’s a bit sticky so it holds your design in place for you.
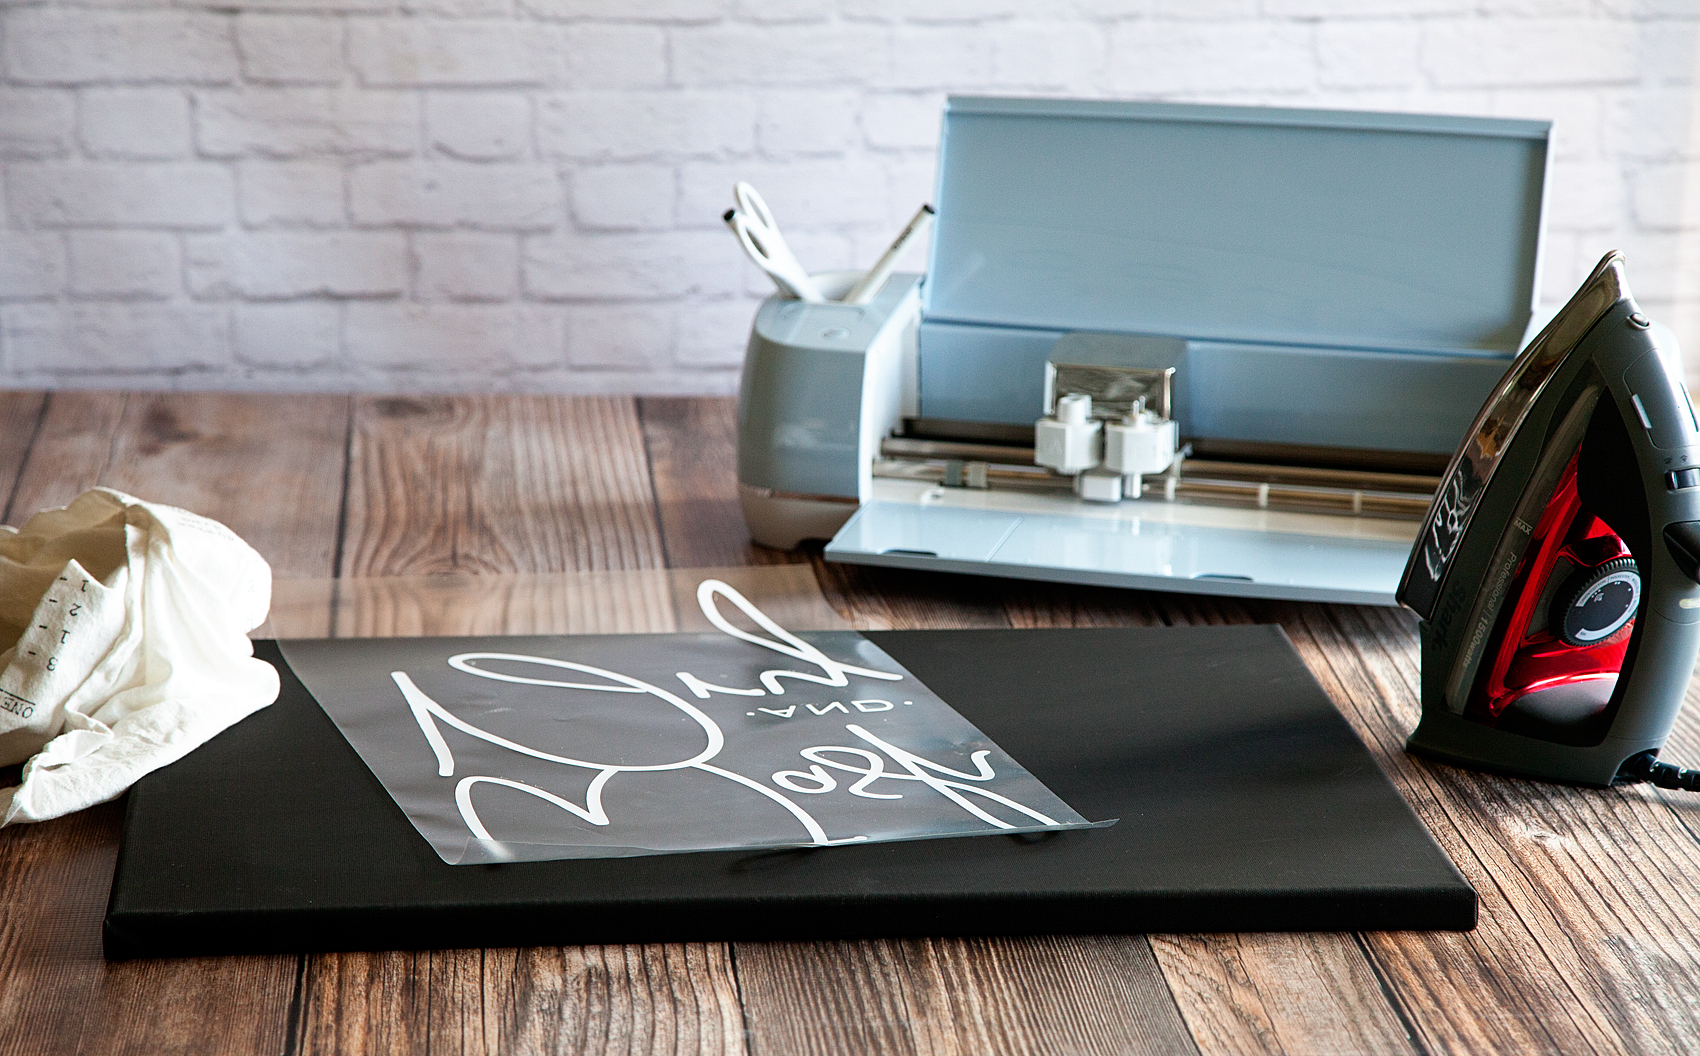
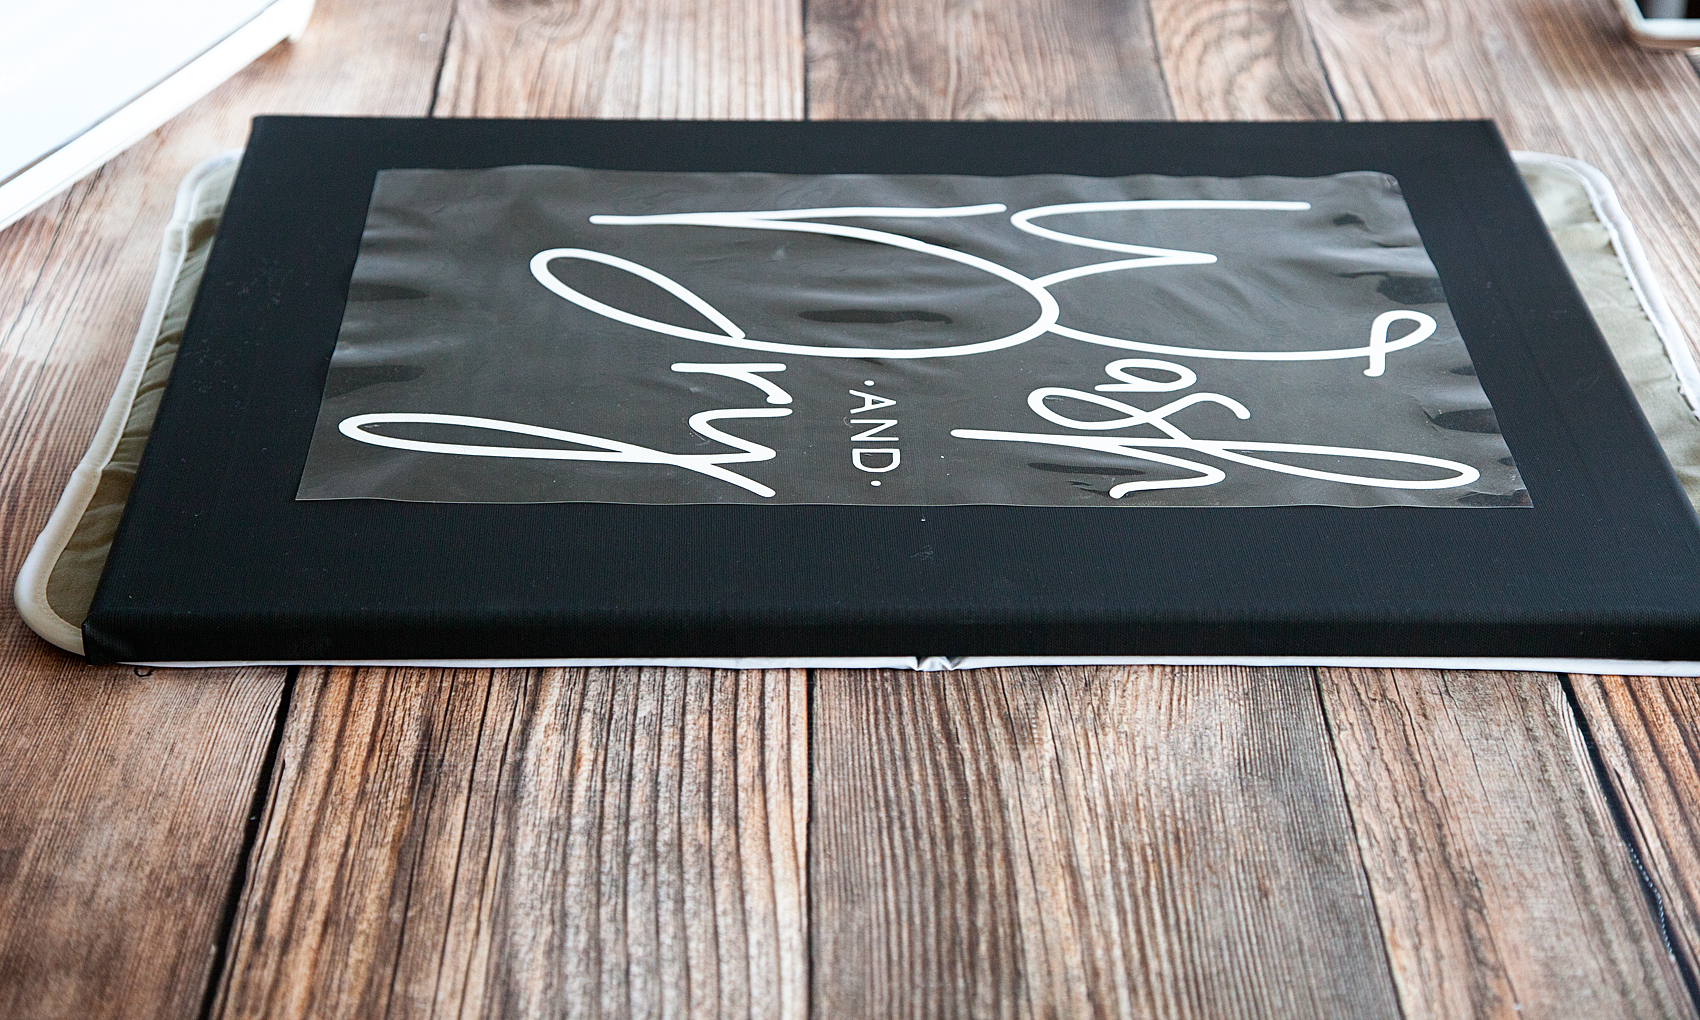
Cover your design with a light cotton cloth or some parchment paper. Set your iron to it’s hottest setting and then start to iron-on your design.
Now… This is not like ironing a shirt. You don’t want to use steam and it’s going to take a little time. You are basically wanting the vinyl to melt into the canvas and that takes a little time. DO NOT iron directly on the protective film OR place your iron on a section and just leave it there. Keep the iron moving and firmly press down on the canvas. This will help adhere the heat transfer vinyl to the canvas.
After a few minutes, check to see how things are sticking. Look at the protective film and you’ll kind of be able to see that the vinyl is pulling away from it and sticking to the canvas. You may find a few spots that need a little more time. Replace the cloth and continue to iron. Once you feel good about the adhesion, pull the protective film away and admire your sign.
At this point, I actually replace the cloth and do another light pass with the iron to make sure the vinyl is good and set. You could even flip your canvas over and iron on the back side with the protective film still in place to again make sure the vinyl is set.
Now, all you have to do is step back and admire your work! It’s so EASY and it looks AAAAMAZING!
Disclaimer // I am a Cricut Ambassador and receive product and payment to help with my projects. As always, I will NEVER promote a product that I don’t truly believe in!
11
Thanks for this great post! Do you mind to share what font you used to create this? I love it so much I want to make this and a matching one that reads fold and repeat.
Where do you find the black stand the canvas is hanging on? Love the look!