Decorating spaces with personalized wall art can transform any room into a reflection of one’s character. Custom creations allow individuals to express unique styles and preferences. This guide provides thoughtful insights on how to create custom wall art that resonates with personal taste.
Getting to Know Your Preferences
Before starting any project or artistic pursuit, it’s important to grasp your own sense of style and taste in aesthetics, such as colors, patterns, and themes. They should speak to you personally, which is a key consideration. Think about places or settings that make you feel happy or at peace. Take time to mull over these ideas as you work on creating custom wall art that truly reflects who you are.

Choosing Equipment
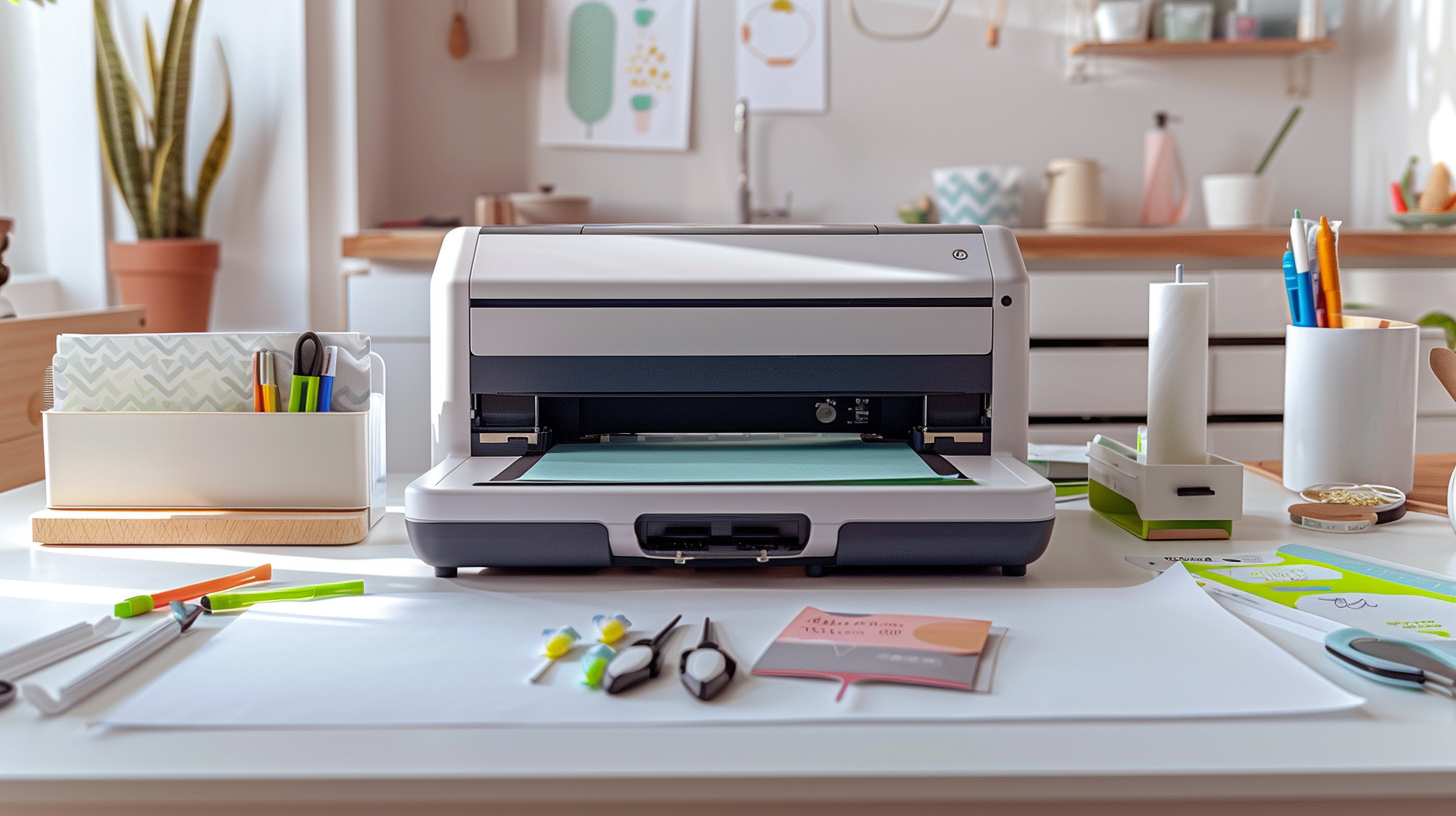
Choosing the right materials and tools is important. It determines the outcome of artistic projects. Whether it’s canvas, wood, or metal, each material brings its charm and texture. Paints, markers, or digital mediums further open up a range of avenues for creating quality artwork. Quality brushes, paints, and other art supplies ensure that every brushstroke adds precision and liveliness to the piece. You can also get specific software to support you in this creative process. Investing in top-notch materials lays down the groundwork required to create a beautiful piece.
Brainstorming
Finding inspiration is an important part of any process. You can explore nature for inspiration or look at stunning architecture to get ideas. Memories from travels or your favorite quotes can also inspire art. A spark of creativity can also be found in old photographs and sketches. You can even use digital tools to bring your vision to life on screen.
Crafting the Artwork
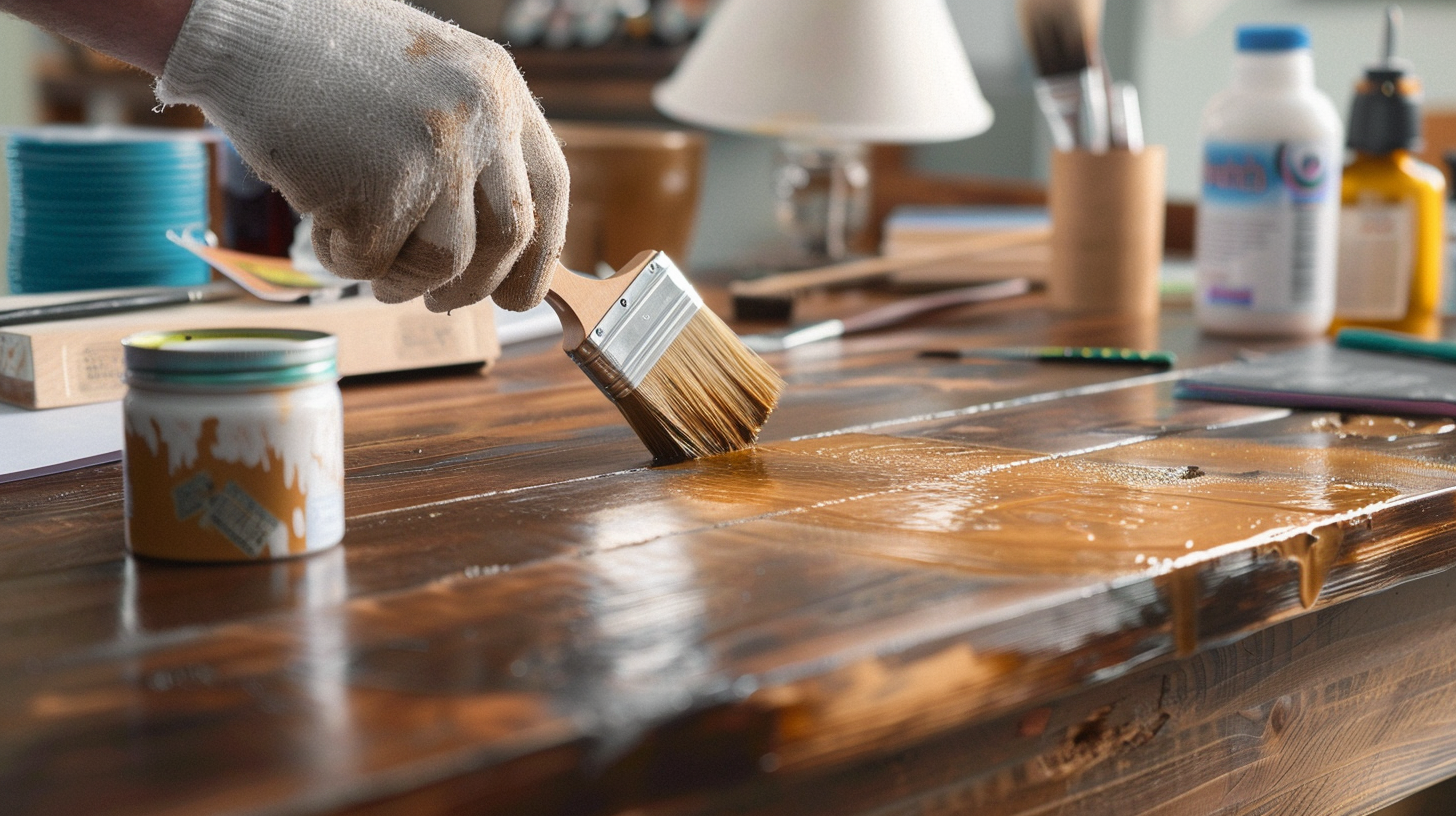
When you have an idea and are ready to start working, prepare a canvas or board. Next, establish a base by adding a wash of color or texture, which sets the mood for the entire piece. Then gradually add layers to bring in details and depth while focusing on balancing elements like color schemes and composition. Stay open to spontaneity during the process, as sometimes unexpected twists can lead to wonderful outcomes. You can also use linen canvas, which makes its base smooth and hold the paint color well on it.
Expressing Your Unique Style
Something special emerges when you infuse your artwork with details, like initials or significant symbols. The tactile quality of fabric and paper creates texture and depth, enhancing the piece’s uniqueness. Incorporating narratives or personal experiences into art adds depth and meaning. Your artwork is now more than a creation; it is a personal treasure.
Presenting Your Work of Art
After finishing the piece, you should decide where to display it. The room’s size, lighting, and proportions should be perfect! Proper lighting can really make the colors and textures pop and bring the piece to life! It’s important to choose frames or mounting techniques that enhance the artwork. A simple frame can draw attention to the art itself, while elaborate frames can add a touch of grandeur. The positioning should blend effortlessly with the room’s aesthetic to create a cohesive appearance.

Tips for Artwork Maintenance
Taking care of artwork is important to make it last longer and stay vibrant. Regular cleaning helps prevent dust from accumulating and maintains the color. When cleaning art pieces, use fabrics or brushes to remove dust to prevent damage. It’s best to avoid exposing the art to sunlight or high humidity, as this can lead to fading or warping of the materials. For prints, specifically, consider using glass or coatings that offer UV protection to safeguard the print from damage.
Final Thoughts About Creating Custom Wall Art
Crafting wall decor can be a fulfilling experience that merges imagination with self-expression. Explore your individual style preferences, select materials, and finalize colors to make your artwork shine. With these tips, your artwork becomes a visual story. This creative process allows you to convert your living areas into reflections of who you are. Let your creativity flow freely and allow your unique style to come through each brush stroke.