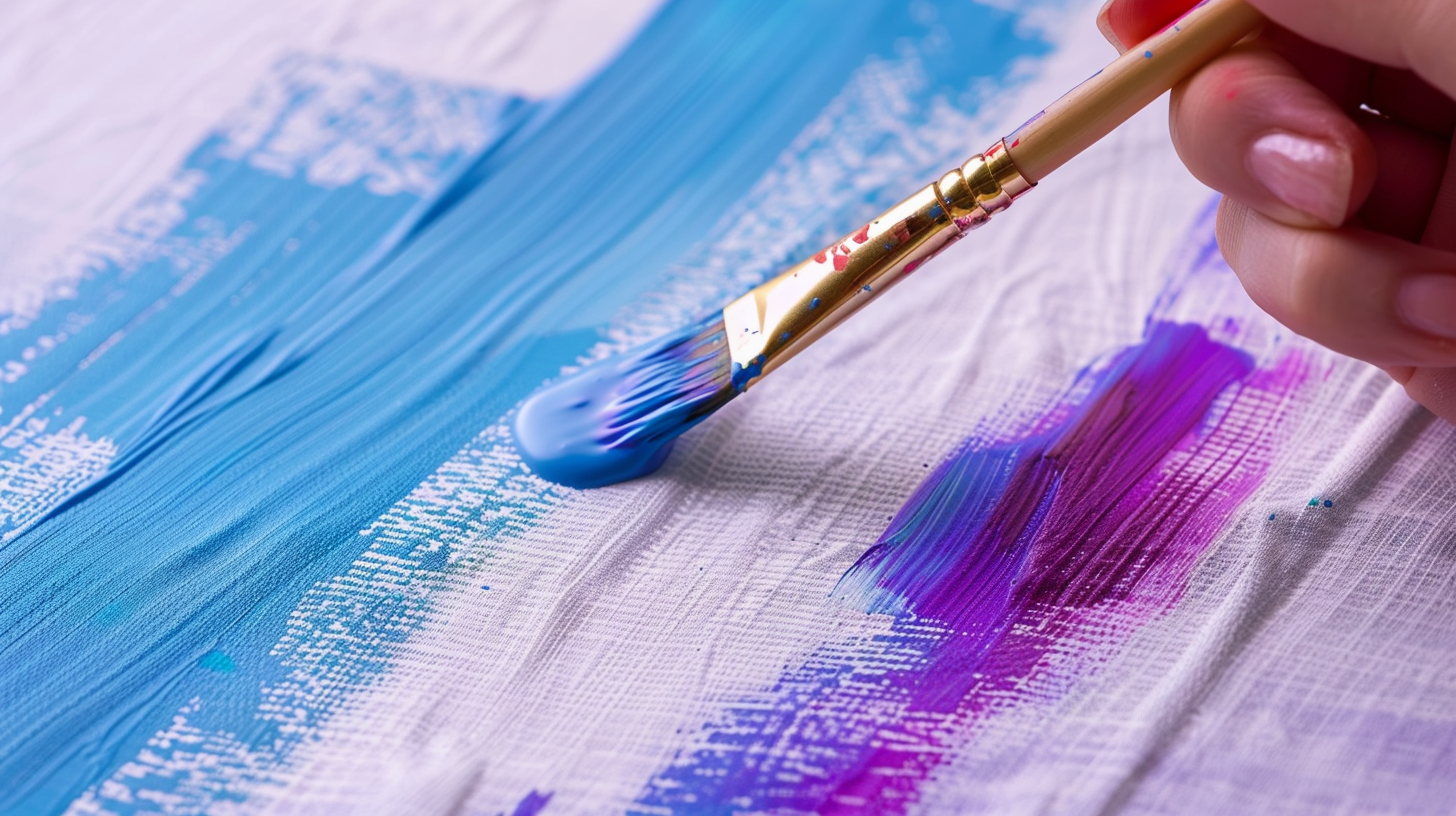
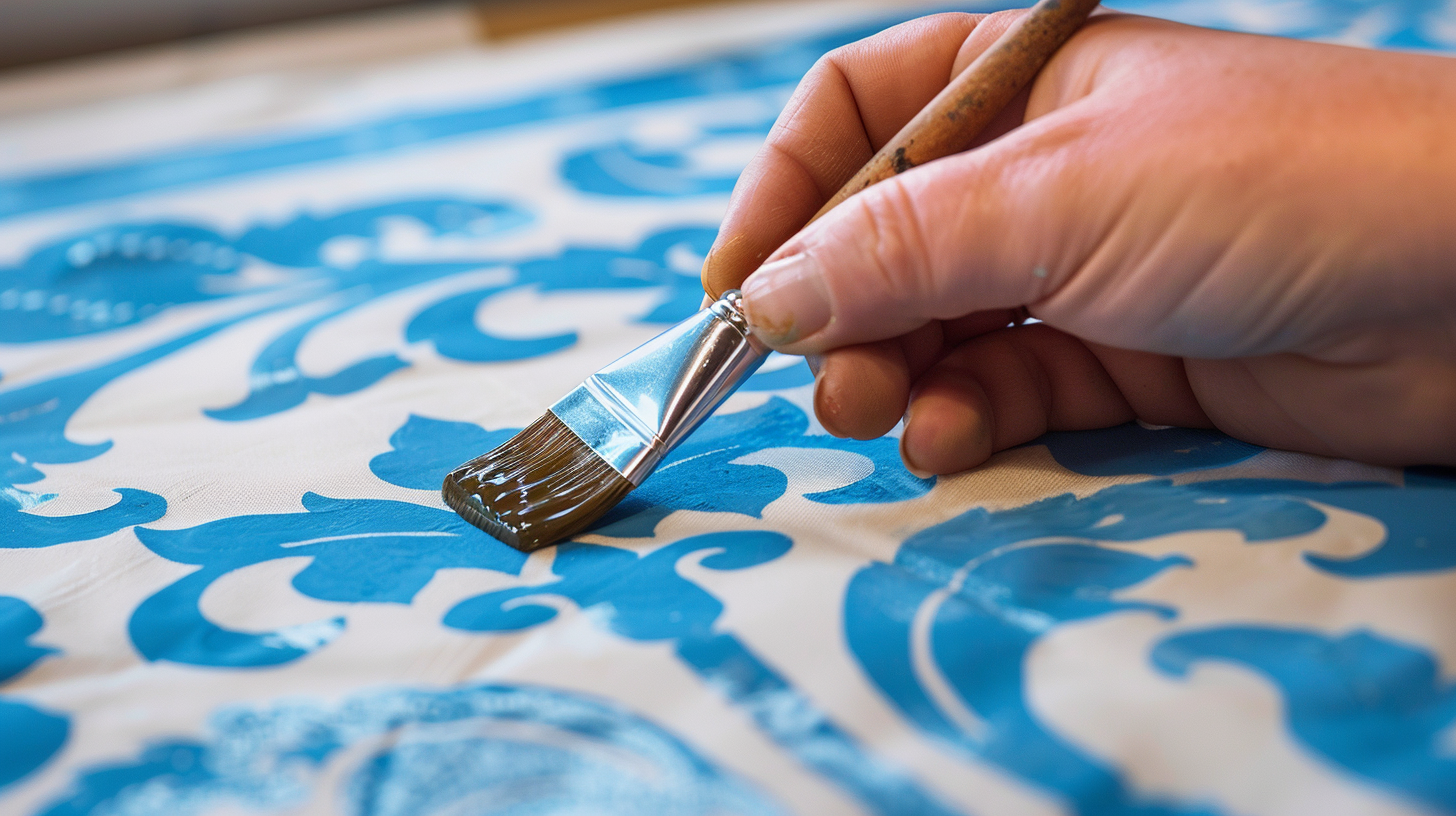
Do you want to know how to turn acrylic paint into fabric paint? You can turn your regular acrylic paint into fabric with just a few simple steps.
This is perfect for all your DIY crafts. Follow this guide to learn how to make your acrylic paints work on fabric and start your next fun project easily! Make sure to stick to the end to catch all the tricks!
Fabric paint can be expensive and often comes in small bottles with tiny applicator tips. But there’s no need to buy a whole new set of supplies. You can turn acrylic paint into fabric paint easily and for a lot less money, plus you get unlimited color options!
What is Fabric Paint?
Fabric paint is a special acrylic paint designed specifically for use on fabric. It remains flexible, so the fabric doesn’t feel stiff after painting, and it’s made to withstand washing and wearing.
Fabric paint is perfect for coloring small to medium-sized areas. If you need to color larger sections or an entire piece of fabric, fabric dye might be a better option.
Why Should You Turn Acrylic Paint into Fabric Paint?
Turning acrylic paint into fabric paint is beneficial because it makes the paint more flexible, allowing the fabric to remain soft and comfortable.
It also ensures that the paint adheres better to the fabric and withstands washing and wearing, making your painted designs more durable and long-lasting.
Additionally, it allows you to utilize a wider range of colors and paints you may already have, saving money and providing more creative options.
Tips and Tricks for Painting Fabric
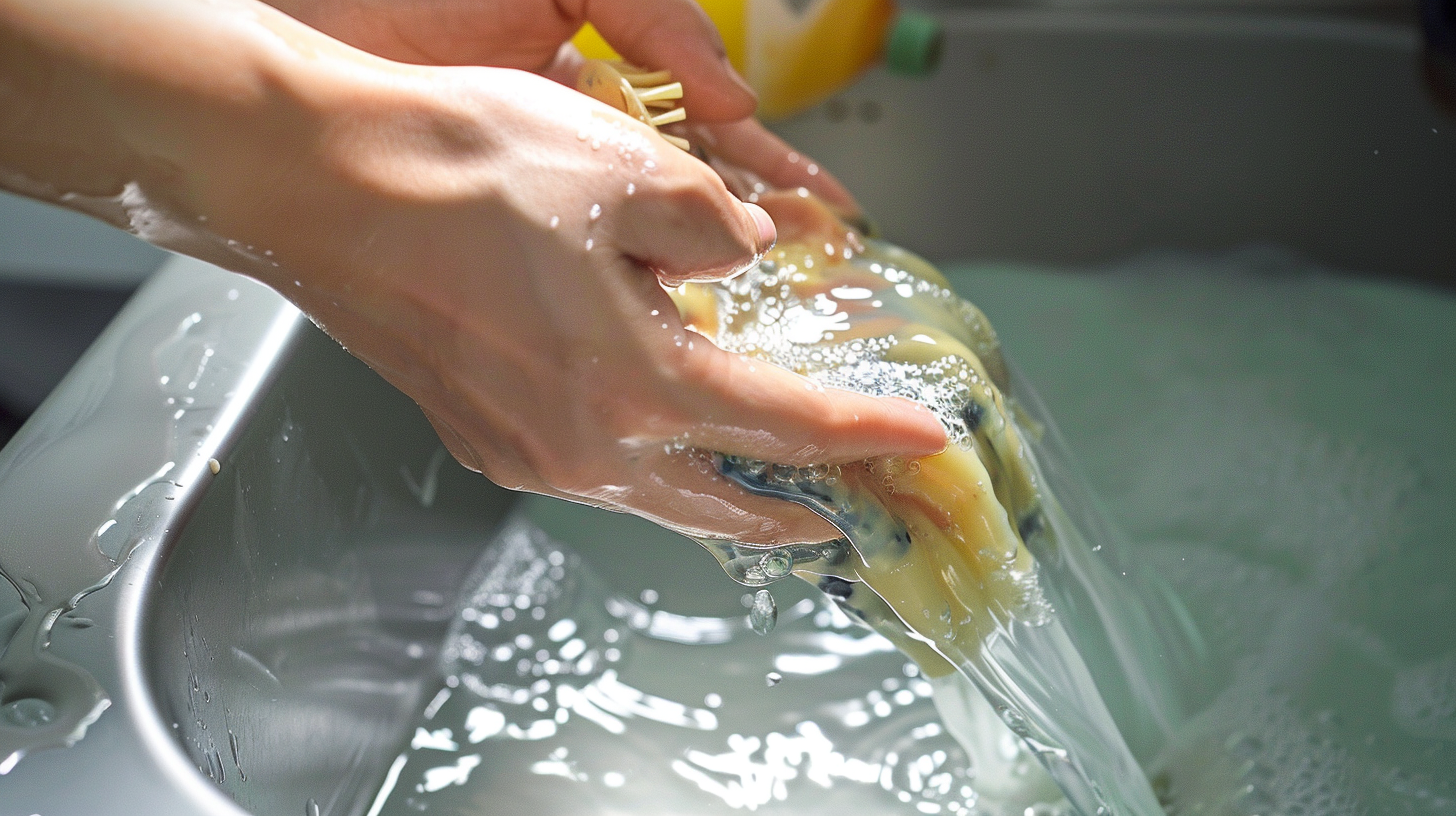
- Pre-Wash: Wash and dry your fabric as you will when you use it. Avoid fabric softener.
- Iron: Iron your fabric for a smooth, wrinkle-free surface.
- Protect Your Work Surface: Paint can bleed through, so protect your table.
- Layer Protection: For multi-layer items like T-shirts, put something between the layers to prevent paint from bleeding through (tinfoil, freezer paper, cardboard, etc.).
- Sketch First: Use a disappearing ink fabric pen to sketch designs before painting.
- Dress Accordingly: Wear a smock or clothes you don’t mind getting paint on.
- Mix Adequately: If mixing colors, mix more than you think you’ll need to avoid running out.
- Set the Paint: Once the paint is dry, set it according to the product instructions.
By following these steps, you can easily turn acrylic paint into fabric paint and explore endless creative possibilities!
How To Turn Acrylic Paint Into Fabric Paint
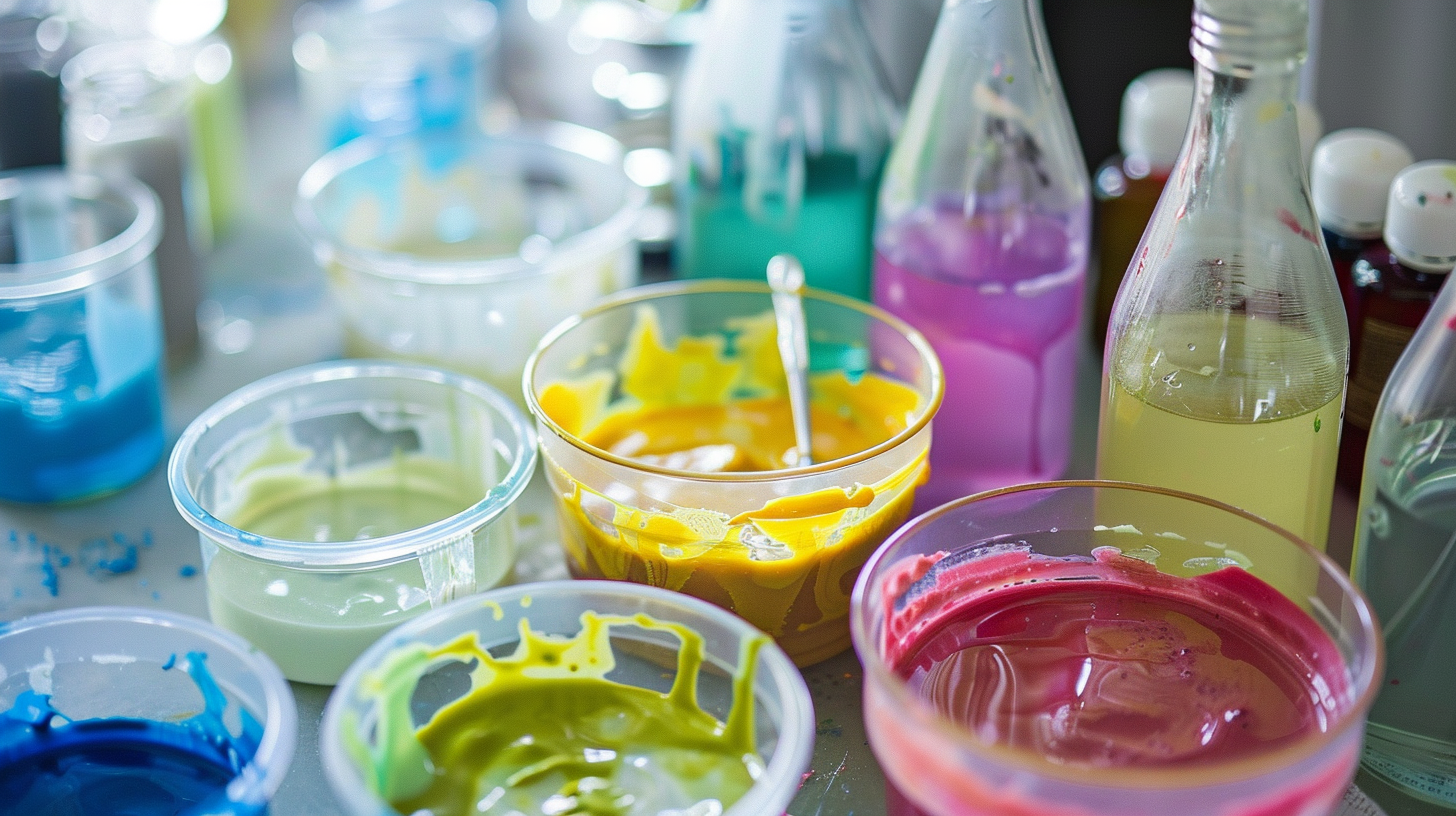
The simplest method to convert acrylic paint into fabric paint is by mixing it with fabric medium or textile medium.
Fabrics to Paint
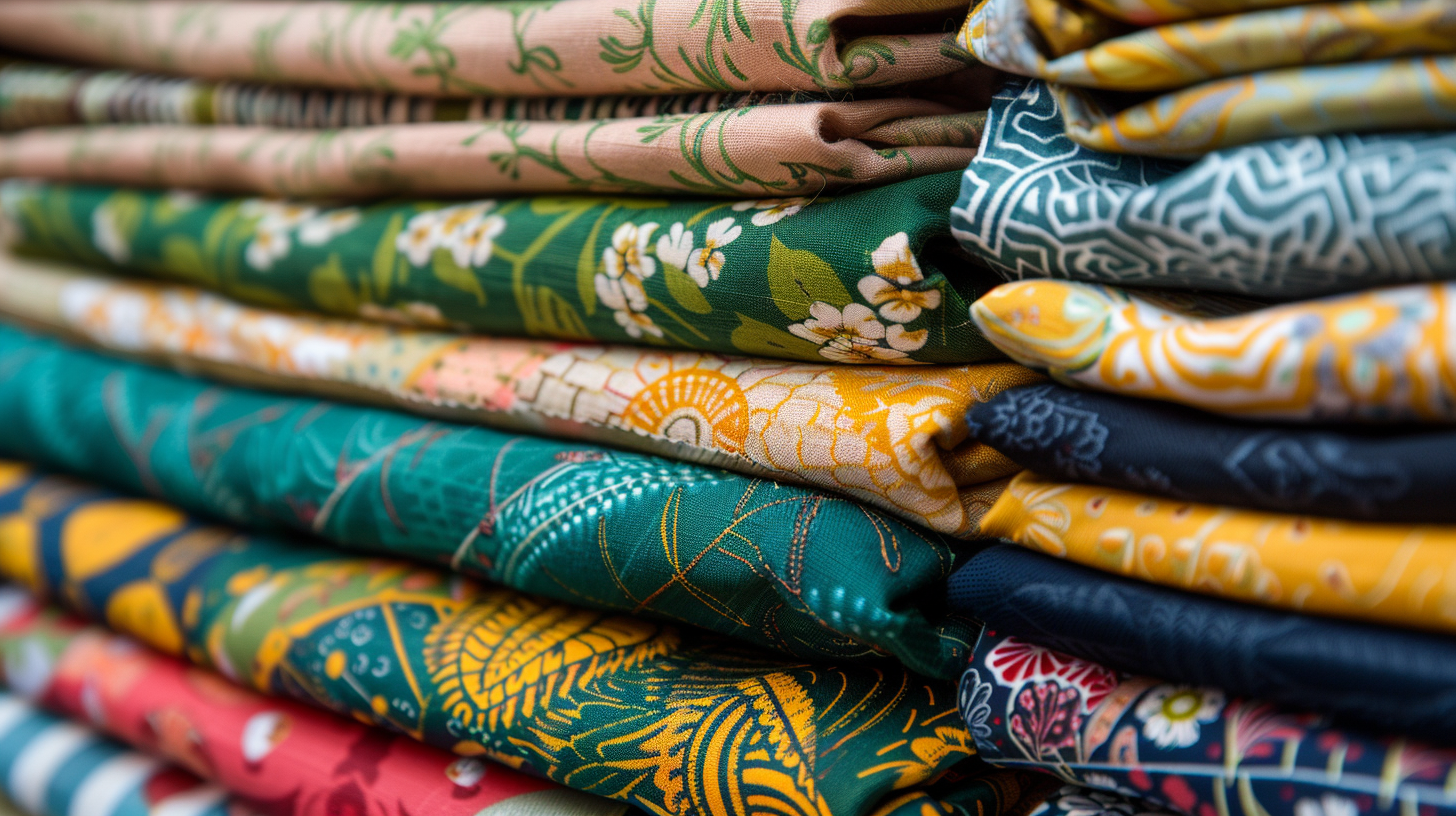
Many of us have attempted to paint different types of clothing at some point. Sometimes it turns out well, and other times it doesn’t. That’s how I discovered that certain fabrics are better suited for painting than others. While you can use these mixtures to paint clothing, this guide focuses more on the fabrics commonly used for crafting and art projects.
Items made from cotton, silk, linen, velvet, suede, canvas duck, and denim are excellent choices for painting.These same fabrics are also ideal for adding custom iron on patches, which offer a quick and stylish way to personalize bags, clothing, and accessories.Fabrics that are tightly woven, like silk or cotton, typically produce the most vibrant, rich colors and have the best chance of long-term durability. On the other hand, slick or coated fabrics may not work as well and can lead to frustration.
If you’re new to painting textiles, it’s important to test your paint on swatches of the fabric you’ll be using before starting your project. Make sure to wash the fabric and test samples beforehand. If you don’t prewash new fabric, the painting process might not work as intended. New cloth often has sizing, which can interfere with the paint’s ability to adhere properly to the fabric, potentially causing it to peel off.
How to Turn Acrylic Paint into Fabric Paint with Textile Medium
A textile or fabric medium is a liquid binding agent that, when mixed with acrylic paint, thins the paint to allow it to penetrate the fabric more easily. This results in a soft and flexible fabric paint that permanently adheres to your fabric. Using this method, your clothing or other fabric items will remain soft and flexible, rather than becoming hard and stiff.
Without a textile medium, acrylic paint will make the fabric stiff, which might be acceptable for items like handbags or costumes used occasionally, but not ideal for most clothing. While stiffness might not be an issue for painting fabric for artistic purposes, you still want the paint to be durable and the color to last.
Acrylic paints and mediums are widely available at art and craft stores, various retail outlets, and online. The chemical composition remains consistent across different brands, with popular names including Liquitex, FolkArt, Golden, and Delta.
Fabric paint is generally used for coloring small to medium sections of fabric. If you need to cover larger areas or entire pieces, fabric dye is often a more suitable option.
How Long Does Fabric Paint Take to Dry?
Fabric paint dries relatively quickly, only slightly slower than regular acrylic craft paint. However, most textile mediums recommend letting your project sit for a specified amount of time before setting and/or washing it, to ensure the paint fully cures.
Be sure to read the label on the product you’re using for specific drying and curing instructions.
How Do You Set Fabric Paint?
To set fabric paint, follow the instructions provided with your textile medium. Typically, this involves allowing the paint to dry for a specified period (usually 48-72 hours) and then using a dry iron to set the paint.
Place a pressing cloth over the painted area to protect both the paint and your iron. After setting, you can usually launder the fabric as normal.
How to Get Acrylic Paint Out of Clothes?
To get acrylic paint out of clothes, act quickly while the paint is still wet. Blot off as much paint as possible with a paper towel or cloth, then rinse the stained area with cold water to flush out more paint.
Apply dish soap to the stain and gently rub it in using a soft brush or your fingers. Rinse with cold water and repeat the process until the stain is gone. If the stain persists, dab rubbing alcohol on the area and scrub gently. Finally, wash the clothing as usual, but avoid using the dryer until you’re sure the stain is completely removed.
Alternative Mediums
Artists have a variety of alternative mediums they can use for painting fabrics. Options like glazing medium can make acrylic paint more transparent, allowing for glazing techniques.
Other considerations include satin, gloss, and matte sheen mediums. Matte medium, for instance, reduces the natural glossiness of acrylic paint, giving it a more subtle, non-reflective finish. Acrylic gel mediums are also popular among crafters, serving as additives to enhance the properties of acrylic paint.
The next question I will get asked is:
How to Turn Acrylic Paint into Fabric Paint Without Medium
You might be curious about what to do if you have a stash of acrylic paints but no fabric medium. The good news is that you can make your own ‘medium’ using common household items.
There are a few simple methods to mix these ingredients and create an effective medium. These homemade solutions can often work just as well as store-bought ones.
The Glycerin Method
This technique involves creating your textile medium by mixing equal parts of white vinegar and vegetable glycerin with two parts of water. In other words, use 25% vinegar, 25% glycerin, and 50% water. This homemade “fabric medium” can then be combined with your acrylic paint in equal parts. Once the paint is applied to the fabric and has dried, heat set it using a pressing cloth and a dry iron.
Why use this method? If you already have these ingredients at home, it can save you money. It’s also a great alternative if you can’t find a textile medium locally, or if you simply want to try out a DIY approach.
The Glue and Shaving Cream Method
This technique results in thicker fabric paint, similar to “dimensional paint” or “puffy paint.” To create it, mix 3 tablespoons of shaving cream with 1 tablespoon of regular school glue. Add acrylic craft paint to achieve your desired color. Apply the mixture to the fabric as desired and let it dry thoroughly for at least 24 hours. Once dry, heat set it using a pressing cloth and a dry iron.
Why use this method? This method is particularly fun to do with kids. Just remember to protect your work surfaces and ensure everyone is wearing smocks to avoid messes.
Heat Setting Fabric Paints
Heat-setting fabric paints with a dryer or dry iron enhance washability and durability. Allow the paint to dry for 48 to 72 hours before setting.
To set the paint with an iron, use a medium-high setting and iron the back of the fabric, using a pressing cloth for protection. Alternatively, you can place the painted fabric in the dryer for 20-30 minutes on a medium setting.
Conclusion
I hope you enjoyed learning how to turn acrylic paint into fabric paint. With these simple steps and techniques, you can transform your fabric projects with ease and creativity. For more great tips and inspiration, check out WhipperBerry’s guide on acrylic paint vs tempera paint. Happy crafting!