Thinking about painting your cabinets with chalk paint? In this blog, I’m going to cover the pros and cons four years after I painted my cabinets with chalk paint. Let me tell you, you’re gonna want to read this if you’re considering chalk painting your cabinets!
Pros of Using Chalk Paint for Kitchen Cabinet
Let’s get right into some of the reasons I like chalk paint for kitchen cabinets. While chalk paint might not be the preferred choice for everyone, it does have several advantages.
- Appearance: Chalk paint is great for the smooth, matte finish that is so popular right now. It’s a great way to brighten your home and achieve the “country chic” look that so many interior designers love. With many brands of chalk paint available, there are dozens (or more) color choices; something to fit any decorating scheme.
- Easy Prep: Chalk paint is very thick and provides good coverage. Most brands of chalk paint advertise that no priming or sanding is needed. For big projects like kitchen cabinets, I think minimal priming is beneficial, but it’s still a lot less work than prepping your cabinets for more “traditional” paints. You might find you need fewer coats of paint using chalk paint. Because it is quite thick, it covers wood grain and imperfections easily.
- Characteristics of Chalk Paint: Chalk paint dries quickly, so you won’t have to wait as long to paint between coats. This also means you can have your kitchen back to a usable state much quicker than if you use more traditional paints. Also, chalk paint has a very low VOC (volatile organic compounds) content, which means you won’t have to smell any harsh paint fumes.
Cons of Using Chalk Paint for Kitchen Cabinets
Despite the immense popularity of chalk paint in home decor, there are a few downsides to consider before choosing this paint for your kitchen cabinets.
- Painting with Chalk Paint: Chalk paint is a bit different from other paints. It has a thicker consistency, which provides nice coverage. However, it also makes it a little challenging to apply it evenly. If you spread it too thick, it will take longer to cure. When you’re painting carved or textured details, you want to be careful about spreading the paint too thick also. You’ll lose the details if your paint is applied too thickly.
Since chalk paint is water soluble, it can be thinned with water. However, you have to be very careful not to make it too thin, or you will end up with streaks and visible brush strokes. If this happens, you can “fix” it with additional layers of paint, but it means you might end up using more paint and taking more time.
- Chipping and Scratching: Chalk paint gets chipped and scuffed easier than other types of paint. That’s why it works so beautifully to create a distressed look on home projects. While you can distress your kitchen cabinets and drawers, you don’t want the paint to continue to chip. The best way to address this is to complete your painted project with a sealer. Even with a good sealant, chalk paint will scratch easier than other paints. It’s not a bad choice for the kitchen, but be aware that you will find yourself having to touch up spots more frequently than if another type of paint was used.
- Sealing Chalk Paint: If you use chalk paint for any area that will be frequently touched or moved, like cabinets or drawers, you’re going to need to apply a sealant coat. If you don’t, the paint will chip and scuff in a very short time. There are several options for how you want to seal your chalk painted surface. No matter which sealant product you choose, it means an additional step to the painting process and additional time for drying/curing.
How to Paint Wood Cabinets with Chalk Paint

Painting your kitchen cabinets is a huge project to take on yourself. It takes a lot of planning and preparation. If you think this is something you can knock out over a long weekend, guess again! I’m not trying to sound discouraging, though. Doing it yourself is immensely satisfying, and can be more cost-effective than hiring someone else to do it.
Let’s break this project down into several steps, so it won’t seem so overwhelming.
Gather Your Materials
This may seem obvious, but the job will go a lot smoother if you have all your tools and equipment gathered before you start. It will save you time when you don’t have to periodically stop to look for something.
Here is a quick checklist of the basic materials you’ll need for your kitchen cabinet painting project:
- Plastic sheeting and drop cloths. You’ll need these to cover your floor, countertops, and appliances. Basically, you want to cover everything around the cabinets and drawers you’ll be painting to protect from sanding dust and paint splatters.
- Painters Tape. Painters tape, sometimes called simply masking tape, is absolutely essential to any large painting project. Don’t even think about trying to paint walls or cabinets without it!
- Cleaning Supplies. Fortunately, chalk paint is water-based and easy to clean up. Keep a roll of paper towels, sponges, and a bucket of soapy water handy in case of any drips or spills. If you’re using polycrylic or polyurethane sealant, you’ll also need turpentine to clean the brushes you use to apply the sealant. A small hand-held vacuum is a good idea to help clean up the dust from sanding or drilling.
- Tools and Hardware. If you plan to change the hardware on your cabinets, or if you just want to remove the hardware before painting, you’ll need the proper size screwdriver. Keep small containers or zip-top bags to store all the hardware and nails so you’ll know where they are. If you’re installing new hardware, you’ll need a power drill and tape measure.
- Sandpaper and Wood Putty. Even though most chalk paint brands say they don’t require any prep before painting, light sanding always makes paint adhere better. This is crucial if you’re painting over a shiny or varnished surface. You’ll need wood putty if you are filling in any holes, or are going to paint over any wood with deep grain, such as oak. Sandpaper is needed to give the cabinets a light sanding before applying primer or paint. You won’t need to strip wood cabinets completely, but sanding them makes the paint adhere better.
- Painting Supplies. Last but by no means least, you’ll need to have all your painting supplies ready. This means not only your paint, but primer (if using), brushes in several sizes, rollers (if using), and stirring sticks.
Prepping Your Kitchen
After you’ve gathered all your supplies, the next step is to make your kitchen safe for the painting process. You will probably not have much use of your kitchen for several days while working on your cabinets, so plan to have food in your refrigerator that you can prepare easily and quickly.
The first thing you’ll need to do is clear all the countertops of small appliances, canisters, food, etc. You don’t want anything to get contaminated by sanding dust or small paint splatters.
Cover the floor, appliances, and countertops with plastic sheeting. You can secure the plastic sheeting with tape.
If your kitchen is part of an open floor plan, you might want to hang plastic sheeting between the kitchen area and the living area of your home.
Prepping the Cabinets
To get your cabinets ready to paint, the first thing you should do is carefully remove the doors. Be sure to keep the hinges, handles, and nails in a container so that you’ll know where and what they are. The doors will be much easier to paint laying flat, rather than leaving them hanging on the cabinets.
You’ll also need to remove everything from inside the cabinets. Make sure the inside area is clean, and don’t forget to remove any shelf liner you might have in there.
Cleaning and Masking
Now it’s time to clean! You’ll need to clean the doors you removed, as well as the sides and even the inside of your cabinets. You should be able to get them perfectly clean with some dish detergent and warm water. Kitchen cabinets are inevitably going to have some residue that will need to be cleaned off, so take the time to make sure they’re spotless.
You really don’t need to paint the inside of the cabinets (unless you want to for some reason), so take more of the plastic sheeting and hang it across the front of the open cabinets. This will prevent any paint from getting on the inside.
Apply the masking tape around everywhere that the cabinets meet the wall. Take your time and make sure the tape is right up against the edge of the cabinet. This is going to be a little bit tedious, but it will help you achieve a professional result that won’t need much touching up at the end.
Sanding and Priming
If your cabinets have a glossy, varnished surface, you will need to lightly sand them to help the chalk paint stick. You don’t need to completely strip the surface of the wood, just scuff it up so that it’s not so perfectly smooth.
After sanding, you’ll need to clean the cabinets again. You want to make sure there is no sanding dust left on them!
If you’re going to replace the hardware and will be drilling new holes, this is the time to fill the old holes with some wood putty. You can also use the wood putty to smooth out any deep scratches or nicks in your cabinets.
If you’re painting over oak, or any hardwood with deep, noticeable grain, the paint will apply better if you put a very thin coating of wood putty over the grain. It won’t take much! Just smooth some over the surface and scrape it with a putty knife so it’s just filling in the wood grain.
Even though many brands of chalk paint will say that primer isn’t necessary, I think it makes a noticeable difference. One coat of primer will help the paint apply more smoothly and evenly, and will also help hide any deep wood grain or imperfections. Since kitchen cabinets are so frequently touched, the primer coat adds another layer of protection that will keep your paint job looking great for years to come.
Time to Paint the Cabinets!
Finally, after all that prep work, it’s time to paint! Look over your cabinets and doors to make sure they’re completely clean, and that you didn’t miss any places that need primed or filled in.
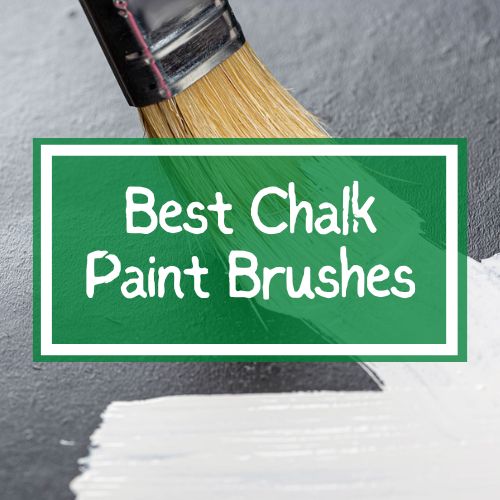
Chalk paint goes on smoothly with a brush or roller. Paint rollers are best for broader surfaces, like the front of your cabinet doors. Smaller brushes are great for the sides and edges of your cabinets. I wrote a full article on the best chalk paint brushes you can check out to learn more.
Don’t be tempted to apply too much paint at once. Even if your first coat of paint looks a little bit “streaky”, let it dry and then apply a second coat. The second coat should cover any streaks and give you the smooth, pretty appearance that chalk paint is known for. Thin layers of paint will work best for a great finish. Be sure to allow each coat to dry fully before applying the next coat of chalk paint. Chalk paint dries quickly, but don’t be tempted to paint the next coat too soon.
Is Chalk Paint Suitable For Creating A Worn Look For My Kitchen Cabinets?
Chalk paint is perfect if you want to achieve an “antiqued” or “distressed” look. The worn, well-loved appearance you can get with chalk paint can be absolutely charming. If you want this appearance for your kitchen cabinets, it’s fairly easy to do. Once your final coat of chalk paint is dry, lightly sand the areas you want to look “distressed”. Be careful that you don’t take off too much paint at once. Sanding slowly and with a light touch will get you better results.
The distressed look is very popular right now, and when it’s done properly it looks great! However, keep in mind that any area you distress is going to need to be sealed, and it shouldn’t be done to a part of the cabinet you’ll be touching frequently. Sealing is really important; you don’t want the paint to chip or flake off in the kitchen where you prepare food!
How to Protect the Color After Painting Cabinets with Chalk Paint
Before you reattach your hardware and start putting your kitchen back together, you’ll need to apply some kind of sealant to your chalk paint cabinets. A good sealant will not only keep the paint color looking vibrant, but will also protect your paint job from chips and scratches.
A big part of the appeal of chalk paint is its velvety matte finish. If this look is why you chose chalk paint for your cabinets, you need to choose a sealant that won’t add much glossiness to your finished project. Any finish that is described as “matte”, “satin”, or even “semi-gloss” is going to be the best choice to keep your painted cabinets looking smooth.
For the kitchen, there are basically three different types of sealants that are appropriate. Be sure to read the product labels and online user reviews of any sealants you’re considering. You’ll also want to make sure you know how to seal chalk paint before you start.
Polyurethane sealant is an oil-based product that produces a highly durable finish that you probably won’t ever have to touch up. It’s easy to apply with a brush, but you do have to use turpentine or another solvent to clean it up. Polyurethane also has a very strong odor and takes a long time to fully dry. This finish might not be a good choice if you’re sealing white or other very light colors, because it has a tendency to yellow over time.
Polycrylic sealant is water-based, so it cleans up easily with just soap and water. It provides a very durable finish that doesn’t yellow over time and has very little odor. If you want white or very light-colored cabinets to stay true to their original color, this sealant is your best choice. It applies easily with a brush, although the consistency is very thin so you have to be careful of drips. Polycrylic products are an excellent choice for protecting kitchen cabinets.
Wax sealants, sometimes sold specifically as chalk paint waxes, are clear or slightly tinted waxes that are buffed over the painted objects. The wax finish provides just a slight sheen, preserving the matte appearance of your chalk paint projects. Clear waxes will slightly deepen the paint color. Tinted waxes can be applied over paint to achieve a translucent “wash” of color over the base coat of paint. While wax finishes look gorgeous, it is very labor-intensive to apply. Also, a wax finish will need to be “freshened up” after a year or two.
Can I Use Chalk Paint On My Kitchen Cabinets Without Sealing Them?
You can use chalk paint on your cabinets without applying sealant, but it’s not a good idea. I know sealing them seems like maybe it’s an optional step to this major kitchen project, and by the time you’ve applied that last coat of paint, you’re probably just ready to put your kitchen back together. Just trust me on this, it’s worth a little extra time to apply a sealant.
Chalk paint is a “soft” paint. That’s why it’s perfect for distressed finishes. It can be sanded off strategically, but it also can chip and scratch very easily if not protected. Kitchen cabinets are probably going to be touched and moved several times a day, every day, and all of that will slowly cause wear and tear on your painted surfaces. The final step of sealing the paint will make your kitchen makeover last much longer.
Do I Have To Seal Chalk Paint With Wax?
Many brands of chalk paint also sell their own wax finishes, but you don’t necessarily have to use wax to seal your cabinets. I love the look of a satiny wax finish on chalk-painted furniture, but I didn’t choose it for my kitchen cabinets.
Applying a wax sealant is a lot of work, especially compared to how easily polyacrylic sealants can be brushed on. Over time, the wax will break down a little bit and need to be reapplied. That’s a major home project every few years to keep your painted cabinets looking nice. My other concern about using a wax finish is that they do have a tendency to yellow after a while, and I wanted my white cabinets to stay looking as white as possible.
Is Chalk Paint or Milk Paint better for Cabinets?
Both chalk paint and milk paint have similar qualities. There’s always a big debate about chalk paint vs milk paint for different projects. They’re both water-based and have low VOC content, which means no to low odor. Both paints dry quickly, and they are both great choices for creating a distressed appearance on whatever you’ve painted. There are two areas where milk paint has a slight advantage over chalk paint.
The first advantage milk paint has over chalk paint has to do with durability. Although both of these paints can be sanded for an antiqued/chipped look, milk paint will actually get stronger over time. The casein proteins in milk paint create a stronger bond to the surface the longer time goes by. Also, most brands of milk paint also sell a bonding agent that can be mixed into the paint for extra durability. With proper care, this means you’re less likely to have problems with scratches and scuffs if your cabinets are painted with milk paint.
The other area where milk paint has an advantage is that it’s easy to touch up any chipping that may occur. Milk paint is sold in a powdered form that you mix with water. The powder has an almost indefinite shelf life if stored in an airtight container. So if you find the need to touch up an area that has become noticeably chipped or scuffed, you can simply mix up a little of the milk paint powder to touch it up. Save a little of the powder from your original paint job, and you won’t have to buy additional paint for touch-ups! Not all mixes are high-quality so you’ll want to make sure you’re getting the best milk paint from a reputable brand.
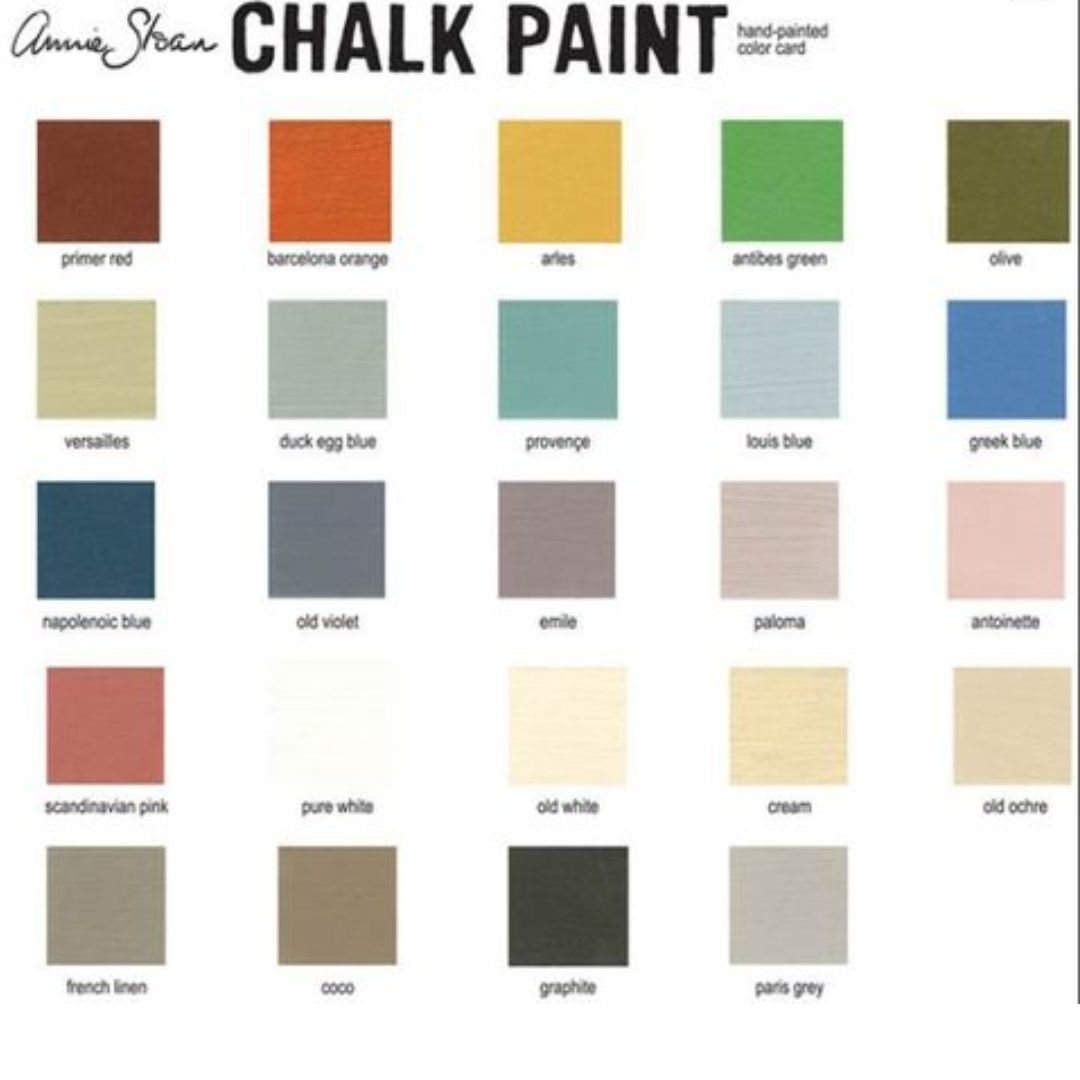
Choosing a Color Palette
In my opinion, there is no such thing as the “perfect” color palette for any kitchen. The color(s) you choose should make you happy and should reflect your personality.
That being said, the current trend for kitchen cabinet colors tends to be whites, pale neutrals, and shades of soft grays and blues. Whatever color you choose, keep in mind that whites and lighter shades will open up a space, and make your kitchen seem larger and brighter, Conversely, jewel tones and darker colors will make your kitchen feel a bit more closed in.
Once you’ve narrowed it down to two or three color choices, purchase small cans of each paint shade that you’re considering. Then, paint a piece (or two) of posterboard with each color, and tape the boards to the front of your kitchen cabinets. Leave these color swatches up for a couple of days so you can see if one color appeals to you more than the other. Be sure to look at your posterboard swatches from different angles and distances before making your final decision.
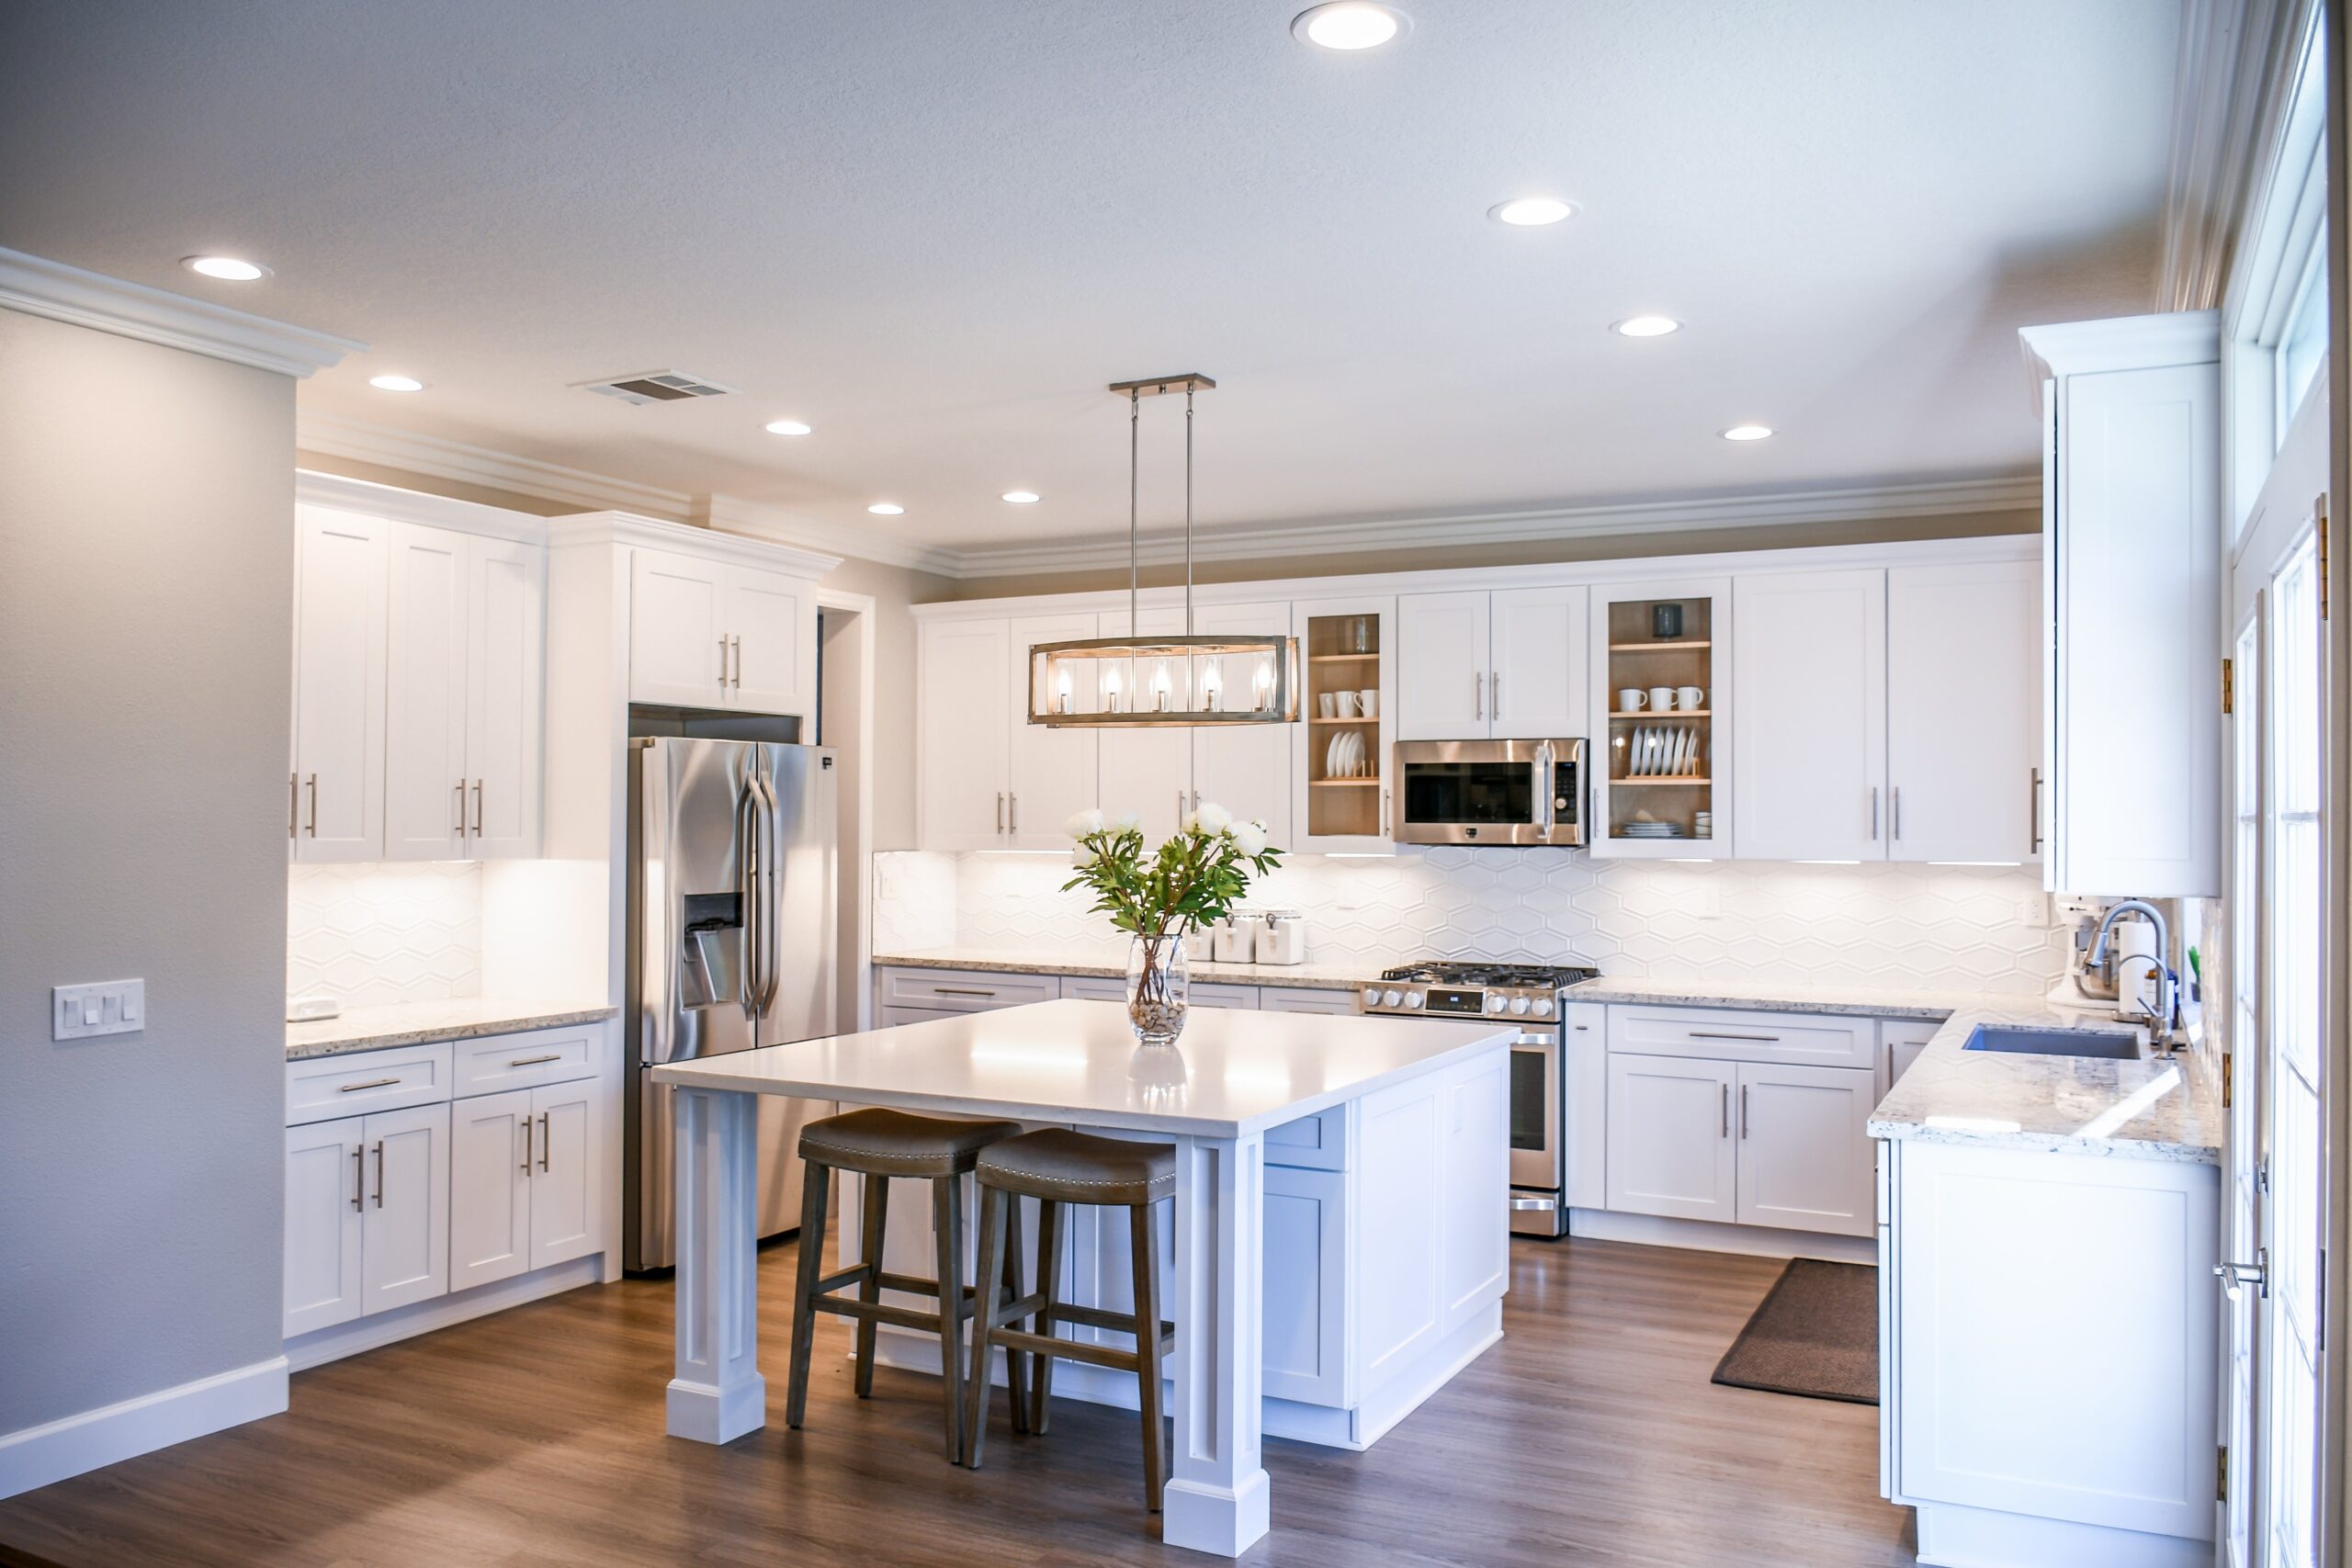
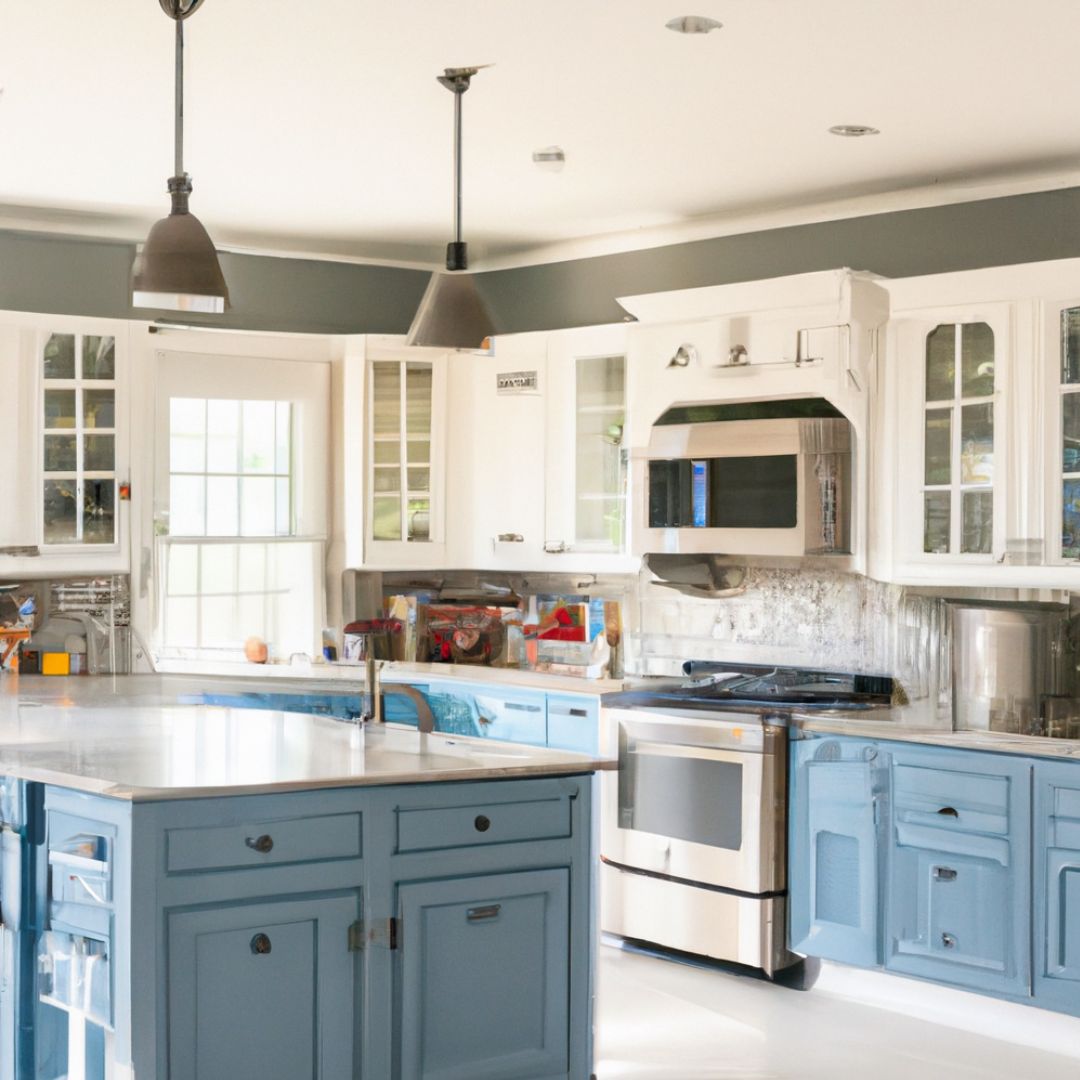
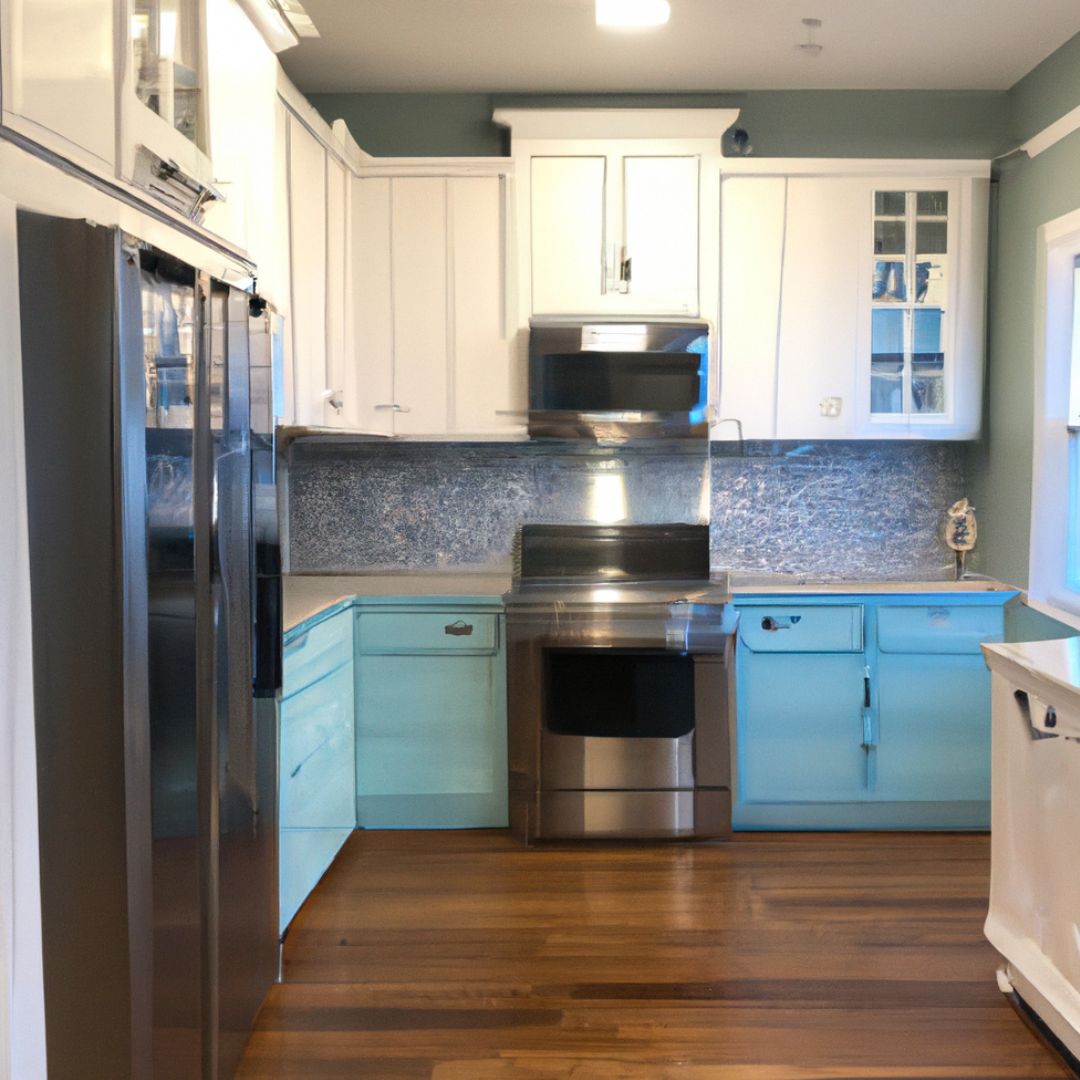
After I Painted the Wood Cabinets White
My kitchen cabinets were originally a lovely, dark wood with noticeable wood grain. They didn’t look bad, but I felt like they were starting to look a little “dated”. I eventually chose a “true white” shade with cool undertones to paint them.
The white paint transformed my narrow kitchen into a space that seemed brighter and somehow larger. I didn’t realize how the dark wood cabinets were dominating the look of the kitchen. Once the cabinets were painted white, it seemed like other areas of the kitchen were more noticeable.
I should mention that my lovely white cabinets do seem to show every speck of dust or dirt more noticeably. I know we all keep perfectly clean kitchens all the time, right? Of course we do! But, I’ve got to admit I feel like I’m wiping “stuff” off the cabinets a lot more frequently since they’ve been painted white!
How My Chalk-Painted Cabinets Have Held Up After Four Years
My chalk-painted kitchen cabinets still look good, but not quite as good as I’d like them to be. In spite of my careful application of a polyacrylic sealant, there are some tiny chips and scuff marks on the cabinets. They’re not noticeable unless you are looking for them up close, but I’m a bit disappointed they’re even there. The tiny chips are near the side of the cabinet doors; near the hinges. It’s an area that experiences a lot of movement, so it’s not that surprising. On the cabinets under the kitchen sink, there are one or two very faint scuff marks. These are barely visible, but I worry about them becoming more noticeable over time.
I’m not sure if I didn’t apply enough sealant, if the sealant I used wasn’t durable enough, or if this is just the nature of chalk-painted cabinets. Regardless, it’s disappointing that my paint job looks less-than-perfect after a few years.
If I were to re-paint the cabinets, I don’t think chalk paint would be my first choice again. I’m crazy about the matte look, but its apparent chalk paint might not be up to the daily wear and tear of my kitchen. I would probably use a satin finish latex paint or perhaps milk paint (with sealant) if I were to repaint the cabinets today.
In spite of the mild disappointment in how they’ve held up, I really do love the look of the painted cabinets. I’m still a fan of using chalk paint to transform furniture from something nondescript into something more exciting. I hope my experiences have helped you decide if painting your kitchen cabinets with chalk paint is a project you want to tackle. If not, here are some of the most common questions I hear about using chalk paint in the home:
Should you roll or brush the paint?
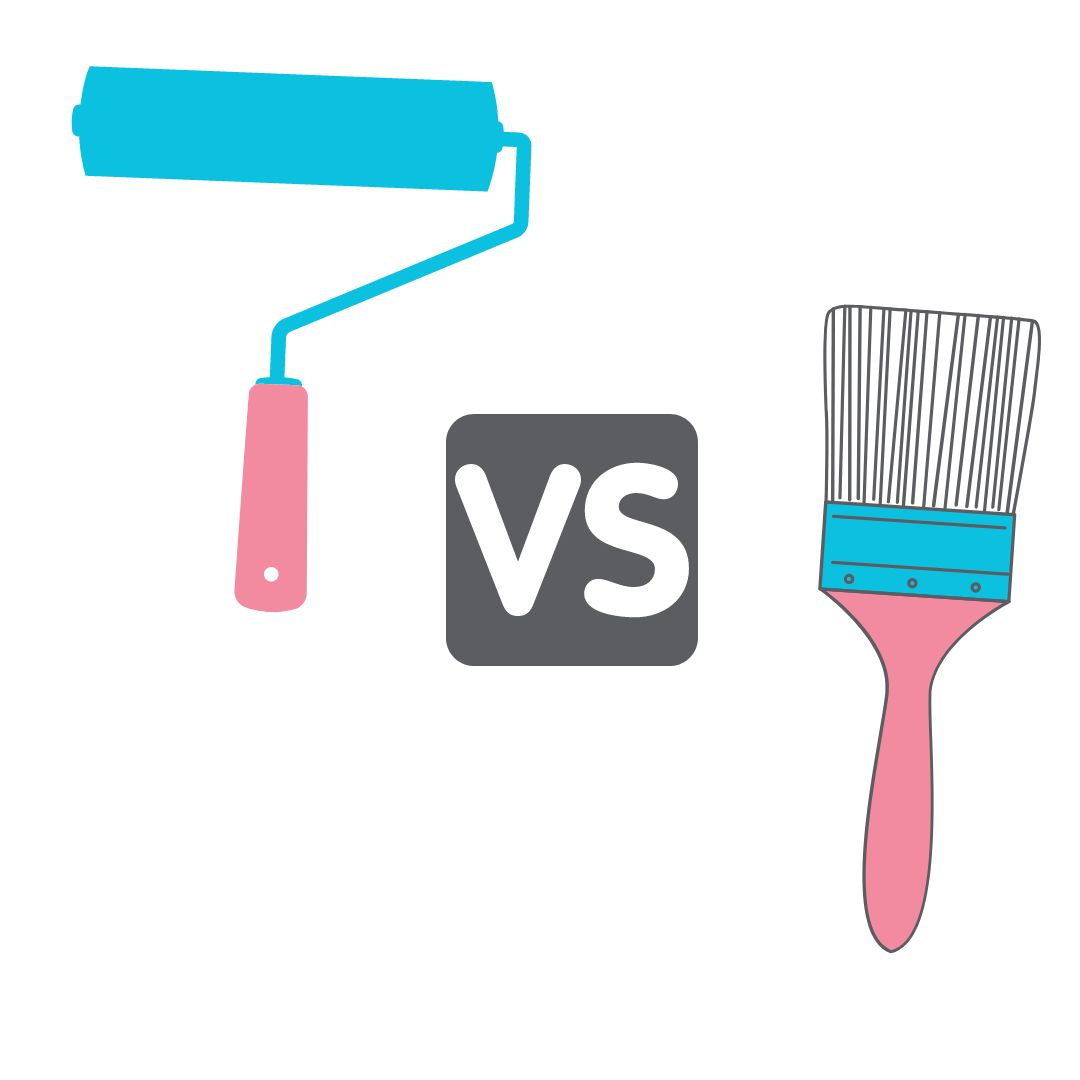
The answer to this question is simple: you should do both! Using a roller or a brush is really determined by what it is that you’re painting. Rollers are perfect for wide flat areas while using a brush works better for small areas, or for areas that aren’t perfectly flat. Which of these tools to use, or to use both, is really determined by the project you’re working on.
What is the best chalk paint to use?
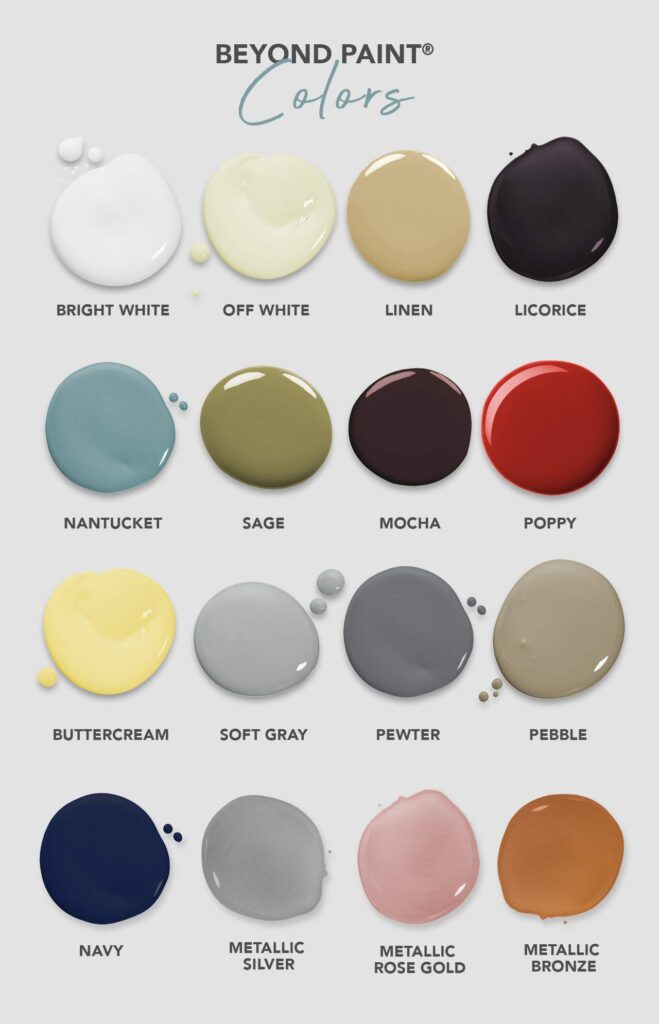
There are so many brands of chalk paint available right now; it can be a little overwhelming to pick which is “best”. As always, I recommend reviewing the color selections, prices, and online user reviews to help decide which paint will work best for your project.
One of the more popular choices for interior painting is Rust-Oleum Chalked Paint. It’s available in a great variety of colors and isn’t too expensive. Rust-Oleum is a trusted brand with a great reputation among people who like to do DIY home painting projects.
Retique It Chalky Finish Paint is another great choice, especially if you’re looking for a wider color selection. This paint is a bit more expensive, but it’s known to apply smoothly and dries to the touch in less than an hour.
If you’re looking for fun color choices with the absolute best coverage, you should check out the best chalk paints to see which is right for you. This paint is affordable and is one of the few paints I would truly say might not need a primer coat.
What color is best for kitchen cabinets?
It’s hard to say what color is “best”! Choosing a color for anywhere in the home is such a personal choice. I would say pick a color that makes you happy, especially when you consider how much time you spend in your kitchen.
That being said, whites and neutrals are trendy for kitchens right now and I love that aesthetic! Soft, light colors make the kitchen appear more “open” and inviting, even if your kitchen isn’t very large to begin with. You can add a pop of color by painting the trim around doors and windows in a more vibrant color.
Did you seal your cabinets with wax or poly?
I love the look of wax sealant on chalk-painted wood furniture and home accent pieces. But for my kitchen cabinets, I chose to use a clear matte polycrylic sealant. The reasons for this choice were simple. First, it’s easier to apply than wax sealant. Wax also has a tendency to “break down” over time, and I didn’t want to have to re-wax all of my cabinets after a couple of years. The second reason for choosing a polycrylic sealant is that it’s easier to clean. For the most part, it wipes clean with just soap and water.
Have you had to re-wax?
Since I didn’t use wax on my kitchen cabinets, I haven’t had to re-wax them. However, I’ve painted wood furniture with chalk paint that needed to be re-wax after a couple of years. It’s a little labor-intensive, but the furniture looks great! When re-waxing, you only need to apply one coat, so it won’t take quite as long as when you originally applied the wax sealant.
Did you paint the hinges?
Painting cabinet hardware is a great way to do a simple dIY upgrade and update your existing handles and hinges to create a fresh look! I didn’t paint the hinges on my cabinets, because they’re the “hidden” style that no one can see. I did, however, paint the cabinet handles and am very happy with the results. Painting them a dark color to stand out against my white cabinets looks great!
Should you paint the sides of your drawers or the insides of doors?
This is really a matter of choice for you. Personally, I painted the inside of the cabinet doors so they would appear the same as the outside when opening them. I could have stopped at painting the edges of the doors and it would have looked just fine, though.
As for painting the sides of your kitchen drawers, I don’t think it’s really necessary. Also, with drawers being frequently moved, I think the paint (especially chalk paint) would be very prone to getting scratched and chipped.
Finishing Touches
Once your cabinets are painted, sealed, and ready to be put back together, paying attention to a few remaining small details can add a bit more style to your project.
How to Refinish the Hinges And Handles
If you’re using the same hardware, you can give it a fresh new appearance by painting the hinges and handles. This is super easy to do, and requires almost no prep work!
Assuming the hardware is made of some kind of metal, you’ll want to use spray paint that is formulated to adhere to metal. Rust-Oleum Universal Metallic Spray Paint is an excellent choice for painting cabinet hardware.
You’ll want to make sure your cabinet hardware is clean and free from any trace of grease. When using spray paint, make sure to work either outdoors or in a very well-ventilated area. Be sure to shake the can of paint vigorously to get the paint mixed thoroughly. Then, it’s simply a matter of lightly spraying one or two coats of paint. Be sure to allow the paint to dry between coats, and don’t forget to paint any screws that will be visible.
Cleaning the Brushes
Fortunately, since chalk paint is water-based, cleaning brushes is easy! Before the paint starts to dry, you can clean your brushes with dish detergent and warm water. Be sure to rinse your brushes thoroughly after you wash the paint from them. You don’t want to leave any paint residue or soap in the bristles.
Either let your paint brushes dry flat, or hang them to dry. This will help keep the bristles straight and minimize any shedding or breakage.
Cleaning Any Drips/Spills
Just like with cleaning brushes, it’s easy to clean up if you have any paint spills or drips while working. Keep a roll of paper towels, some sponges, and a bucket of soapy water on hand while you’re working, “just in case”.
Cleaning up chalk paint drips while the paint is still wet is easy. All you have to do is wipe it up with some soapy water! If the paint has dried before you noticed the drips, use one of those kitchen “scrubby” sponges with some dish detergent on it to gently scrub away the drips. If the dried paint is more stubborn, try using a small amount of a gentle abrasive cleanser, such as Soft Scrub or Bon Ami brands. Easy cleanup is one of the big advantages of using chalk paints.