I love dressing my front porch for the season rather than the holiday most of the time. Less turnover, less expensive & I just love celebrating the seasons. Here is my Fall front porch and I’m still in love with it but, it’s time to turn the season and start working on my winter front porch. One of the elements that I love for winter is a vintage sled that I found at a garage sale. I dressed it up with some greenery and some large bells that I found at Michaels. However, I didn’t want them to just be simple bells. I want them to stand out! I busted out some Americana Decor Satin Enamels and added my own special touch to the bells. Come see how I transformed them just a touch but added some real WOW factor.
+ The post brought to you by DecoArt +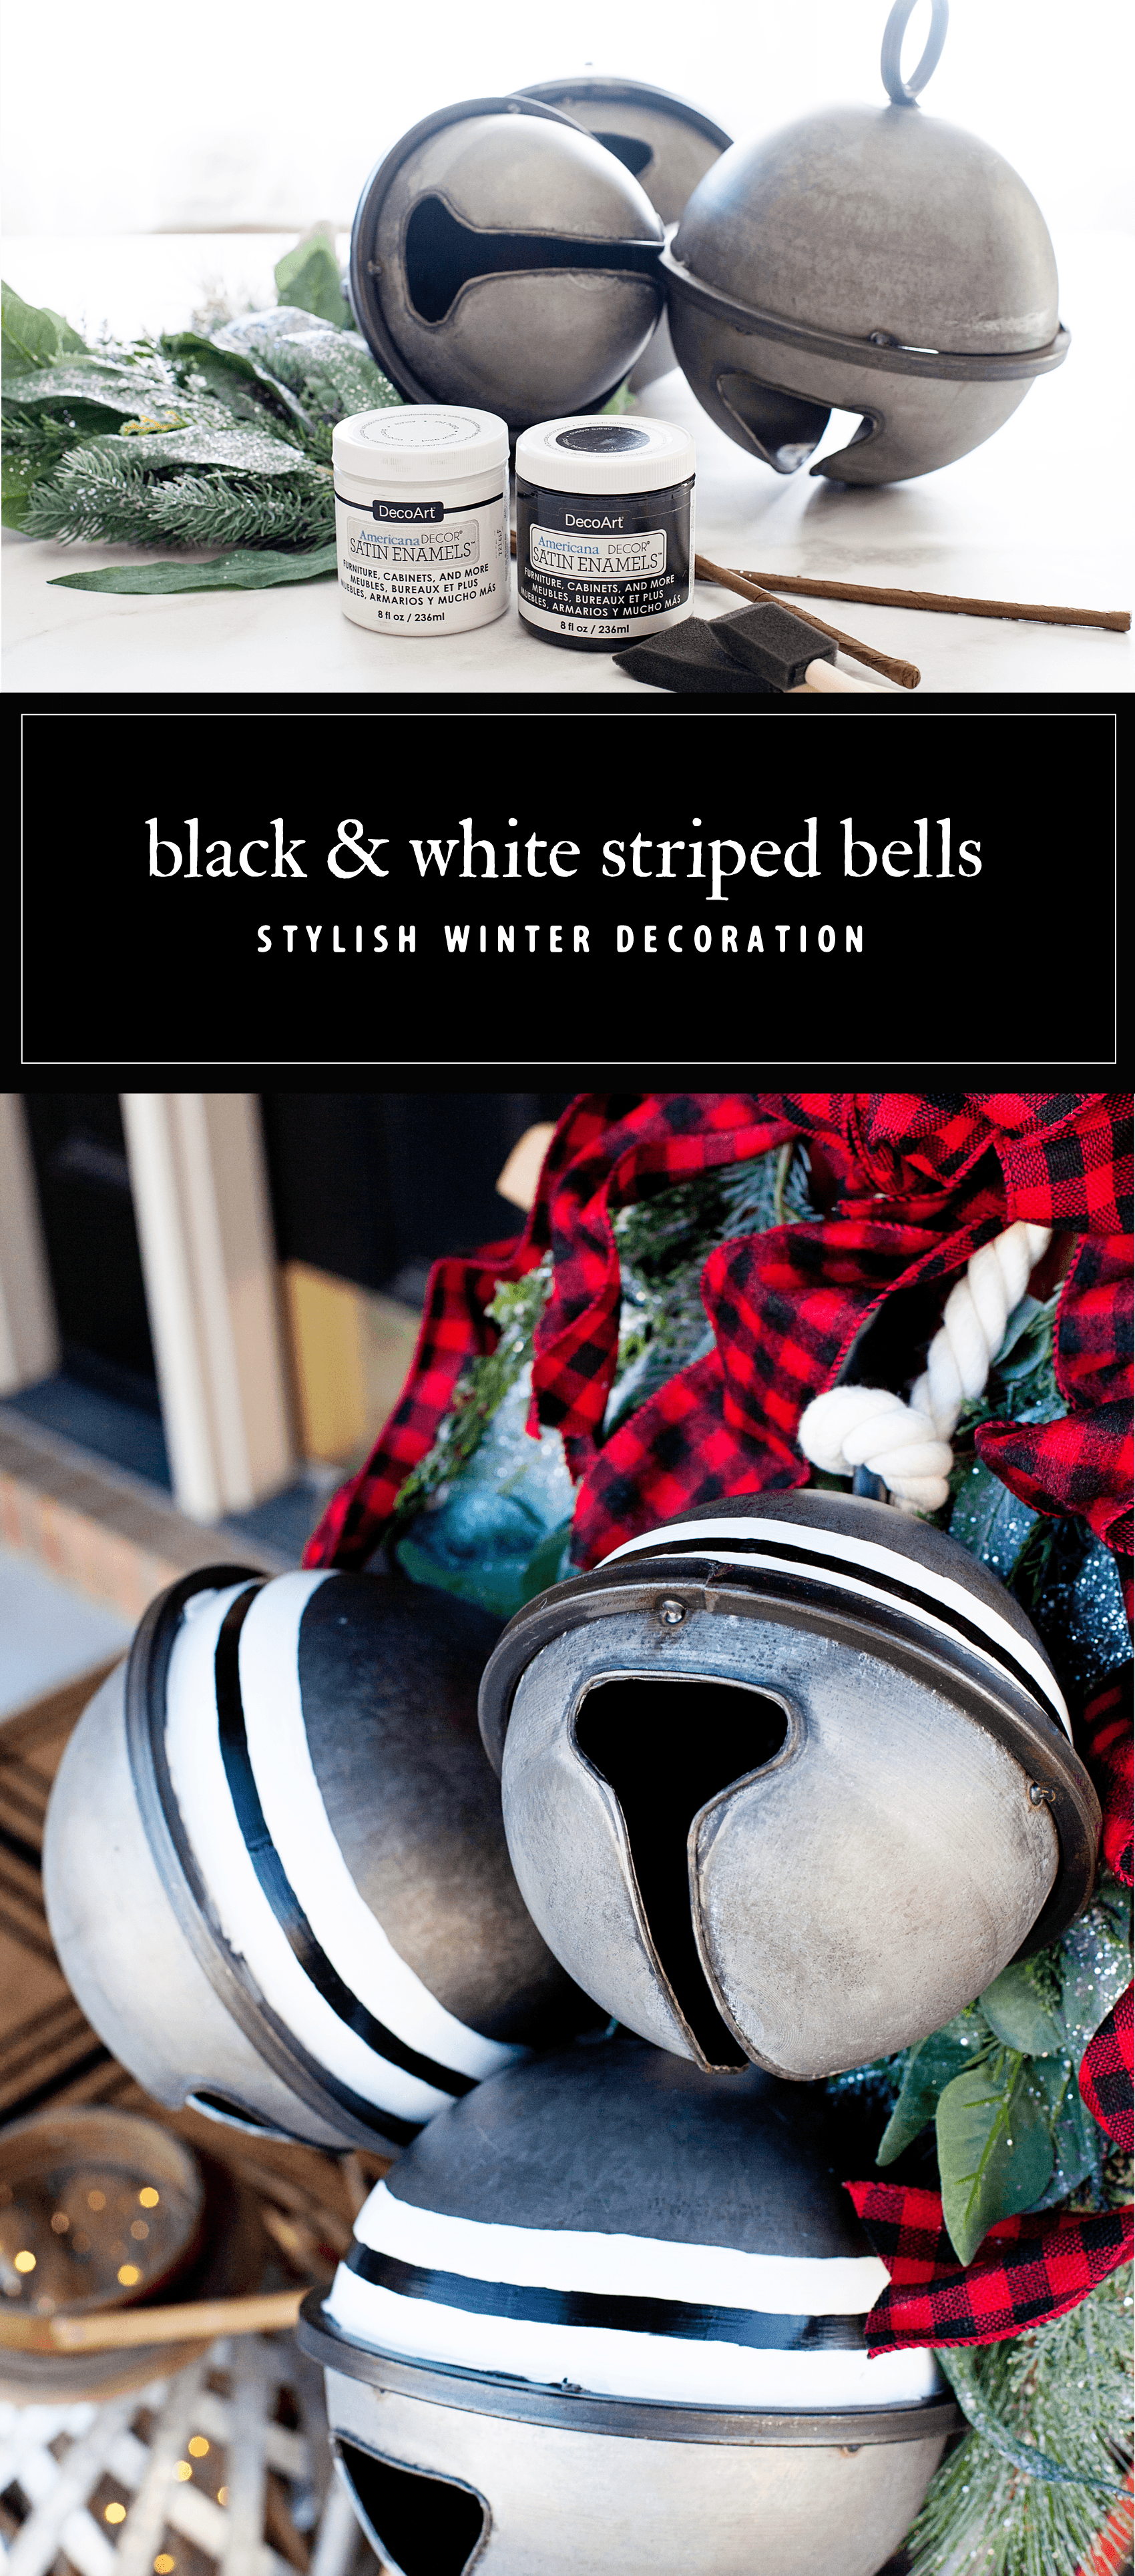
Design Decisions
I’ve been in love with black and white LONG before Joanna Gains hit the scene. That has always been my color profile with a touch of red or green at times. I love that it’s so popular now. Those are two colors (or, non-colors) that are simply timeless and classic. I’ve also been a huge fan of stripes. They also, if done well, have a timeless quality too. They are perfect to add to a metal tray or a wood side table to add that classic farmhouse look to your home.
I wanted to add some timeless elements to this beautiful sled and greenery. When I found the large bells at Michaels, I knew that was the ticket. However, I wanted to put my own stamp on it so that I don’t look like everyone else on the block.
I guess that has always been my MO (method of operation.) I’m totally fine gathering fun things at Michaels, Target or Home Goods lets say, and then putting my own simple touches on them. That’s why I LOVE the Americana Decor collection. For this project I used the Americana Decor Satin Enamels in Pure White and Classic Black. I selected this paint for a few reasons.
- I love the smooth satin finish
- How easily it adheres to slick surfaces without any priming
- This paint acts more like and enamel rather than a paint and I love that look for this application
- Smooth brushability
- Minimizes grain raising on wood
- Non-toxic
- Soap and water clean-up
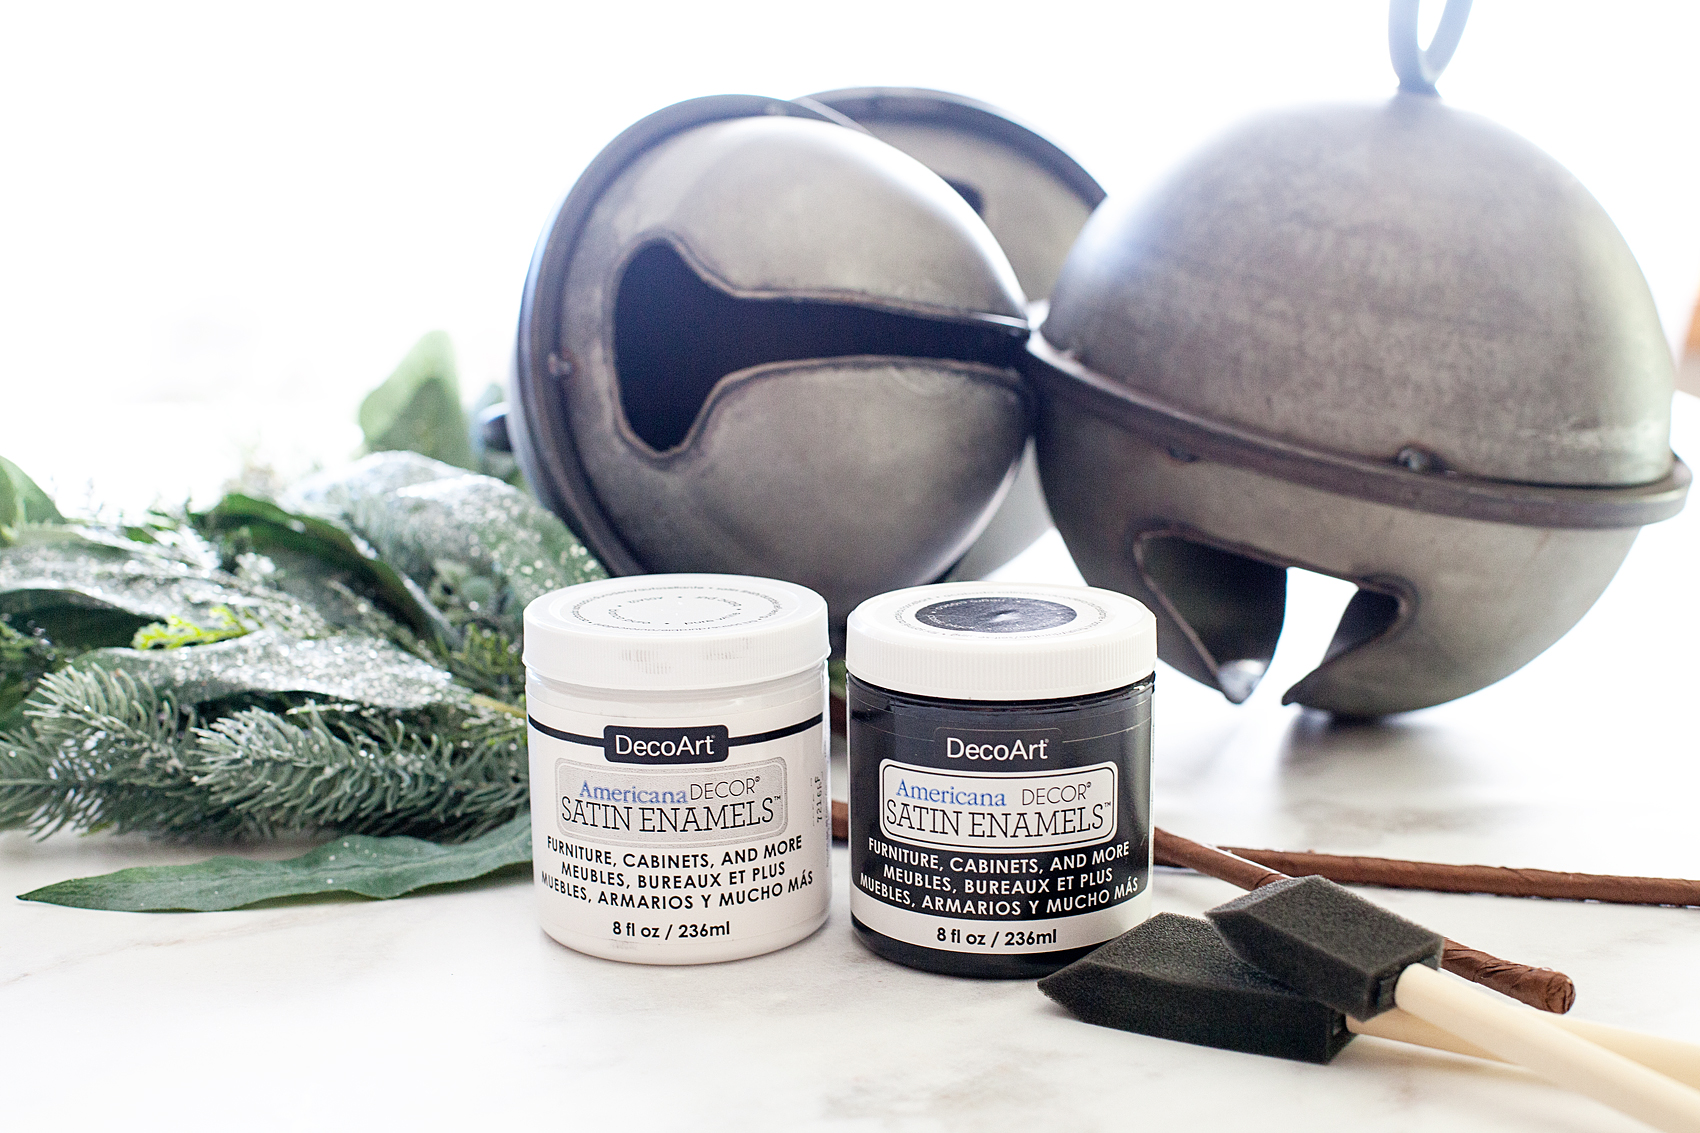
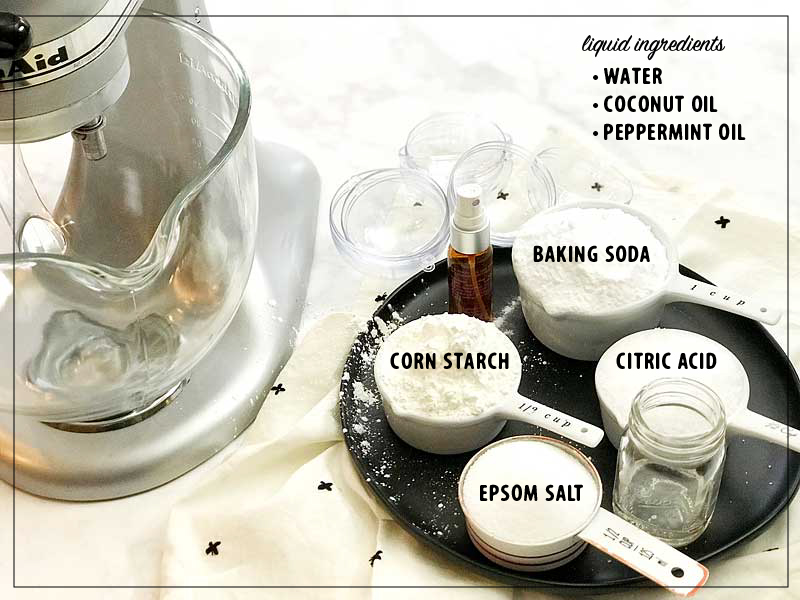
Materials
- wood or metal home decor item
- DecoArt Americana Decor Satin Enamels in your color choice
- sponge brushes in the size of the stripe that you desire
- painters tape (optional)
Instructions
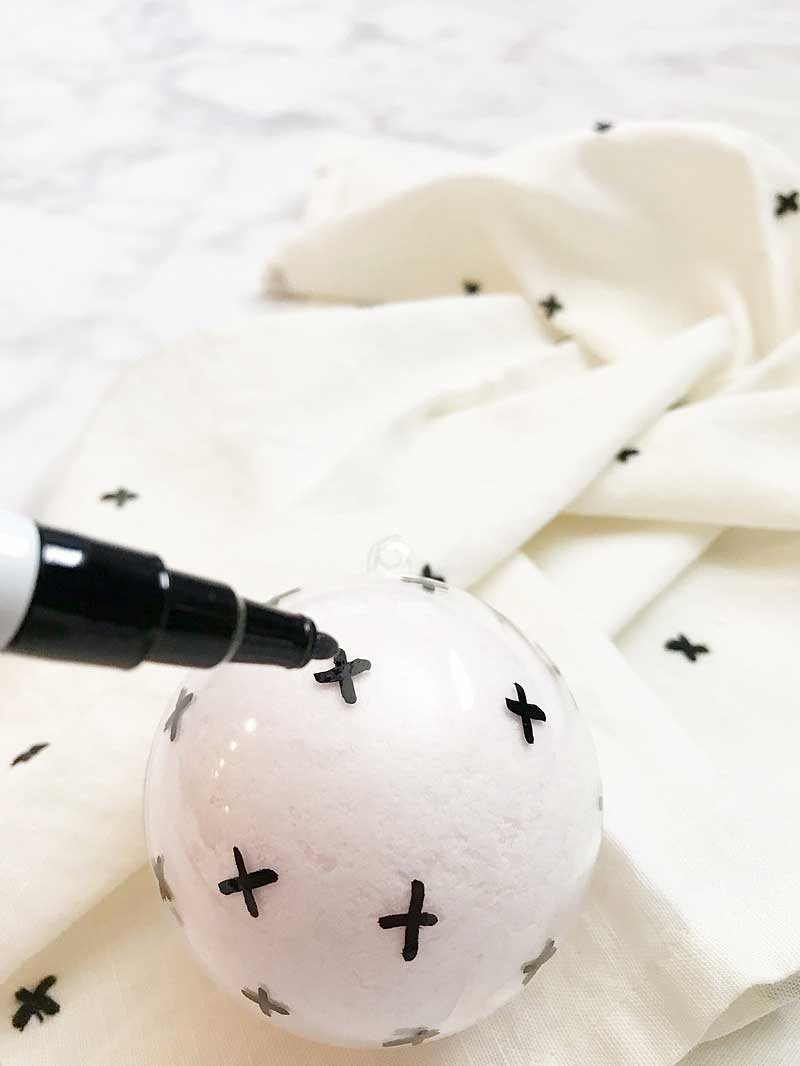
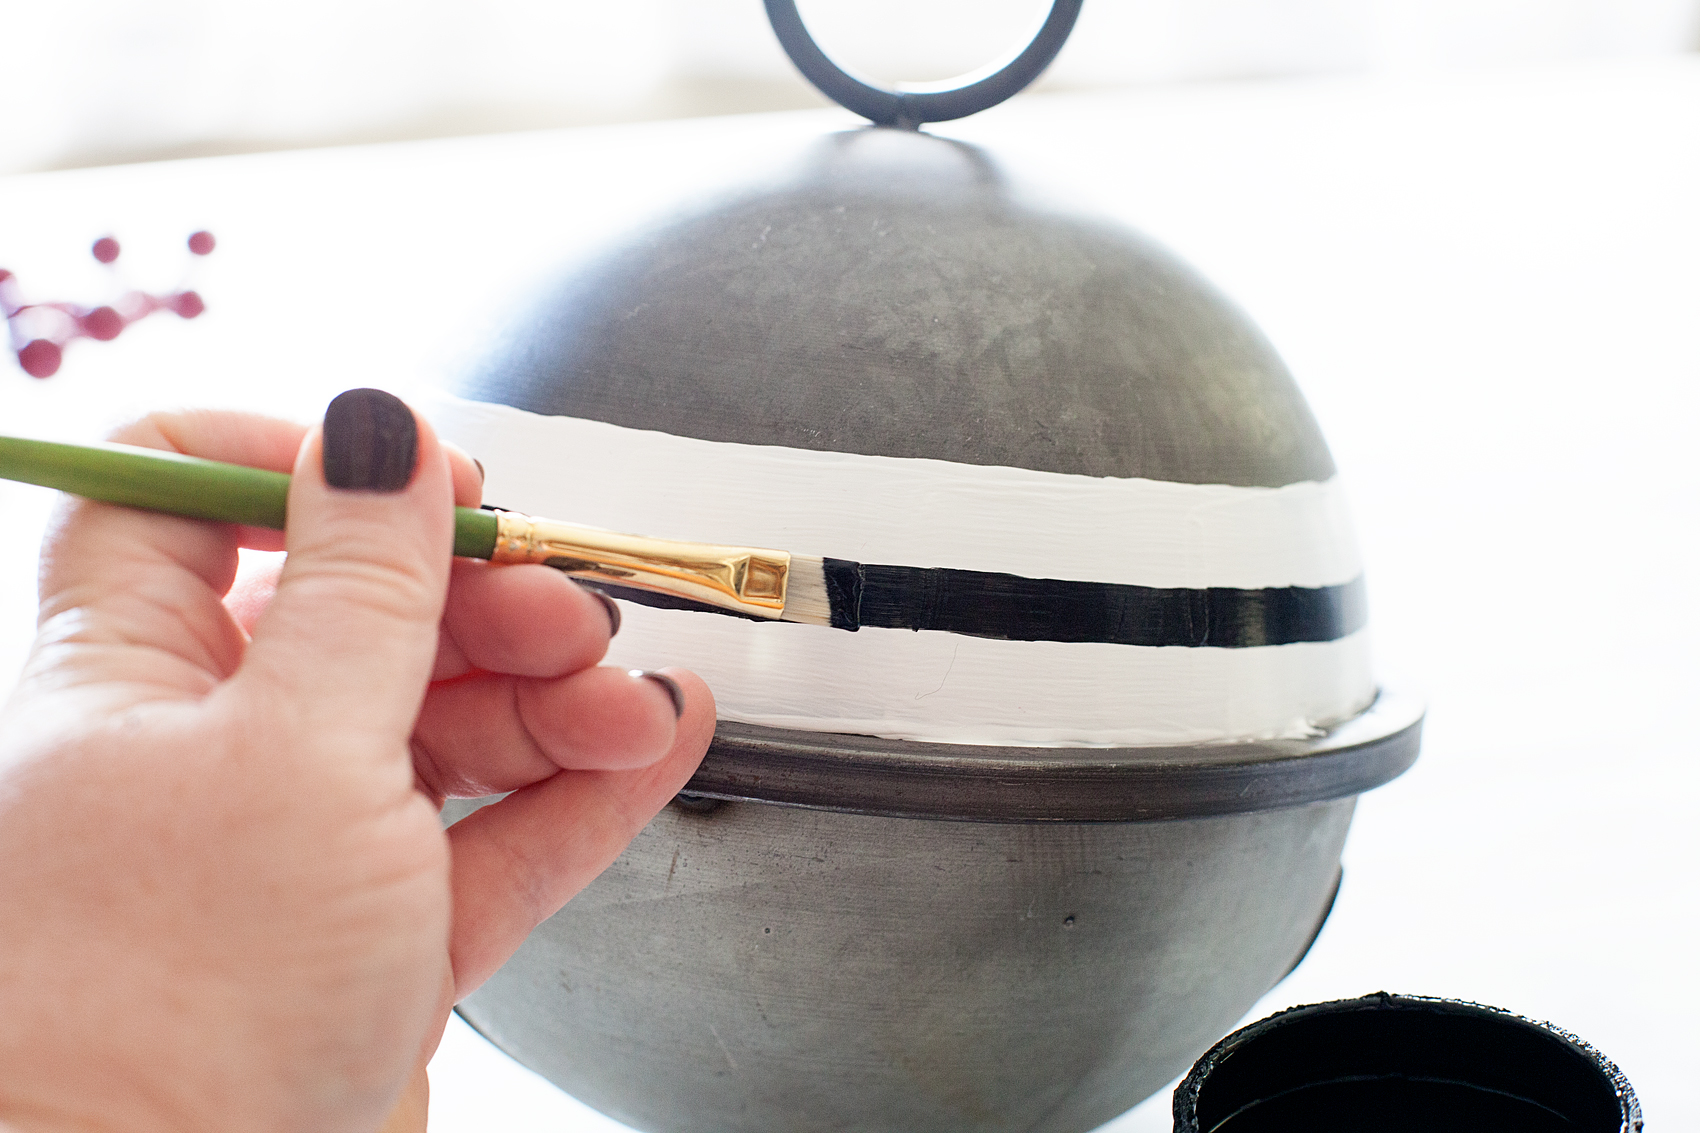
This project is crazy simple. It just requires some patients and a slightly steady hand. I don’t have the perfect artist hand and I managed to create these simple stripes just fine. My secret… I use foam brushes instead of your typical bristle brush. This eliminates the bristle spread that you typically get when painting with a traditional brush. I just buy the size foam brush that matches the size of stripe that I am looking for. You may find that you need painters tape and thats totally fine. With my round surface it was almost easier to follow the line on the bells using my brush as the stripe guide than it was to tape it.

It may not look like a perfect stripe here but, after I go around the bell a few more times it looks better. I’m not really wanting a nice crisp line anyway. I like the more rustic imperfect look.
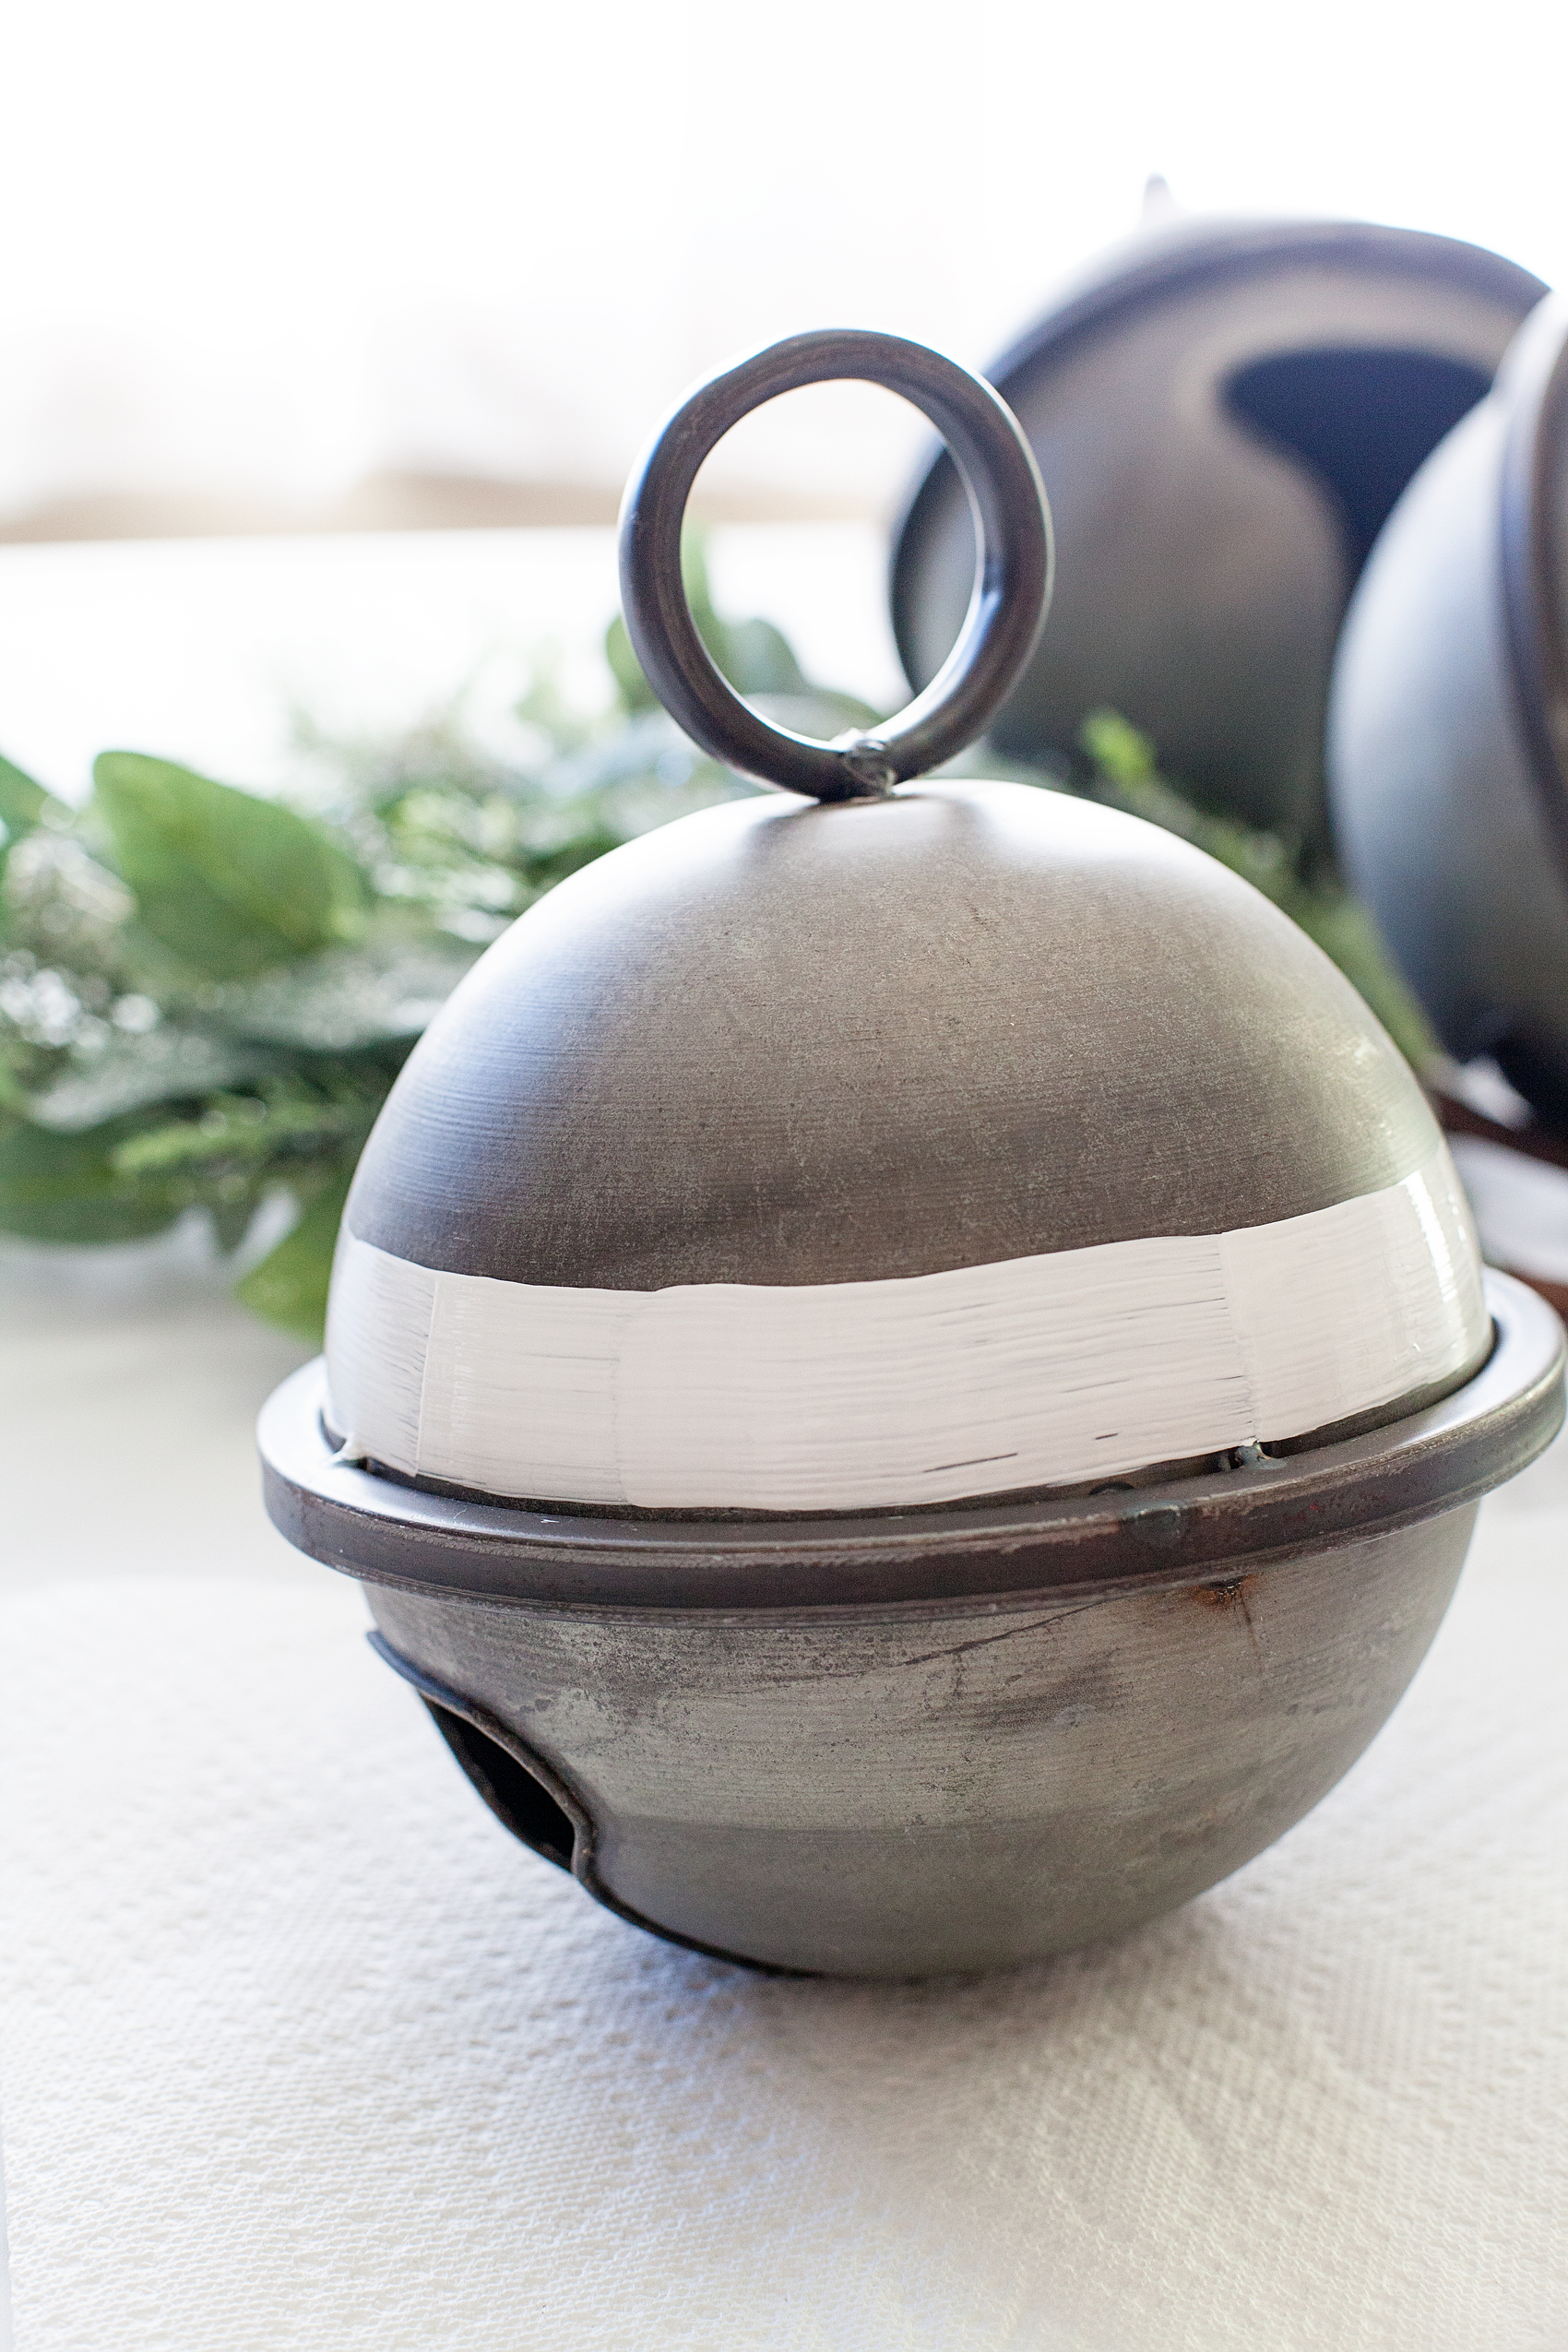
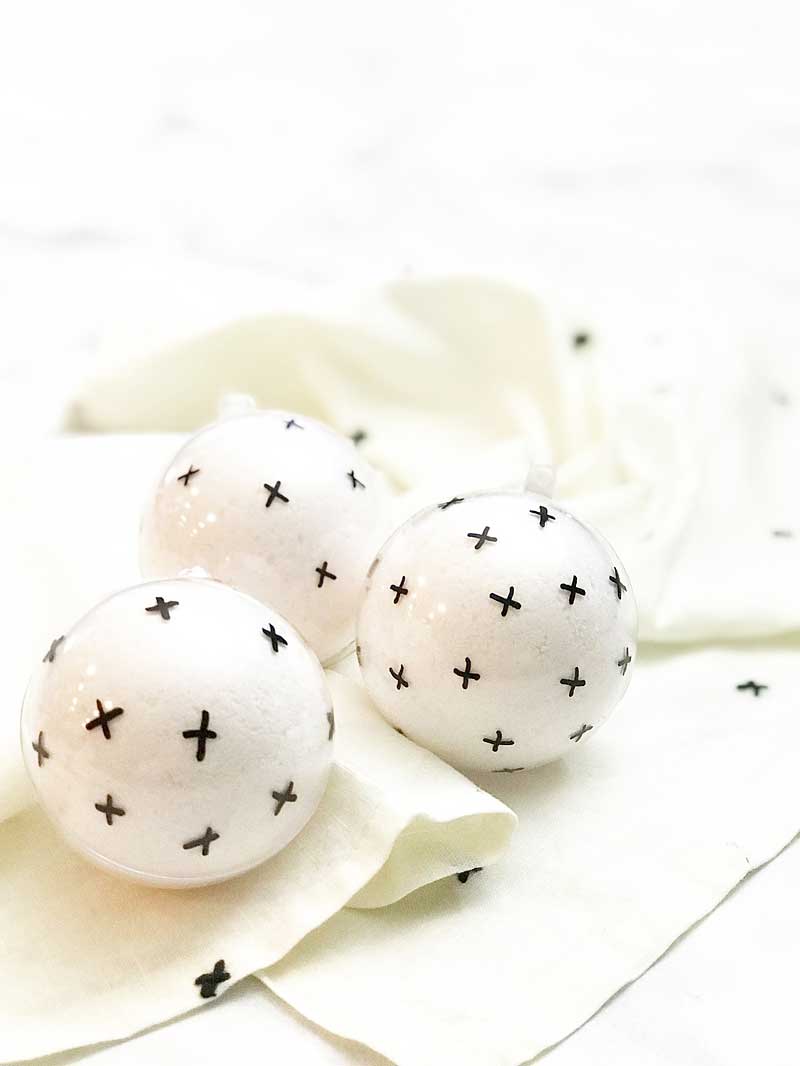
I did layer about 4 coats of the Satin Enamel so that I had solid coverage.
Then, after the white is totally dry, I carefully used a flat brush that was the size of the small stripe that I was looking for to create the small black stripe. This one, you need to be careful and watch for the bristle spread. Again, I wasn’t looking for perfect and I LOVE how they turned out.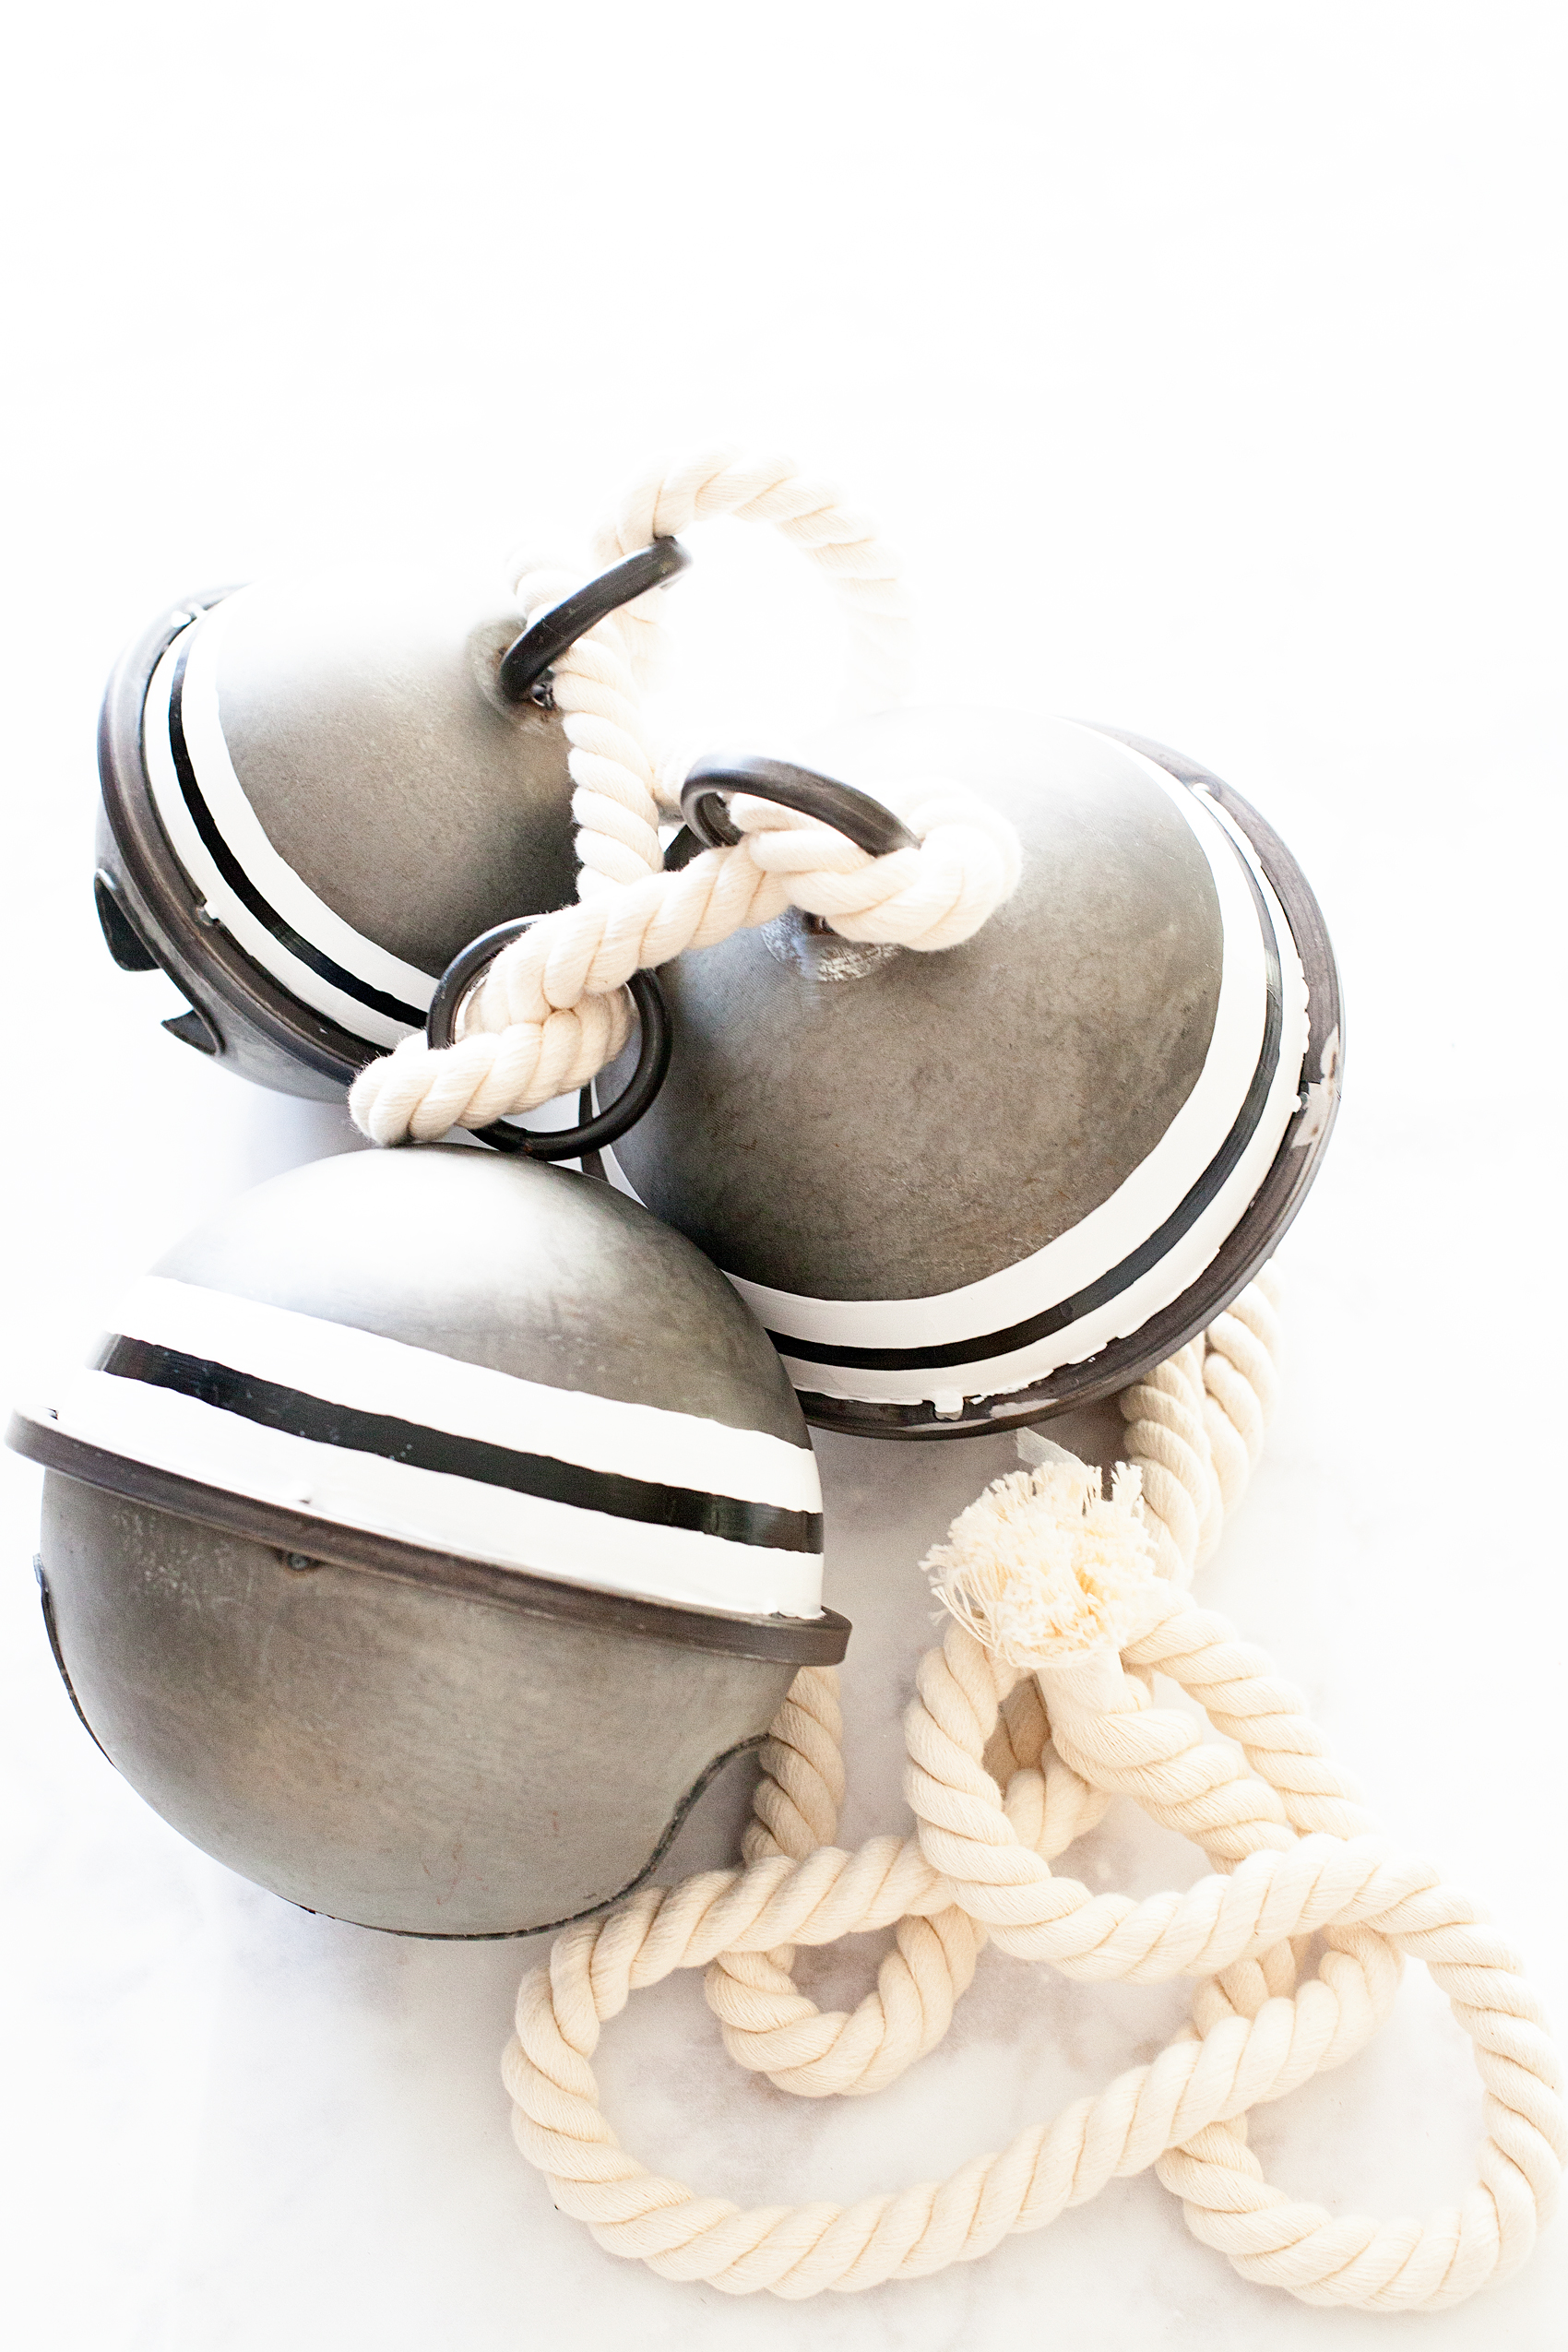
Once they were completely dry, I waited overnight, I affixed them to the sled.
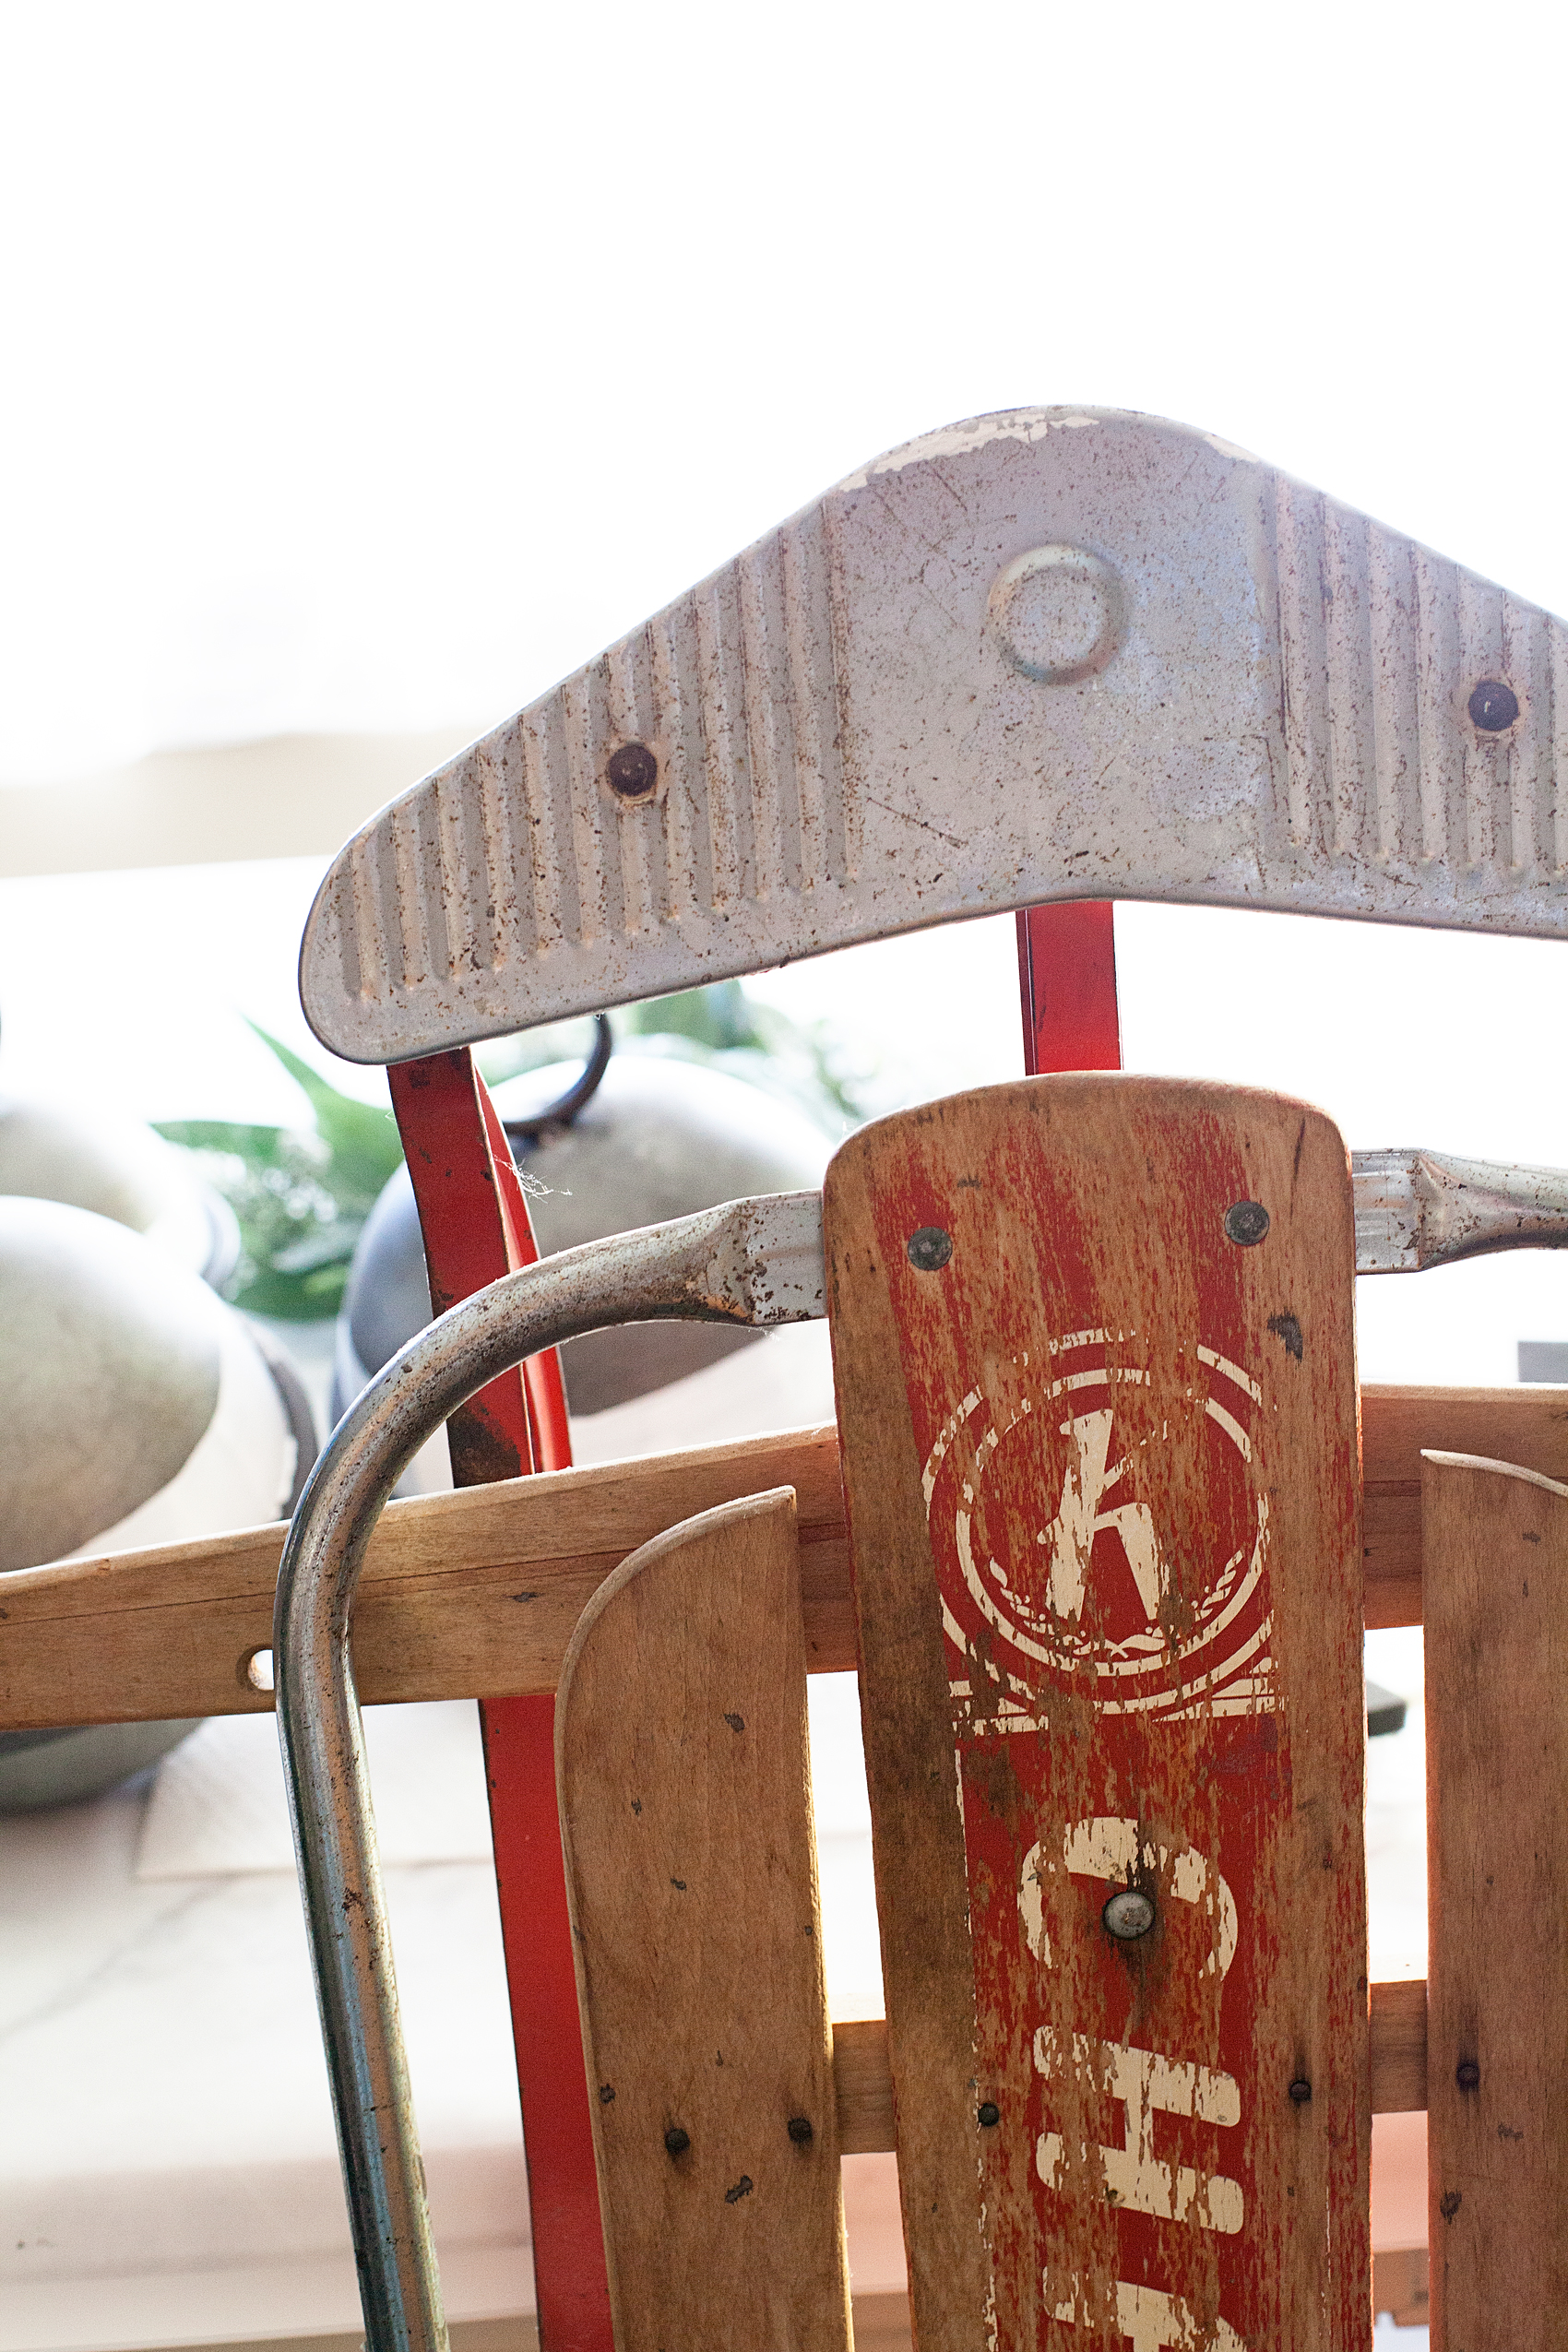
First, using floral wire, I wired the greenery onto the sled with some floral wire.
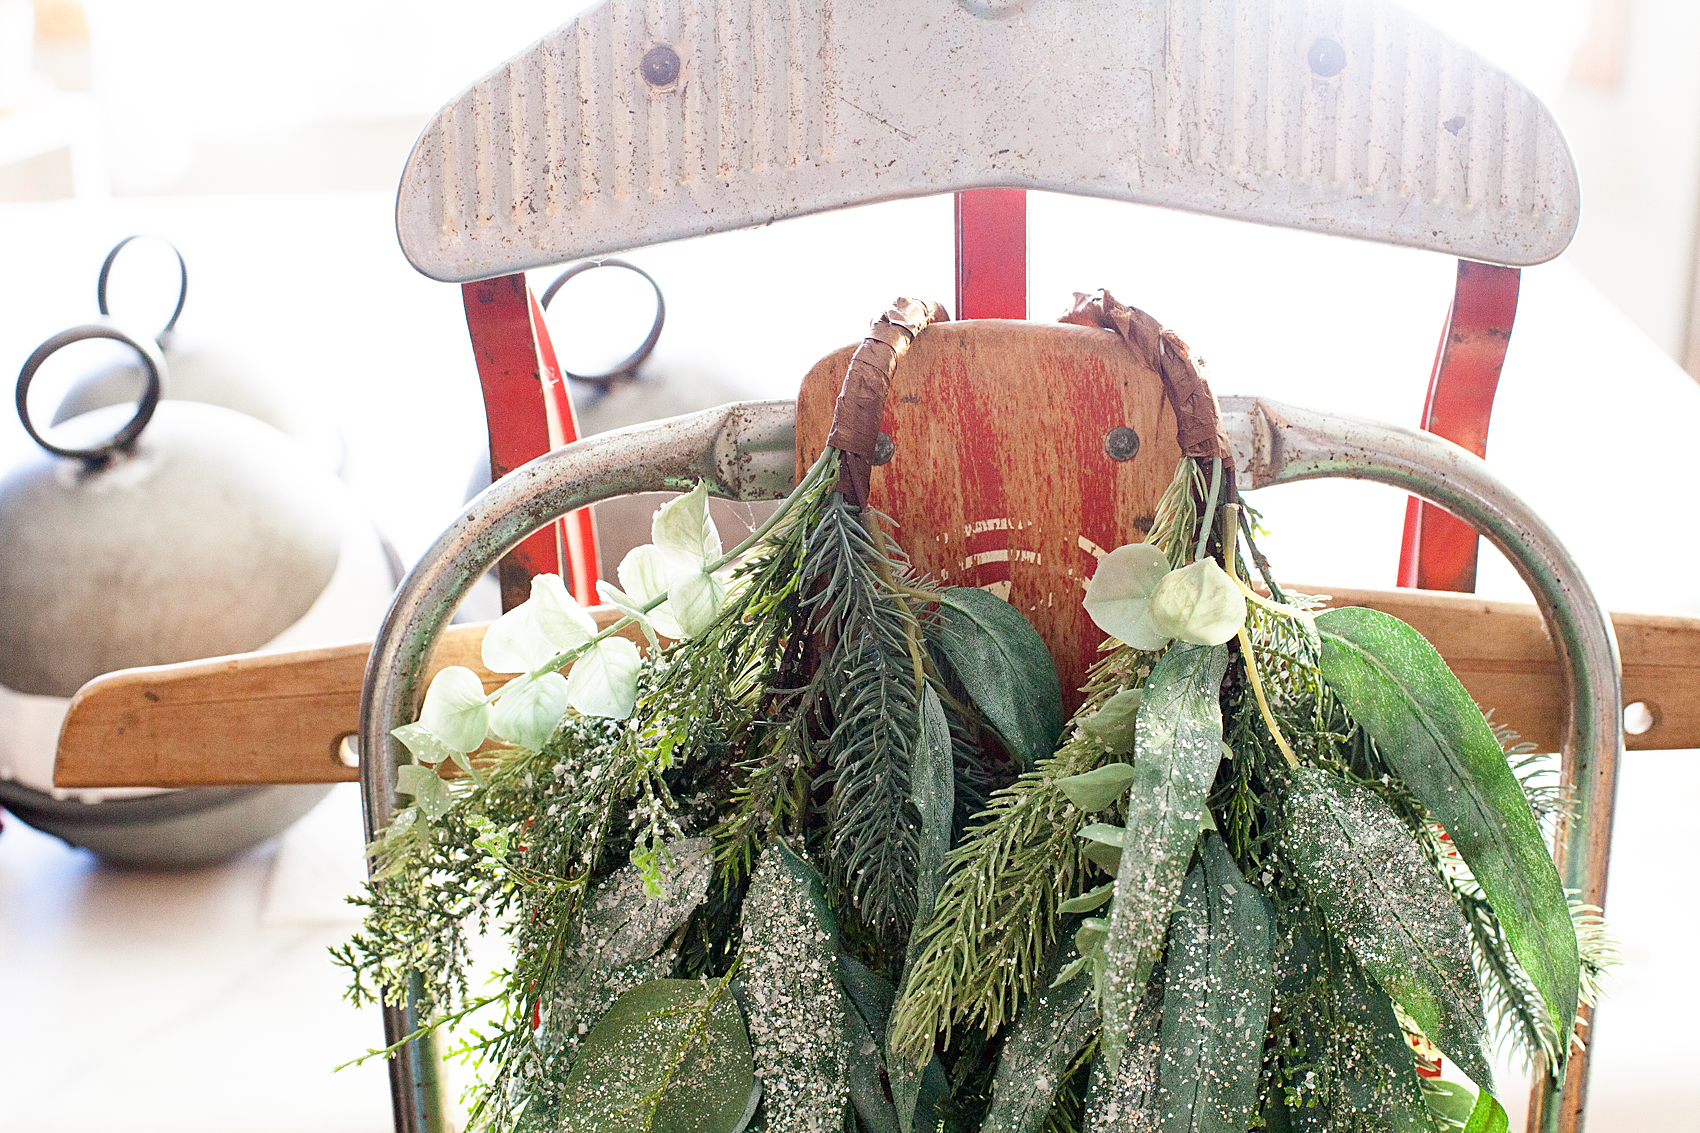
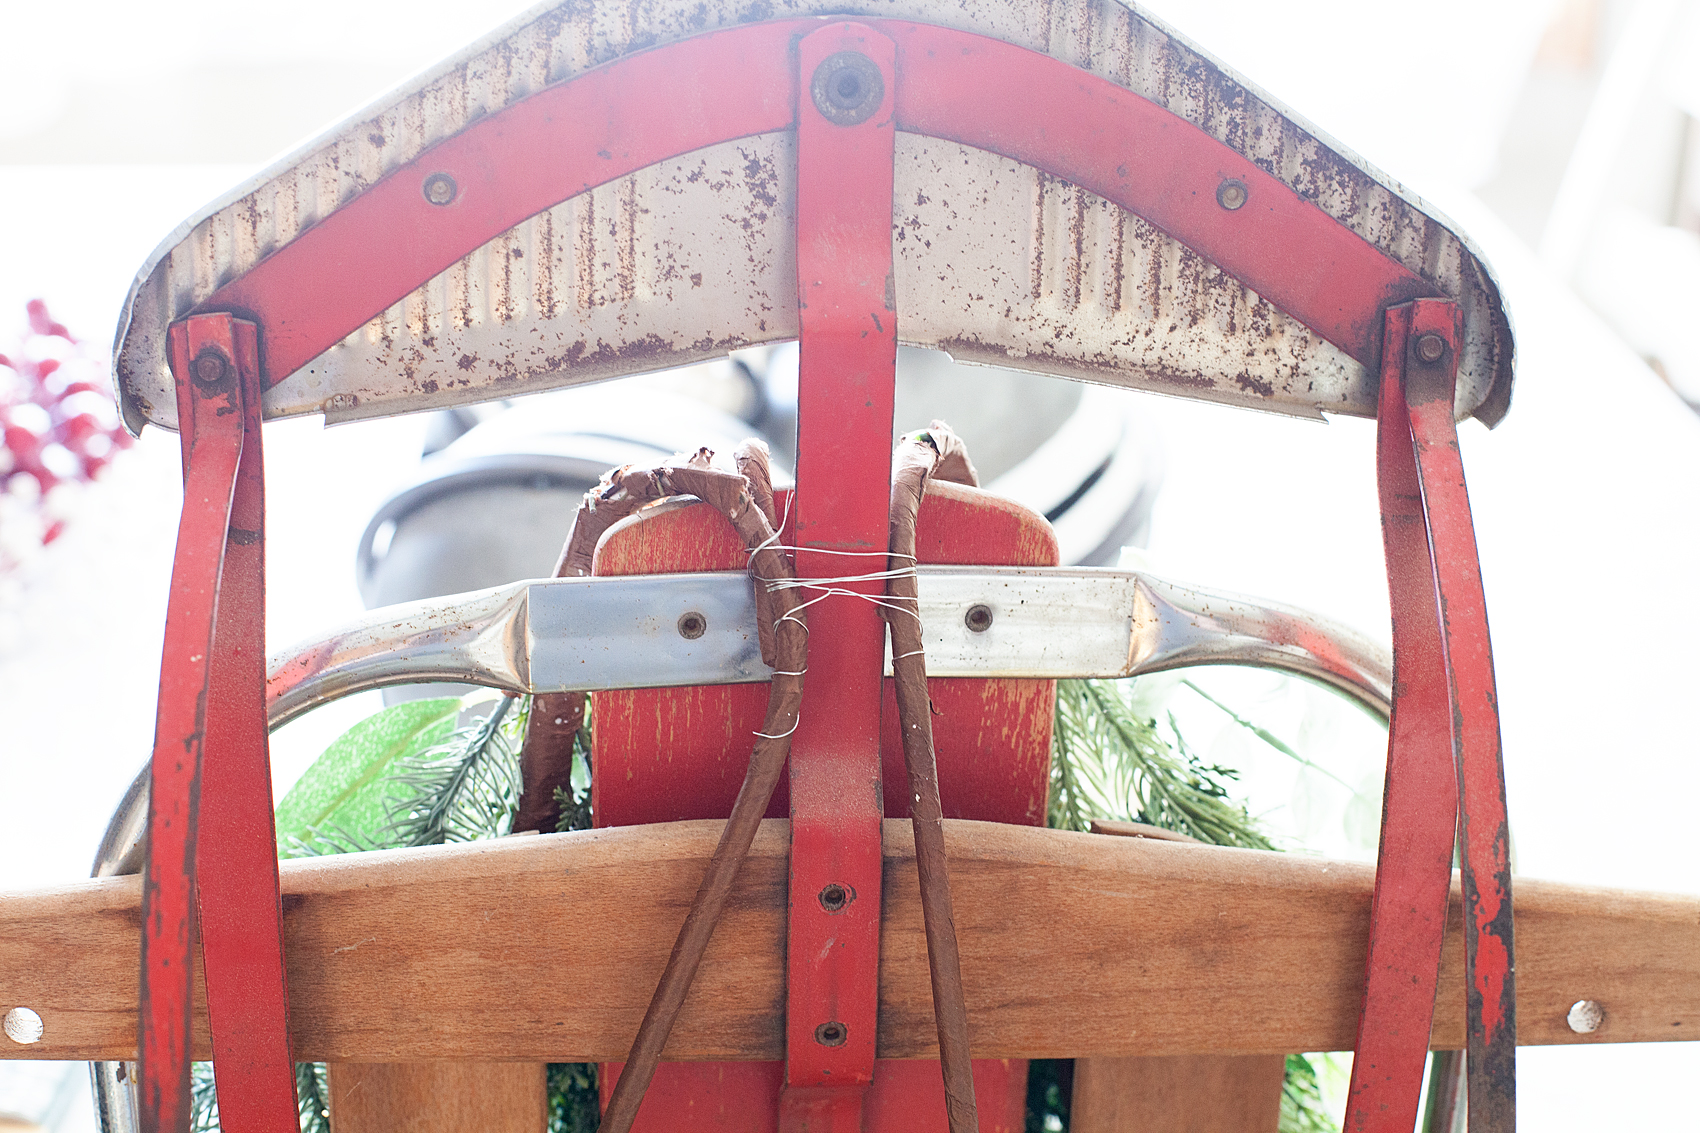
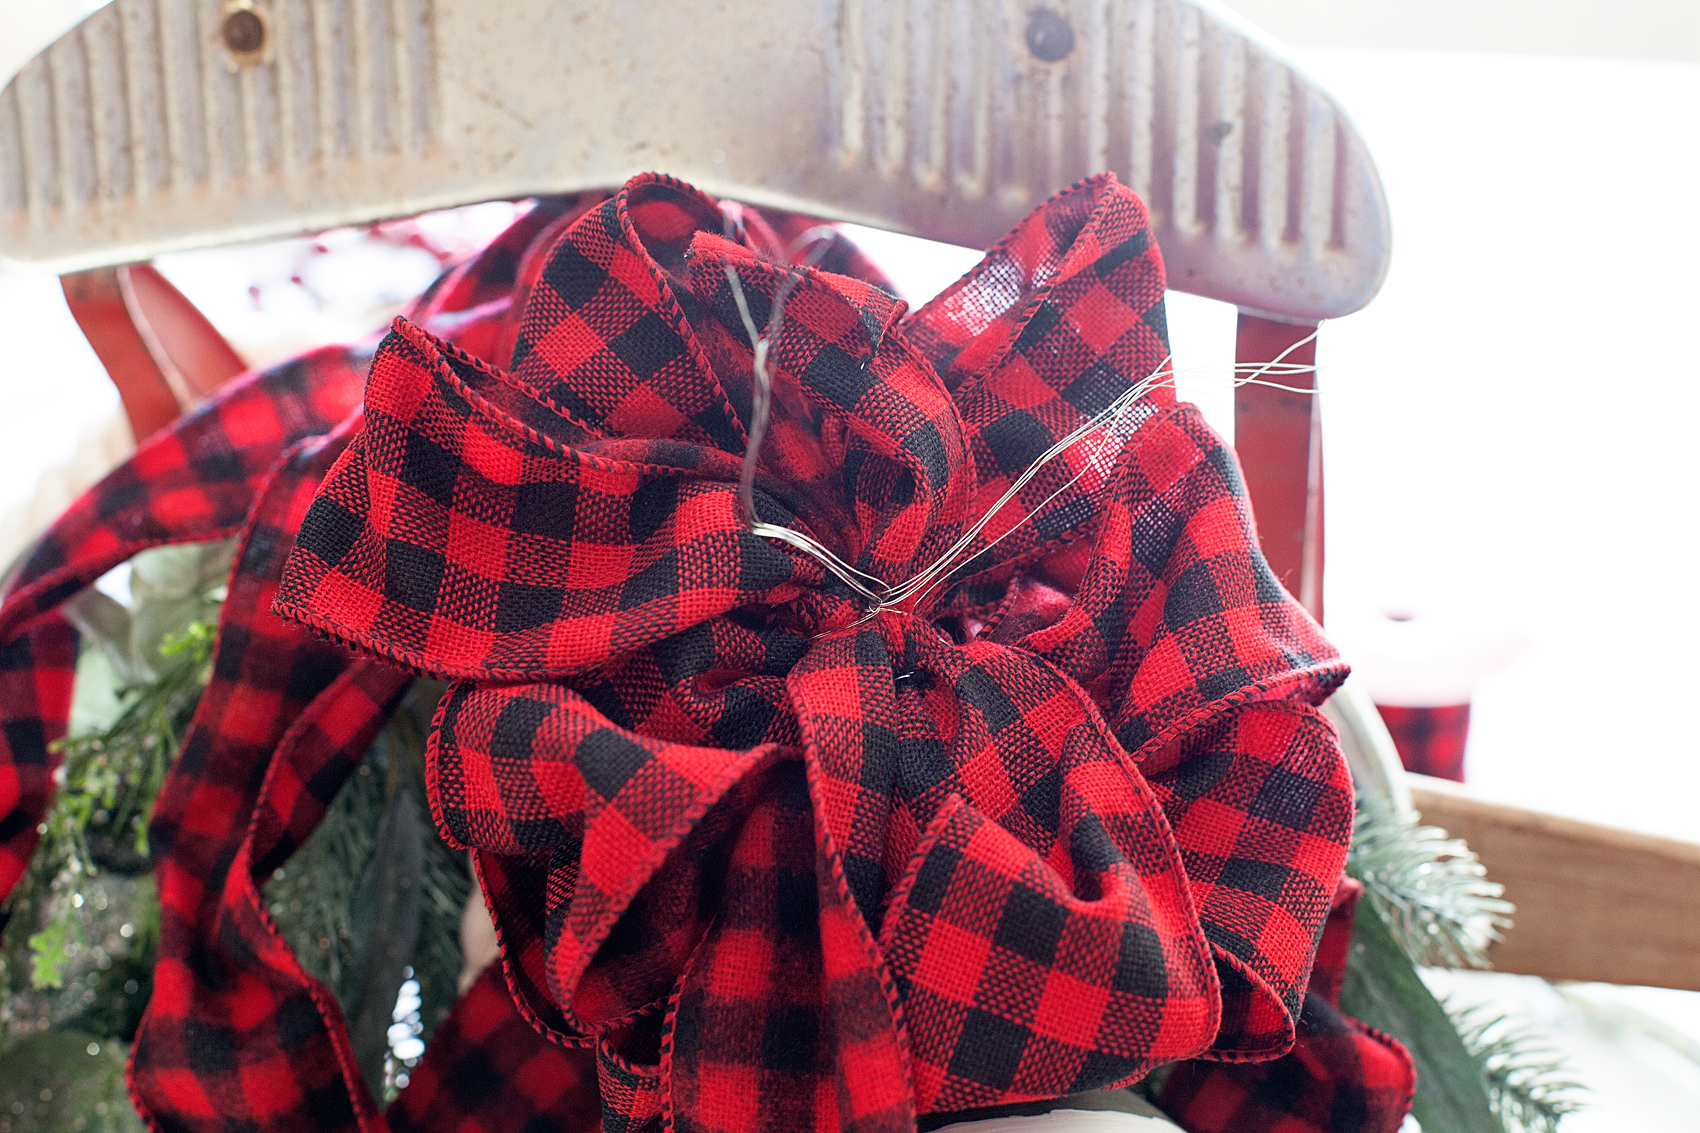
I then made a bow out of some red and black buffalo plaid ribbon that I found at Michaels and wired it to the sled as well.
Then, I hung the bells on the sled with some think rope and wired that onto the sled as well.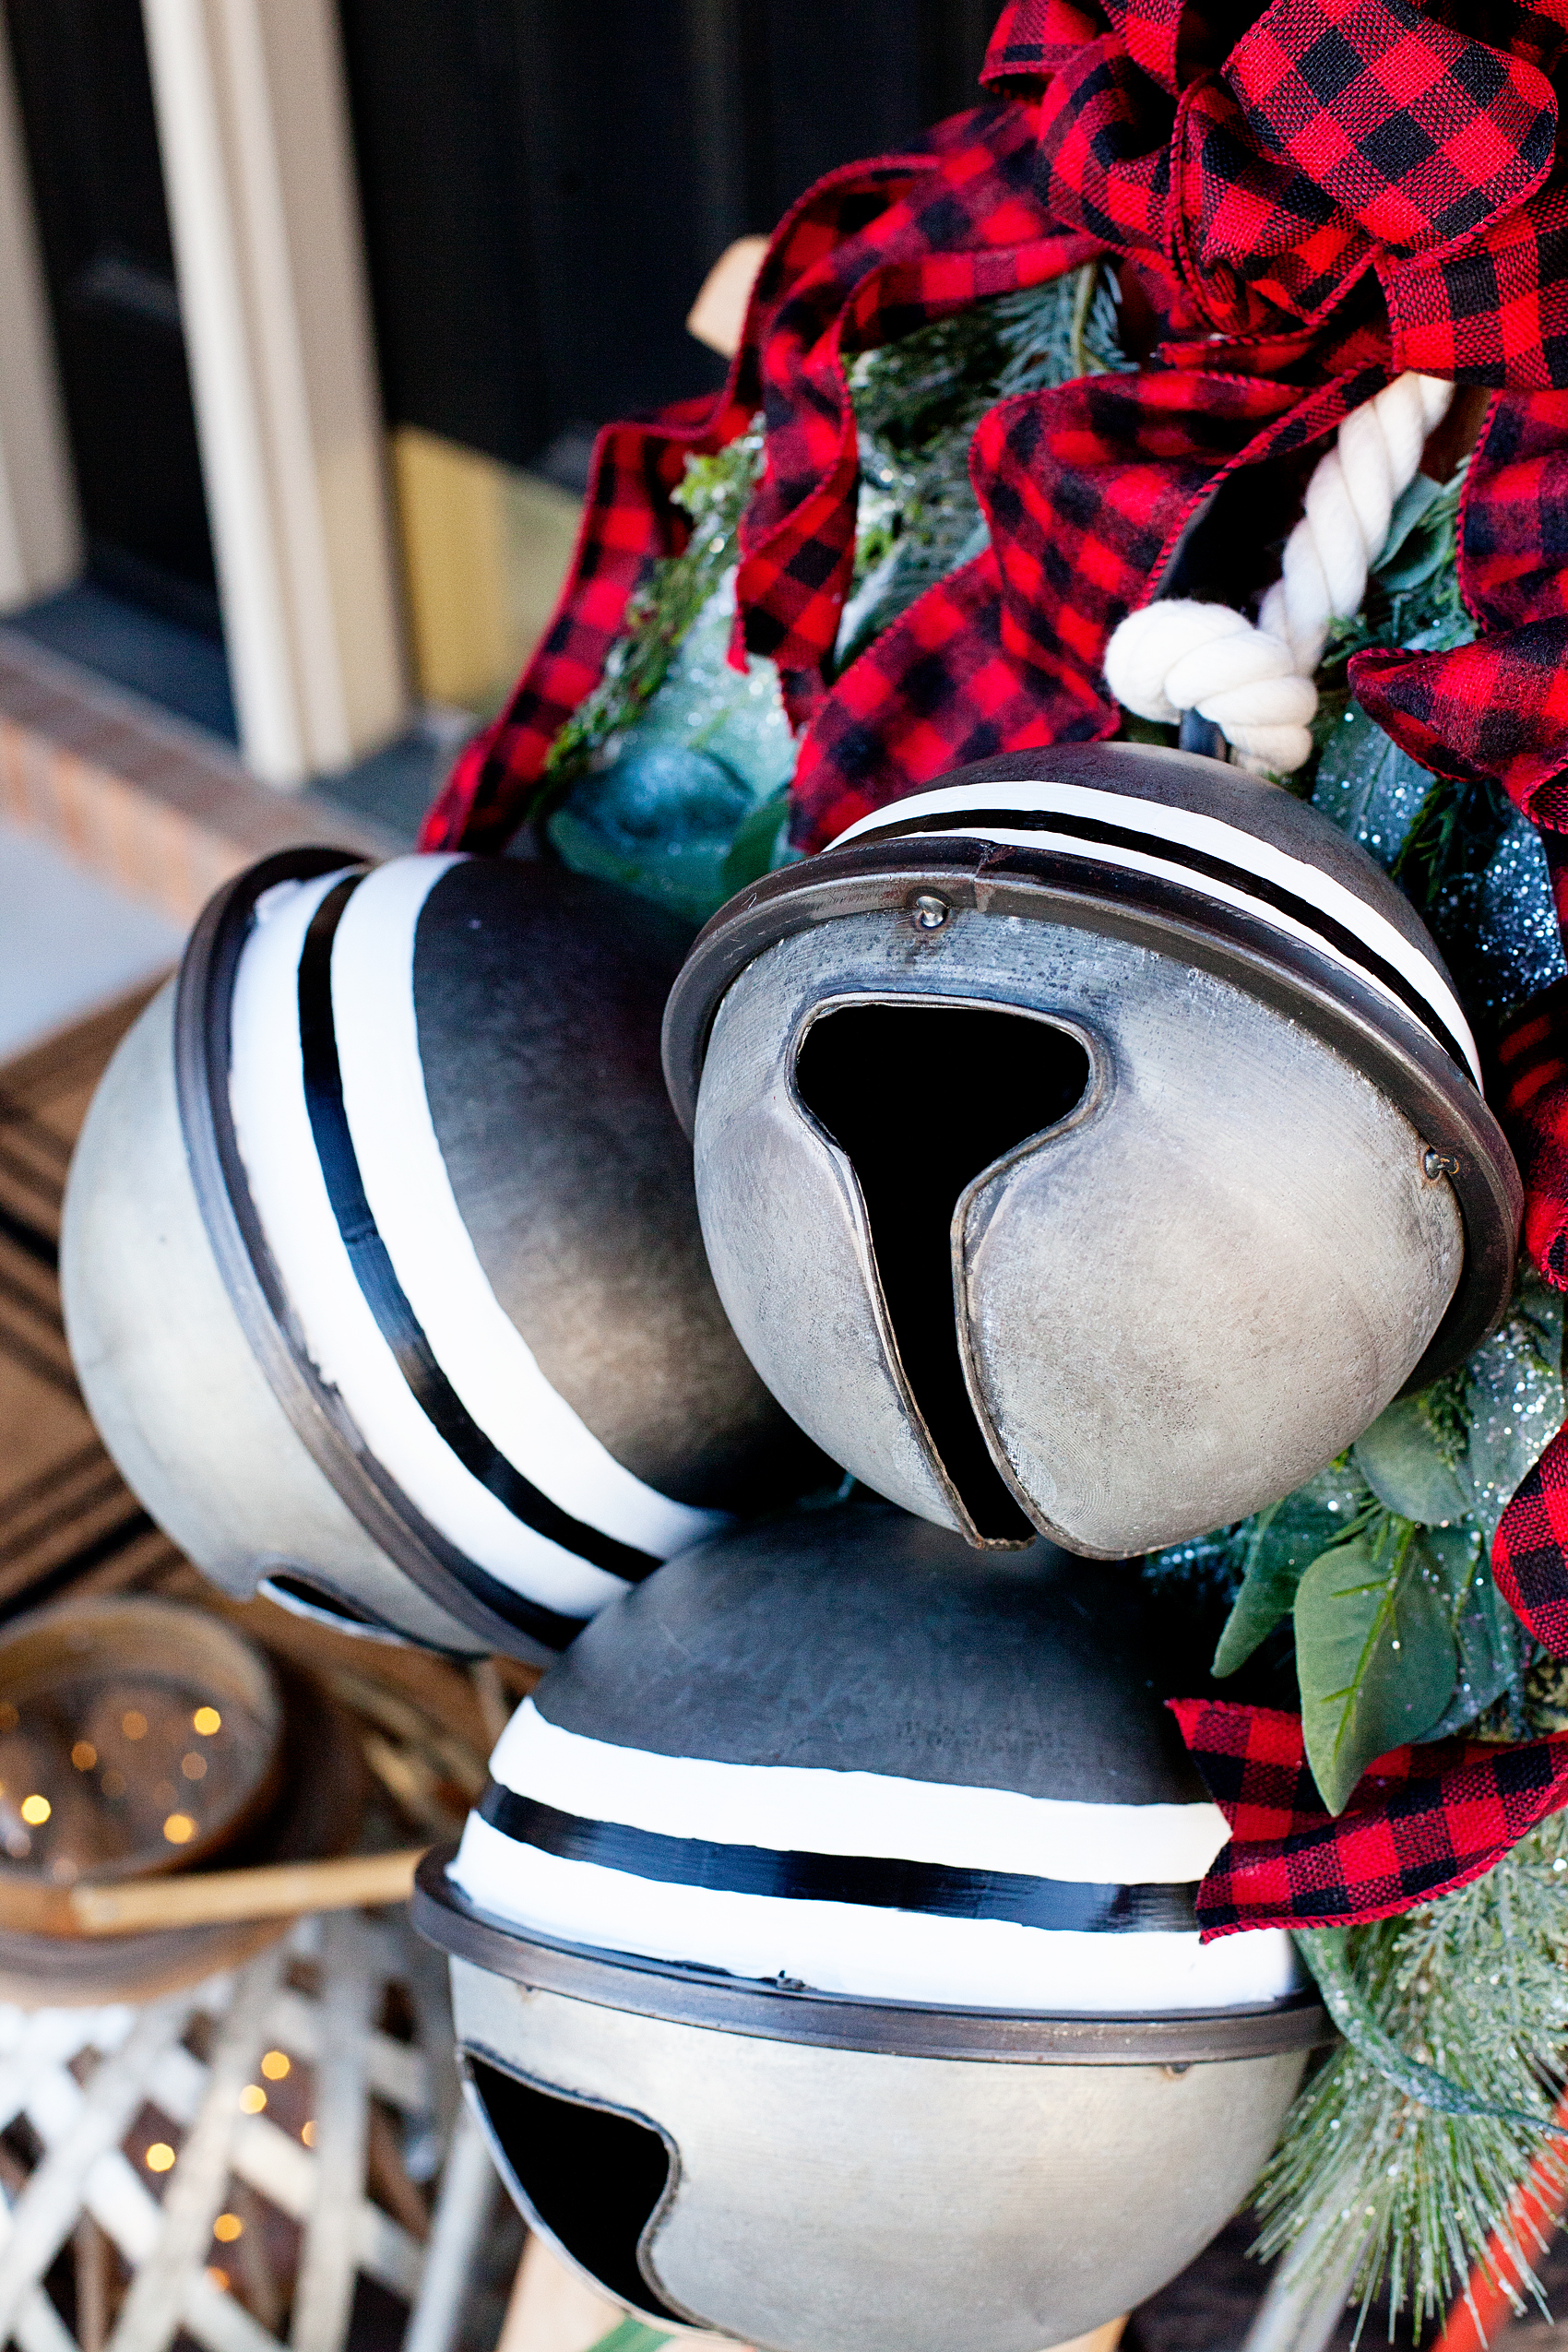
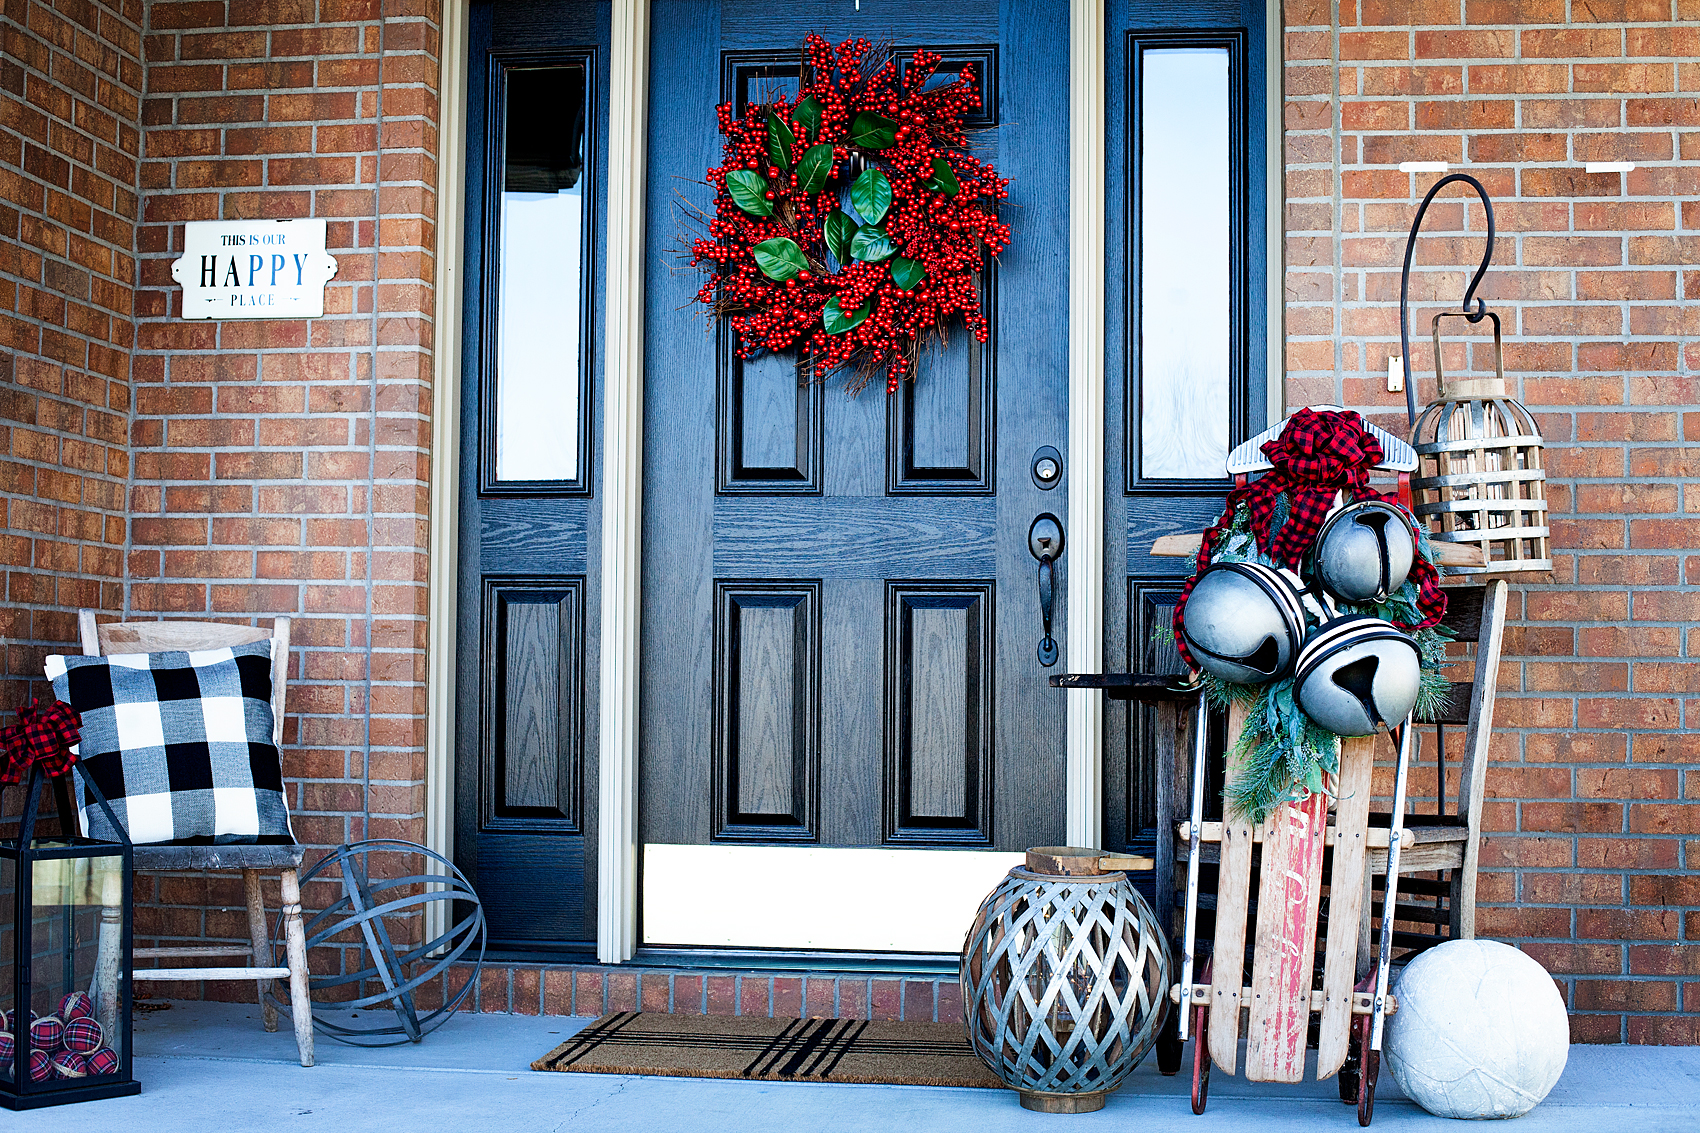
Aren’t they fun? What would you like to add a little black and white farmhouse flair to?
By the way… My front door is painted with the Americana Decor Curb Appeal Paint. I LOVE it!! I’ll have to share how I did that soon. You’ll be amazed!