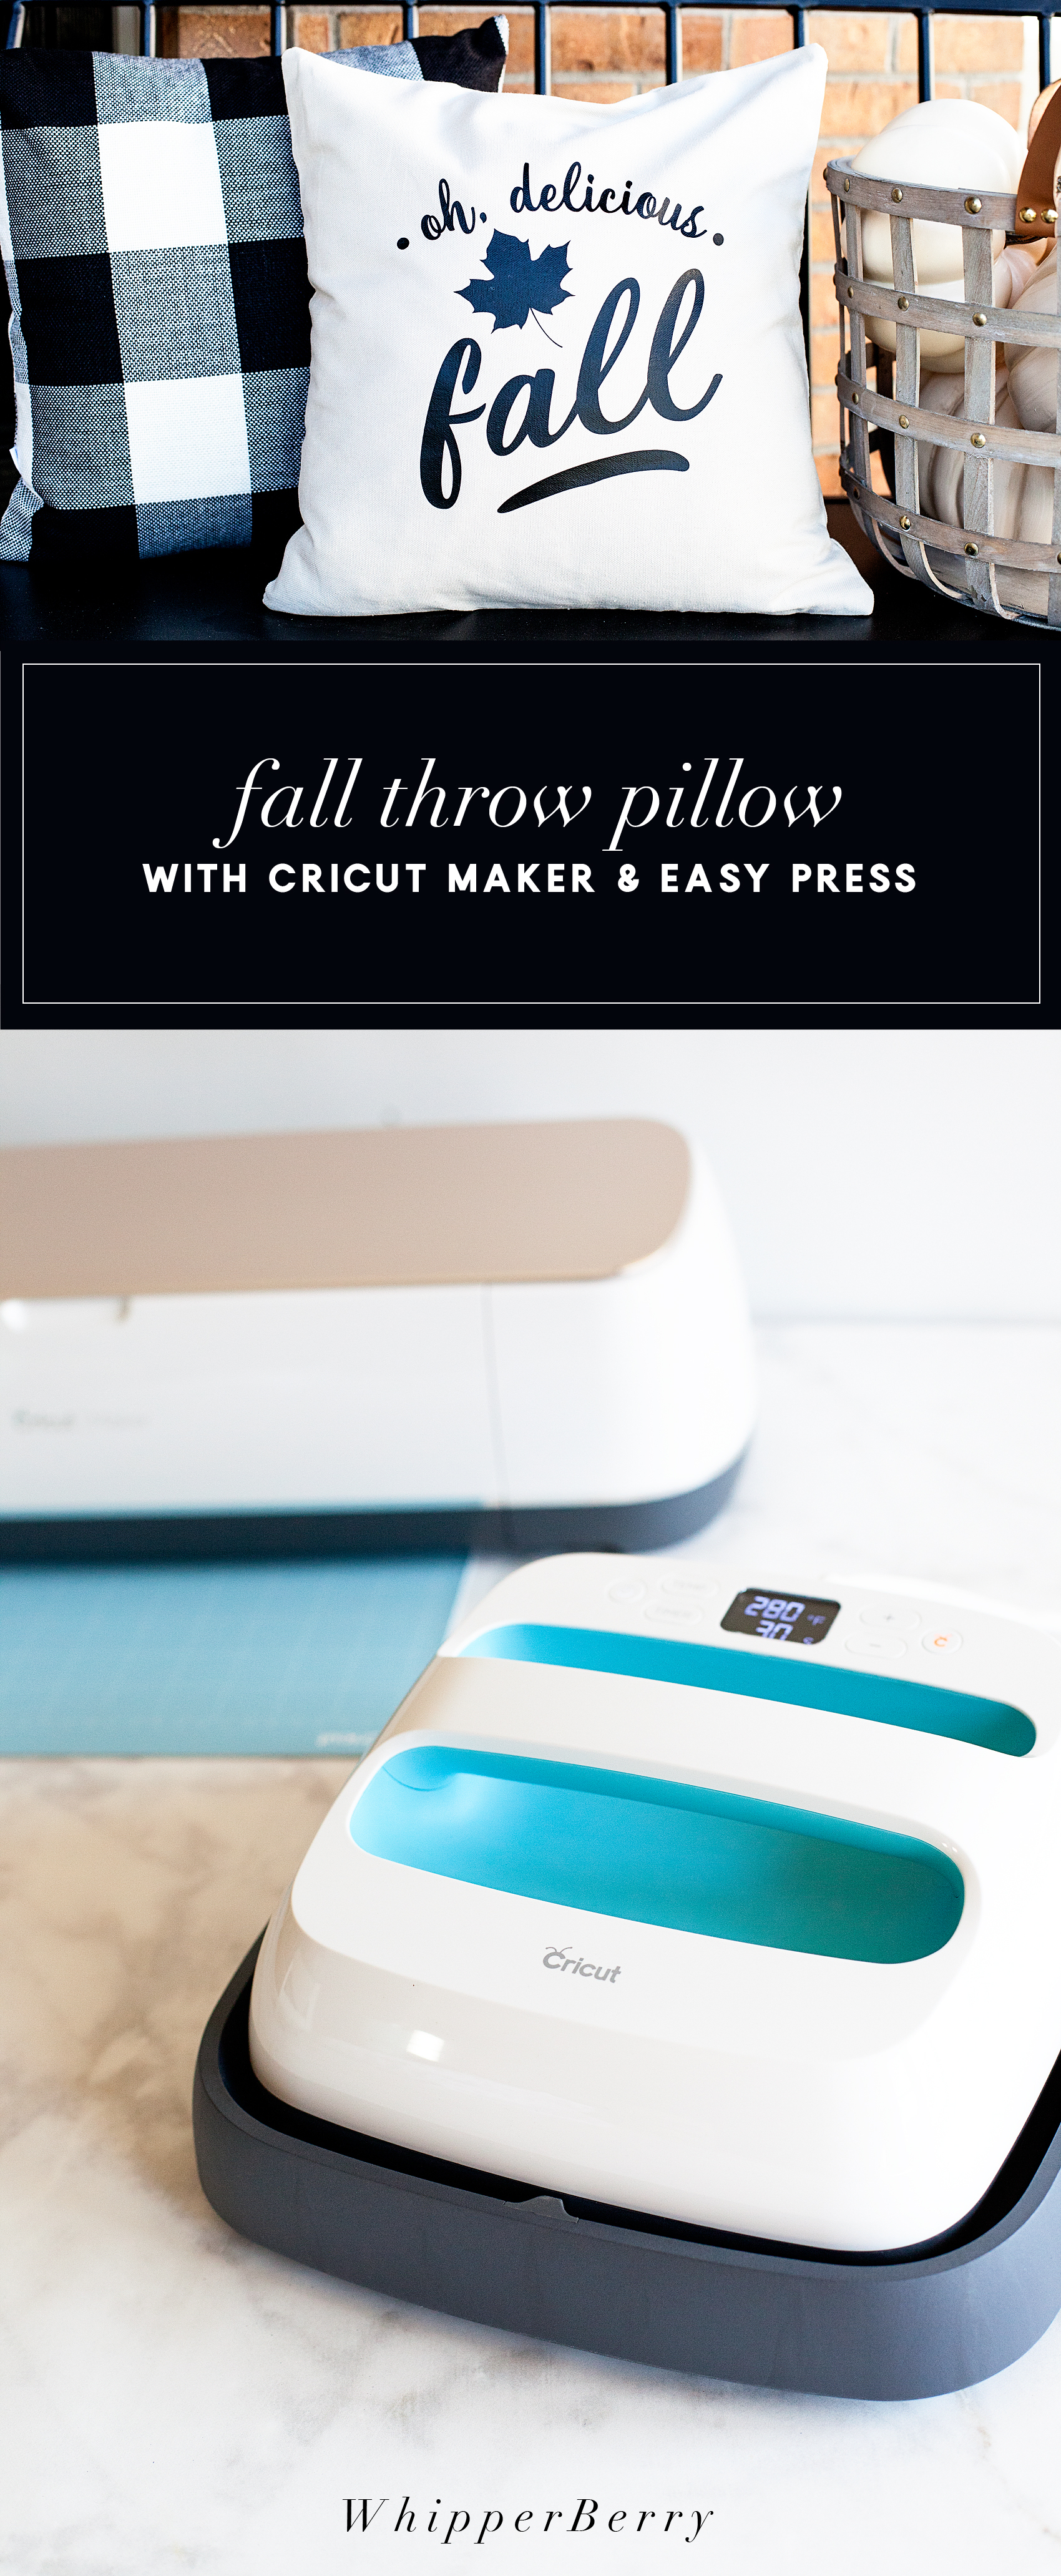
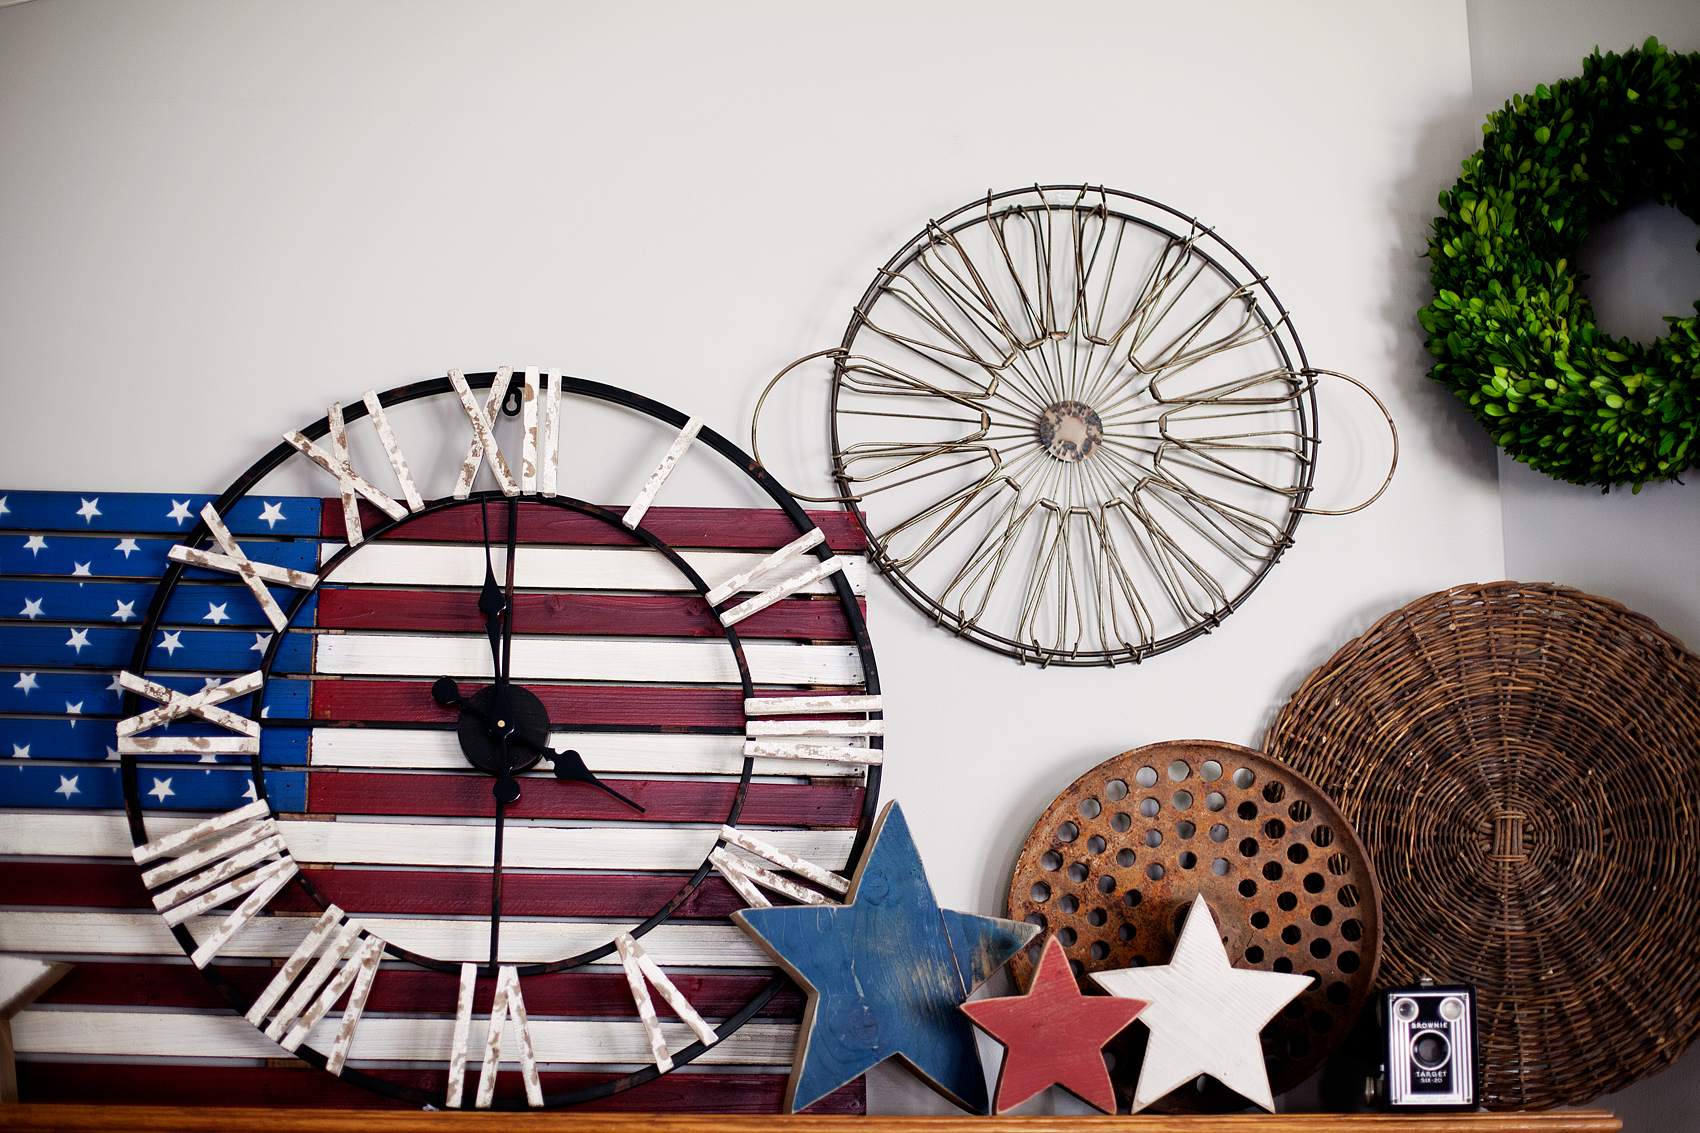
Today, I have a fun new idea. I’ve always loved the vintage paper rolls that little shops used to have. They would keep a roll of brown paper on it and use it to wrap parcels for their shoppers. Well, they are making a come back thanks to the vintage farmhouse lovers. I have found some vintage style paper rolls that aren’t too expensive and thought it would be fun to create new signs for the seasons with heat transfer vinyl and the NEW Cricut Easy Press.
• This post brought to you by Cricut •
Isn’t that fun?! It’s kind of a new concept when it comes to signage around the home.
Now, some people are naturally gifted and can create beautiful signs with just a sharpie and a little imagination. I however, can not… I wish I could! I was not gifted with that talent. The problem is that I love the look and I don’t have an arm and a leg to pay and actual artist to create my design each time I want to change it out. Then, I thought I could use vinyl and cut a design with the Cricut cutting machine. The problem with that is, the transfer tape would be a nightmare on the paper. It would just turn into a hot mess. Plus… I’m not a fan of weeding intricate designs out of vinyl. Although, I don’t mind weeding the Cricut Iron-on Lite! It’s so much easier to weed. I set out to see if it was possible to use Cricut Iron-On Lite on paper and sure enough, it works with the Easy Press!! I LOVE this new tool from Cricut!
All you need to do is to download my SVG file for the Witch and Ghoul sign OR you can download the free printable and print it out to display. You could even frame it if you’d like. I’ve sized it at 8×10 for your use.
Paper Roll Sign Supplies
- vintage style paper roll like the one here
- Cricut Iron-On Lite – Black
- Cricut Maker or Explore series machine
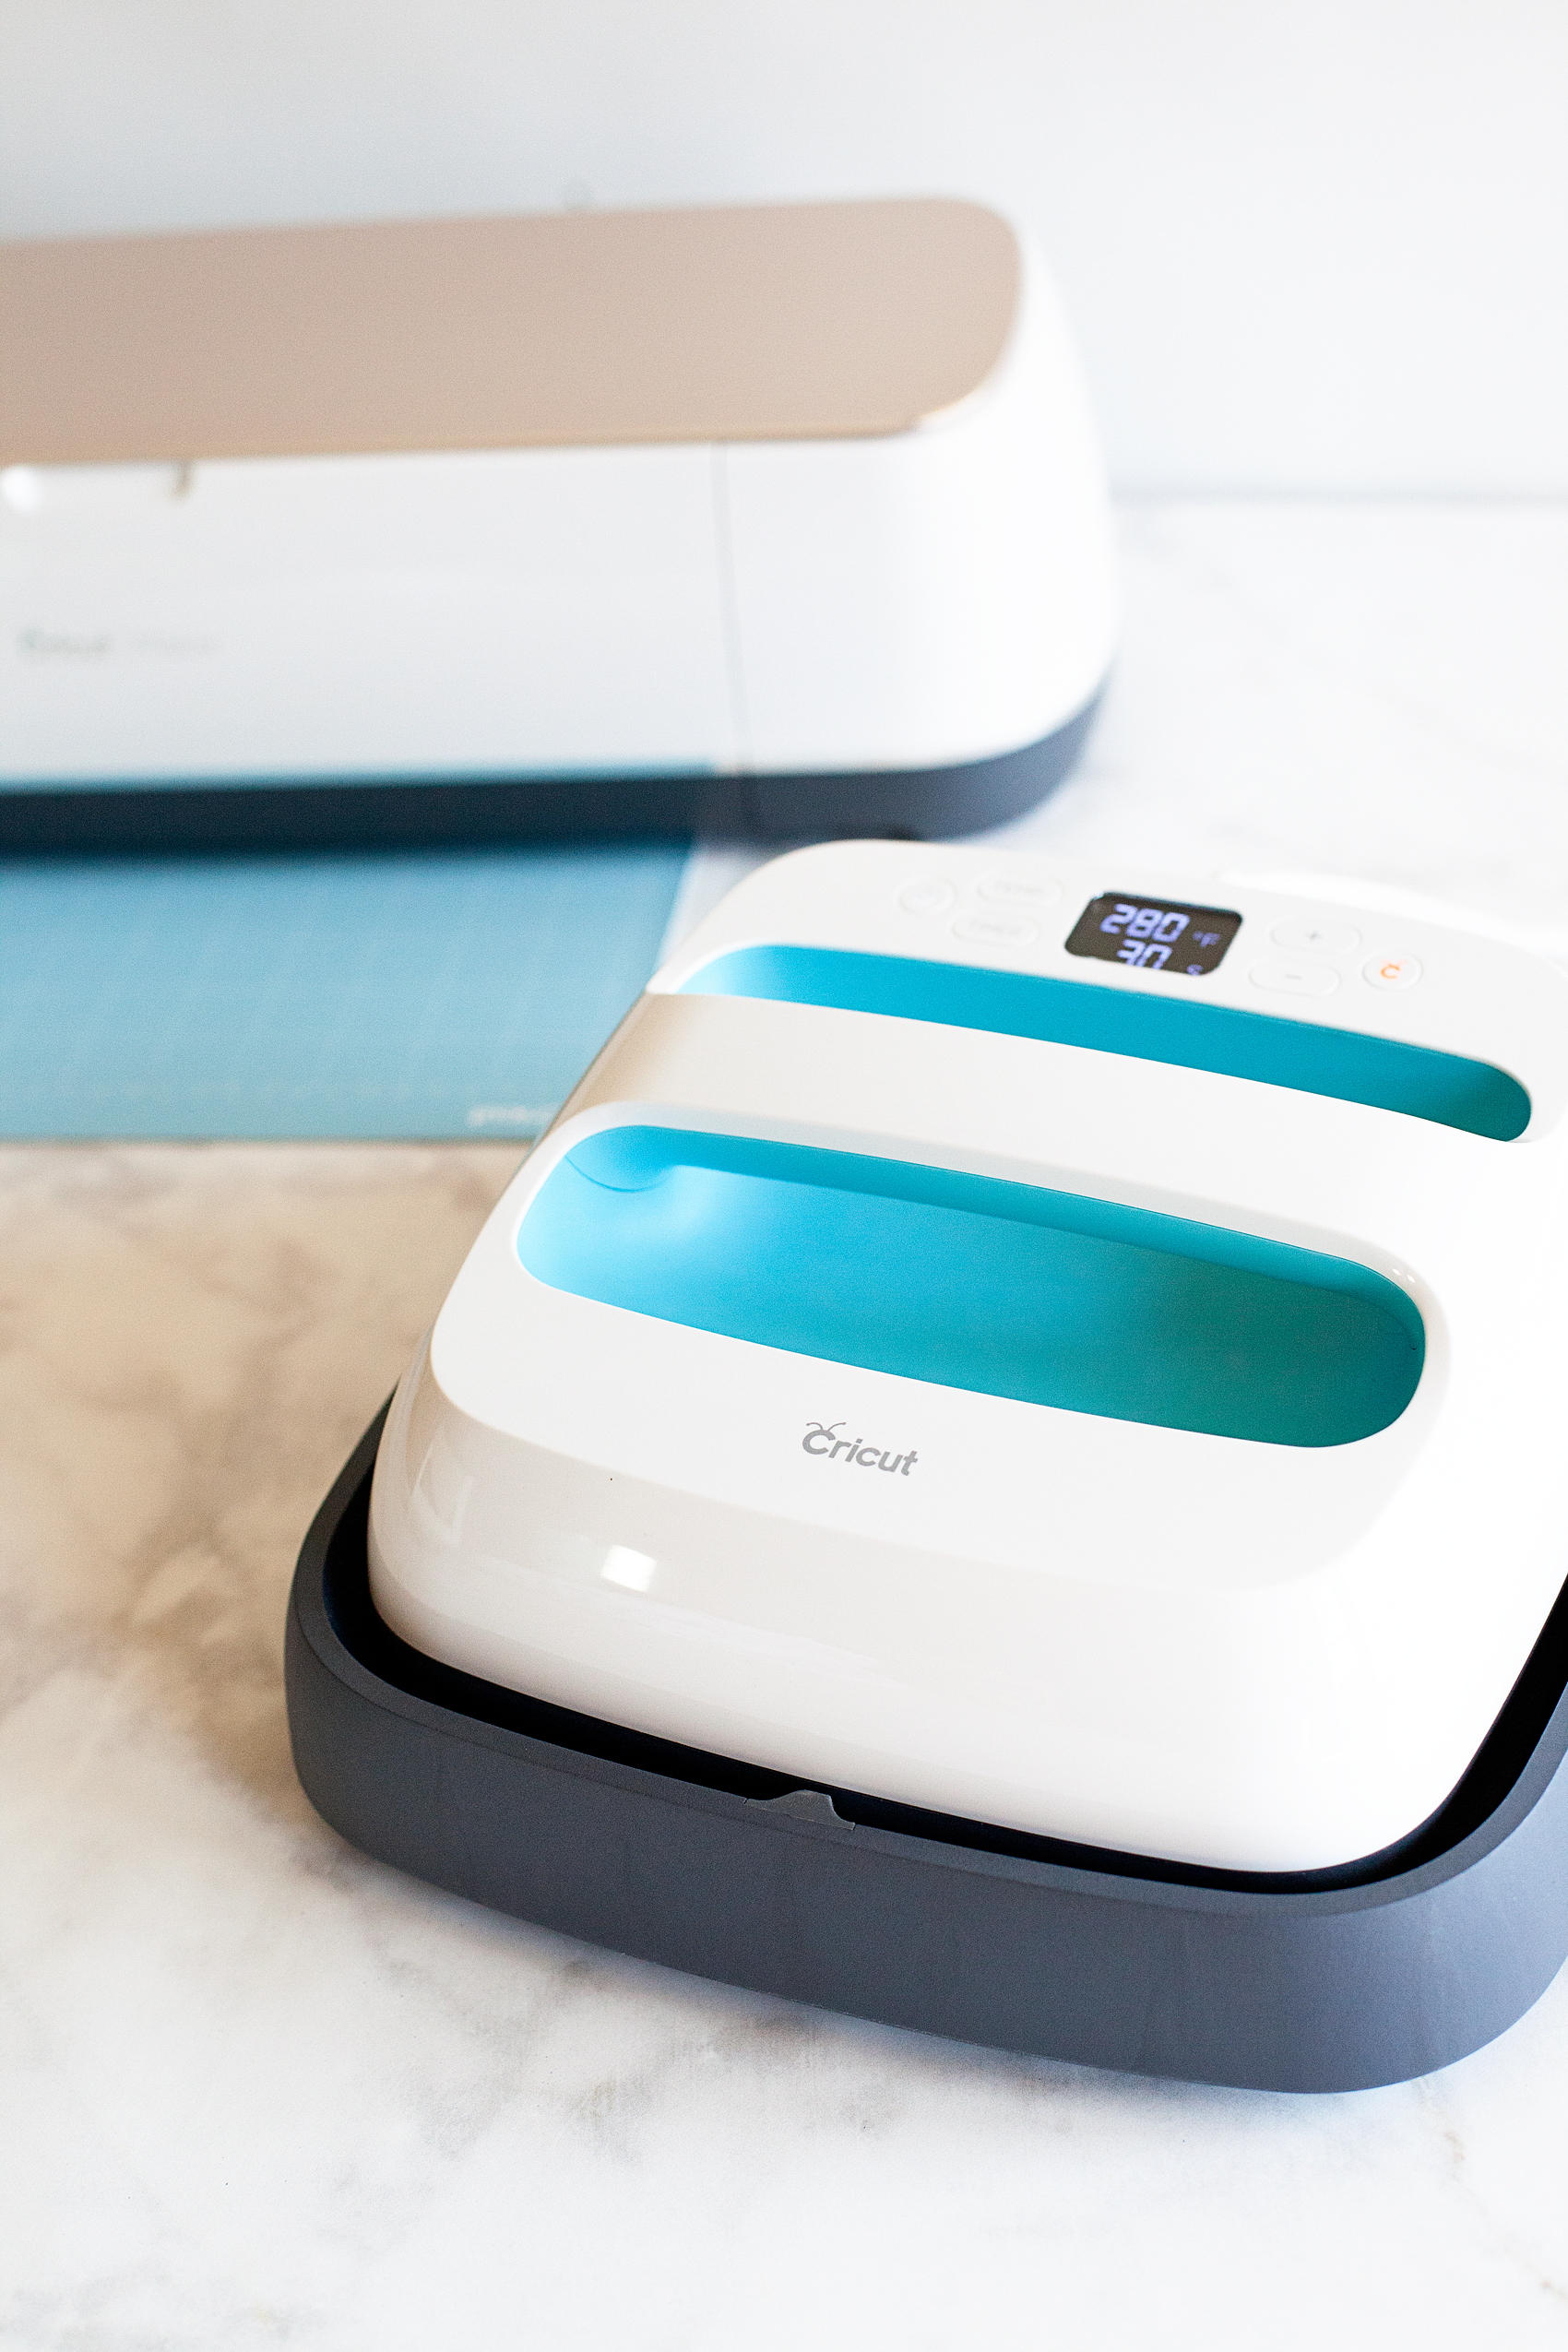
- Cricut Easy Press
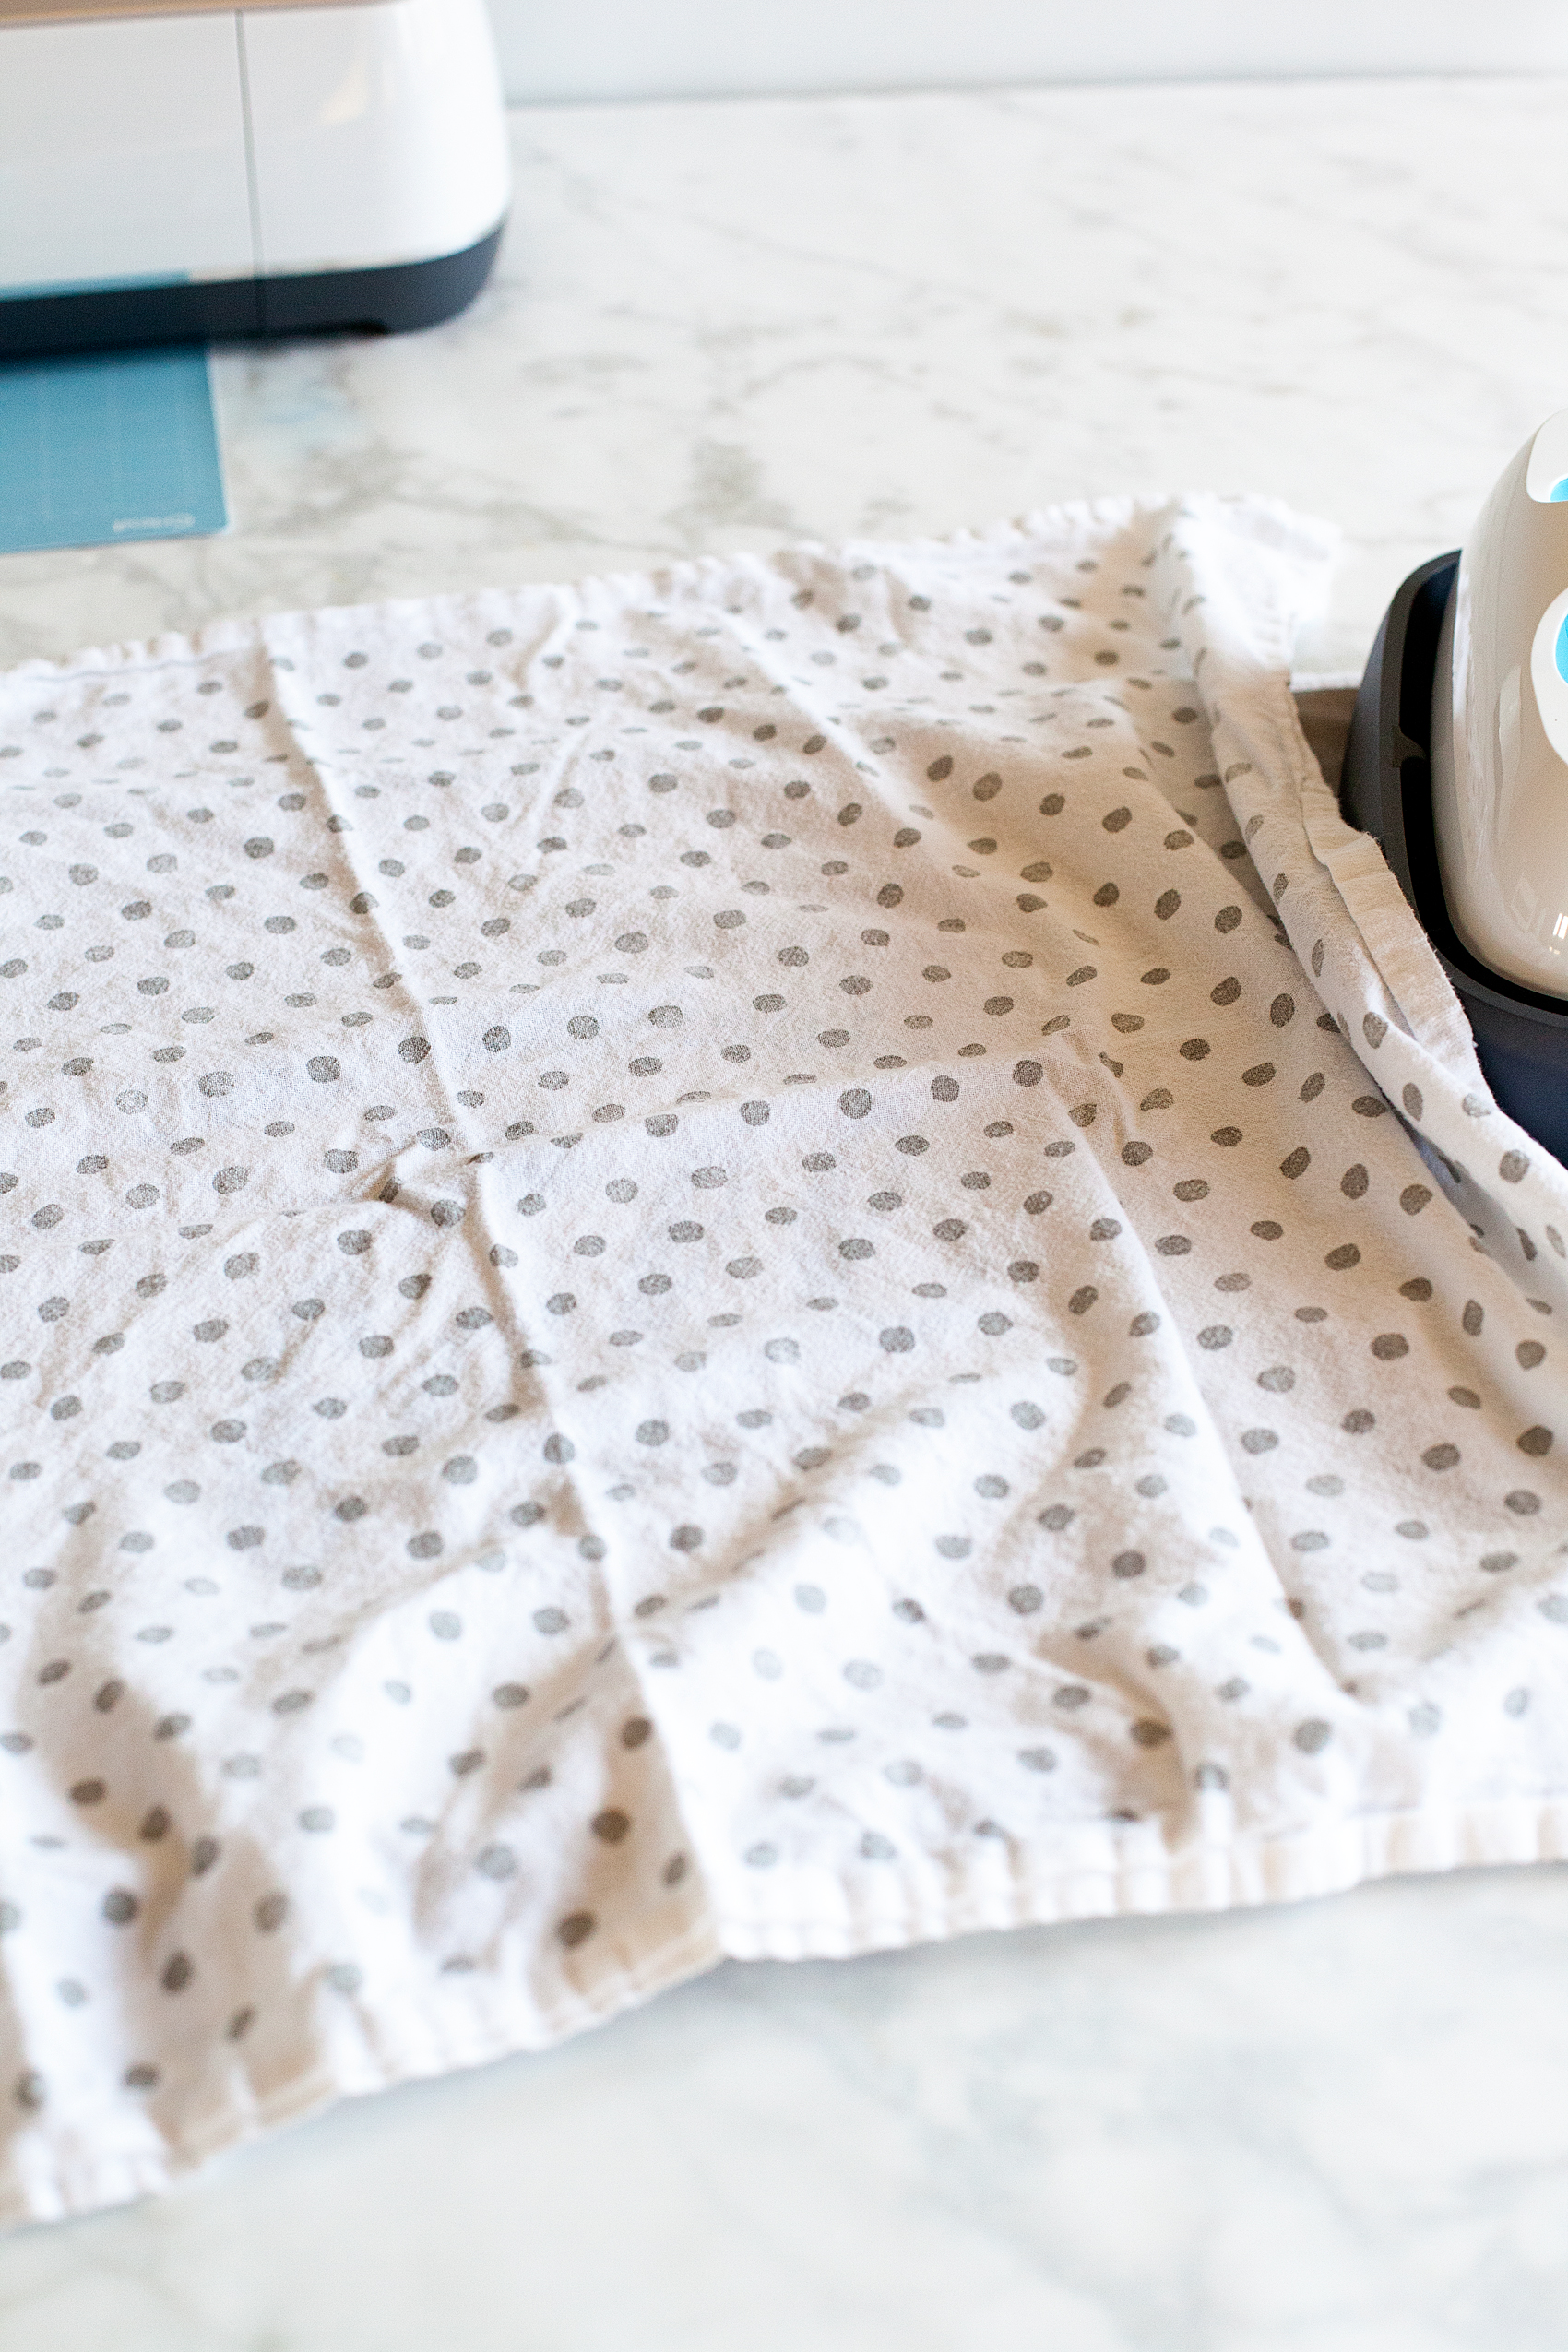
- light cotton towel
- heat resistant surface to work on
- scissors
Paper Roll Sign Instructions
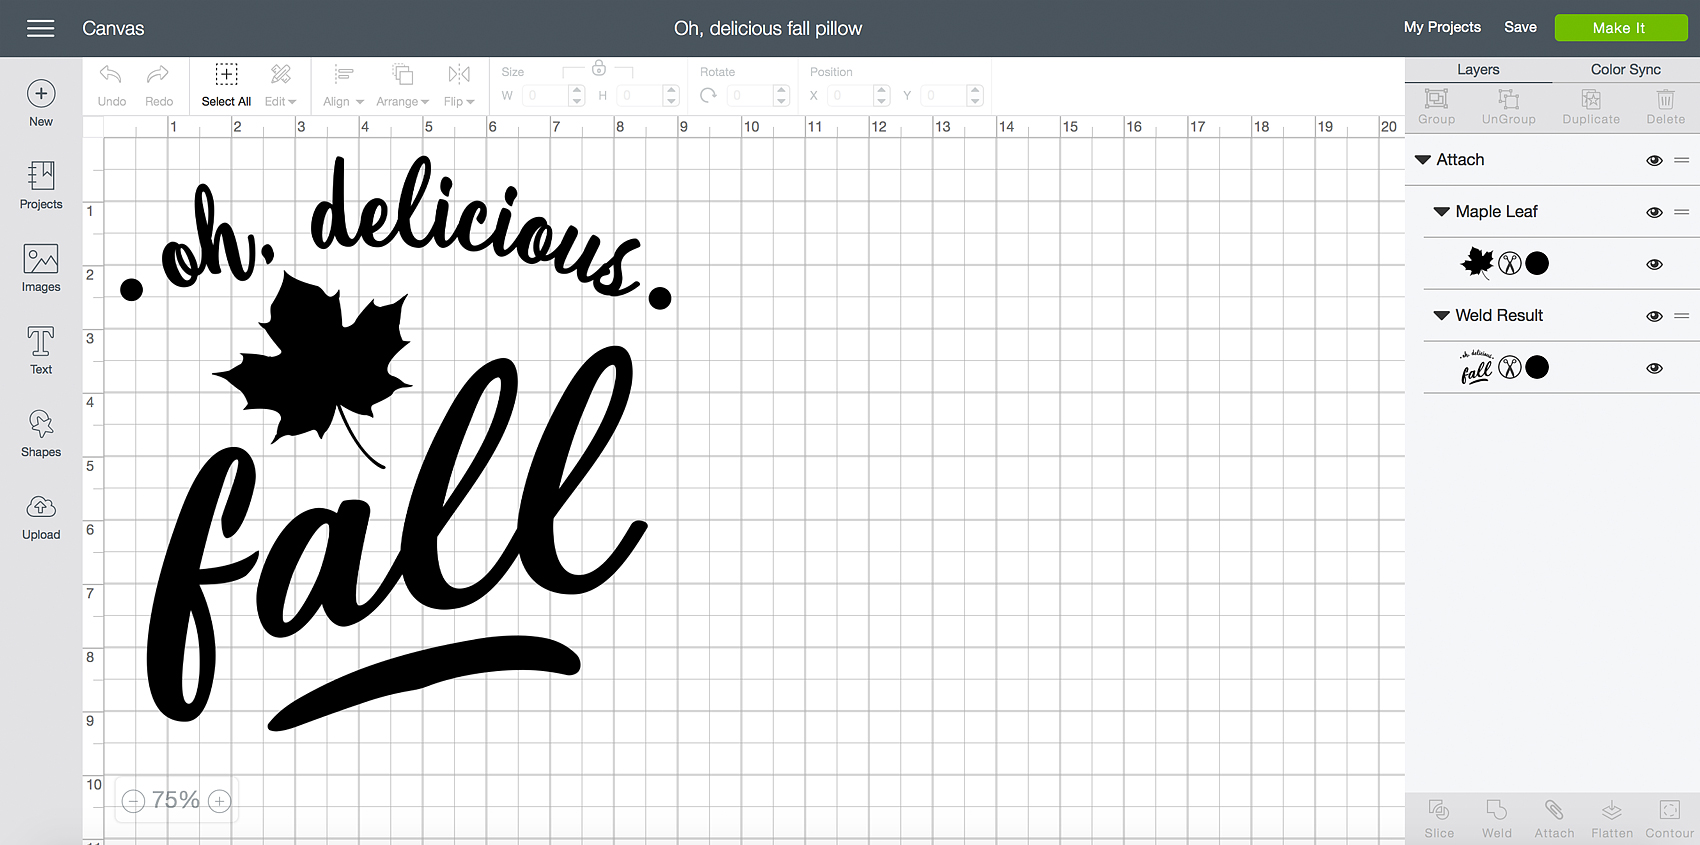
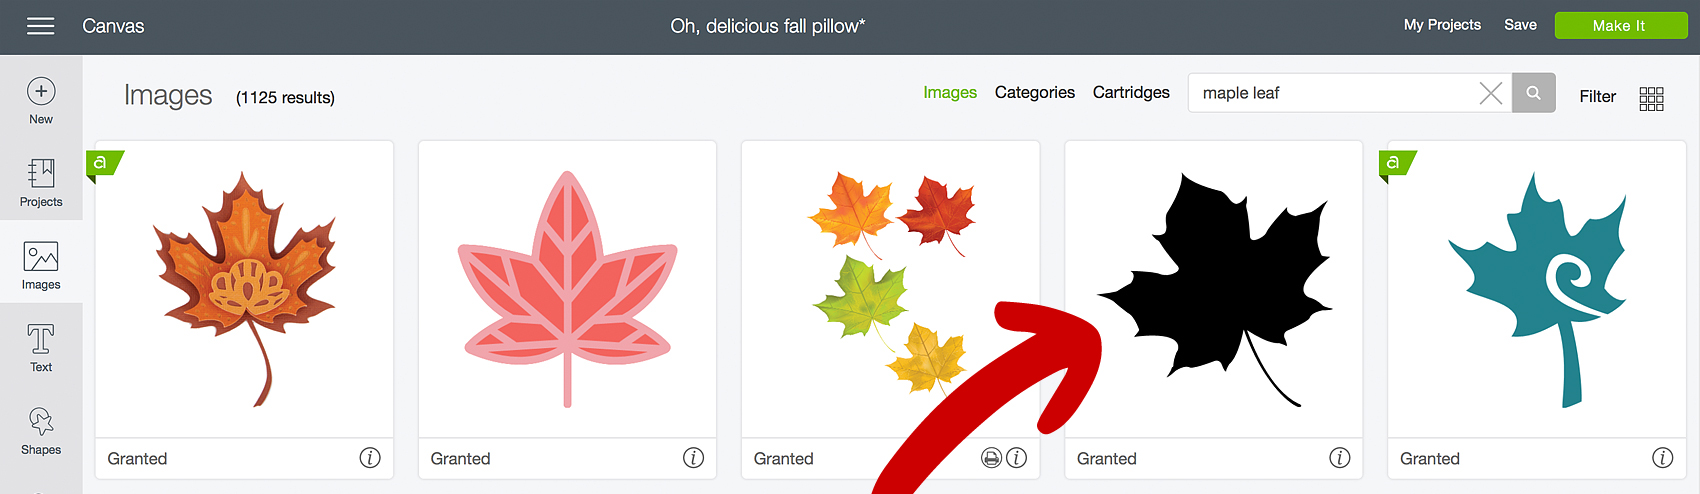
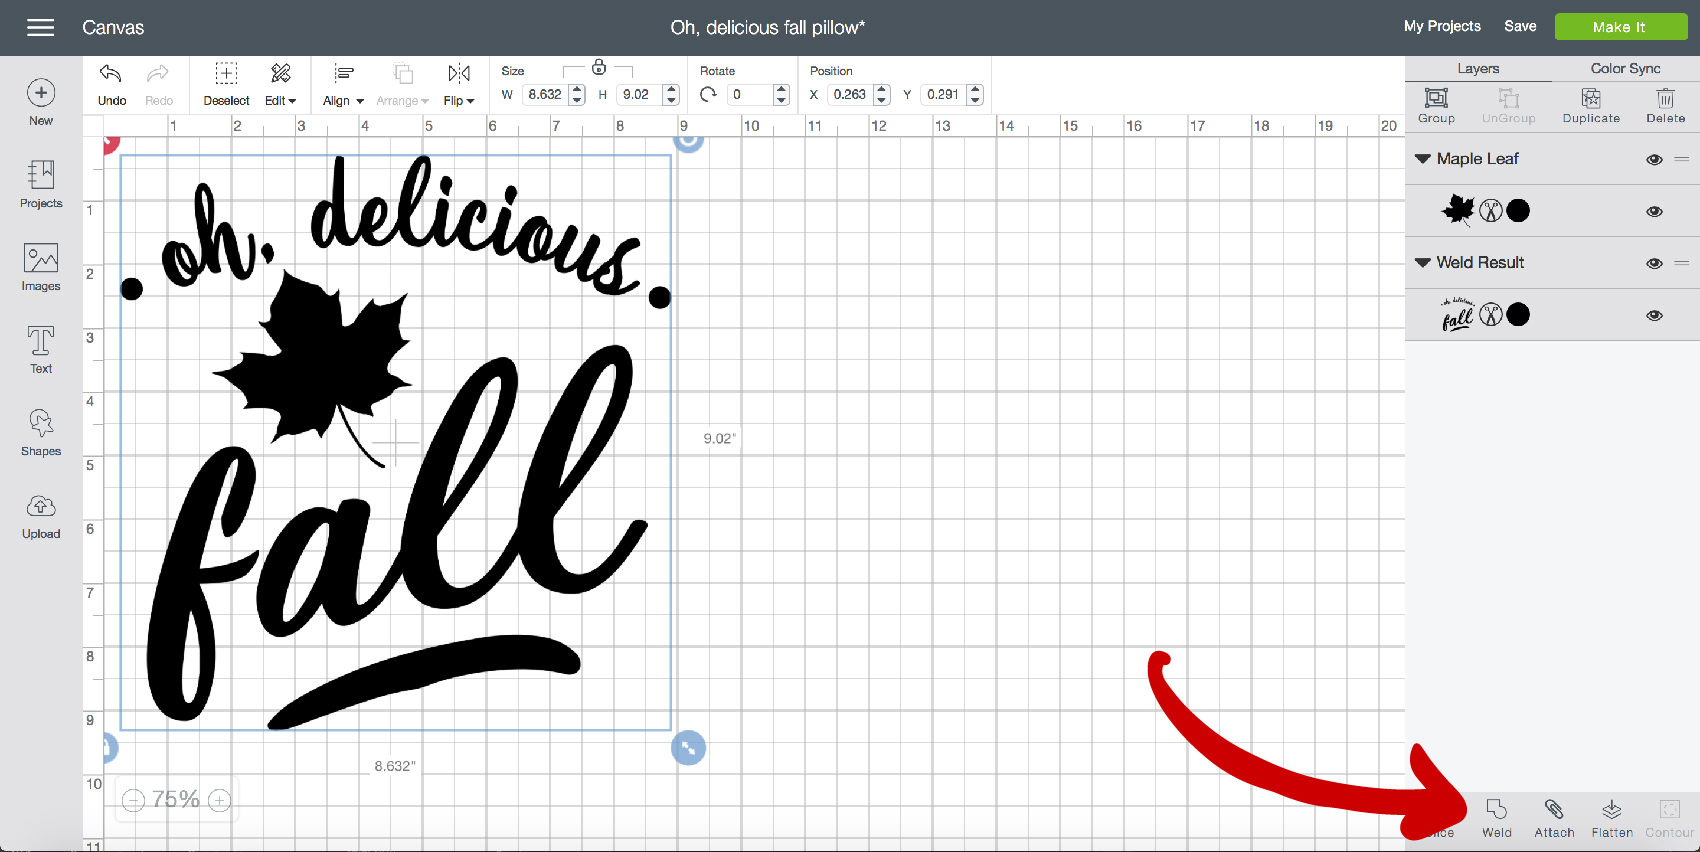
First, you’ll need to upload the SVG file into Cricut Design Space and size your design for the size of your paper roll. My roll is 8 inches but, you can get even larger paper rolls. You’ll be able to size the design for your paper roll size.
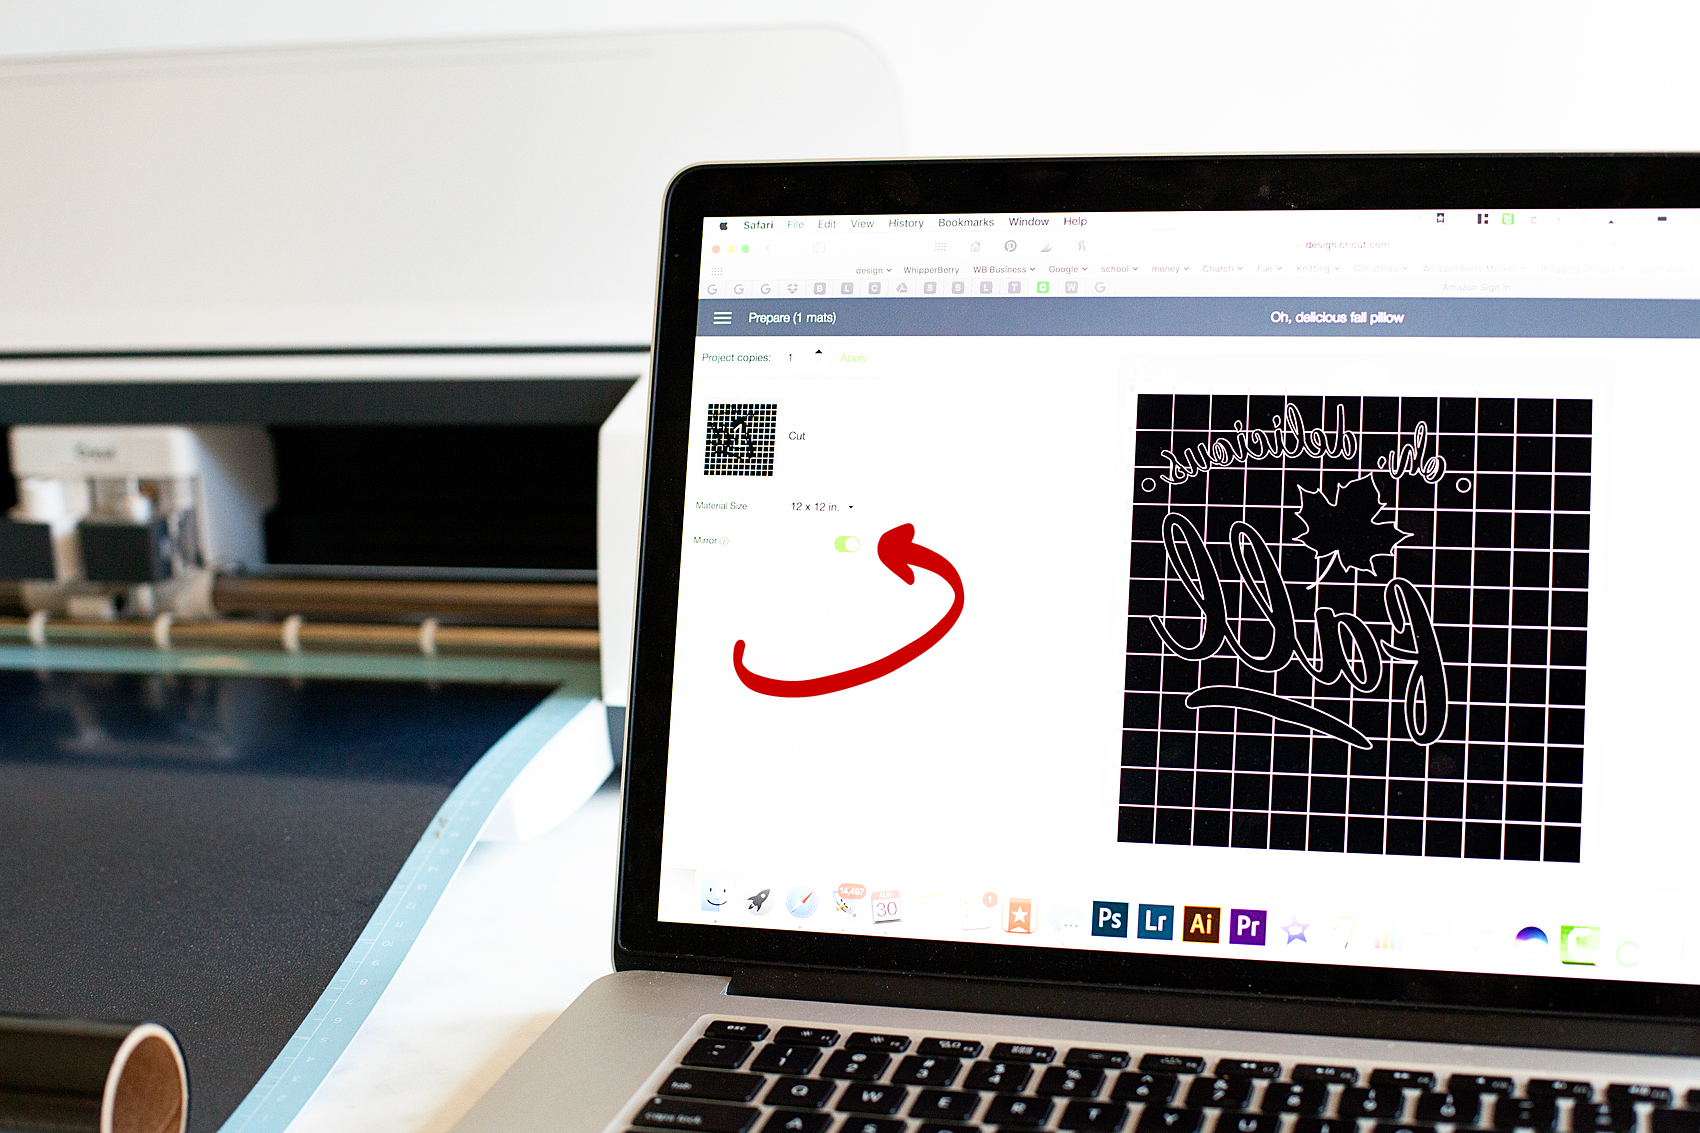
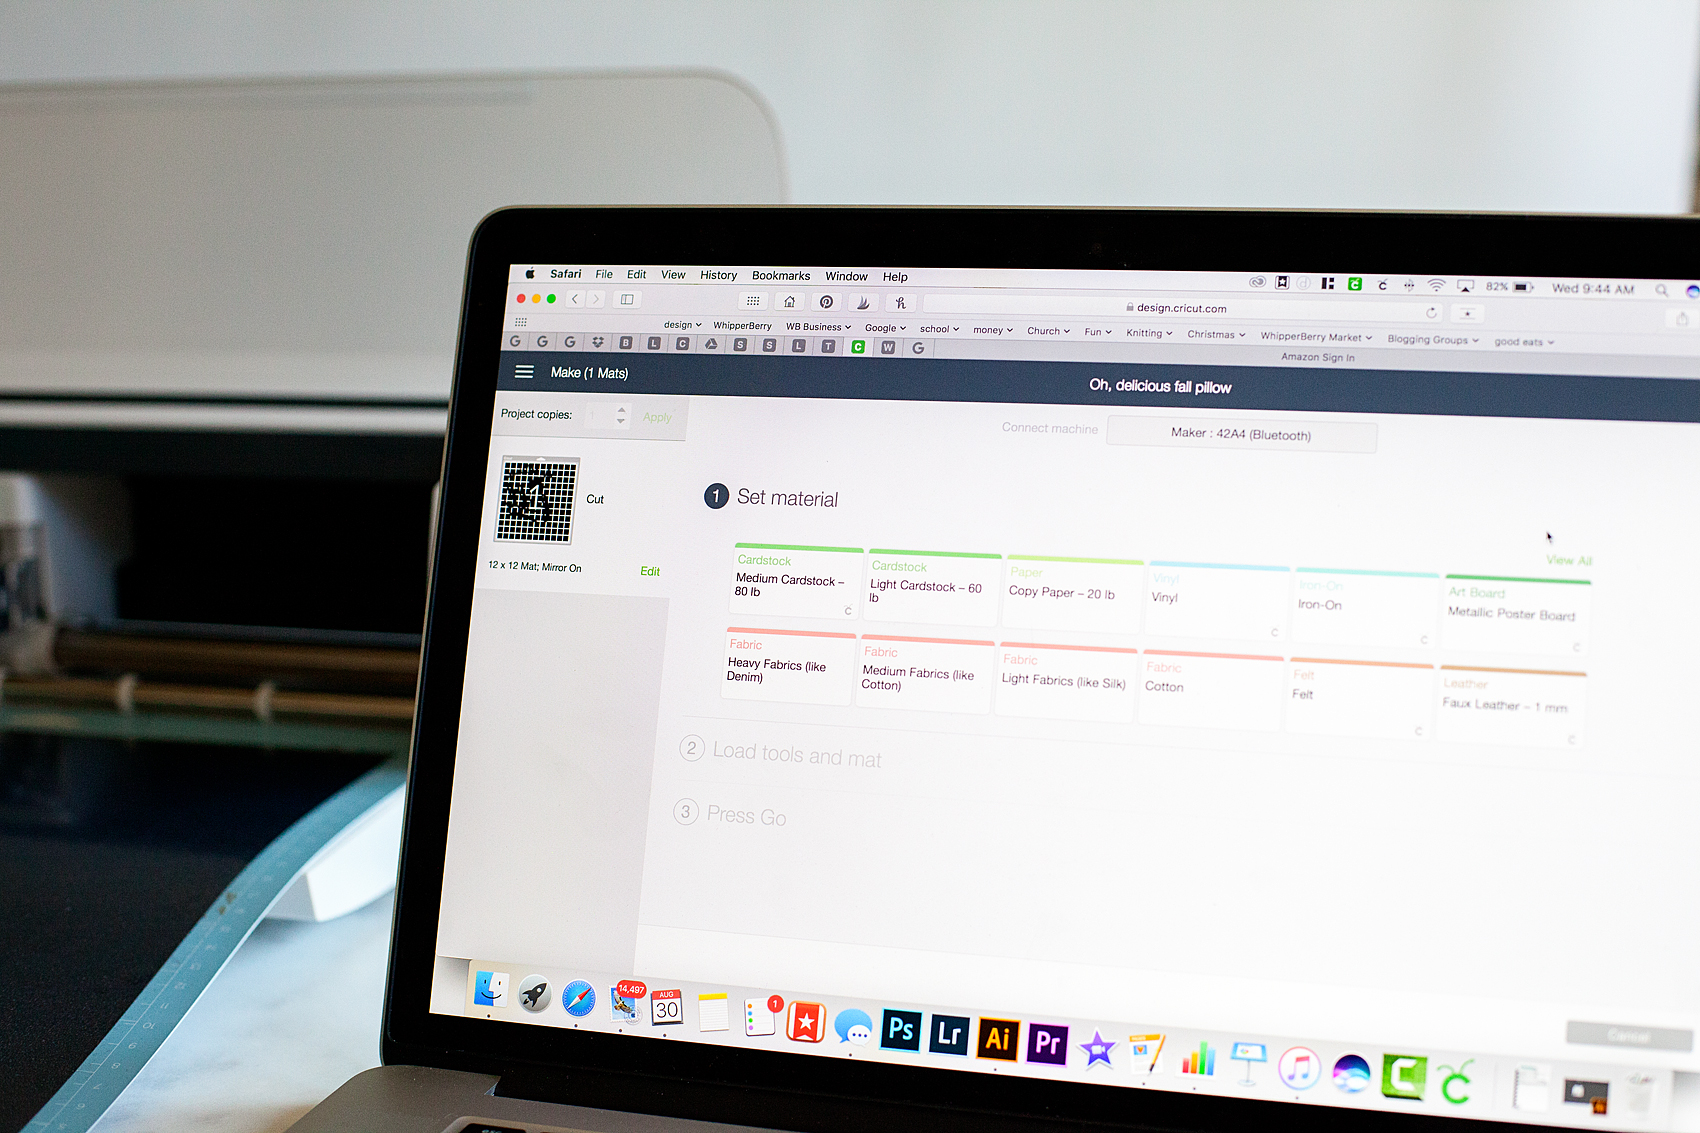
Then you’ll need to load your heat transfer vinyl onto your cutting mat and load into your machine and cut out the design.
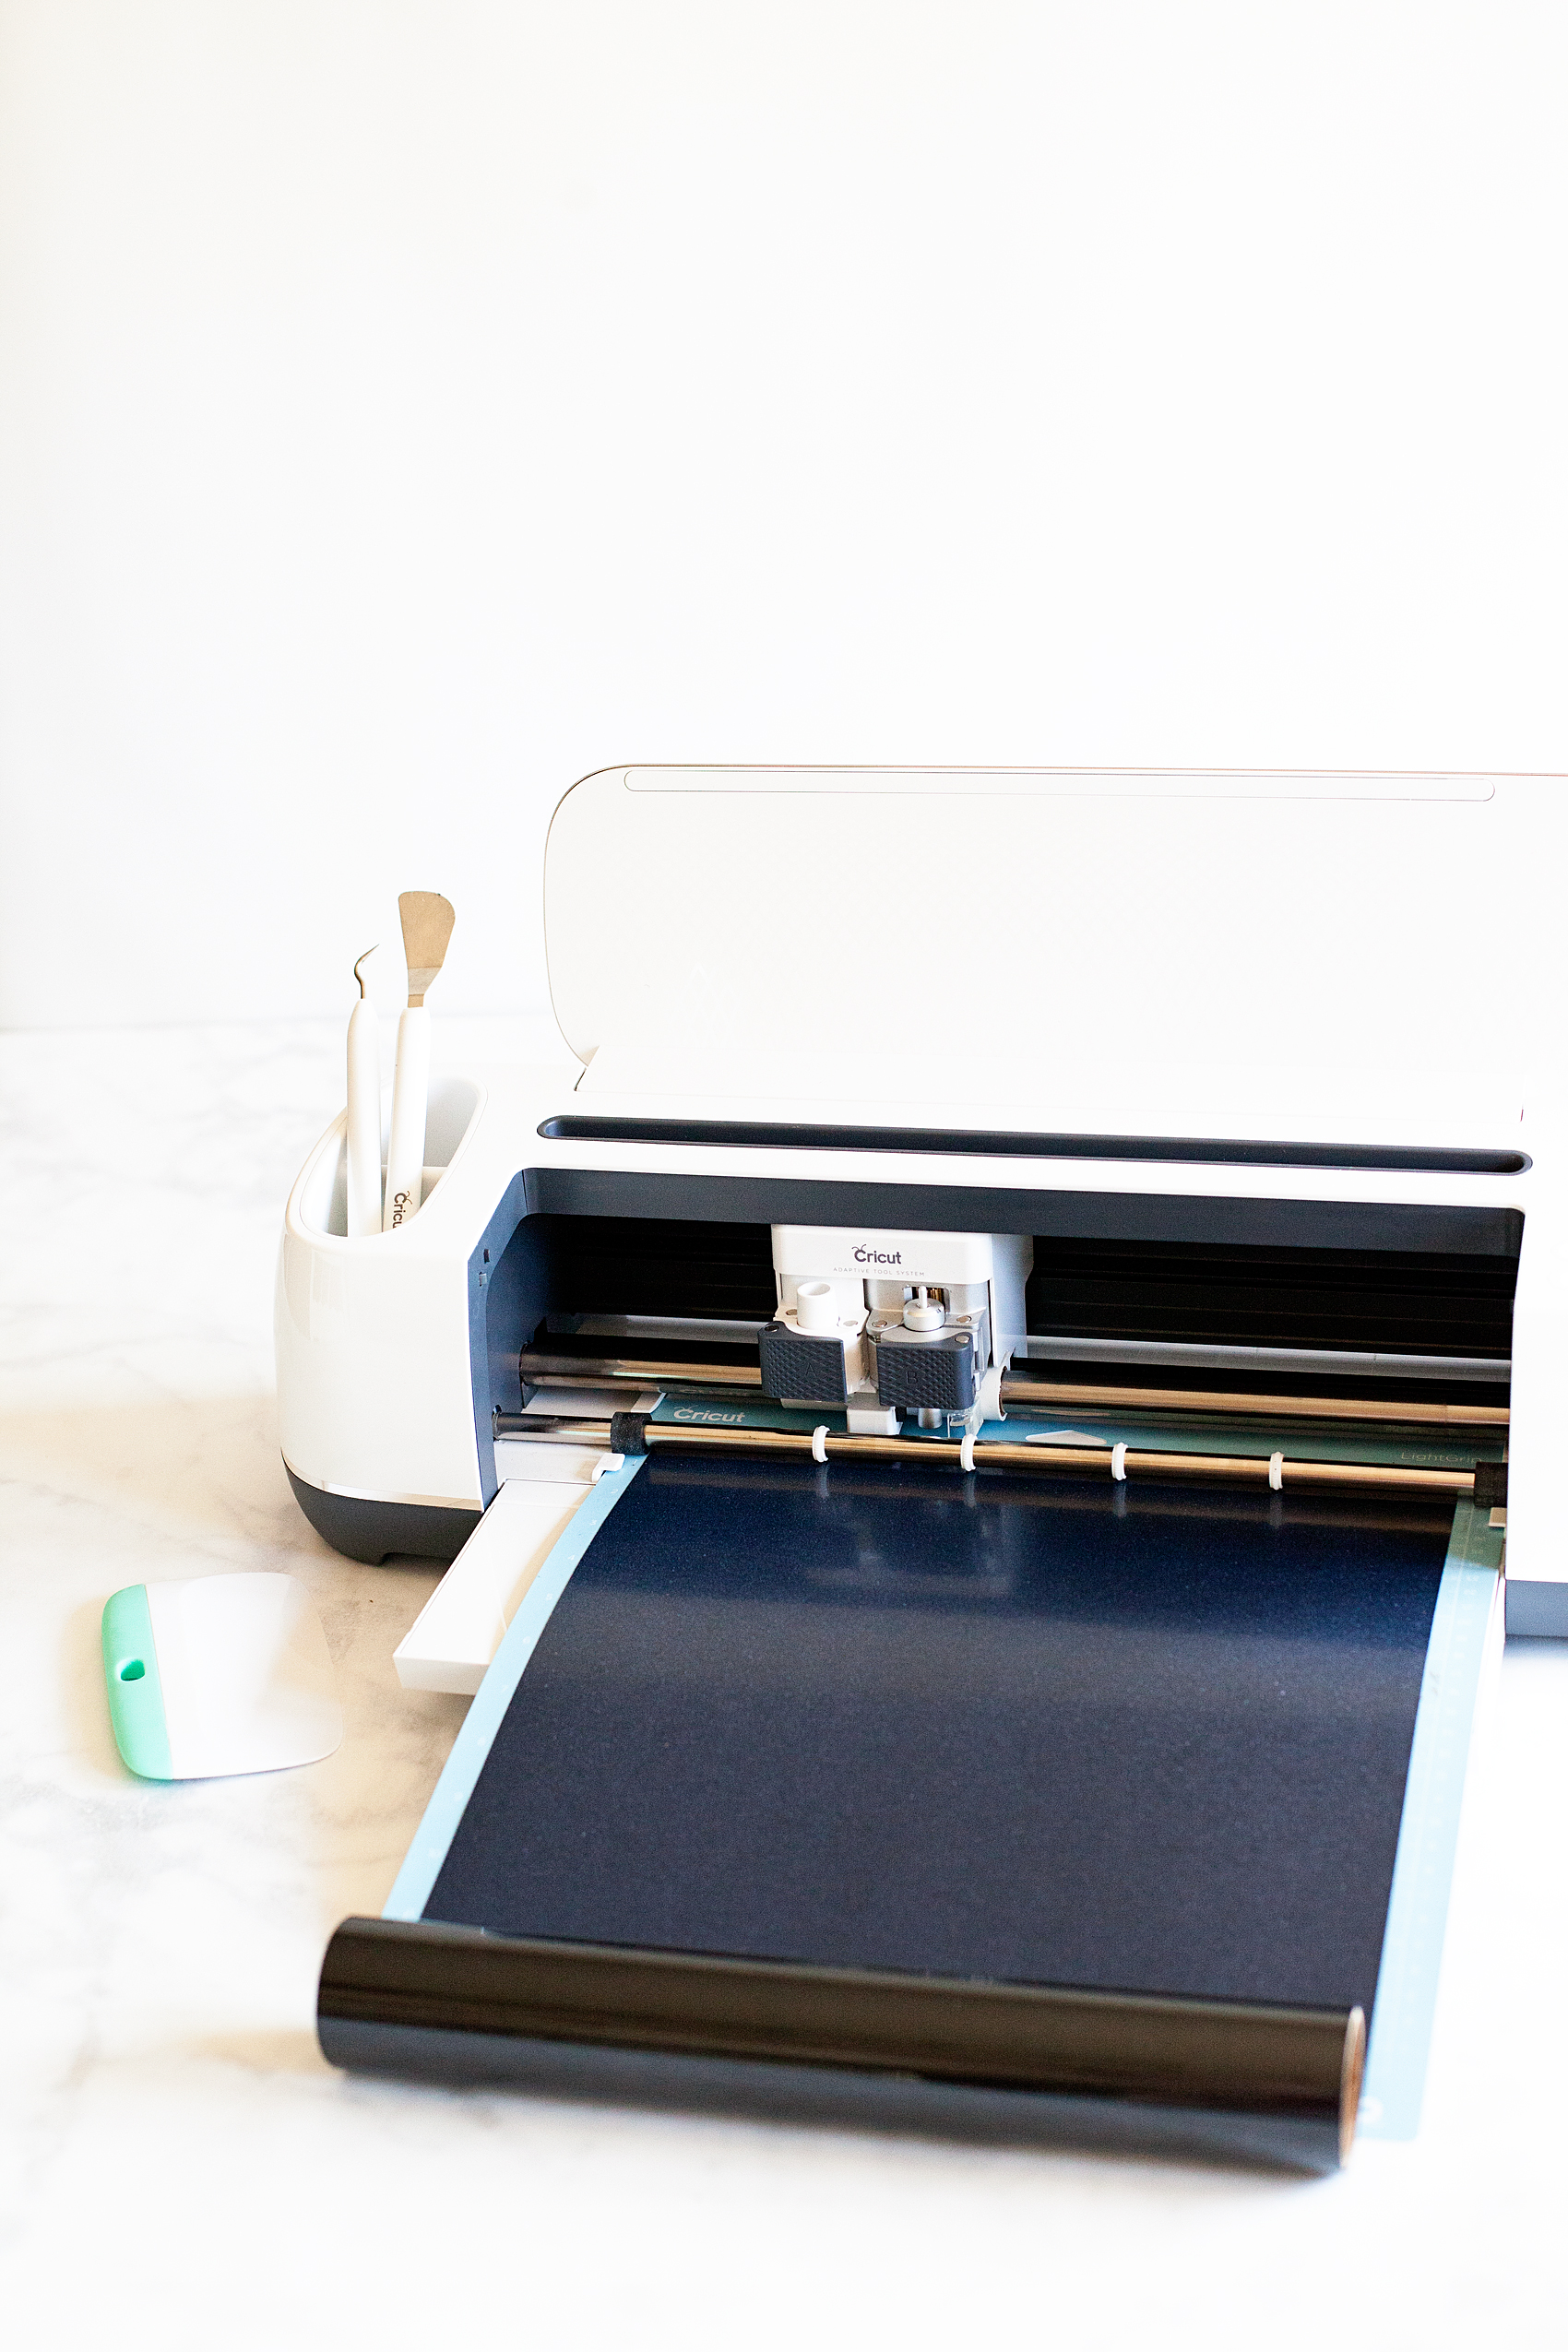
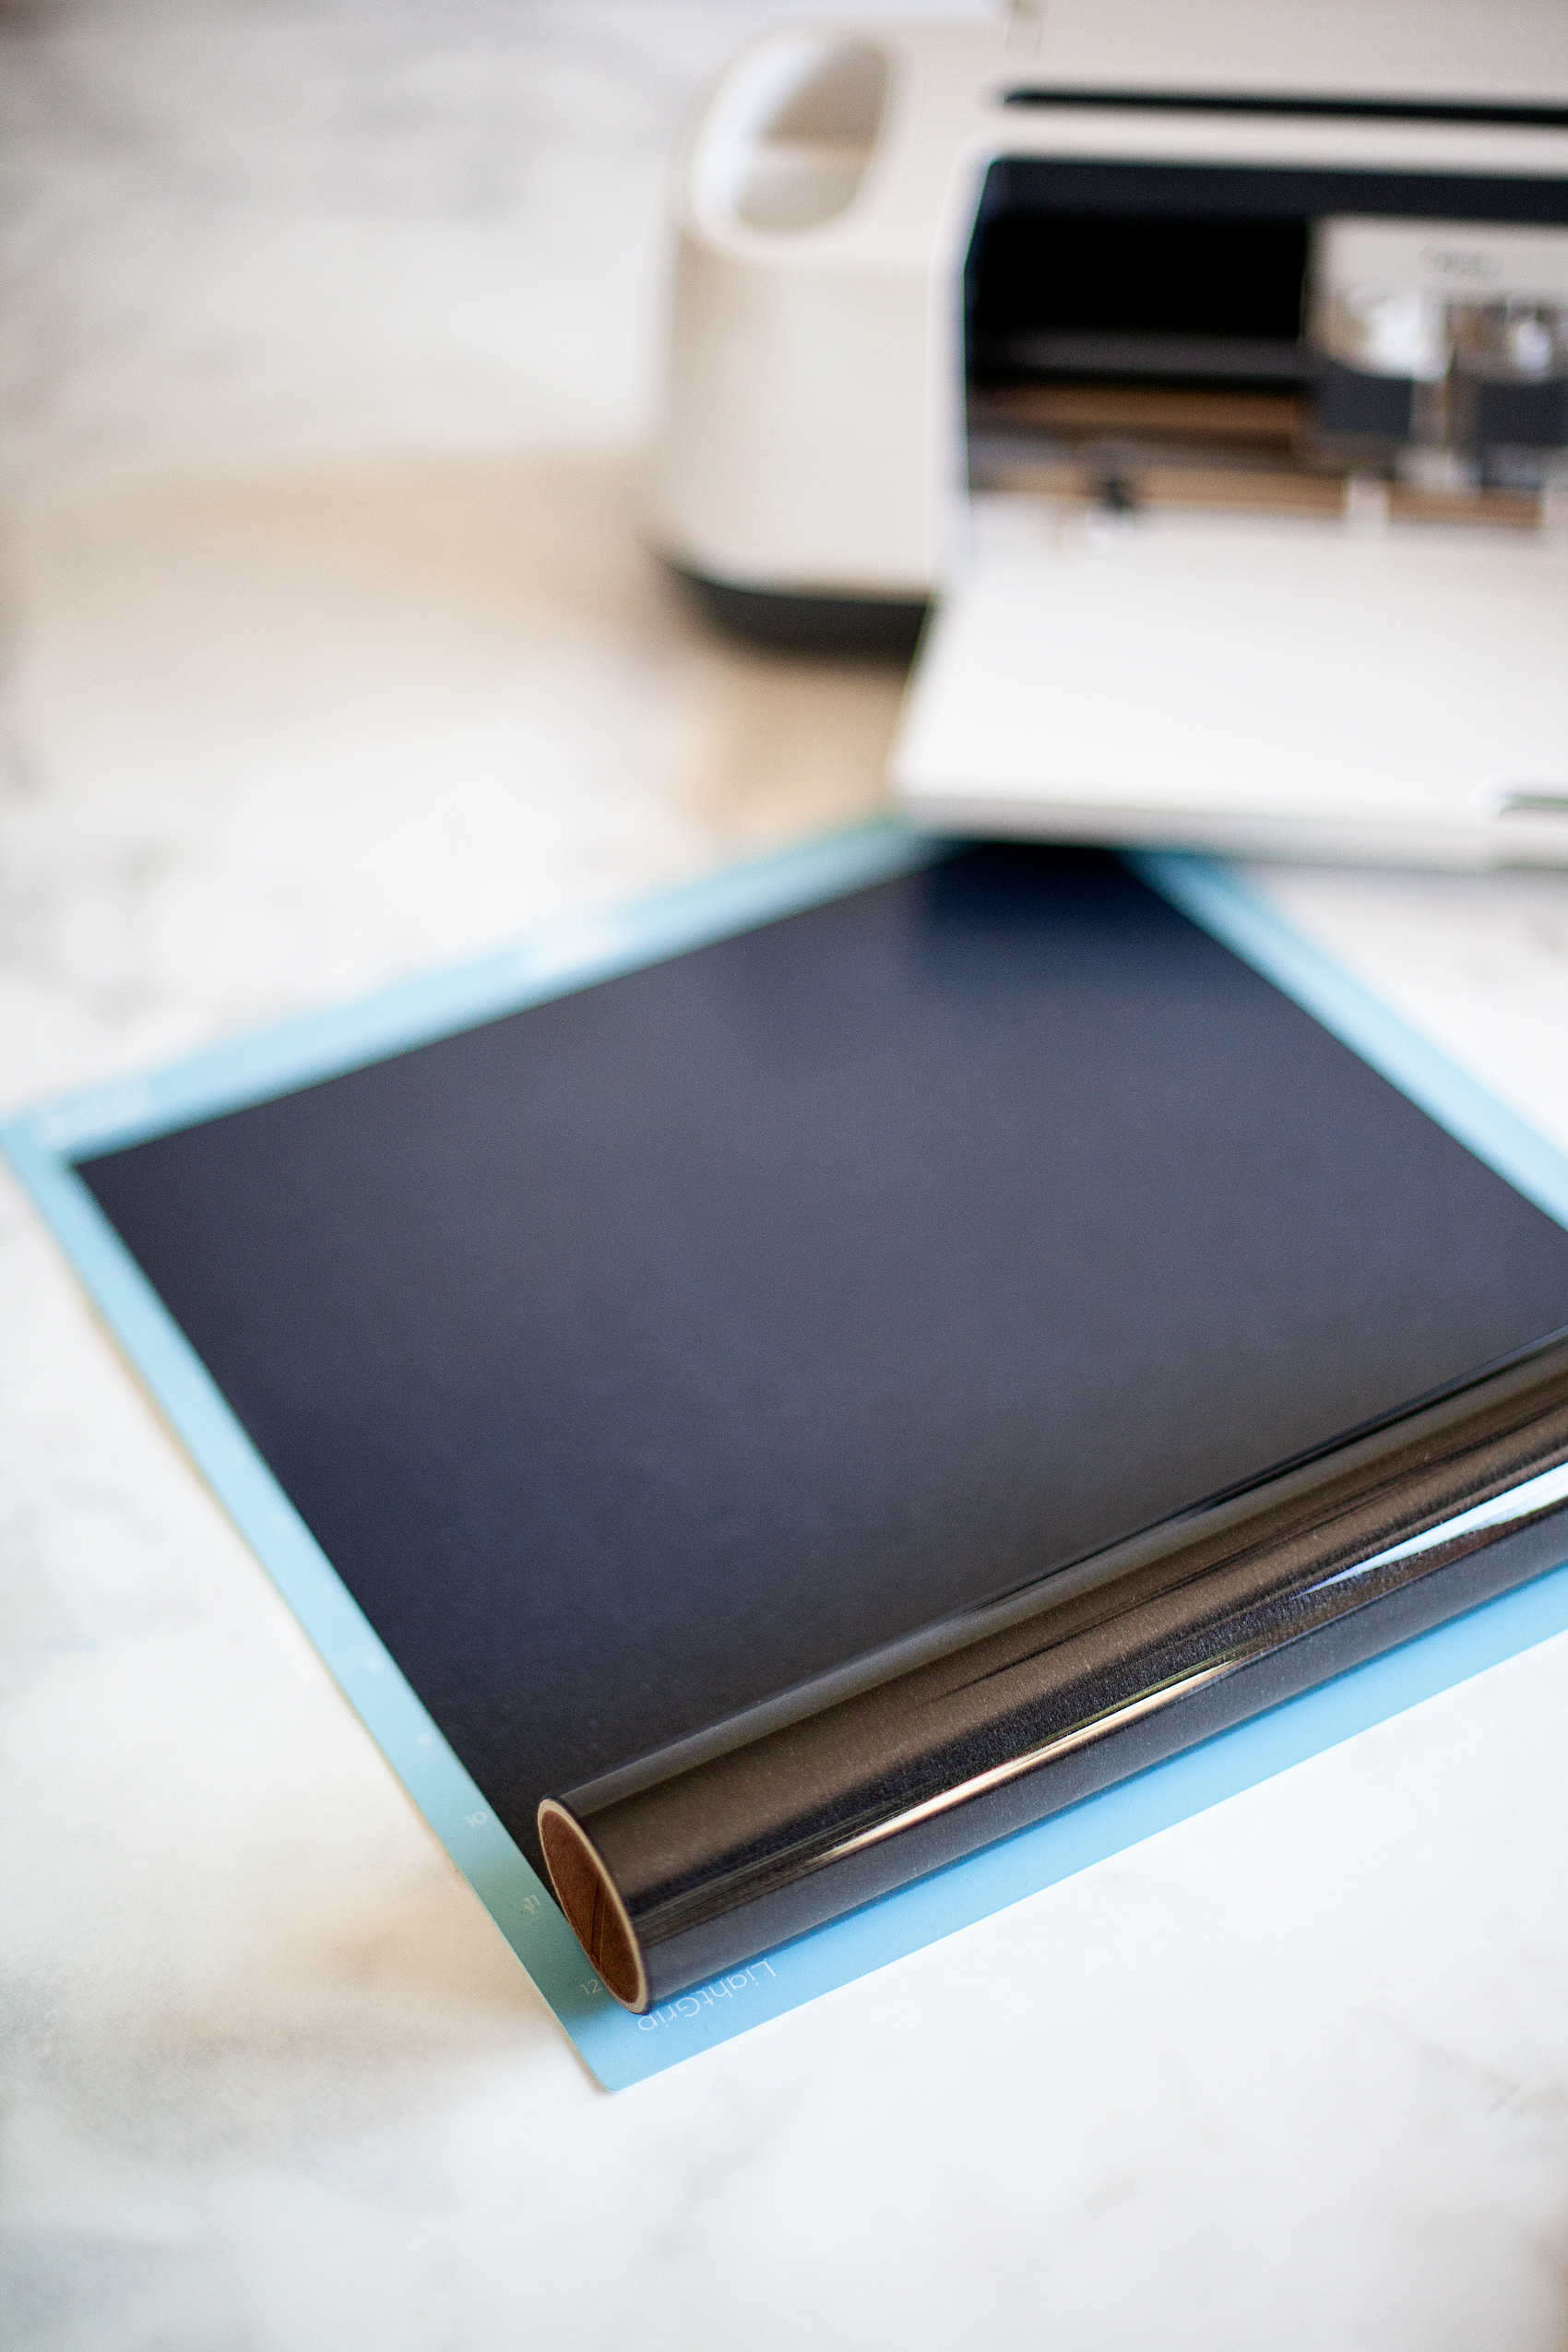
Quick tip… I leave the vinyl on the roll while I am cutting it. It doesn’t interfere with the cutting process and it cuts down on waste.
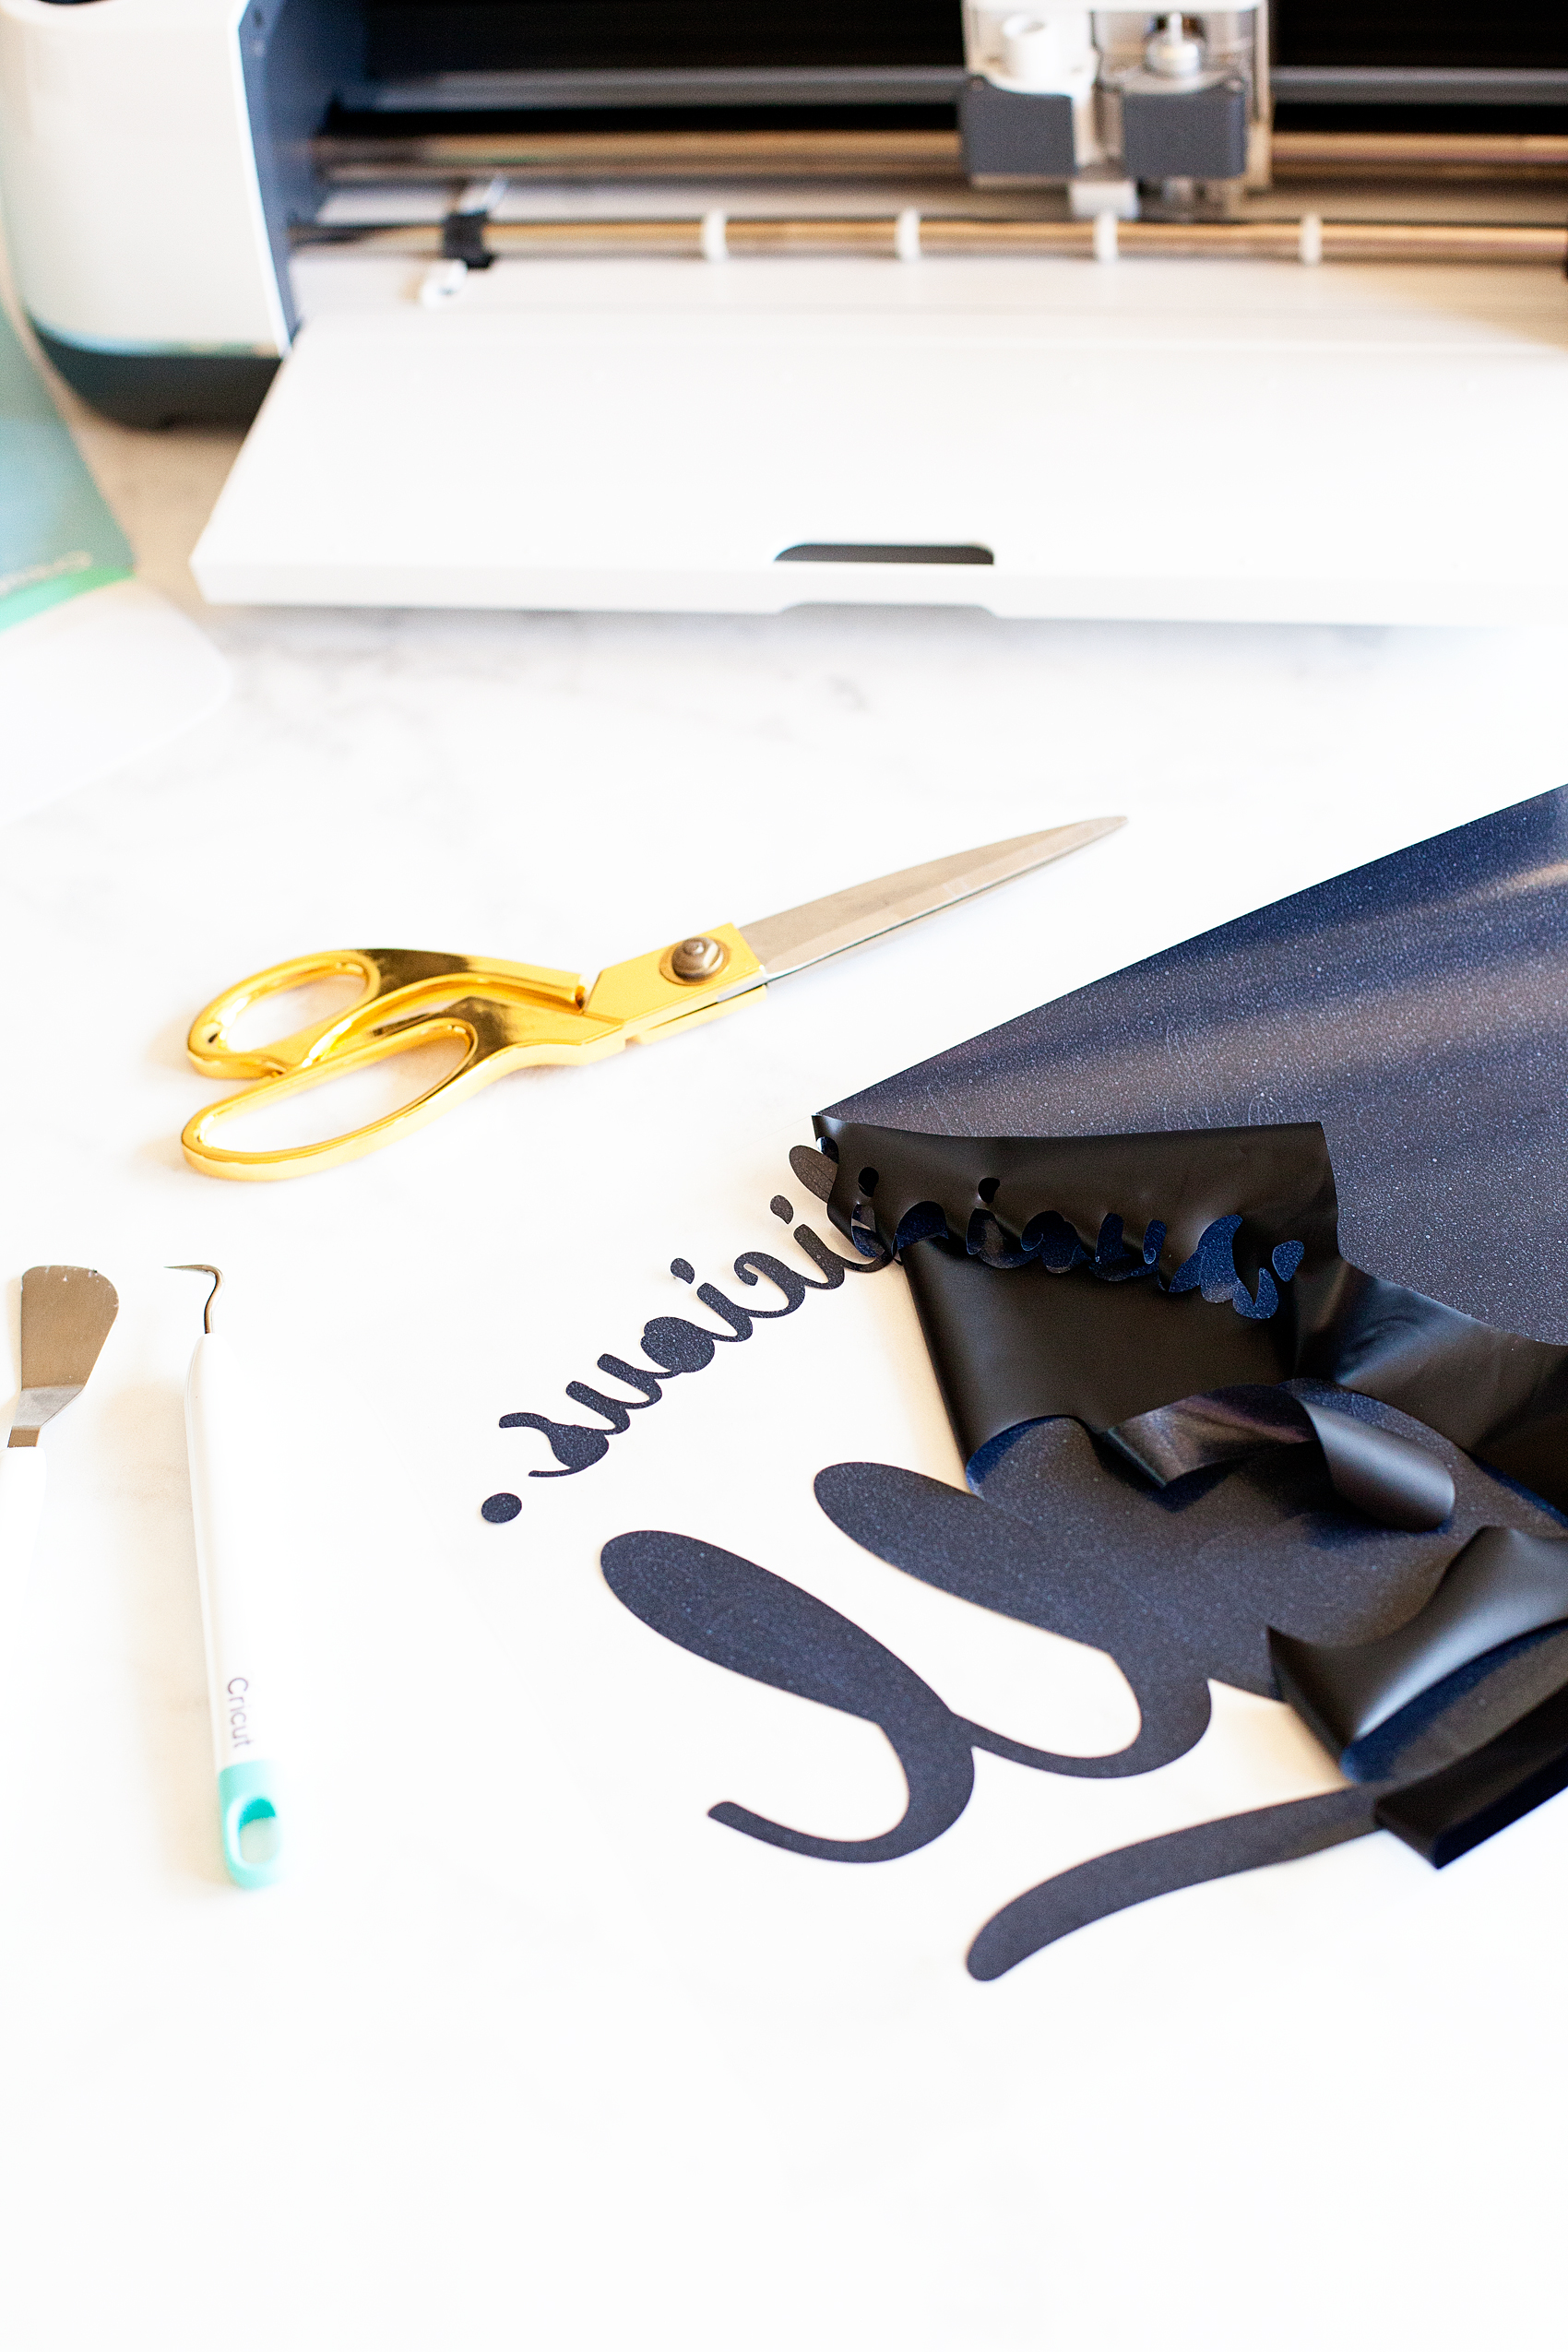
Then you’ll need to weed your design to remove the excess vinyl.
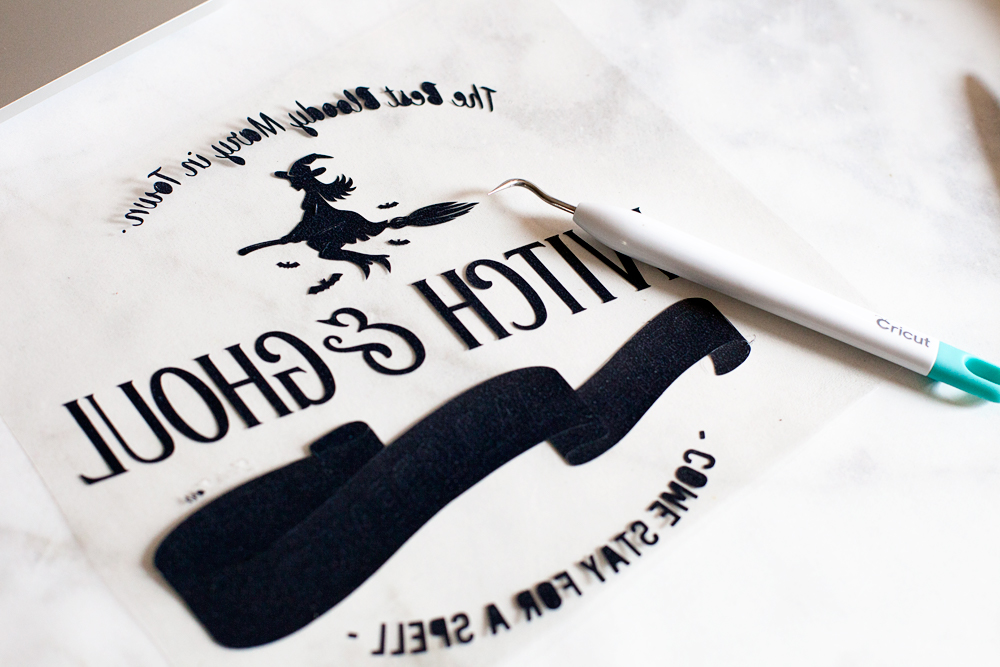
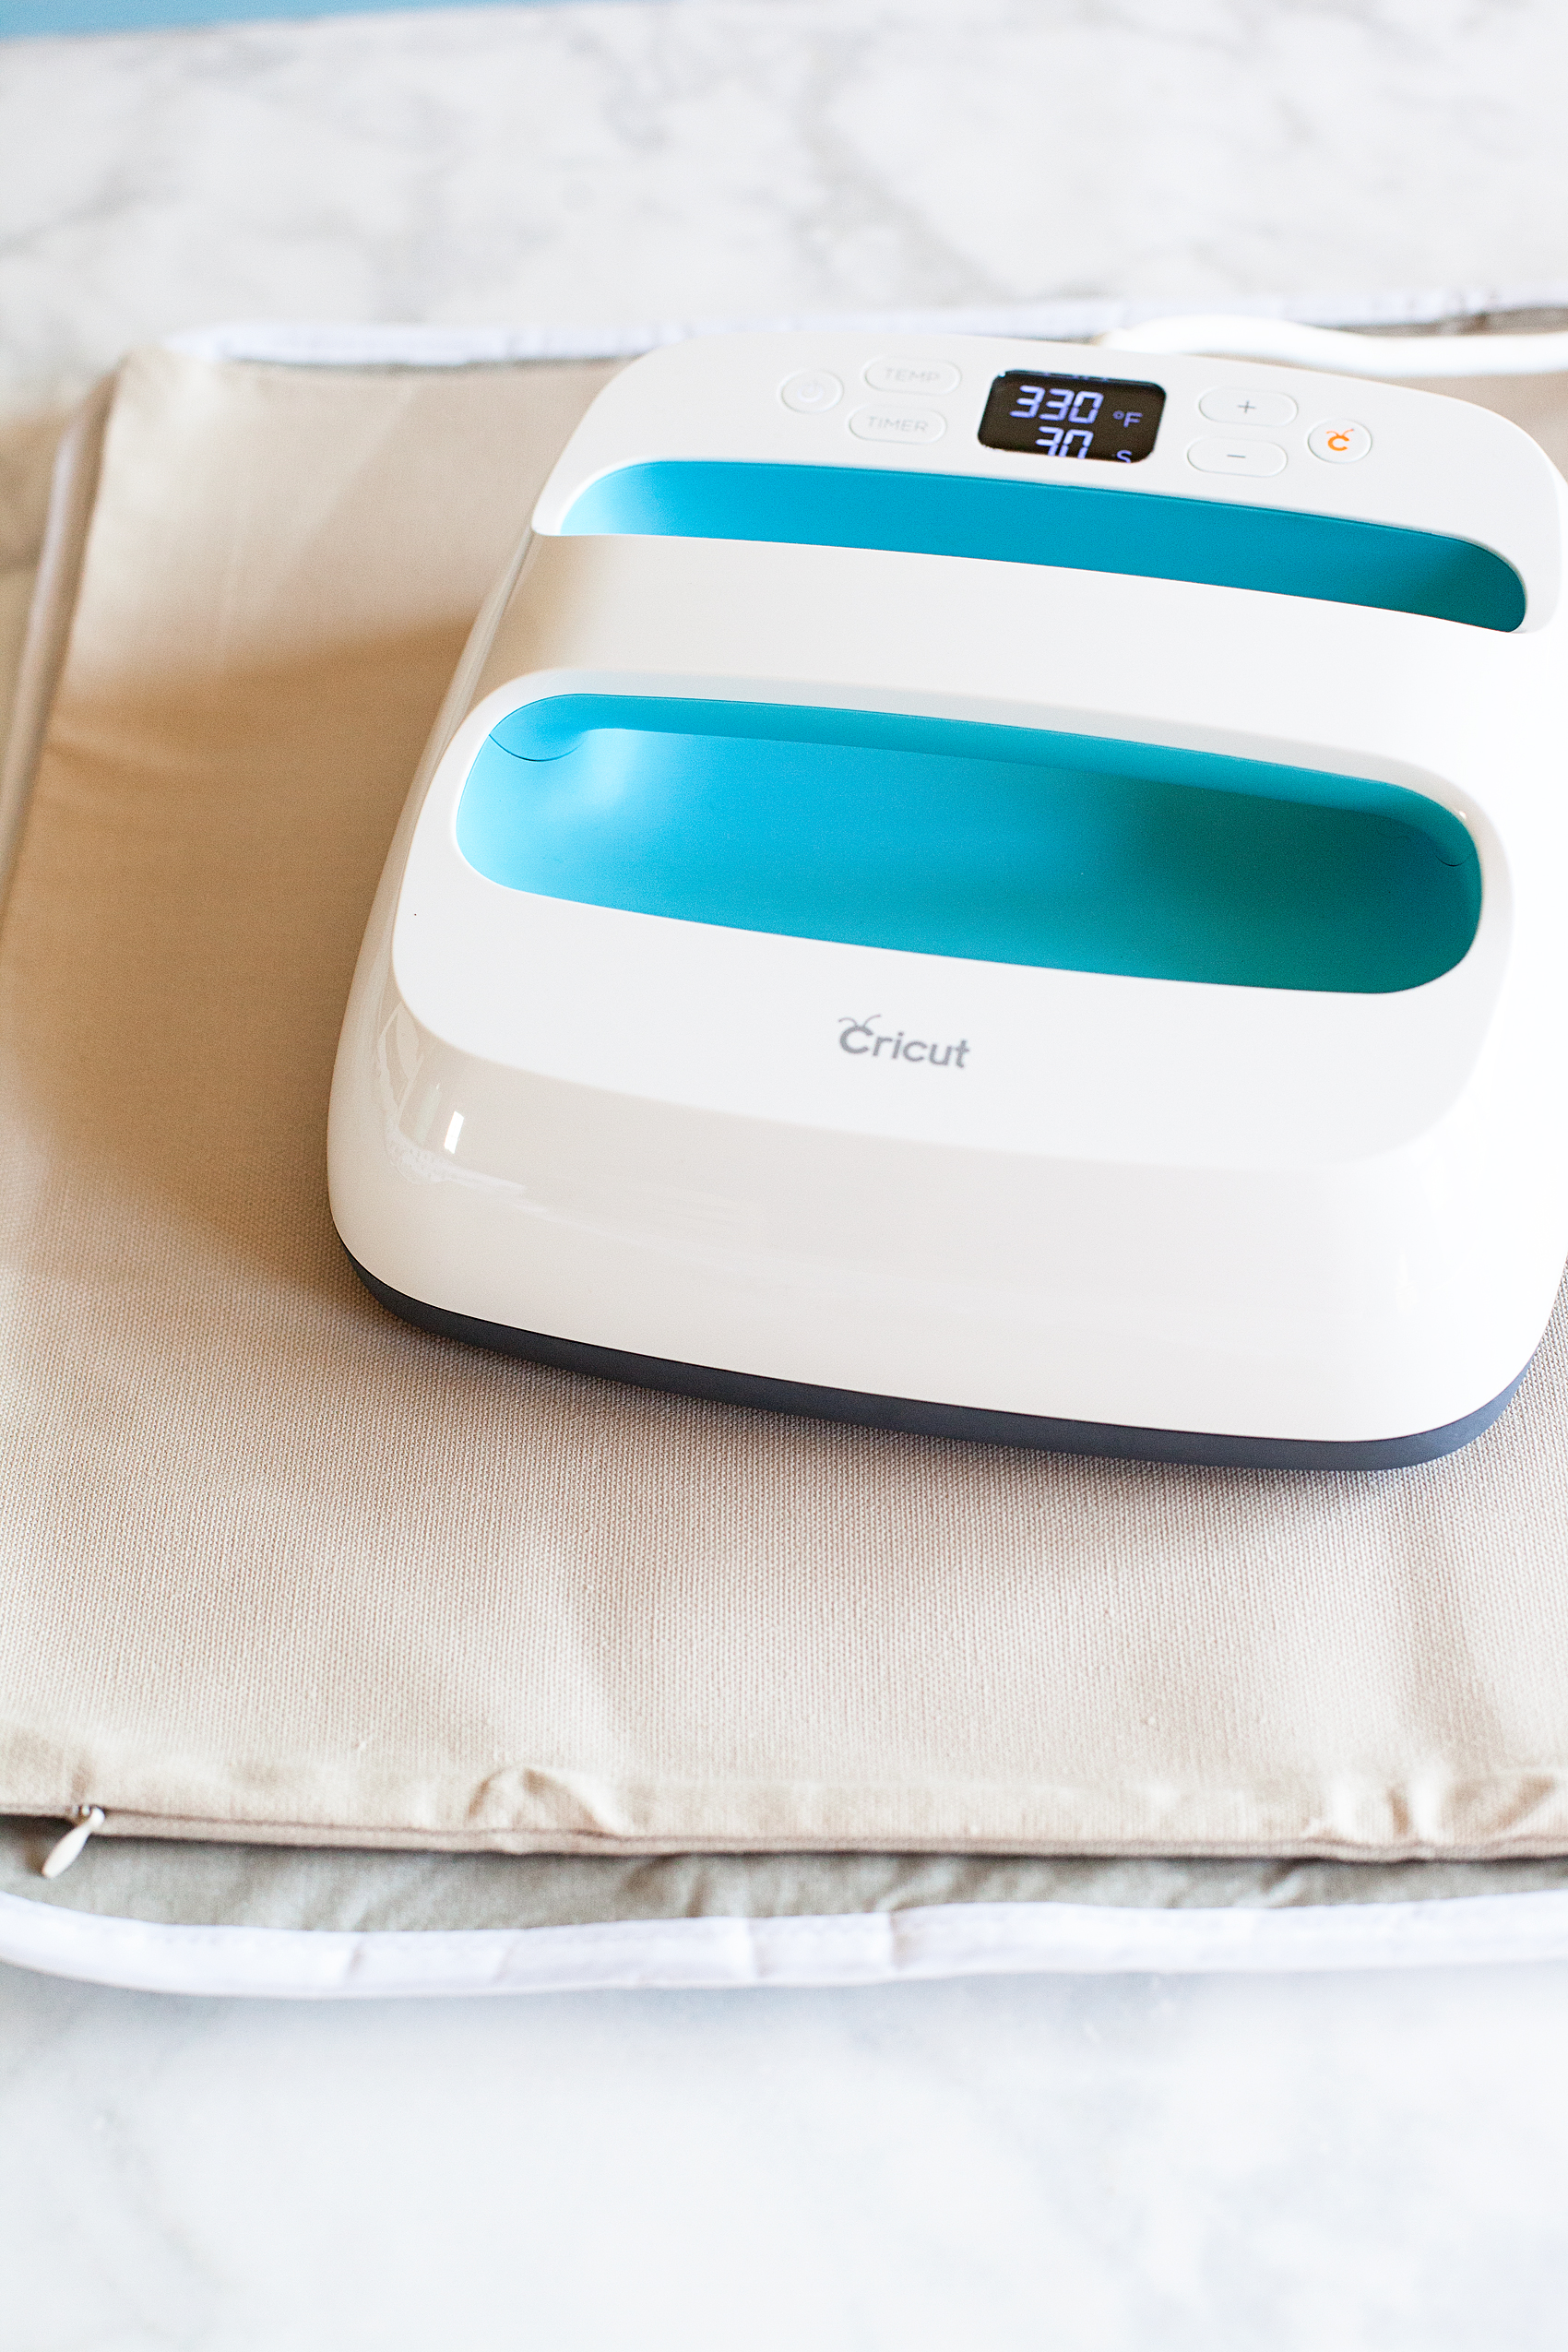
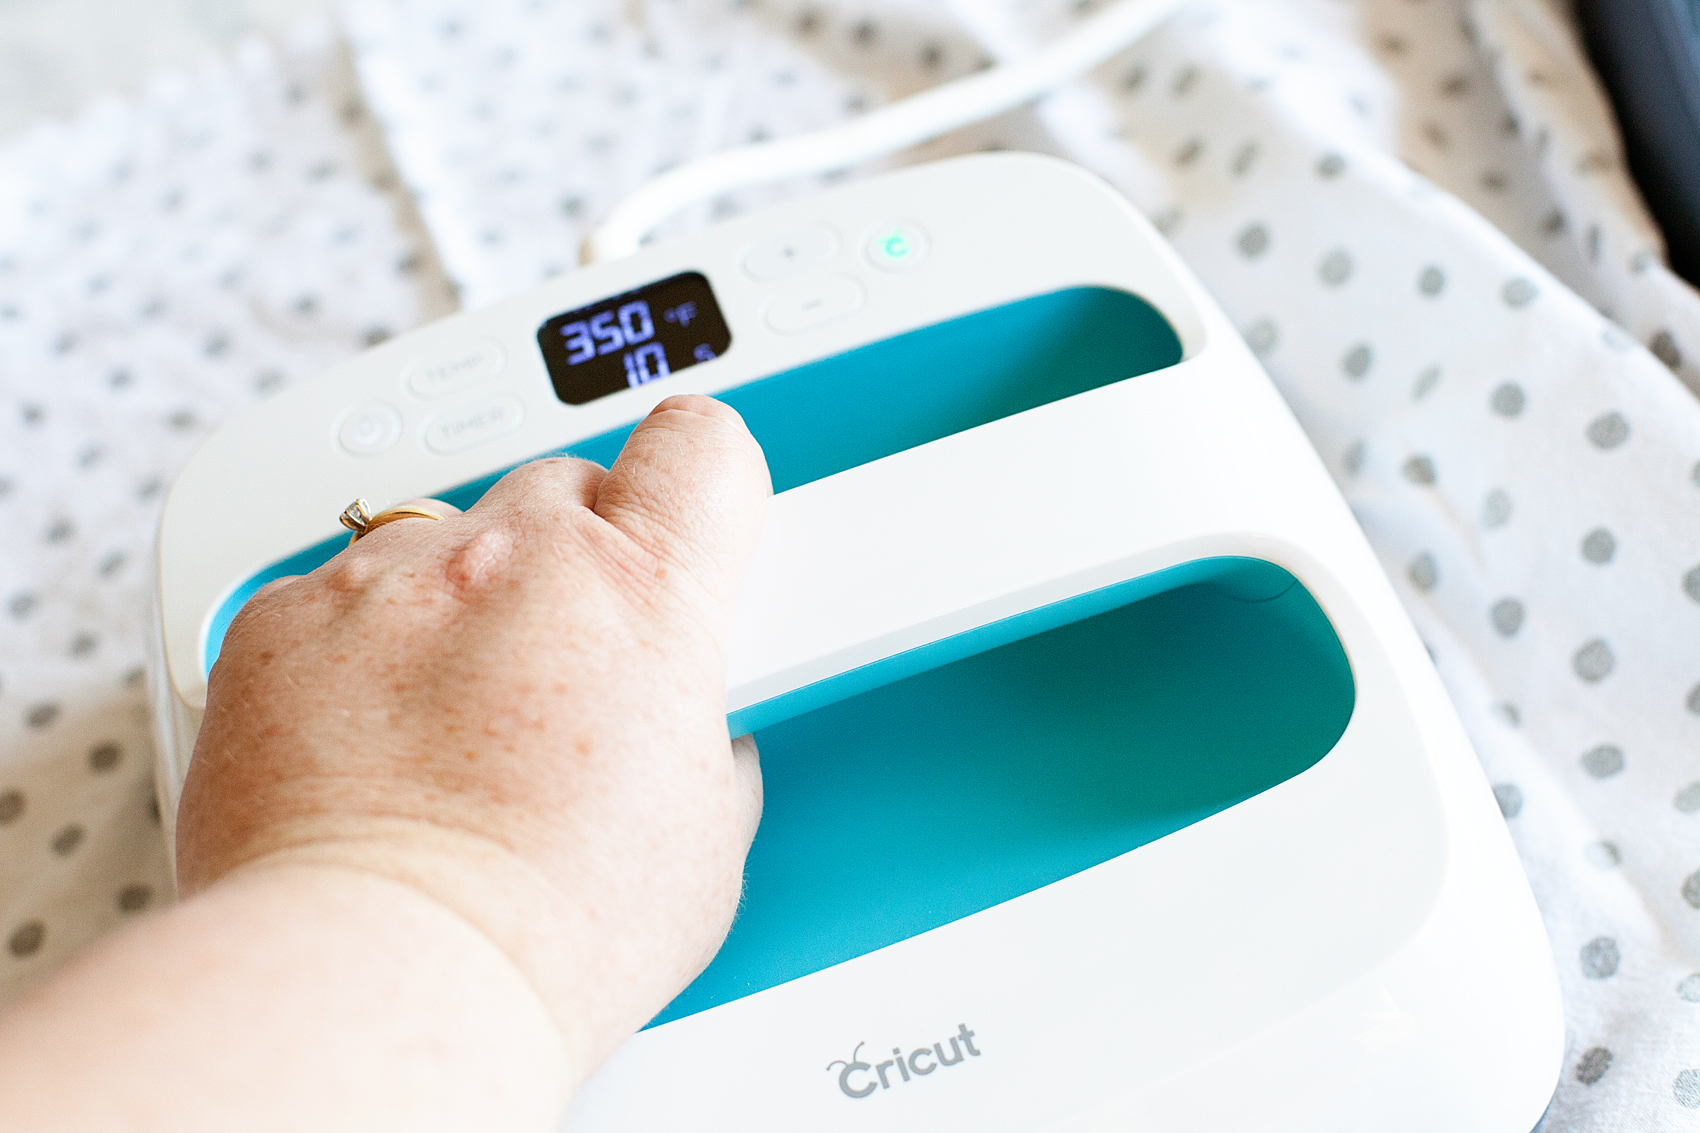
While you are weeding your vinyl, you’ll want to pre-heat your Cricut Easy Press. Once you finish with the weeding process, you should unroll some of your paper and place something at the bottom of the roll to keep it from rolling back-up.
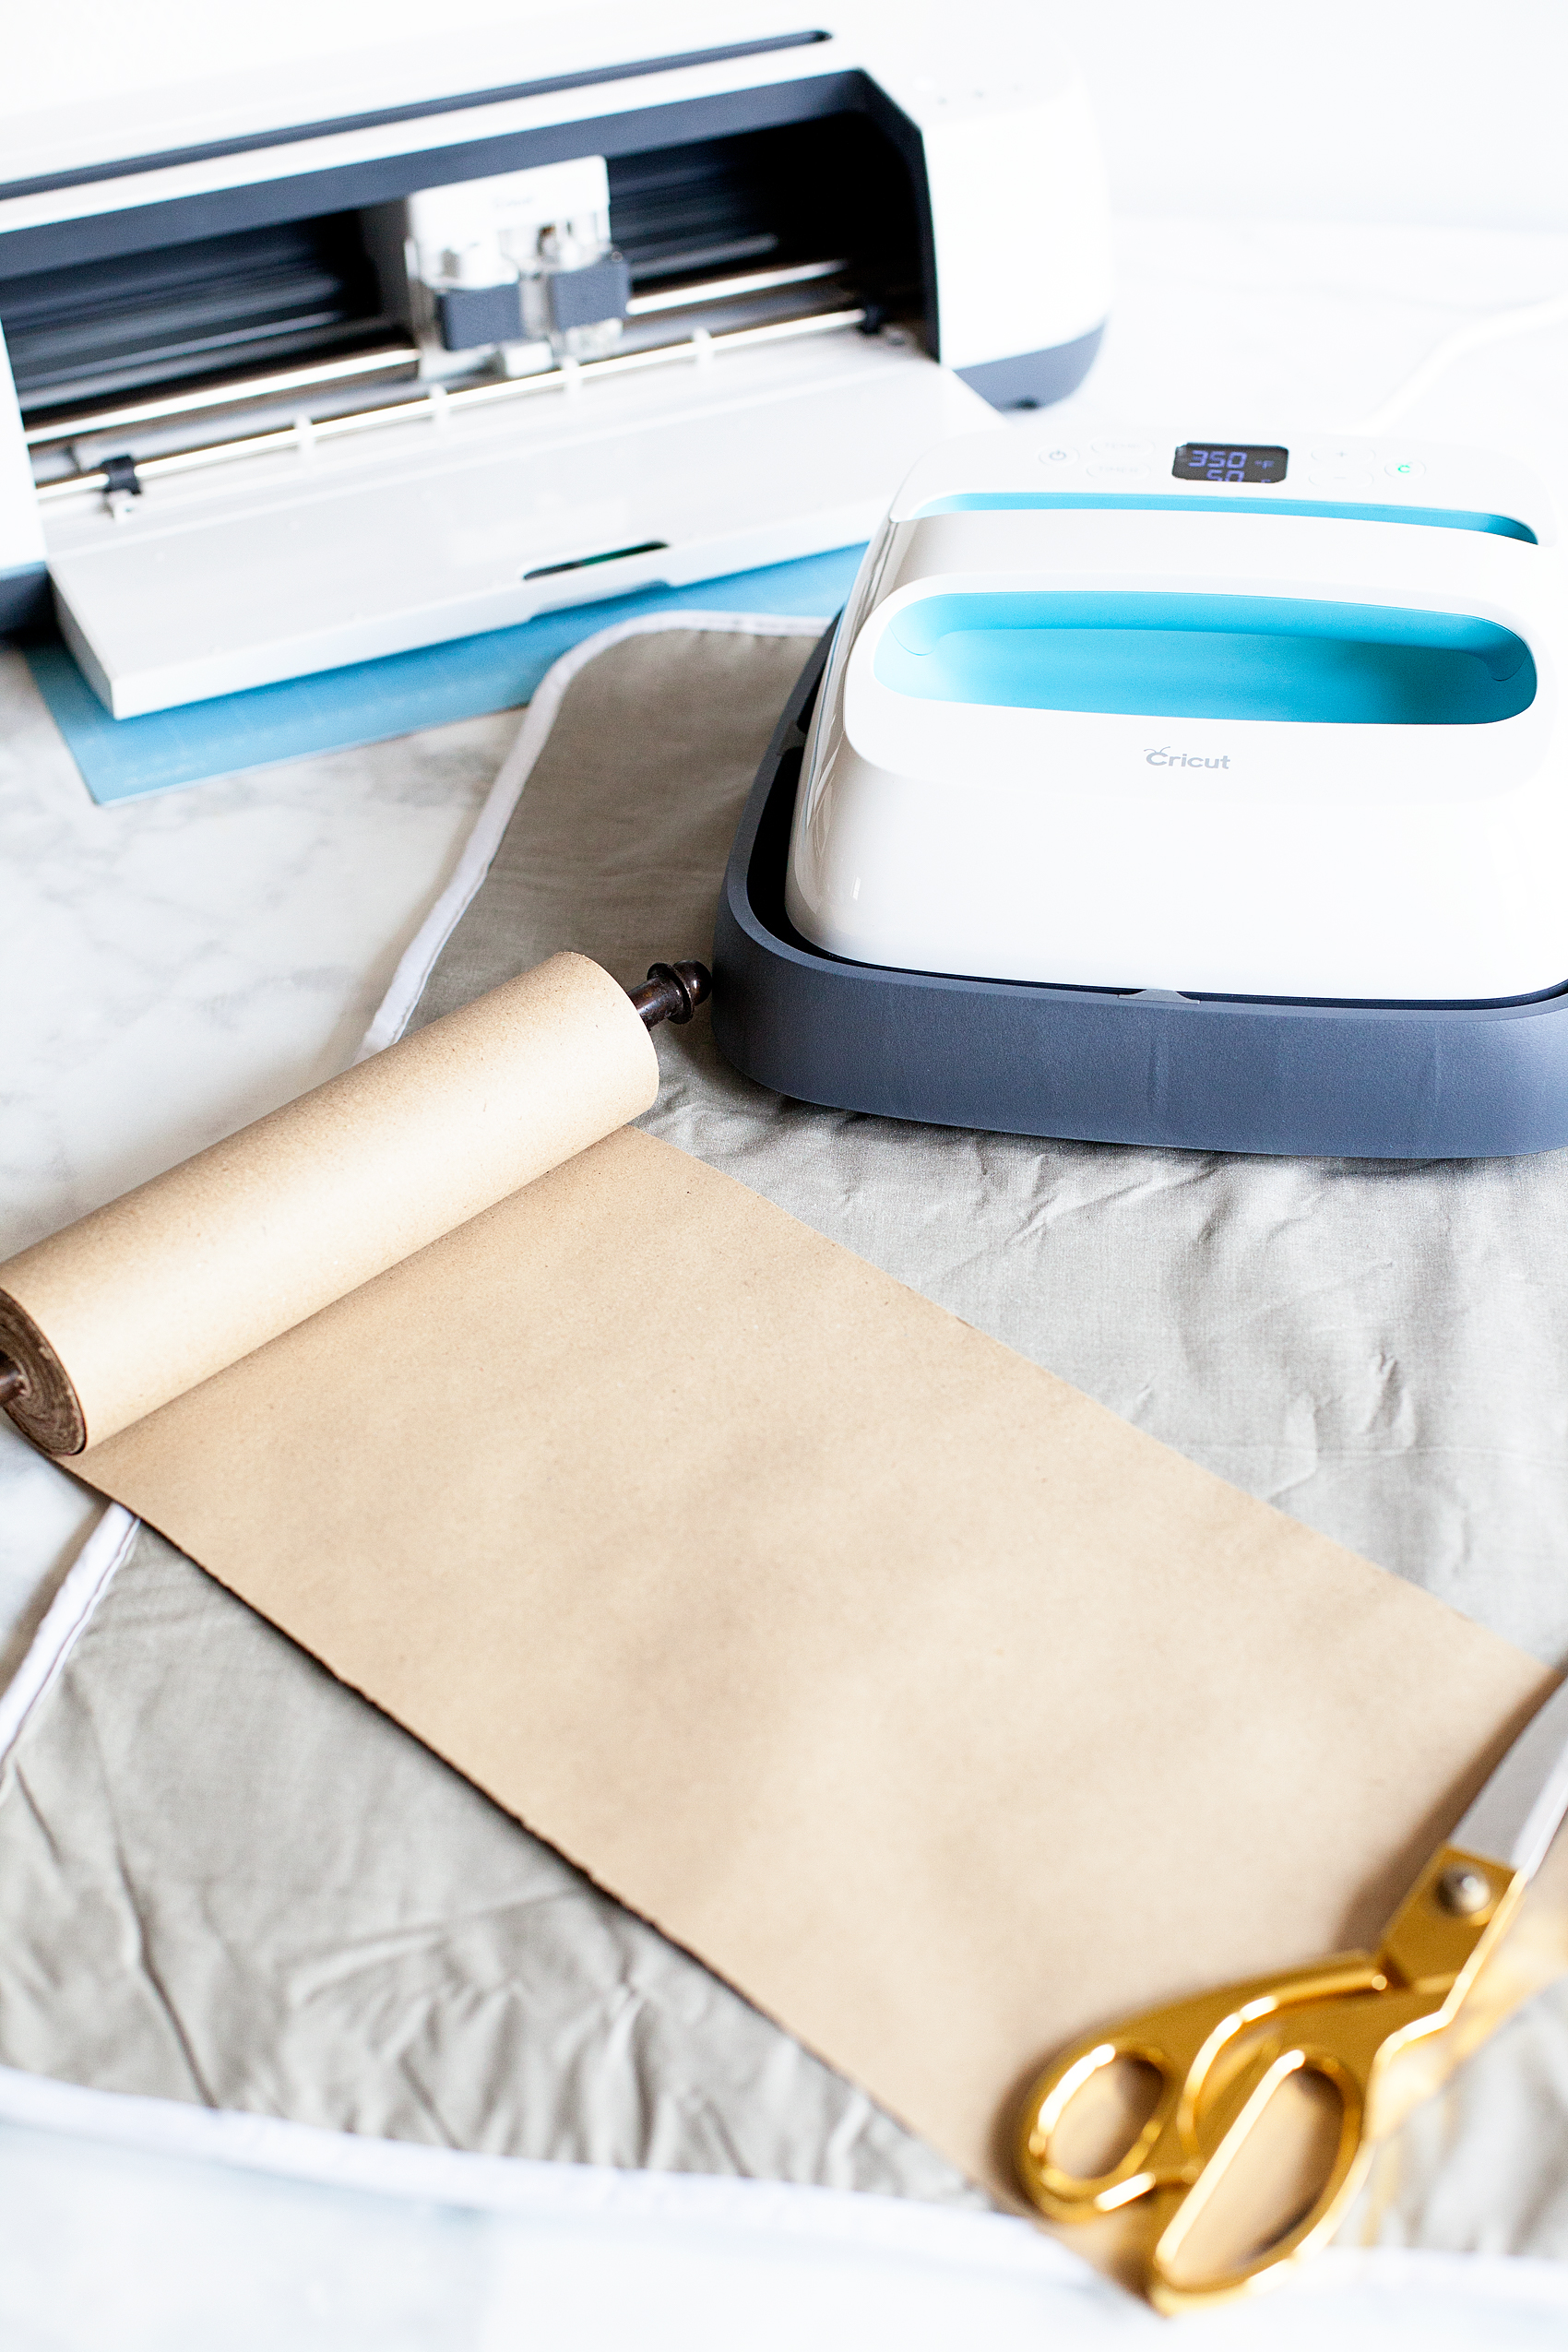
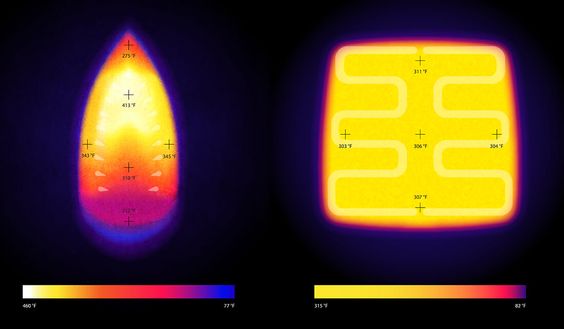
I like to pre-heat my surface before I lay down my design. The transfer seems to work best that way. Then I center the design onto the paper like so…
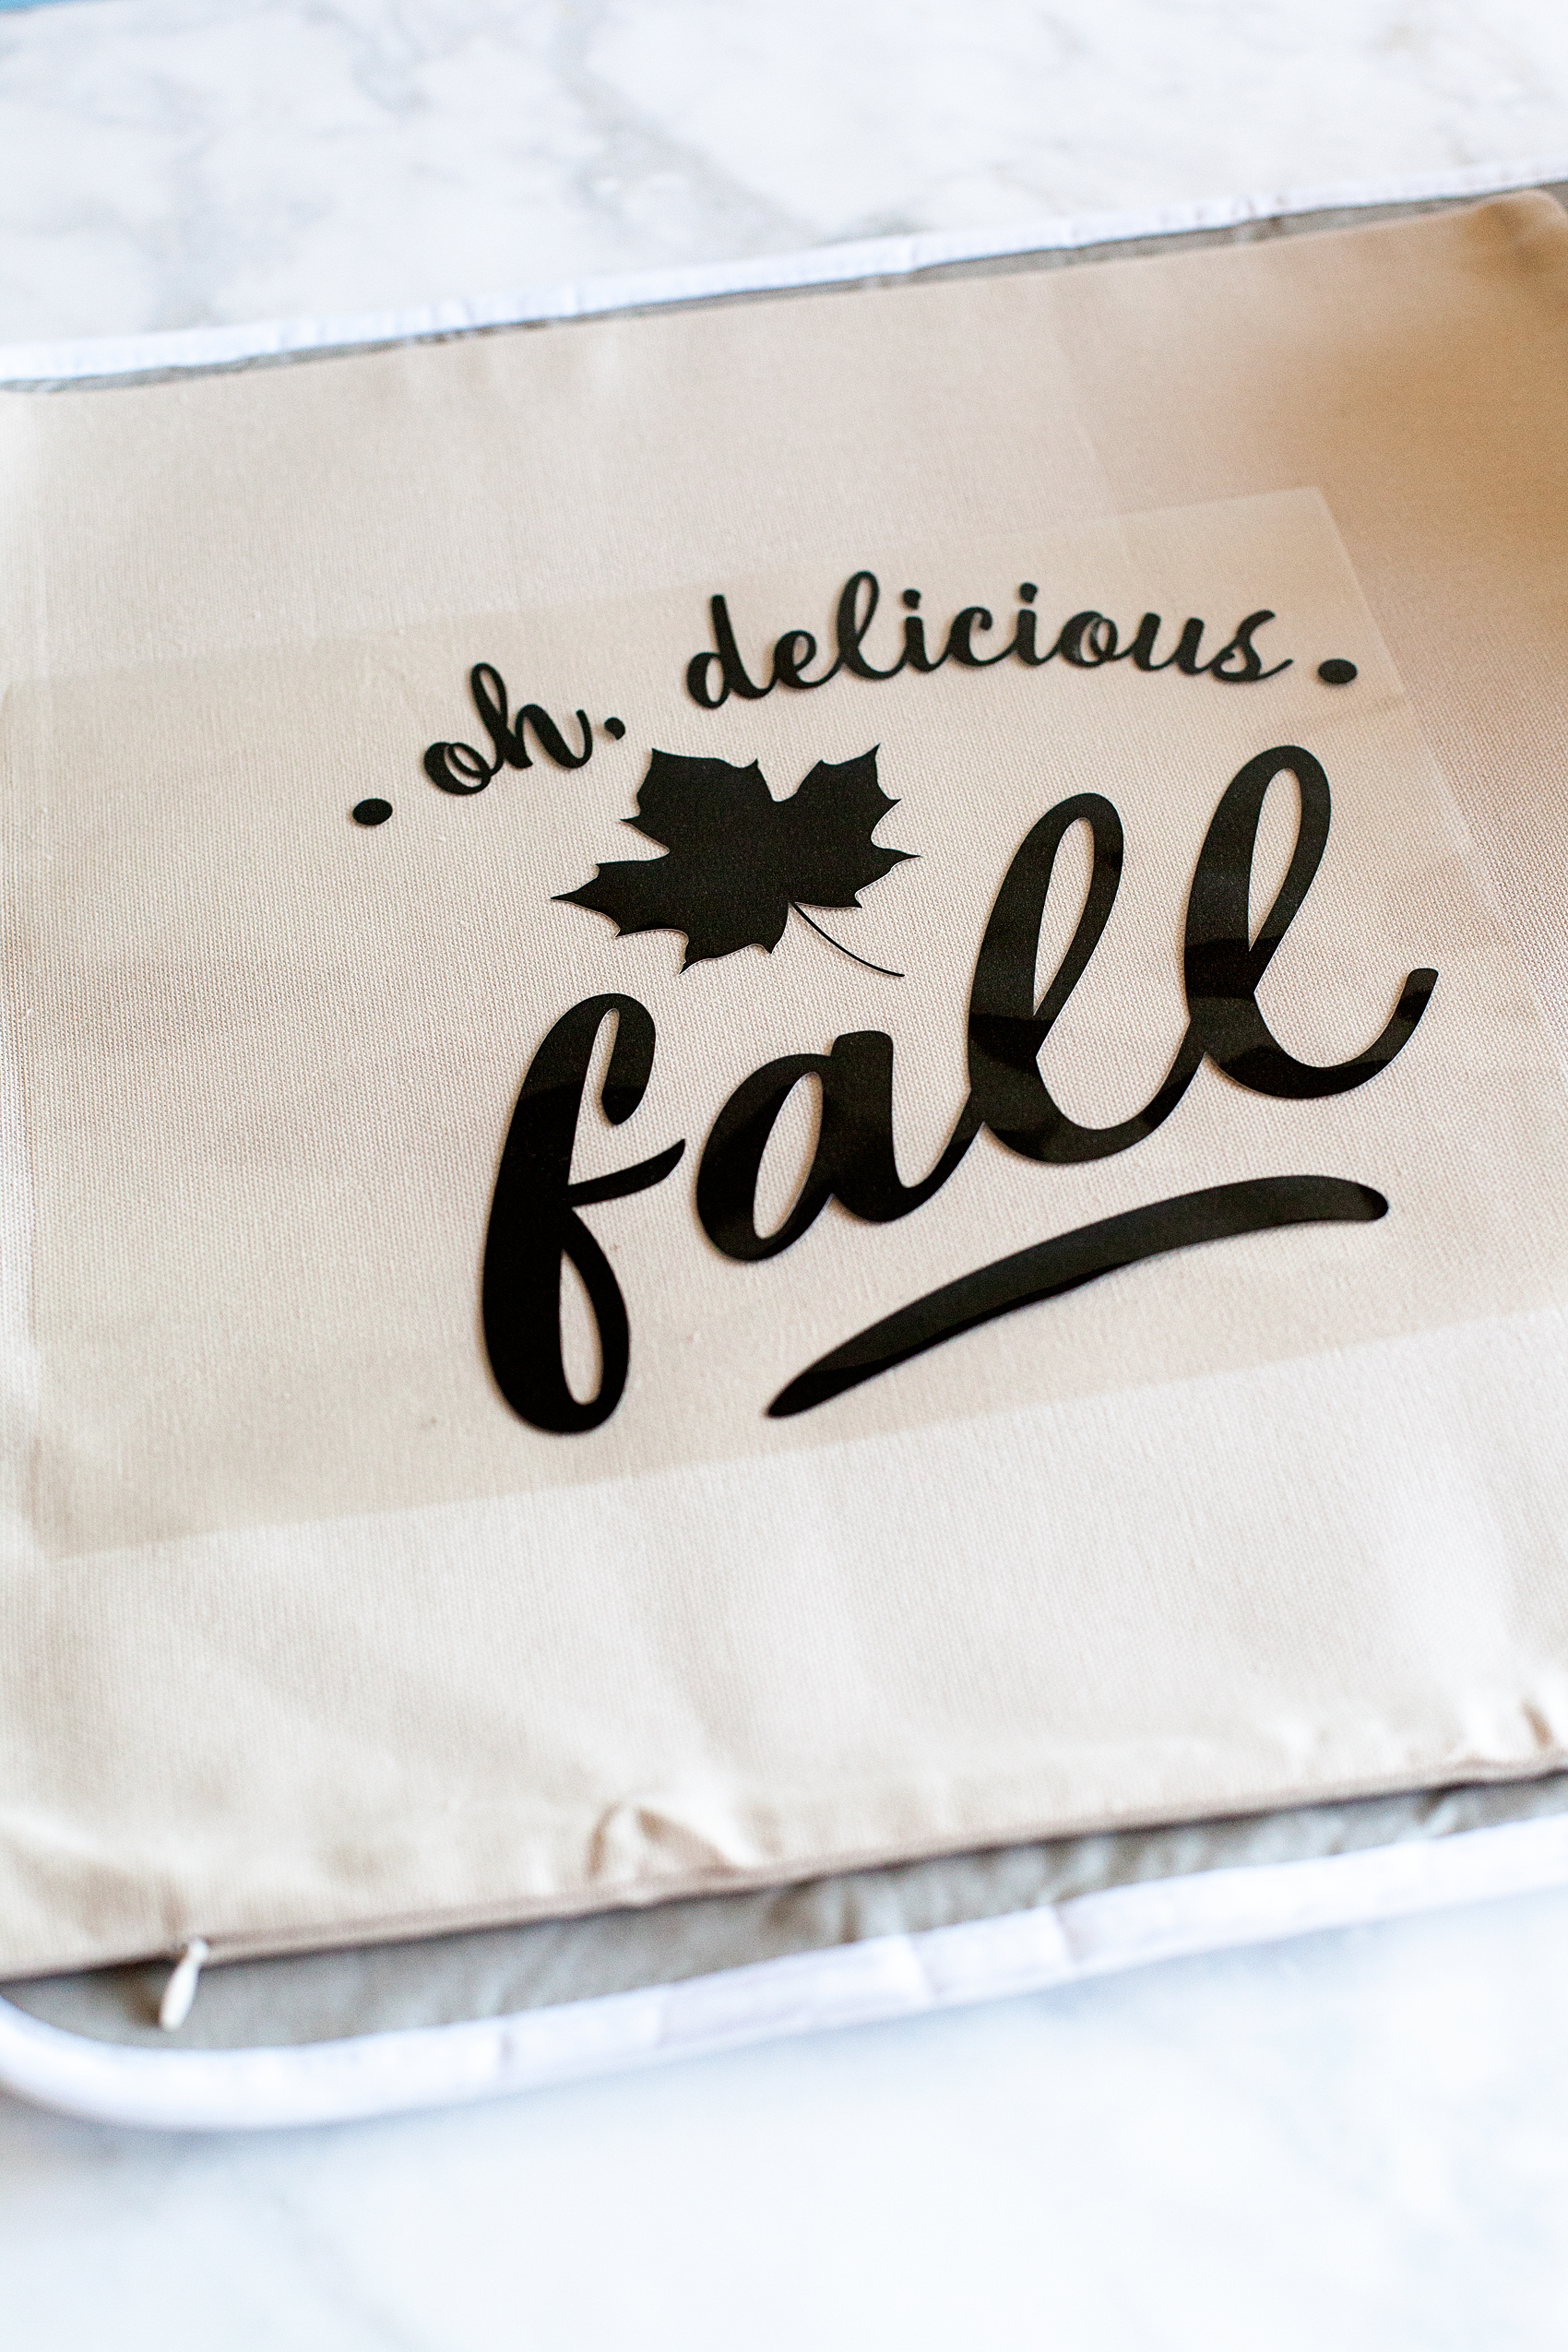
I then cover it with the cotton tea towel to protect the paper.

Then I place the Easy Press or the iron right on top and let it works it’s magic. I have found that 350˚ for about 50 seconds typically does the trick. Then, I let it cool for a minute or two and then remove the plastic protective covering.
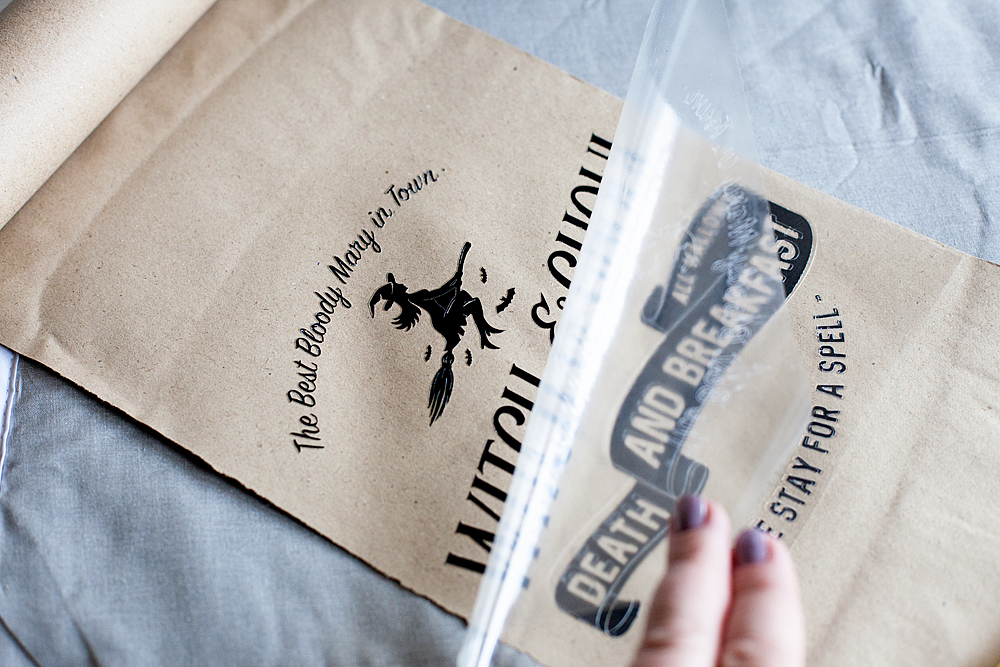
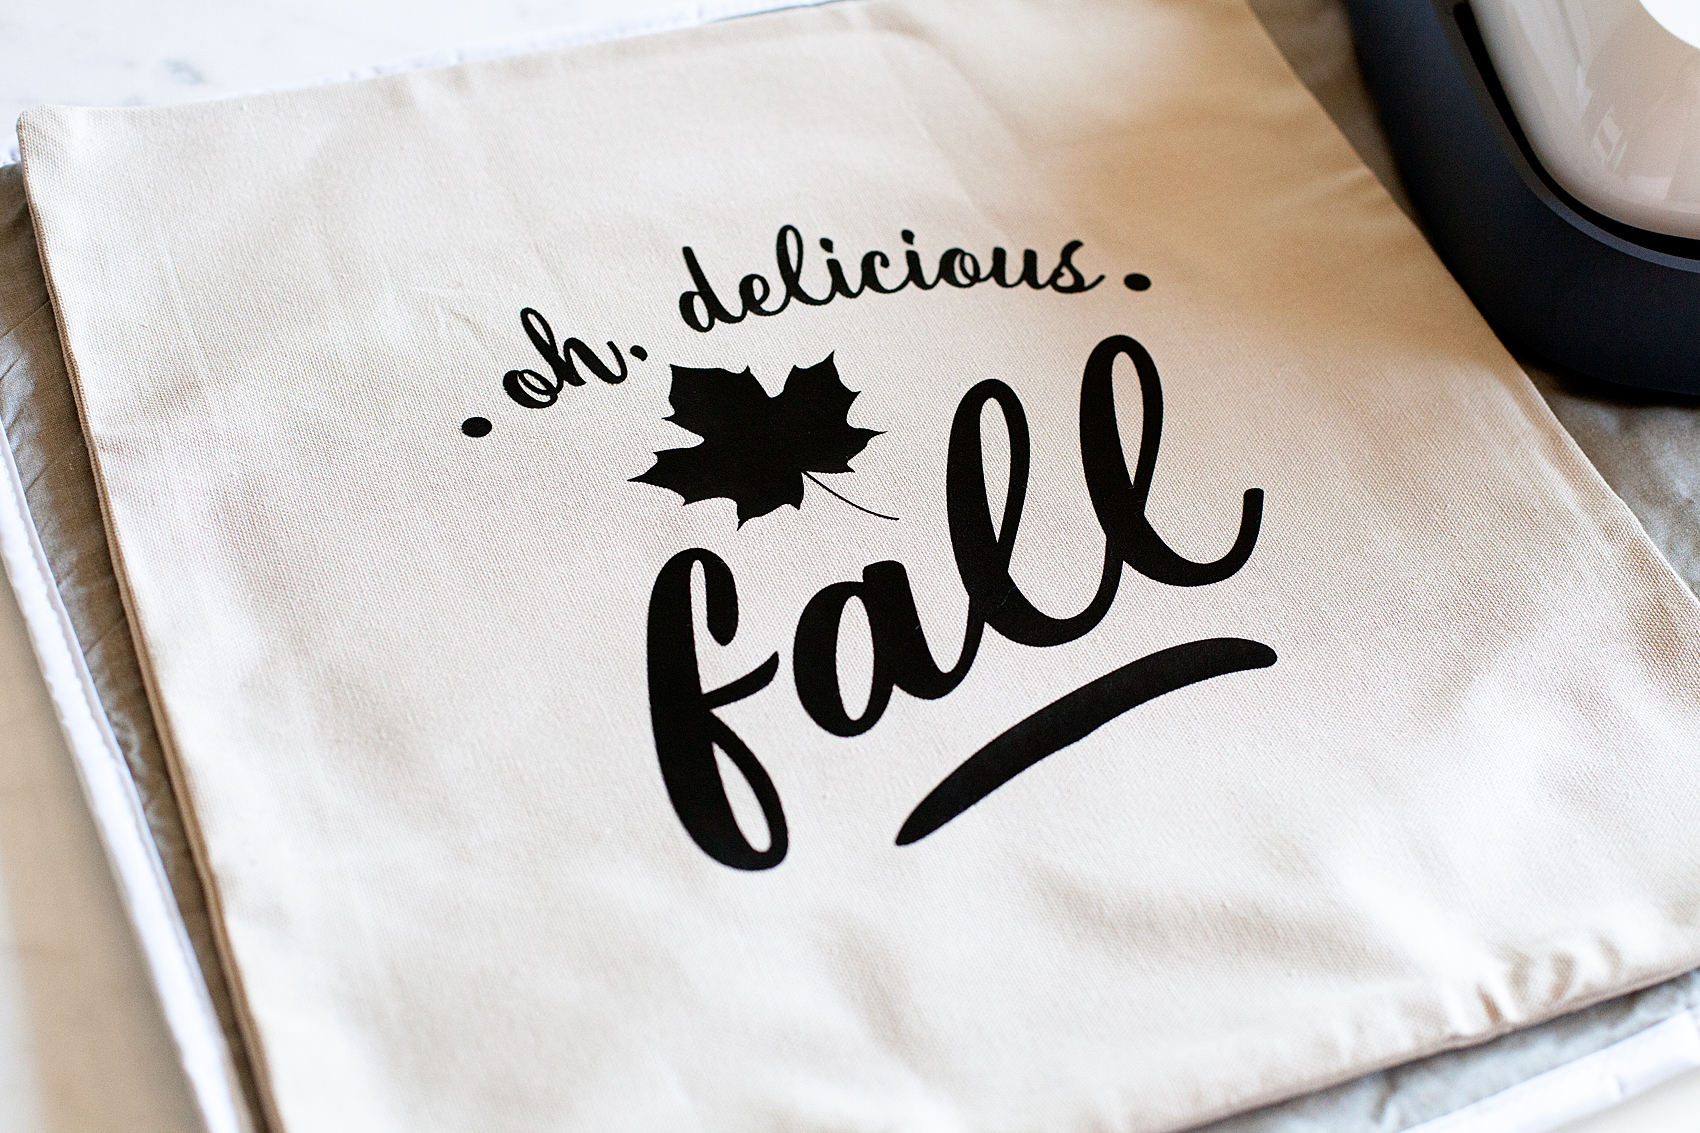
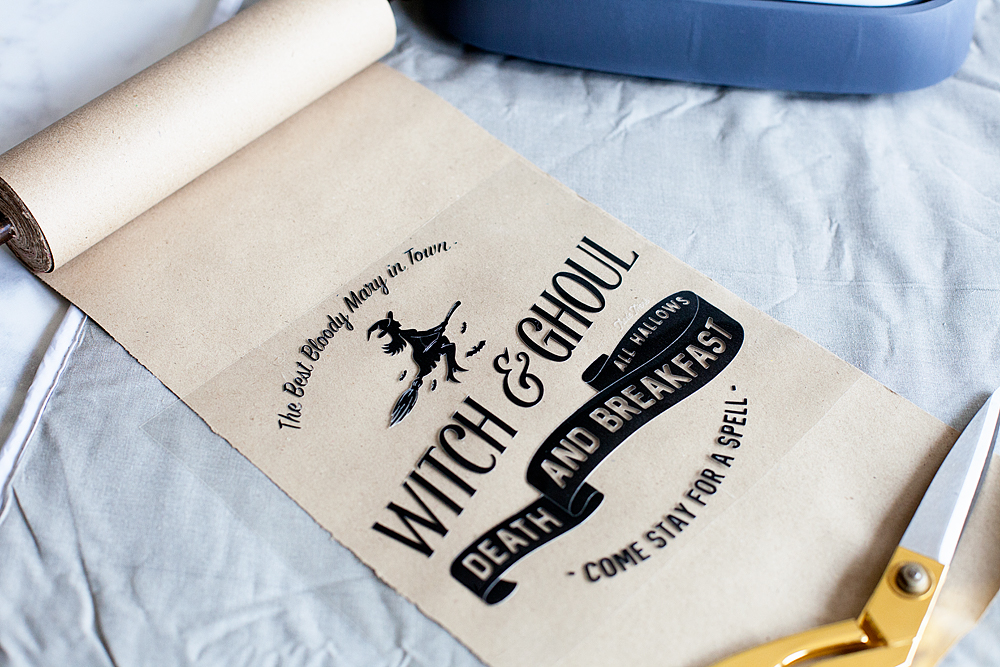
Replace the towel and do one more shot with the Easy Press. Voilá.. You’re finished!
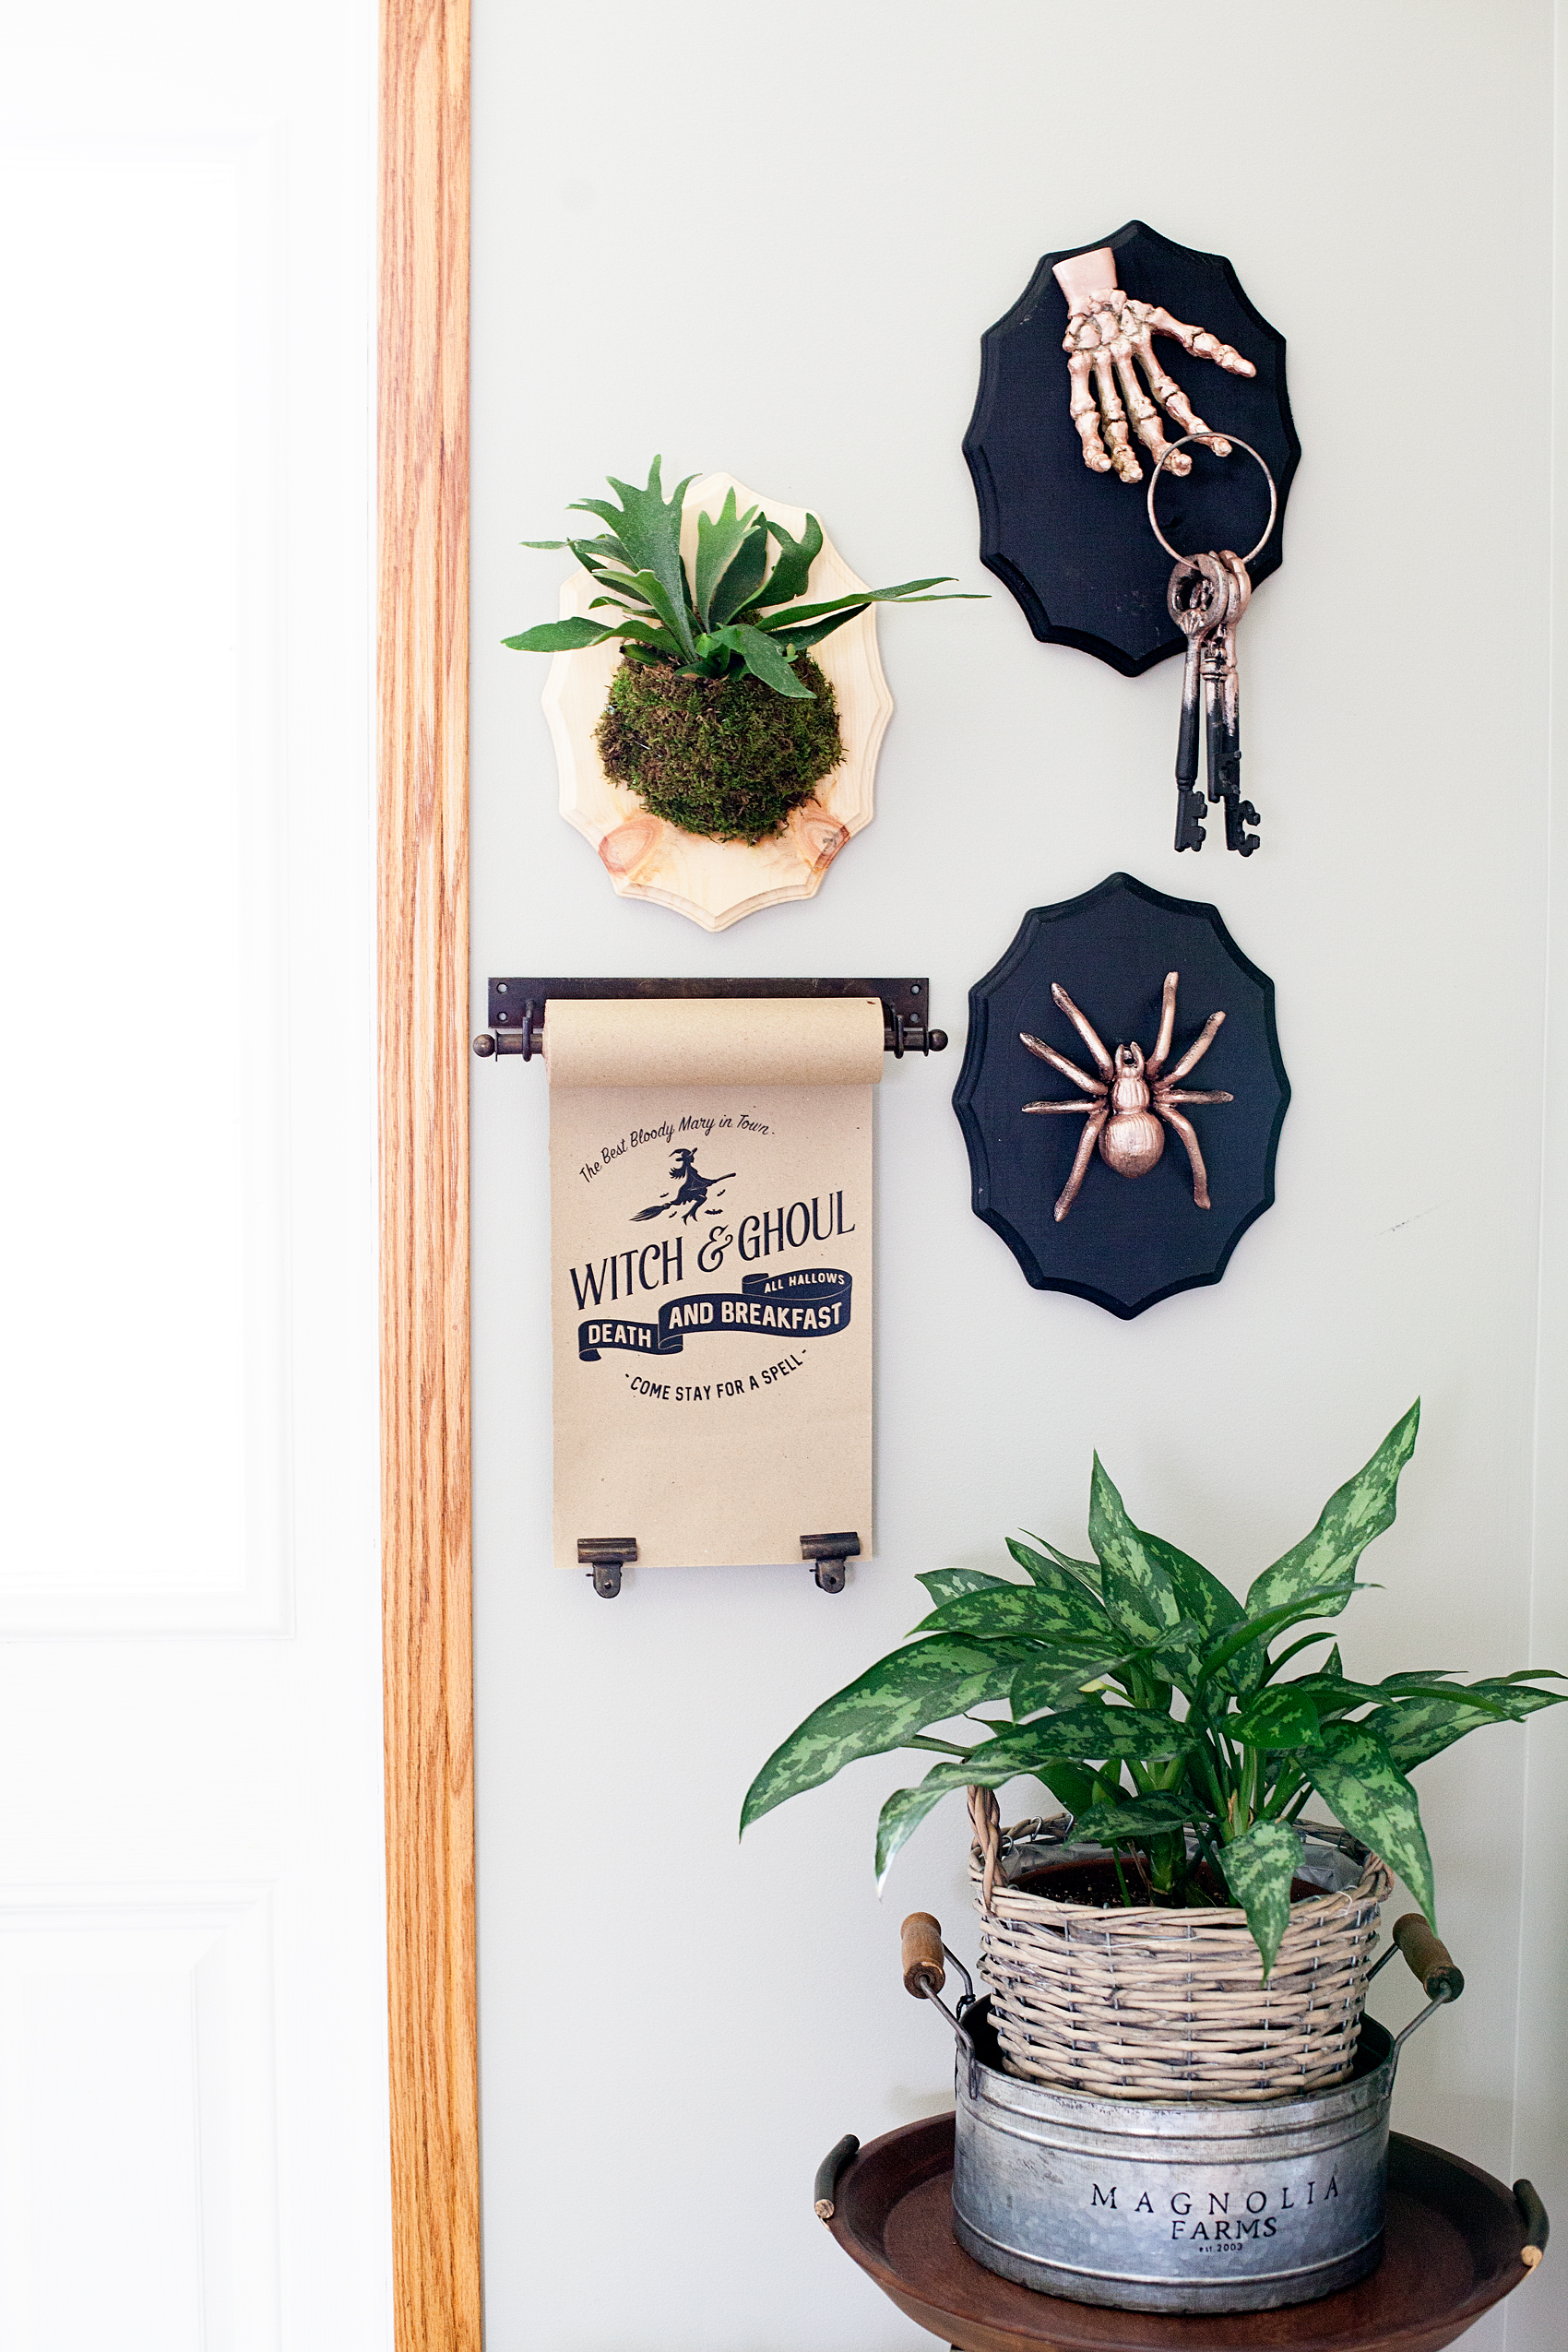
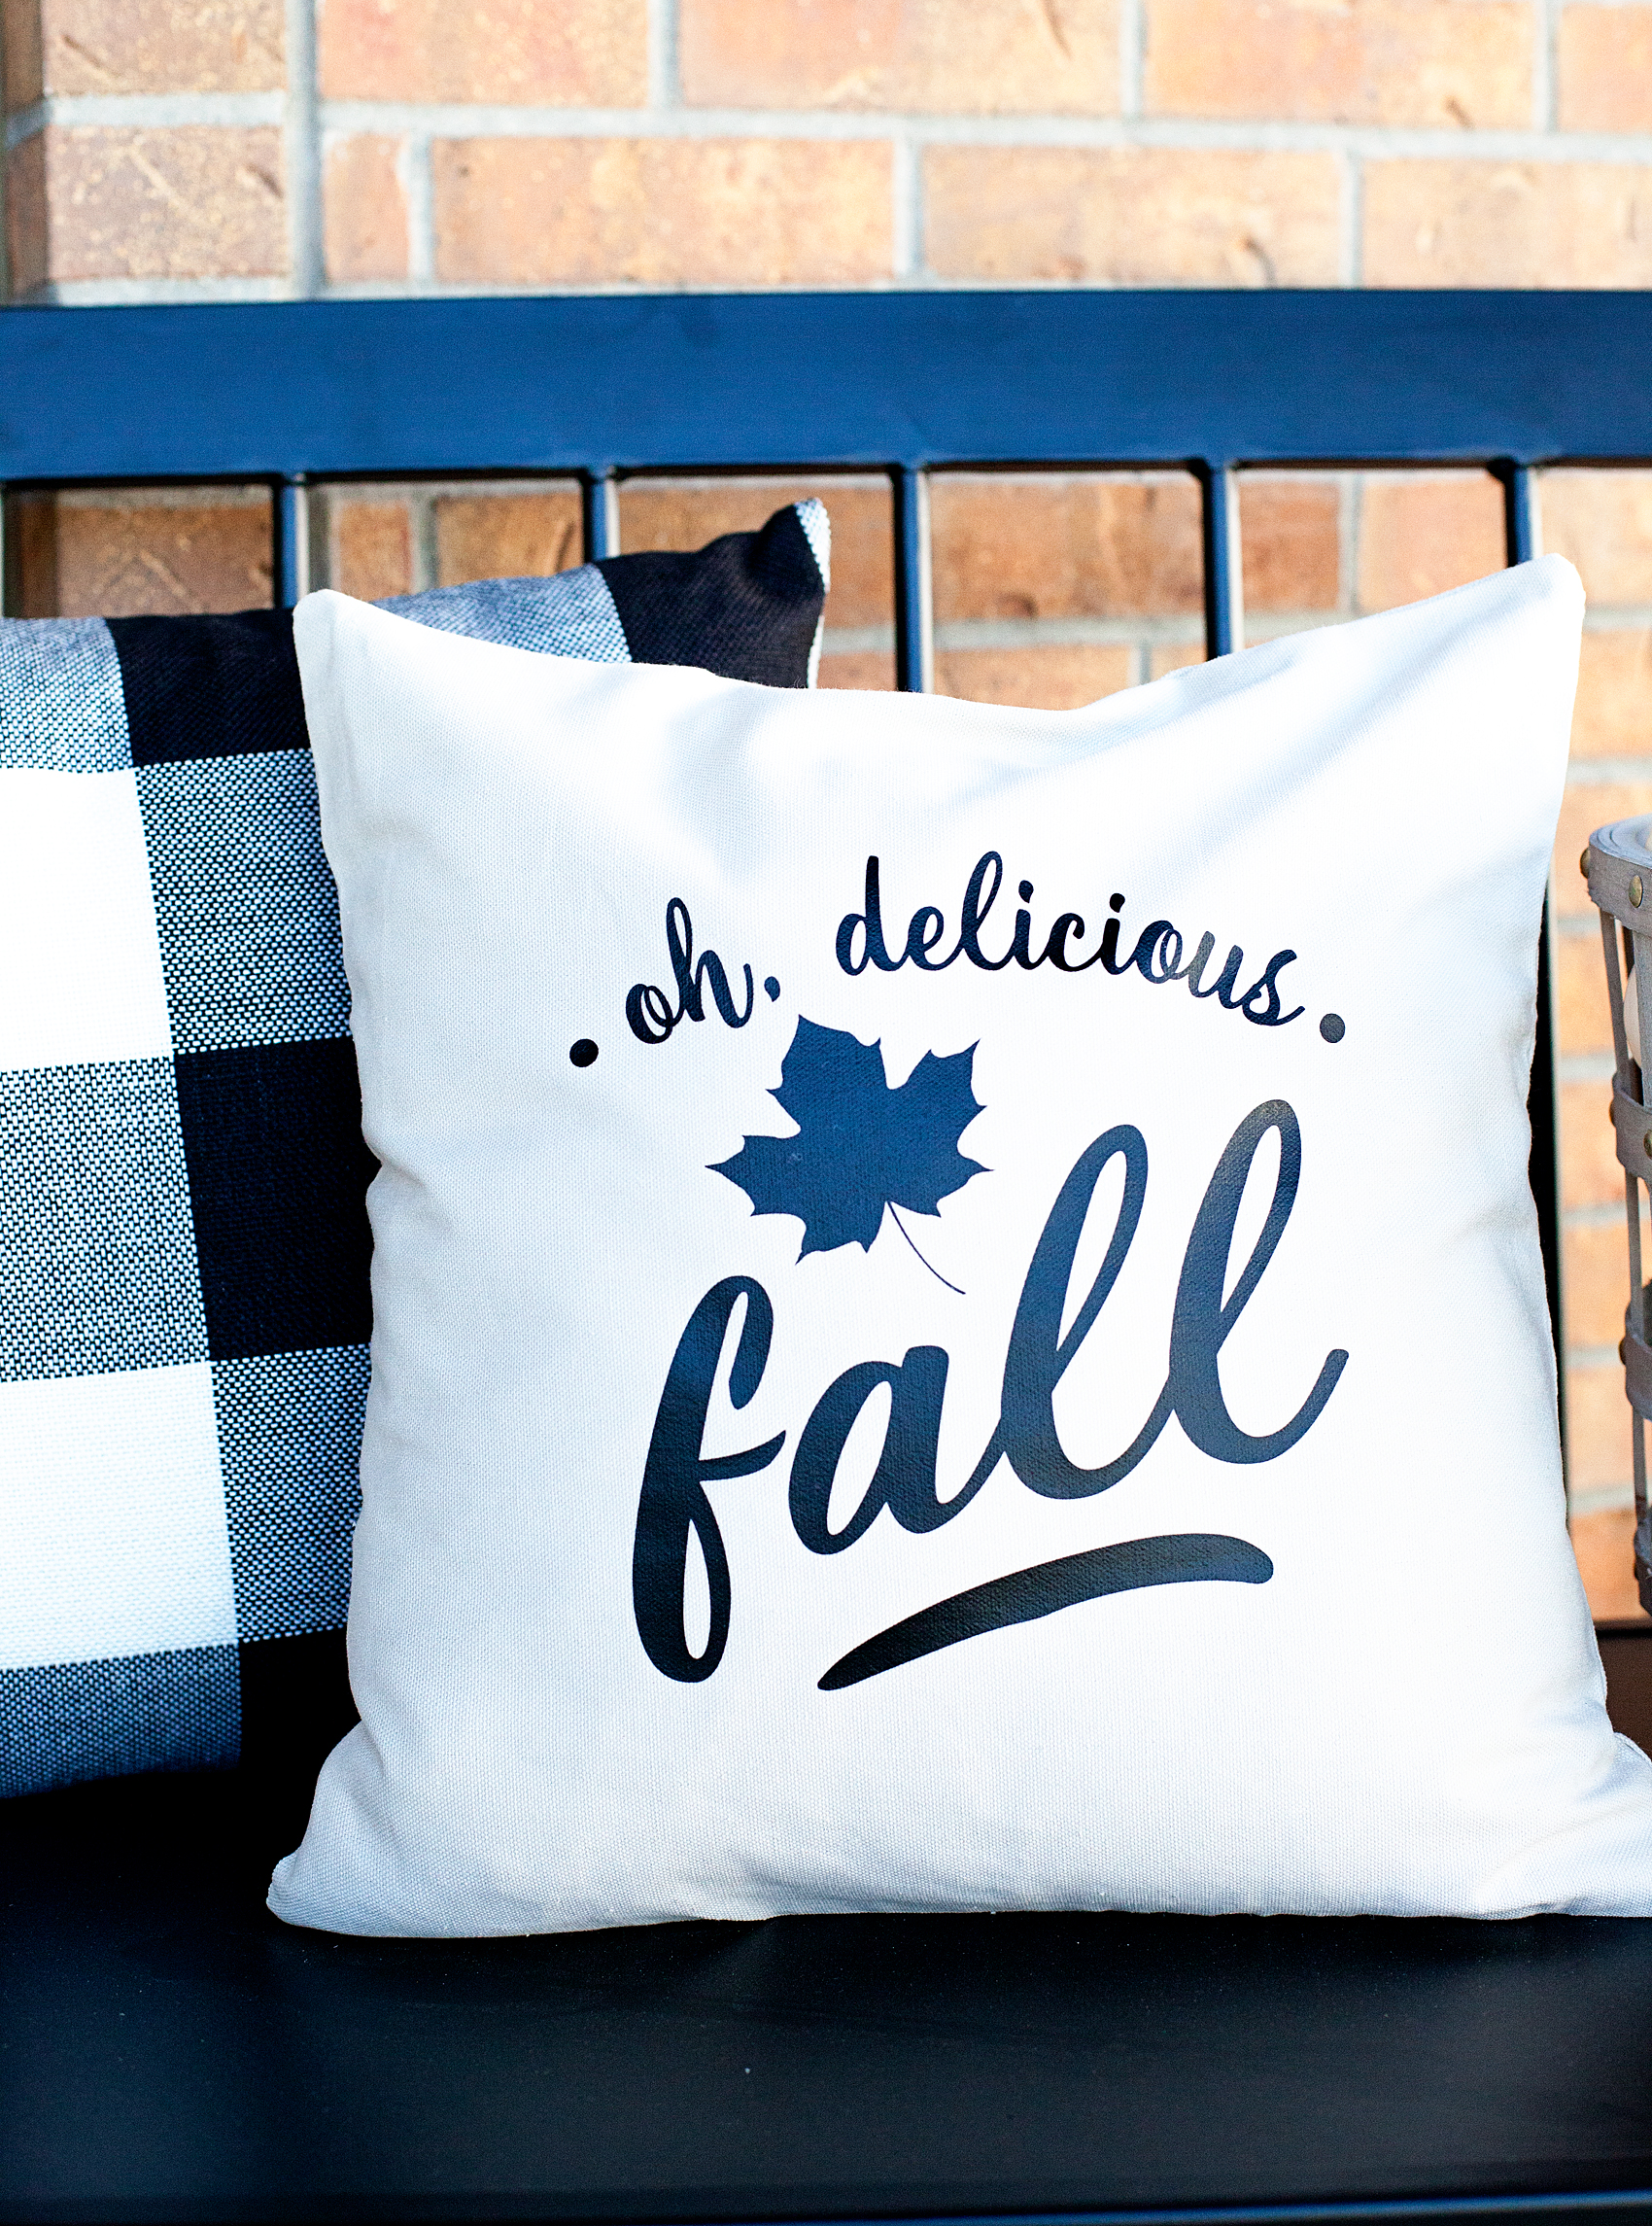
Doesn’t it look kinda of cool? You can check out my post on how to create that Halloween Taxidermy to complete the entire look. It’s super easy too.
I LOVE, LOVE, LOVE the new Easy Press! I’ve used it on all kinds of surfaces now. Paper, canvas, fabric and my next project will be on ribbon. I can’t wait to show you how it turns out. Make sure you add the Cricut Easy Press to your Christmas list AND make sure you make it on the Nice List so that you will for sure get one. It’s one of those game changing tools that you are going to LOVE.
This is a sponsored conversation written by me on behalf of Cricut. The opinions and text are all mine.