• Skip to primary navigation
  • Skip to main content
  • Skip to primary sidebar
  • Skip to footer

Whipperberry

WhipperBerry • Your Home For Creative Inspiration

  • Home
  • Recipes
    • Starters
    • Easy Weeknight Dinners
    • Main Dish
    • Salads
    • Side Dish
    • Soups & Stews
    • Desserts
    • Breakfast
    • Miscellaneous
  • Tutorials
    • Creative Crafts
    • DIY Decor
    • Fabric Crafts
    • Food How-To
    • Jewlery
    • Paint Projects
    • Paper Art
    • Party Styling
    • Photography and Graphic Design
    • Silhouette
  • Holidays
    • Easter
    • Mother’s Day
    • Father’s Day
    • 4th of July
    • Halloween
    • Thanksgiving
    • Christmas
    • Valentine’s Day
  • Gift Ideas
    • Gifts For Everyone
    • Gifts for Dad
    • Mother’s day
    • For The Girls
    • For The Kids
    • Teacher Gift Ideas
    • Christmas
  • Printables
    • Holiday
    • Gift Idea
    • LDS Primary
  • Travel
  • About
    • Terms
  • Contact
  • Nav Social Menu

    • Facebook
    • Instagram
    • Pinterest
    • RSS
    • Twitter

decor

Simple Ways to Make Your Study Area Feel Inspiring

0 · Feb 24, 2025 · Leave a Comment

A cluttered, dull study space can make focusing on work feel like a chore. But imagine sitting down in a space that feels fresh, motivating, and designed just for you. It doesn’t have to cost a lot of money to make your study area feel inspiring. Just a few small, well-thought-out changes can help you be more creative and focus better. Consider these tips:

A Space That Sparks Productivity

Your study space should help you concentrate and keep other things from getting in the way. A clean, well-organized area is essential for getting work done. Start by clearing off your desk. Get rid of papers, old notes, and other things that aren’t useful for your work.

Having your space in order helps clear your mind, which makes it easier to focus. It’s also very important to have good lights to keep your energy up. Natural light is best, but if you can’t get it, a warm work lamp that lets you change the brightness can really help.

Comfort is another important thing. A soft couch might look like a good place to study, but a supportive chair and a desk in the right place will help your balance and keep you from getting tired. Adding a footrest or using a laptop stand are small changes that can make long study sessions more comfy.

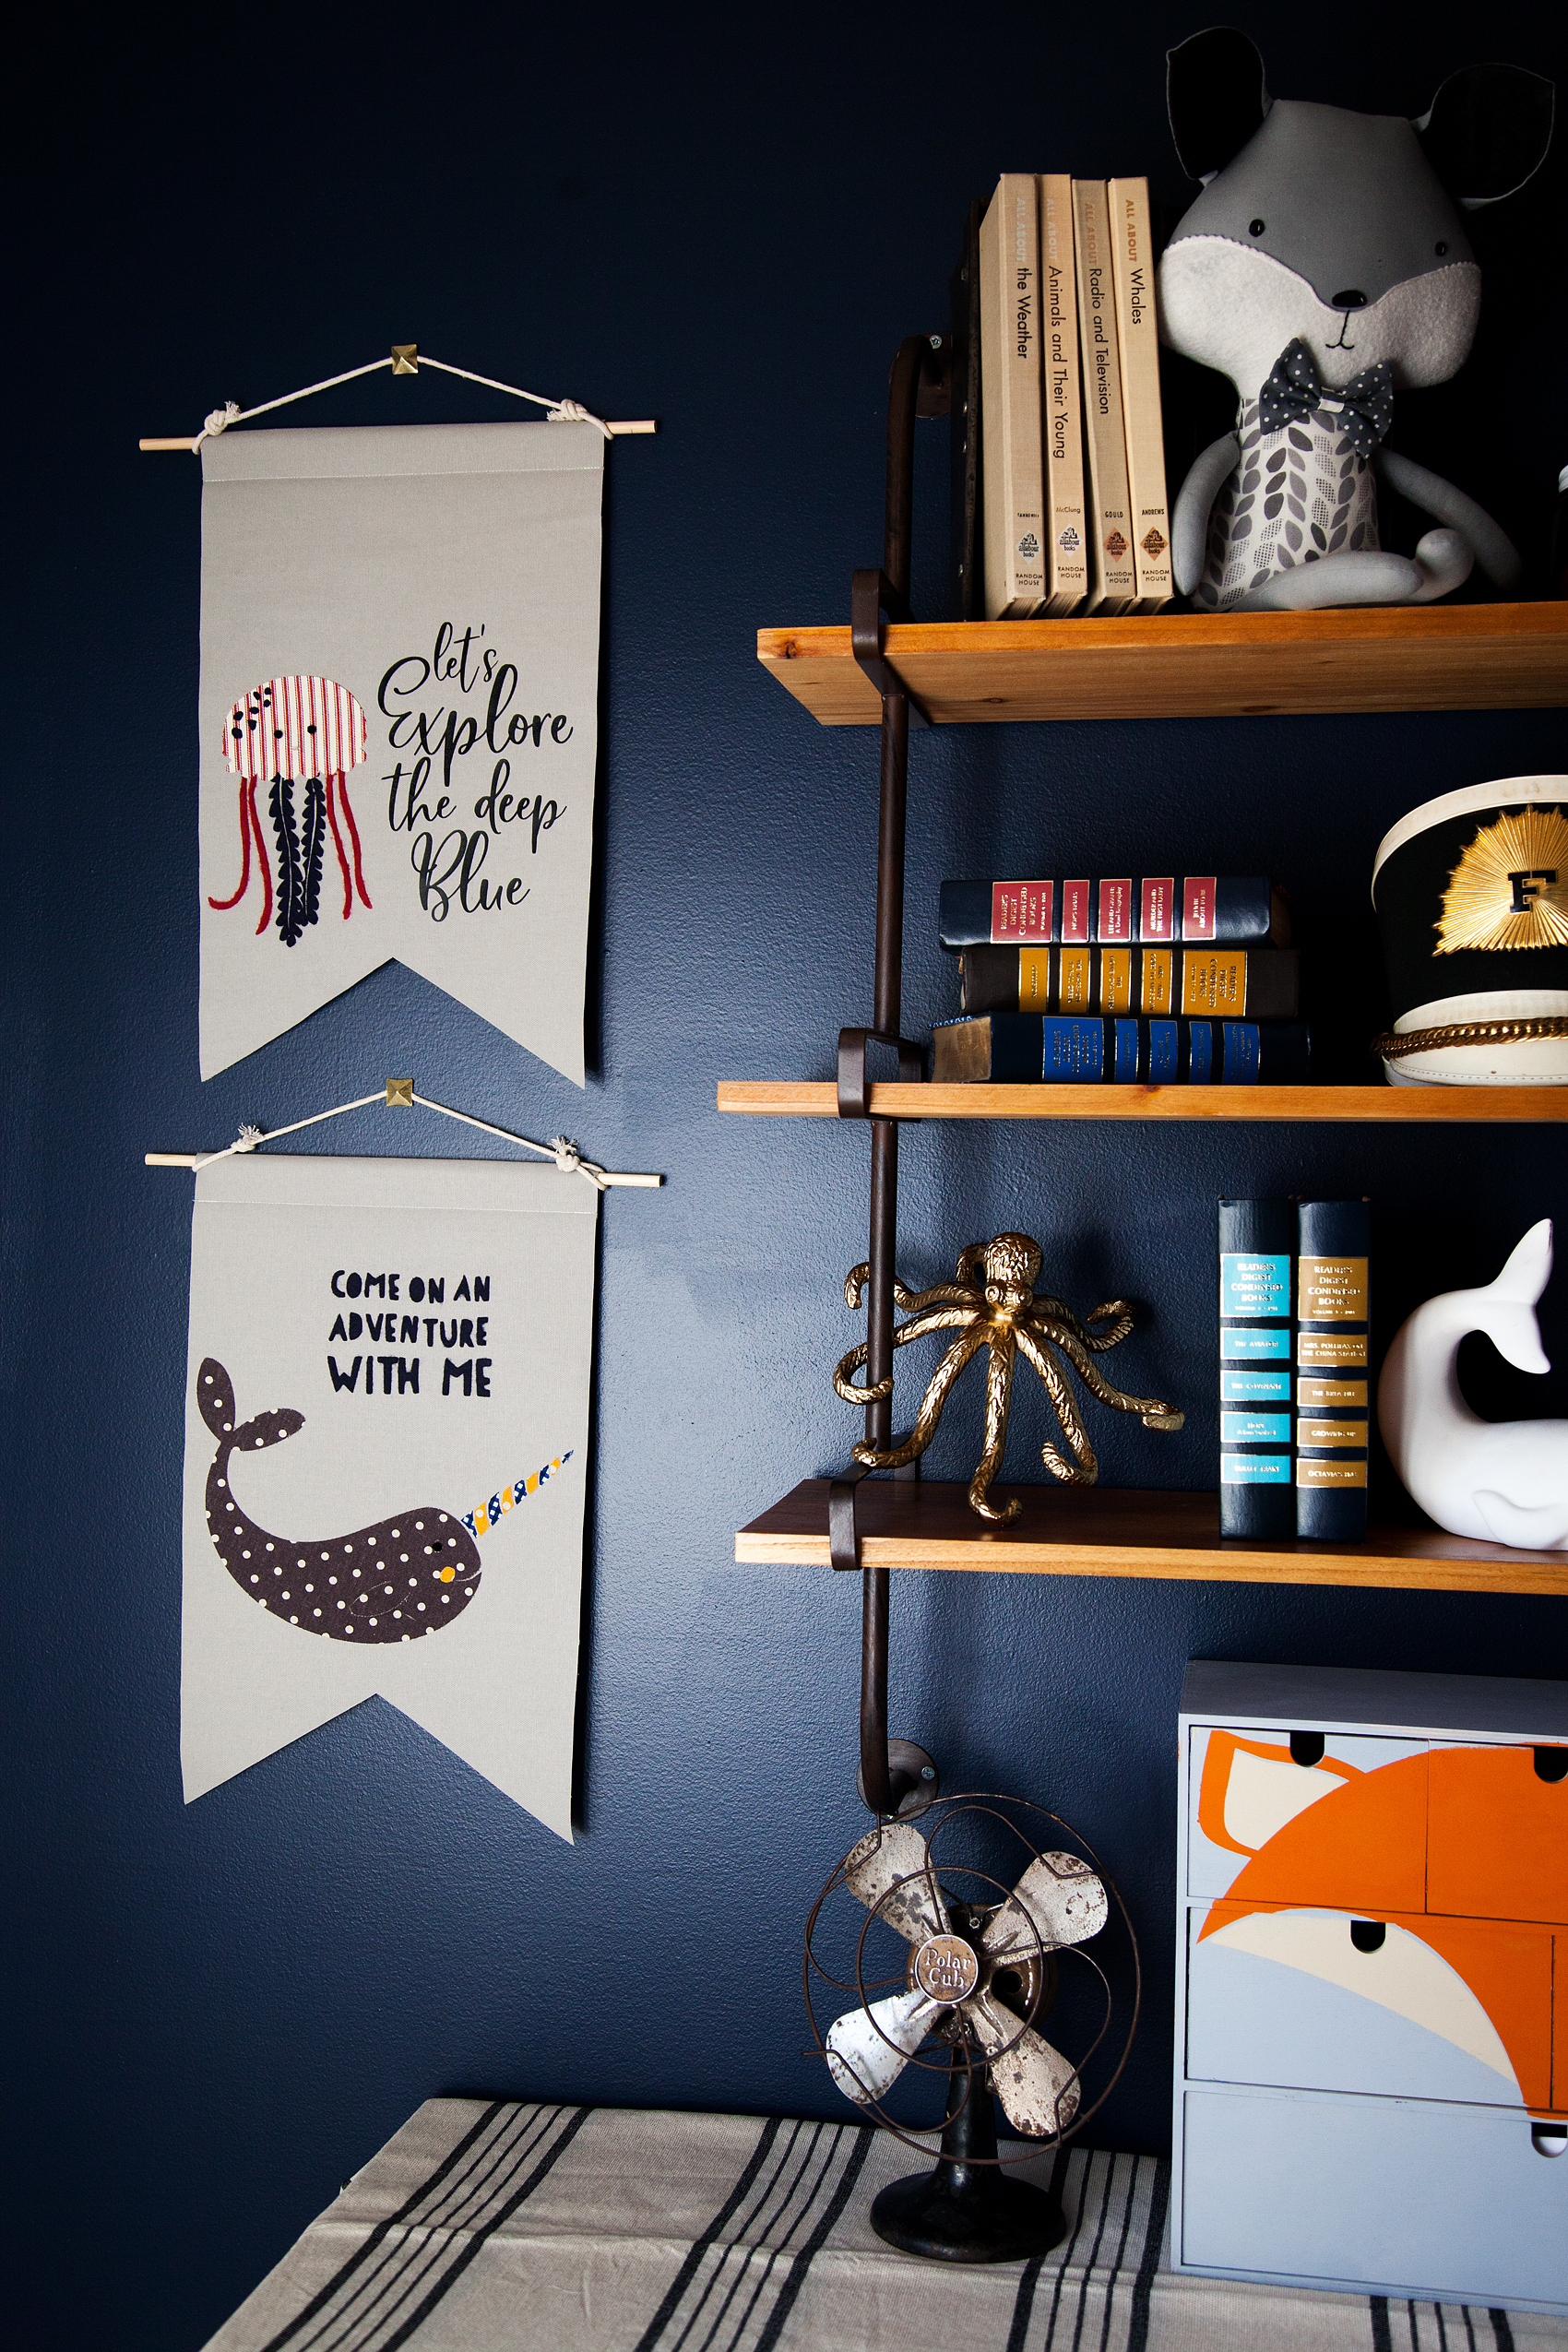
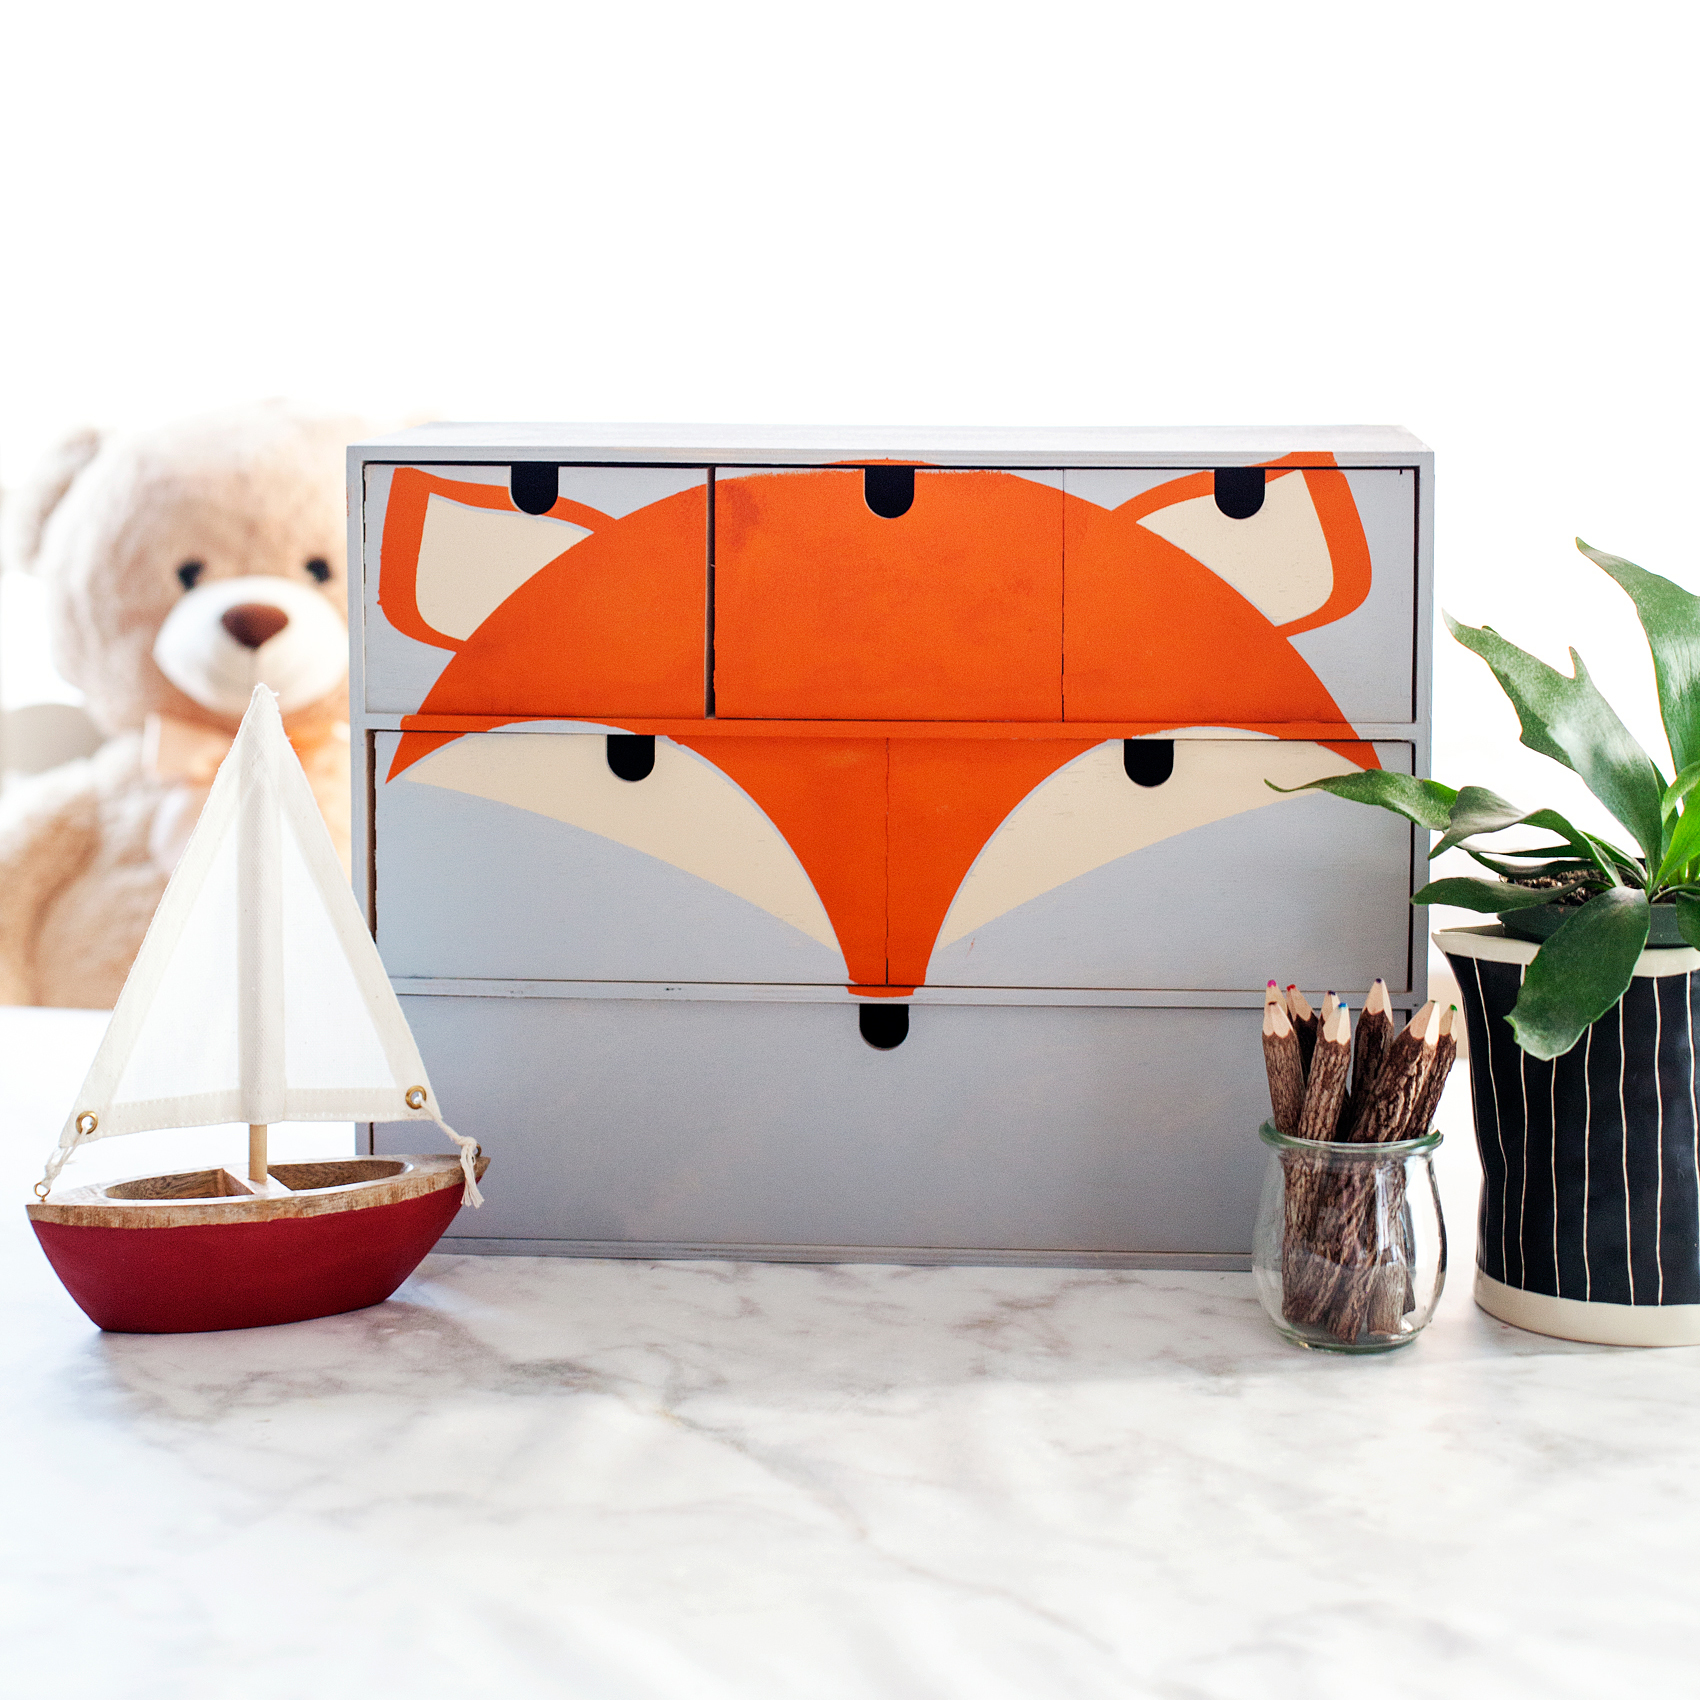
Adding personal touches to your study space can also make it a great place to get ideas. Motivating words, plants, or even a vision board can help you remember your goals and stay on track. If you study in a place that shows who you are, it will feel less like a chore and more like a fun routine that you enjoy.

Make Your Study Area Feel Inspiring

Personalization for Inspiration

Your study room should feel like it’s just for you. You can really change how you feel while you’re learning by adding designs, colors, and that are unique to you. Soft pastels can make a space feel calm, while bright colors can give it life and help you concentrate. You could use pretty work organizers, colored paper, or a soft throw blanket to make small changes.

Incorporating scents can also enhance your environment. Lavender and chamomile promote relaxation, while citrus or peppermint scents can boost alertness. A scented candle or an essential oil diffuser can subtly improve your study atmosphere.

Music and background sounds are also powerful tools for setting the mood. Lo-fi beats, instrumental music, or even nature sounds can help you focus. The key is to find what works for you—some students thrive in complete silence, while others benefit from ambient noise.

Even the way you arrange your study space affects your mindset. Facing your desk toward a window can give you a refreshing view, while a well-placed mirror can make a small space feel larger. The goal is to create a setup that feels welcoming and encourages you to stay on task.

The Role of a Tidy and Functional Setup

A cluttered workspace can lead to a cluttered mind. Keeping your study area clean doesn’t mean getting rid of everything; it just means setting it up in a way that makes studying easy and fun. A simple method for keeping track of books, papers, and supplies can keep you from getting sidetracked and wasting time looking for things..

Storage solutions like shelves, file organizers, and drawer dividers can keep everything in its place. If space is limited, vertical storage — such as wall-mounted shelves or pegboards — can be a lifesaver. A small bulletin board or a whiteboard can also help keep track of deadlines, reminders, and motivational quotes.

For students with demanding workloads, staying on top of assignments is crucial. If you ever need extra support with academic writing, the Papersowl website offers help for anyone who needs it. Whether you’re working on research papers or other tasks, it will assist you while maintaining a productive and inspiring learning space. Whether you’re preparing for exams or working toward a Master of Business Administration, creating a focused and inspiring study environment can make a meaningful difference in your performance.

Beyond physical organization, digital decluttering is just as important. Organizing your computer files, keeping your desktop clean, and using apps to manage assignments can make your workflow smoother. When everything is in order, your mind feels clearer, making it easier to dive into work.

Affordable and Easy Ways to Upgrade Your Study Area

​​Creating an inspiring study space doesn’t have to be expensive. Many upgrades can be done with items you already have or small budget-friendly additions. Rearranging your furniture can change the entire feel of a room without spending a dime. Placing your desk near a window for natural light or adding a small plant can instantly improve the atmosphere.

DIY projects can also add personality to your space. A homemade bulletin board, hand-painted desk accessories, or repurposed jars for storage can make your workspace both functional and stylish. Even a simple fabric or wallpaper backdrop behind your desk can give the area a fresh, new look.

Thrift stores and discount shops often have hidden gems like desk lamps, shelves, or unique decorations that can bring life to your space without breaking the bank. The key is to be creative and focus on small changes that make a big impact.

Make Your Study Area Inspiring

Make Your Study Area Feel Inspiring

Your study space plays a major role in how motivated and productive you feel. Keeping it clean, adding personal touches, and making small, careful changes can turn it into an inspiring space that helps you do well in study. 

So, why not start today? Try out a few of these simple ideas and watch your study area turn into a space where focus, creativity, and motivation thrive!

FAQ

How can I make my study space more inspiring without spending a lot of money?

You can rearrange your furniture, add natural light, or use DIY decorations like a vision board or handmade desk accessories. Even small touches like organizing your workspace or adding a plant can make a big difference.

What colors are best for a productive study area?

Soft pastels create a calming effect, while bold colors like blue and green can enhance focus and creativity. The best choice depends on your personal preferences and how different colors affect your mood.

How do I stay organized in a small study space?

Use vertical storage like shelves, pegboards, or wall-mounted organizers to maximize space. Desk organizers and drawer dividers help keep things in order, and digital tools can help you keep track of your work without all the paper.

Can background music help with studying?

Yes! Instrumental music, lo-fi beats, or nature sounds can improve focus and block out distractions. Some students prefer silence, so it’s important to find what works best for you.


How to Make Stylish Fabric Banners with the Cricut Maker

7 · Feb 26, 2018 · Leave a Comment

Forget the scissors & craft knife! I have a sure-fire way to create the most amazing graphic-driven fabric banners for your kiddos room or next event. NO sewing skills required! How cool are those fabric banners that are made out of felt? You know where I’m going with this! Come learn how to make graphic banners with the fabric without mind-numbing hand-cutting. If you want to see which is best, the Cricut or the Silhouette then read about that comparison here.

+ This post brought to you by the lovely folks at Cricut +How to Create Fabric Banners • They are easy to make with the Cricut Maker and have such impact in your room or for a party. Come learn how easy they are to make at whipperBerry.

Tools of the Trade

Having always been in LOVE with creating graphics, the idea of being able to design graphic driven projects out of fabric has always been a desire of mine. However, I don’t have the patience to sit with scissors or craft knifes to cut out my graphic elements. I was thrilled at the advent of the original Cricut back in the day. It revolutionized crafting, as we knew it, at the time. However, it just didn’t have the cutting chops for fabric. The new Cricut Maker is just as revolutionary as the first cartridge based Cricut in the Fabric world. It’s TOPS for sure!

Vintage Adventure Room

I’ve been working on a room makeover for my little guy, Gage. We created a vintage adventure room that covers everything land and sea. It’s all about adventure in this great big world of ours. I wanted to have some animals of the sea & land represented in the room. I used my Cricut Maker to make a vinyl stencil for this cute fox storage chest for his little gadgets and gizmos.

Transform a simple mini storage chest from IKEA into this cute little fox storage chest for your little ones little toys and trinkets. I used some of the @decoart chalky finish paint along with my @cricut Maker to create this fun design for my little boys room • WhipperBerry

Next, I wanted to make some sea loving creatures for some fabric banners on his wall. We LOVE Narwhals and jellyfish at our house quite a bit so, I knew I had to create something with these two ocean gems. After a little design work, I came up with these cute designs. Let's Explore the Deep Blue Banner created by WhipperBerry • A great banner idea for your little ones room.

Supplies for Fabric Banners

The next trick, making these designs into fabric banners for Gage’s room. I rummaged through my fabric stash and found some colors that would go well with the room design.

Fabric Banners • Great colors for a little boys room

Here’s the rest of the supplies you will need.

  • fabric
  • Heat n’ Bond
  • Cricut Maker
  • Cricut Rotary Cutter
  • Cricut Bonded Fabric Blade
  • Cricut Fabric Cutting Mat
  • fabric glue
  • wood dowel
  • cotton rope
  • sewing machine (optional)
  • thread (optional)

How to Create Graphic Banners with Fabric • They are easy to make with the Cricut Maker and have such impact in your room or for a party. Come learn how easy they are to make at whipperBerry.

Instructions

First, you need to create your design within Cricut Design Space. You can use either the large library of fonts that they have compiled at Cricut or, use your favorite fonts on your computer. You also have access to thousands of graphics that you can use to personalize your space or dress-up your party.

How to Prepare Graphic to Cut in Cricut Design Space

When you are working with multiply colors of fabric or paper, Cricut Design Space has some brilliant features that I really like. Instead of typing them all out I thought I would create a video for you watch that teaches you exactly how to prepare your designs to cut that really makes the cutting process so much easier. Click on the image below to watch the video.When you are working with multiply colors of fabric or paper, Cricut Design Space has some brilliant features that I really like. Instead of typing them all out I thought I would create a video for you watch that teaches you exactly how to prepare your designs to cut that really makes the cutting process so much easier.- WhipperBerry

Cutting Fabric

Now that your designs are ready to cut, it’s time to prepare your cutting mats. If you are cutting fabric, you need to make sure you are using the fabric cutting mat and the fabric rotary cutter. If you happen to have a rotary cutter that needs to be changed, here is a tutorial on how to do that. Cut your fabric to fit the cutting mat and place it on the mat.

PRO TIP • Don’t worry about cleaning the fabric cutting mat of all the fuzz & threads after you use it. It will work just fine with fuzz & threads. Attempting to clean the mat actually does more harm than good.

If you are planning on ironing your graphics onto the banners, you’ll want to iron-on the Heat n’Bond BEFORE you cut your fabric. (I use my Easy Press, which I LOVE!) In that case, you may want to use the Bonded Fabric Blade when cutting your fabric. I say that with a caveat, I found that the bonded felt that I used cut better with the rotary cutting blade.

Graphic Placement on Banners

Once you have all of your graphic element cut, you’re ready to place them on the banners. I like to layout my design onto the fabric banner first, to make sure I like the placement. That’s where the Cricut Weeding Tools come in real handy. I LOVE those tweezers!

Next, I use the Easy Press to warm the surface of the fabric banner and then lay down my graphics again quickly. Then, I cover them with the Iron-On Protective Sheet or a cotton dish towel if using a standard iron and press my graphics onto the banner according to the Heat n’ Bond directions.

3D Graphics on Banner

One really fun thing you can do when cutting graphics in this manner, you can add some little 3D elements to your design. I thought it would be fun to have my narwhal’s fin to pop out a bit to give him a little more character. When I was pressing the narwhal onto the banner, I placed the used backing of the Heat n’ Bond under the fin with the shiny side of the paper facing the fin. That would mean the it wouldn’t stick to the fabric or the paper.

Now, his cute little fin will pop right out!

Creating Banner Hanger

Now, to hand the cute banners that you just made. You need to either sew a pocket for the dowel or use fabric glue to create create the pocket. I prefer the sewing method however, if you don’t have a sewing machine, you don’t need to run out and purchase one just for this project.

You need to fold your fabric over to create a pocket large enough to feed your dowel through.

When you have the banner with the dowel ready to hang, attach the rope and hang on the wall!

How to Create Graphic Banners with Fabric • They are easy to make with the Cricut Maker and have such impact in your room or for a party. Come learn how easy they are to make at whipperBerry.

Now, I know you are going to want to save this tutorial and share it with all of your friends (wink, wink!) Here is a handy graphic to Pin…

How to Create Graphic Banners with Fabric • They are easy to make with the Cricut Maker and have such impact in your room or for a party. Come learn how easy they are to make at whipperBerry.

SaveSave

SaveSave

SaveSave

SaveSaveSaveSave

This is a sponsored conversation written by me on behalf of Cricut. The opinions and text are all mine.

SaveSave

SaveSave

SaveSave

SaveSave

SaveSave

SaveSave

DIY Farmhouse Tiered Bowls

7 · Jan 22, 2018 · Leave a Comment

Normally a costly buy, these farmhouse tiered bowls are a stylish storage option for either the kitchen, office or craft room. Rather than breaking the bank, you can grab a few items at Michaels to make one of your own.

+ This DIY Farmhouse Tiered Bowls post brought to you by Michaels +DIY Farmhouse Tiered Bowls are easy as pie to make thanks to @michaels. Normally a costly buy, these tiered bowls won’t break the bank and they are super easy to make. A great storage option for either the kitchen or the office! Come on over to WhipperBerry to learn how to make one for your home.

I will fully admit, I love the farmhouse trend. I’ve slowly been gathering home decor pieces that help to transform my spaces into cute little farmhouse nooks.

One piece that everyone loves right now is tiered trays or tiered bowls, you see them everywhere. I’ve looked and sometimes these gems have a hefty price tag which stinks because they are great for organizing in the home. They are handy in the office to organize office supplies, pens, pencils, scissors. You can even add in some decor to dress up your office. The same is true for the craft room. Tiered bowls are great for story craft supplies; paints, brushes, markers, your Cricut tools and so much more. In the kitchen they are super handy as well. You can use them to keep healthy fruits and vegetables on the counter so that your kiddos reach for the healthy snacks that are close at hand.In need of a set of tiered bowls for the kitchen, I thought rather than purchasing one, maybe I could make one of my own.

Of course, I ran over to Michaels to see what I could find. Their isles are packed full of great storage and organization goodies this time of year. Well, all year, but this time of year especially. The cool thing about looking for storage solutions at Michaels, you can think “outside of the box” and CREATE your own storage solution from the isles there.

DIY Farmhouse Tiered Bowls Supplies

Rustic clay pots have always been a favorite of mine. I found these beautiful clay pots in the floral section at Michaels. They have that farmhouse or even old world look that I just love and, they are large… Perfect for tiered bowls.

DIY Farmhouse Tiered Bowls are easy as pie to make thanks to @michaels. Normally a costly buy, these tiered bowls won’t break the bank and they are super easy to make. A great storage option for either the kitchen or the office! Come on over to WhipperBerry to learn how to make one for your home.

• large clay pots in the floral section at Michaels (I would provide a link however, they aren’t listed online yet)

• ArtMinds™ Wood Decorative Candle Holder, 6 3/4″

• Wood Doll Head by ArtMinds®, 2.5″

• E6000® Permanent Craft Adhesive, 2.0 oz.

• Americana® Decor™ Chalky Finish Paint, 8oz. – white

Instructions

Now, this part couldn’t get any easier. To begin, I painted the candle stick with a light coat of the chalky finish paint.

DIY Farmhouse Tiered Bowls are easy as pie to make thanks to @michaels. Normally a costly buy, these tiered bowls won’t break the bank and they are super easy to make. A great storage option for either the kitchen or the office! Come on over to WhipperBerry to learn how to make one for your home.

DIY Farmhouse Tiered Bowls are easy as pie to make thanks to @michaels. Normally a costly buy, these tiered bowls won’t break the bank and they are super easy to make. A great storage option for either the kitchen or the office! Come on over to WhipperBerry to learn how to make one for your home.

That will dry in just a few minutes. While you’re waiting for that to dry, check the center point of your bowls. The bowl on that will be on the bottom may need to be sanded down a bit in order for your candle holder to sit straight.

DIY Farmhouse Tiered Bowls are easy as pie to make thanks to @michaels. Normally a costly buy, these tiered bowls won’t break the bank and they are super easy to make. A great storage option for either the kitchen or the office! Come on over to WhipperBerry to learn how to make one for your home.

Once your candle holder is dry, add your E-600 to the top and follow the package directions for adhering it to the center of the clay pot. Keep in mind, you’re going to glue the TOP of the candle holder to the bottom bowl so that the the wider BOTTOM of the candle holder will hold-up the top bowl.

DIY Farmhouse Tiered Bowls are easy as pie to make thanks to @michaels. Normally a costly buy, these tiered bowls won’t break the bank and they are super easy to make. A great storage option for either the kitchen or the office! Come on over to WhipperBerry to learn how to make one for your home.

DIY Farmhouse Tiered Bowls are easy as pie to make thanks to @michaels. Normally a costly buy, these tiered bowls won’t break the bank and they are super easy to make. A great storage option for either the kitchen or the office! Come on over to WhipperBerry to learn how to make one for your home.

I placed a paper towel underneath to protect my surface from any glue drips. Once that is nice and secure, you can glue the wood feet i.e. doll heads, to the bottom of the bowl again, with the E-6000.

DIY Farmhouse Tiered Bowls are easy as pie to make thanks to @michaels. Normally a costly buy, these tiered bowls won’t break the bank and they are super easy to make. A great storage option for either the kitchen or the office! Come on over to WhipperBerry to learn how to make one for your home.

Let those cure according to package directions and then do the same with the top bowl.

DIY Farmhouse Tiered Bowls are easy as pie to make thanks to @michaels. Normally a costly buy, these tiered bowls won’t break the bank and they are super easy to make. A great storage option for either the kitchen or the office! Come on over to WhipperBerry to learn how to make one for your home.

Once that has properly cured, you’re all finished! You now have farmhouse tiered bowls!

I’m using mine to hold fruit in my kitchen. It fits perfect on my counter tops right under my cabinets.

DIY Farmhouse Tiered Bowls are easy as pie to make thanks to @michaels. Normally a costly buy, these tiered bowls won’t break the bank and they are super easy to make. A great storage option for either the kitchen or the office! Come on over to WhipperBerry to learn how to make one for your home.

I love the look of these pots so much, I stocked up on some smaller ones for all of my plants this spring.

What are you looking to organize? Do you need a creative storage solution? Michaels has everything you need to get organized for the new year! From washi storage to lexington carts, you can MAKE your year the most organized one yet!

What to keep this project idea close at hand? Feel free to pin the image below to your favorite DIY board so that you can find it later.

DIY Farmhouse Tiered Bowls are easy as pie to make thanks to @michaels. Normally a costly buy, these tiered bowls won’t break the bank and they are super easy to make. A great storage option for either the kitchen or the office! Come on over to WhipperBerry to learn how to make one for your home.

SaveSave

SaveSave

SaveSave

SaveSave

SaveSave

SaveSave

SaveSave

SaveSave

SaveSave

SaveSave

SaveSave

SaveSave

Farmhouse Inspired Christmas Tree – Dream Tree Challenge

75 · Nov 1, 2017 · 1 Comment

It’s getting close to my favorite time of year… Christmas!! Every year it’s so fun to participate in the Michaels Dream Tree Challenge and this year has been EXTRA FUN!  We gathered together as a family and crafted our Christmas tree together and it was so fun. From trees to ornaments and holiday décor, Michaels has everything you need to MAKE this holiday your own! You can even shop over 100 Christmas Trees at Michaels.com. Crafting your tree together is a  great way to bring the family together at the beginning of the Holiday season. Here is what we created to make our 2017 tree magical for our home and family.

Farmhouse Inspired Christmas Tree -WhipperBerry-100

The Christmas Tree

This year, I picked the 7.5 Ft. Pre-Lit Jasper Cashmere Artificial Christmas Tree, Clear Lights by Ashland™.  At first it was a little wide for our space. BUT… We placed it on top of an old bucket I had and then bent the lower branches down to give it a slimmer figure. I wish ‘slimming-down’ was that easy for all of us! 😉 That also raised the tree up a bit, which makes it look better in a room with vaulted ceilings.

Regardless of what this photo looks like below (someone was being a bit dramatic…) The Jasper tree is super easy to set-up. It’s literally plug and play. The electricity runs through the poll of the tree so you don’t have to go hunting around for all of the connections. Then all you have to do is fluff the branches.

setting-up-the-tree

Farmhouse Inspired Christmas Ornaments

Part of the fun when decorating for the Holidays is actually making some of your own decor. This year I was inspired by some ornaments that Joanna Gains has created for another store. I LOVE them and thought we could make some of our own with supplies from Michaels.

I grabbed some of the shatter proof ornaments at Michaels along with some of the Americana Chalkboard Paint from DecoArt…

Shatter proof ornaments from @Michaels

  • Plastic Onion Ornaments By Artminds™

  • Clear Plastic Ornaments By Artminds™

  • Americana Chalkboard Paint

Americana Chalkboard Paint for Christmas Ornaments

paining ornaments-100

My daughter Haley is home from college with her boyfriend Kyle and we decided to have a paint party. We covered the table with plastic wrap and went to town with the clear ornaments from Michaels.  We painted them all over with the chalkboard paint. Now, the only reason I use chalkboard paint is because I like the matte look. Then we used a white paint marker from Sharpie and created all of the little swiss crosses on the ornaments.

Create DIY Hearth and Home Black Swiss Cross Christmas Ornaments via WhipperBerry

They turned out super cute and we had so much fun making them together!

Create DIY Hearth and Home Black Swiss Cross Christmas Ornaments via WhipperBerry

Create DIY Hearth and Home Black Swiss Cross Christmas Ornaments via WhipperBerry

I think they may be my new favorite Christmas ornaments for our tree.

Next, we painted some large wood stars from Michaels with Americana Decor Chalky Finish paint from DecoArt.  Then we used my Cricut Maker to add titles of Christmas Carols onto the stars. You can learn how to make those HERE. You can even download the graphics that I designed for the stars!

DIY Christmas Star from WhipperBerry

Farmhouse Christmas Carol Ornaments from WhipperBerry

The next element for my tree is a few types of picks that I found in the Christmas pick section of Michaels.

Love FARMHOUSE decor? Then you are going to LOVE this Farmhouse inspired Christmas Carol Star ornament that you can create for your home.

Quite honestly, picks are some of my favorite ways to add personality to my Christmas trees. They really add to the tree and they aren’t very pricey. I LOVE the fuzzy little stars, the gold antlers, and the cotton stems. They look fabulous on the tree!

Love FARMHOUSE decor? Then you are going to LOVE this Farmhouse inspired Christmas Carol Star ornament that you can create for your home.

Love FARMHOUSE decor? Then you are going to LOVE this Farmhouse inspired Christmas Carol Star ornament that you can create for your home.

The last element is the ribbon picks.  They couldn’t be easier to make. I found some perfect ribbon at Michaels and cut it into 6 inch sections…

Love FARMHOUSE decor? Then you are going to LOVE this Farmhouse inspired Christmas Carol Star ornament that you can create for your home.

Then I folded it in half and wrapped some floral wire around the bottom leaving a 4-5 inch tail to secure it to the tree. Super simple and the bottom doesn’t need to be pretty.

Love FARMHOUSE decor? Then you are going to LOVE this Farmhouse inspired Christmas Carol Star ornament that you can create for your home.

Love FARMHOUSE decor? Then you are going to LOVE this Farmhouse inspired Christmas Carol Star ornament that you can create for your home.

Then you use the wire tail to attach them to the tree. An easy, easy way to fill in those bald spots on the tree or add a pop of color. Again, it’s a very cost friendly way to add color to your tree.

Love FARMHOUSE decor? Then you are going to LOVE this Farmhouse inspired Christmas Carol Star ornament that you can create for your home.

One last thing… I almost forgot! We decided to HANG our star from the ceiling for this tree. I bought a large wood star at Michaels and wrapped it with some wire lights and then hung it from the ceiling. We made sure to place our hook in a stud so that we didn’t have issues with the weight of the star. It’s so simple and tops it with that rustic farmhouse look.

Wow, it’s amazing how some simple elements can come together to create a really stunning tree. All of my kiddos have said this tree is the best we’ve ever had. Make sure to download the Michaels App on your smartphone so you don’t miss any of their amazing holiday deals this season. It really is a great app to have. No more saving receipts! That’s worth it right there.

Don’t forget to tag me in your tree photos… I love to see what you guys are creating!

For more inspiration, visit the Michaels blog and their Pinterest, Facebook and Instagram accounts.

  • « Go to Previous Page
  • Page 1
  • Page 2
  • Page 3
  • Page 4
  • Page 5
  • Interim pages omitted …
  • Page 8
  • Go to Next Page »

Primary Sidebar

Heather from Whipperberry
Hello... my name is Heather and I'm the creator of WhipperBerry a creative lifestyle blog packed full of great recipes and creative ideas for your home and family. I find I am happiest when I'm living a creative life and I love to share what I've been up to along the way... Come explore, my hope is that you'll leave inspired!

Footer

  • Privacy Policy
  • Crafts
  • Food
  • Gifts
  • Holidays
  • Home
  • Mom Life
  • Recipes
  • Travel

Copyright © 2026 · Seasoned Pro