This post is brought to you by the lovely folks at Crisco® // It is no secret that I LOVE PIE! It has always been my go to dessert even as a child. There is just something special about creating that delicate crust and then filling it with anything you want. It's a blank canvas. Savory or sweet, fruit or custard, traditional pie or rustic gallette you can never go wrong when you serve a pie.
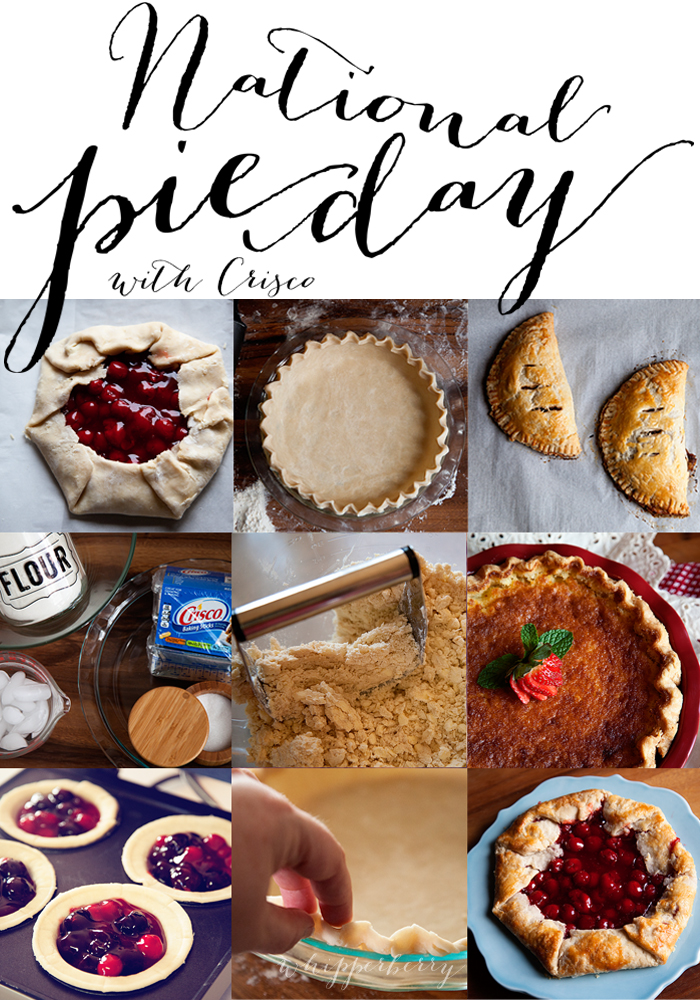
Many of us have memories of watching our mother's or grandmothers in the kitchen, teaching us how to make pie crust. In years past, this was a skill that every home cook had down pat, it was a staple of their kitchen repertoire. Over the years we have all become a bit intimidated with the crust making process. I'm not sure why, but I'm here to tell you that pie making is FUN and easier than you may think. I spent the day yesterday making all kinds of pie creations preparing for National Pie Day today, January 23rd using some of the great tips from pie making expert Michele Stuart from Michele's Pies in Connecticut. Michele has won countless pie competitions and has even thrown down with the famous Bobby Flay! Those are some serious pie making chops. Michelle has partnered with Crisco this year and is sharing some of her pie making wisdom with us today!
Michele's Pie Making Tips
- Ice Cold Ingredients: When preparing your pie dough, always make sure all of your ingredients are ice cold before starting. I like to keep my Crisco in the refrigerator before I begin to mix my dough. Also, I put ice cubes in the water that I use to mix my dough. Once my dough is mixed, I wrap it tight in saran wrap and keep it cold until I am ready to use!
- To achieve the perfect evenly baked crust, always keep your oven racks at midlevel in your oven. Place your pie in the center of the oven during the baking process so that the entire pie bakes through evenly (in other words, to ensure your crust and filling are finished baking at the same time and you don’t end up with a crispy crust and undercooked filling). Rotating your pies during baking will also ensure you have an evenly golden brown baked crust.
- One of the tricks that my grandmother taught me in the kitchen was to always brush the edges and top of my crust with heavy cream. This will give the baked crust a golden brown finish and even make the crust flakier than it already is! If you don’t have heavy cream in the house, you can also use milk or half and half.
- Before baking your pies that have a pastry top, you should always puncture the top of the pie crust. Use a fork or a knife to puncture five or six holes in the top crust. This provides ventilation which allows steam and moisture to release during the baking process. Though these punctures serve a utilitarian purpose, you can also get creative with puncture pattern. For example, when I make an apple pie, I puncture the top crust with an A shape.
These are all fabulous tips, now all you need to do is figure out what kind of pie you want to make. Do you want to make something traditional in a classic pie plate, something free form and rustic or even a tasty hand pie? You can even choose between sweet and savory!
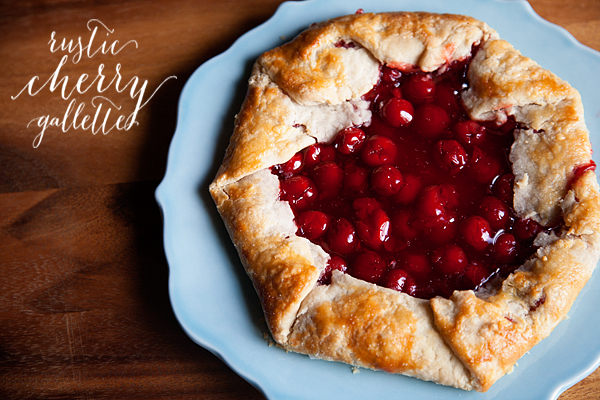
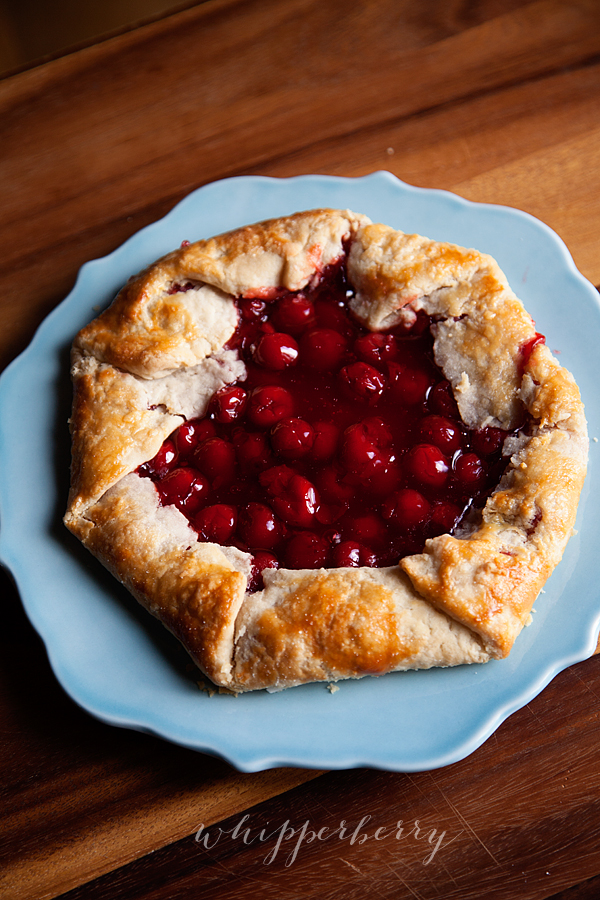
I decided to make a simple rustic Cherry Gallette using my favorite pie crust recipe. I've been using this recipe ever since I was a kiddo making pies with my Mom. I love it!
WhipperBerry's Favorite Pie Crust Recipe
3/4 cup cold Crisco
3/4 cup cold butter
3 cups All-Purpose Flour
1 teaspoon salt
1 tablespoon sugar
1 egg
1 tablespoon white vinegar
5-7 tablespoons ice water
Pie Crust Directions
Before you begin place your butter and Crisco® into the freezer for at least 30 minutes. In a small measuring cup measure out 1 cup or so of water and add several ice cubes and set aside. In a large bowl add your flour, salt and sugar and whisk together. Remove butter and Crisco® from the freezer and quickly cut into small pieces.
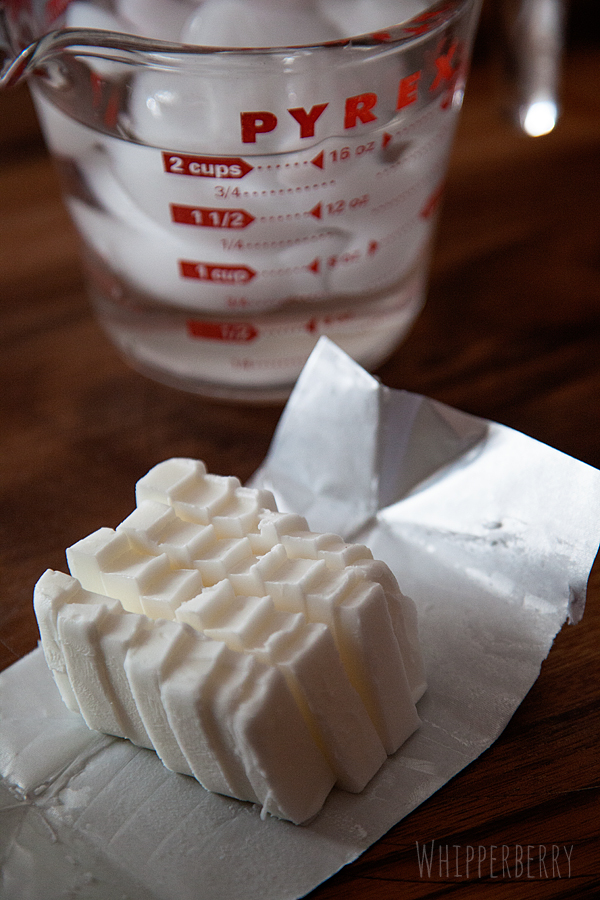
Place in the flour mixture and using a pastry cutter, cut the Crisco® and butter into the flour, salt and sugar. Make sure the Crisco® and butter are broken down into pea size pieces.
In a small bowl whisk the egg and vinegar together, then pour into flour mixture. Add the ice water a little at a time as you stir the mixture together. The water measurement is just a guideline. You may need a little more or a little less of the water depending on your dough. You don't want to over mix the dough at this point. Only mix until the dough comes together a bit and looks like the photo below.

Turn out onto a clean, floured surface and form into a disk and then wrap with plastic wrap. Place dough in the refrigerator for a least 30 minutes.

Like most of us, the dough needs time to rest and to chill again. You can actually leave your dough in the refrigerator for 3-4 days or in the freezer for a few weeks.
This dough recipe will make one 9 inch pie with a bottom and upper crust or two bottom crust pies. For the Gallette (a gallette is a rustic, free-form pie) I cut the dough into fourths and used only 1/4 of the dough.
I rolled out the dough into a rough circle and then placed the dough onto a parchment lined baking sheet. Then I spooned a can of cherry pie filling into the center of the pie dough. Then I carefully folded up the sides of the dough towards the middle to create the crust.

Now, Michele brushes her crust with cream and I've used that method quite a bit as well, but this time I actually used an egg wash and the sprinkled some sugar on top of the crust. This just helps in browning and creates even more lovely, flaky layers. It just makes your pie look scrumptious!
Then I baked this beauty in a 350˚ oven for 30 minutes or until the crust has browned nicely. Remove from the oven and let cool. Cut into wedges and enjoy!
For dinner I made some aaaamazing Aussie pies that are just a hand pie with a savory meat filling that was just melt in your mouth divine, but I will save that recipe for another day. 😉

Now… if you still have pie making questions or need help with anything pie related, you can always call Crisco. YEP, you can call Crisco and they will help you through any pie emergency!!
Pie experts can be reached live Monday through Friday from 9:00 a.m. to 7:00 p.m. ET by calling 1-877-FOR PIE TIPS (877-367-7438) to answer some of the most common pie-baking questions.
Aspiring pie pros and kitchen connoisseurs can also visit Pie Central at Crisco.com for more recipes, visual demonstrations and helpful hints.
Let's see… What else could make National Pie Day even BETTER? How about a GIVEAWAY?
Michele Stuart Book GIVEAWAY

You have a chance to win one of Michele's latest books Perfect Pies & More, she will even sign it for you!!! All you have to do is follow the directions in the Rafflecopter box below.
Disclaimer // This post was sponsored by Crisco a member of the J.M. Smucker family of fine products. I did receive compensation for my time in developing the post. As always all thoughts, ideas & opinions are my very own.