Hey guys! Jenn here again from Clean and Scentsible. Like many of you, I have been counting down the last days of winter and am so excited that today I finally get to say Happy Spring! I am SO ready for some warmer weather, longer days, and pretty spring blooms. Now that spring is here, Easter will soon be around the corner and I have a yummy treat to share with you today with my all-time favorite chocolate – mini-eggs!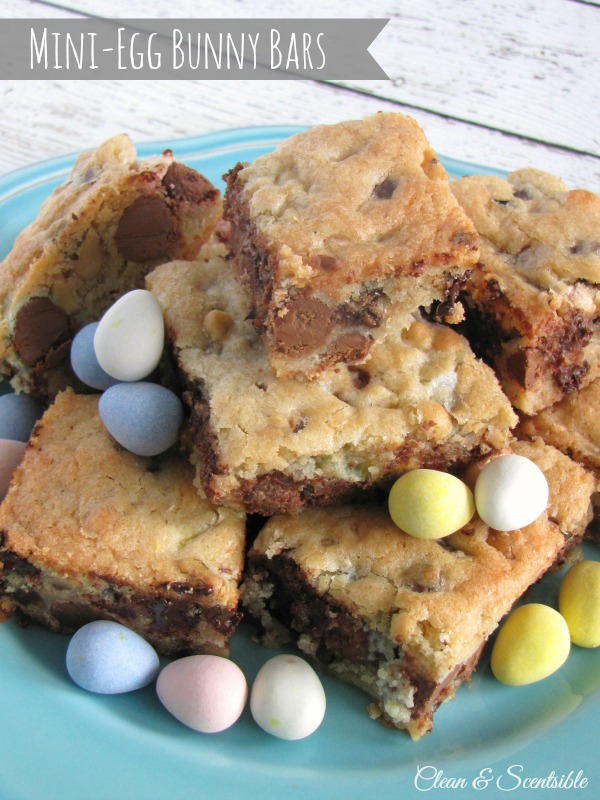
These mini-egg dessert bars are super easy to make – the trick is to not eat all of the mini-eggs before you get around to actually making them!
- 1 cup flour
- ½ tsp salt
- ½ tsp baking powder
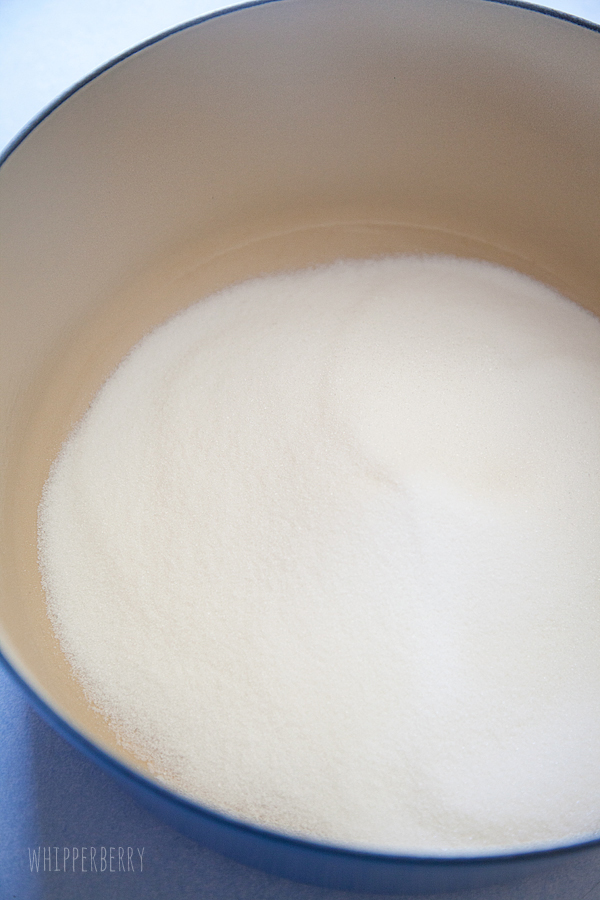
- 1 cup sugar
- 1 cup mini eggs
- ¾ cup chopped nuts {I used walnuts}
- ⅓ cup chocolate chips
- ½ cup butter, softened
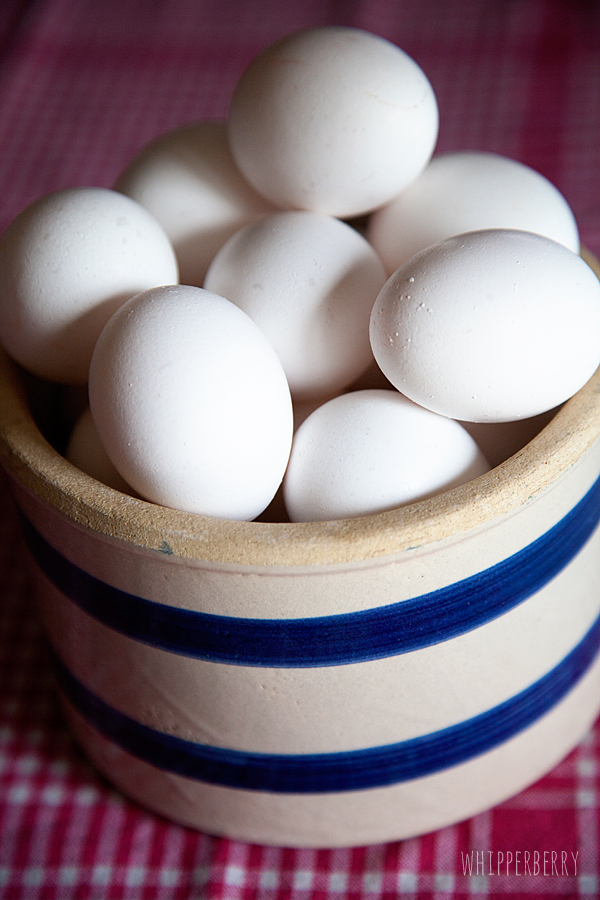
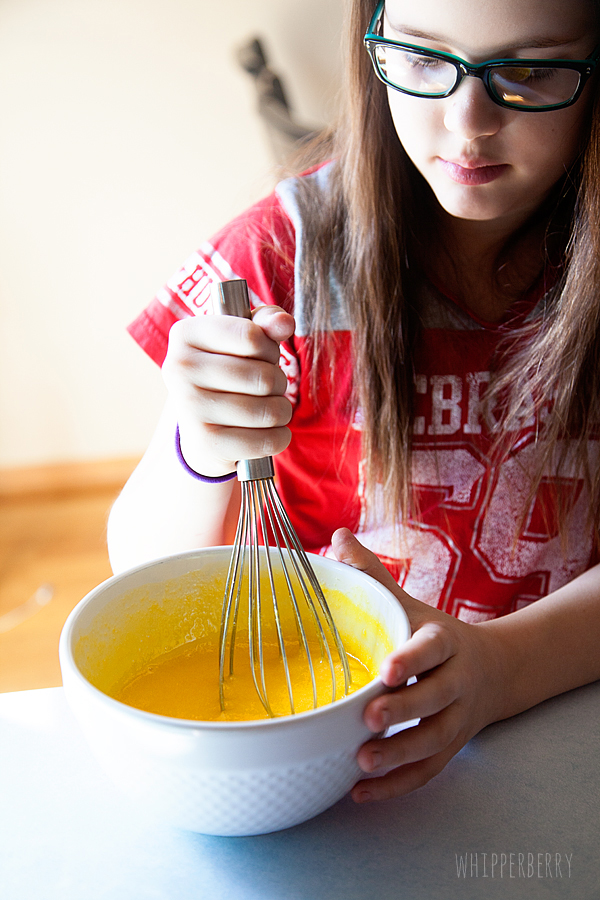
- 2 eggs, lightly beaten
- ½ tsp vanilla
- Preheat oven to 350F.
- Sift the flour, baking powder, salt, and sugar together. Mix in the butter, beaten eggs, and vanilla and stir until well blended.
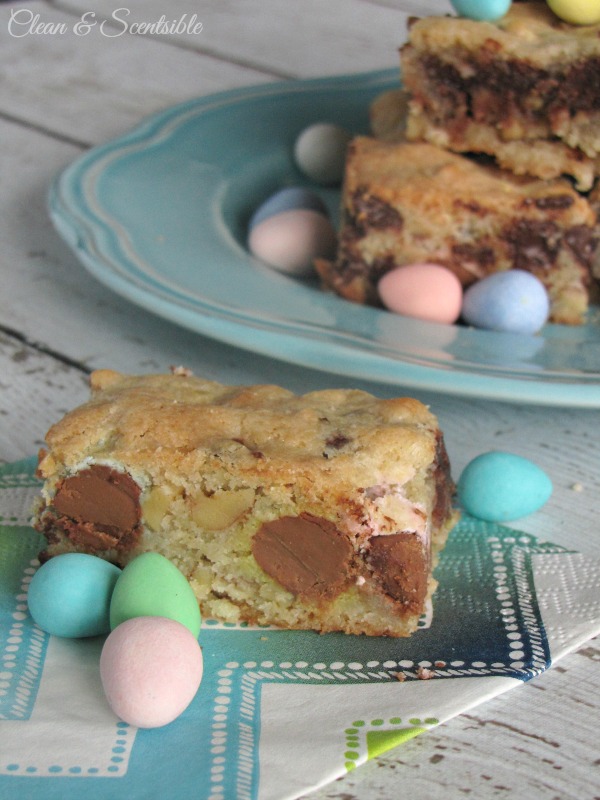
- Add the mini-eggs, chocolate chips, and nuts.
- Prepare a 9x9-inch baking pan with non-stick cooking spray.
- Pour the batter into the pan and bake for 30 to 35 minutes. Allow to cool and cut into squares.
If you are looking for a fun Easter gift idea, the dry ingredients for these bars can be packaged up in a mason jar and would make a nice little hostess gift or treat for your favorite teacher or neighbor.
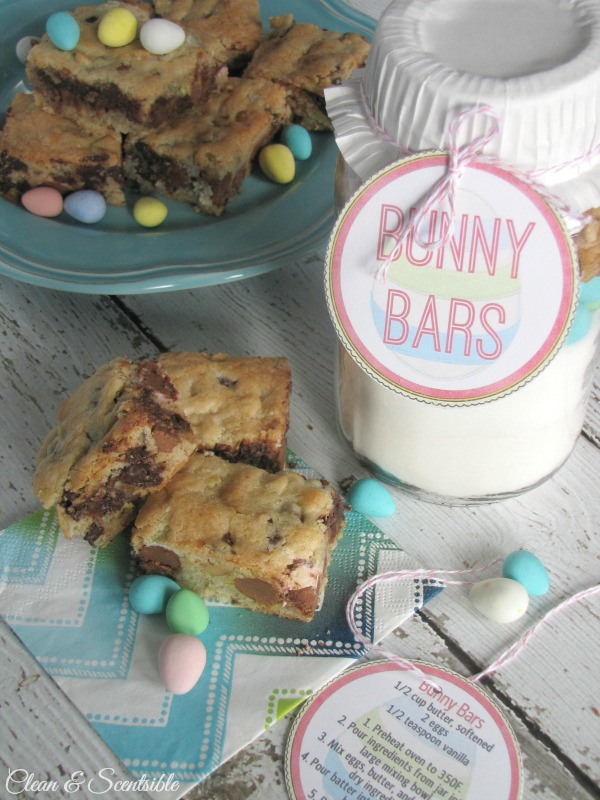
Just layer the ingredients in a 1 quart mason jar as follows:
- flour, baking powder, salt
- sugar
- mini-eggs
- chocolate chips and nuts
I have also created some printables to help you dress up your jars – there is a Bunny Bars label for the front and baking instructions for the back.
Just head over to Clean and Scentsible to download them!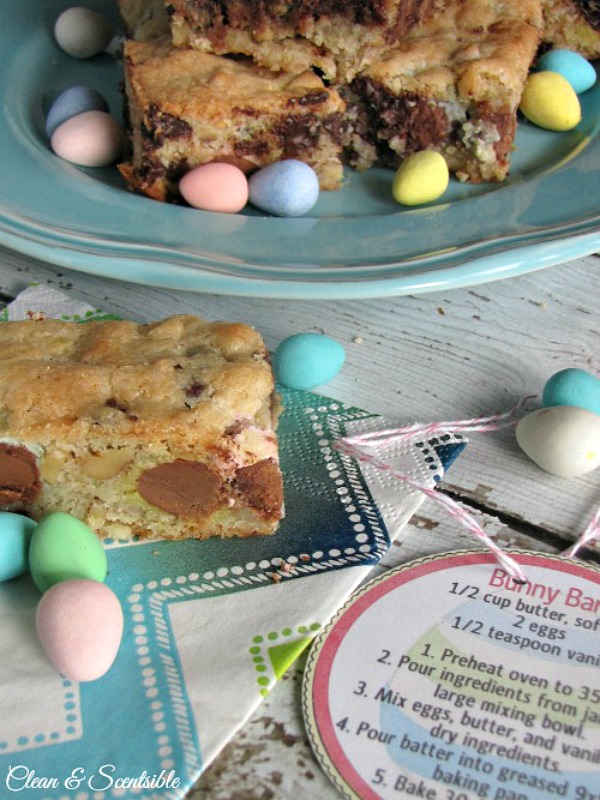
If you are looking for more Easter ideas, you might also want to check out these posts….
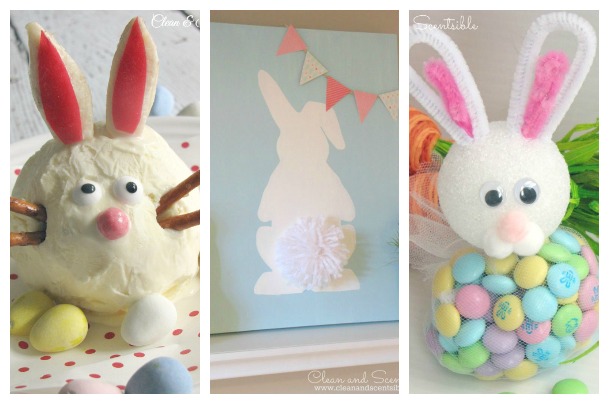
Easter Bunny Sundaes
Easter Bunny Canvas
Easter Bunny Treats
Have a wonderful spring and thanks so much to Heather for having me!