• Skip to primary navigation
  • Skip to main content
  • Skip to primary sidebar
  • Skip to footer

Whipperberry

WhipperBerry • Your Home For Creative Inspiration

  • Home
  • Recipes
    • Starters
    • Easy Weeknight Dinners
    • Main Dish
    • Salads
    • Side Dish
    • Soups & Stews
    • Desserts
    • Breakfast
    • Miscellaneous
  • Tutorials
    • Creative Crafts
    • DIY Decor
    • Fabric Crafts
    • Food How-To
    • Jewlery
    • Paint Projects
    • Paper Art
    • Party Styling
    • Photography and Graphic Design
    • Silhouette
  • Holidays
    • Easter
    • Mother’s Day
    • Father’s Day
    • 4th of July
    • Halloween
    • Thanksgiving
    • Christmas
    • Valentine’s Day
  • Gift Ideas
    • Gifts For Everyone
    • Gifts for Dad
    • Mother’s day
    • For The Girls
    • For The Kids
    • Teacher Gift Ideas
    • Christmas
  • Printables
    • Holiday
    • Gift Idea
    • LDS Primary
  • Travel
  • About
    • Terms
  • Contact
  • Nav Social Menu

    • Facebook
    • Instagram
    • Pinterest
    • RSS
    • Twitter

Recipes

#mydailysiggis Breakfast Power Bowl

5 · Sep 6, 2016 · 5 Comments

Breakfast Power Bowl from WhipperBerry

When I was a kid, I wasn’t a huge fan of yogurt. The overly sweet, artificial tasting yogurt my Mom would serve was always too runny for my taste. Even as an adult, it had never really been my go-to meal or snack.

That is, until I went to Europe and was introduced to skyr. A traditional Icelandic recipe (it’s been used for over 1,000 years!) that kiddos in the region grow up on, it’s rich, creamy, not overly sweet, and full of protein. I fell in LOVE with it! It’s made by warming skim milk, adding active cultures, and after several hours, straining the mixture to separate the yogurt from the whey (the water that is in milk). They then serve it with any number of great toppings.

The first time I tried it, I knew I had found what I had been looking for. I couldn’t get enough of it! The idea of coming back to the States without it was truly sad. In Europe, I ate skyr everyday with all kinds of fruit and muesli, an all-natural, whole grain cereal–kind of like granola–that is popular in Europe.

Like all good things, my trip had to come to an end. I came home and mourned the loss of my favorite breakfast food and snack. I looked forever to find something that was even close to what I had eaten in Europe. After a while, I nearly gave up, and accepted the fact that I was stuck with traditional U.S. yogurt.

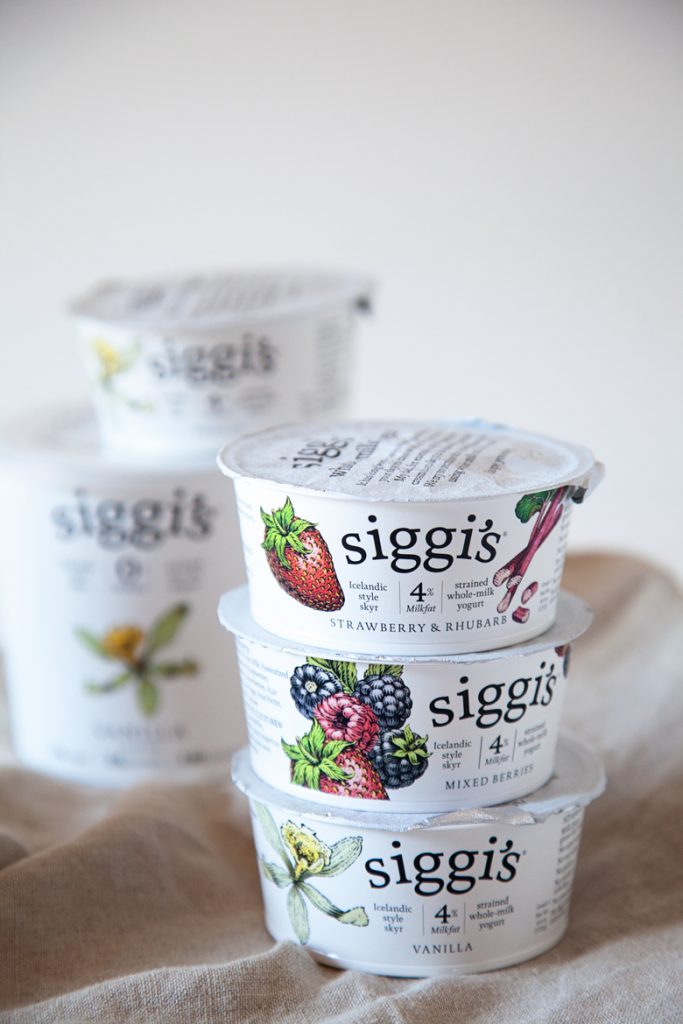
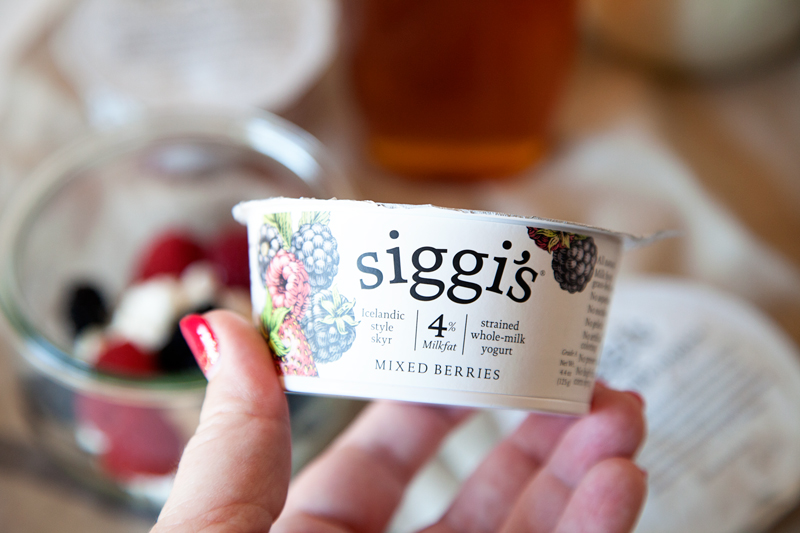
Then a few years ago I was introduced to siggi’s yogurt and gave it a try. I thought the name and packaging were really fun, and when I tried the yogurt I was whisked back to my European travels in an instant. I could tell that it was made with natural, high-quality ingredients and not a lot of sugar (they use agave nectar, natural sugar, and no artificial flavors or preservatives). siggi’s was that beautiful, protein-packed skyr that I had been looking for, and I could finally start having my European breakfast power bowls again!

siggis-breakfast-from-whipperberry-1
There are even more benefits to eating siggi’s, and you can go check out their site to learn more.  

Here’s my favorite way to eat siggi’s these days…

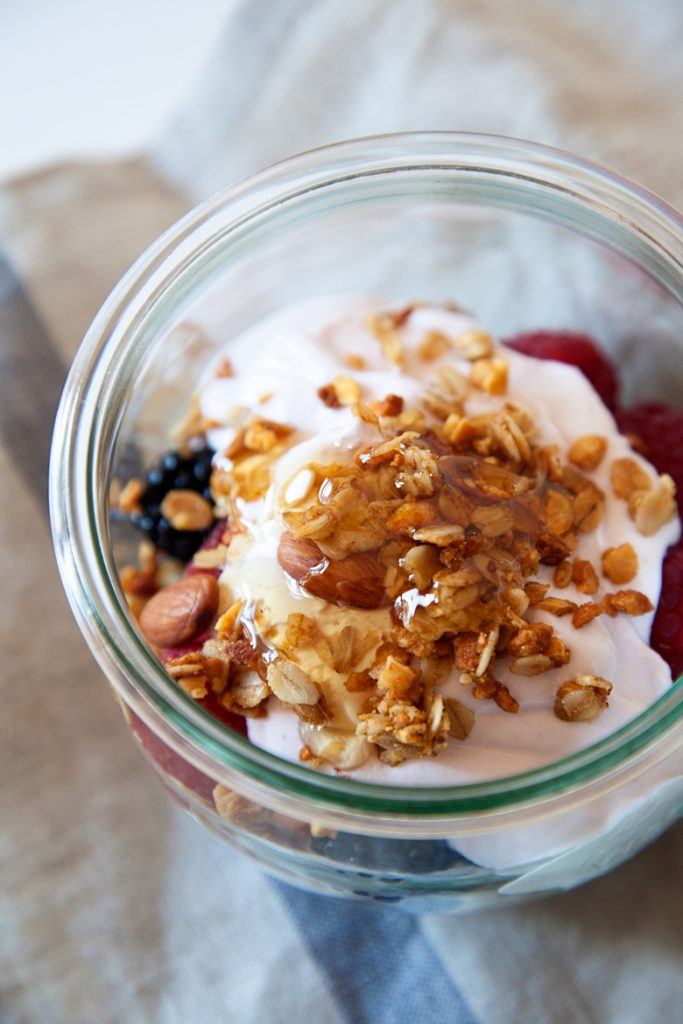
My Favorite (And Simple!) Breakfast Power Bowl

⅓ cup of granola

(1) 4.4 oz. container of Siggi’s 4% strained whole milk yogurt

½ cup mixed berries

1 teaspoon local honey

⅛ teaspoon chia seeds

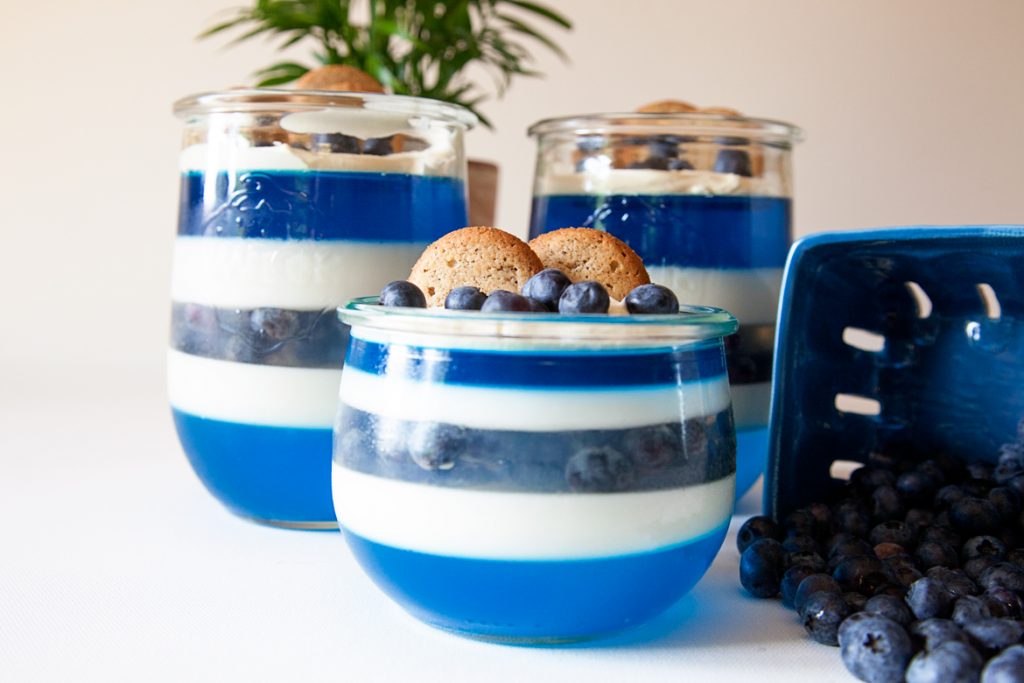
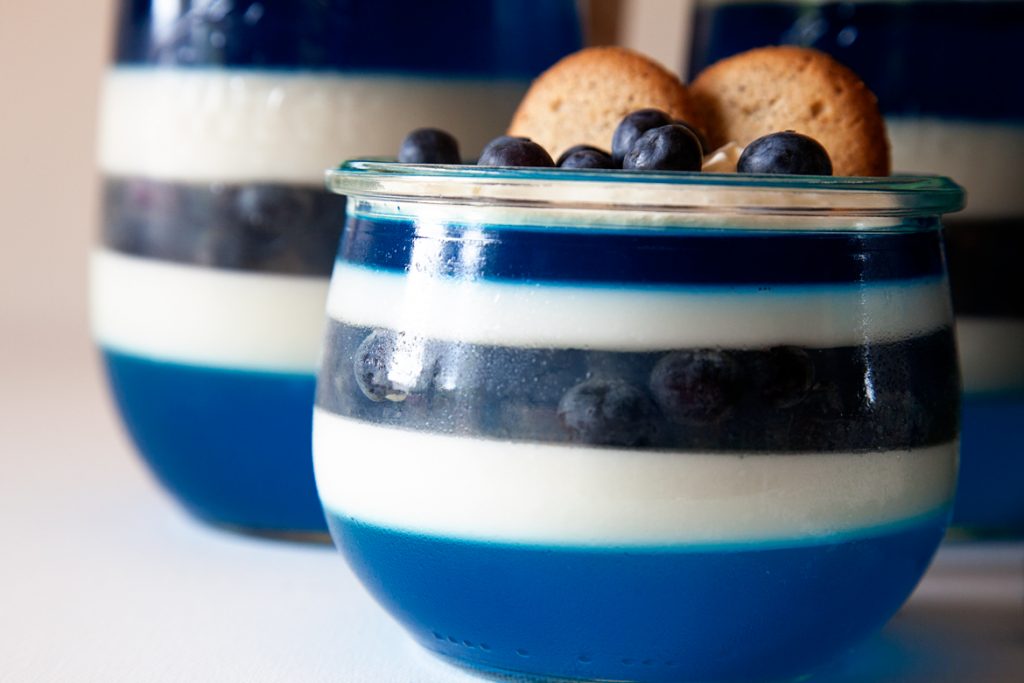
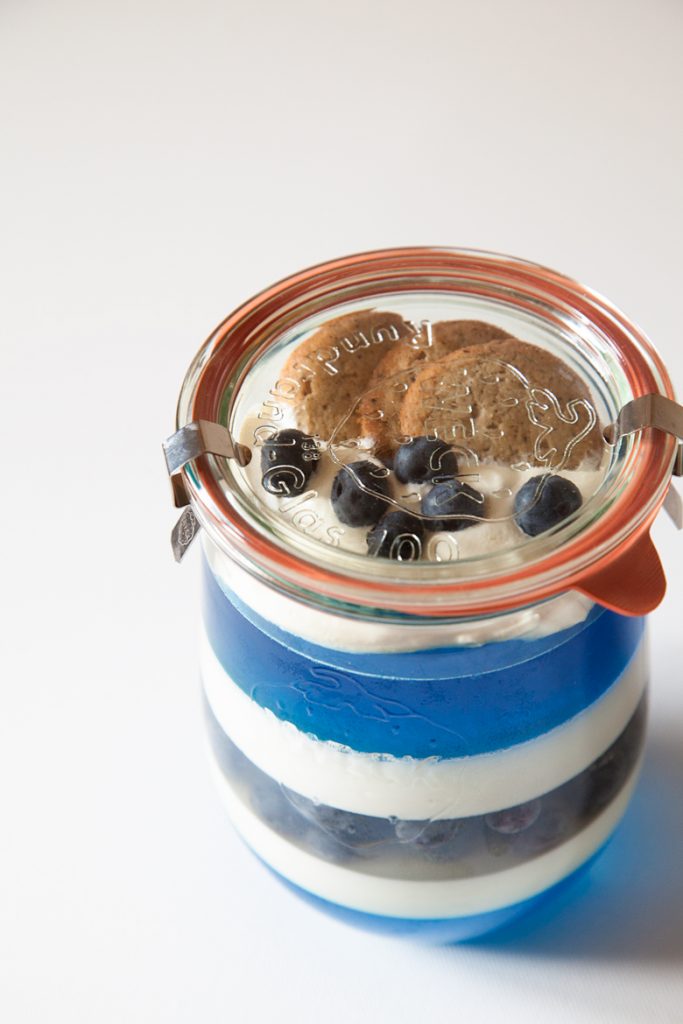
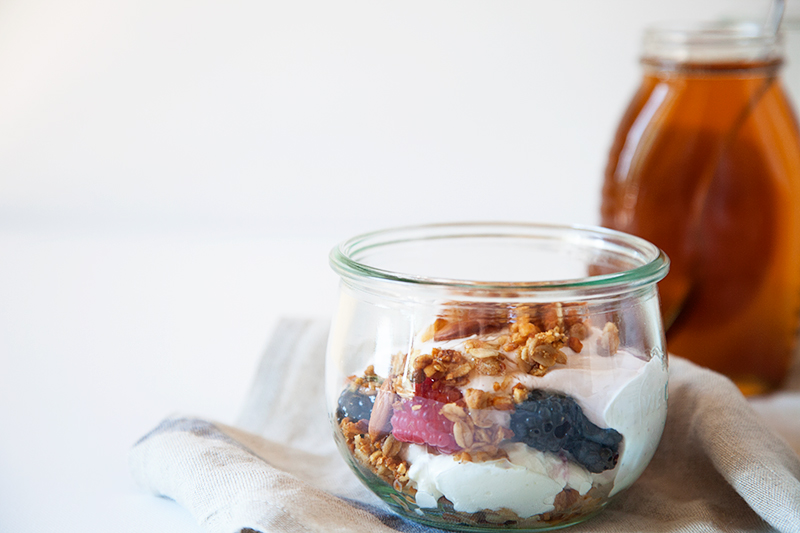
It’s incredibly simple! You layer each ingredient on top of one another, starting with the granola.

siggis-breakfast-from-whipperberry-6

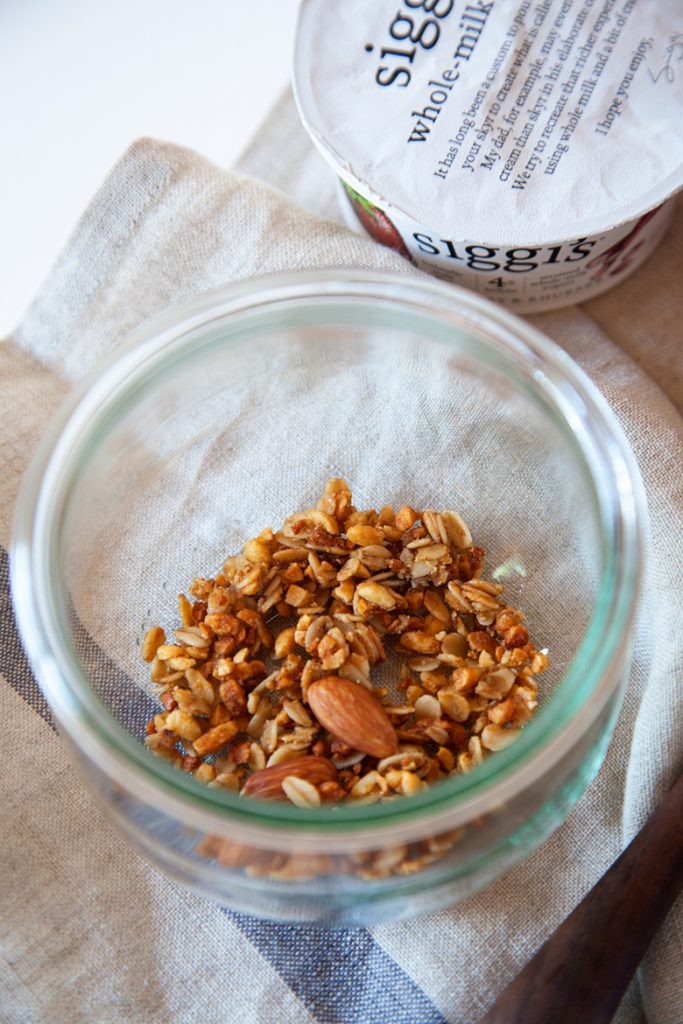
Pour ½ of the granola into the bottom of your bowl.

siggis breakfast from whipperberry-8

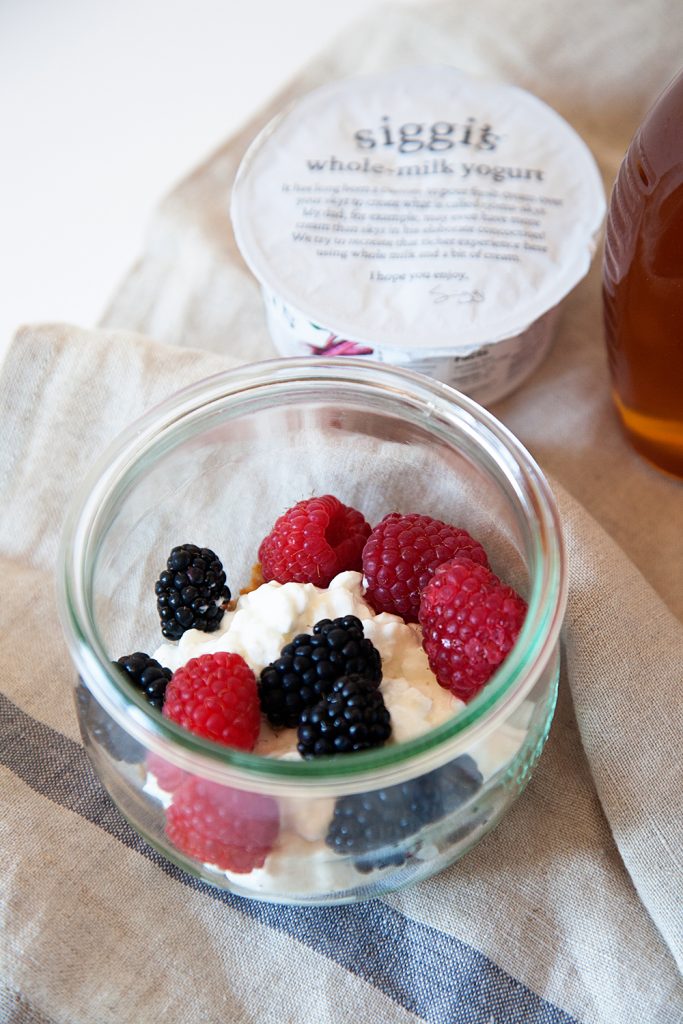
I top that with my favorite fruits: fresh blackberries and raspberries and add my siggi’s.

siggis-breakfast-from-whipperberry-9

I love that they let me select how much fat I can have when eating siggi’s. I typically prefer the 4% milkfat, whole milk varieties. Not all fat is bad.

Look at how rich and creamy that looks! I top that with the rest of my granola, a little local honey and, if I’m in the mood, some chia seeds.

siggis-breakfast-from-whipperberry-11

That, my friends, is how I LOVE to eat my siggi’s!

siggis-breakfast-from-whipperberry-12

Special thanks to siggi’s dairy for partnering with me for this special blog post!

Mini Hot Chicken Bites Recipe

8 · Aug 30, 2016 · Leave a Comment

Great game day mini bite, Mini Hot Chicken Taco Bites from WhipperBerry

Oh, are you in for a treat today! With football season right around the corner I’m sure you are looking for a few new game time treat for the crew. These Mini Hot Chicken Bites are going to be a touchdown for sure.

Back in the spring I had an opportunity to travel to Nashville with my fellow Old El Paso bloggers and we did a taco tour down in the heart of Nashville. We basically had a taco crawl through town. It was so fun and tasty! One of our first stops was The Southern a famous oyster and stake restaurant down in the heart of Nashville. They are famous for many things but the one we had a chance to try was their famous Nashville Hot Chicken & Waffles.

the famous Nashville Hot Chicken from The Southern via WhipperBerry

Now, if you’ve never tasted or even heard of Nashville Hot Chicken, you’re in for a treat. This is a special recipe that they have down south that takes fried chicken to a whole new level. They smother the chicken in a special blend of spices and then let it sit over night letting the spice fill the chicken with amazing flavor. Then they put it through the normal frying process and it’s AMAZING!

That alone is a fantastic meal but The Southern goes a step further and pairs it with beautiful light waffles and a drizzle of maple syrup and it’s divine. After that trip I was inspired to make something of the sort using our favorite Old El Paso Mini Taco Boats. 

Mini Hot Chicken Taco Bites from WhipperBerry

These are like little bites of Nashville that your family and friends are going to LOVE!

They are two bites of scrumptious hot chicken with the tang from the pickle with a little honey drizzle that you guys will fall in love with. Click HERE to grab the recipe at Old El Paso!

Disclaimer // This is a sponsored post for Old El Paso. I am a member of the Old El Paso Blogger program and I am paid to help develop recipes for them. As always, I will never promote a brand that I don’t truly love and believe in.

Creamy Berry Gelatin Dessert Recipe

6 · Aug 19, 2016 · 2 Comments

+ This Creamy Berry Gelatin Dessert Recipe is brought to you by International Delight +

Creamy Layered Berry Gelatin Dessert from WhipperBerry

I don’t know about you, but every time I see some fancy layered gelatin dessert I feel like a kid again!

There is just something about the magic of those suspended layers that brings a little magic back into life. I love making this kind of dessert for my kiddos and I hope when they grow-up they’ll feel the same way about this magical treat. One of my favorite ways to make it is to add creamer to a few layers with some unflavored gelatin. It adds this creamy layer that just makes the dessert POP!

I use International Delight Simply Pure for most of my gelatin desserts. It’s so perfect, I don’t need to add anything else to the mix. No added sugar or anything. Simply Pure is just right. Then for a surprise, I create a layer of blueberries in the middle with again, more unflavored gelatin mixed with white grape juice. The kiddos love it!

Watch this video I made to show how to make the Creamy Berry Gelatin Dessert.

Creamy Berry Gelatin Recipe from Heather Thoming on Vimeo.

Doesn’t it look simple! What a fun way to close-out the summer with your family with this scrumptious dessert. I love how International Delight has the Simply Pure line… Cream, vanilla and sugar, that’s it. It taste’s so good. Here’s the recipe…

Creamy Berry Gelatin Dessert Recipe

Creamy Berry Gelatin Dessert Recipe
 
Save Print
Prep time
30 mins
Cook time
6 hours
Total time
6 hours 30 mins
 
Your family will love this layered gelatin dessert with a couple of fun surprises inside!
Author: Heather // WhipperBerry
Recipe type: Dessert
Serves: 6-8
Ingredients
  • 2 small box of berry flavored gelatin
  • 6 small packets of unflavored gelatin
  • 3 cups International Delight Vanilla Simply Pure
  • 1 cup white grape juice
  • 1 cup blueberries
  • water
  • ice cubes
  • whipped cream
  • cookies for garnish
Instructions
  1. Mix up the first berry flavored gelatin according to package directions. I use the ice method to speed up the gelling process.
  2. Pour into your clear serving containers and refrigerate until firm.
  3. Mix up two clear unflavored gelatin packets using ½ cup of hot water and then 1½ cups of Simply Pure.
  4. Pour on top of the berry gelatin layer. Place in the refrigerator until firm.
  5. Mix up two clear unflavored gelatin packets using ½ cup of hot water and then 1½ cups of cold white grape juice.
  6. Place a handful of blueberries on top of the cream layer and then pour the clear gelatin over the berries.
  7. Put back into the fridge until firm.
  8. Repeat the Simply Pure layer and refrigerate until firm.
  9. Repeat the berry gelatin layer and again refrigerate until firm.
  10. Once it's ready to serve, top with whipped cream, more blueberries and vanilla cookies as a garnish.
3.4.3177

Creamy Layered Berry Gelatin Dessert from WhipperBerry

This dessert can be made with any type of berry or most fruits. Play around with it and find your favorite creamy flavor combination!

Creamy Layered Berry Gelatin Dessert from WhipperBerry

Creamy Layered Berry Gelatin Dessert from WhipperBerry

I’m a big fan of International Delight. It’s amazing what you can do with their products. Not too long ago, I shared a divine recipe for Overnight French Toast that is perfect for breakfast or brunch!

Simple-Overnight-French-Toast-from-WhipperBerry-3

Looking for more ideas? Visit the International Delight website and sign-up for their newsletter, or follow them on Facebook, Instagram or Pinterest for all kinds of recipes and ideas.

This is a sponsored conversation written by me on behalf of International Delight. The opinions and text are all mine.

Sweet and Spicy Pork Taco Recipe – Slow Cooker Approved

7 · Aug 19, 2016 · Leave a Comment

+ This Sweet and Spicy Port Taco Recipe post brought to you by the lovely folks at Old El Paso +

Sweet and Spicy Slow Cooked Pork Tacos from WhipperBerry

You guys are in for a treat today! I’m am sharing one of my family’s FAVORITE recipes that I’ve been working hard to perfect over many years and it’s finally ready to share with you, my favorite friends!

I give to you my Sweet & Spicy Pork Taco Recipe! You guys are going to fall in love with how easy this recipe is and then the flavor is going to blow you away. A little back story…

I LOVE slow cooked pork! However, for many many years I TRIED to figure out how to slow cook my pork and I was always disappointed. I would slow cook it for the appropriate time and it would turn out flavorless and no matter what I did, it was always dry and over cooked. At times it would feel like we were eating saw dust, YUCK!

Time after time I would fail. Rather than becoming discouraged, I decided to make it my mission in life to figure out how to make the best pork recipe ever. I didn’t want it just for BBQ, I also love to use it in tacos, rice bowls and salads. I tried different cuts of pork, different cooking methods, different types of cooking vessels and this my friends is the product of my mission. I have come up with the perfect slow cooked recipe and I’ll be sharing that with you in one of our favorite ways to eat it… Sweet and Spicy Pork Tacos!

These tacos are divine! They are little a whole bunch of flavor packed into our new favorite taco shell from Old El Paso™. Have you seen the new Old El Paso™ Bold Spicy Cheddar Flavored Stand ‘n Stuff Taco Shells? They’re tasty and so easy to fill and eat.

WhipperBerry-SweetandSpicyPorkTacos-horizontal-step9

We like to stuff them with our favorite slow cooked pork, some pickled red onion and our sneaky pineapple salsa! Here’s how you make it.

Sweet and Spicy Pork Taco Recipe

Sweet and Spicy Pork Taco Recipe - Slow Cooker Approved
 
Save Print
Prep time
1 hour
Cook time
5 hours
Total time
6 hours
 
These sweet and spicy pork tacos are going to knock your socks off. The fact that you can do everything ahead of time and then assemble when you are ready to serve will make this a staple in your recipe box for sure.
Author: Heather // WhipperBerry
Recipe type: Main Dish
Serves: 18-20
Ingredients
  • Pork
  • 6-8 lb. pork shoulder roast
  • 3 tablespoons olive oil
  • 1 tablespoon salt
  • 4 tablespoons of Old El Paso Original Taco Seasoning
  • 1 whole head of garlic
  • 3 tablespoons of chopped chipotle peppers in adobo sauce
  • Pickled Onions
  • 2 red onions - thinly sliced
  • 1 cup water
  • ¼ cup sugar
  • 1½ cups of red wine or balsamic vinegar
  • 1 clove of garlic
  • Tacos
  • 2 packages of Old El Paso Bold Spicy Cheddar Flavored Stand and Stuff Taco Shells
  • shredded pork
  • 1 cup crumbled feta
  • pickled onions
  • 1 can pineapple tidbits
  • 1 jar of green salsa
Instructions
  1. The pork for this recipe can be made in the oven or in a slow-cooker either methods works great. Place a heavy bottomed large pan or dutch oven over high heat and add the olive oil. Let the pan get nice and hot. Generously salt the pork roast on all sides and then place the roast fat side down in the hot pan.
  2. Turn the heat down to medium and brown the roast on all sides.
  3. Once the pork has been browned, remove from pan and place on a baking sheet.
  4. Peel the garlic and make little incisions in the pork and place the garlic inside the opening.
  5. Repeat this step until you have placed all of the garlic cloves in the pork roast on all sides.
  6. Coat the pork roast with the Old El Paso Original Taco Seasoning on all sides.
  7. Then cover the top of the pork with the chipotle pepper and adobo sauce.
  8. Place in a 300˚ oven for 4-5 hours or in your slow cooker on low for 5-6 hours. Once the pork is 145˚ and fall off the bone tender, remove it from the oven or turn off the heat of the slow cooker and let your pork rest.
  9. While your pork is cooking, or preferably the night before, thinly slice the onion and place in a jar.
  10. Boil the water and then dissolve the sugar in the hot water. Pour over the onions and then add the vinegar and garlic clove. Cover the onions completely with cold water if needed. Place in refrigerator for at least 4 hours or overnight.
  11. We’re almost ready to build our tacos, all we need now is to mix our salsa. Take your favorite green salsa and pour into a bowl. Drain the pineapple tidbits and add to the salsa, then gently mix.
  12. Once your pork has rested for 10-15 minutes, remove the fat and then shred the pork. Place the pork in a bowl and serve along with the pickled onions, the pineapple salsa, Old El Paso Bold and Spicy Taco Shells and feta cheese.
  13. Let your guests build their own tacos and enjoy!
3.4.3177

For more great recipes visit Old El Paso,  they have thousands of recipes that can take your boring old taco night and make it something special!

Disclaimer // I am an Old El Paso™ blogger and this was sponsored by Old El Paso™ and I received compensation for my time and supplies.

  • « Go to Previous Page
  • Page 1
  • Interim pages omitted …
  • Page 13
  • Page 14
  • Page 15
  • Page 16
  • Page 17
  • Interim pages omitted …
  • Page 66
  • Go to Next Page »

Primary Sidebar

Heather from Whipperberry
Hello... my name is Heather and I'm the creator of WhipperBerry a creative lifestyle blog packed full of great recipes and creative ideas for your home and family. I find I am happiest when I'm living a creative life and I love to share what I've been up to along the way... Come explore, my hope is that you'll leave inspired!

Footer

  • Privacy Policy
  • Crafts
  • Food
  • Gifts
  • Holidays
  • Home
  • Mom Life
  • Recipes
  • Travel

Copyright © 2026 · Seasoned Pro