You guys, I’m so excited for today’s post! If you’ve been following along on my Instagram Stories, you’ll know that I’m in the process of making over my little guys room. I’m getting so close to being finished and I can’t wait to share what we’ve been working on. Today, I’m sharing one of the fun elements that we will be putting in his room to dress it up. It’s a cute Fox Storage Chest for all of his little trinkets and toys. You know all of the little bits and pieces that little boys tend to collect. The timing couldn’t be more perfect, DecoArt gave all of their bloggers a challenge for January. The challenge was to make over a mini storage chest from IKEA. The IKEA Moppe to be exact. It turned out so cute and I can’t wait to tell you all about it.
+ This post brought to you by DecoArt +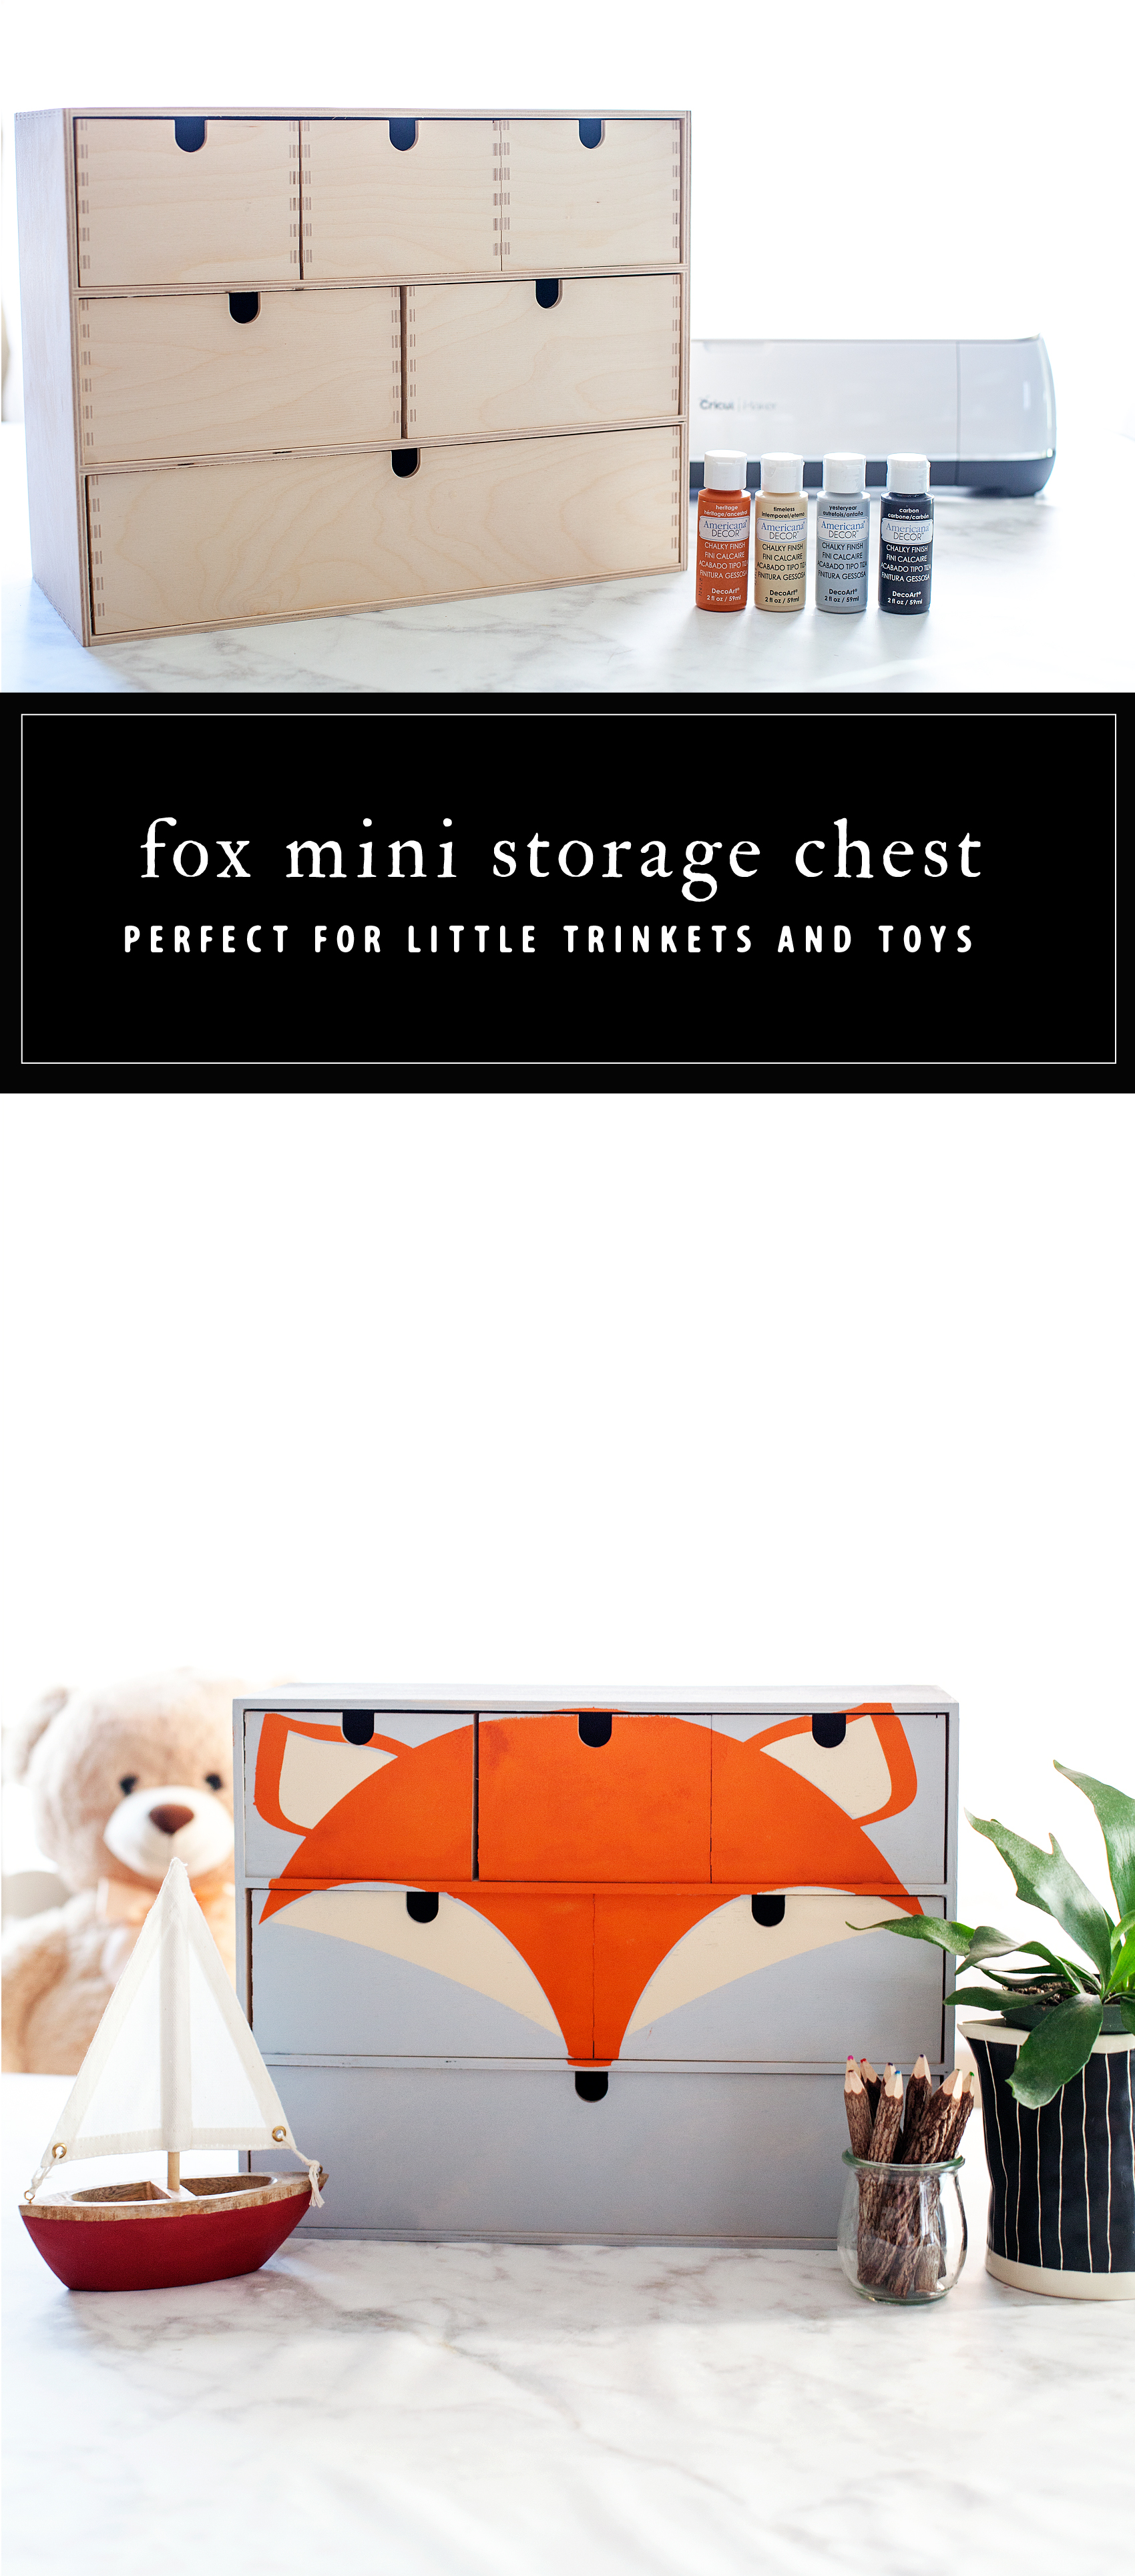
The Challenge
DecoArt sent out a challenge a little while back to transform this simple wood storage chest from IKEA any way that we would like. It may sound crazy but, I struggled coming up with a concept for the design. There were so many directions I could go; farmhouse, industrial, buffalo check, stripes… So many different ways I could take the design. This little chest sat in my craft room for weeks and I couldn’t figure out what I wanted to do. For some reason, the word challenge puts so much pressure on me and I freeze. Finally, I decided that before I could decide on a design, I needed to figure out what I wanted to do with the storage chest when I was finished. I am in the process of making over my little boys room and I decided this would be the perfect place for him to store his little things.
With that MAJOR decision made, I placed the storage chest on the table and looked at it for awhile. Again, paralyzed by all of the different directions I could go. Finally, you’re going to think I’m crazy, I was looking at the piece and all of a sudden, I saw a face looking back at me. A cute little fox face and that’s when I knew what I needed to do.
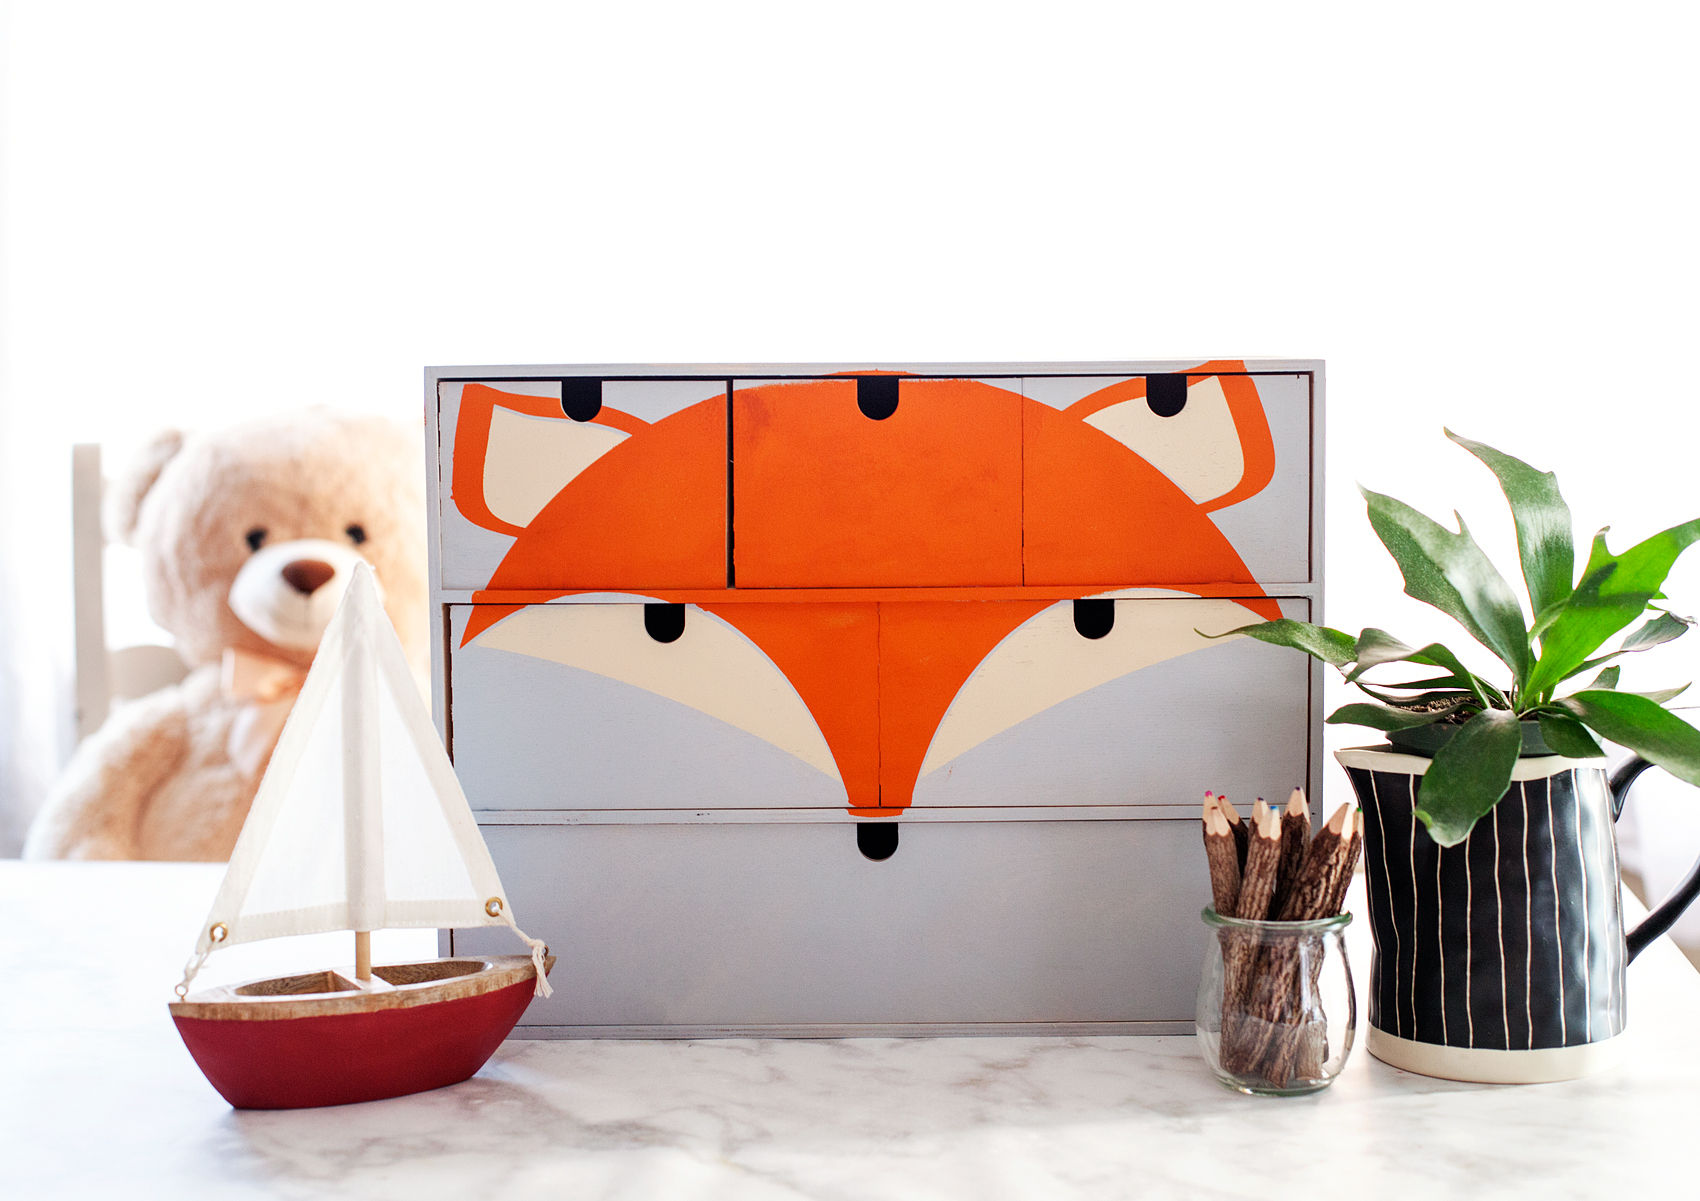
I set to work designing my fox and preparing it to cut on my Cricut Maker. As we have discussed before, I really have zero talent when it comes to freehand painting but, with the help of my Cricut, I can create some great stencils. I may not be able to freehand paint but, I have mad stenciling skills!
Supplies
I realize that this is a rather specific project but really, This stencil and the concept can work on all kinds of furniture or signs. So, don’t get discouraged if you don’t live close to an IKEA. You can find something that this will look super cute on. Here are the basic supplies.
- Mini Storage Chest – We used the Moppe from IKEA
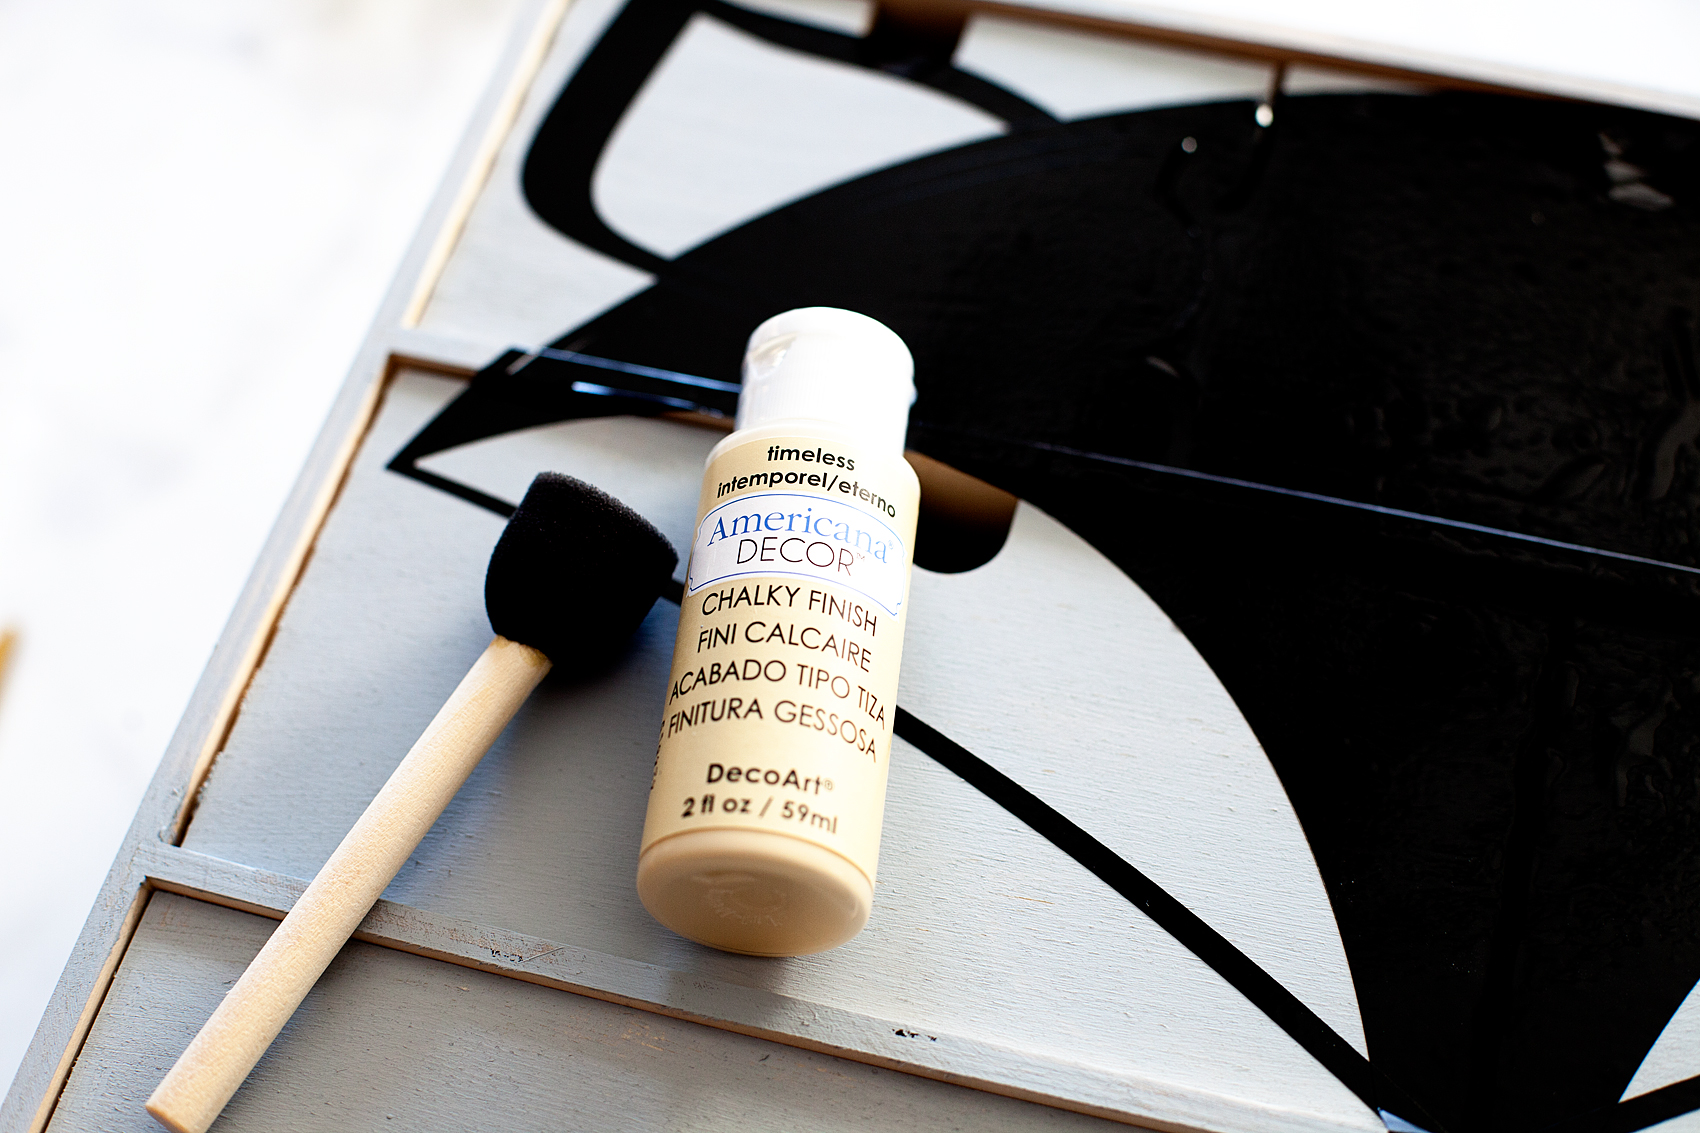
- Americana Decor Chalky Finish Paint – colors; Yesteryear, Heritage & Timeless
- foam stencil brush
- small foam brush
- Cricut machine
- download my fox SVG file
- vinyl
- transfer tape
Instructions
The first thing you’ll want to do is paint your base coat of the Americana Decor Chalky Finish Paint in the Yesteryear color. The reason why I selected the Chalky finish is that I prefer the matte look rather than a satin or enamel type paint. Plus, I think it’s a little more forgiving.
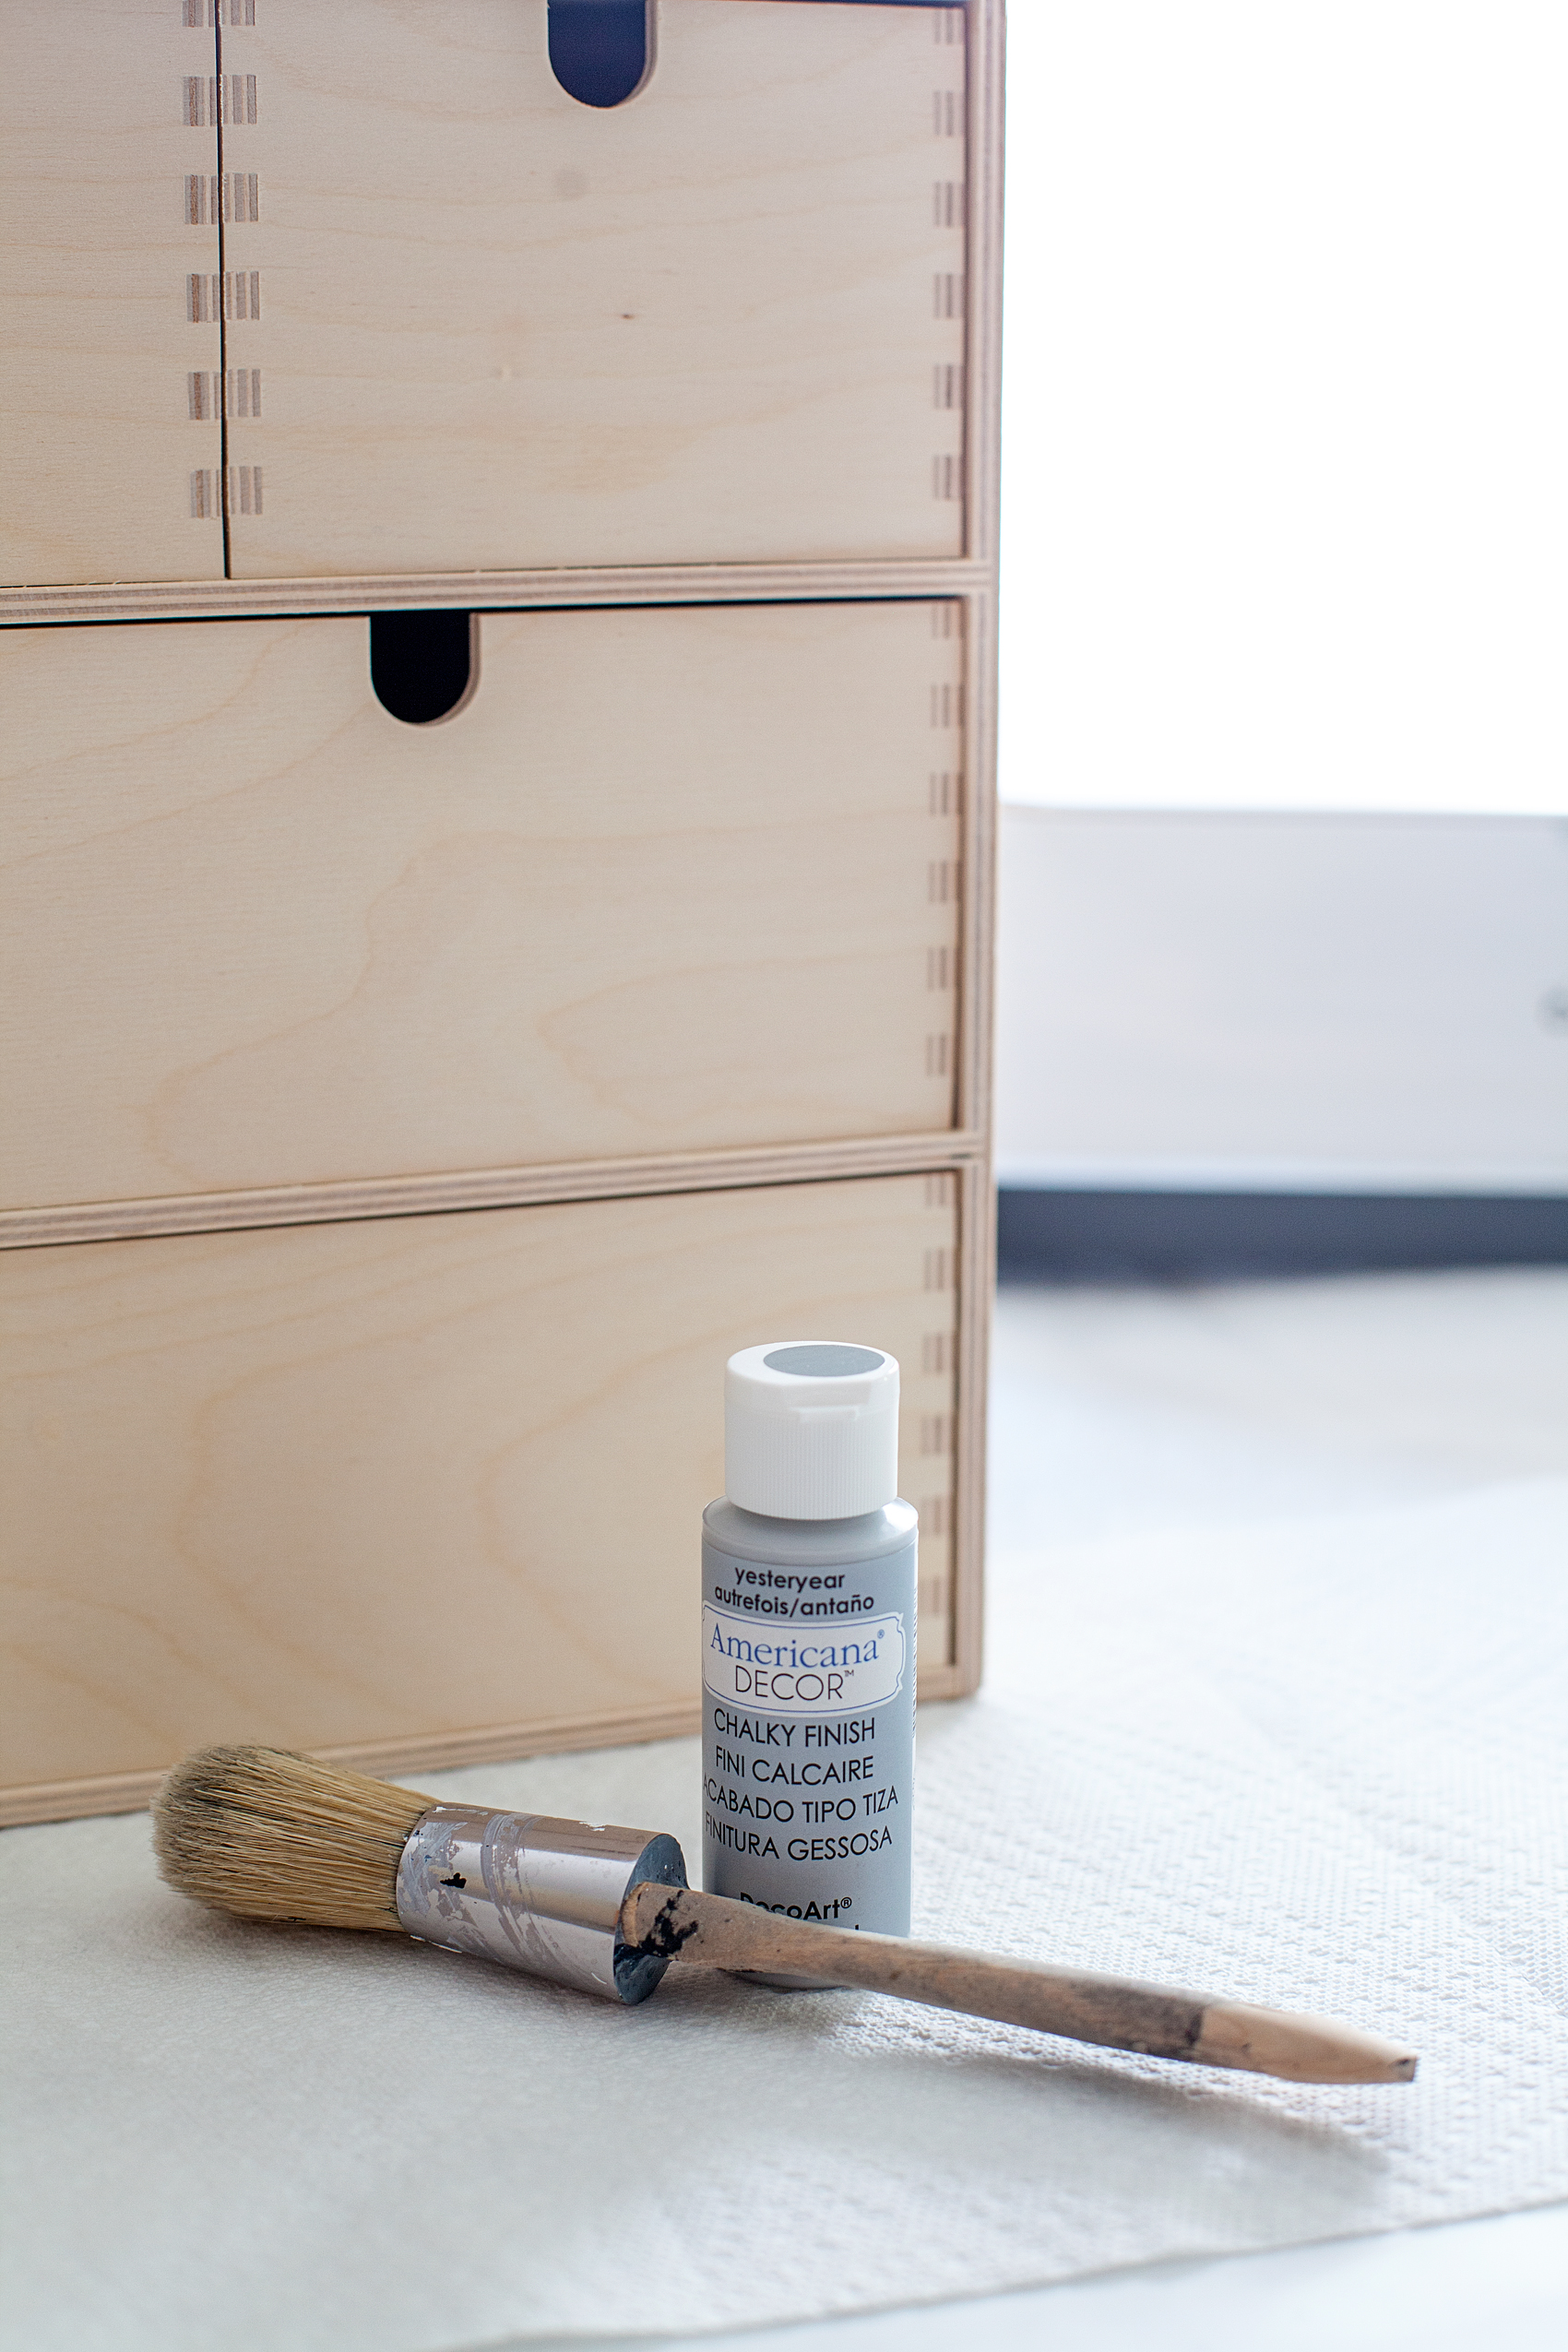
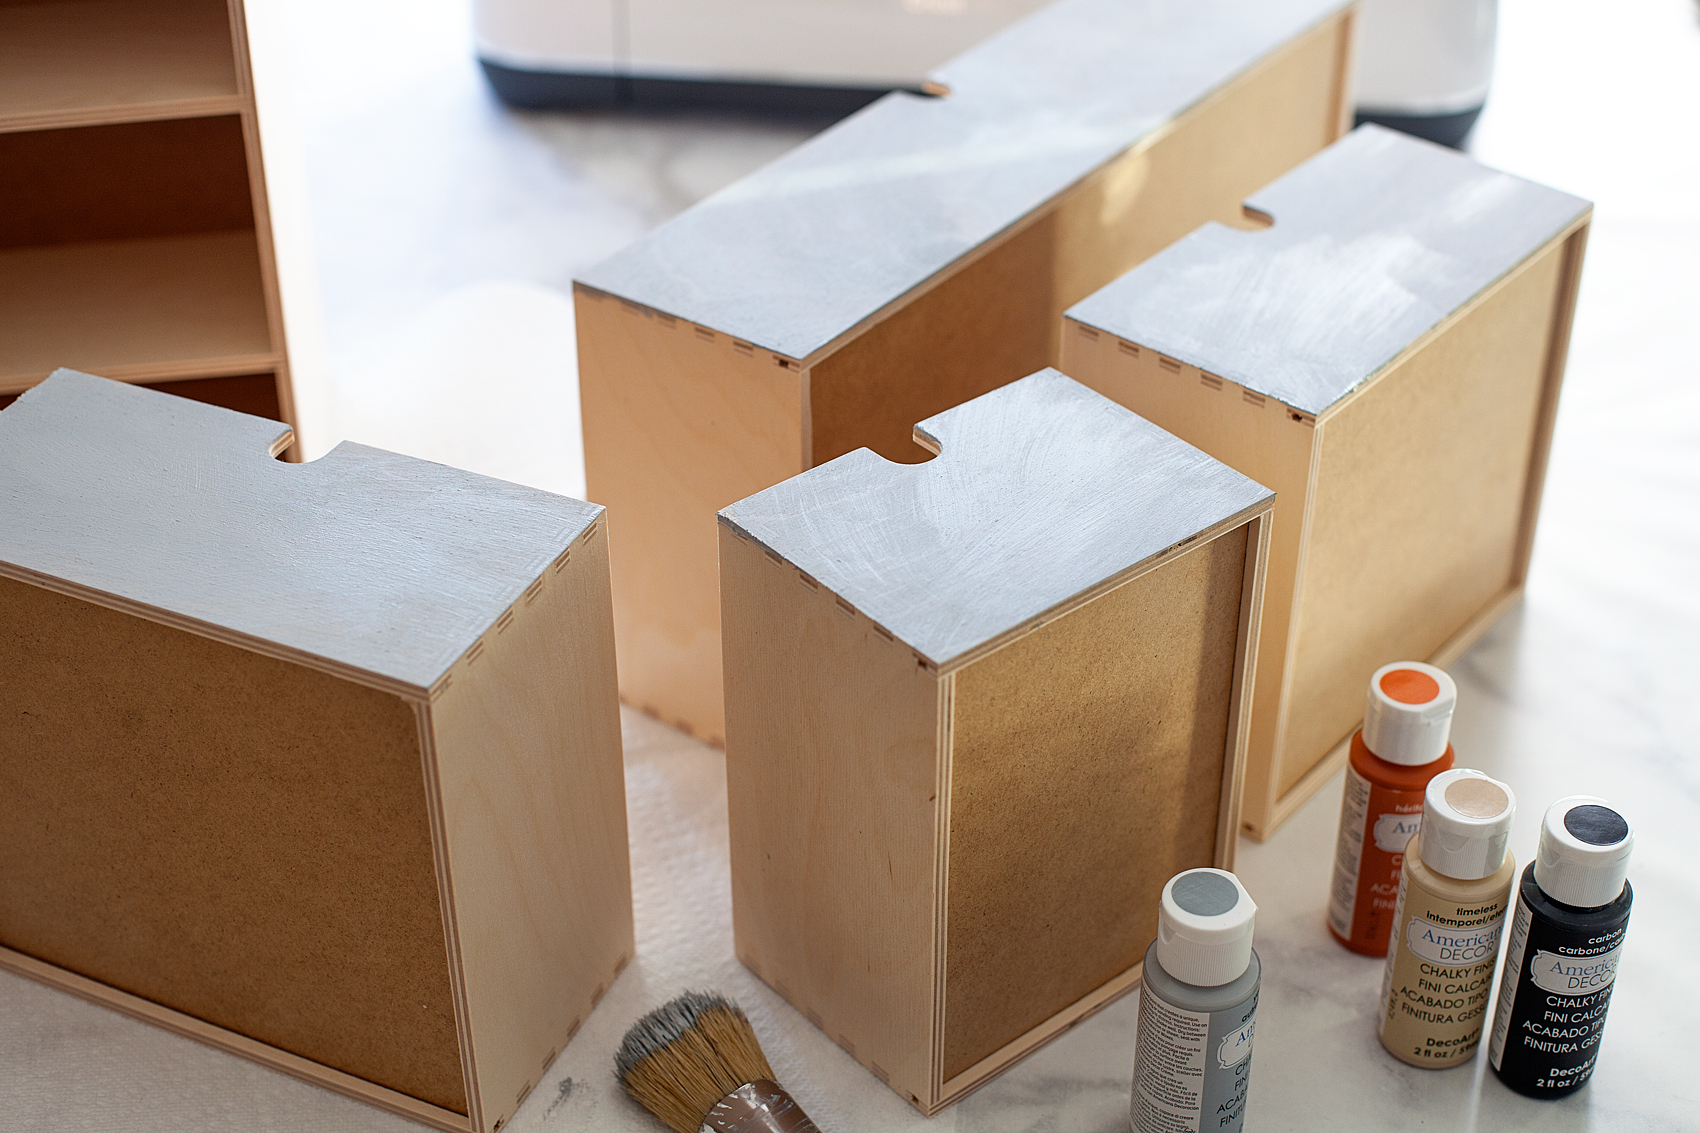
Since this piece is raw wood, it really soaked up the paint and it dried super fast (which I LOVE!) This whole project, once I had the design finished, only took about an hour.
The Fox Stencil
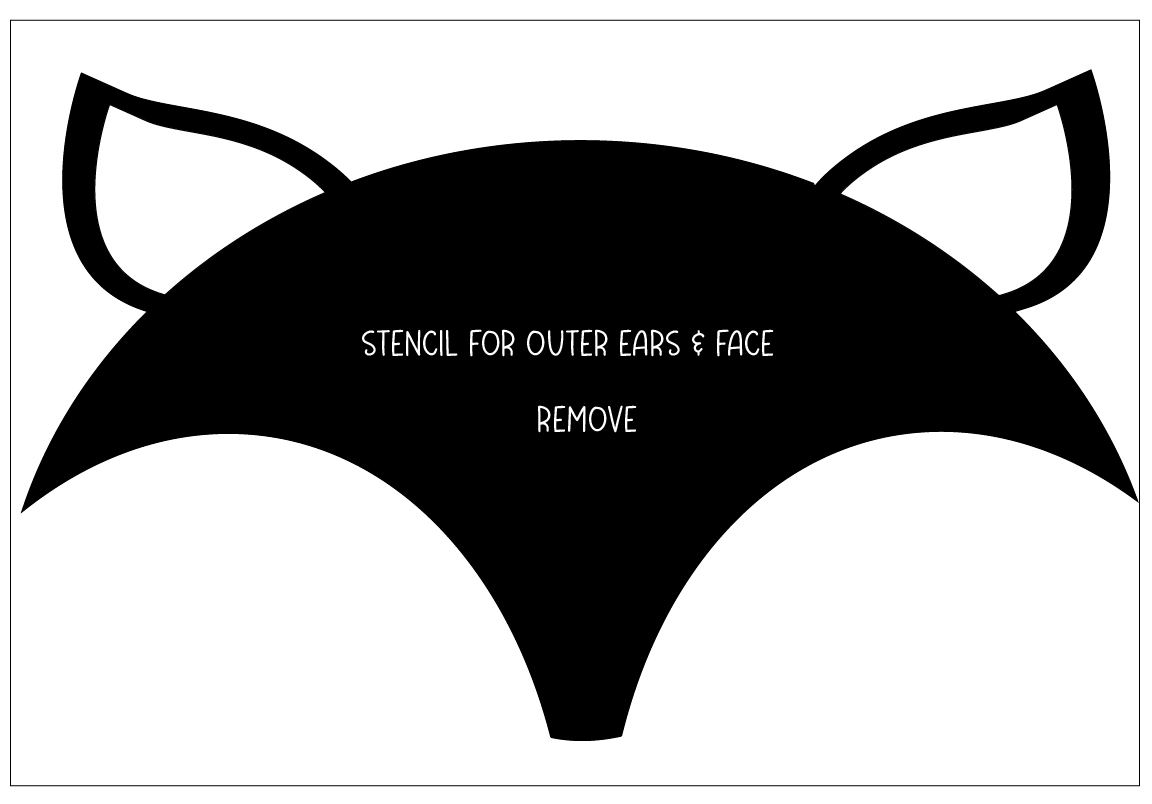
While I was waiting for the base coat to dry, I cut the first part of my fox stencil, you can download that HERE.
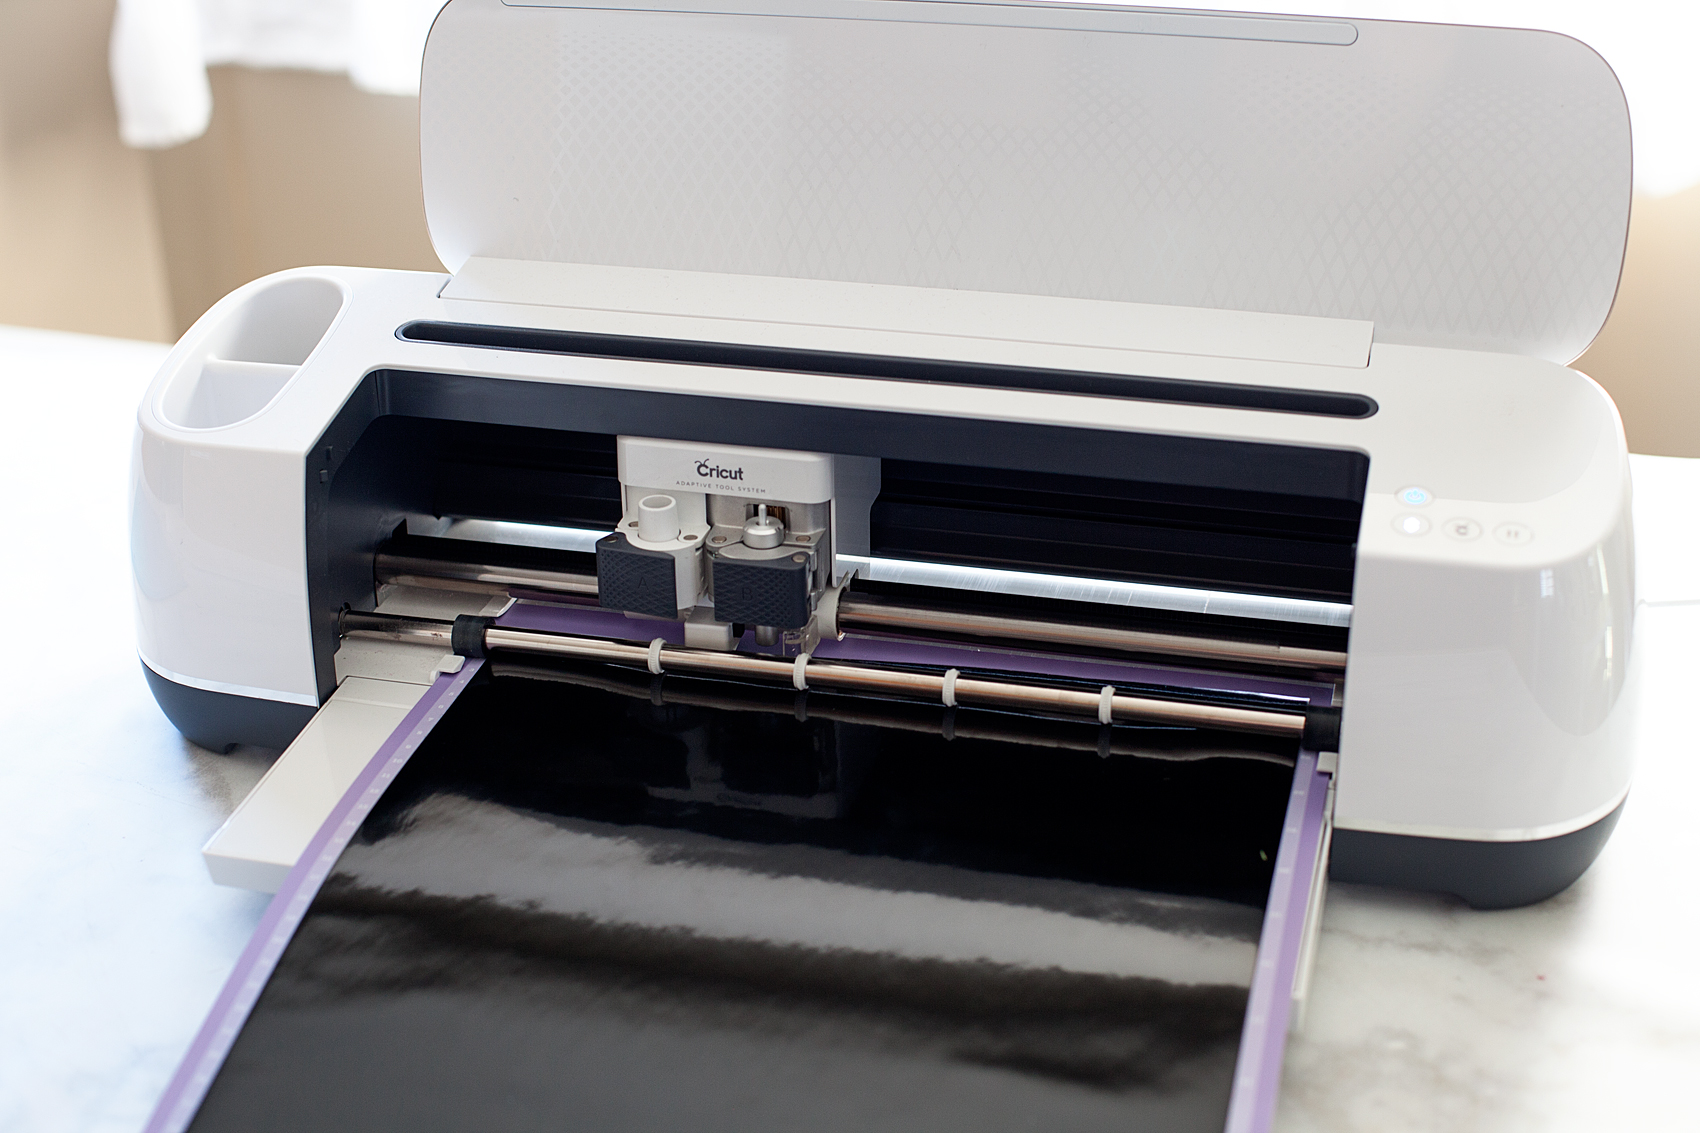
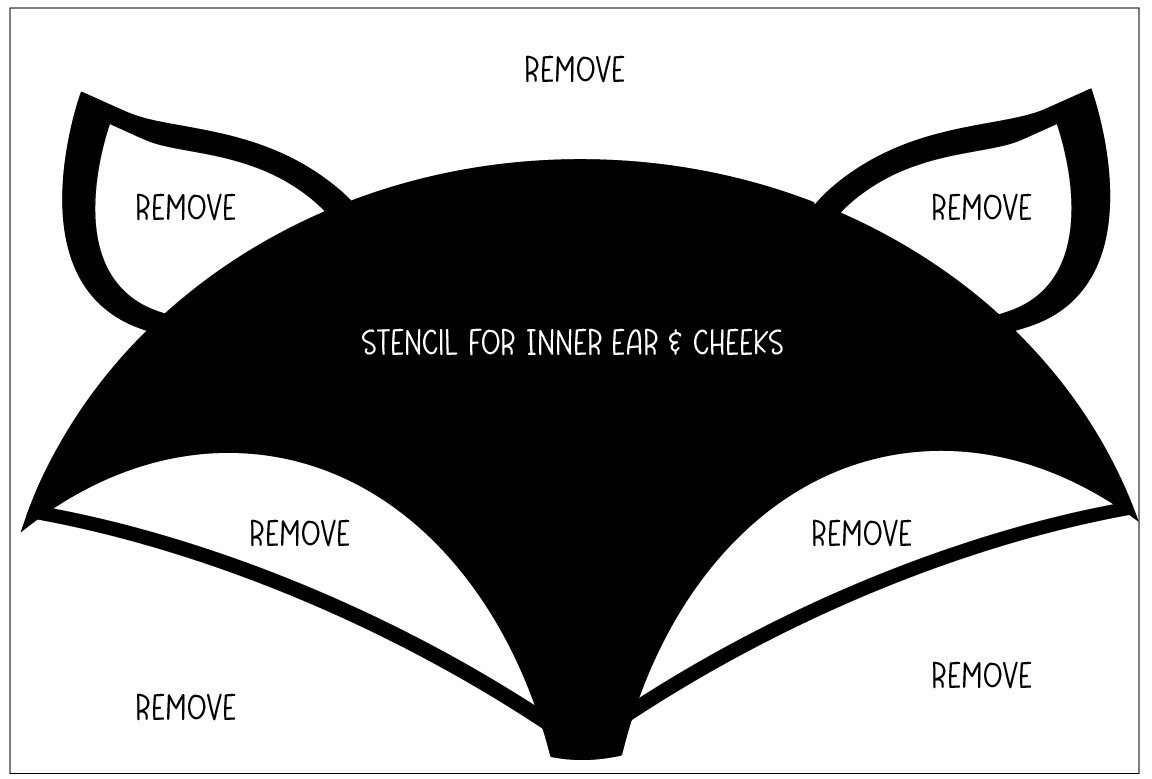
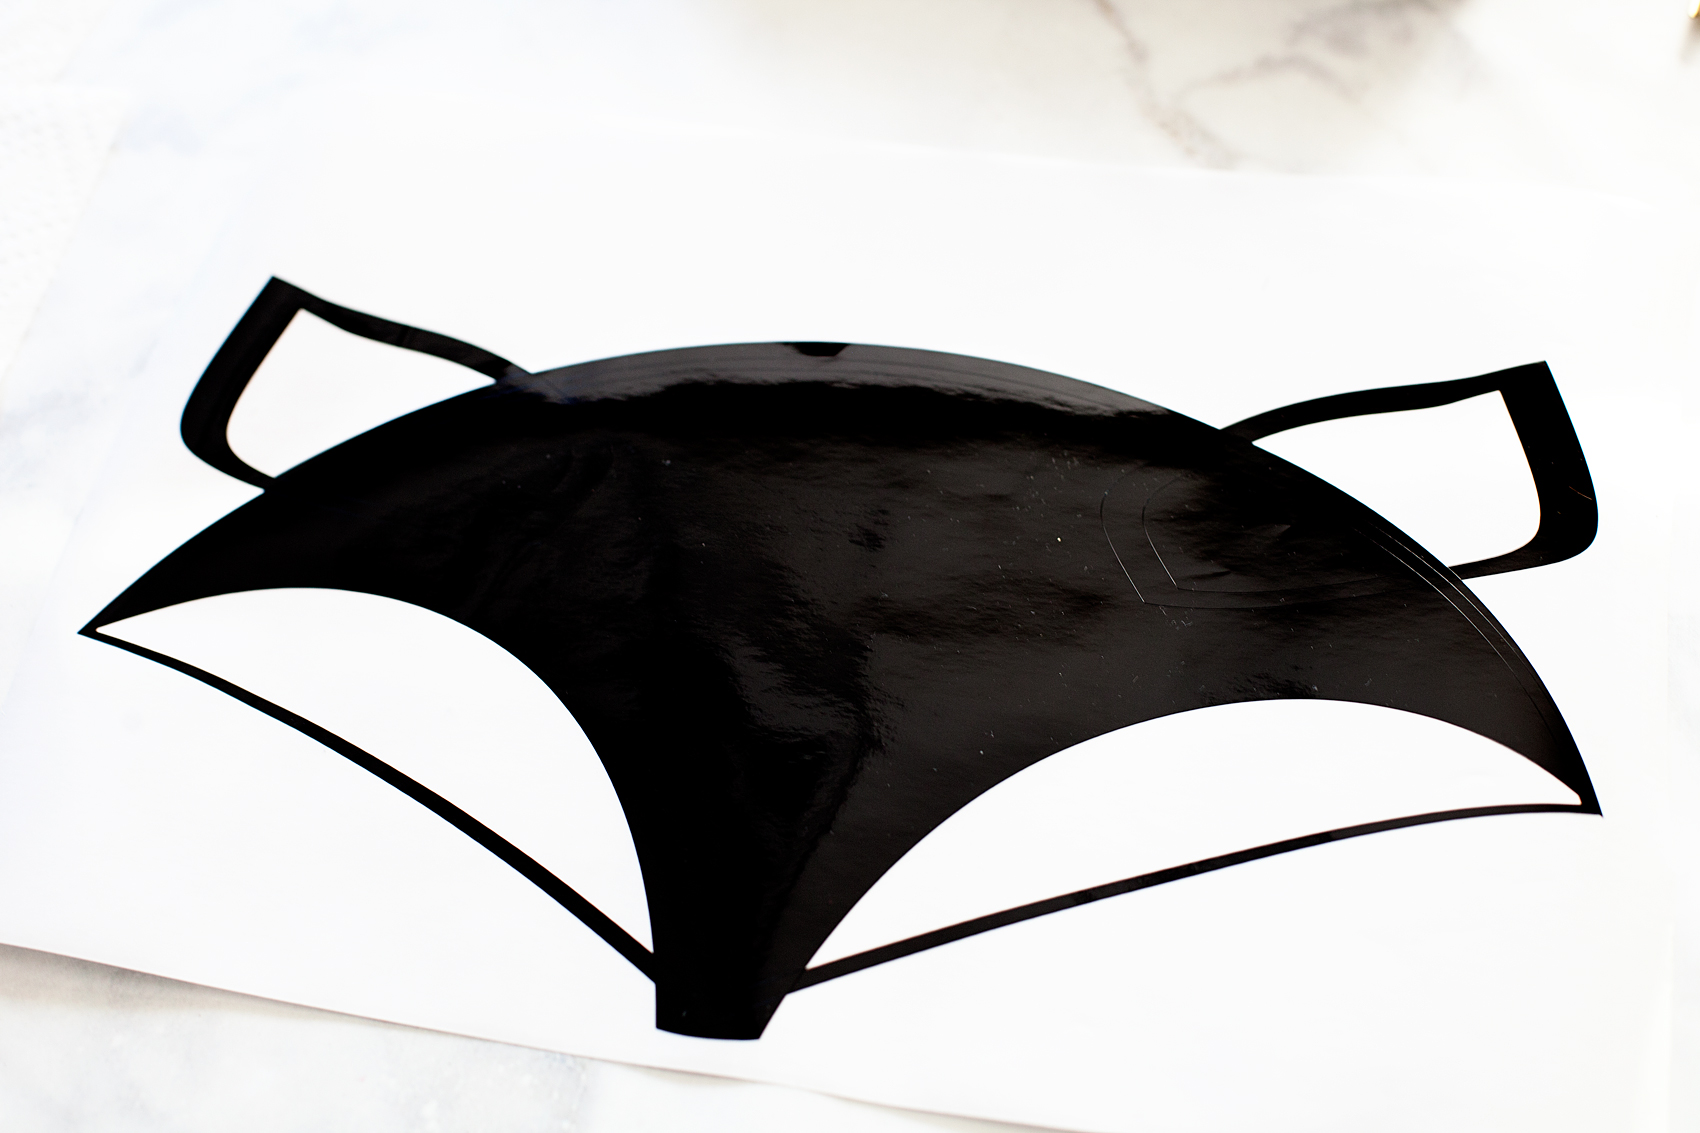
Because I was using two different colors for the fox, I had to create two different stencils. One for the inner part of the ears and cheeks, the second for the outer ears and face. Below, you will see how to weed the vinyl once you’ve cut the design.
Painting
I really don’t think the order matters but, just in case, I stenciled the inner ears and cheeks first.
Once I weeded the excess vinyl, I covered the design with transfer tape to transfer the image onto the storage chest.
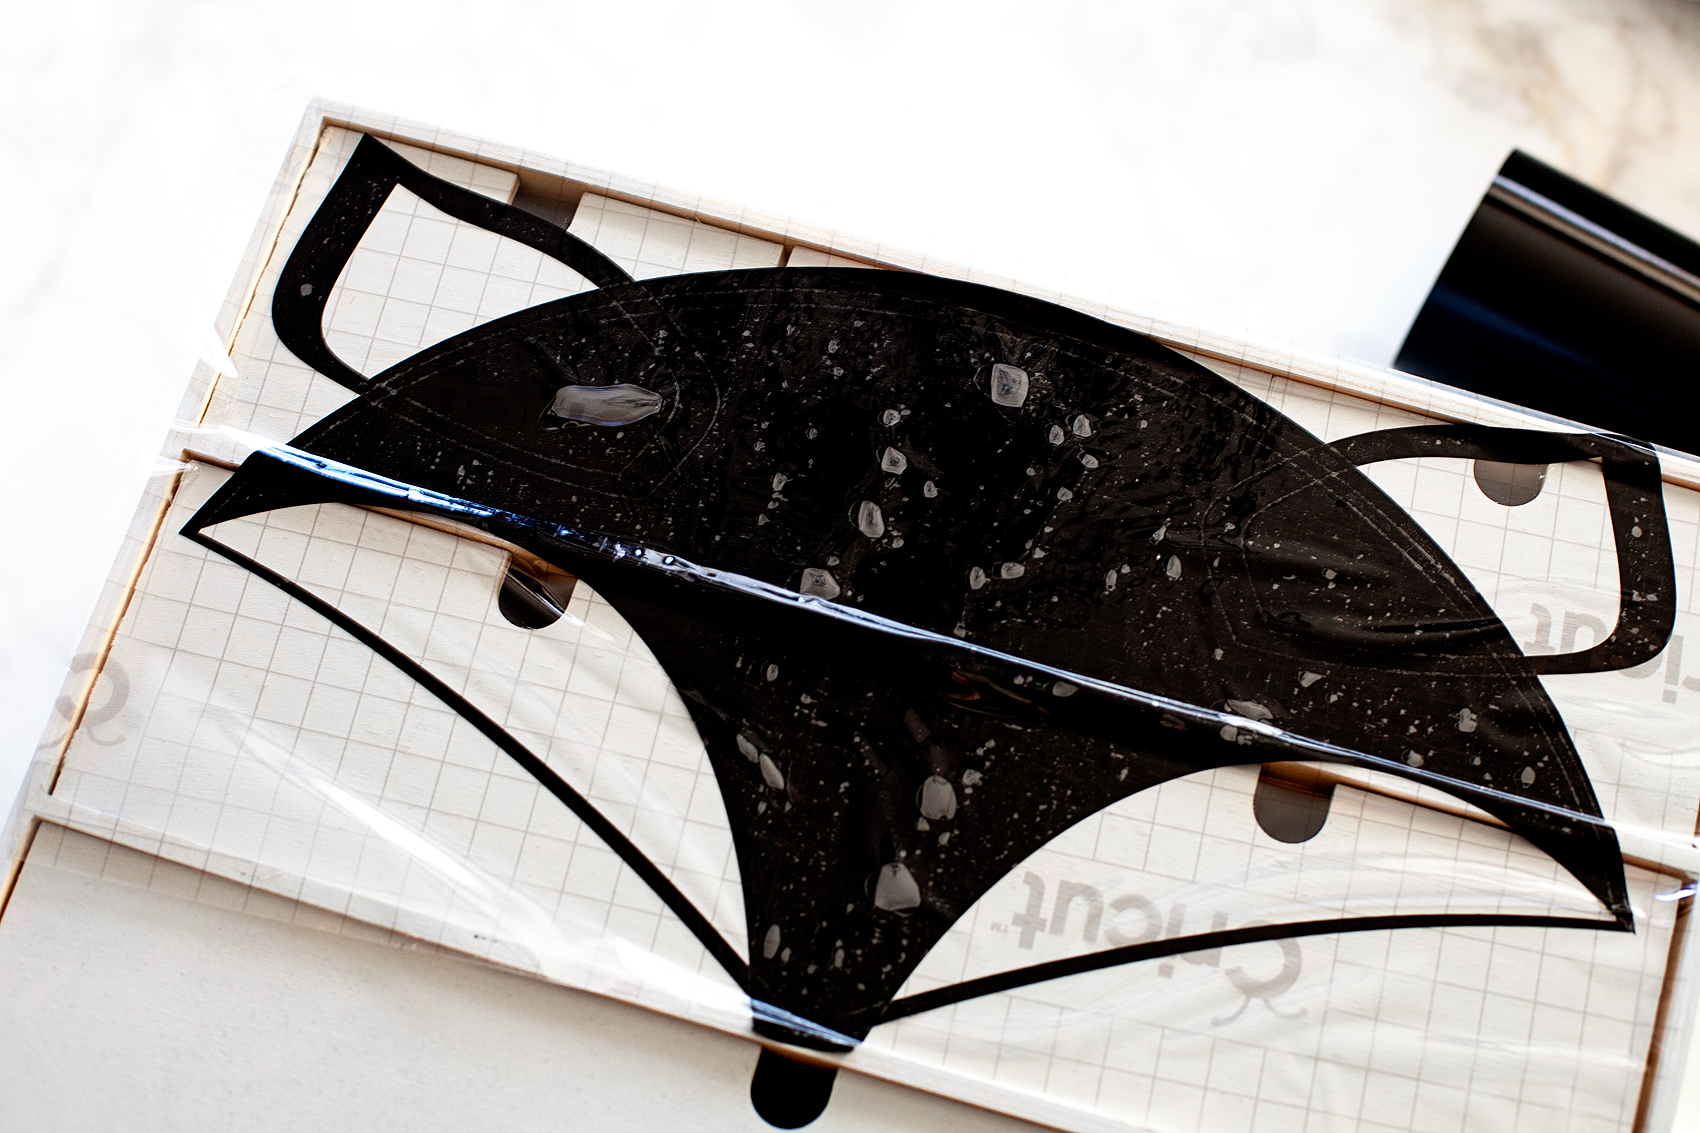
I used my scraper tool to press the vinyl down especially on the ridges of the chest. Then I carefully removed the transfer tape. Take your time here and move slowly if needed.
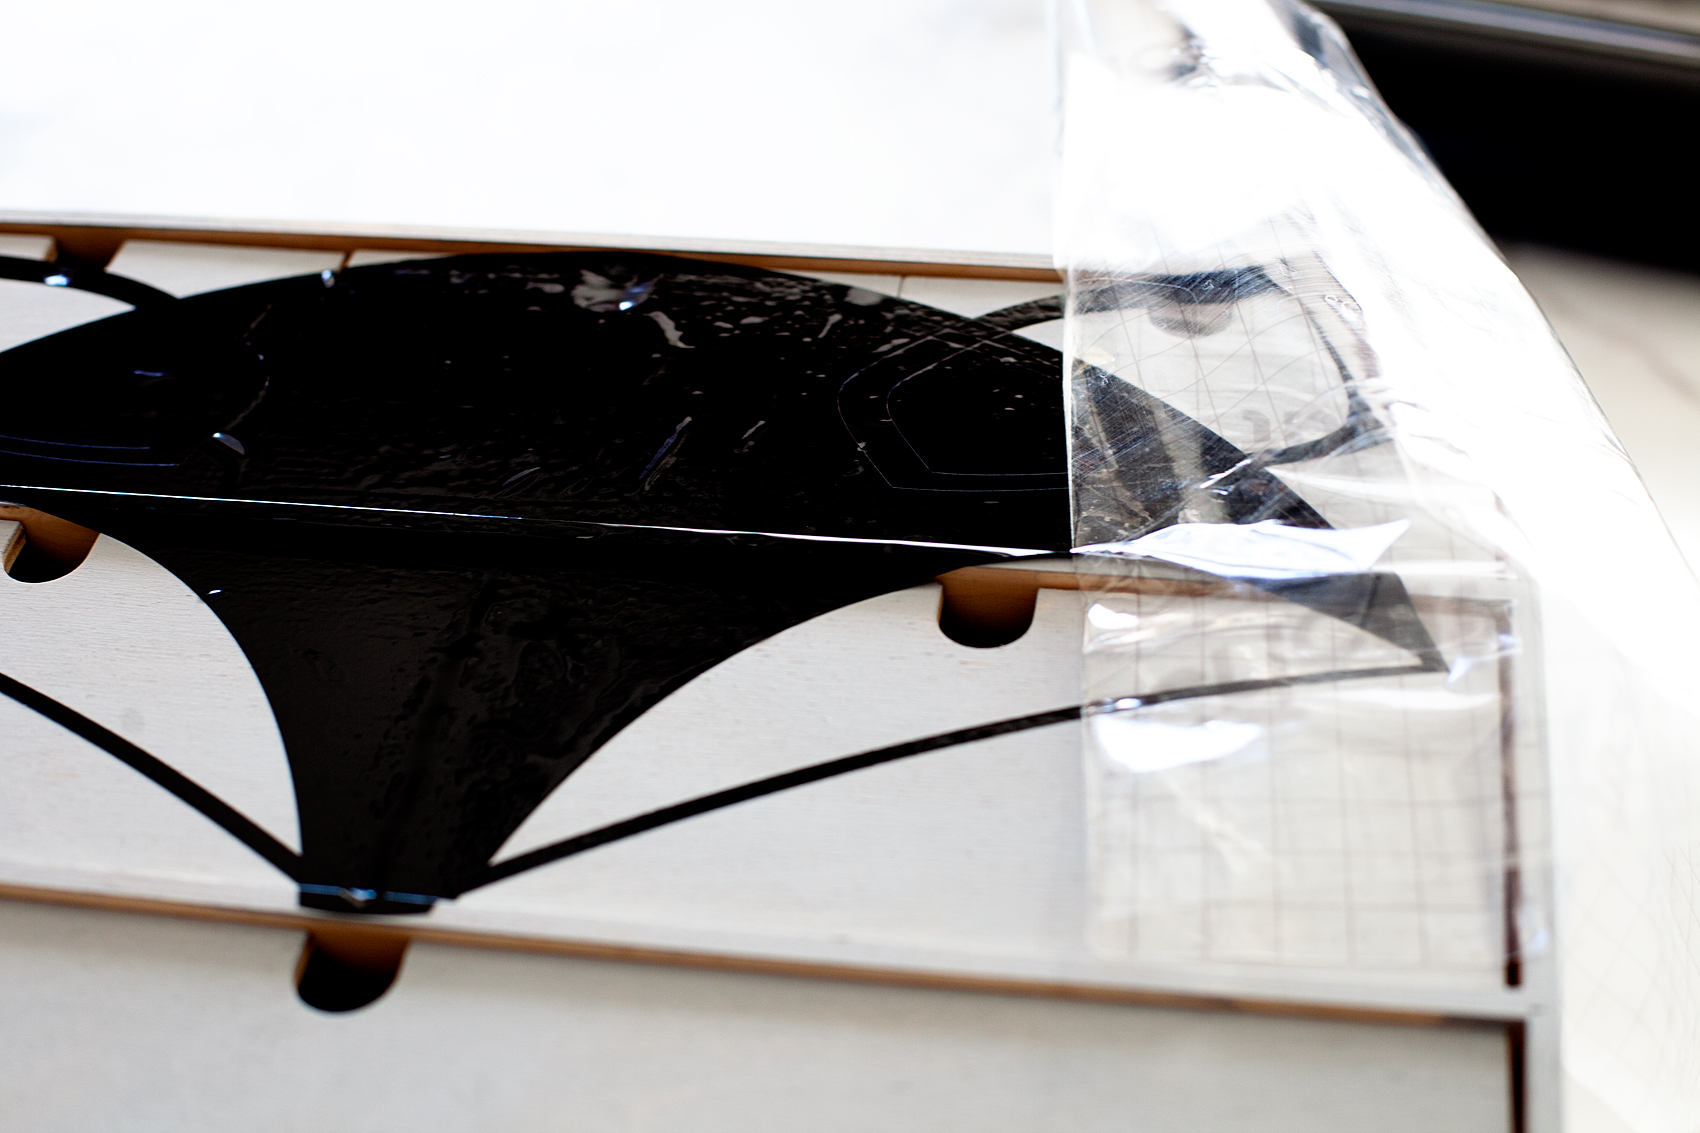
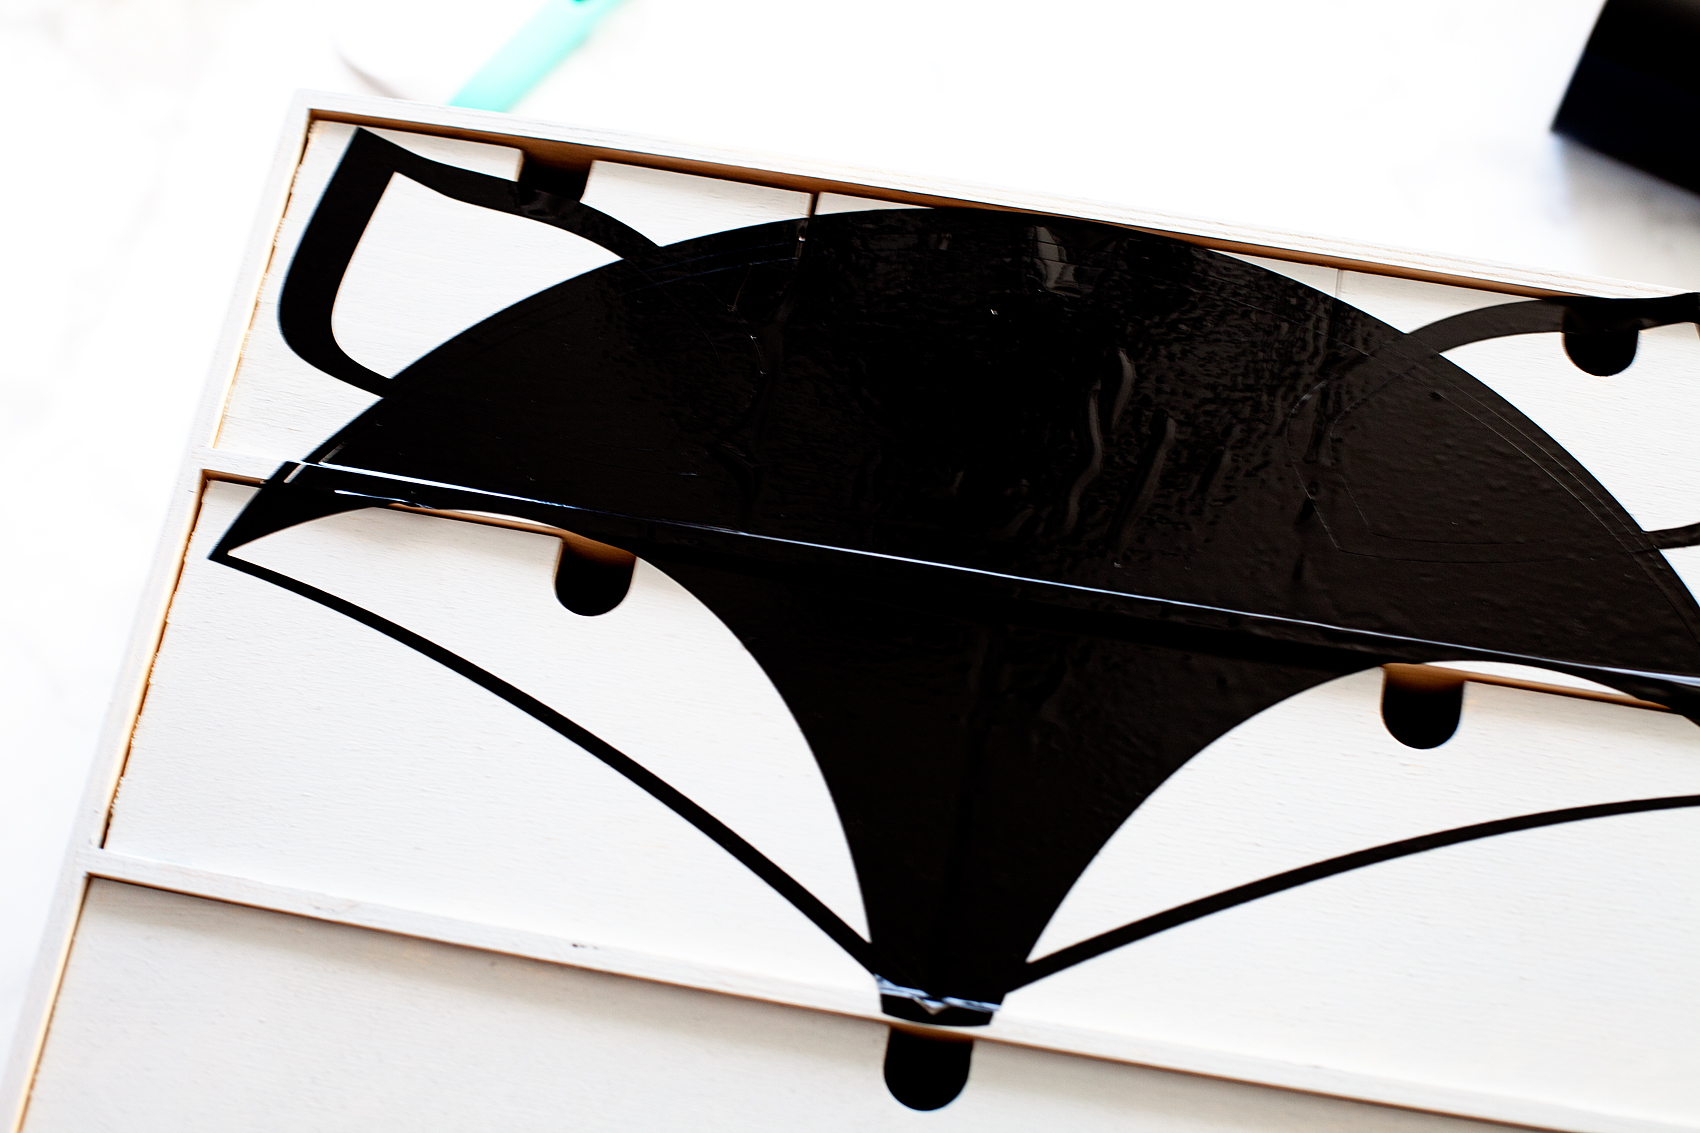
Using your finger go around the edges of the areas that you will be painting and make sure you have a good seal with the vinyl. With the Timeless color, I used a foam stencil brush to get started. With a light amount of paint on my brush, using a gentle up and down motion, I painted the inner ears and cheeks.
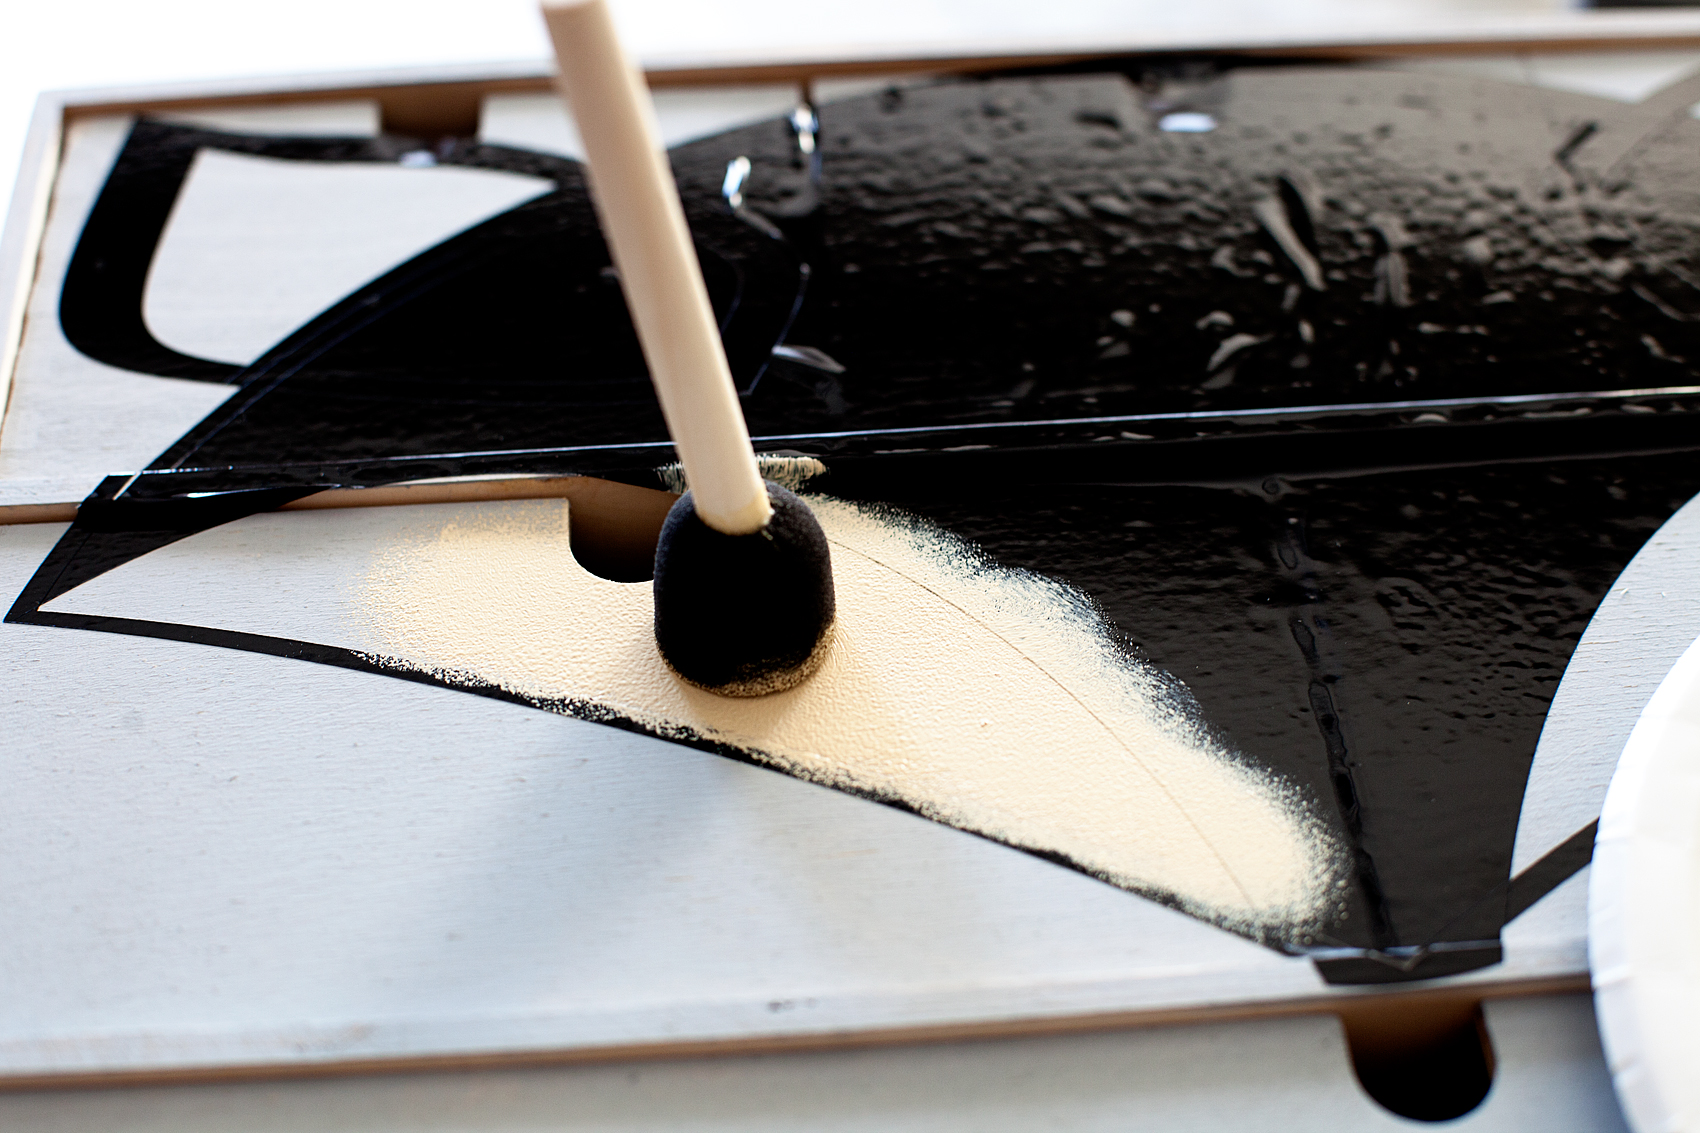
Once you’ve finished painting those sections, carefully remove the vinyl. I typically don’t really wait for the paint to completely dry, you just need to be careful when lifting and removing the vinyl so that you don’t mess up the paint. If you’ve been careful and not used too much paint or pressure, you’ll have a beautiful line.
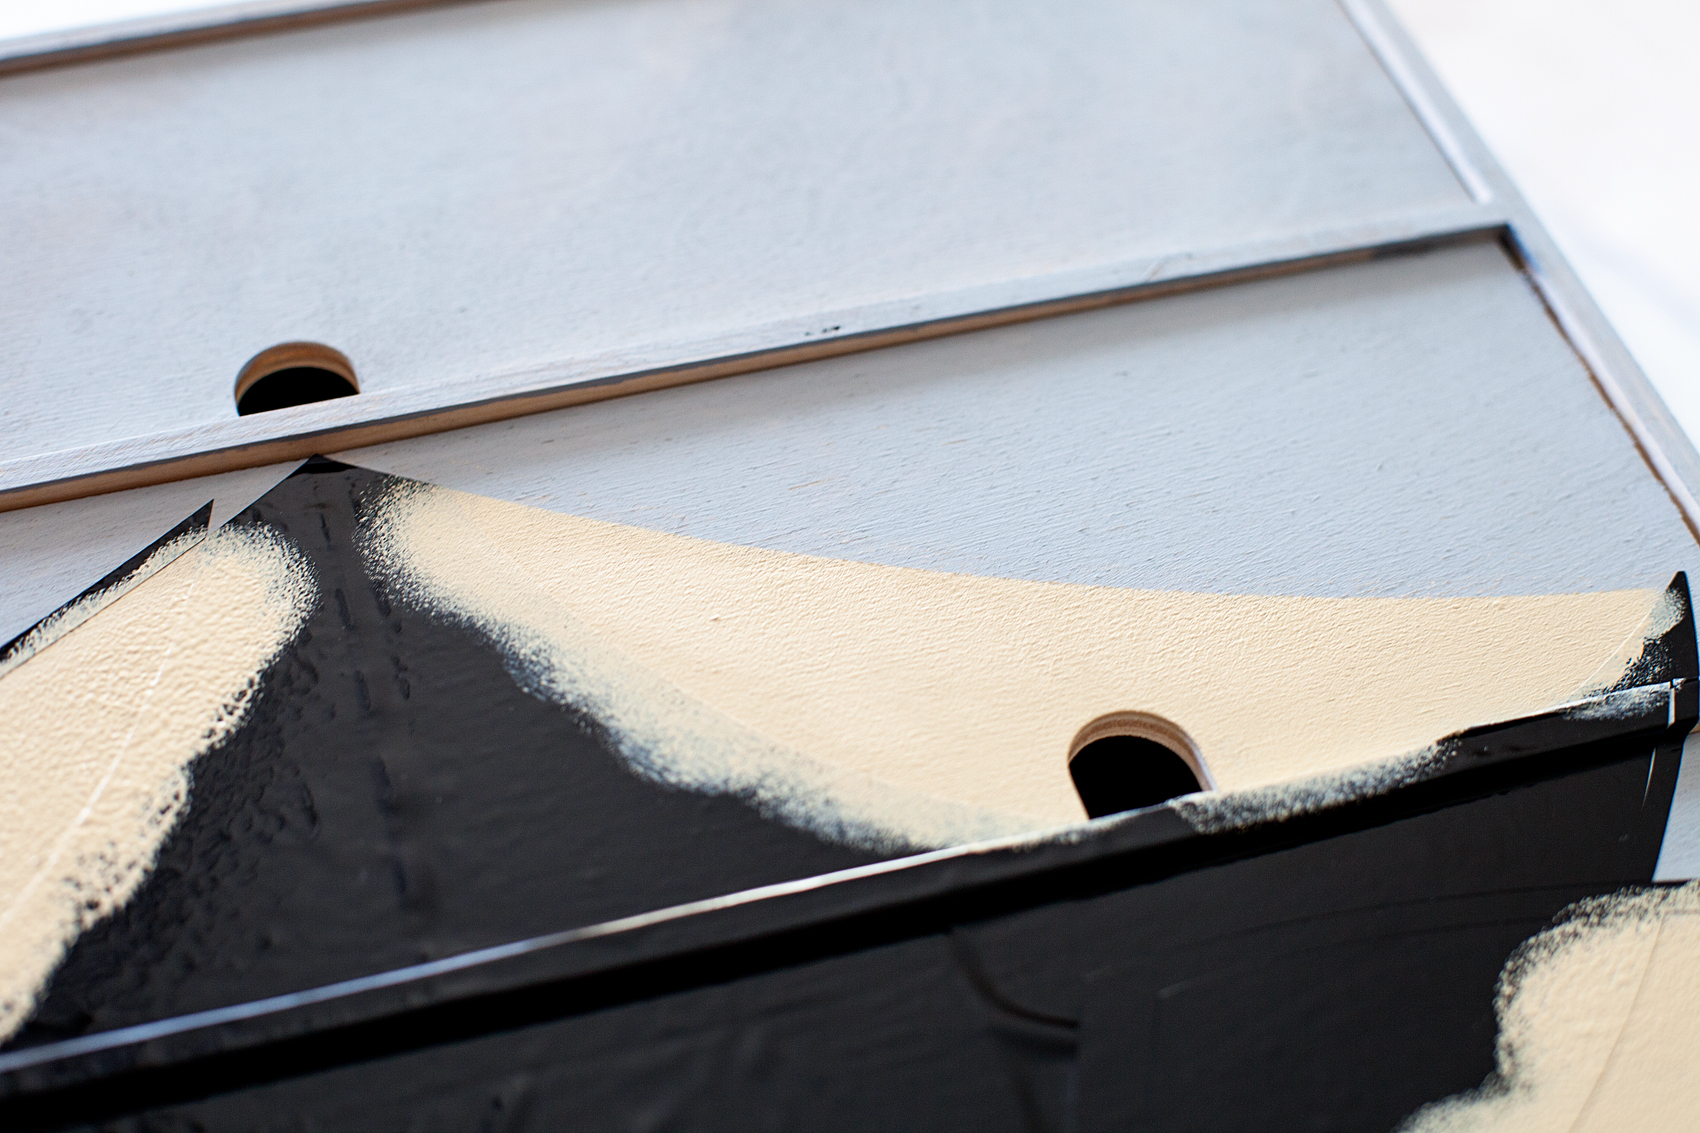
Now, you’ll need the 2nd section of your stencil weeded like the image below.
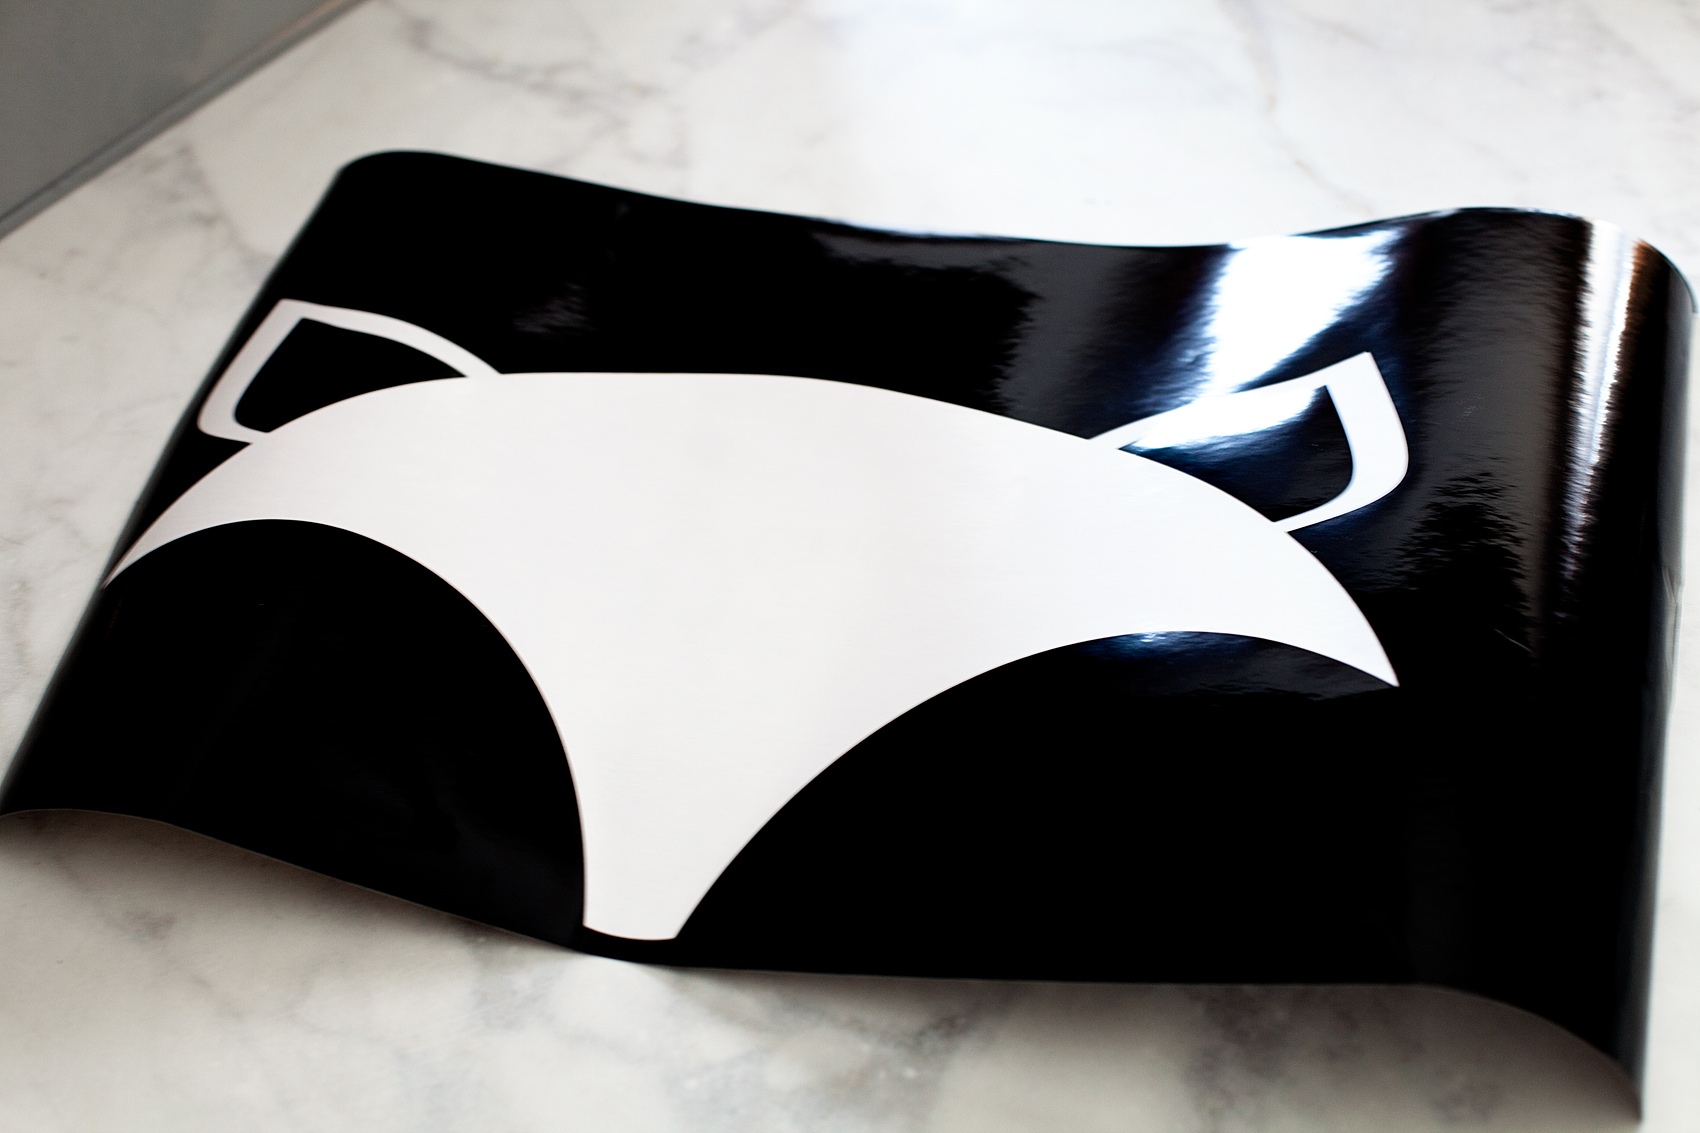
Like before, use the transfer tape to place the stencil carefully on the storage chest. You’ll need to line-up the ears and cheeks but, with the Cricut clear transfer tape that’s not hard at all.
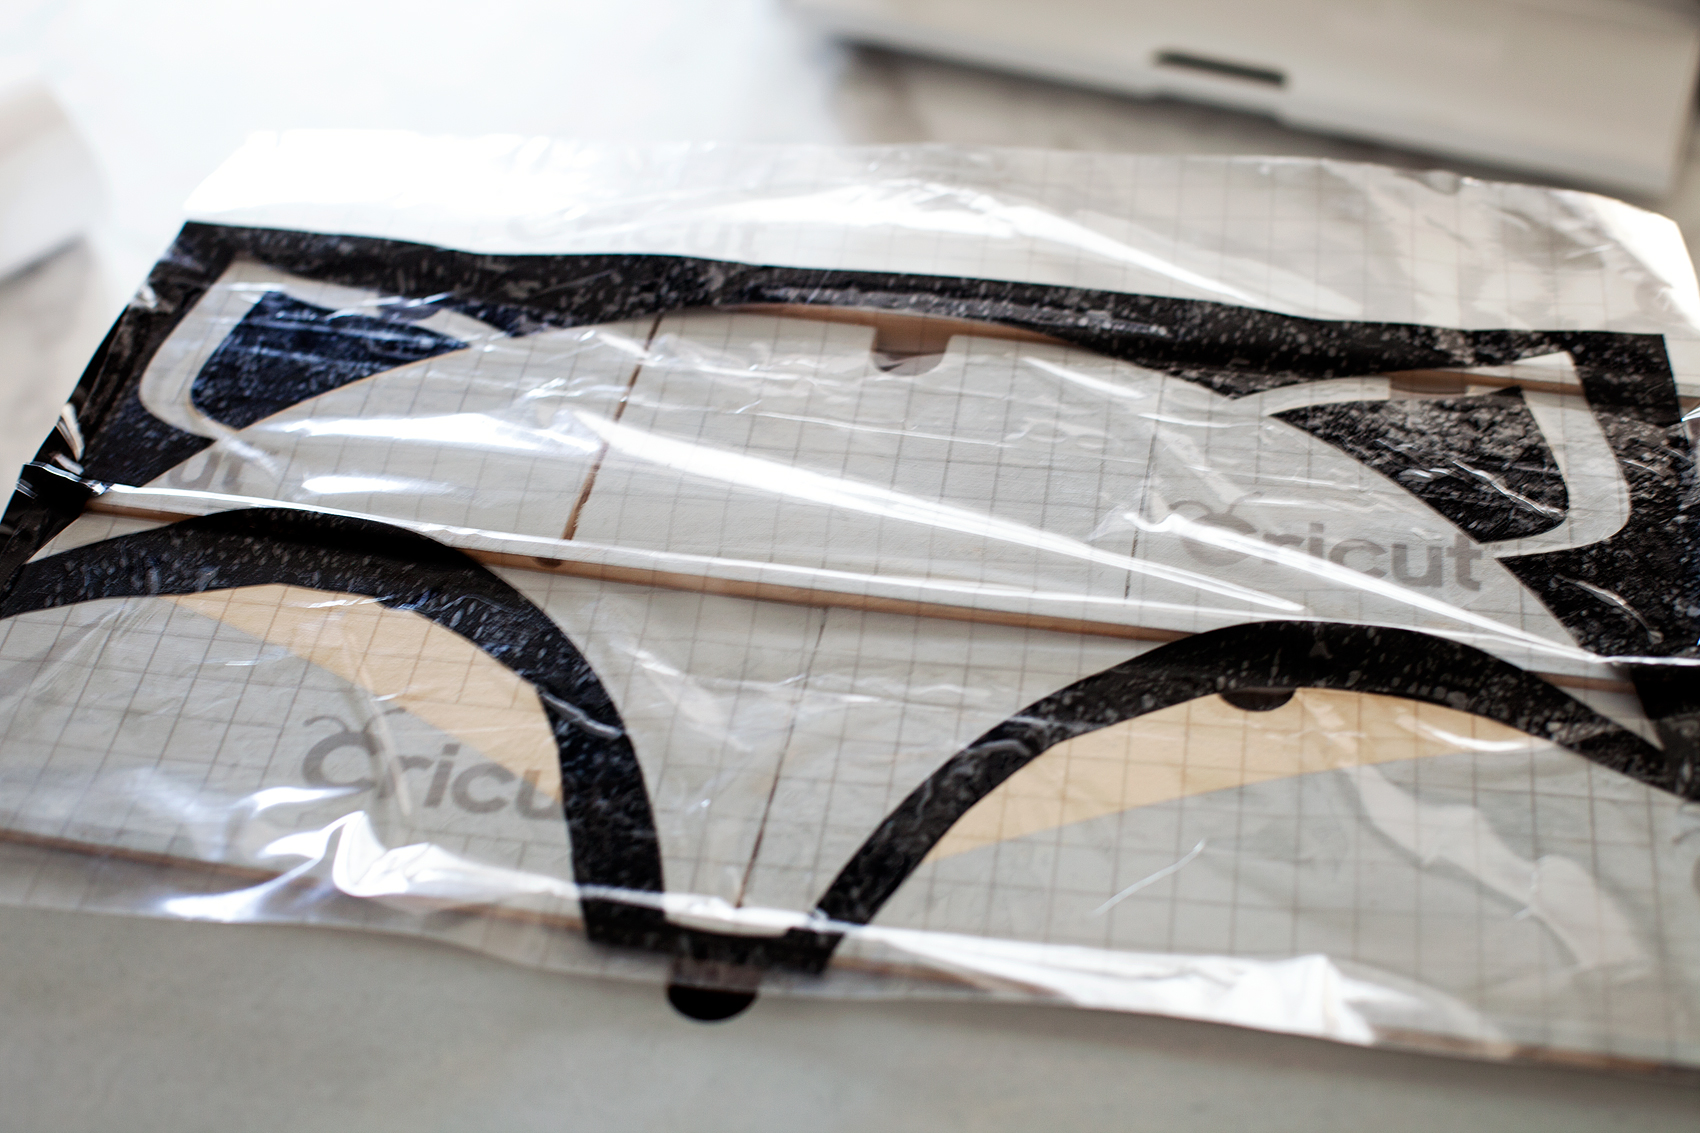
Repeat the same painting technique with the Heritage color for the outer ear and face of the fox.
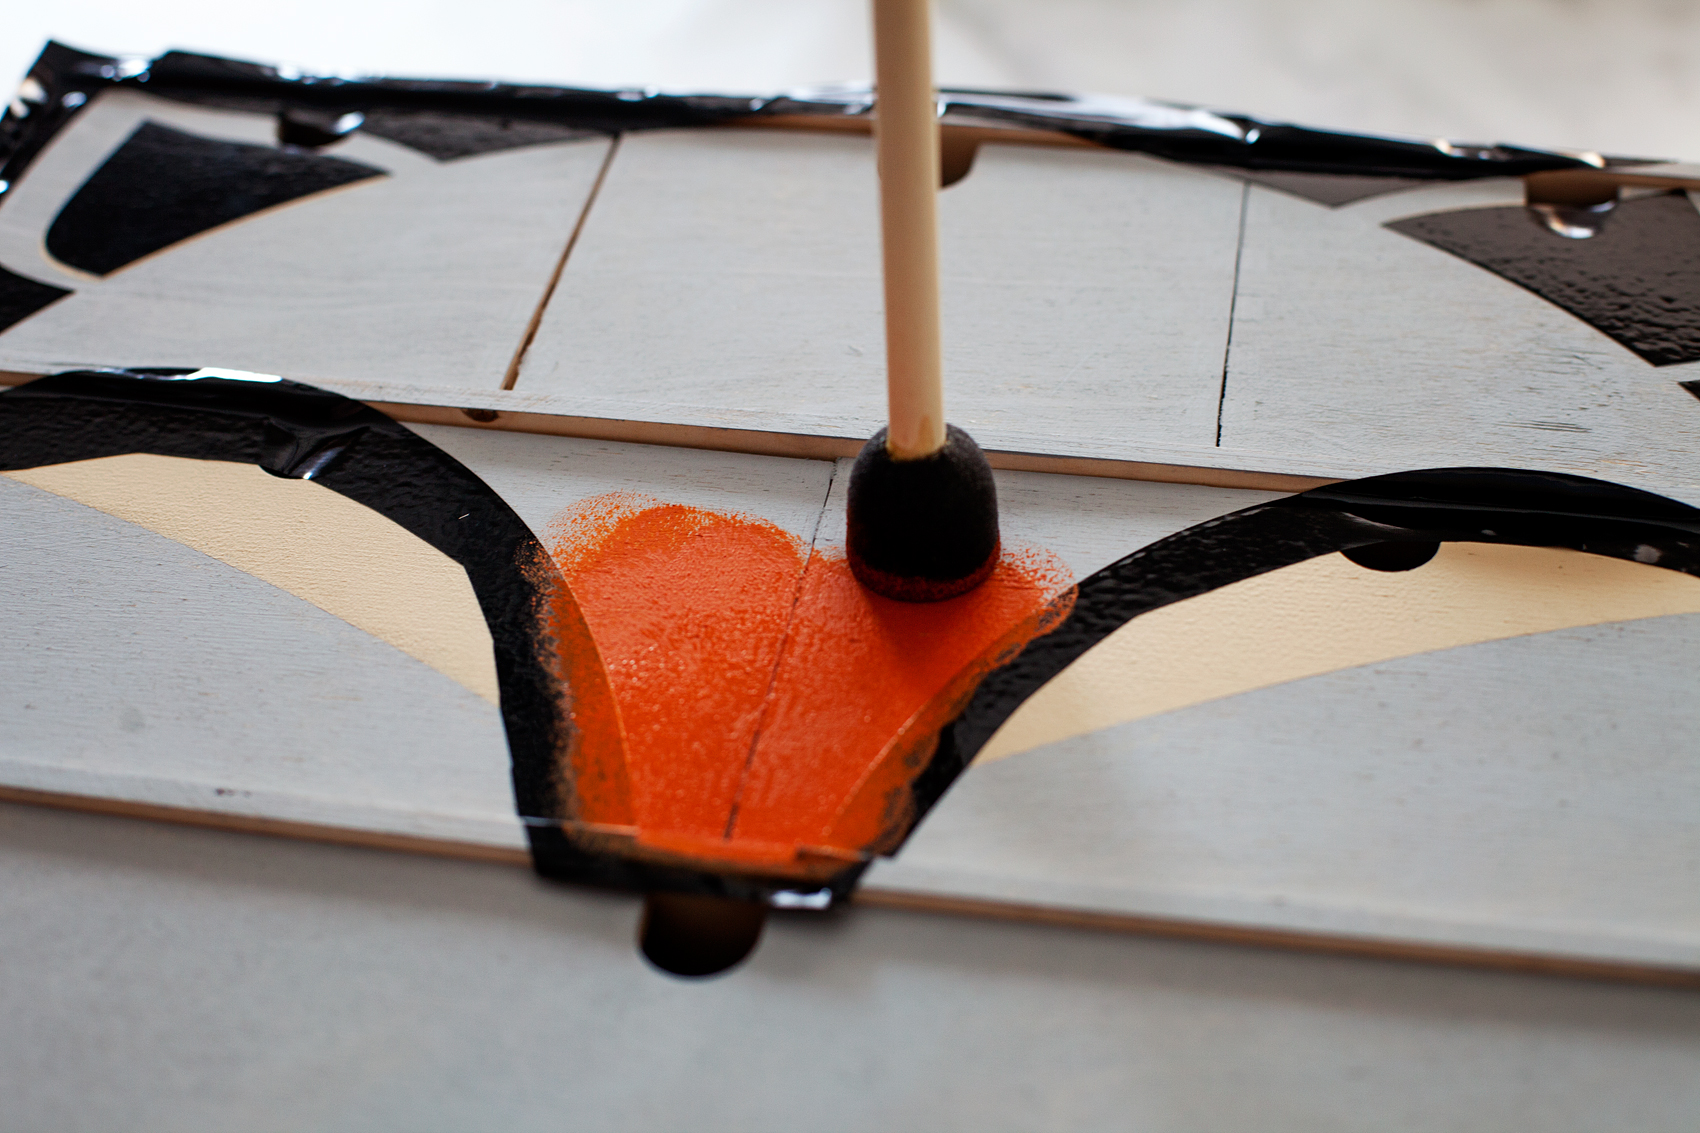
When you’re finished with that, remove the vinyl and let the paint fully dry. That will really only take 10 minutes or so. (That’s another reason why I love the chalky finish paint.)
You’re finished!
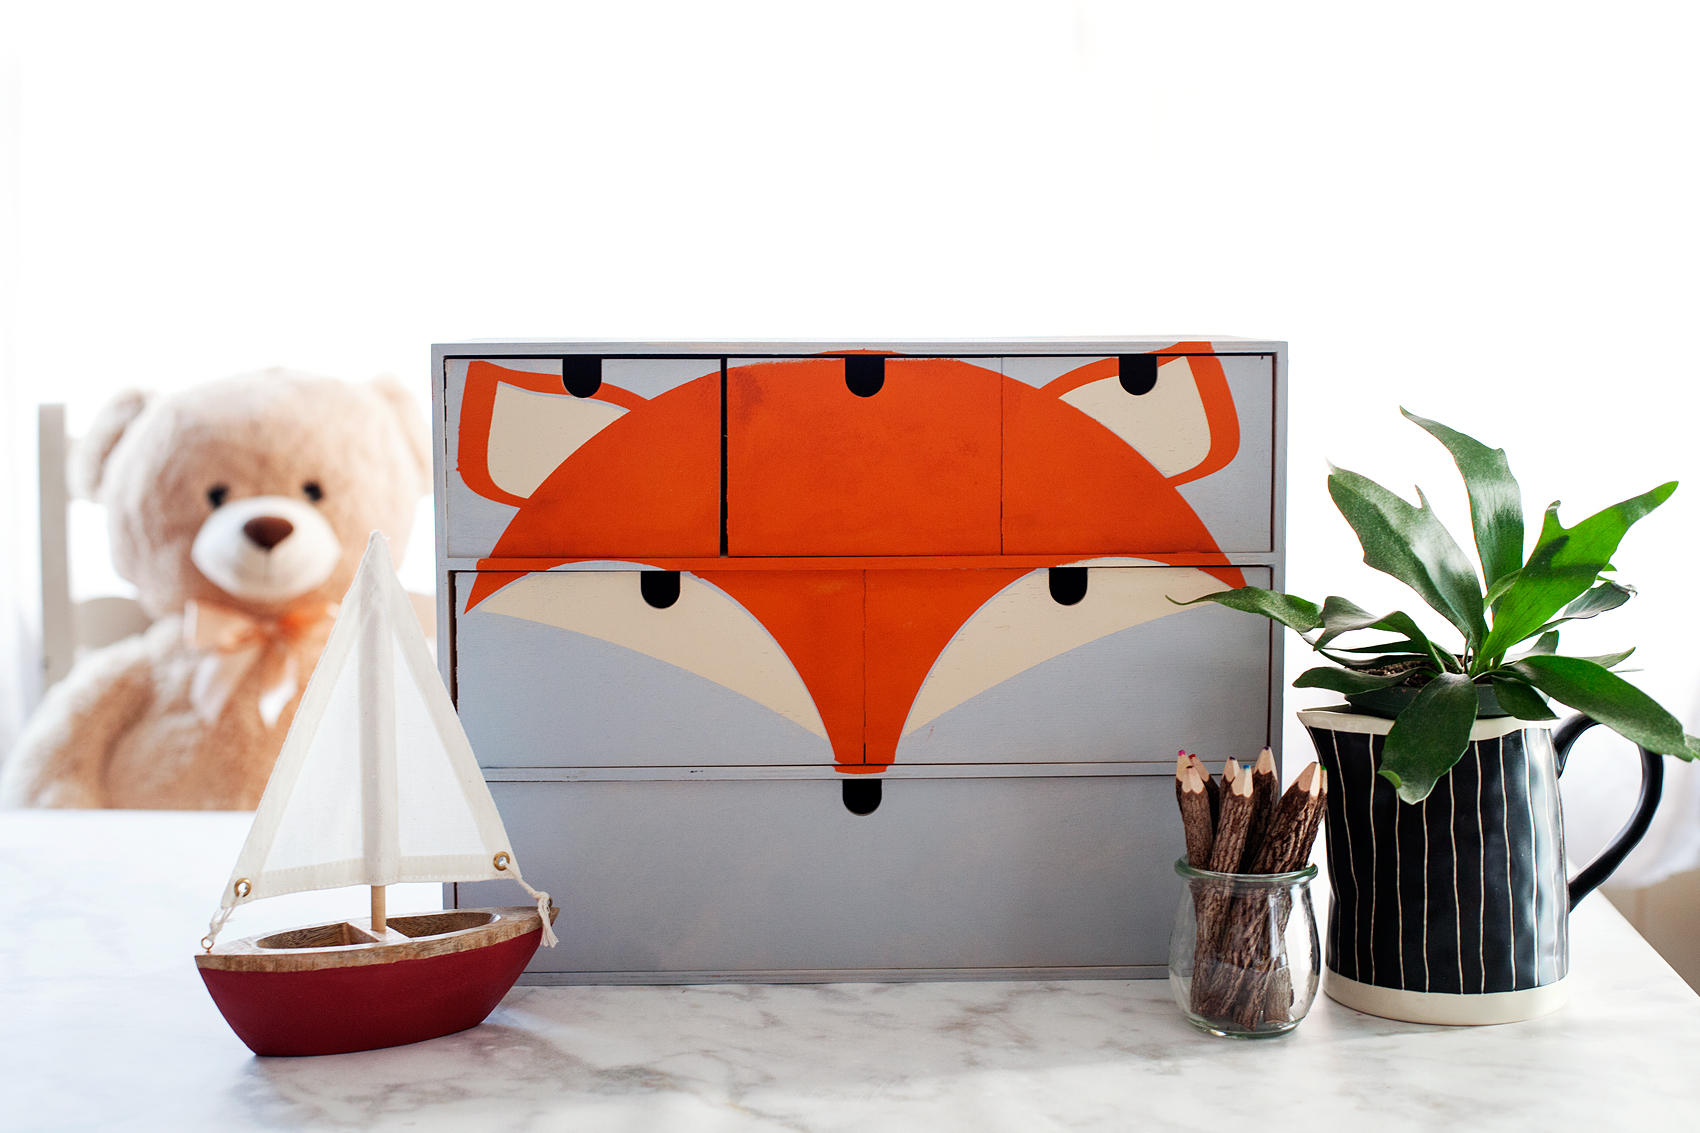
How cute is that for a little guys room? You could even add some cute girly eyelashes and it would look super cute in a girls room as well. I just LOVE it!!
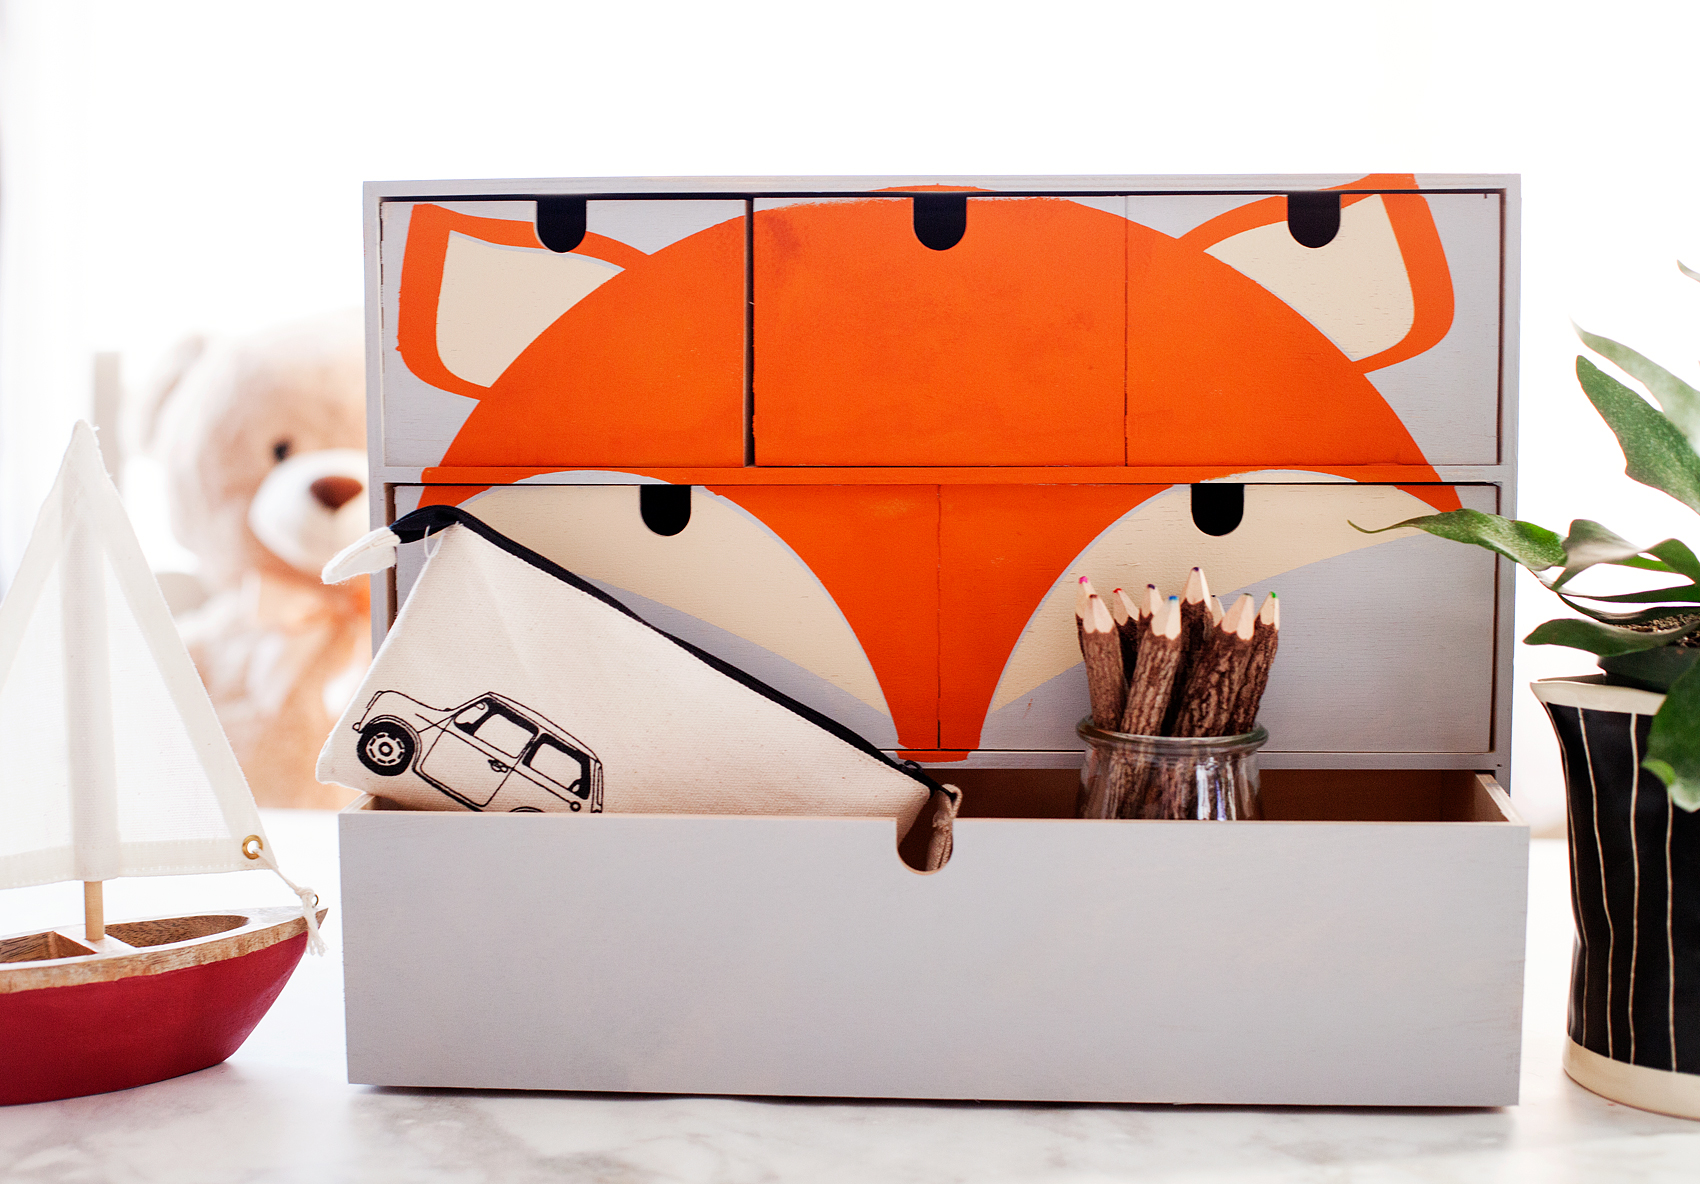
Now, Gage will have the perfect spot for his little things. If you had a chance to do the mini storage chest challenge, what would you like to create? How would you like to use it? What DecoArt products would you use?
Disclaimer • I am a DecoArt Blogger and have received product and compensation for my time and efforts. All thoughts, ideas, and opinions are my very own.
18
This is adorable, Heather!
Thanks so much for idea!
Just amazing moppe makeover Heather! I wanna do it but I have no experience on stenciling skills. Can I do it?