Agave Chicken Lettuce Wraps // Maybe you have heard of agave syrup, but haven't taken the leap of trying it yet! I am like you, and probably wouldn't have, had I not visited a spa that served lettuce wraps with it as a dressing. After having those tasty lettuce wraps, I had to come home and try to recreate that amazing taste, and I knew the key was the Agave syrup. These healthy wraps are easy to make, only use a few ingredients and are delicious.

Ingredients:
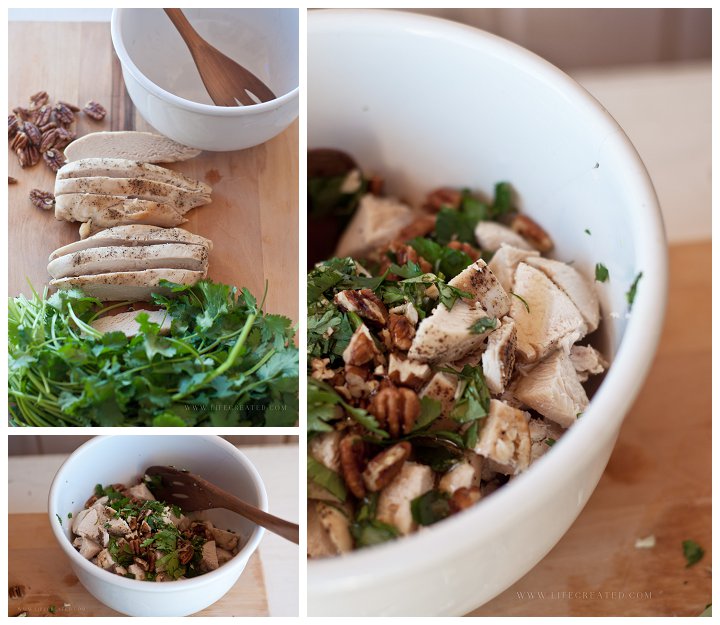
2 Chicken breasts, cooked and cubed
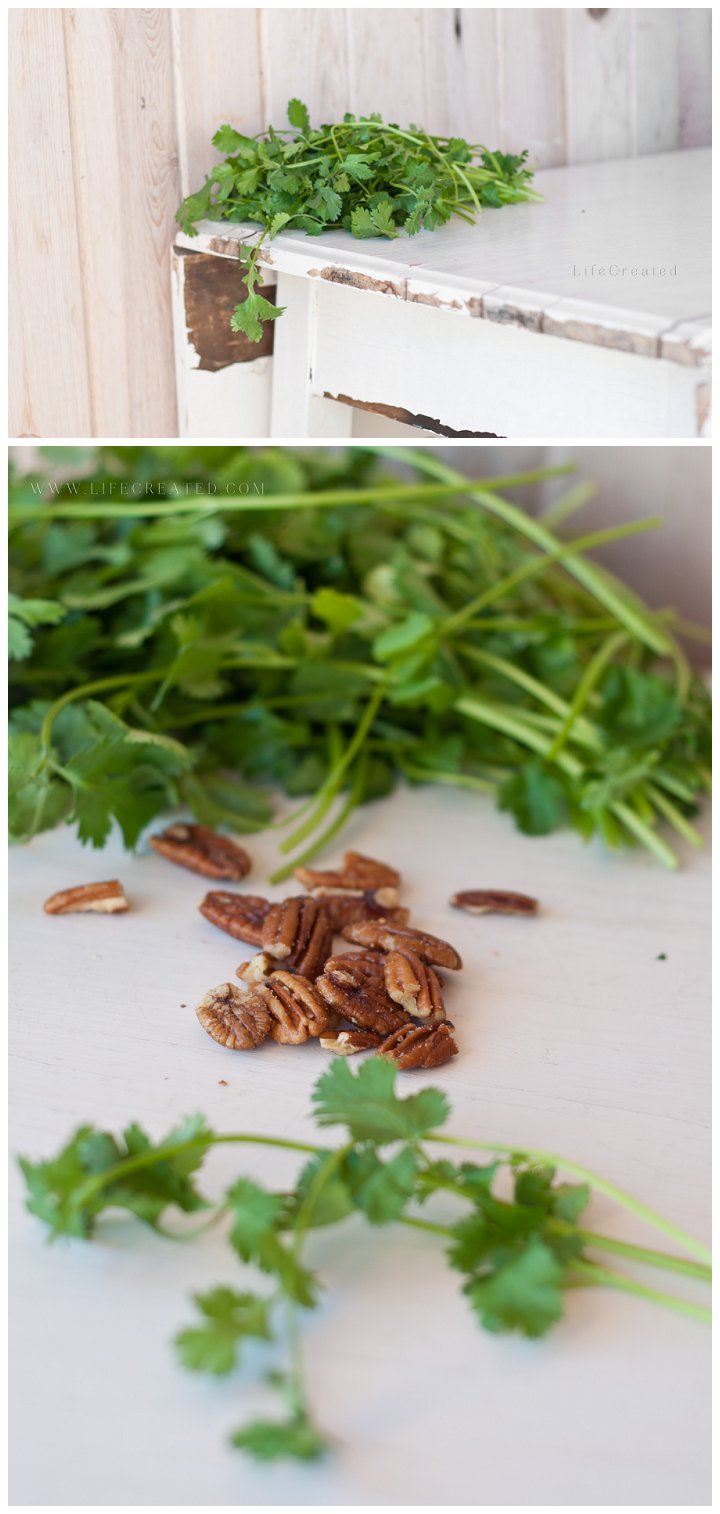
1/4 cup chopped fresh cilantro
1/2 cup roughly chopped pecans
1/2 lemon juiced
2-3 tbs agave syrup
Lettuce (Bib, Boston or Butter lettuces work great)
Cook your chicken breasts your preferred way and let cool. Placing them in a casserole dish with a sprinkle of salt and pepper is the easiest and then either bake in the oven or microwave, depending on what dish you have.
Once cooled and cubed, place your chicken chunks in a bowl. Mix remaining ingredients in and then lastly, add the splash of lemon before refrigerating.
This salad mixture is best served cold, spooned into leaves of your favorite lettuce.
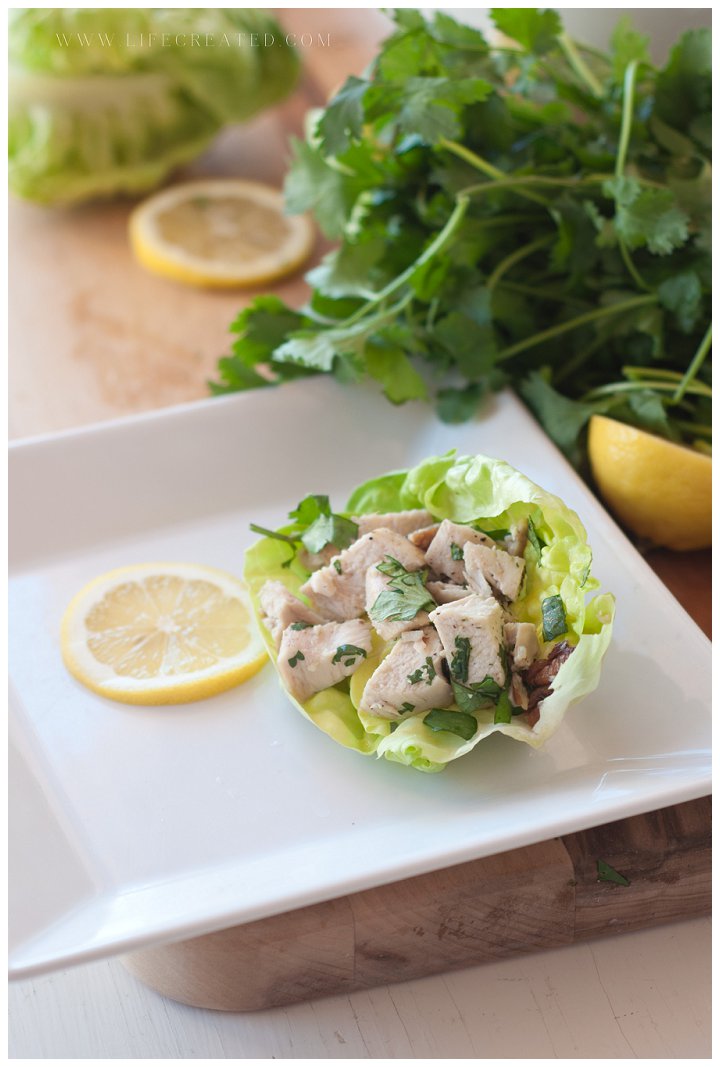
When serving, you can add a drizzle of the agave syrup to the plate for presentation.
Feel free to change ingredients based on your taste!
Also consider adding:
-chopped cucumber
-diced green onion
-pomegranate seeds
-sesame or chia seeds
I'm super excited to welcome the newest member of the WhipperBerry Creative Team, Stephanie from Life Created! She is an incredibly talented food photographer with all kinds of goodies over at her blog. You should take a second to run over and check it out!!