- Follow the Year of Celebrations Pinterest board.
- Comment on this post and leave a link to YOUR favorite Valentine's Day project and/or recipe.
- Tweet YOUR favorite Valentine's Day project and/or link using the hashtag #yearofcelebrations
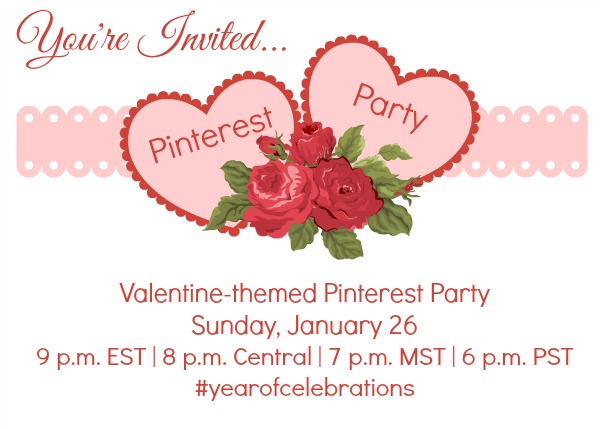
- On Sunday, January 26, at the appointed time and watch as we build a board full of amazing ideas – including yours!
- Be sure to follow along during the party to repin and comment on the board's posts using the hashtag #yearofcelebrations.
- One lucky party participant will walk away with $200 in DIY party products from American Crafts!
So, set aside some time to come party with us this us and share all of your favorite Valentine goodies!
Now… Let's get this week's link party started!!

Amy from The Idea Room, Mique from 30 Handmade Days, Heather from Whipperberry and Desiree from The 36th Avenue want to thank you for partying with us… You guys are the best!
Here are some of our favorites!

Lemon Ricotta Pasta from Scattered Thoughts of a Crafty Mom

This recipe looks delicious and easy to make. Can't wait to try it out.

52 Reasons I Love Her from Just Another Day in Paradise
 How sweet is this idea for Valentine's Day? Love it.

Valentine's Day Patterned Printables from Tatertots and Jello

These Valentine's printables are so fun and will brighten up any room.

DIY Laundry Pedestal from Addicted to DIY
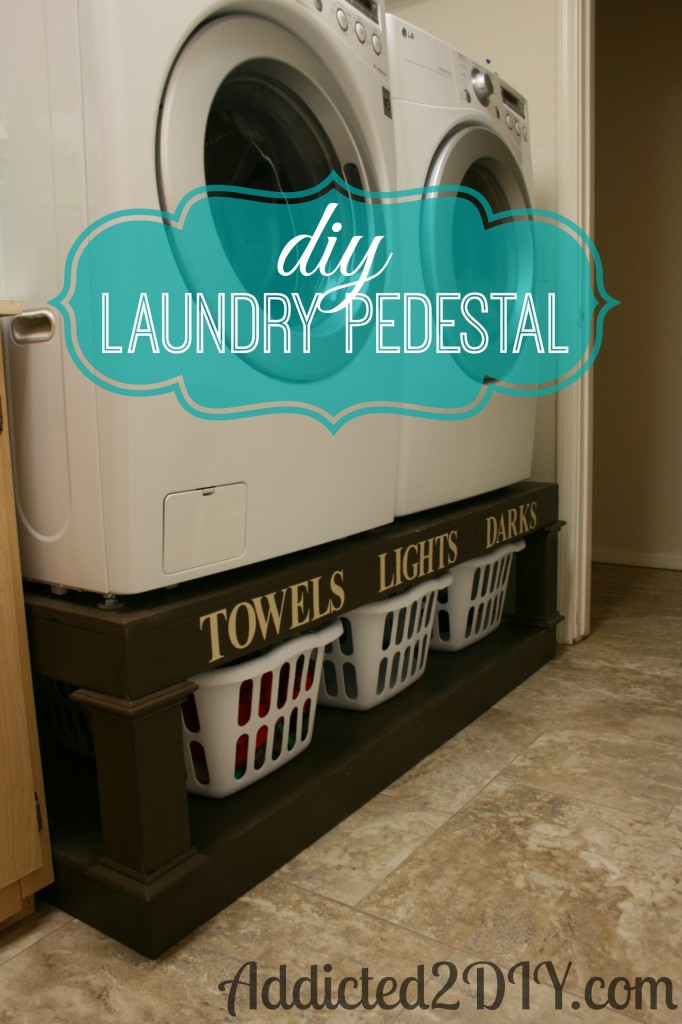 A great DIY tutorial and awesome idea for storage and laundry.
We hope you take a minute and button up here!

Also we want to invite you to click here and follow
The Party Bunch Favorites on Pinterest.
We are featuring more of our favorite projects and recipes from the link party on this board!

Here are a few things to remember before you link up!
- Please make sure to share the love and grab a button here to let your readers know that you linked up with us!
- By linking up with The Party Bunch, you are giving permission to any of us to feature your projects and recipes on our social media with a link back to you. Thanks!