Hello Whipperberry friends! I'm so happy to be back over here again! I hope your winter is sailing along smoothly…I know it's been a snowy one for many of us. Which leaves us dreaming of sunny warm days, flip flops and time on the deck! I know I sure am…winters here are looooong.
And a funny thing happens to me right about now in the doldrums of winter…I start craving lemons. Every single year. There is something so summery and refreshing and inspiring about lemons don't you think? It makes me want to put lemons in ALL the things! Lemon loaves, lemon tarts, lemonade, even lemons at dinner!
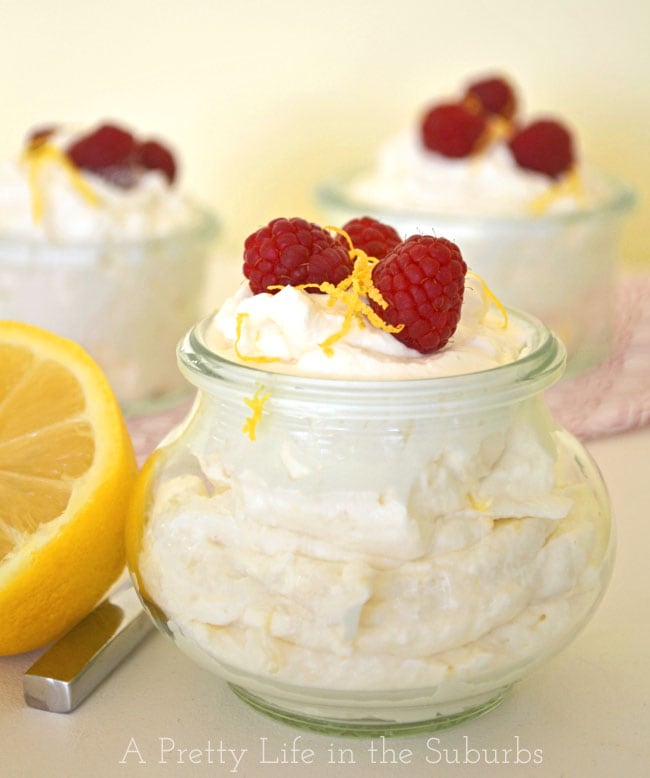
So when the lemon urge struck once again this week, I made an Easy Lemon Mousse.

This is so simple to make – I can't even tell you. And you know what, I bet it would be good with any kind of citrus fruit…oranges or grapefruits or limes. Hmmm I just might have to try a different combo!
![]()
5 ingredients. 5 minutes. fresh. delicious.
Ingredients
Make 6 servings.
- 1 cup whipping cream (heavy cream, not pre-whipped)
- 4 oz cream cheese, at room temperature (1/2 block)
- 1 tsp vanilla
- zest and juice from one fresh lemon
- 1/4 cup sugar
- fresh berries: blueberries, strawberries or raspberries
Instructions
- Using a mixer whip the cream until it is stiff and peaks form. Transfer to a clean bowl and set aside.
- Using a mixer cream together the cream cheese, vanilla, sugar, lemon zest and lemon juice until the mixture is smooth.
- Then gently fold in the whipping cream, and stir until combined.
- Transfer to pretty serving dishes and garnish with fresh berries and lemon zest.
- Enjoy!
– – – – – – – – – – – – –
This recipe is the perfect winter pick me up and I hope you enjoy it!
See you again next month! Have a delicious day!