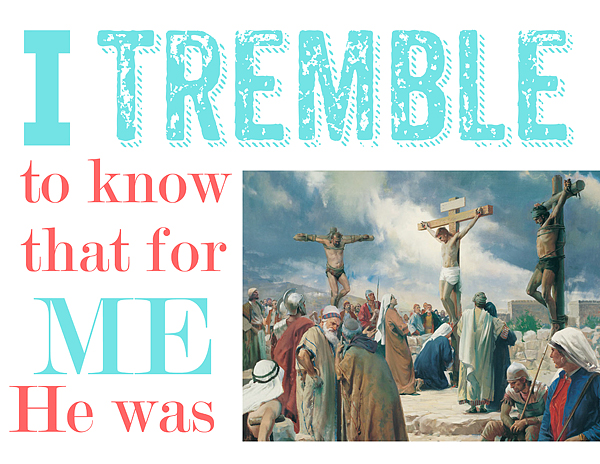
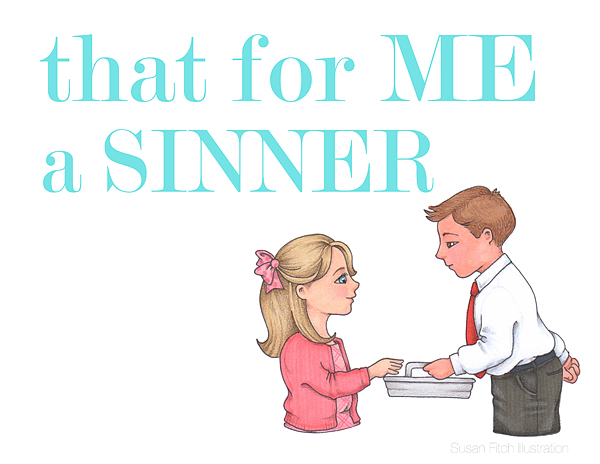
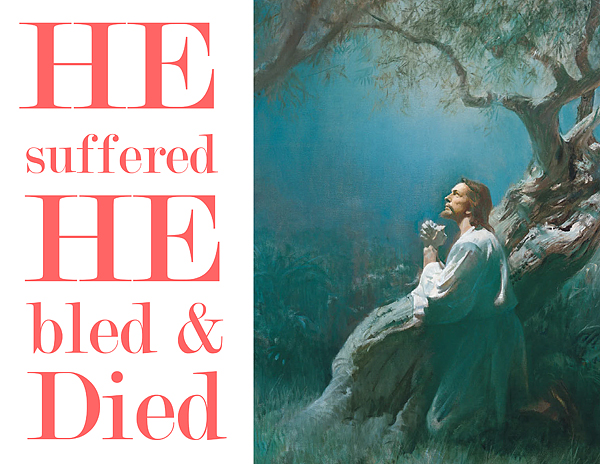
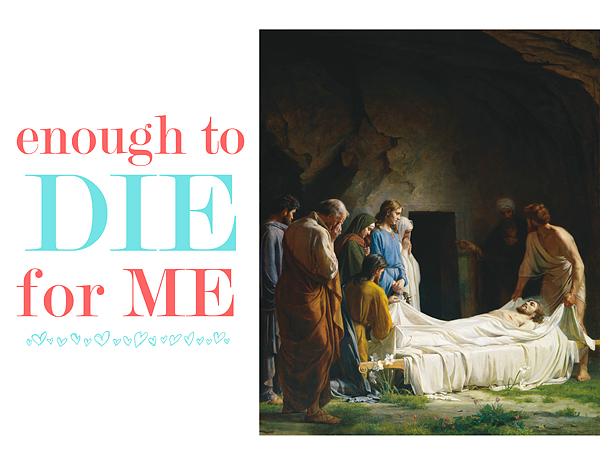
I Stand All Amazed Flipchart 2nd Verse // As promised here is the 2nd verse for “I Stand All Amazed.” If you missed the 1st verse, here is the flipchart. Last week I had such a special experience teaching the first verse to my kiddos. The spirit was so strong and I could tell that they were grasping the meaning of this beautiful song. This week we are going to work on the 2nd verse so I thought I would share the flip chart for this verse as well.
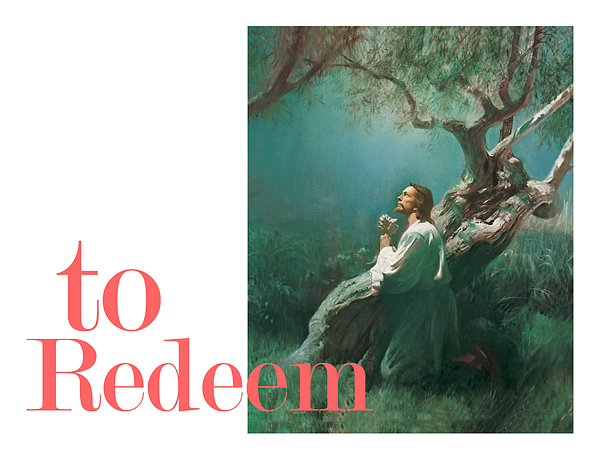
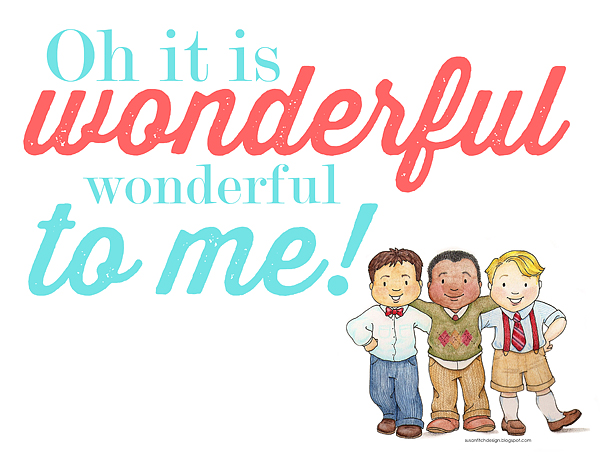
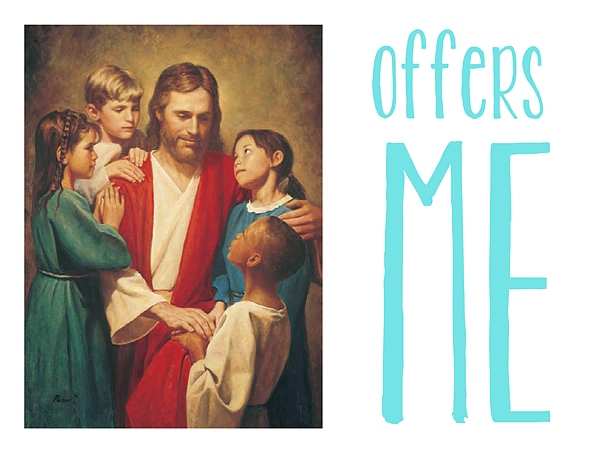
Again, I use some images from Susan Fitch and the Gospel Art Kit from LDS.org. This flip chart is for PERSONAL and CHURCH USE ONLY.
Click HERE to download the full-sized “I STAND ALL AMAZED” 2nd Verse flip chart